
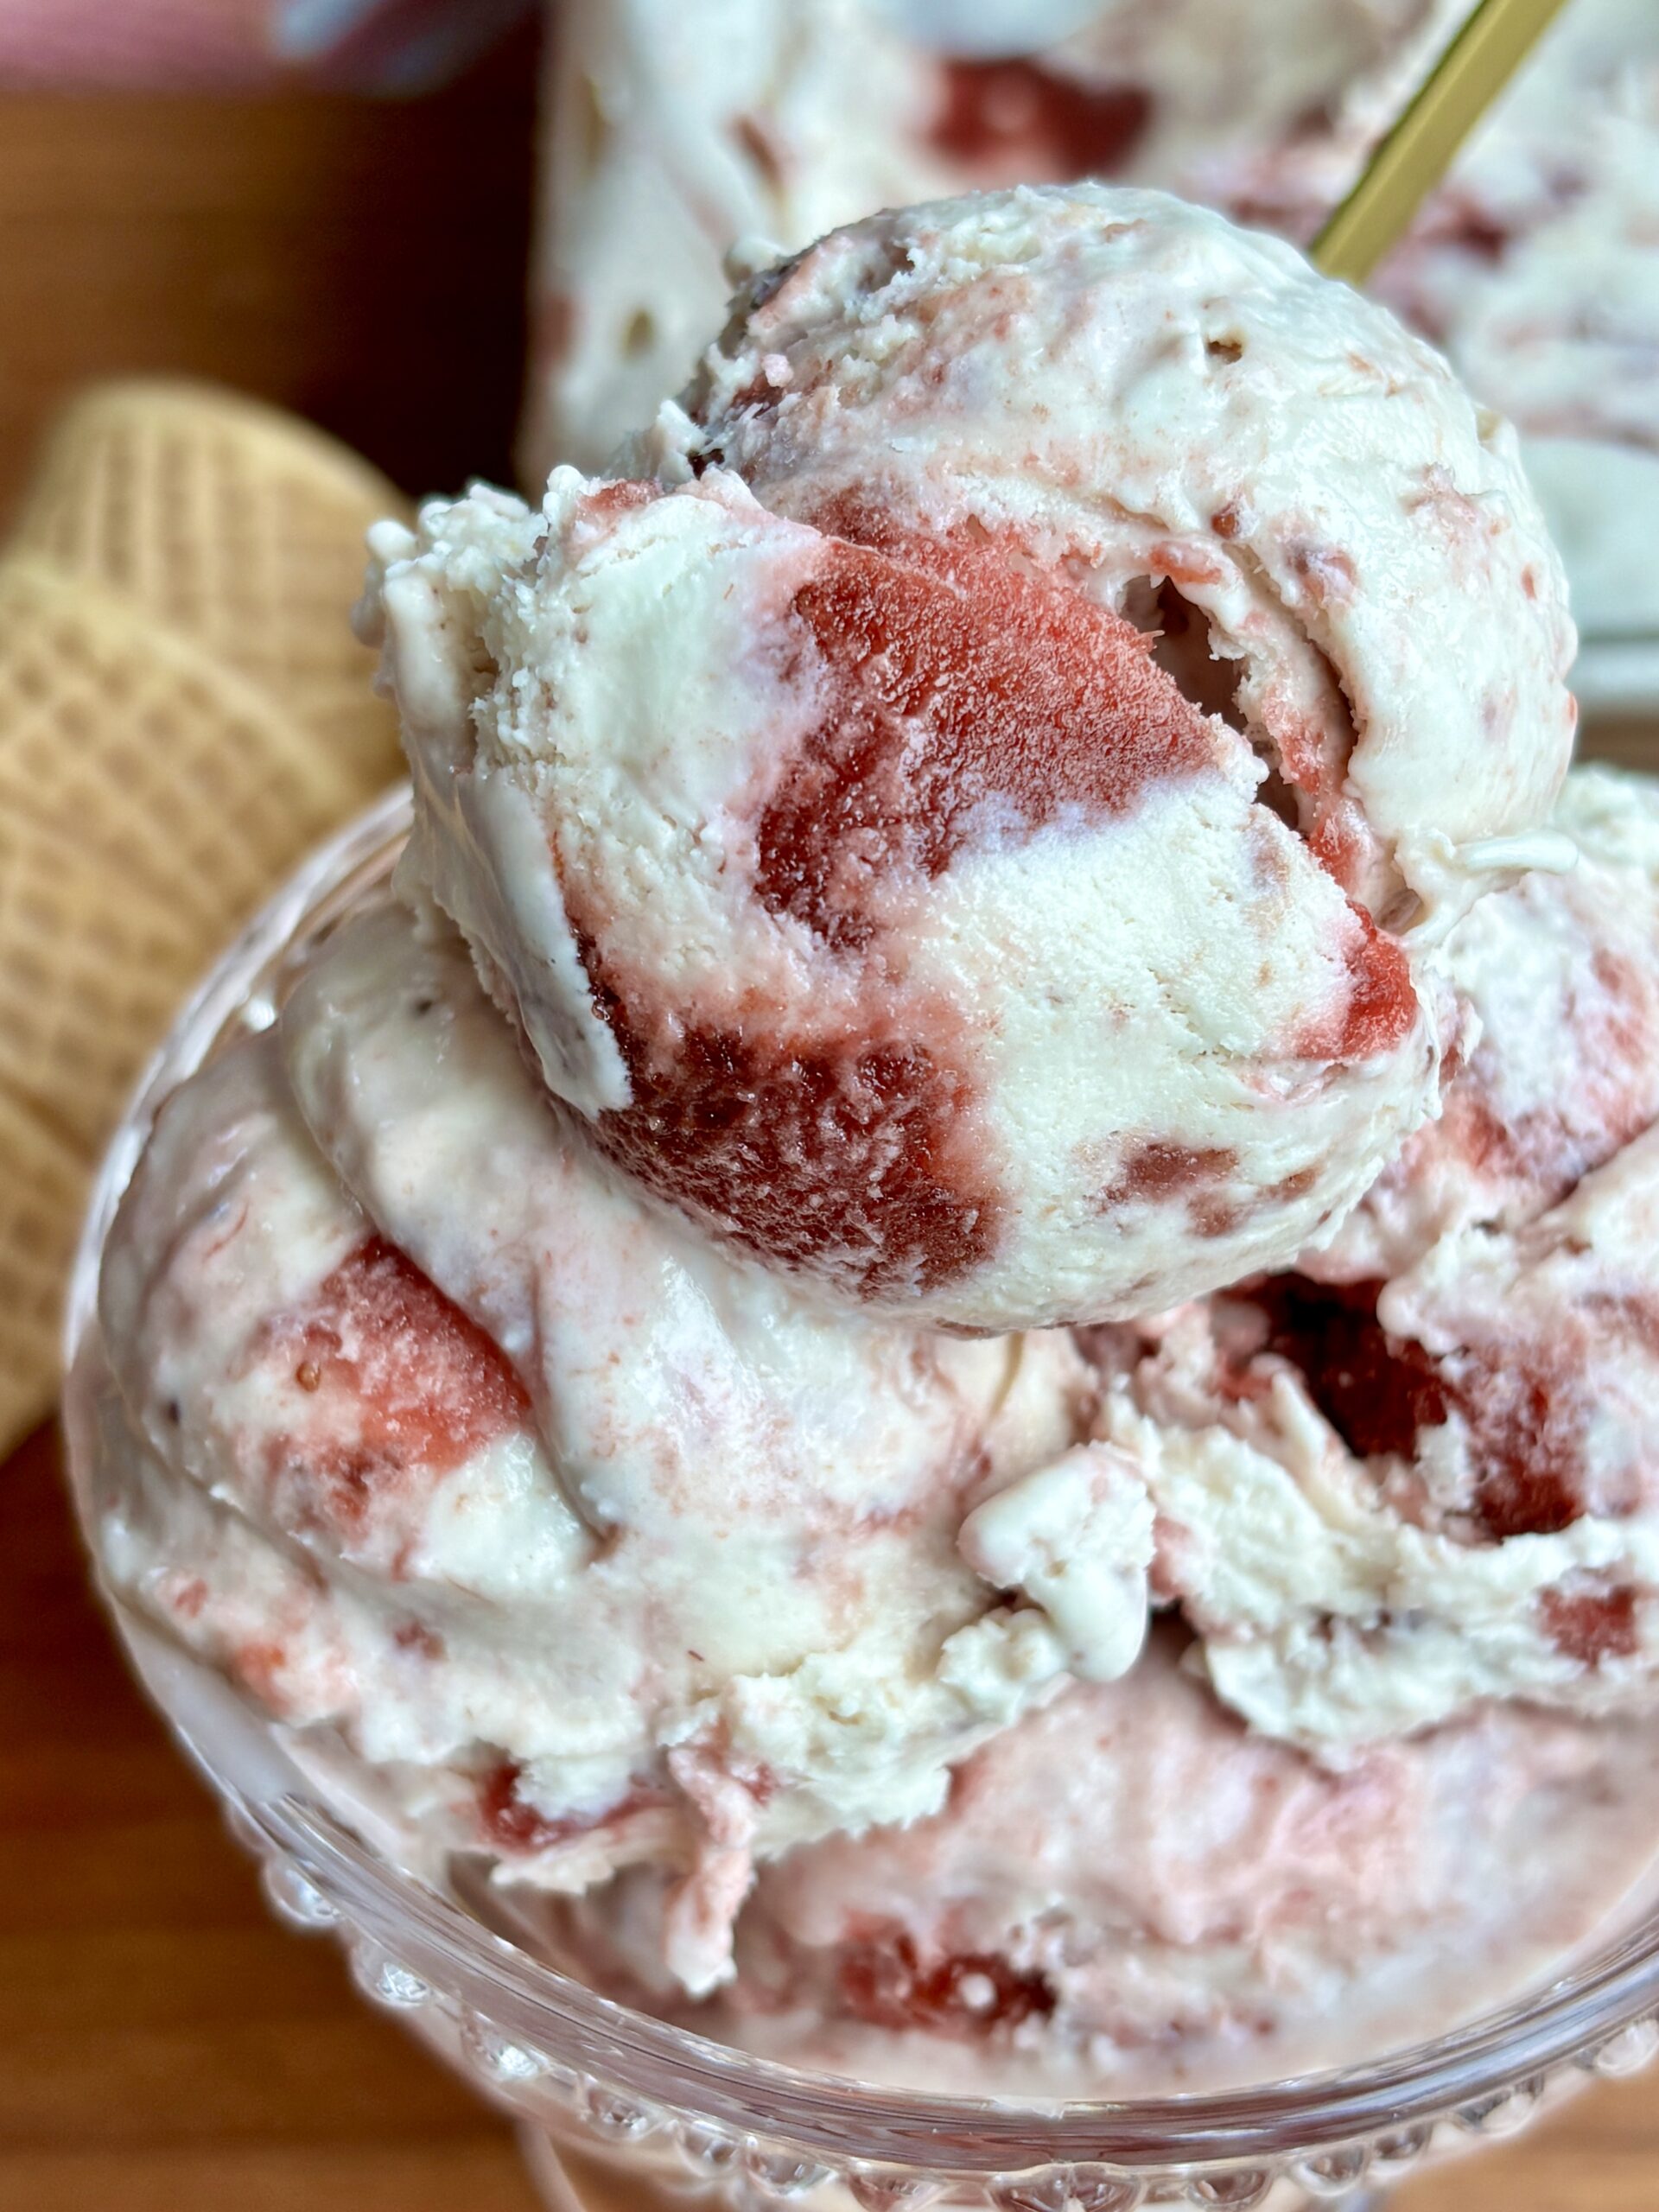
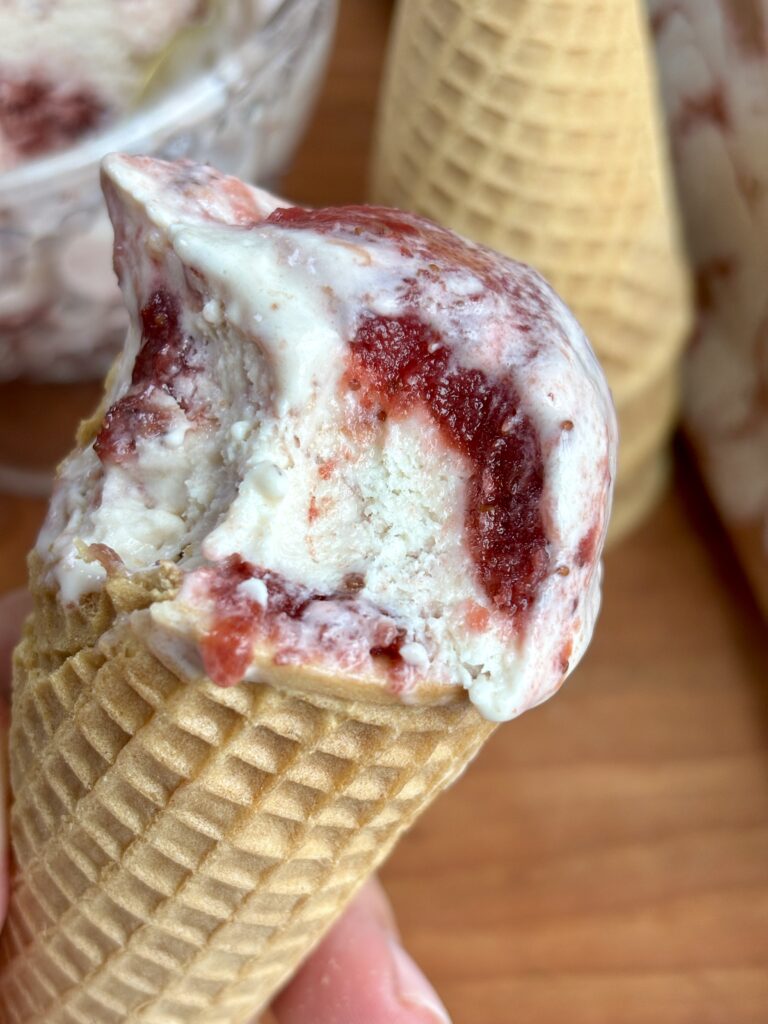
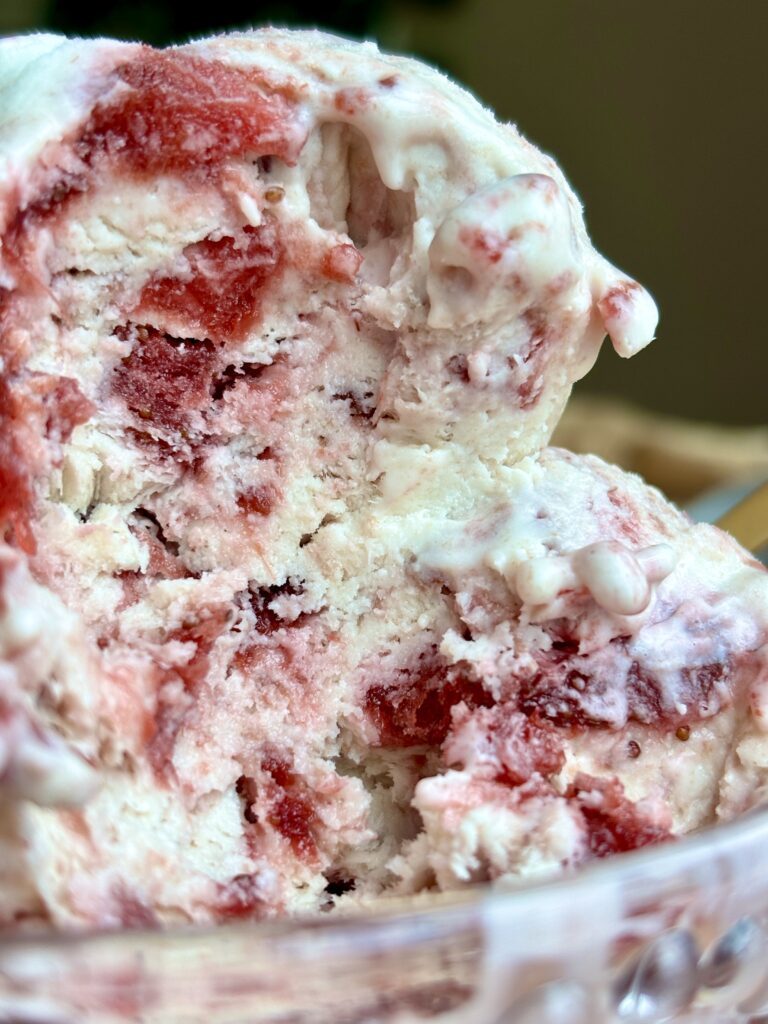
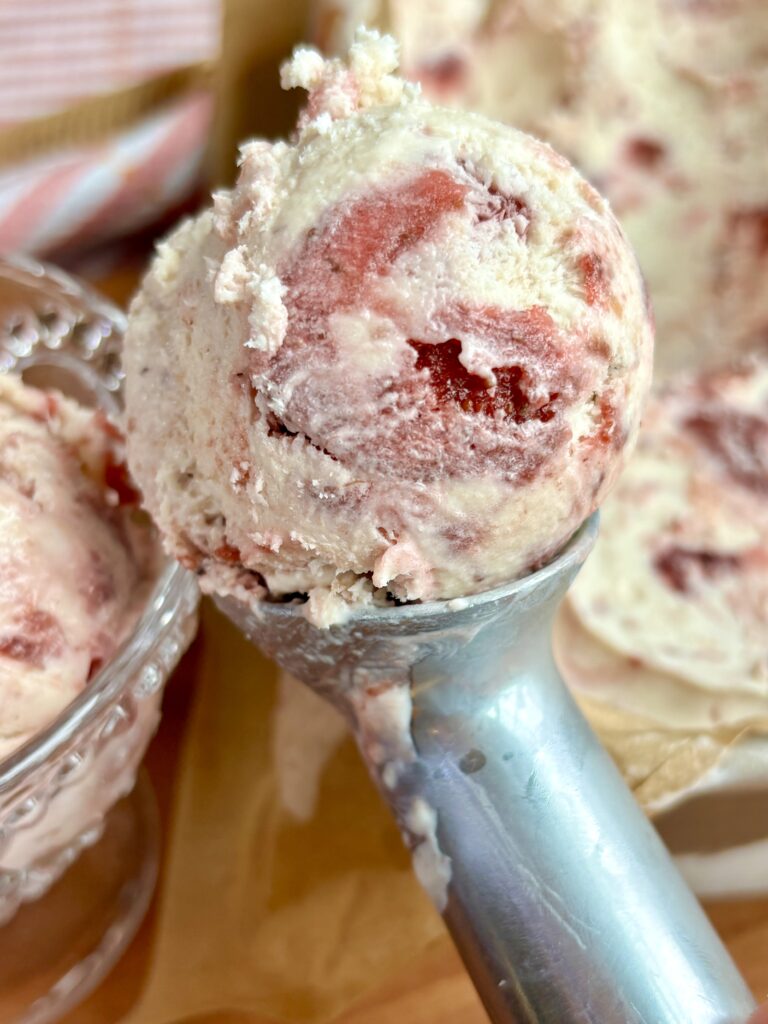
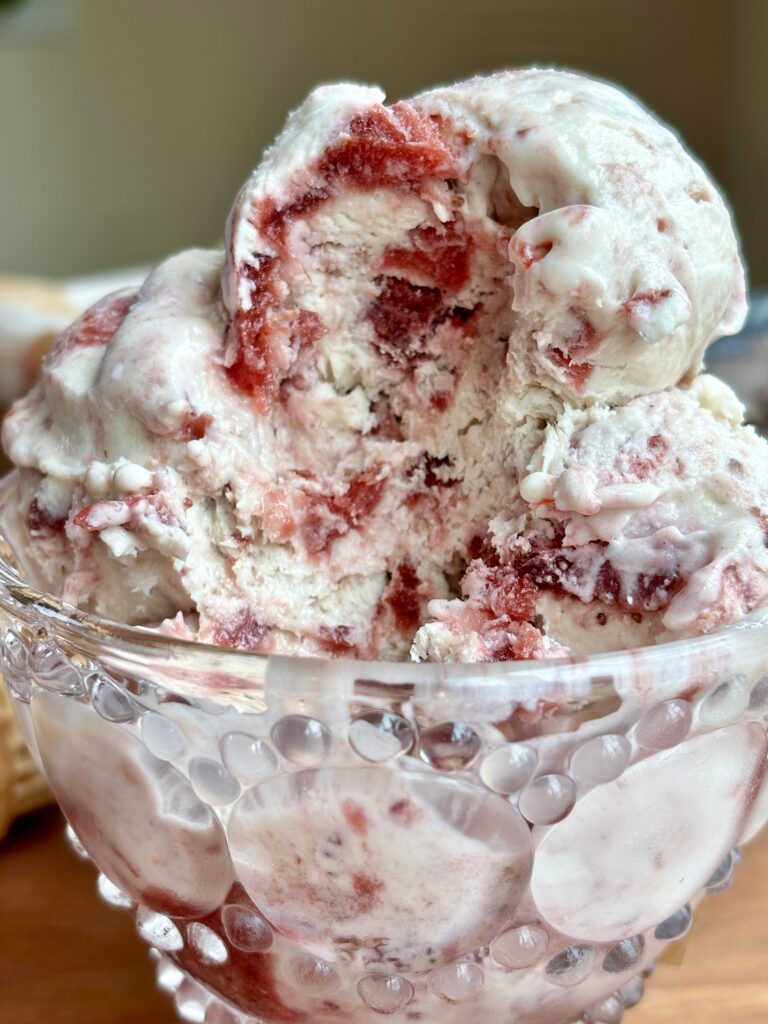
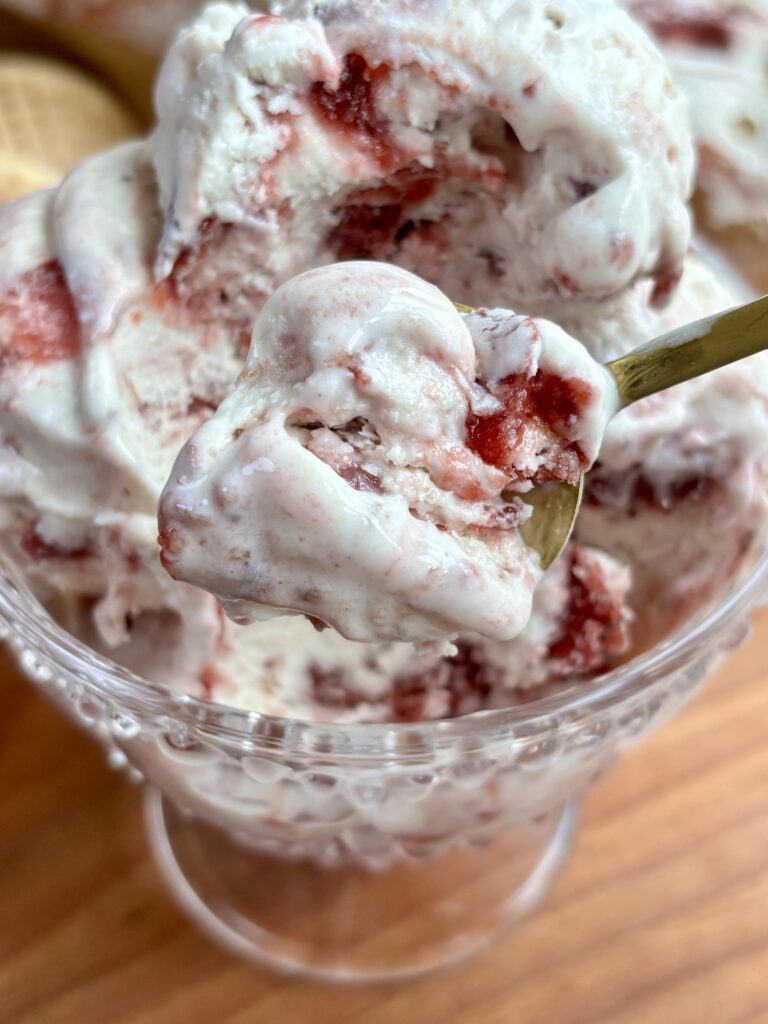
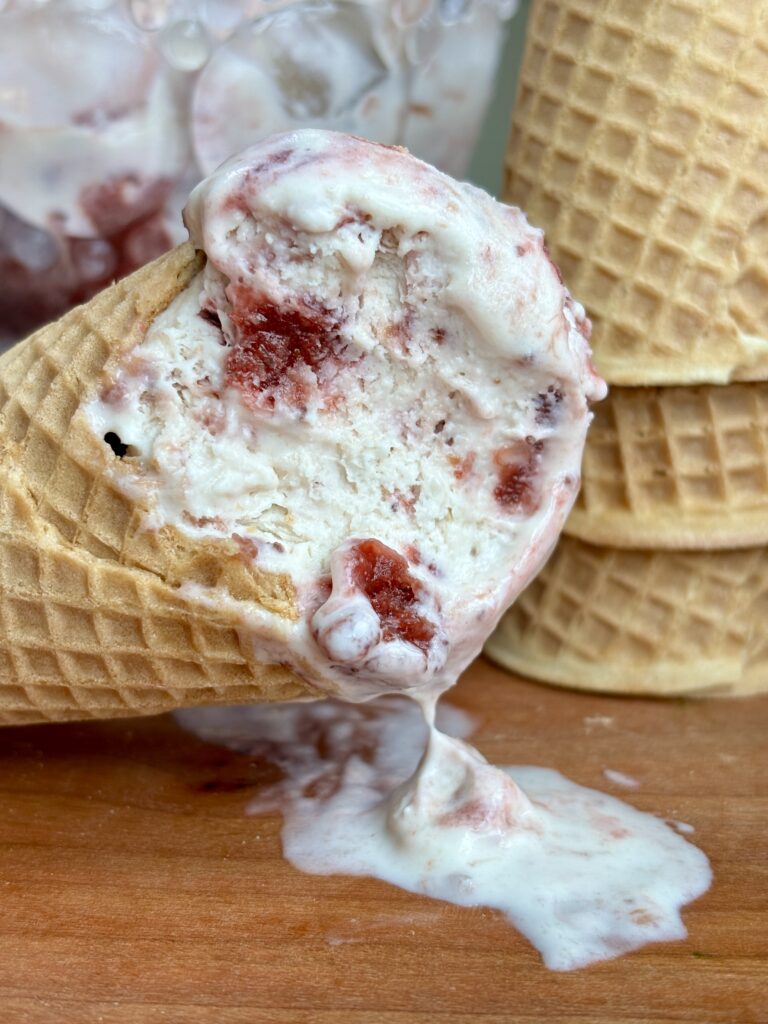
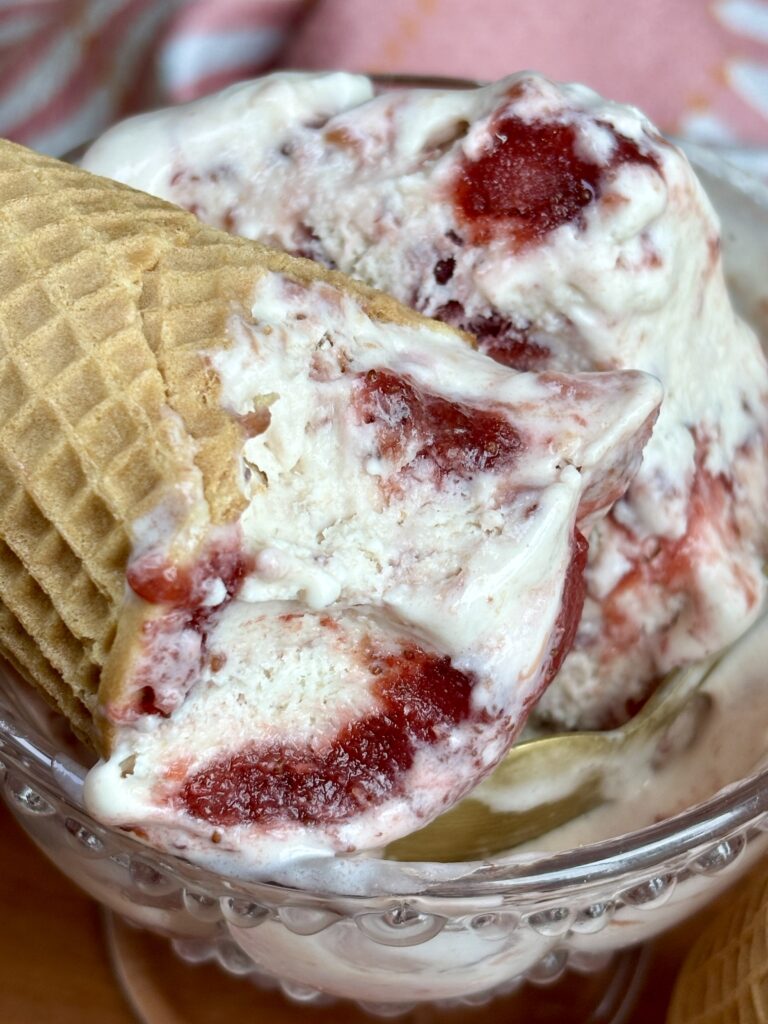
There is just something about homemade strawberry ice cream that tastes like summer. This No Churn Strawberry Ripple Ice Cream is creamy, rich, and packed with real strawberry flavor thanks to homemade strawberry jam folded right into the base and swirled throughout every bite. The best part of this recipe? You don’t need an ice cream maker or any special equipment to make it.
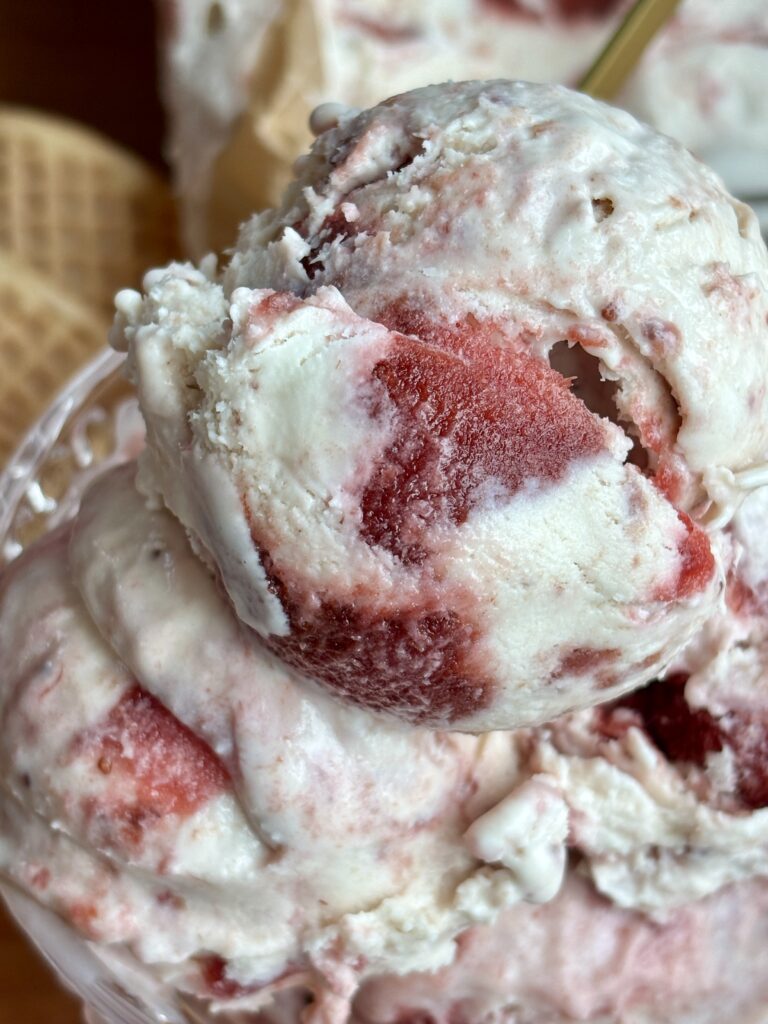
If you’ve never made no churn ice cream before, you’re going to love just how easy it is. A simple combination of whipped heavy cream and sweetened condensed milk creates an incredibly smooth, scoopable ice cream that tastes every bit as indulgent as traditional homemade ice cream. The homemade strawberry jam gives it bright, fresh strawberry flavor and beautiful ribbons running throughout, making every scoop just a little different.
Whether you’re looking for an easy summer dessert, a way to use fresh or frozen strawberries, or simply craving a creamy homemade strawberry ice cream recipe, this one is guaranteed to become a freezer staple.
Why you’ll love this recipe!
What ingredients do I need?
- Strawberry Jam
- Frozen strawberries: Cook down into a concentrated strawberry jam full of fresh berry flavor.
- Granulated sugar: Sweetens the berries while helping create a thick jam consistency.
- Lemon juice: Brightens the strawberries and balances the sweetness.
- Salt: Enhances the natural strawberry flavor.
- Ice Cream
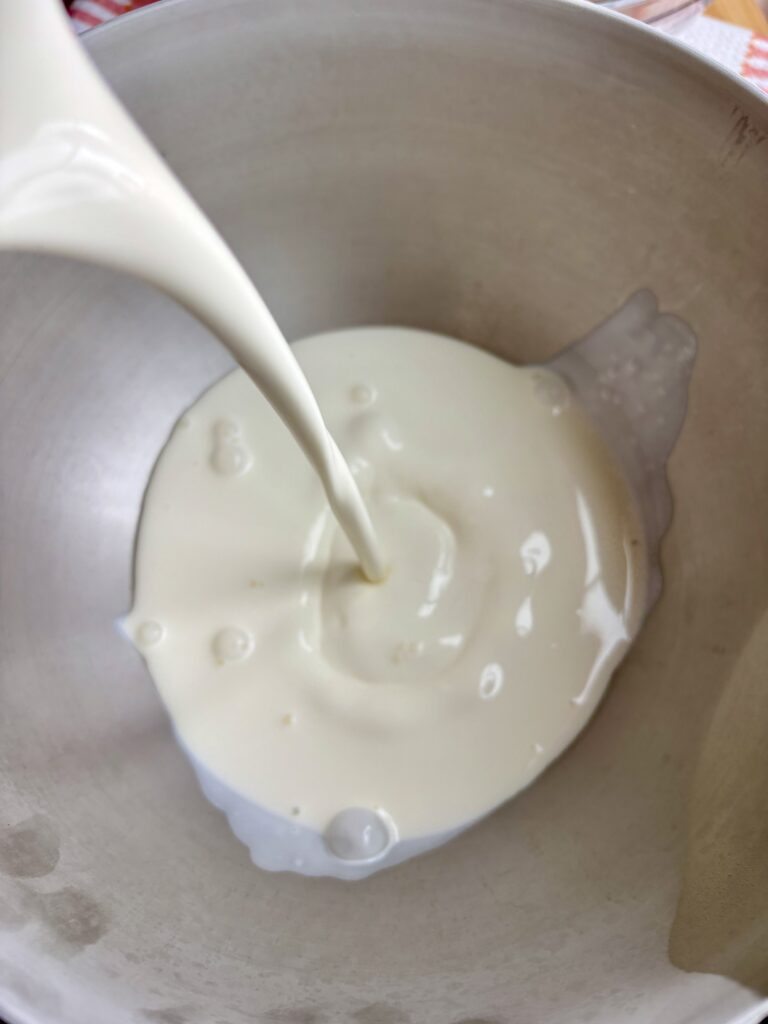
- Heavy cream: Whipped into stiff peaks to create a light, creamy texture.
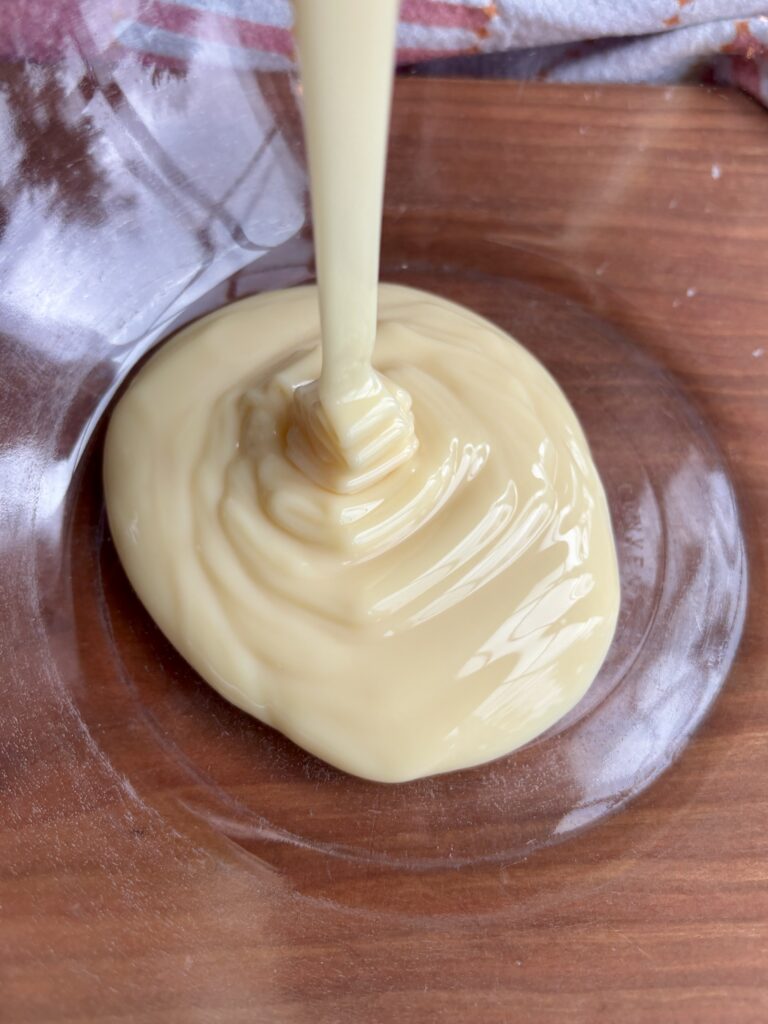
- Sweetened condensed milk: Sweetens the ice cream while keeping it smooth and scoopable.
- Vanilla Bean Paste: Adds warmth and beautiful vanilla bean flecks.
- Sea salt: Balances the sweetness and enhances every flavor.
What Is No Churn Ice Cream?
No churn ice cream is exactly what it sounds like, homemade ice cream that doesn’t require an ice cream maker.
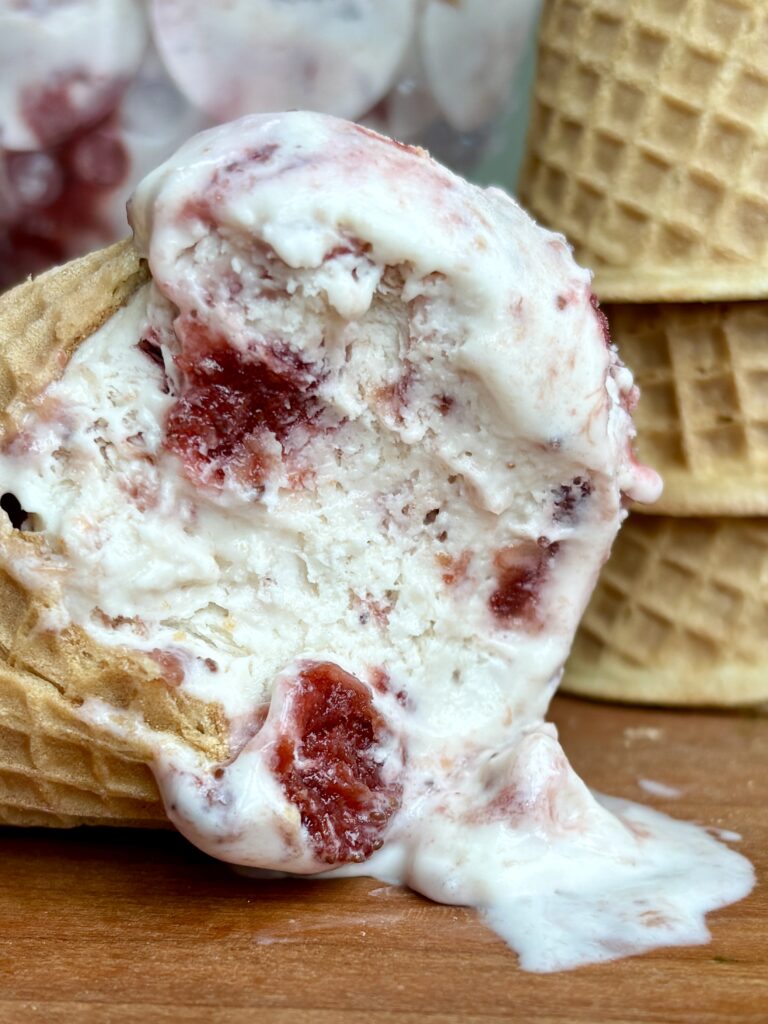
Instead of cooking a custard base and churning it while it freezes, no churn ice cream relies on two simple ingredients: whipped heavy cream and sweetened condensed milk. The whipped cream adds air and creates a light, creamy texture, while the sweetened condensed milk keeps the ice cream soft and scoopable without becoming icy. The result is rich, creamy homemade ice cream with very little effort.
If you love easy frozen desserts, be sure to check out my other no-churn favorites:
No-Churn Cherry Cheesecake Ice Cream
Recipe Variations
- Strawberry Cheesecake: Add crushed graham crackers for a strawberry cheesecake version.
- Strawberry Chocolate Chip: Fold mini chocolate chips into the base.
- Strawberry Dark Chocolate Fudge: Swirl dark chocolate fudge in between the layers.
Pro Tips
- Cool the strawberry jam completely. This is one of the most important steps! Warm jam will melt the whipped cream and deflate all of the air you’ve whipped into it, resulting in a denser ice cream. For the creamiest texture, let the jam cool to room temperature or chill it in the refrigerator before using.
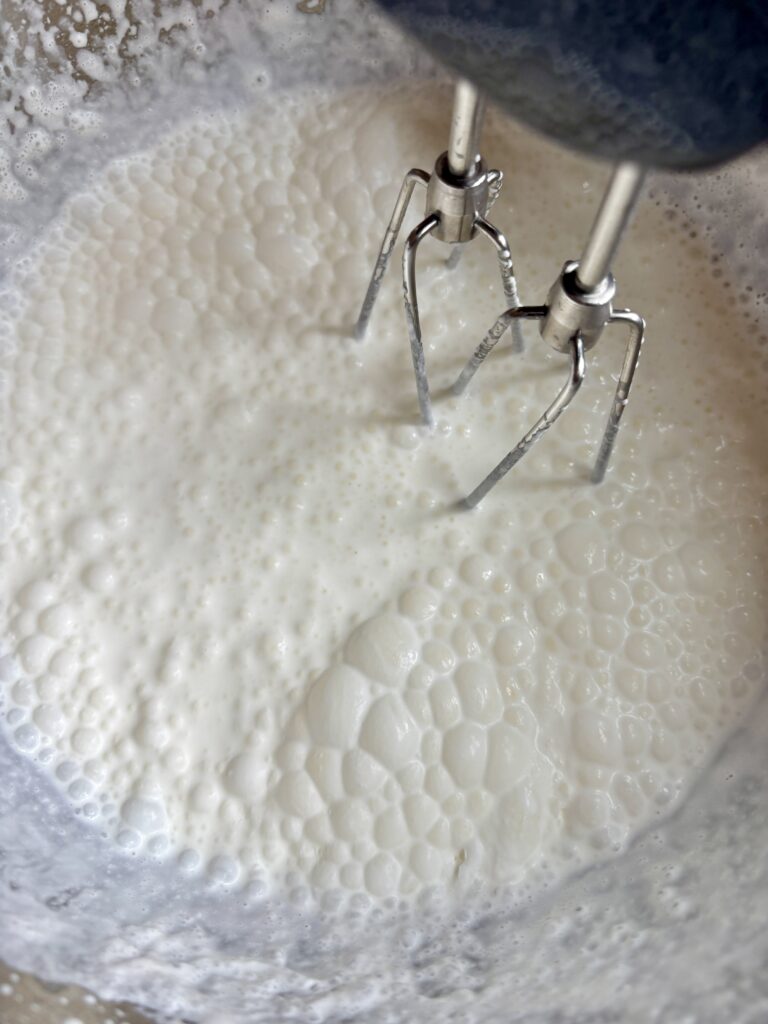
- Start with very cold heavy cream and a very cold mixing bowl. Cold heavy cream whips faster and holds its shape better, giving your no-churn ice cream its light, airy texture. If your kitchen is warm, pop your mixing bowl and beaters in the freezer for 10–15 minutes before whipping.
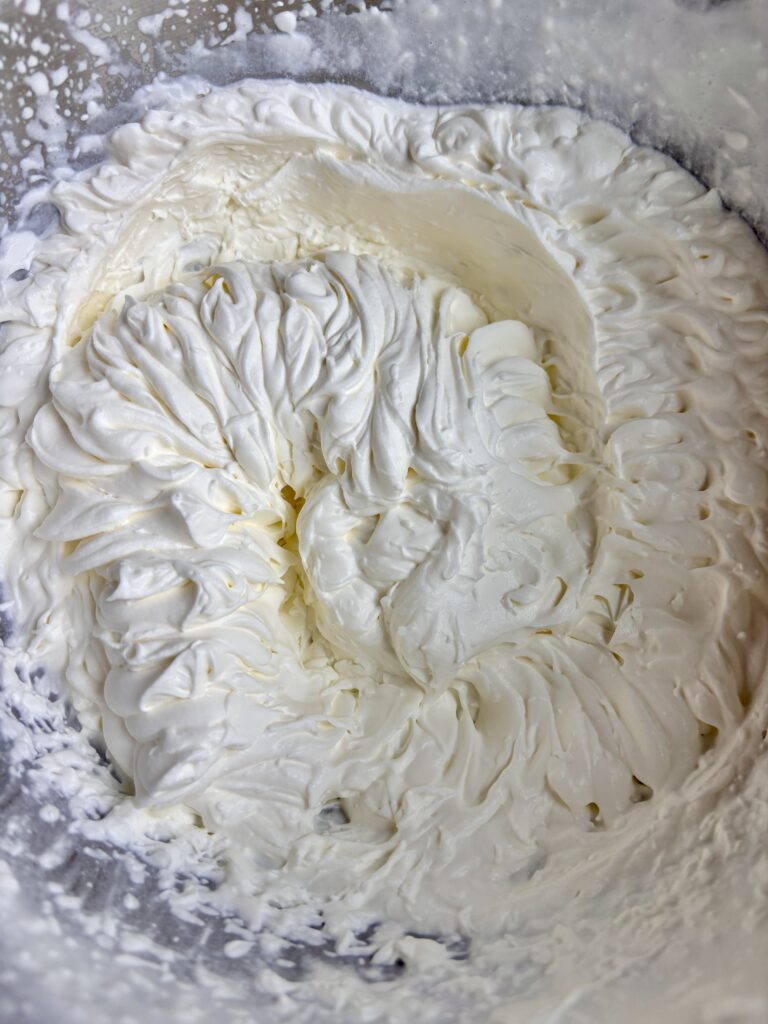
- Whip the heavy cream just until stiff peaks form. You’re looking for whipped cream that stands up on its own but still looks smooth. Overwhipping can make the cream grainy, which will affect the final texture of the ice cream.
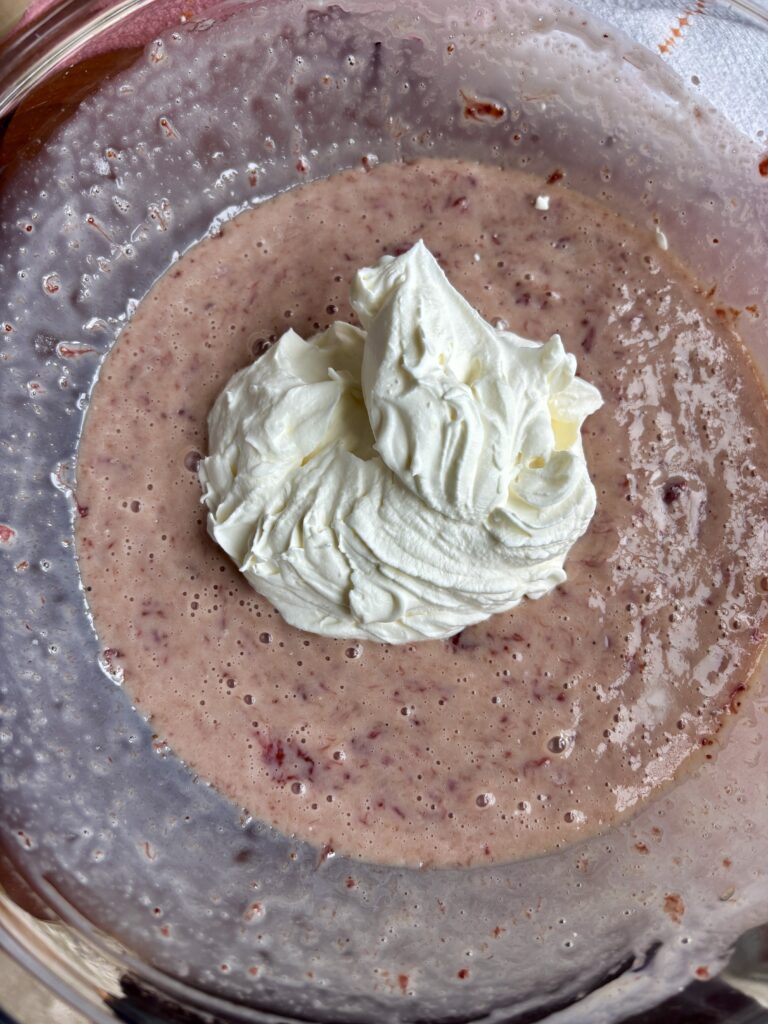
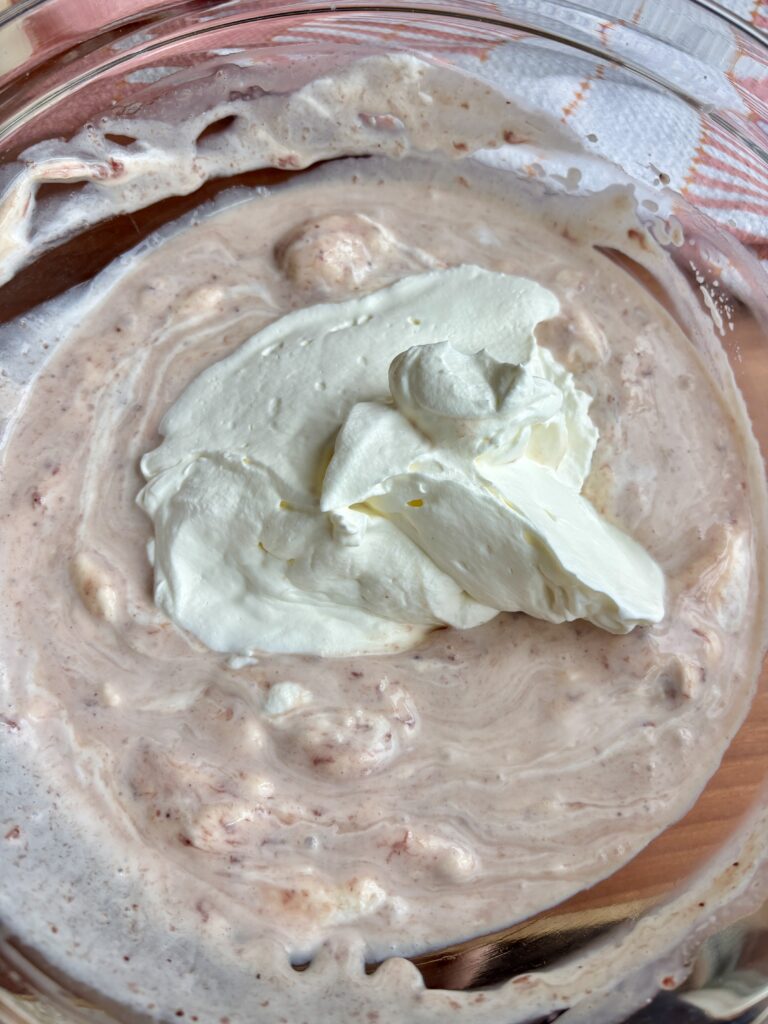
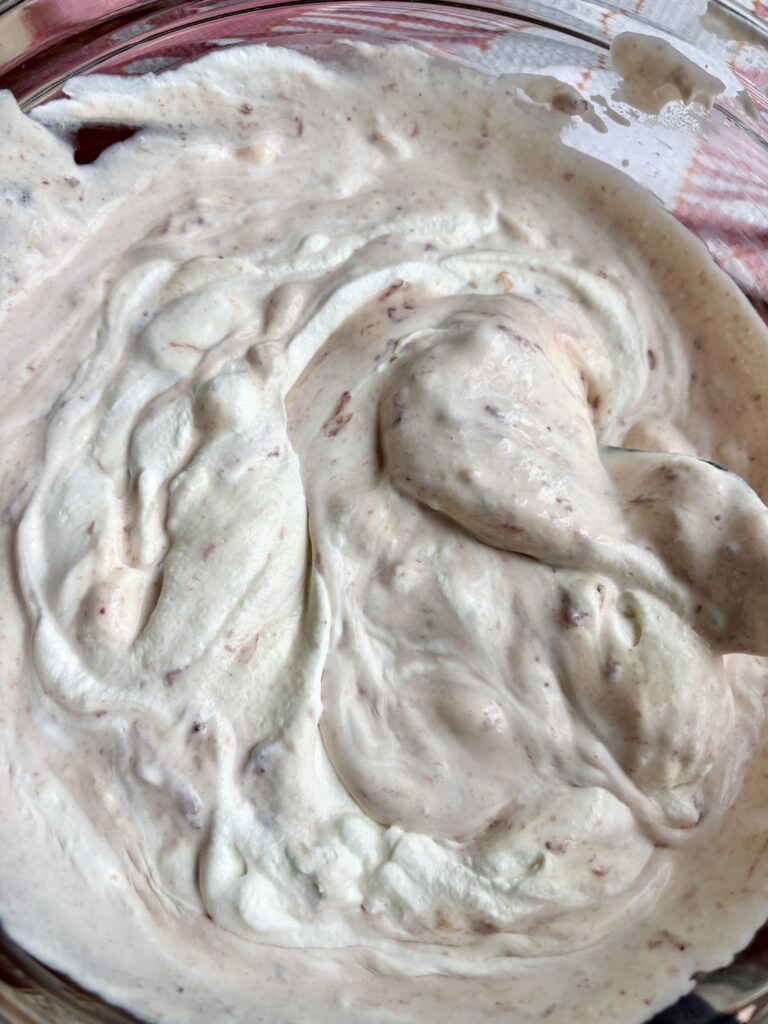
- Fold the whipped cream into the condensed milk and strawberry jam gently to keep it fluffy. Use a rubber spatula and fold the whipped cream into the strawberry mixture just until combined. Overmixing will knock out the air that makes this ice cream so light and creamy.
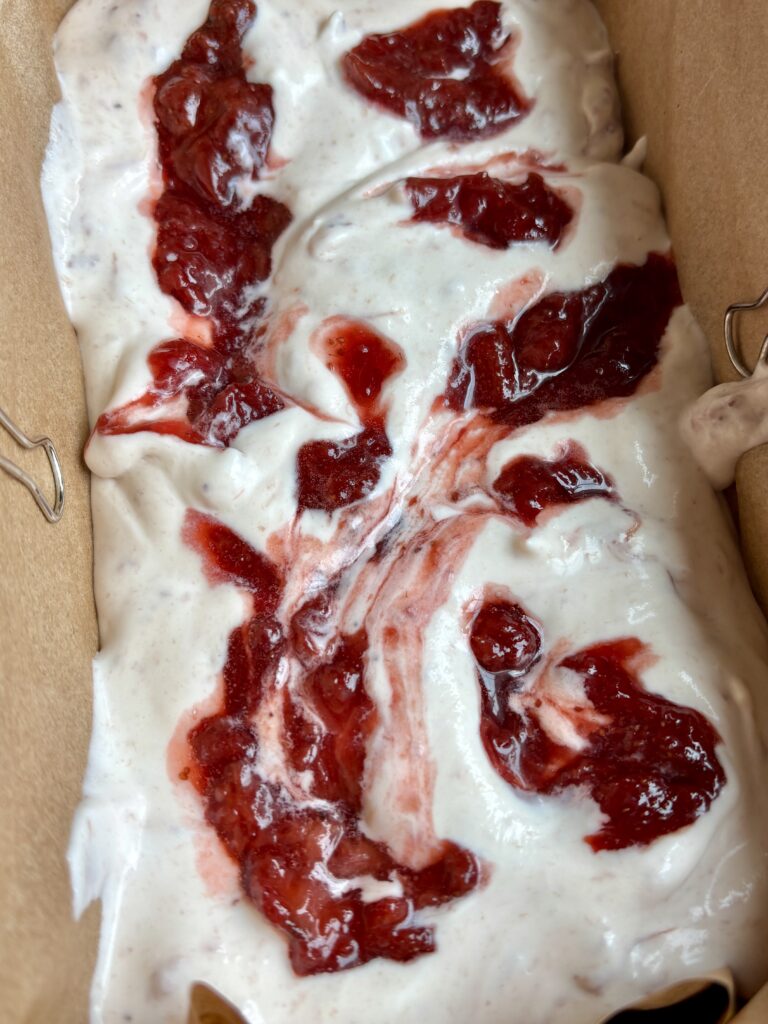
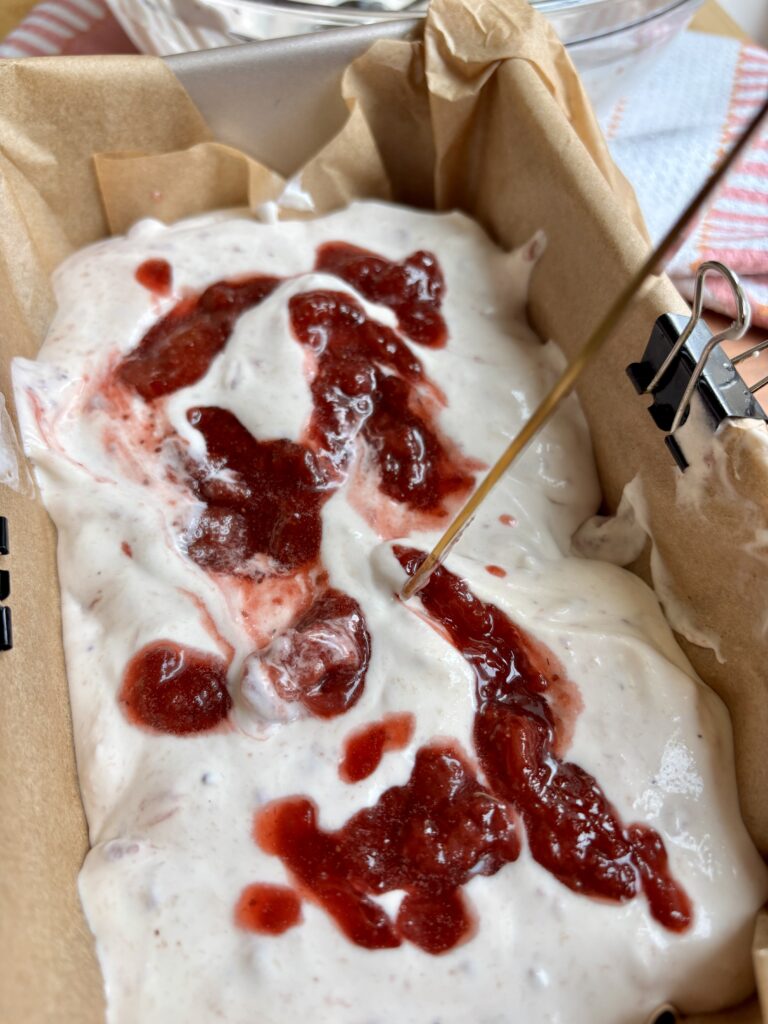
- Don’t over swirl the jam. A few gentle passes with a butter knife are all you need. Overmixing will blend the jam into the base instead of leaving those beautiful strawberry ribbons throughout.
- Freeze overnight if possible. While the ice cream is usually firm after 6–8 hours, an overnight freeze gives it the best texture and allows all of the flavors to come together.
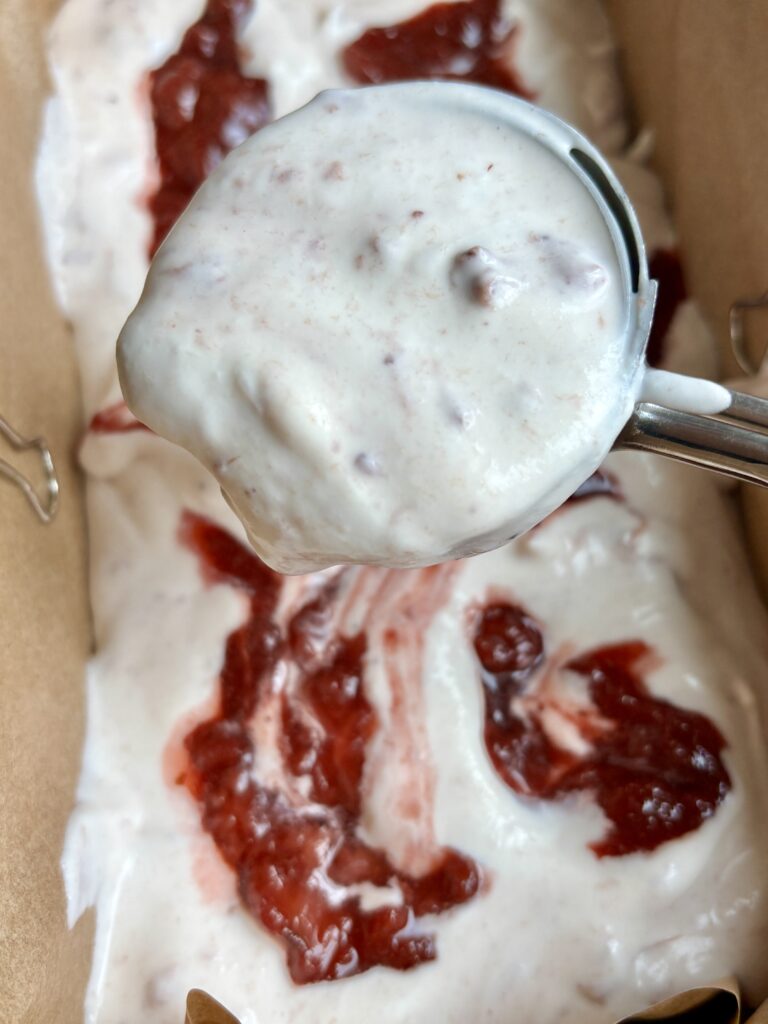
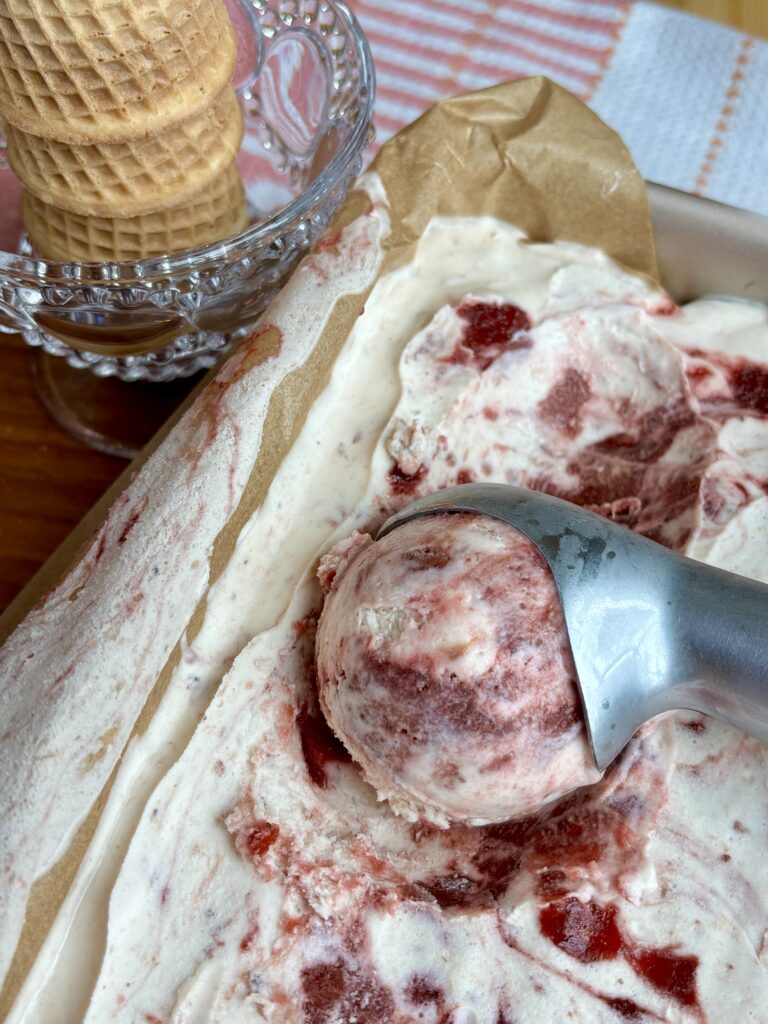
- Let the ice cream soften before scooping. Homemade no churn ice cream freezes a little firmer than store bought ice cream. Let it sit at room temperature for 5–10 minutes before scooping for perfectly creamy servings.
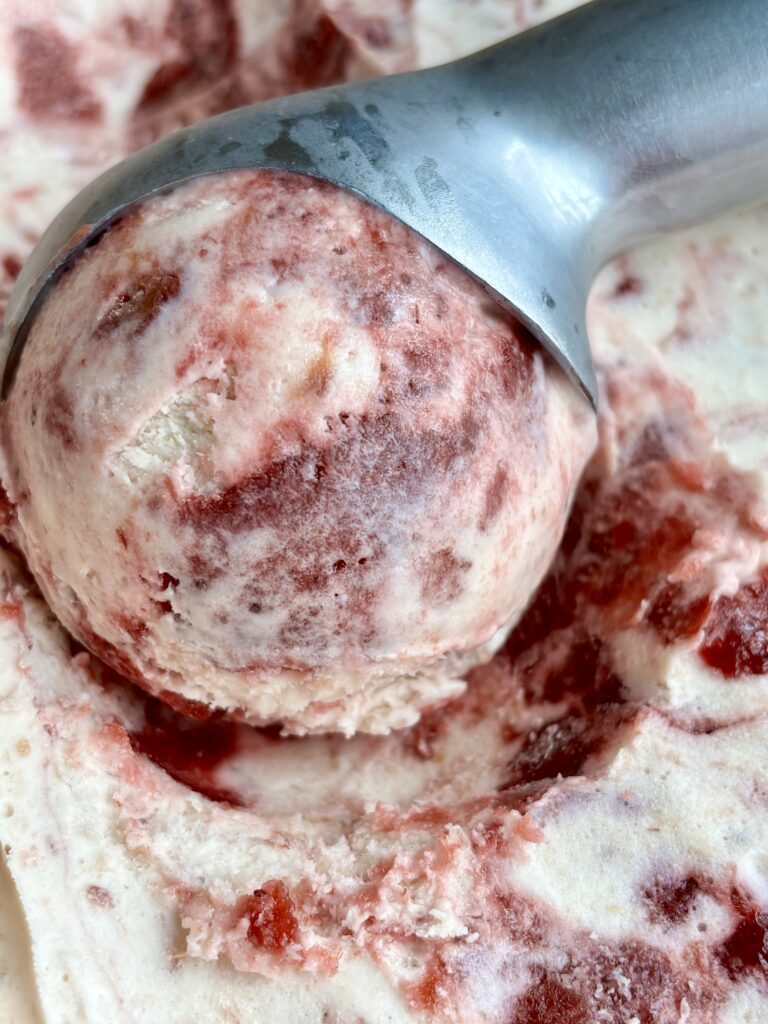
- For picture perfect scoops, dip your ice cream scoop in warm water between servings or invest in a really good ice cream scoop. I love this one here, it could probably scoop through a chunk of ice easily (just kidding, not ice, but close to it!).
- Use the extra jam as a topping. If you have leftover homemade strawberry jam, spoon a little over each scoop just before serving. It adds an extra pop of fresh strawberry flavor and makes for a beautiful presentation.
Can I Substitute?
Yes! Like always though, any substitutions made to the recipe can result in a change in texture and/or flavor.
- Frozen Strawberries: Fresh seasonal strawberries may be substituted for frozen.
- Vanilla Bean Paste: Vanilla extract may be used instead of vanilla bean paste.
Dietary Substitutions
- Gluten-Free: Naturally gluten-free.
- Egg-Free: No eggs or custard required.
- Vegetarian: Perfect as written.
- Nut-Free: Nut-free as written.
Leftovers and Storage
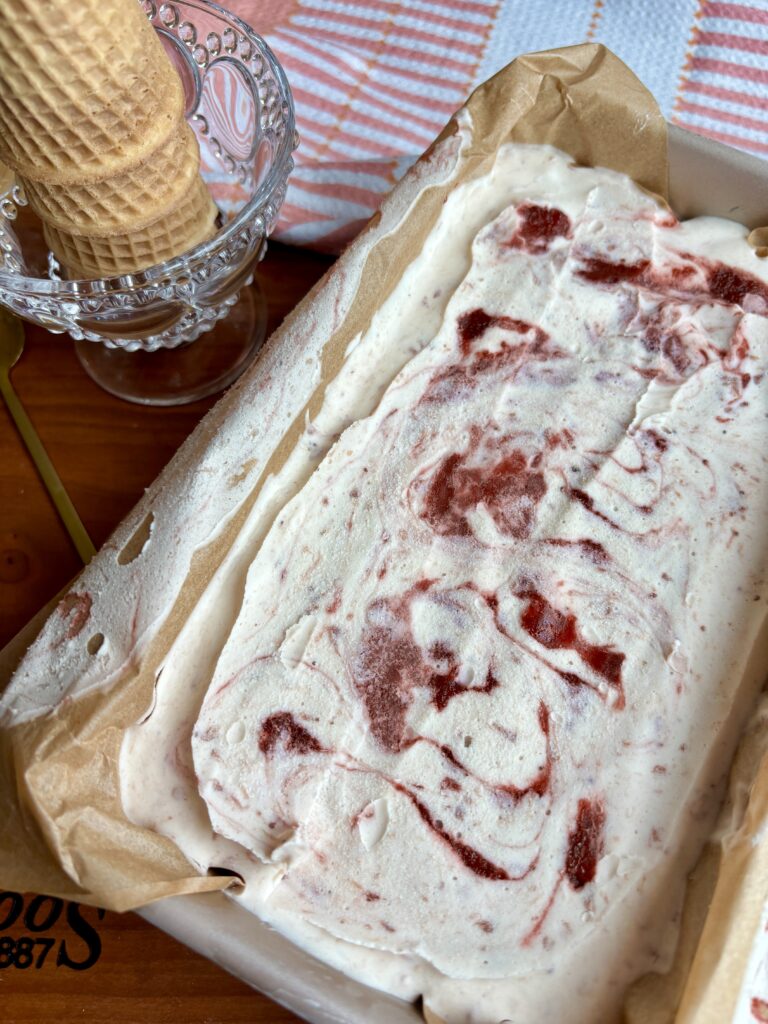
- Freezer: Store the ice cream tightly covered in the freezer for up to 2–3 weeks for the best texture and flavor. Press a piece of plastic wrap or parchment paper directly onto the surface before covering the container to help prevent ice crystals from forming.
- If the ice cream becomes too firm after freezing, simply let it sit at room temperature for 5–10 minutes before scooping.
- Any leftover homemade strawberry jam can be stored in an airtight container in the refrigerator for up to 1 week and is delicious on toast, biscuits, pancakes, yogurt, or spooned over the finished ice cream.
But, I Still Have A Few Questions…
What is no churn strawberry ice cream?
No churn strawberry ice cream is a homemade ice cream made without an ice cream maker. Instead of cooking a custard base and churning it, whipped heavy cream and sweetened condensed milk create a rich, creamy texture that’s surprisingly similar to traditional ice cream. It’s one of the easiest ways to make homemade ice cream at home.
Do I need an ice cream maker?
No! That’s the beauty of this recipe. Everything comes together with a hand mixer or stand mixer, then freezes in a loaf pan. It’s the perfect homemade ice cream recipe if you don’t own an ice cream machine.
Can I use fresh strawberries instead of frozen?
Absolutely. Fresh strawberries work just as well. Simply cook them with the sugar, lemon juice, and salt until they become thick and jammy before cooling completely.
Can I use store bought strawberry jam?
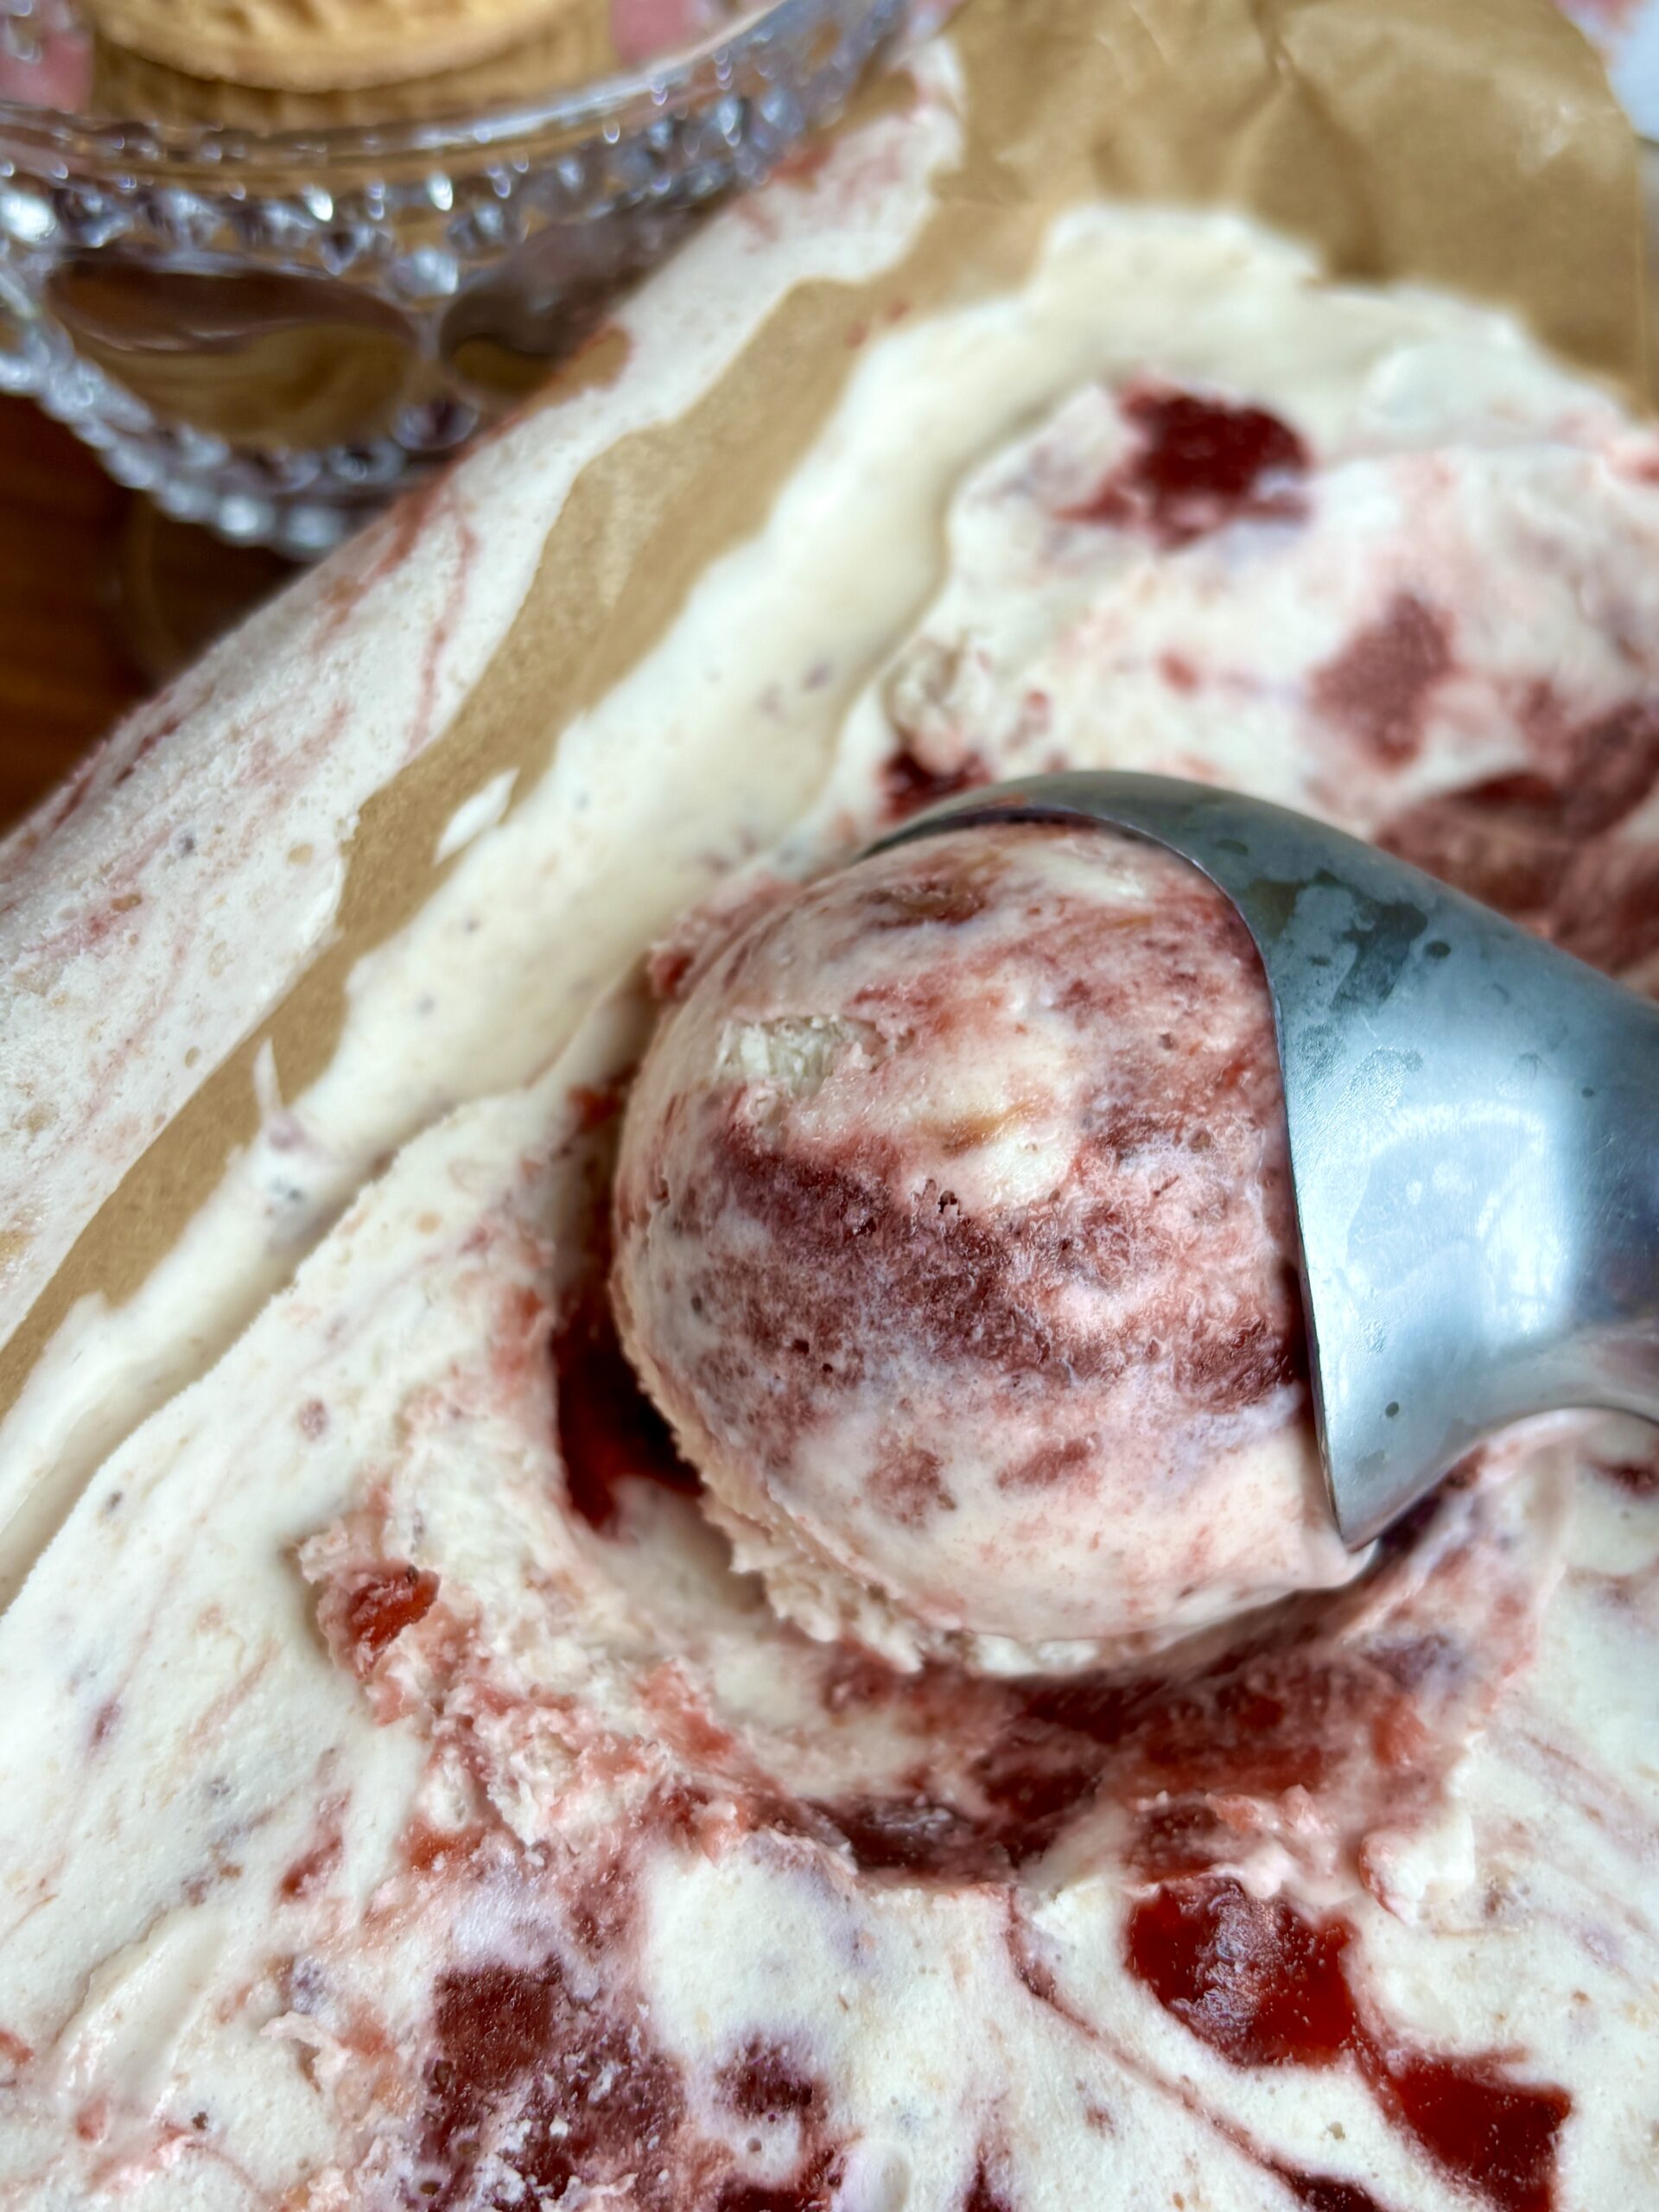
You can, but I highly recommend making the homemade strawberry jam for this recipe. It has a fresher strawberry flavor, isn’t overly sweet, and creates beautiful ribbons throughout the ice cream. Plus, you’ll likely have a little extra to drizzle over the finished scoops.
Can I blend the strawberry jam?
Yes! If you prefer a completely smooth strawberry swirl, blend the cooled jam with an immersion blender or regular blender before adding it to the ice cream. If you enjoy little bits of strawberry throughout, leave it as is.
Why is my ice cream icy instead of creamy?
Ice crystals can form if the whipped cream was overmixed, the strawberry jam was still warm when added, or the ice cream wasn’t stored tightly covered. Using cold ingredients and covering the container well will help keep the texture smooth and creamy.
Why isn’t my whipped cream getting stiff peaks?
Heavy cream whips best when it’s very cold. If your cream isn’t thickening, place the bowl and beaters in the freezer for 10–15 minutes, then continue whipping. Be sure you’re using heavy whipping cream and not half and half or light cream.
Can I add mix-ins?
Definitely! This recipe is a great base for customizing. Try folding in crushed graham crackers for a strawberry cheesecake version, mini white chocolate chips, chocolate chunks, crushed vanilla wafers, or fresh diced strawberries.
How long does homemade no churn strawberry ice cream last?
For the best flavor and texture, enjoy it within 2–3 weeks. Keep it tightly covered in the freezer to help prevent ice crystals from forming.
Can I make this ahead of time?
Yes! In fact, it’s the perfect make ahead dessert. Prepare it the day before a cookout, birthday party, or summer gathering so it has plenty of time to freeze completely.
Why do I need to let the ice cream sit before scooping?
Because homemade no churn ice cream doesn’t contain the stabilizers found in store-bought ice cream, it freezes a little firmer. Letting it rest on the counter for 5–10 minutes makes it much easier to scoop while giving it an even creamier texture.
Can I double the recipe?
Yes! Simply double all of the ingredients and divide the mixture between two loaf pans or freeze it in a larger freezer-safe container. It’s a great dessert to have stocked in the freezer all summer long.
Other Recipes You’ll Love
Let’s engage!
Make sure to tag @thehomechefmomma on Instagram or Facebook, and leave a review or comment if you make these. I always get so excited to see your creations, variations of the recipe, and feedback! Just remember to be kind in your comments, there is still a person behind this screen! 🙂
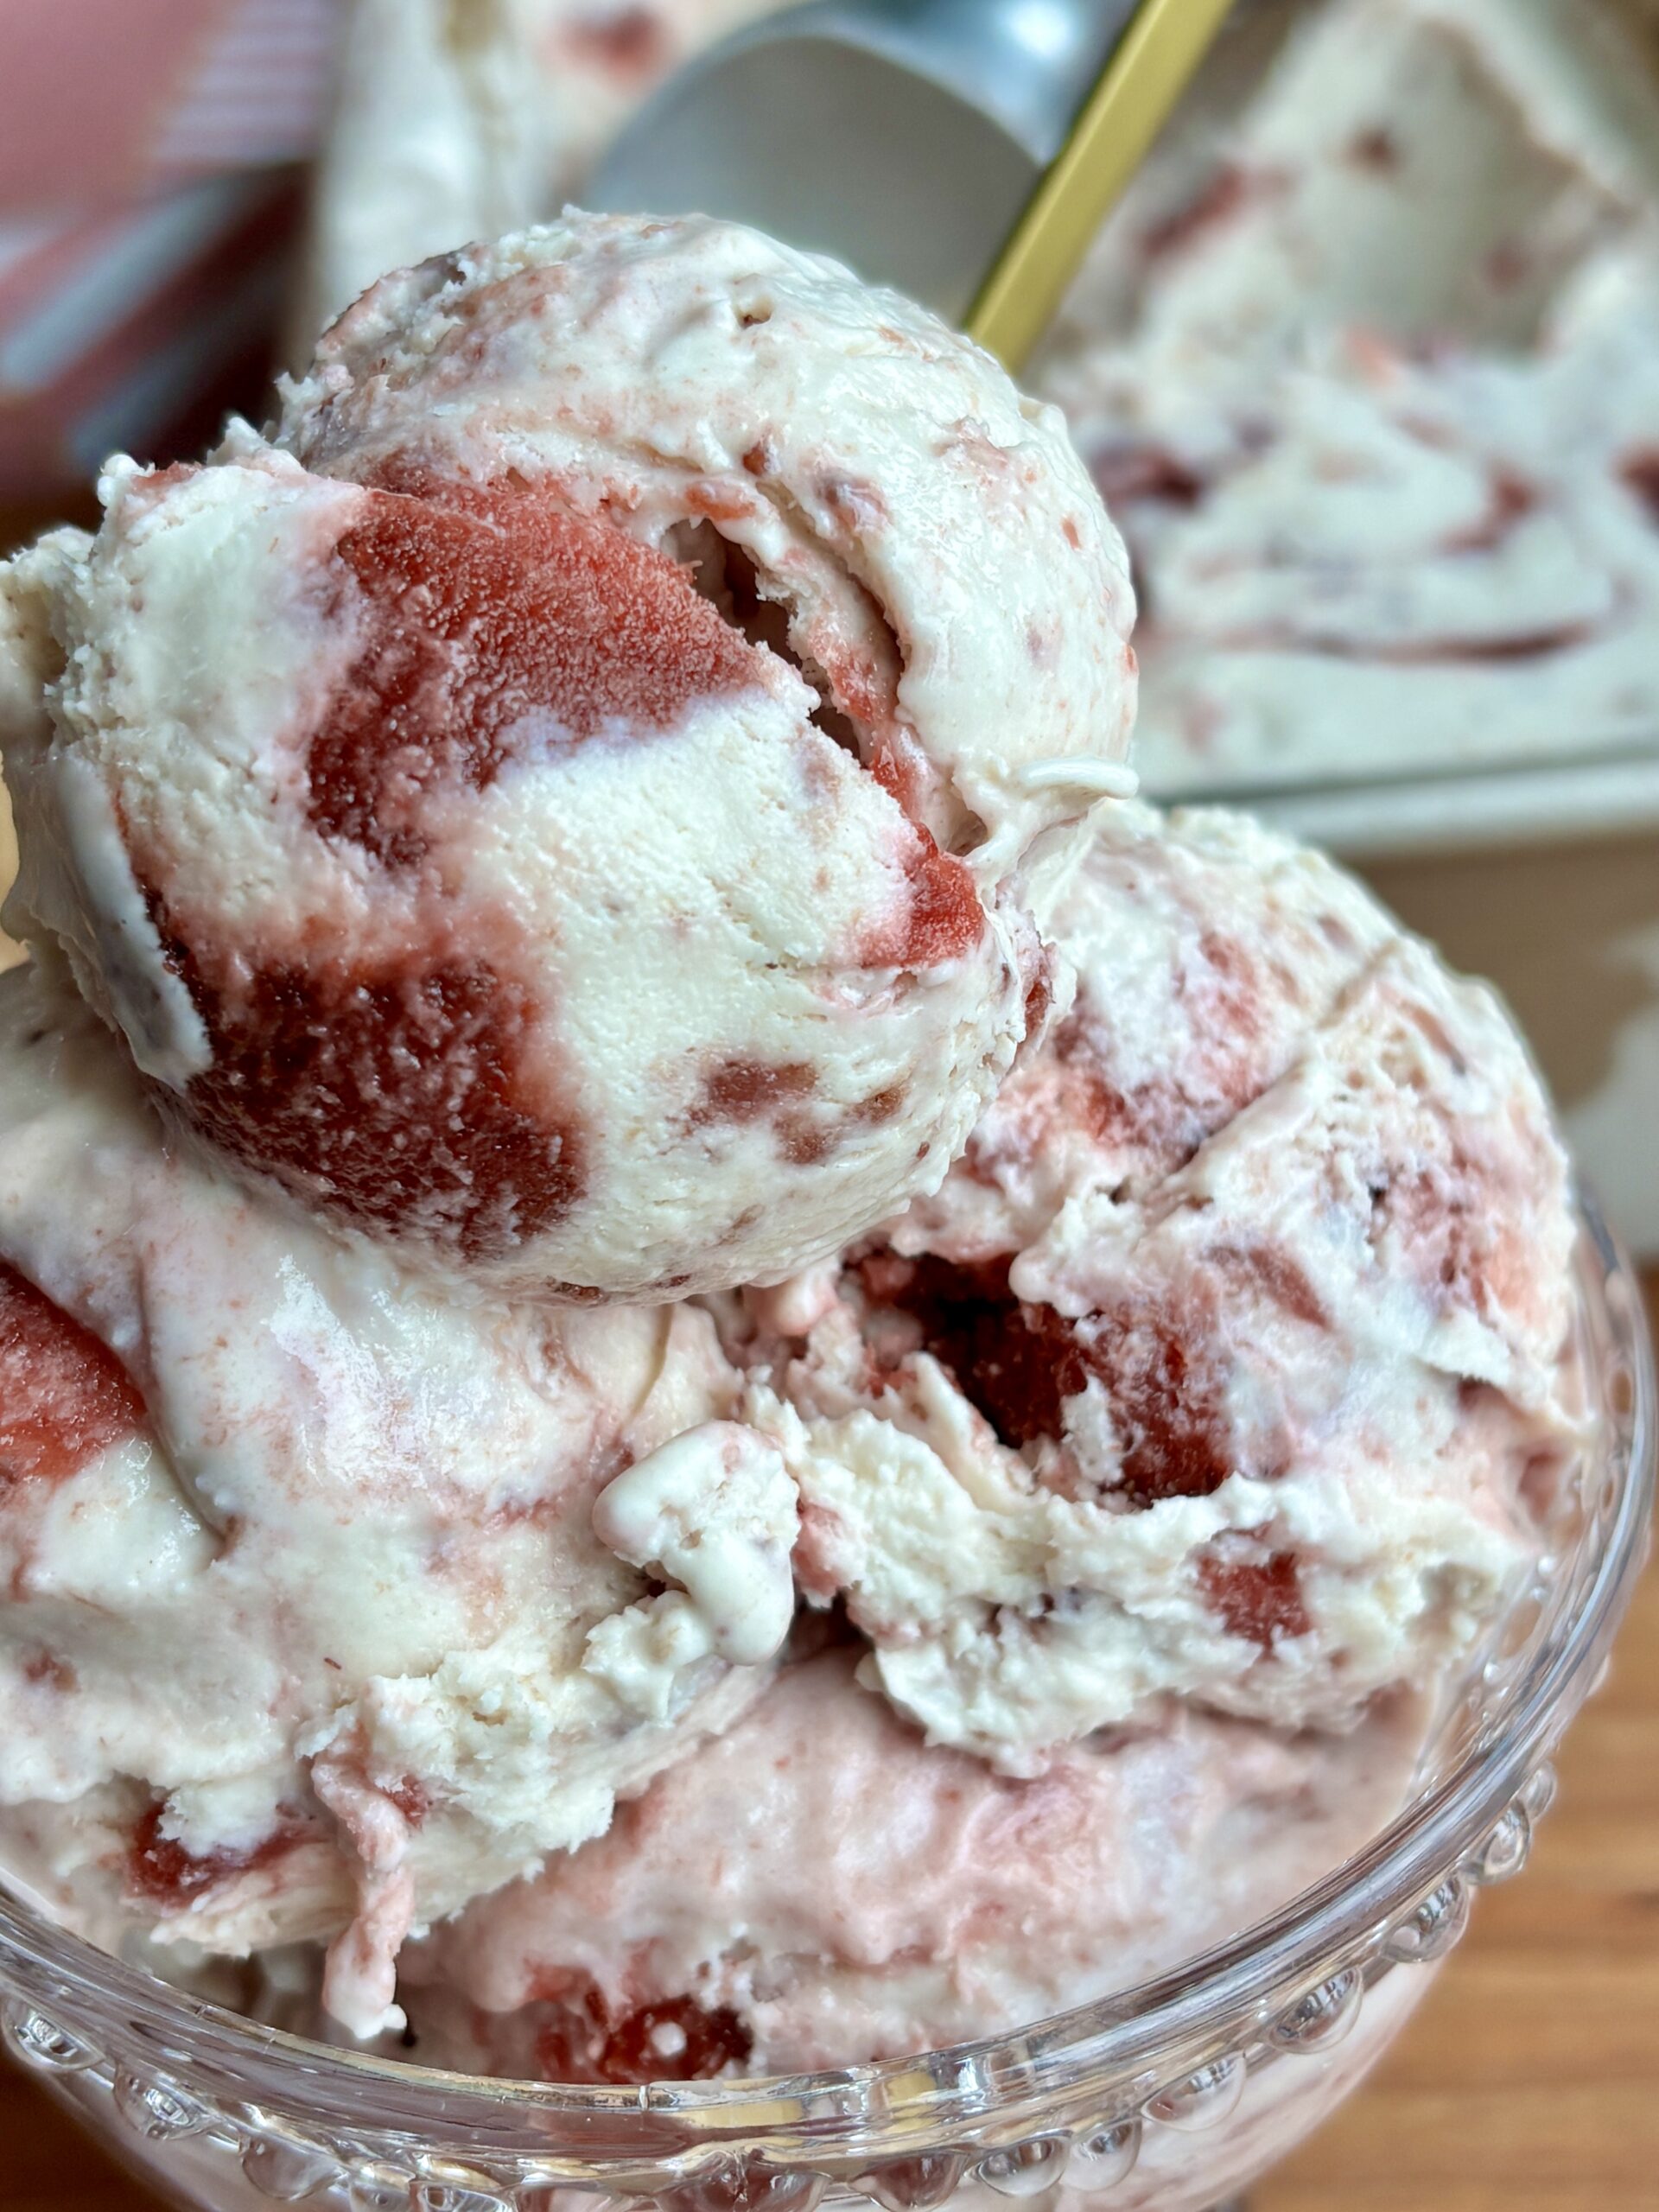
No Churn Strawberry Ripple Ice Cream
Ingredients
Strawberry Jam
- 16 ounces frozen strawberries
- ½ cup granulated sugar
- Juice of 1 lemon
- Pinch of salt
Ice Cream Base
- 2 cups cold heavy cream
- 14 ounces sweetened condensed milk
- 2 teaspoons vanilla bean paste, or vanilla extract
- ¼ teaspoon fine sea salt
Instructions
- Add the strawberries, sugar, lemon juice, and salt to a saucepan. Cook over medium-low heat for 12–18 minutes, stirring often and mashing the berries until thick and jammy. Cool completely.
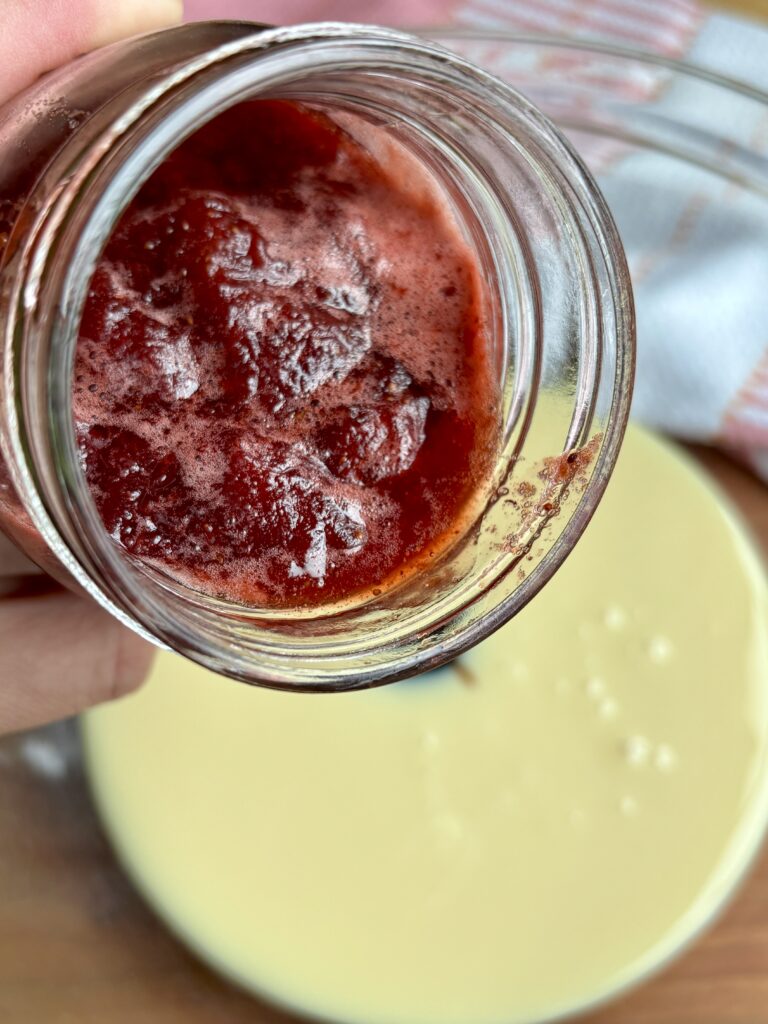
- Reserve ½ cup jam for the base and ½ cup for swirling.
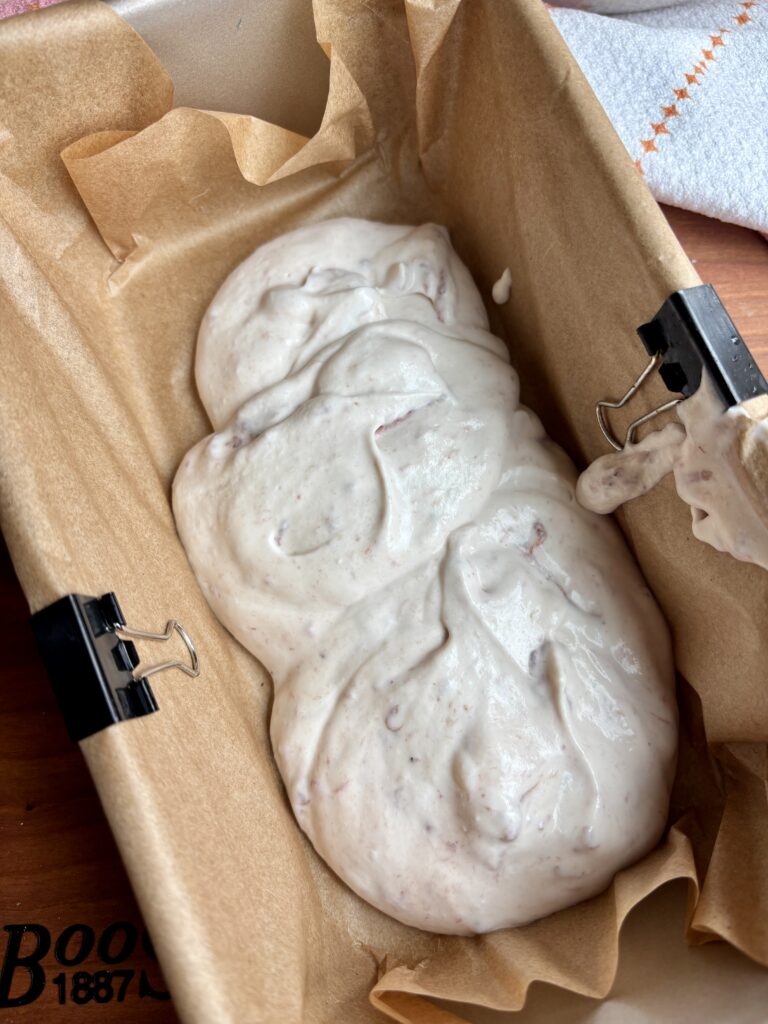
- Line a loaf pan with parchment paper and chill.
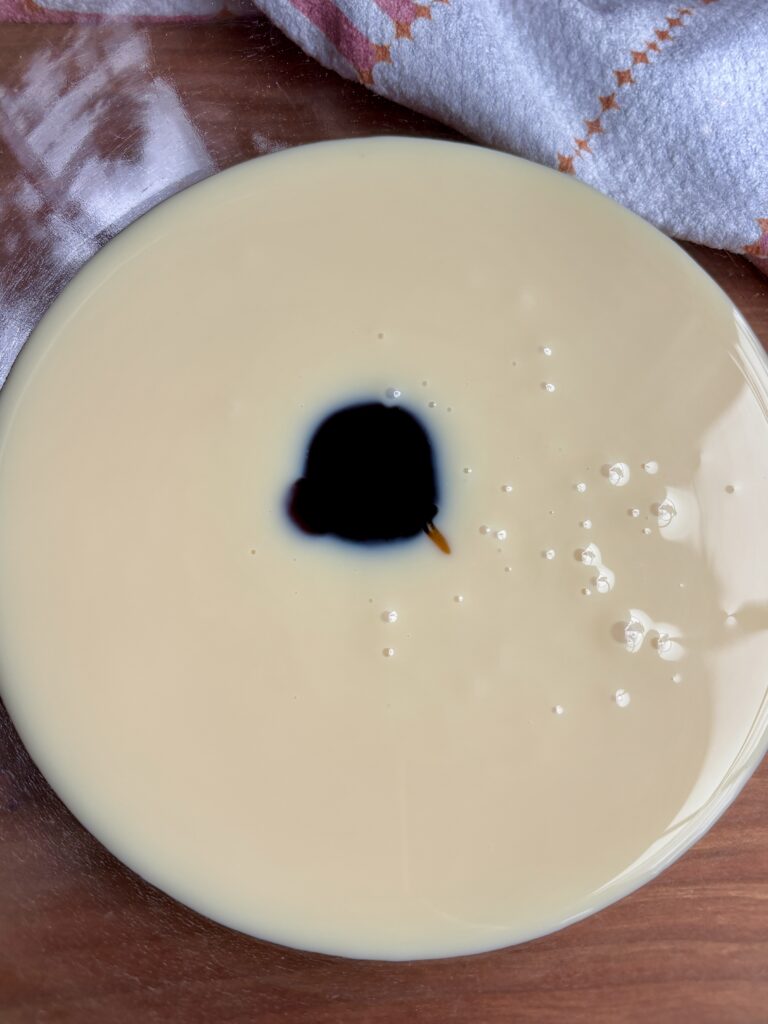
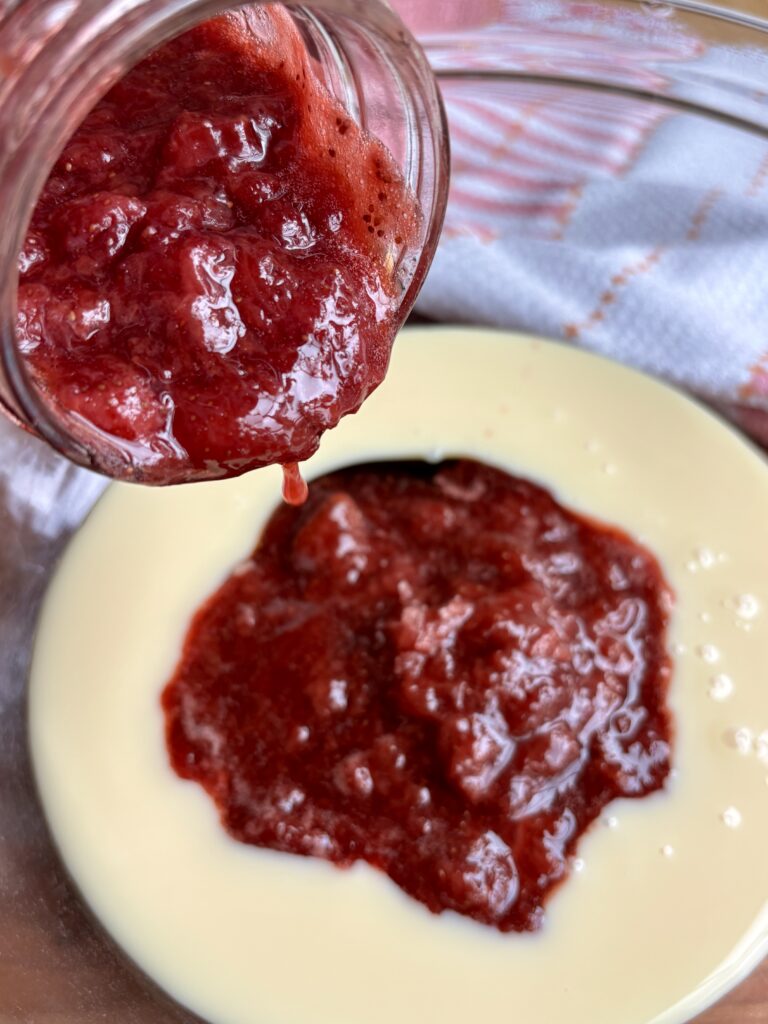
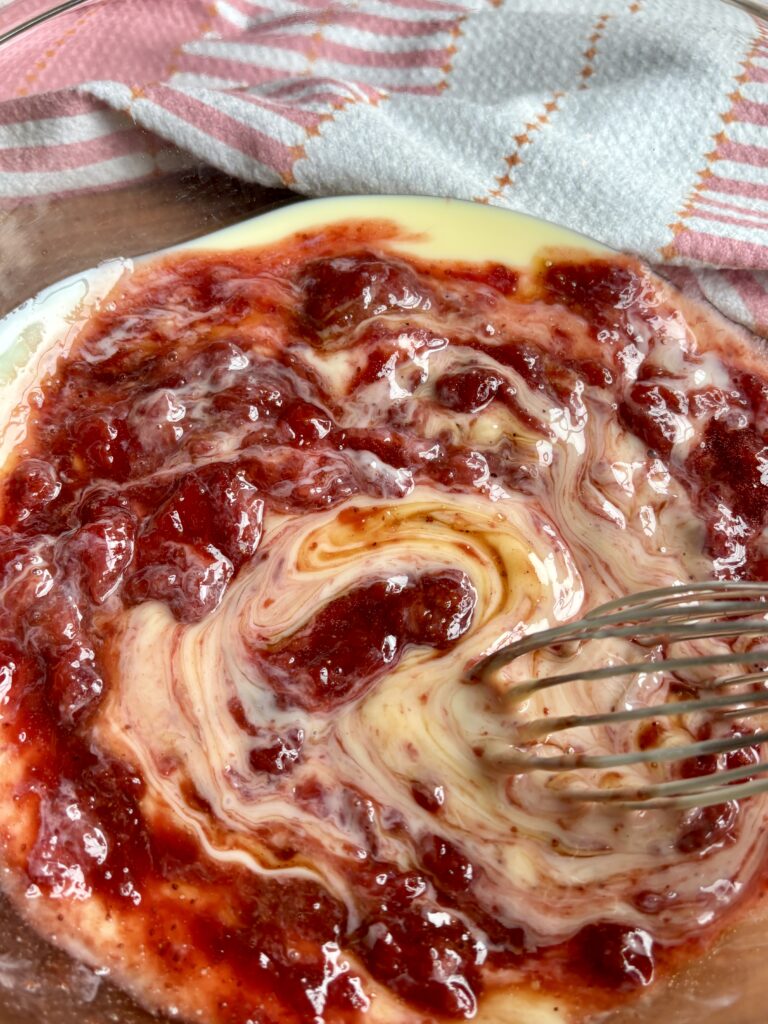
- Whisk together the sweetened condensed milk, vanilla, salt, and ½ cup cooled strawberry jam.
- Whip the cold heavy cream to stiff peaks.
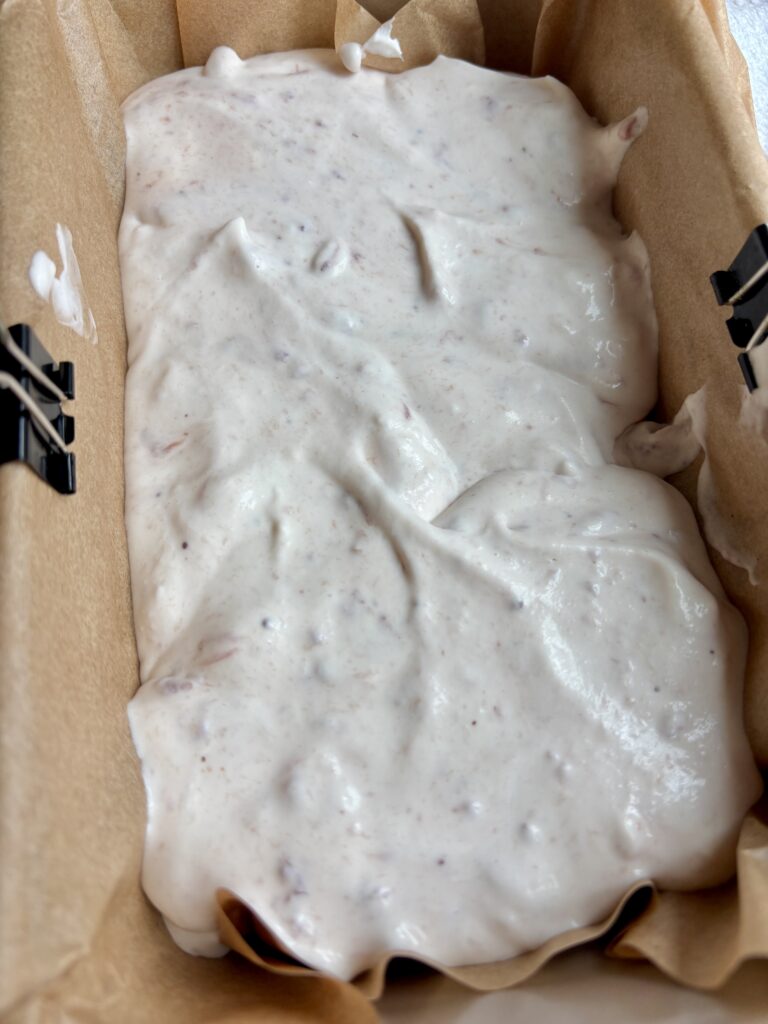
- Fold one-third of the whipped cream into the strawberry mixture, then gently fold in the remaining whipped cream.
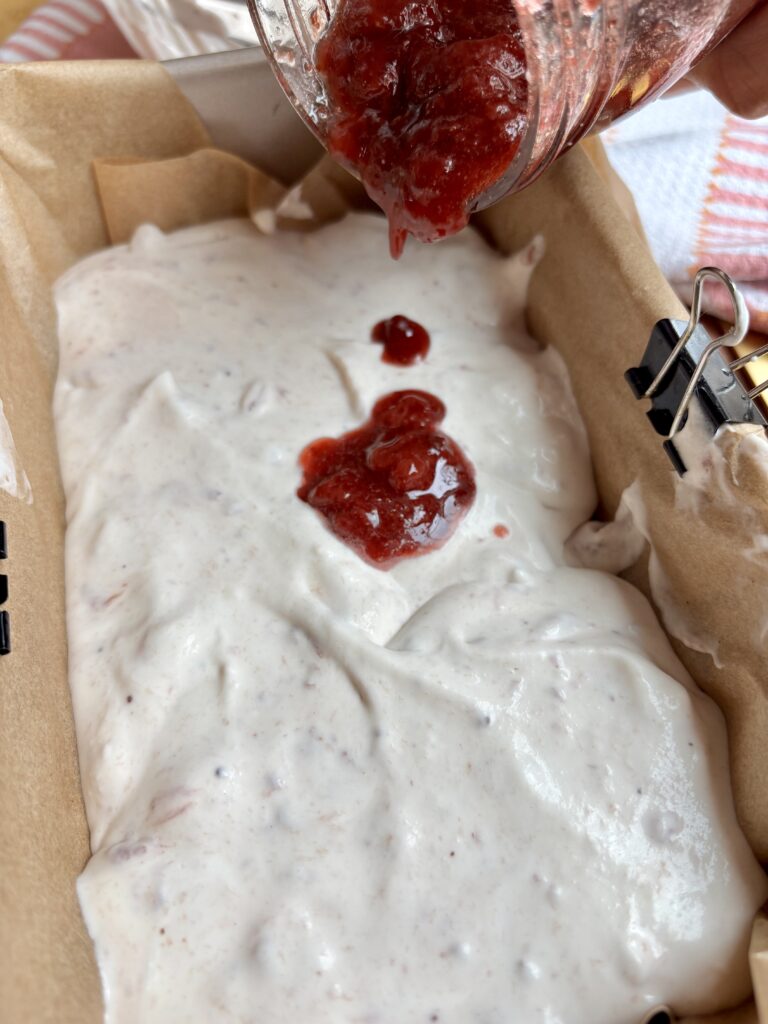
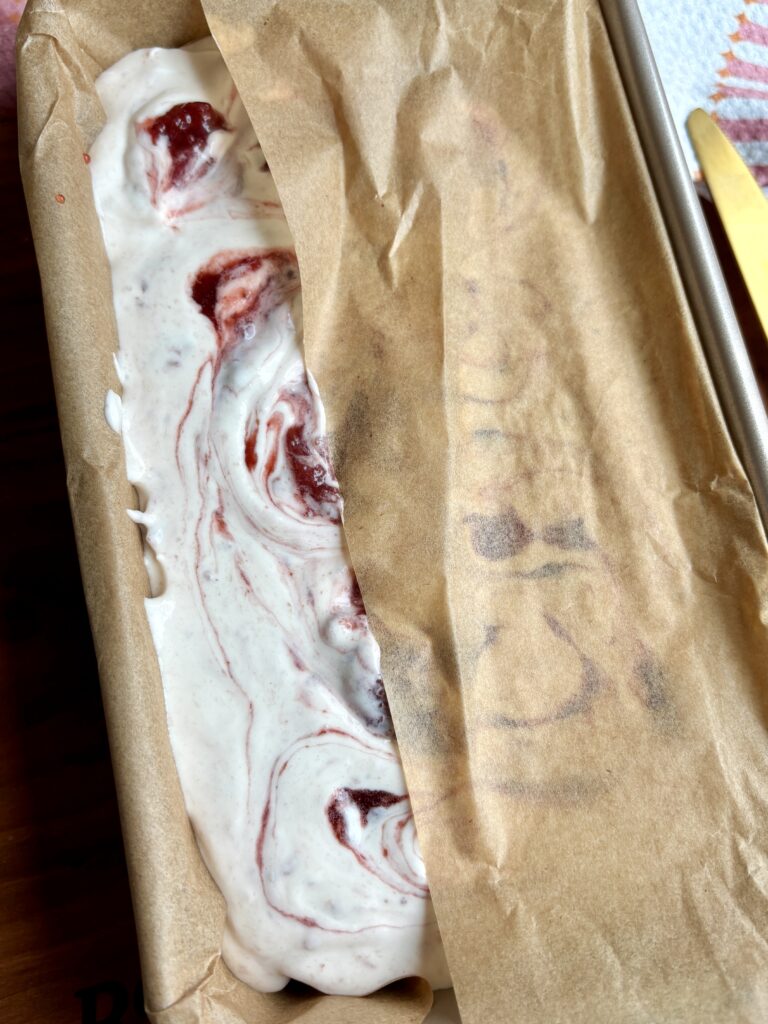
- Layer the ice cream mixture into the loaf pan, adding spoonfuls of the reserved strawberry jam between layers. Finish with more jam and gently swirl with a butter knife.
- Cover and freeze for 6–8 hours or overnight.
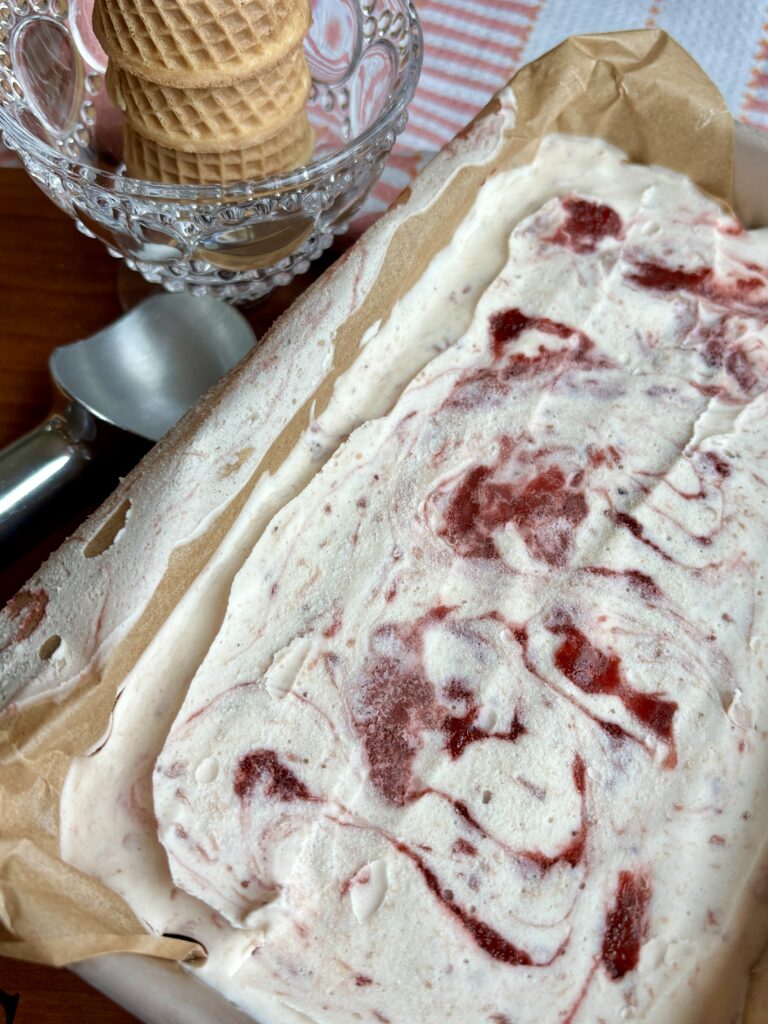
- Let sit at room temperature for 5–10 minutes before scooping.
Notes
- Make sure the strawberry jam is completely cool before adding it to the ice cream base.
- Fold the whipped cream gently to keep the mixture light and airy.
- Swirl the jam lightly with a butter knife to create distinct strawberry ribbons.
- For the creamiest scoops, let the ice cream sit at room temperature for 5–10 minutes before serving.
no churn strawberry ice cream | strawberry ripple ice cream | homemade strawberry ice cream | no churn ice cream recipe | strawberry ice cream without ice cream maker | easy homemade ice cream | strawberry dessert recipe | homemade strawberry jam ice cream | summer ice cream recipe | frozen strawberry dessert | homemade no churn ice cream | strawberry swirl ice cream | easy strawberry ice cream recipe | homemade strawberry dessert ice cream without a machine

Nutritional Content Disclaimer
I choose not to include nutritional information with my recipes, as these values can be calculated from the ingredients provided. With my background as a pediatric nurse practitioner and my own family experience with disordered eating, I understand how focusing on numbers can affect our relationship with food. My philosophy is that all foods have a place—sweet, savory, nourishing, or indulgent. I aim to share recipes that support a healthy, joyful approach to eating. My hope is that this space also encourages a balanced, healthy relationship with food for you and your family too.