
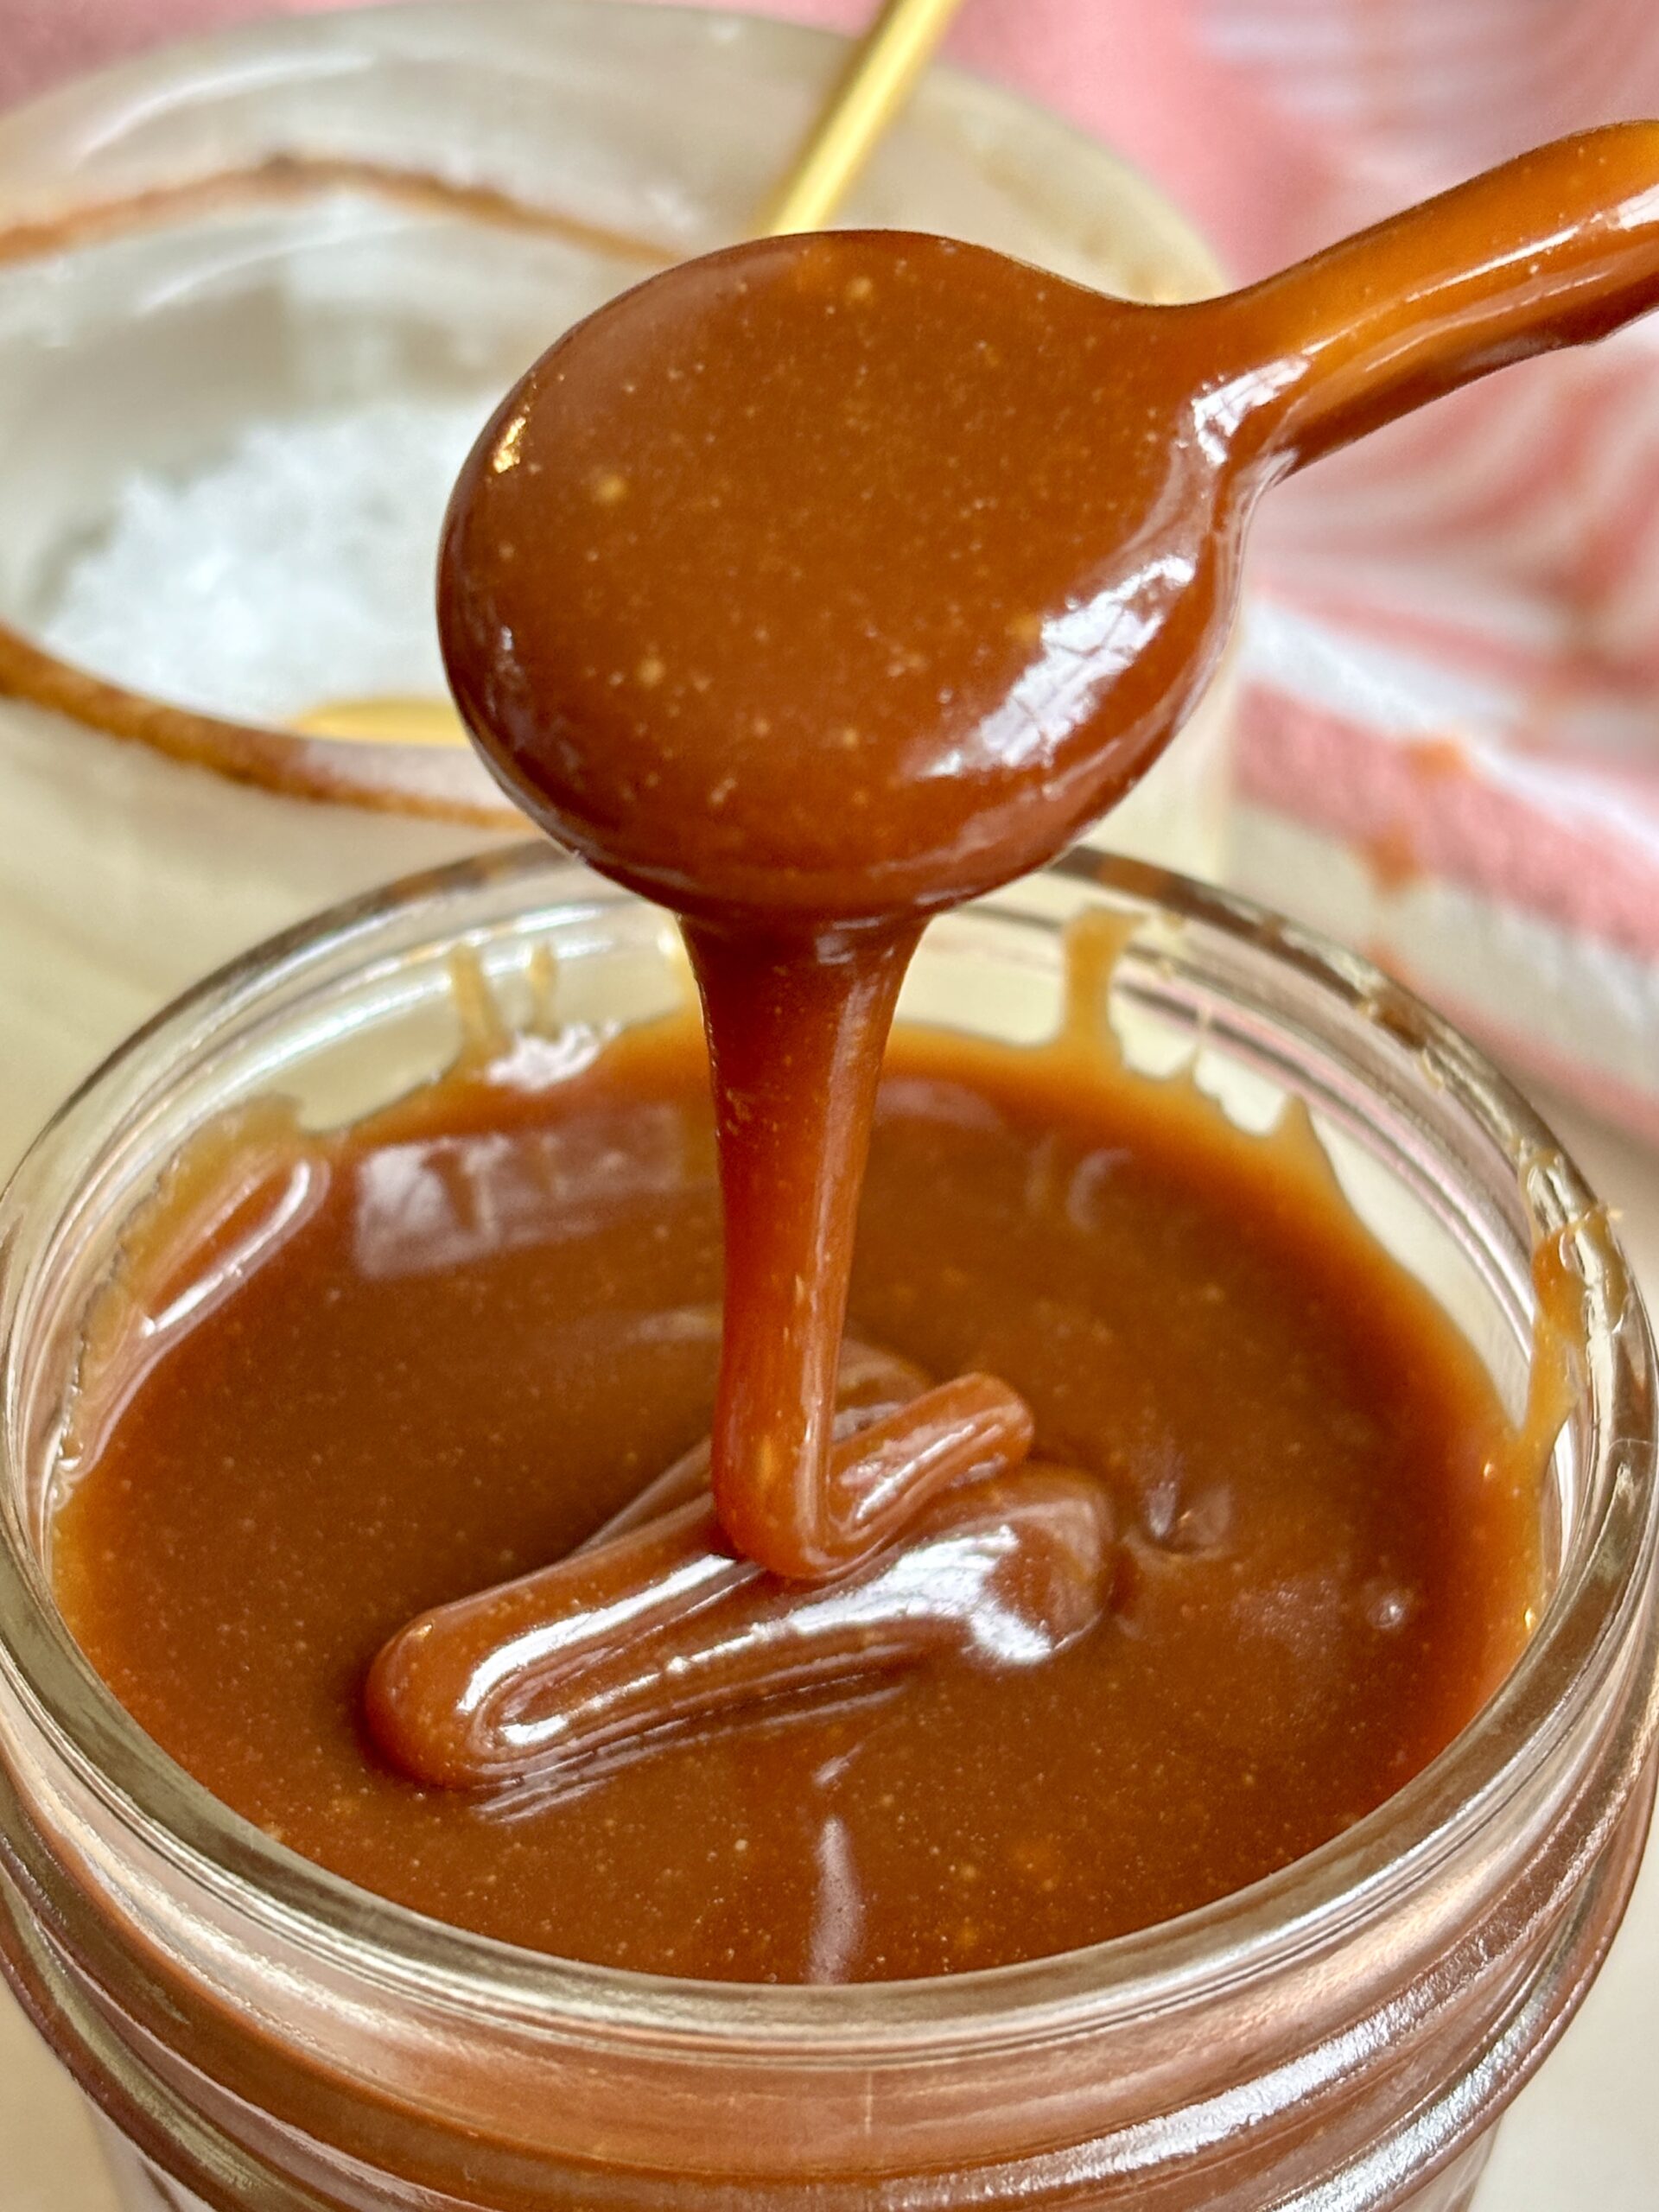
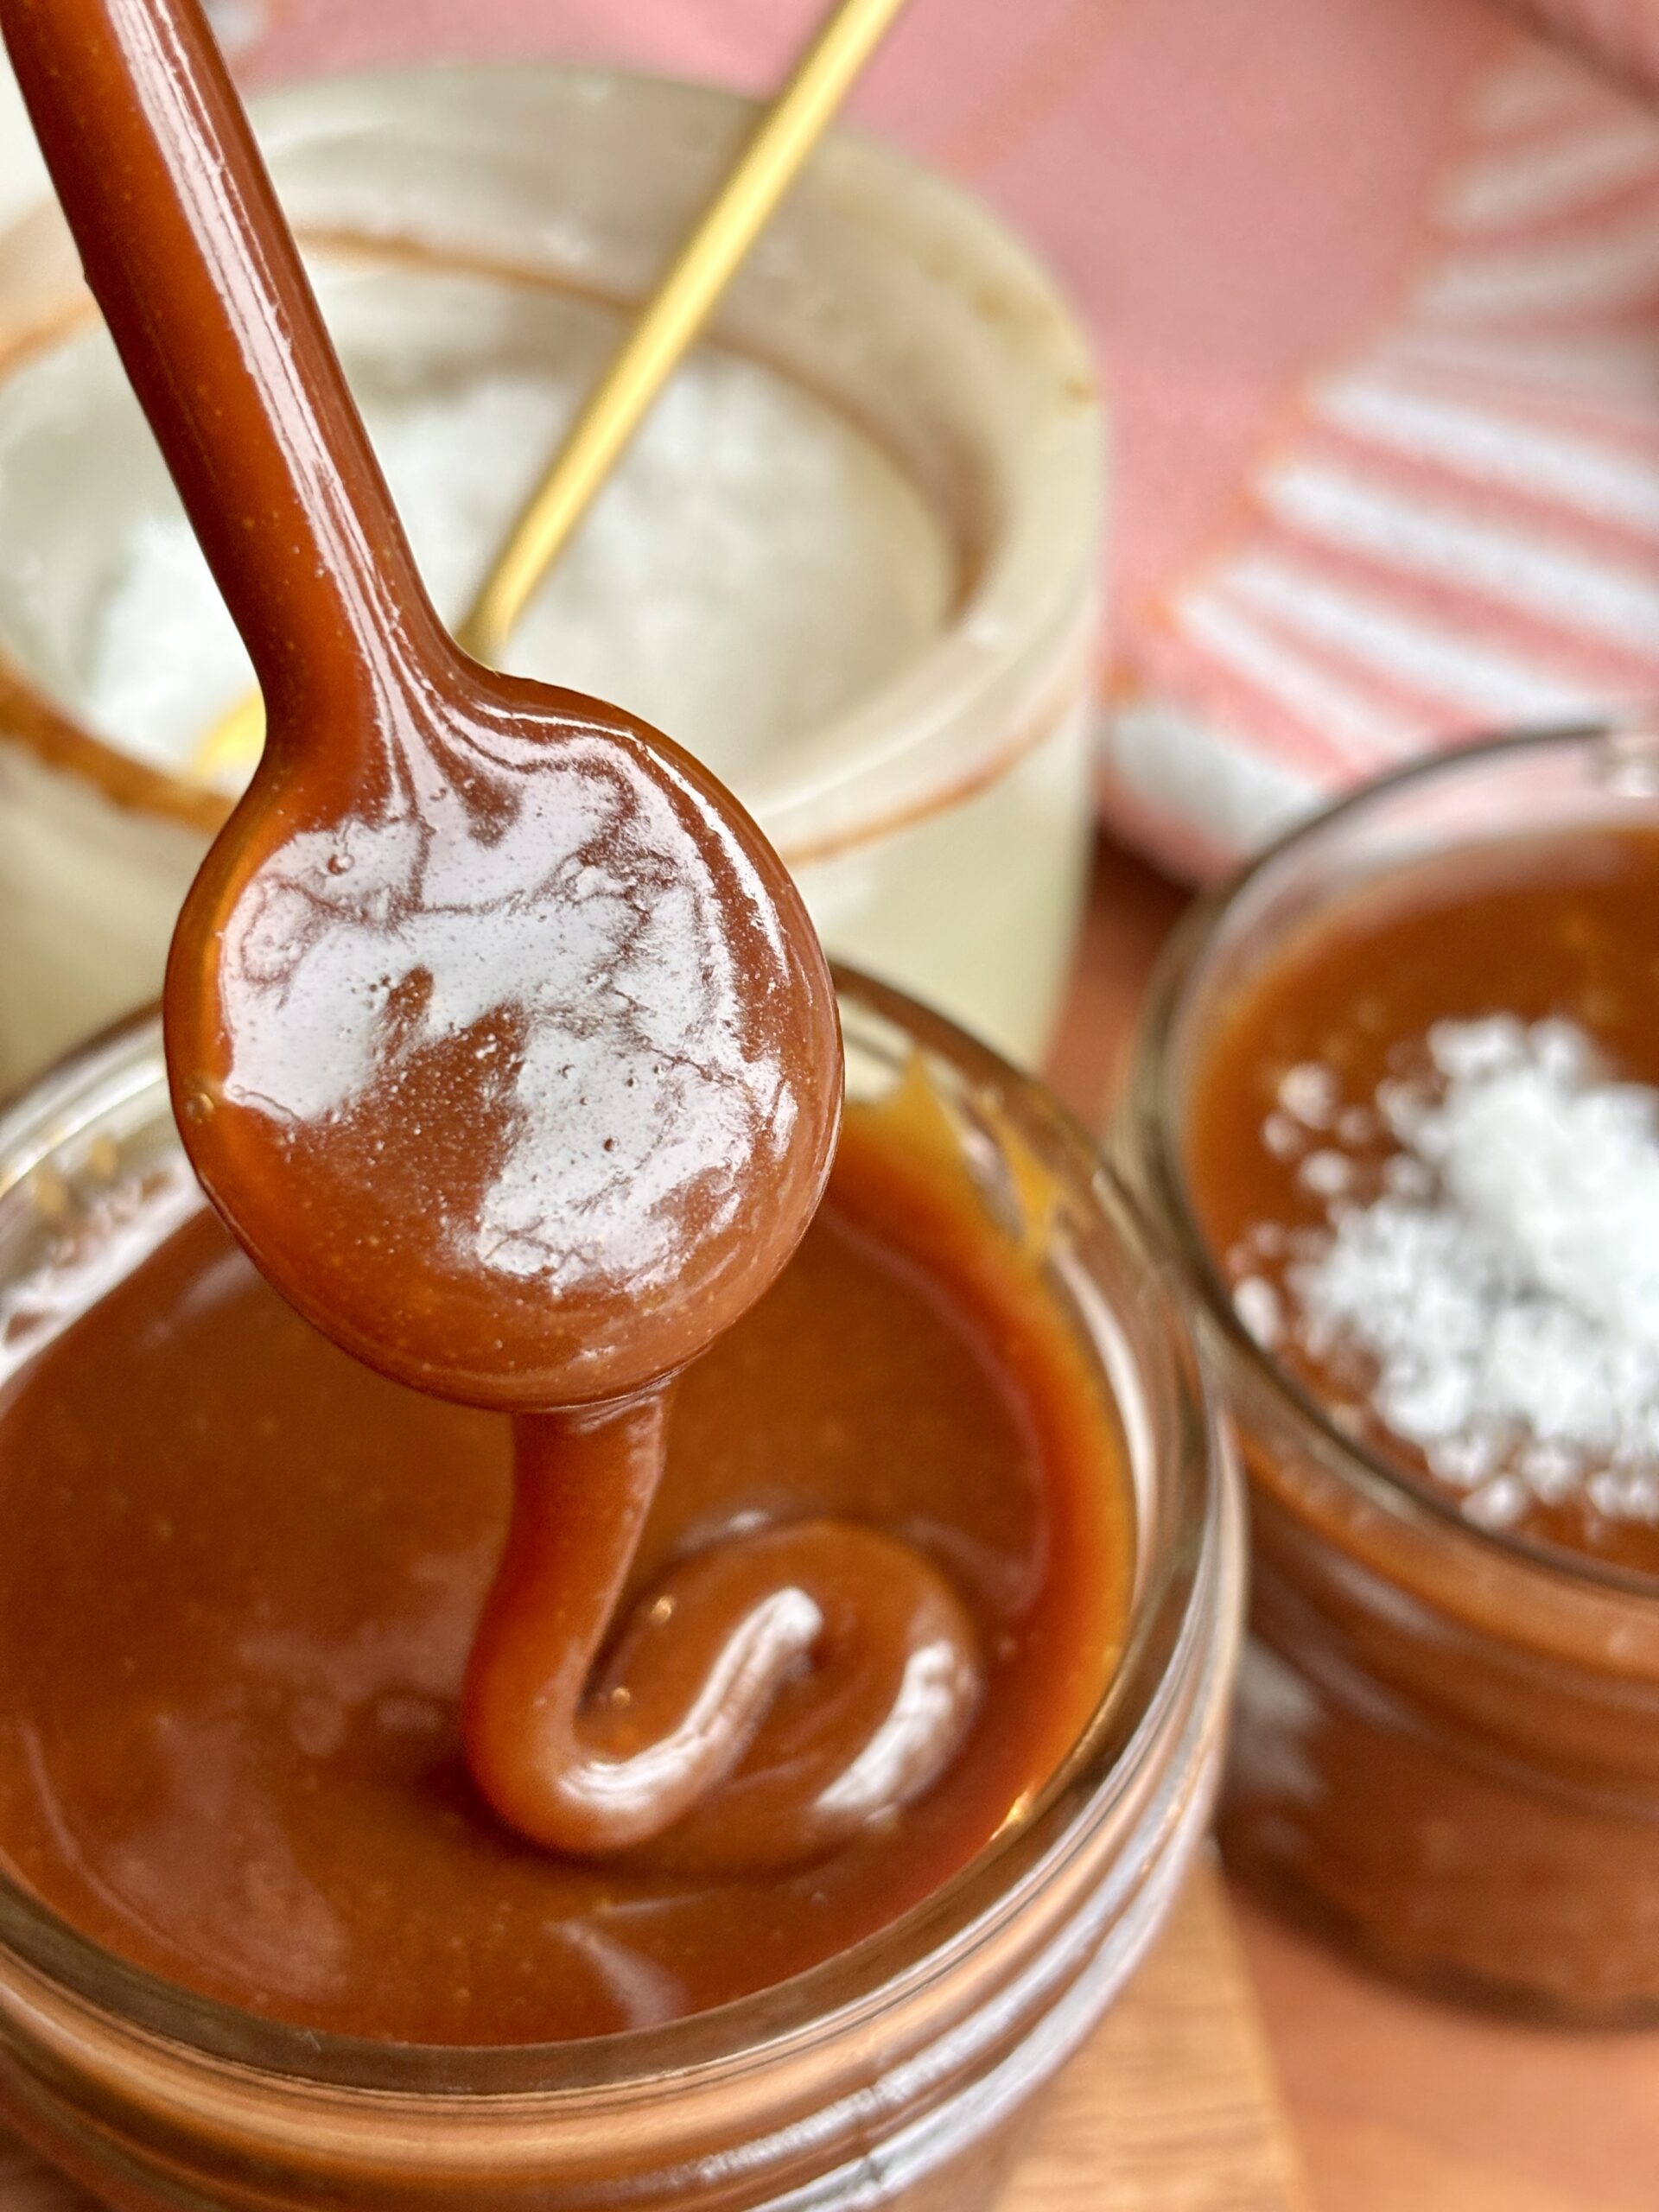
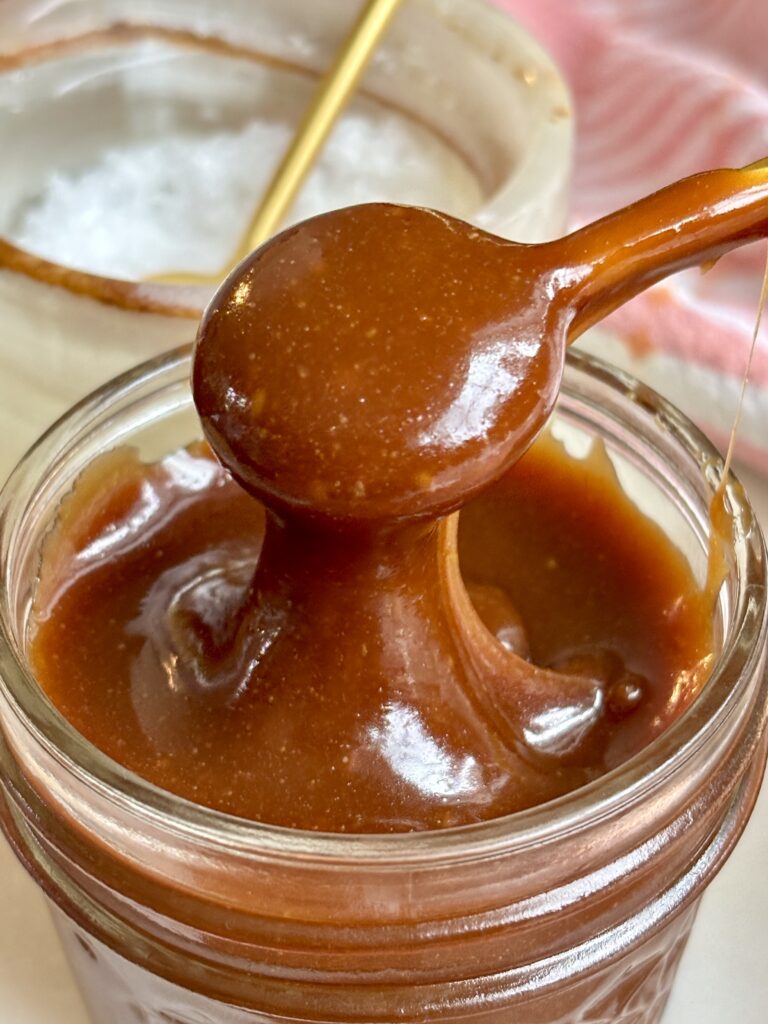
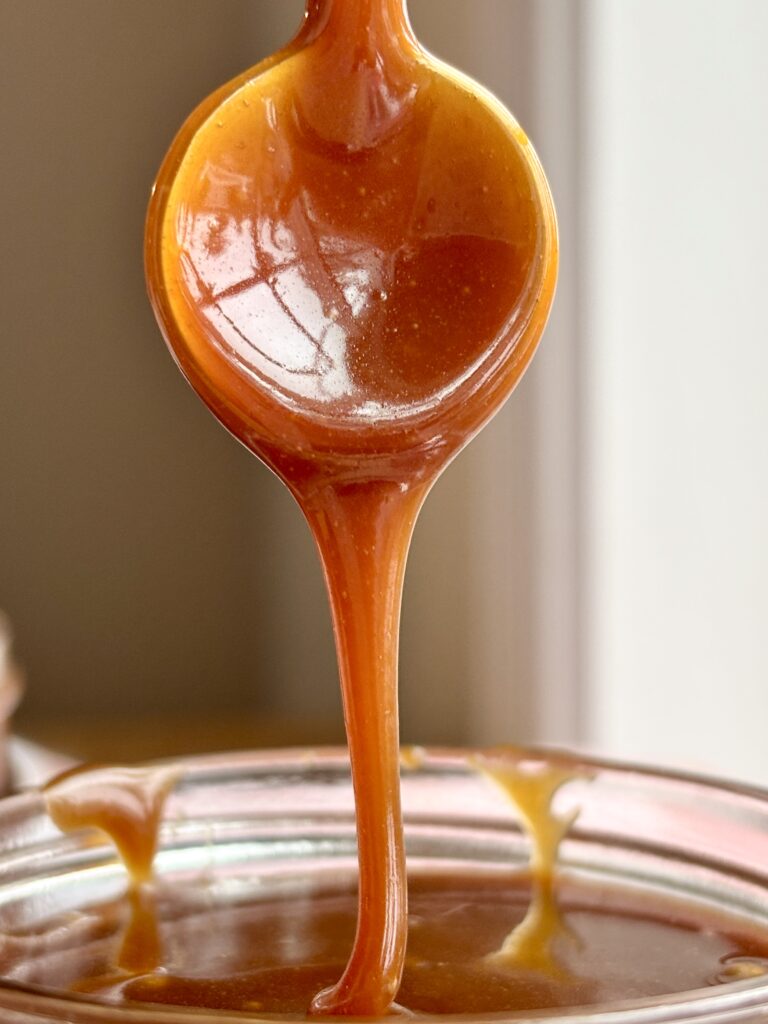
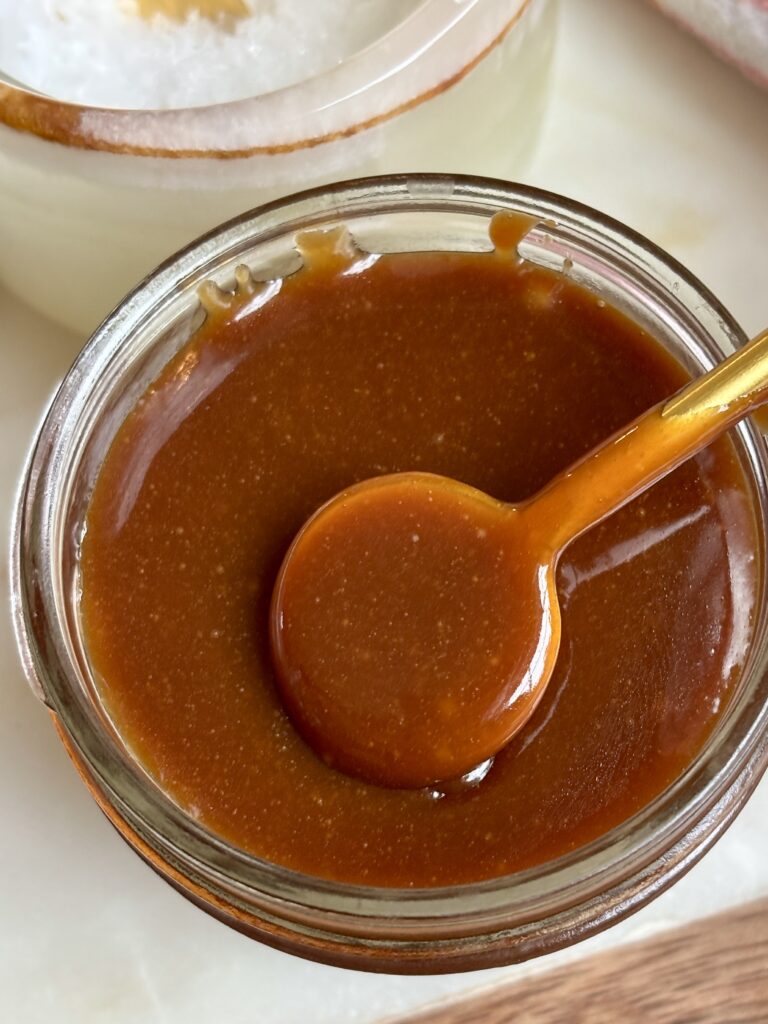
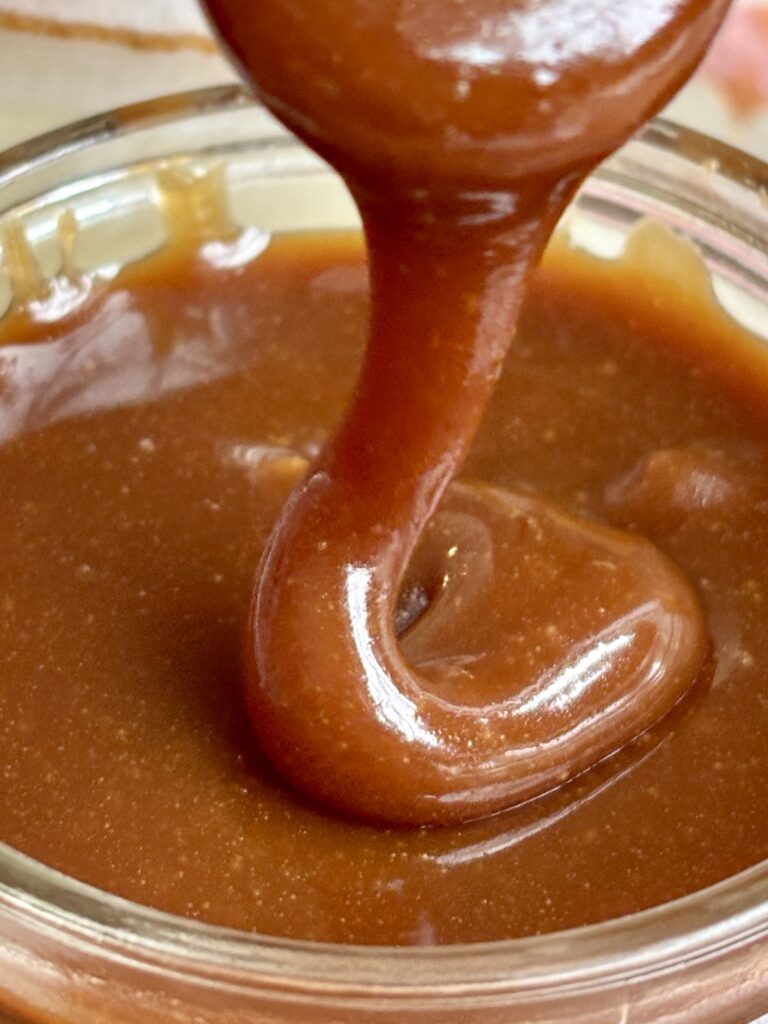
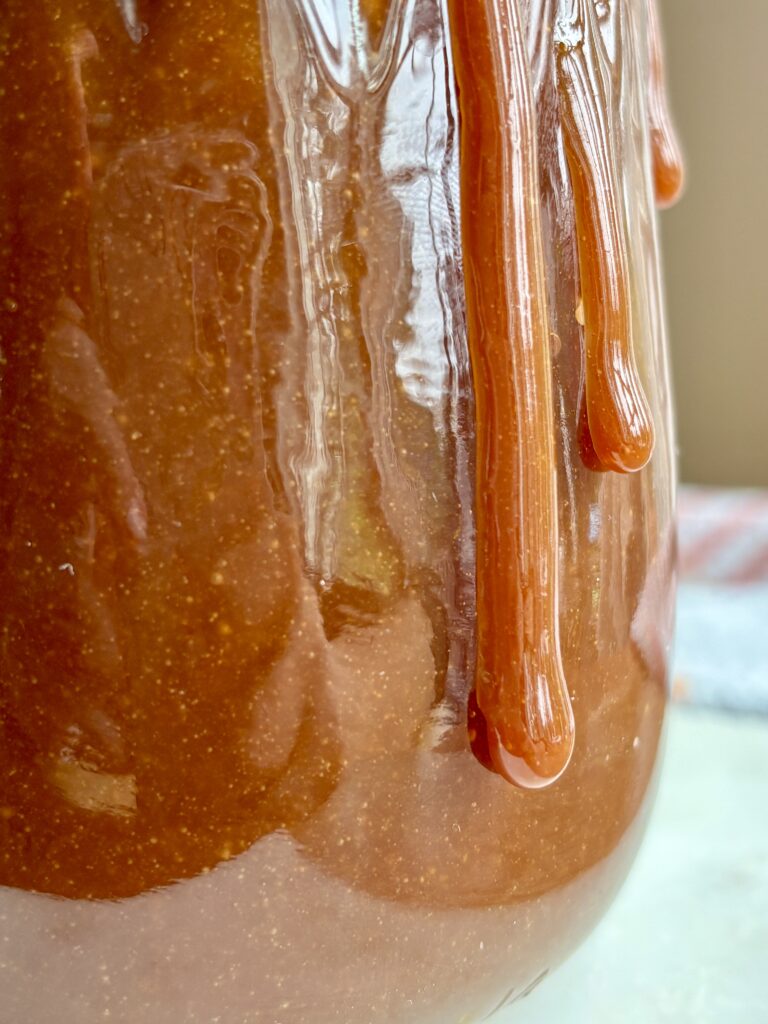
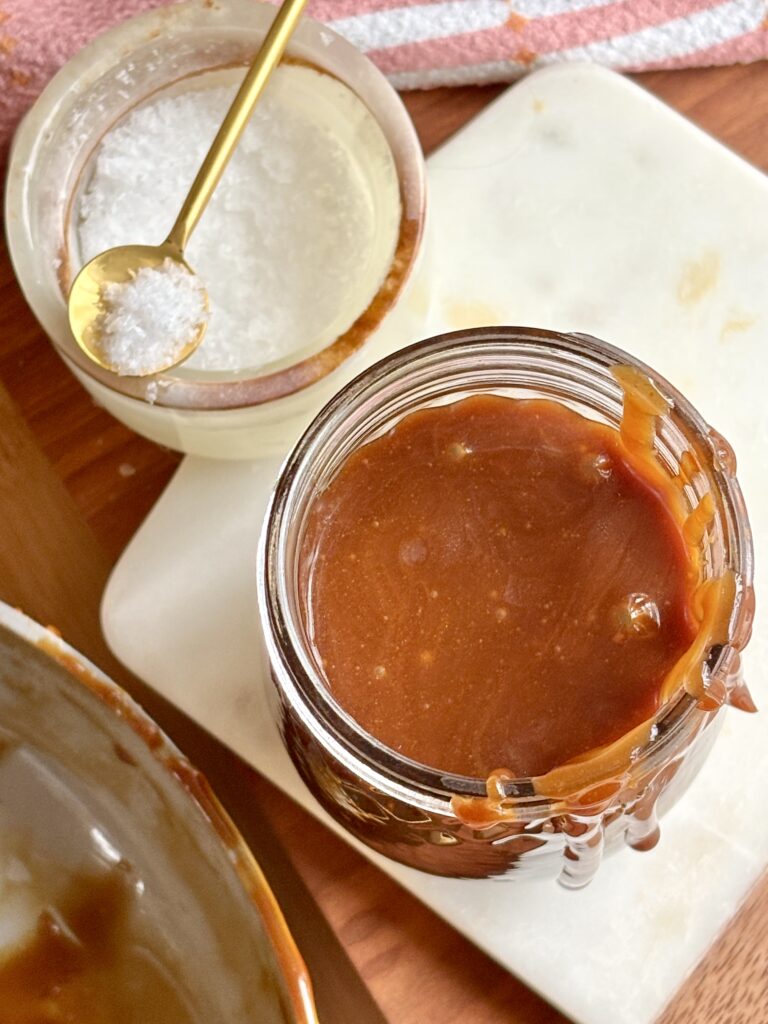
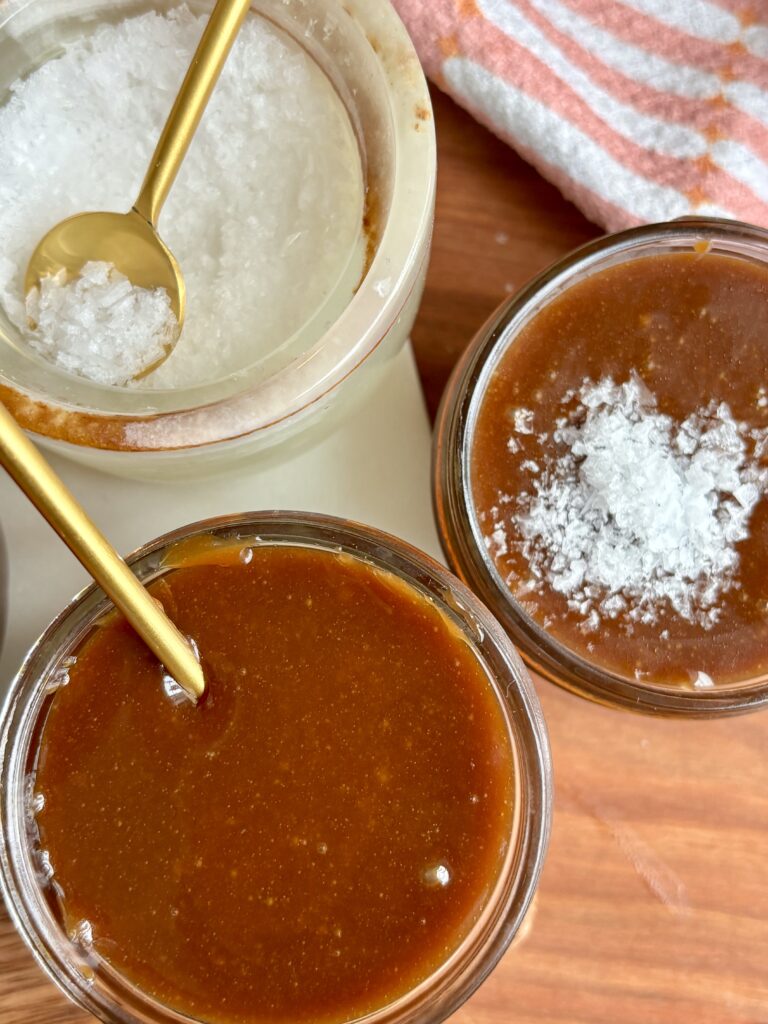
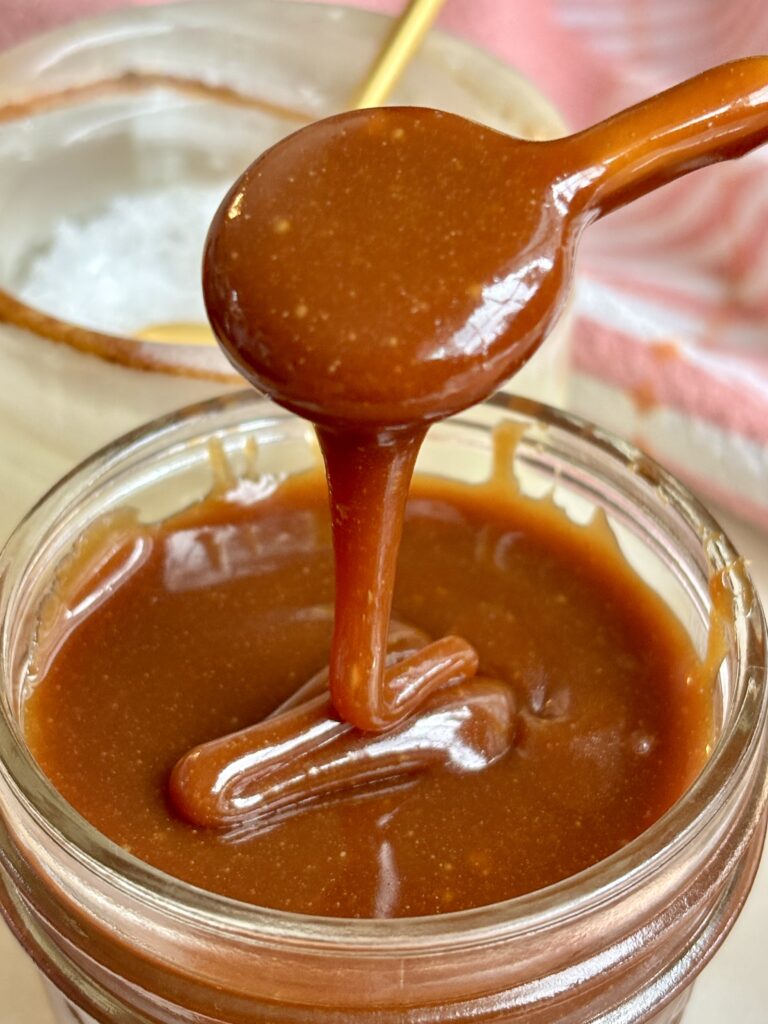
This Homemade Salted Caramel Sauce is rich, buttery, silky smooth, and perfectly sweet with just the right amount of flaky sea salt. Made with a combination of granulated sugar and light brown sugar, heavy cream, butter, and vanilla bean paste, it has a deep, delicious caramel flavor that’s so much better than anything you’ll find in a jar at the store.
The best part is that you only need a handful of simple ingredients to make it! Once you have a jar of this homemade caramel sauce in your fridge, I promise you’ll find approximately a million reasons to use it. Drizzle it over ice cream, brownies, apple desserts, cheesecake, pancakes, waffles, or even stir a spoonful into your morning coffee.
Whether you’re getting ready for fall baking or just want something delicious to keep on hand for whenever a caramel craving hits, this is one recipe you’ll want to make again and again.
Why you’ll love this recipe!
What ingredients do I need?
- Granulated Sugar: Granulated sugar provides the base for the caramel and helps create that classic caramelized sugar flavor.
- Light Brown Sugar: This is one of my favorite parts of this recipe. The brown sugar adds a little extra moisture and gives the caramel a deeper, warmer flavor thanks to its molasses content.
- Heavy Cream: Warm heavy cream creates the rich, creamy texture that makes this caramel sauce silky and spoonable. Warming the cream before adding it also helps minimize the temperature shock when it hits the hot caramel.
- Unsalted Butter: Butter adds richness and gives the finished caramel that smooth, buttery texture. I recommend unsalted butter so you can control the amount of salt.
- Vanilla Bean Paste: Vanilla adds another layer of flavor and pairs beautifully with the caramel. Pure vanilla extract works just as well if that’s what you have on hand.
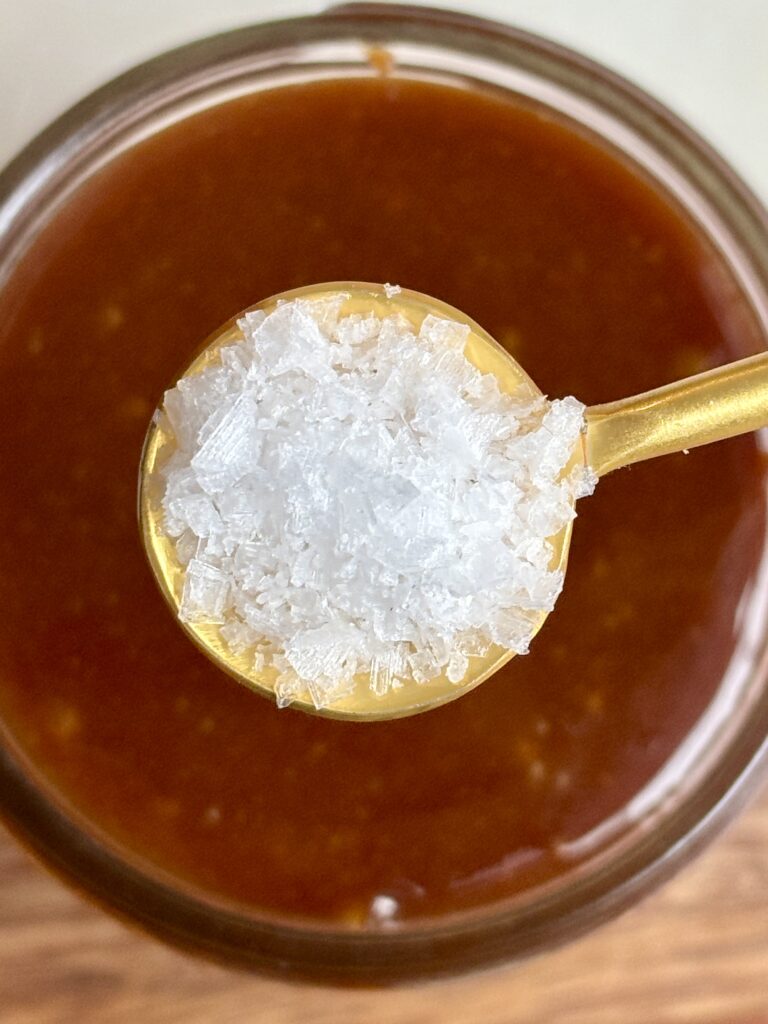
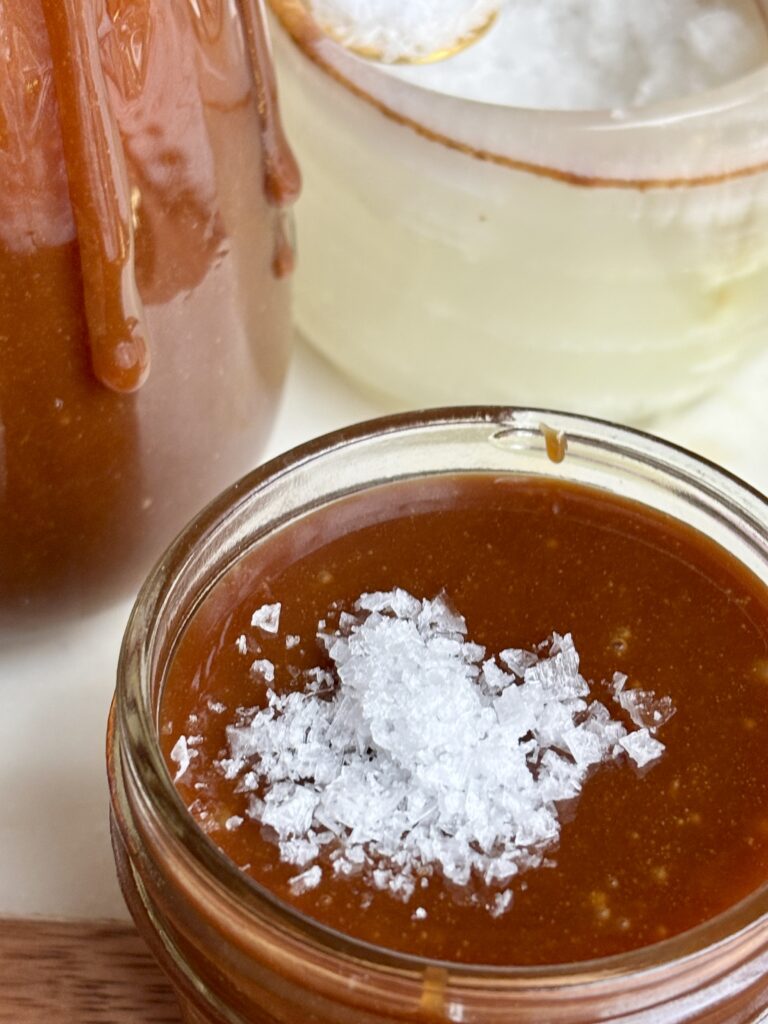
- Flaky Sea Salt: Flaky sea salt is what turns this from regular caramel sauce into salted caramel sauce. It balances the sweetness and makes the caramel flavor pop.
How to Make Homemade Salted Caramel Sauce (Step-by-step)
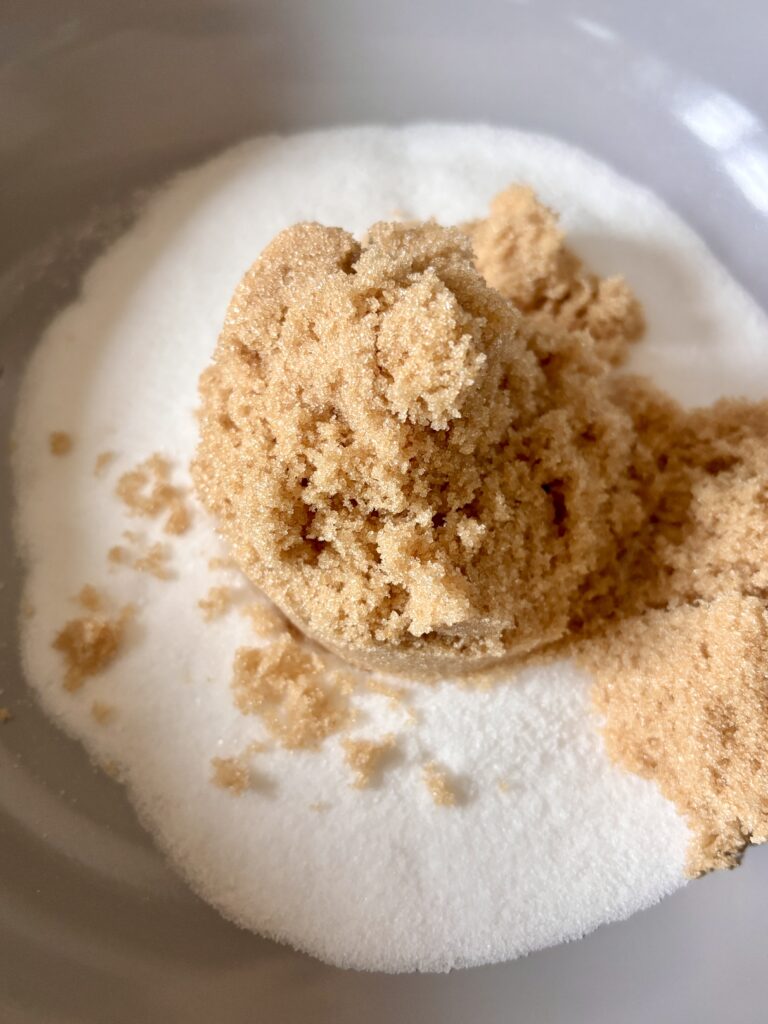
1. Combine the sugars:
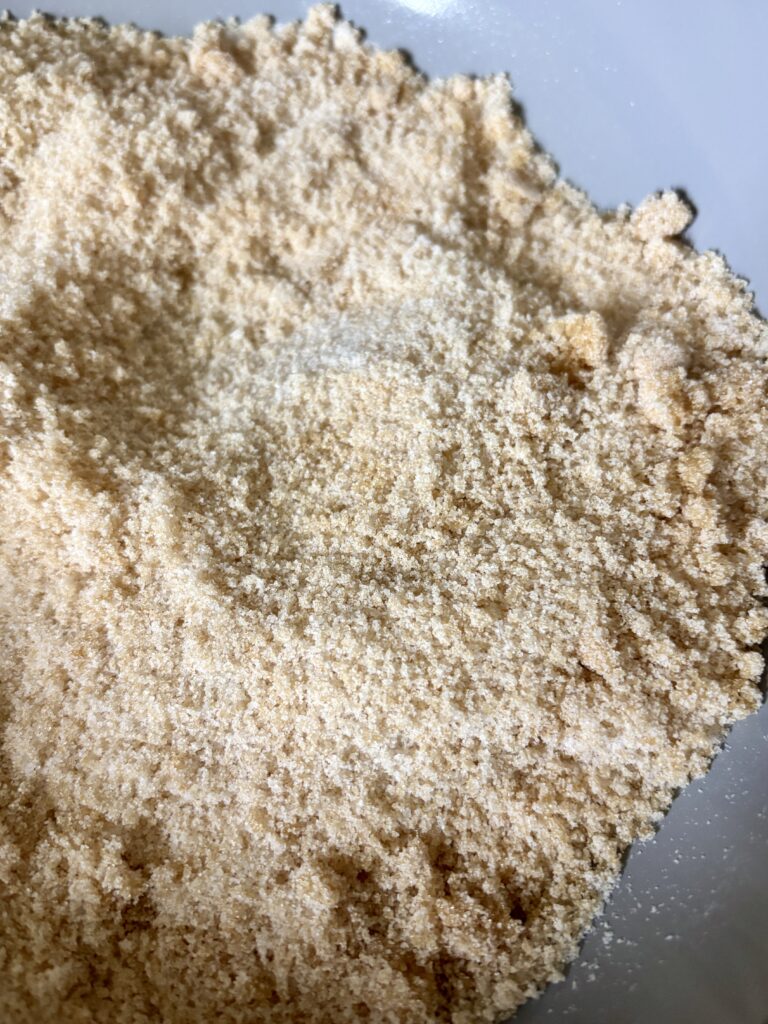
In a small bowl, combine the granulated sugar and light brown sugar.
2. Melt the sugar:
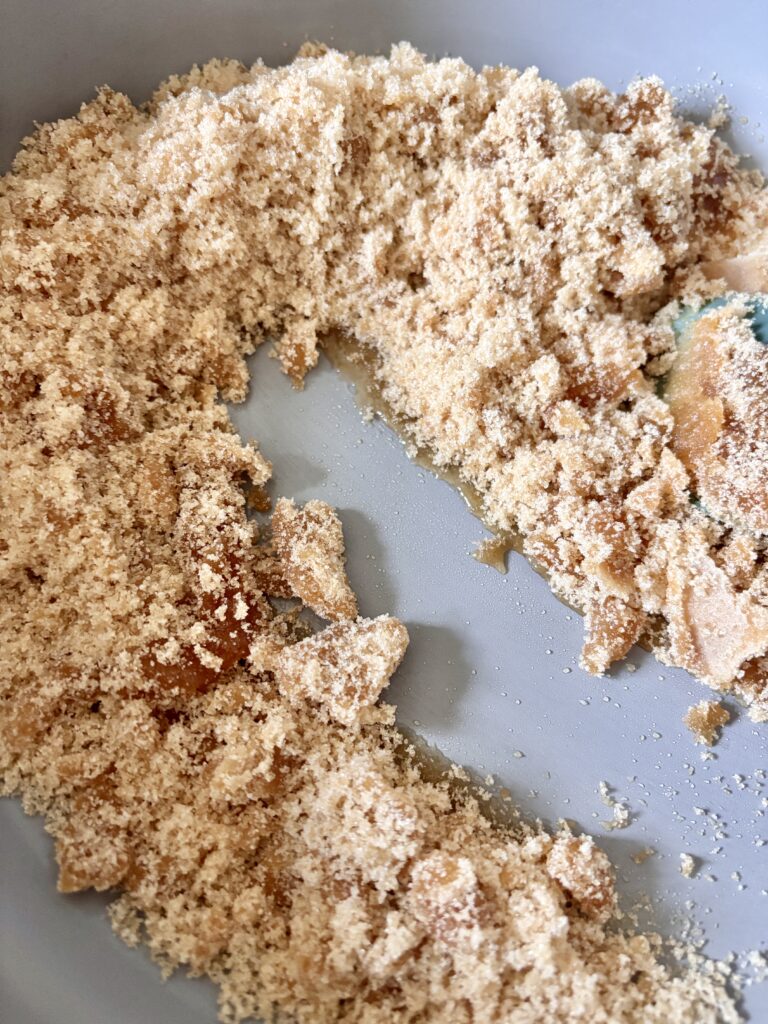
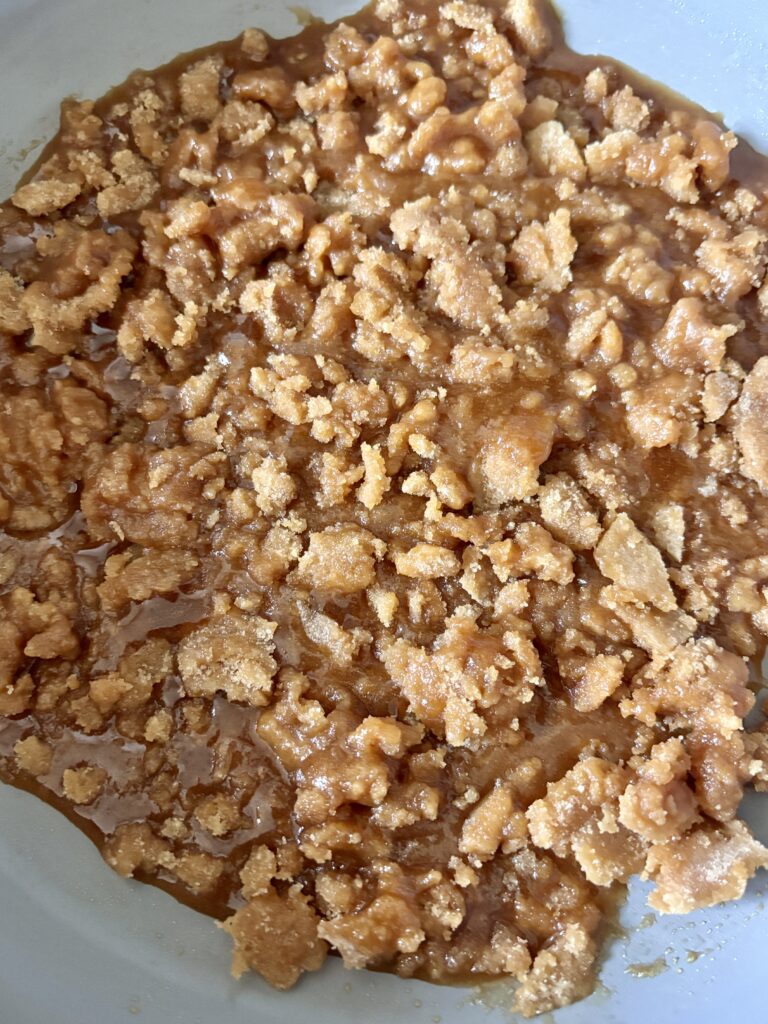
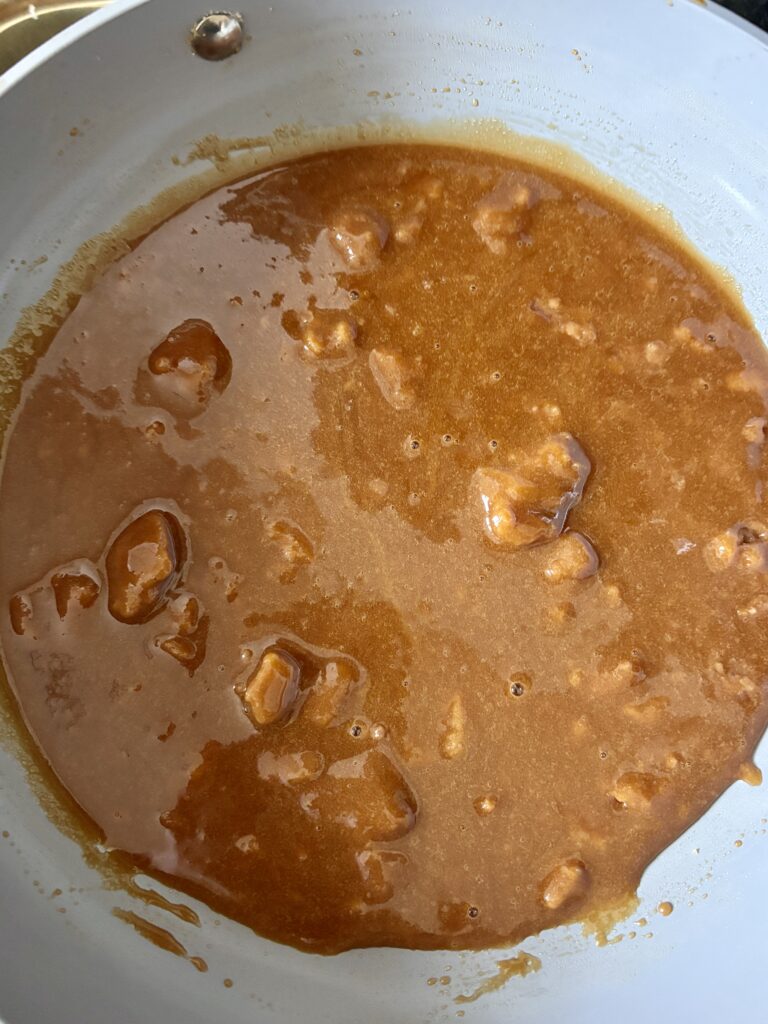
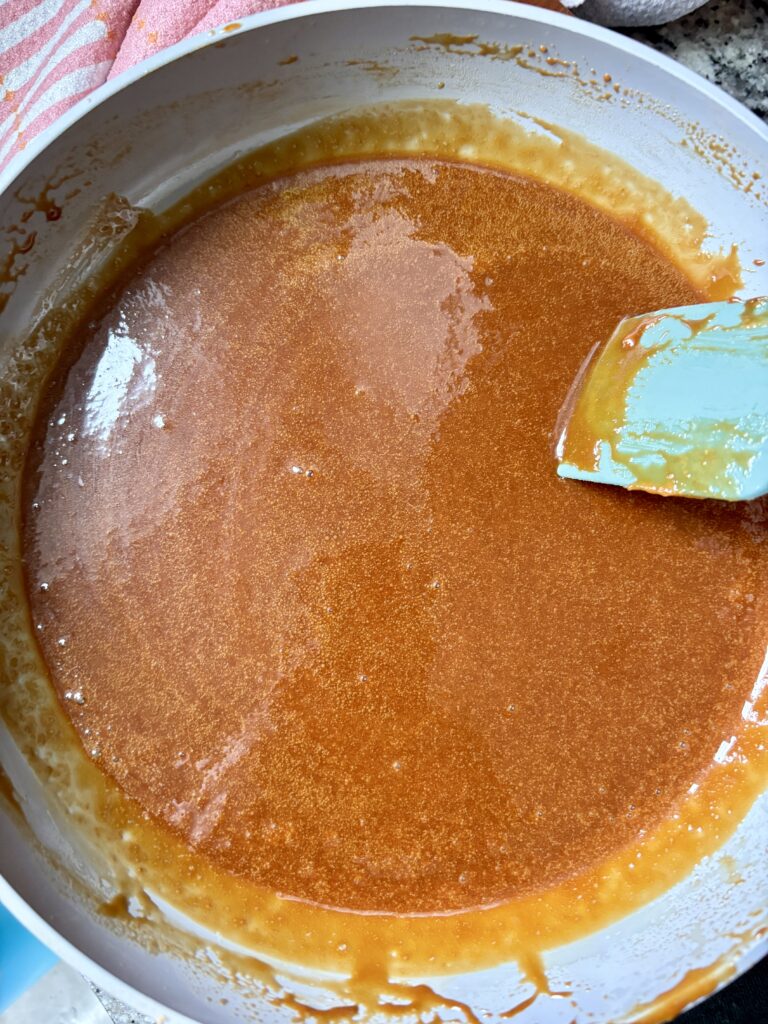
Heat a medium stainless steel sauté pan over low-medium heat. Add all of the sugar mixture to the pan at once. Stir gently with a wooden spoon or heat-resistant silicone spatula as the sugar begins to melt. The sugar will clump at first, but keep stirring gently and it will gradually melt into a smooth, rich amber-colored caramel.
3. Add the warm cream:
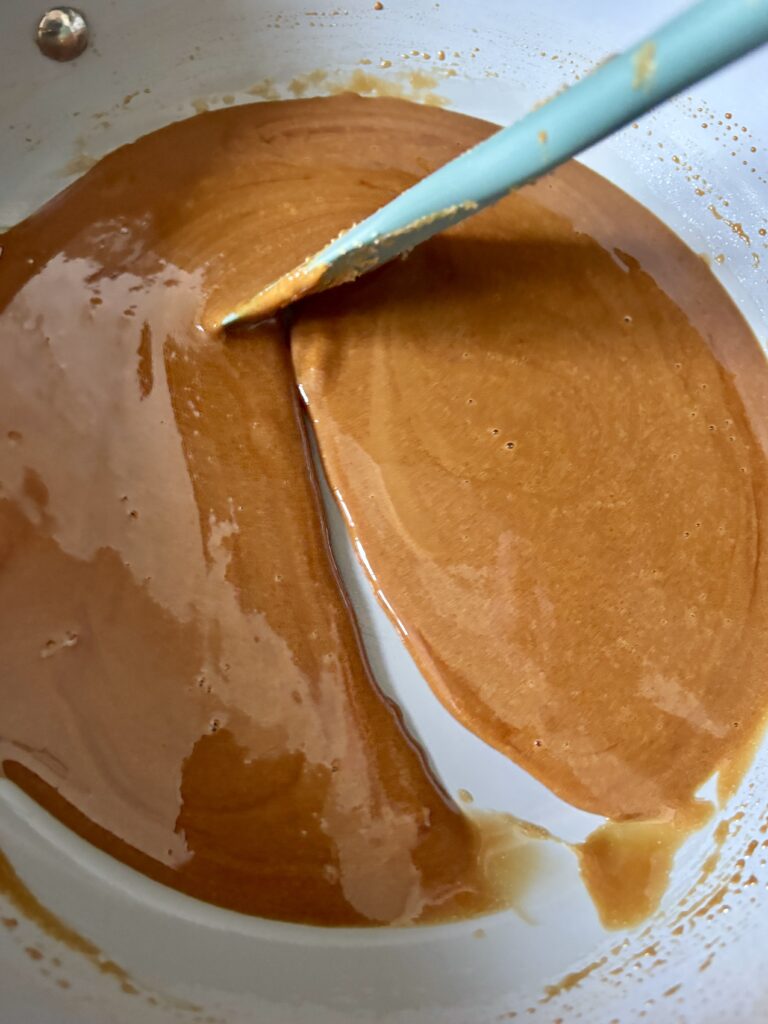
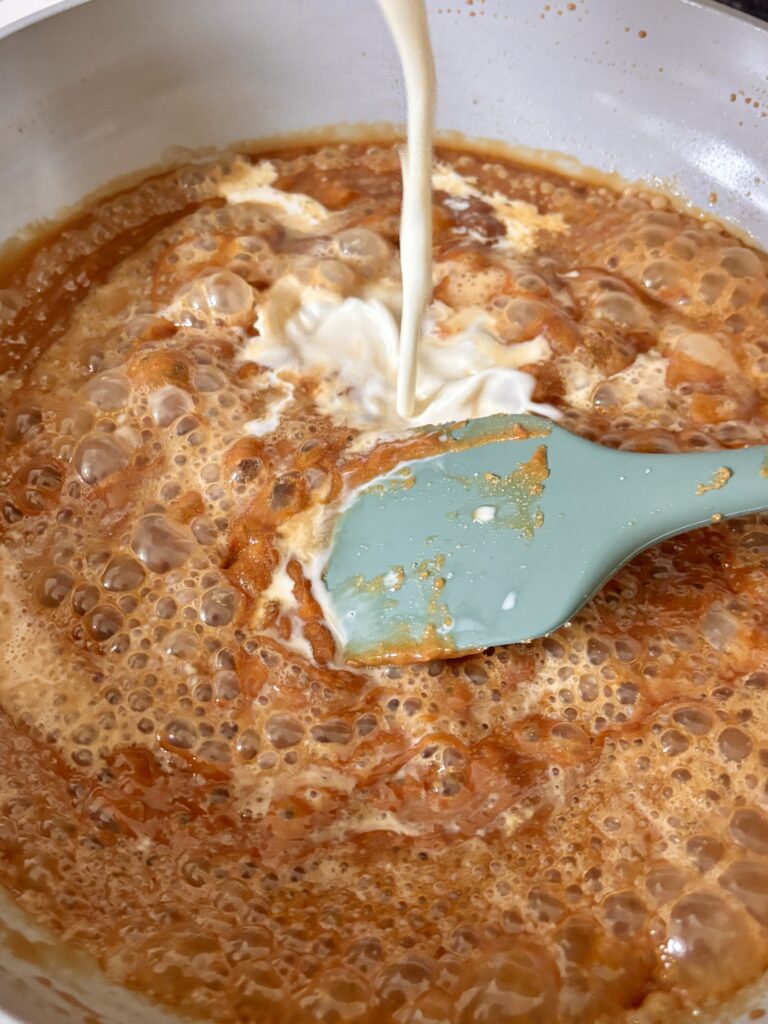
Remove the pan from the heat and slowly pour in the warmed heavy cream while stirring continuously. The caramel will bubble aggressively and may seize or become firm when the cream is added. This is normal. If needed, return the pan to low-medium heat and continue stirring until the caramel becomes smooth again.
4. Add the butter:
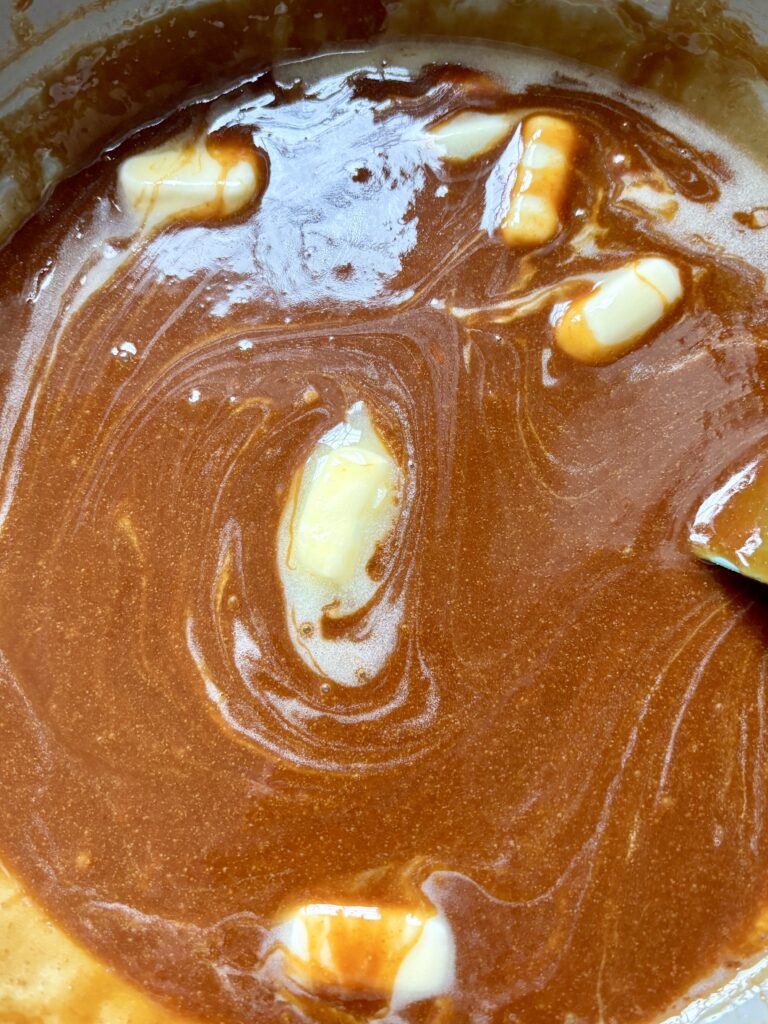
Remove the pan from the heat and stir in the room-temperature butter until completely melted and incorporated.
5. Finish the caramel:
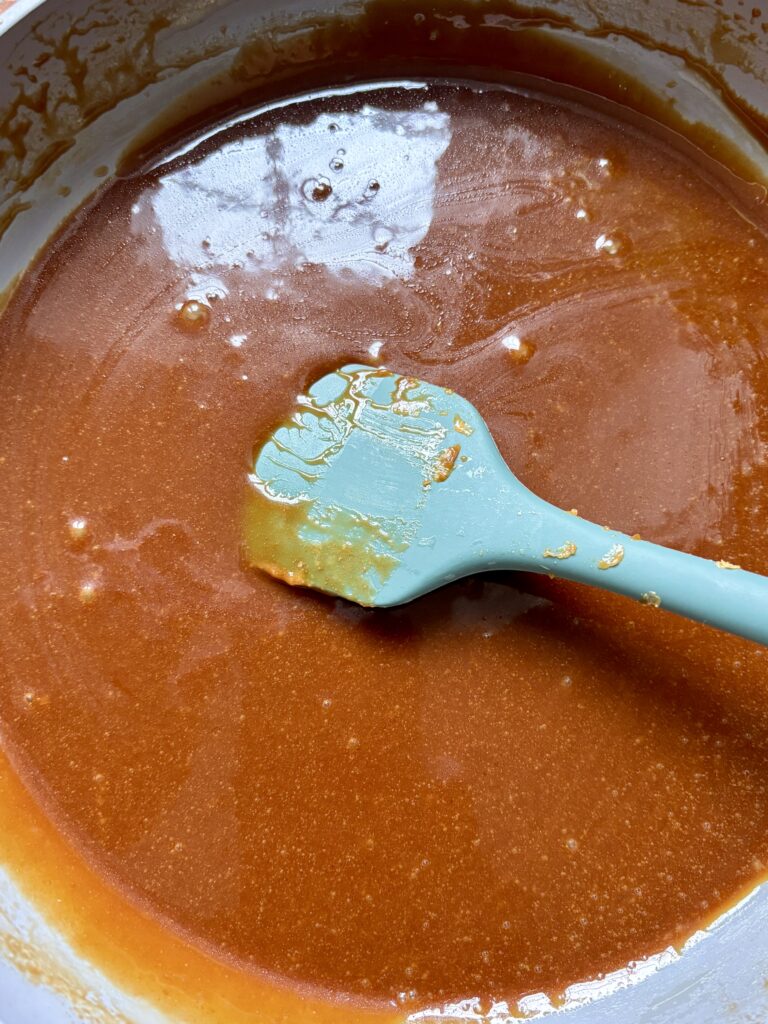
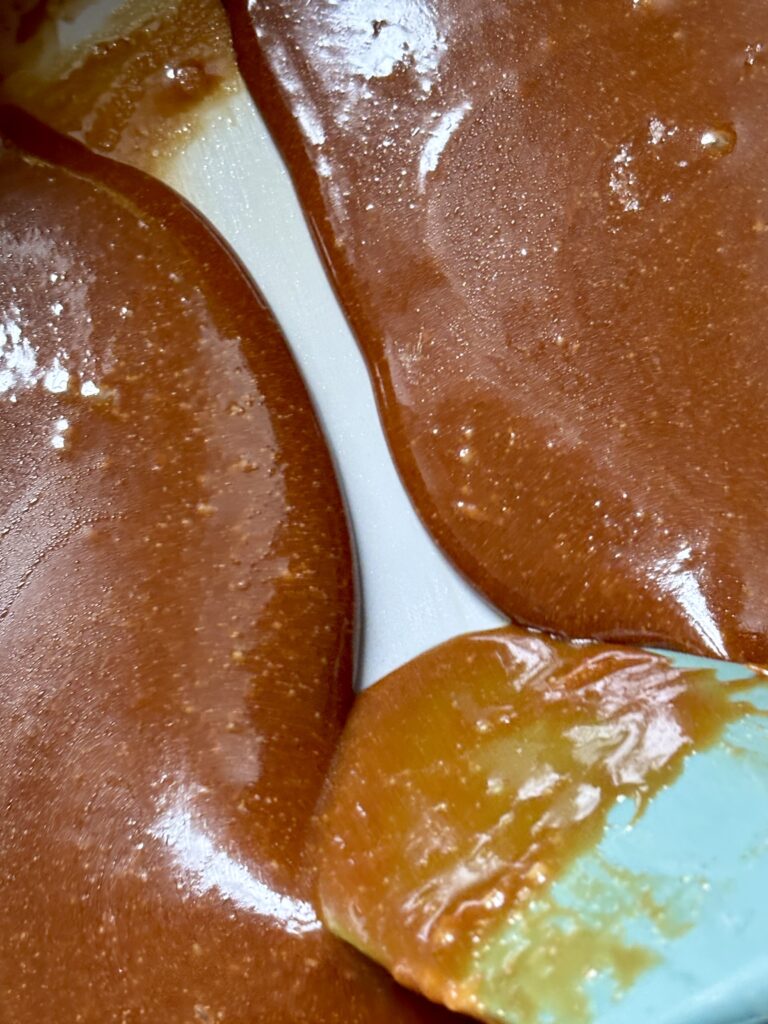
Return the pan to low heat for 1–2 minutes, stirring occasionally, until everything is fully combined and silky smooth.
6. Add vanilla and salt:
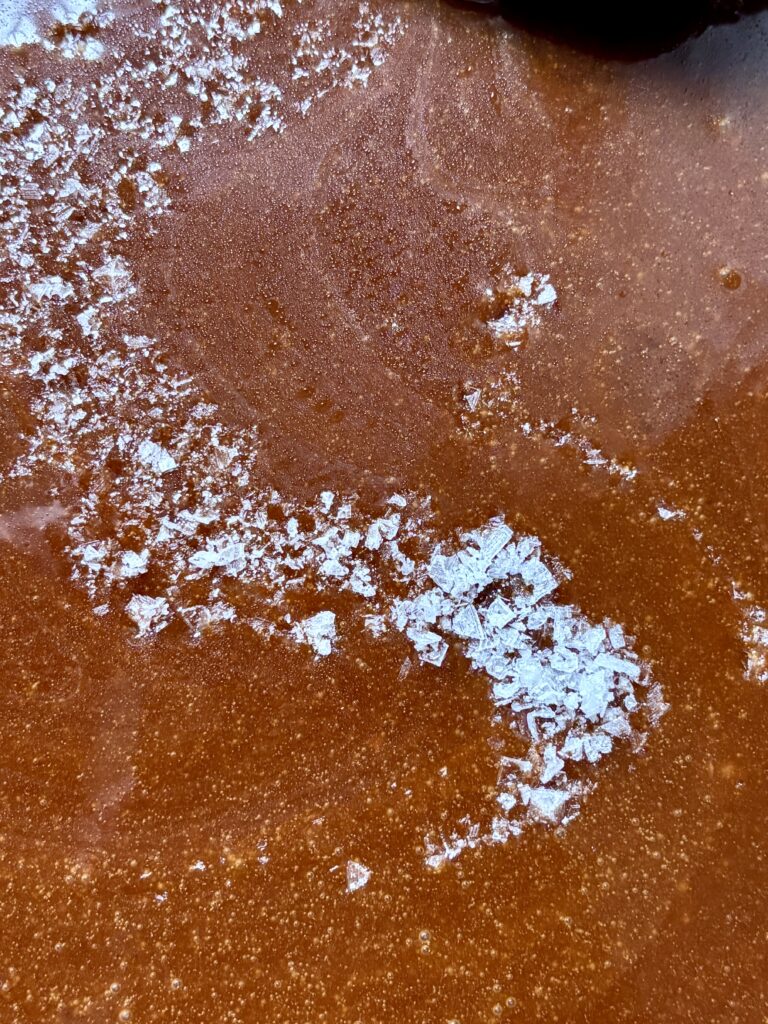
Remove the pan from the heat and stir in the vanilla bean paste and flaky sea salt. Allow the caramel to cool completely before transferring it to an airtight container.
Recipe Variations
- Extra Salty Caramel: Add another small pinch of flaky sea salt for a more pronounced salty-sweet flavor.
- Holiday Caramel: Add a small pinch of cinnamon for a warm, seasonal variation that is especially good over apple and pumpkin desserts.
- Spiced Caramel: Stir in a pinch of cinnamon, nutmeg, or pumpkin pie spice for an extra layer of warmth.
- Vanilla-Free Caramel: Omit the vanilla for a pure, old-fashioned caramel flavor.
- Salted Espresso Caramel: Whisk in 1 teaspoon of instant espresso powder for a subtle, coffee-kissed flavor. This would be amazing in lattes or over brownies.
Pro Tips
- Use a stainless steel pan. A light-colored stainless steel pan makes it much easier to see the color of the caramel as it cooks. You’re looking for a rich amber color.
- Add all of the sugar at once. There’s no need to add the sugar gradually. Adding the full sugar mixture to the pan at the beginning keeps the process simple and allows all of the sugar to caramelize together.
- Keep the heat controlled. Low-medium heat gives you more control over the caramel and helps prevent the sugar from burning before it has fully melted.
- Don’t panic when the sugar starts to clump. The sugar may look lumpy or clumped together as it starts to melt. Just keep stirring gently and it will gradually become smooth.
- Warm your cream first. Warm cream helps reduce the temperature shock to the sugar when it’s added. The caramel will still bubble aggressively, so pour slowly and stir continuously. You want it warm, not boiling however, bringing the cream to a very gentle simmer will help this.
- Don’t panic when the caramel seizes. When you add the cream, the sugar may bubble, harden, or look like it’s gone completely wrong. Keep stirring over low-medium heat and it will smooth back out.
- Watch the color closely. The finished caramel should be a rich amber color. If it becomes very dark and smells bitter or burnt, it has likely gone too far and I would recommend starting over.
- Use room temperature butter. Room temperature butter incorporates more easily into the warm caramel.
- Don’t walk away from the stove while cooking. Caramel can go from beautifully amber to burnt very quickly. Once the sugar starts melting, keep a close eye on it.
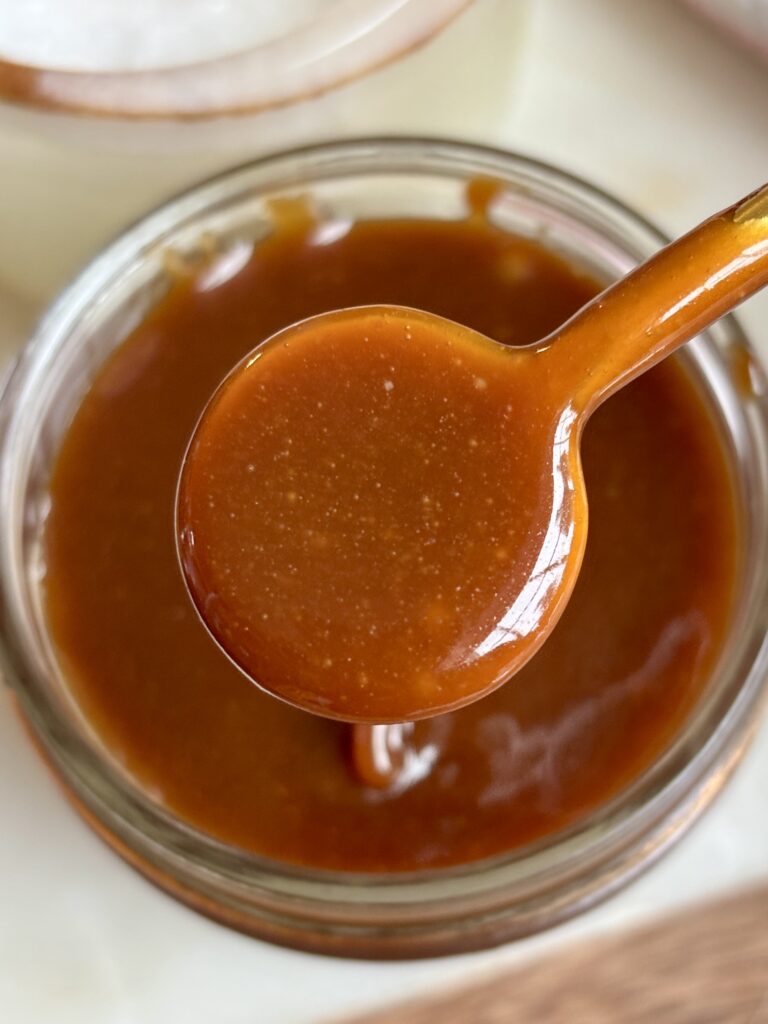
- Let the caramel cool completely before judging the consistency. Caramel thickens considerably as it cools. It may look thinner while warm than it will once refrigerated.
- Reheat the caramel gently. If your refrigerated caramel becomes too thick to drizzle, warm it gently in the microwave in short intervals or in a saucepan over low heat.
Can I Substitute?
Yes! Like always though, any substitutions made to the recipe can result in a change in texture and/or flavor.
- Vanilla bean paste: Pure vanilla extract can be used in the same amount.
- Unsalted butter: Salted butter can be used, but you may want to reduce or omit the added flaky sea salt depending on how salty your butter is.
- Flaky sea salt: Fine sea salt can be used, but start with less since fine salt is more concentrated by volume. Add to taste.
- Heavy cream: Heavy whipping cream can be used interchangeably with heavy cream. I don’t recommend replacing the heavy cream with milk or half-and-half though. The lower fat content can change the texture and richness of the finished caramel.
Dietary Substitutions
- Gluten-Free: This salted caramel sauce is naturally gluten-free as written. Always check ingredient labels if you’re preparing it for someone with celiac disease or a serious gluten intolerance.
Ways to Use Homemade Salted Caramel Sauce
Fall Desserts
- Apple pie
- Apple crisp
- Caramel apple desserts
- Apple brownies
- Pumpkin cheesecake
- Pumpkin pie bars
- Pumpkin Pie Baked Oats
- Caramelized Apple Brownie Skillet
- Brown butter desserts
- Pear desserts
- Cinnamon desserts
Desserts
- Brownies
- Chocolate cake
- Chocolate cupcakes
- Chocolate cookies
- Chocolate skillet desserts
- Brownie sundaes
- Chocolate bread pudding
- Banana Bread Pudding
- Pumpkin Brioche Bread Pudding
Ice Cream
Drizzle warm salted caramel over vanilla, chocolate, coffee, butter pecan, or salted caramel ice cream. Add flaky sea salt and chopped nuts for an easy sundae. Try making my No Churn Apple Pie Ice Cream with it as well!
Cheesecake
Add a generous drizzle over cheesecake just before serving. Salted caramel and cheesecake are a ridiculously good combination.
Breakfast
- Pancakes
- Waffles
- French toast
- Cinnamon rolls
- Crepes
- Oatmeal
- Baked oatmeal
Drinks
Stir a little into hot coffee, iced coffee, lattes, hot chocolate, or milkshakes for an easy caramel upgrade.
Leftovers and Storage
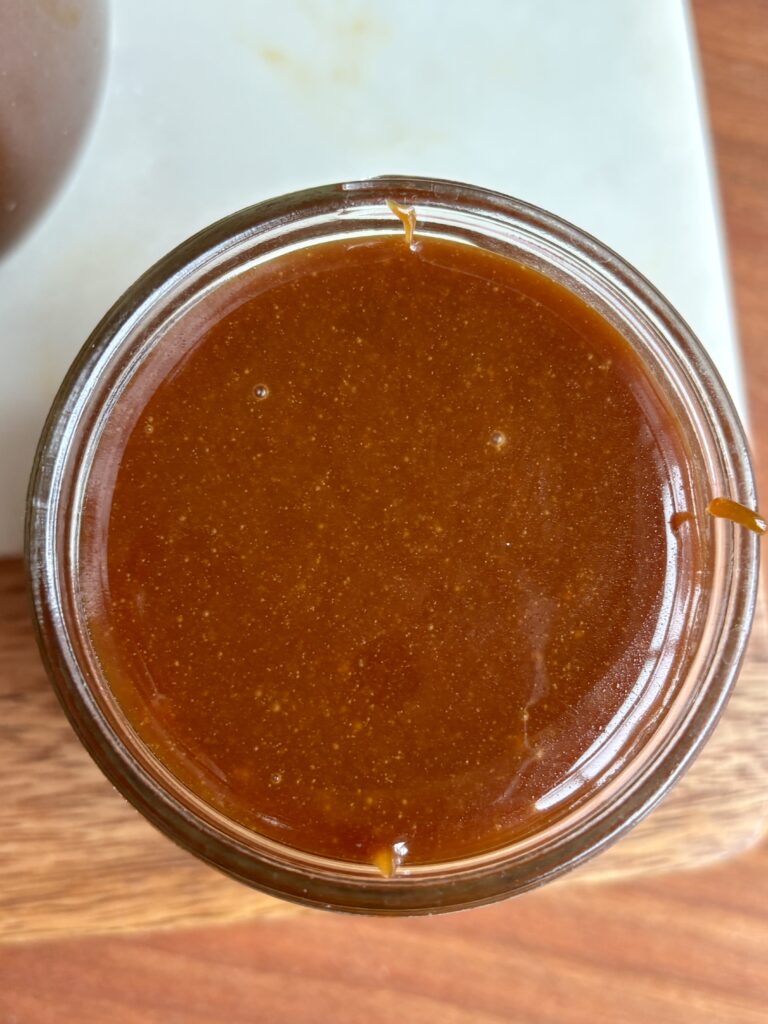
- Refrigerator: Allow the caramel sauce to cool completely before transferring it to an airtight container. Then store the homemade salted caramel sauce in the refrigerator for up to 3 weeks. The caramel will become much thicker once chilled. This is completely normal.
- Reheating: To make it pourable again, warm it gently in the microwave in short intervals, stirring between each, or warm it in a small saucepan over low heat. Do not heat it aggressively though, as high heat can cause the sauce to become too thin or separate.
- Make Ahead: If you’re making caramel for a holiday dessert, you can make it several days ahead and keep it refrigerated until you’re ready to use it.
Troubleshooting
Caramel Seizes (Turns Grainy or Clumpy)
The sugar crystallized when cream or butter was added too quickly or was too cold. Remove from heat, slowly stir in a small amount of warm cream or hot water until smooth. If needed, return to low heat and stir gently.
The Caramel is Too Thin
It was likely not cooked long enough or too much cream added. Simmer gently over low heat for 1–2 minutes until it thickens to your desired consistency.
The Caramel is Too Thick
It was likely cooked for too long or cooled in the fridge. Stir in 1 teaspoon of warm cream at a time until pourable.
The Sugar Burned
The heat was too high or it was left unattended and cooked too long. Unfortunately, burnt sugar cannot be saved. Always cook sugar over low-medium heat, stir constantly, and watch closely.
Crystallization (The Caramel Became Grainy While Cooling)
Sugar crystals on the sides of the pan or stirring it too vigorously during melting could cause this. Reheat the caramel gently with a splash of cream and stir until smooth. To prevent this, wipe down the sides of the pan with a damp brush while the sugar is melting.
The Caramel Is Bubbling Too Vigorously
When adding cold liquid to the melted sugar or stirring too fast could cause this. Reduce the heat and add the liquids slowly. Stir gently with a wooden spoon or heat-resistant silicone spatula.
But, I Still Have A Few Questions…
Why do I add all of the sugar to the pan at once?
This recipe uses a dry caramel method, meaning the sugar is caramelized directly in the pan without adding water. Adding the full sugar mixture at once keeps the process simple and allows the sugar to caramelize together.
Why is my sugar clumping as it melts?
This is normal, especially when making a dry caramel. Keep the heat at low-medium and stir gently. The clumps will gradually melt as the sugar continues to heat.
Why should I warm the heavy cream?
Warm cream reduces the temperature difference between the cream and the hot caramel. This helps the ingredients come together more smoothly. You can technically use cold heavy cream, but it can cause the caramel to seize more dramatically when added.
Can I use dark brown sugar instead of light brown sugar?
You can, but the caramel will have a deeper molasses flavor and a darker color.
Can I make this caramel with only granulated sugar?
You can experiment with using only granulated sugar, but the recipe was developed with both granulated and light brown sugar. The brown sugar contributes to the flavor and overall character of this specific recipe.
Do I need a candy thermometer?
Nope. This recipe relies on the color and texture of the caramel rather than a specific candy temperature. A stainless steel pan is especially helpful because you can monitor the color as the sugar caramelizes.
Can I make salted caramel sauce ahead of time?
Absolutely. This is a great make-ahead recipe. Store it in an airtight container in the refrigerator for up to 3 weeks.
Can I use this caramel for caramel apples?
This recipe makes a soft caramel sauce rather than the firm caramel coating traditionally used for dipping whole apples. It is delicious drizzled over sliced apples, apple desserts, or ice cream.
Why use flaky sea salt instead of table salt?
Flaky sea salt gives you little bursts of salt throughout the caramel without making the entire sauce taste uniformly salty. It also makes a beautiful finishing touch.
Can I leave homemade caramel sauce at room temperature?
For food safety and best quality, store the finished caramel sauce in the refrigerator. Bring it to room temperature or gently warm it before serving.
Other Recipes You’ll Love
Let’s engage!
Make sure to tag @thehomechefmomma on Instagram or Facebook, and leave a review or comment if you make these. I always get so excited to see your creations, variations of the recipe, and feedback! Just remember to be kind in your comments, there is still a person behind this screen! 🙂
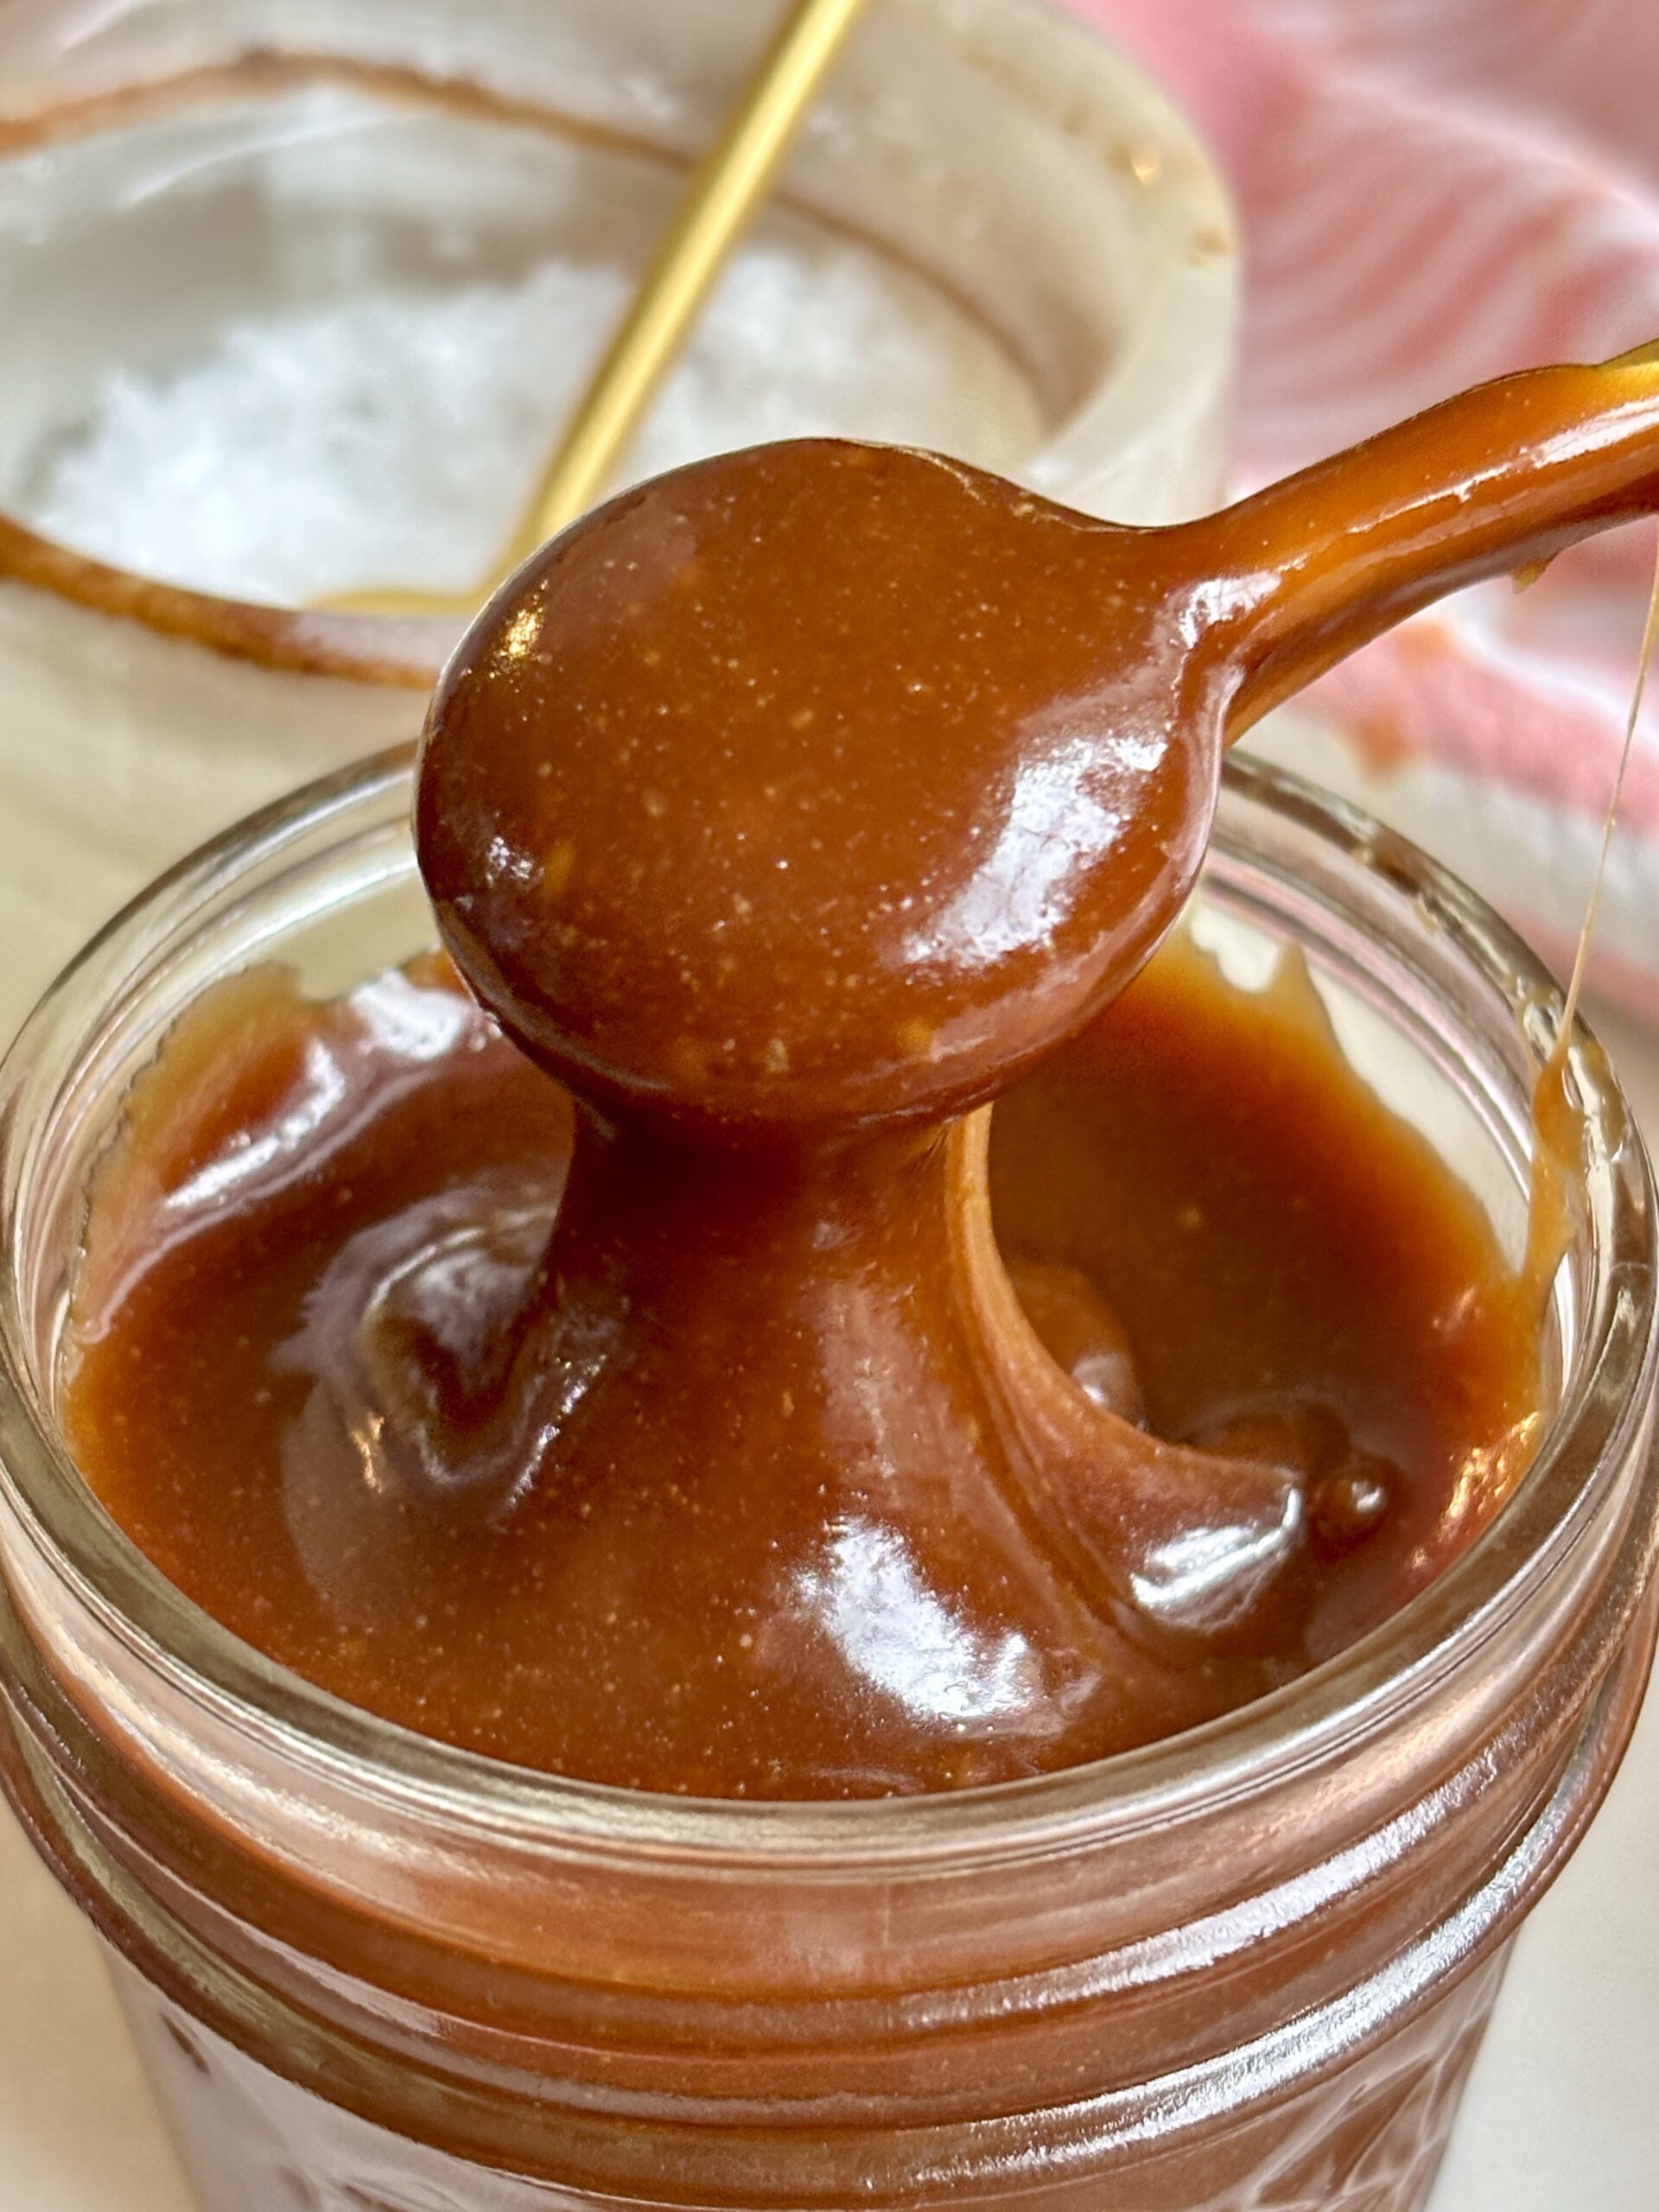
Homemade Salted Caramel Sauce
Ingredients
- 3/4 c. granulated sugar
- 3/4 c. light brown sugar
- 3/4 c. Heavy cream warmed
- 1/2 tsp vanilla bean paste or pure vanilla extract
- 4 tbsp unsalted butter room temperature
- 1/2 tsp flaky sea salt
Instructions
- In a small bowl, combine the granulated sugar and light brown sugar.
- Heat a medium stainless steel sauté pan over low-medium heat. Add the entire sugar mixture to the pan at once.
- Stir gently with a wooden spoon, or heat-resistant silicone spatula, as the sugar begins to melt. The sugar will clump at first. Continue stirring gently until all of the sugar has melted and turns a smooth, rich amber color.
- Remove the pan from the heat. Slowly pour in the warmed heavy cream while stirring continuously. The caramel will bubble aggressively and may firm up a little. If needed, return the pan to low-medium heat and continue stirring until smooth.
- Remove from the heat and stir in the cubed butter until completely melted and incorporated.
- Return the pan to low heat for 1–2 minutes, stirring occasionally, until the caramel is completely smooth and silky.
- Remove from the heat and stir in the vanilla bean paste and flaky sea salt.
- Allow the caramel to cool completely, then transfer to an airtight container. Store in the refrigerator for up to 3 weeks.
Notes
homemade salted caramel sauce | salted caramel sauce recipe | homemade caramel sauce | easy caramel sauce | salted caramel recipe | homemade caramel | caramel sauce recipe | easy salted caramel | buttery caramel sauce | homemade salted caramel | caramel topping | salted caramel topping

Nutritional Content Disclaimer
I choose not to include nutritional information with my recipes, as these values can be calculated from the ingredients provided. With my background as a pediatric nurse practitioner and my own family experience with disordered eating, I understand how focusing on numbers can affect our relationship with food. My philosophy is that all foods have a place—sweet, savory, nourishing, or indulgent. I aim to share recipes that support a healthy, joyful approach to eating. My hope is that this space also encourages a balanced, healthy relationship with food for you and your family too.