
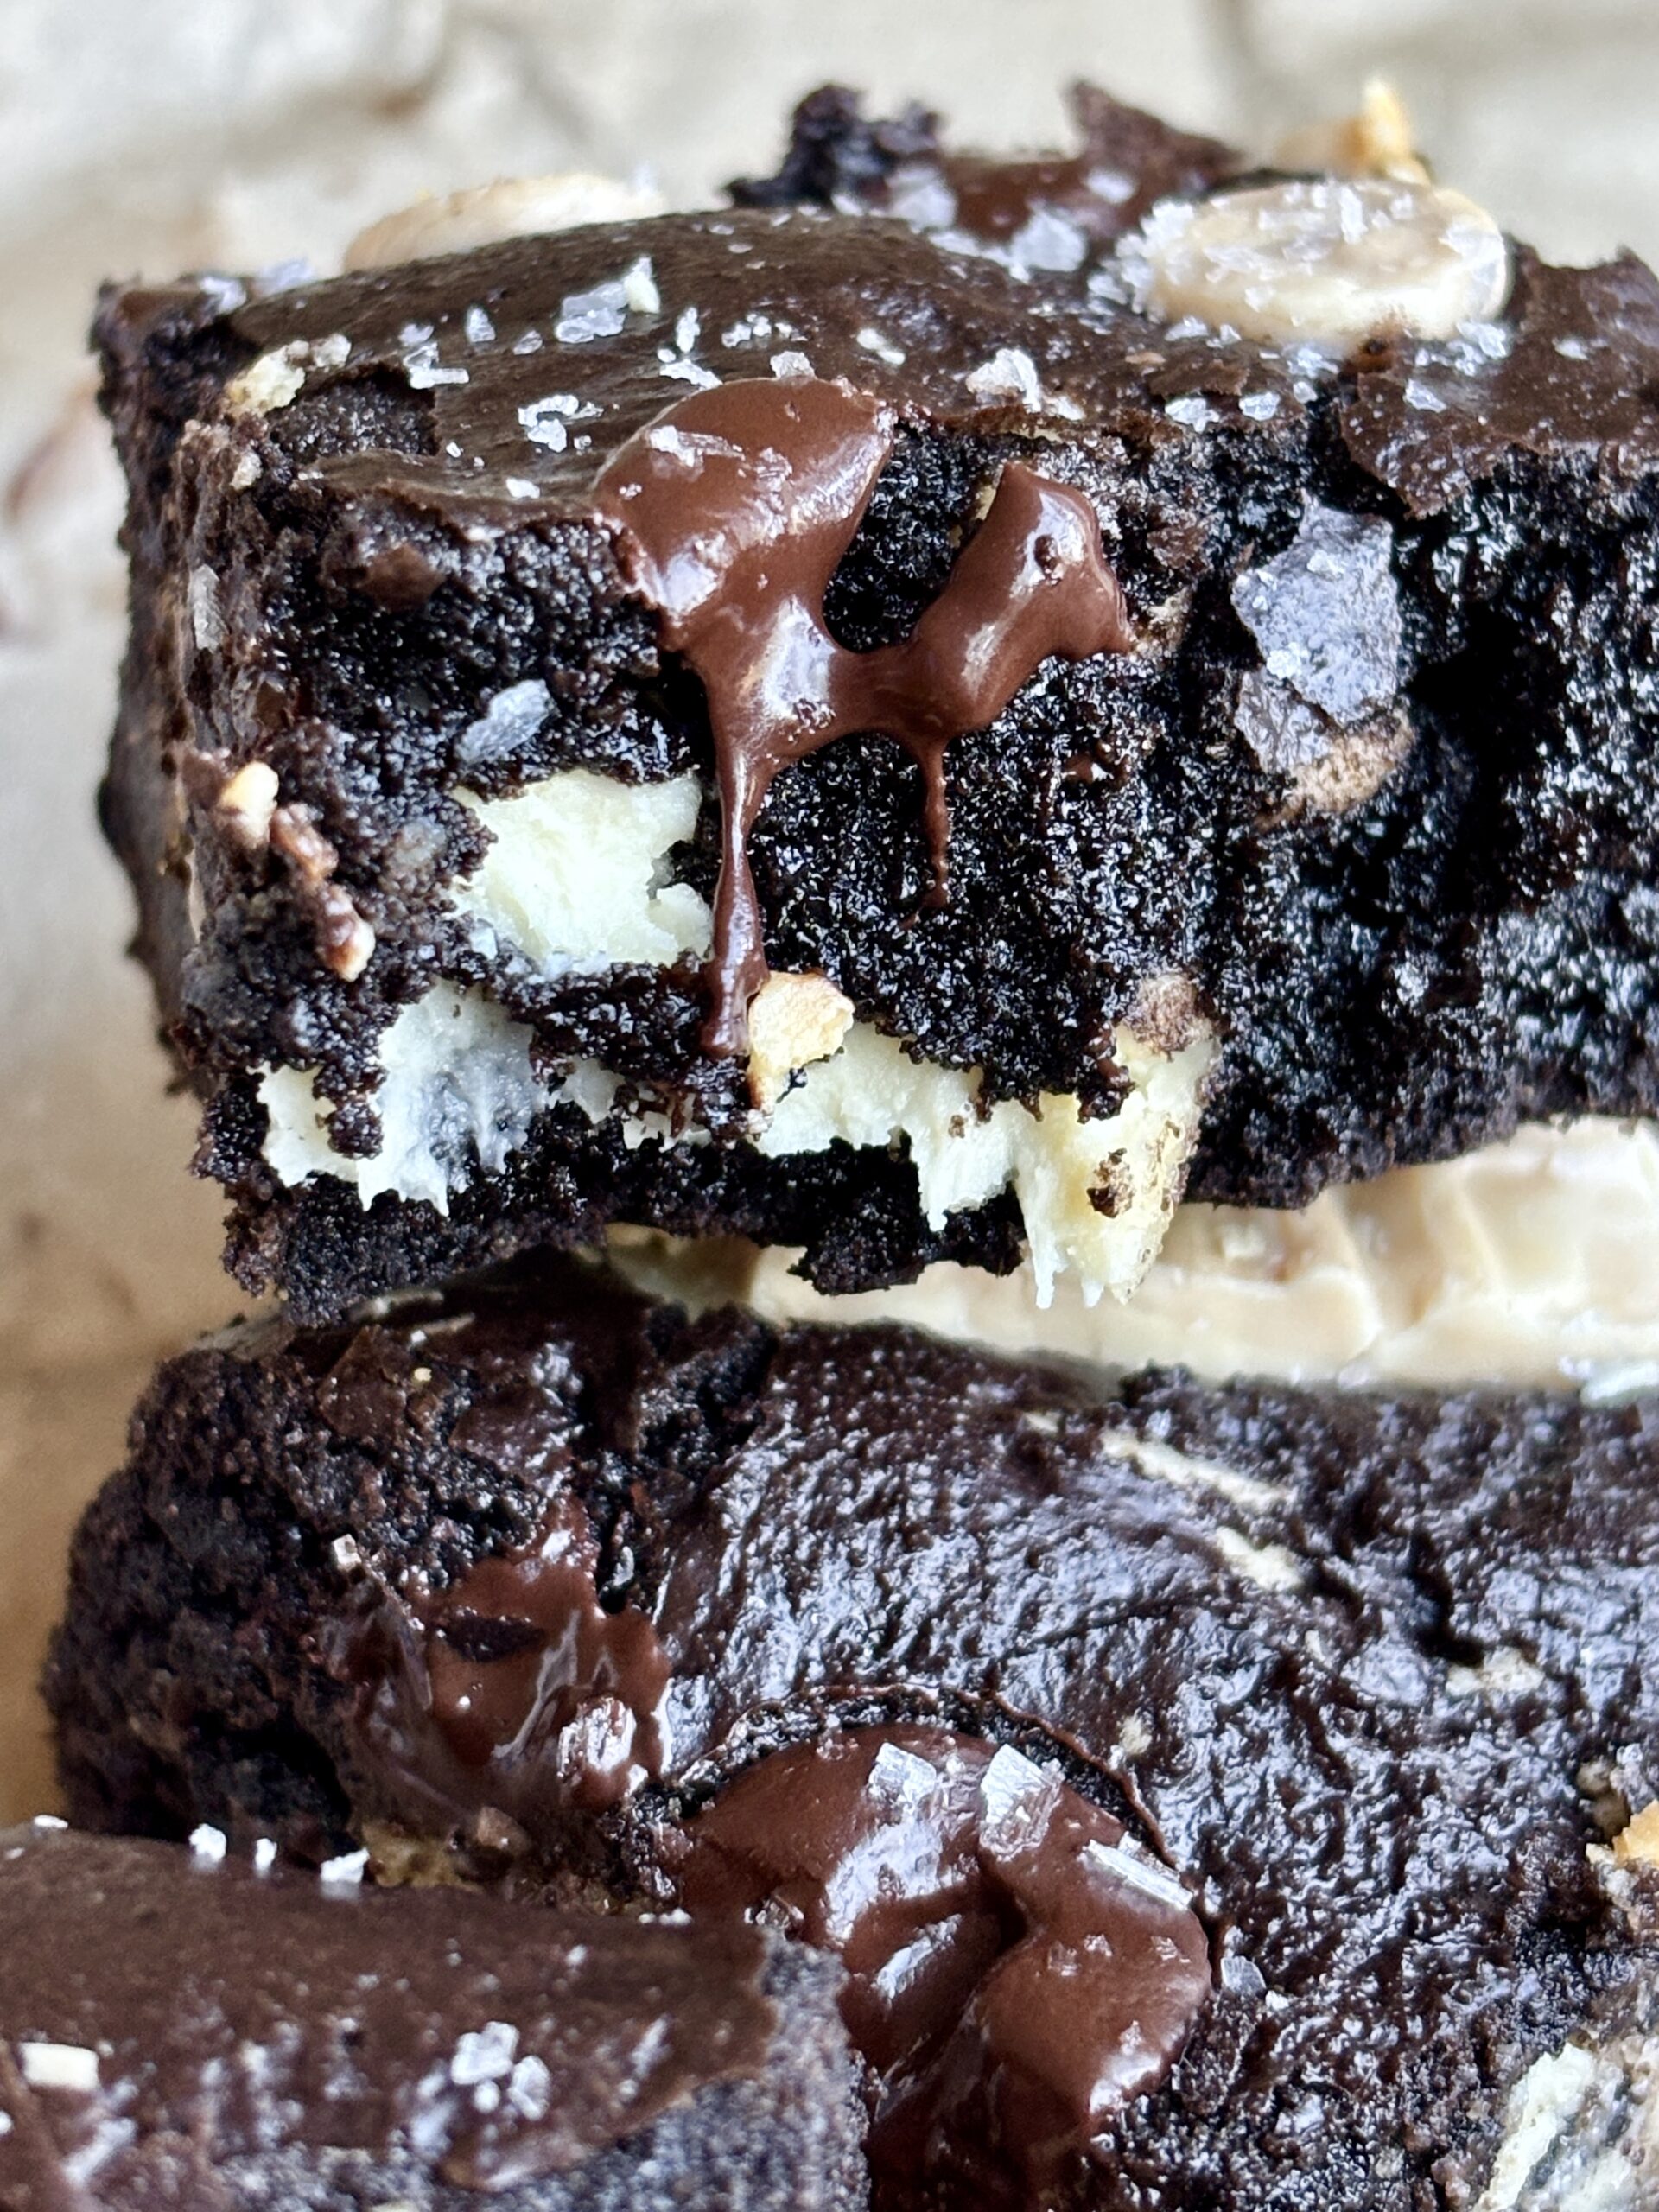
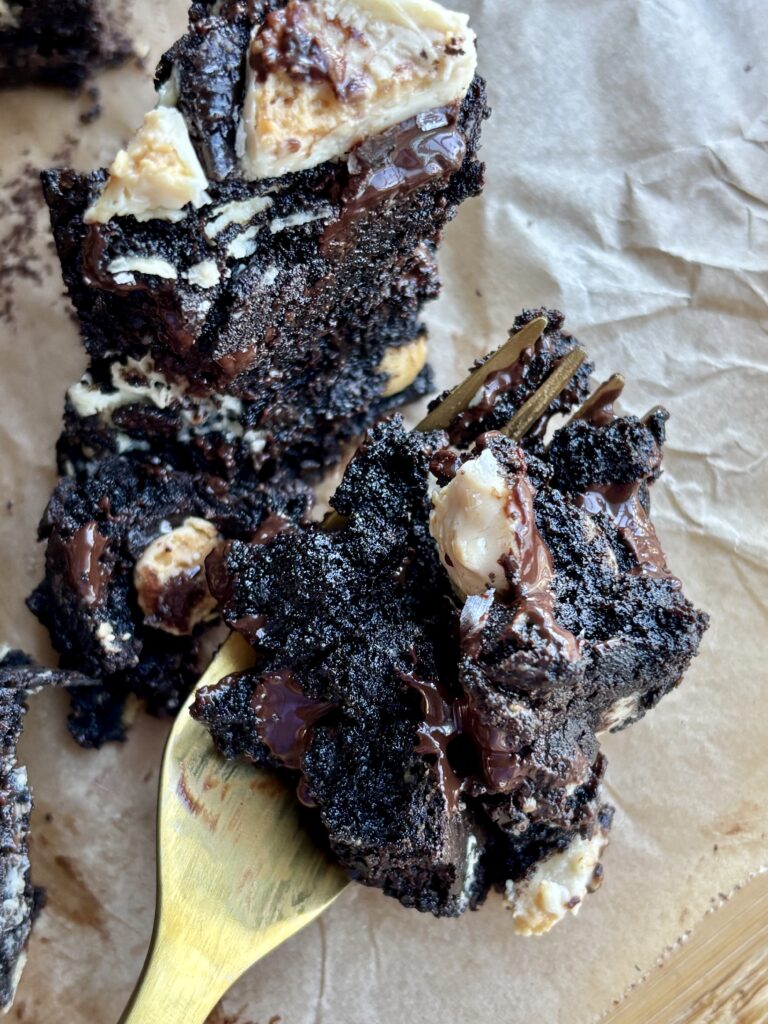
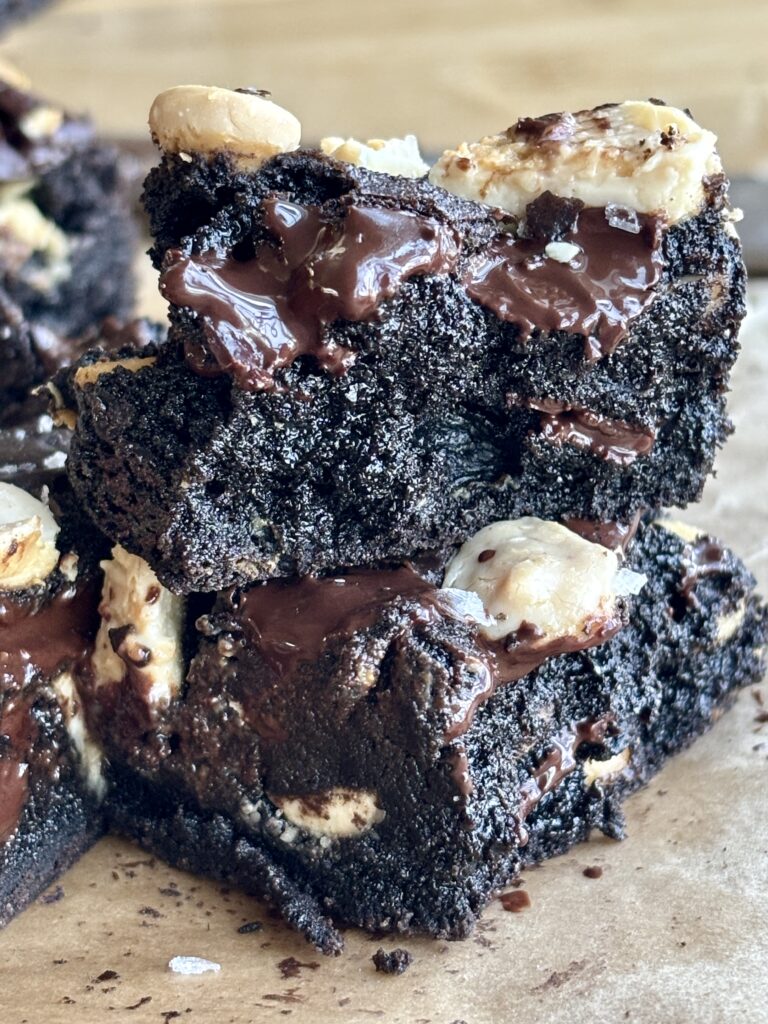
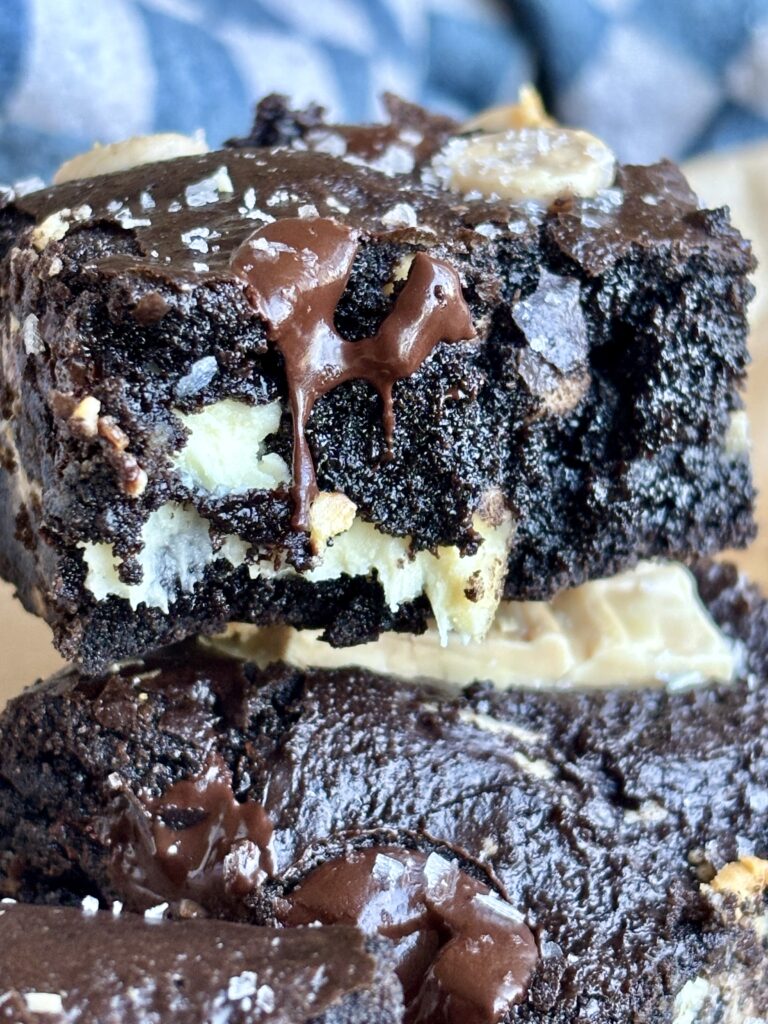
If you love Oreos and ridiculously fudgy brownies, these Fudgy Black Cocoa Brownies might just become your new favorite chocolate dessert. They’re rich, dark, incredibly chocolatey, and loaded with pockets of melted dark and white chocolate. And the best part? They taste like an Oreo cookie turned into a brownie, without a single Oreo in the batter!
The secret is black cocoa powder, which gives these brownies their signature almost black color and that familiar dark chocolate sandwich cookie flavor. Unlike traditional cocoa powder, black cocoa has a distinctive, smooth, deeply roasted flavor that pairs beautifully with the sweetness of white chocolate.
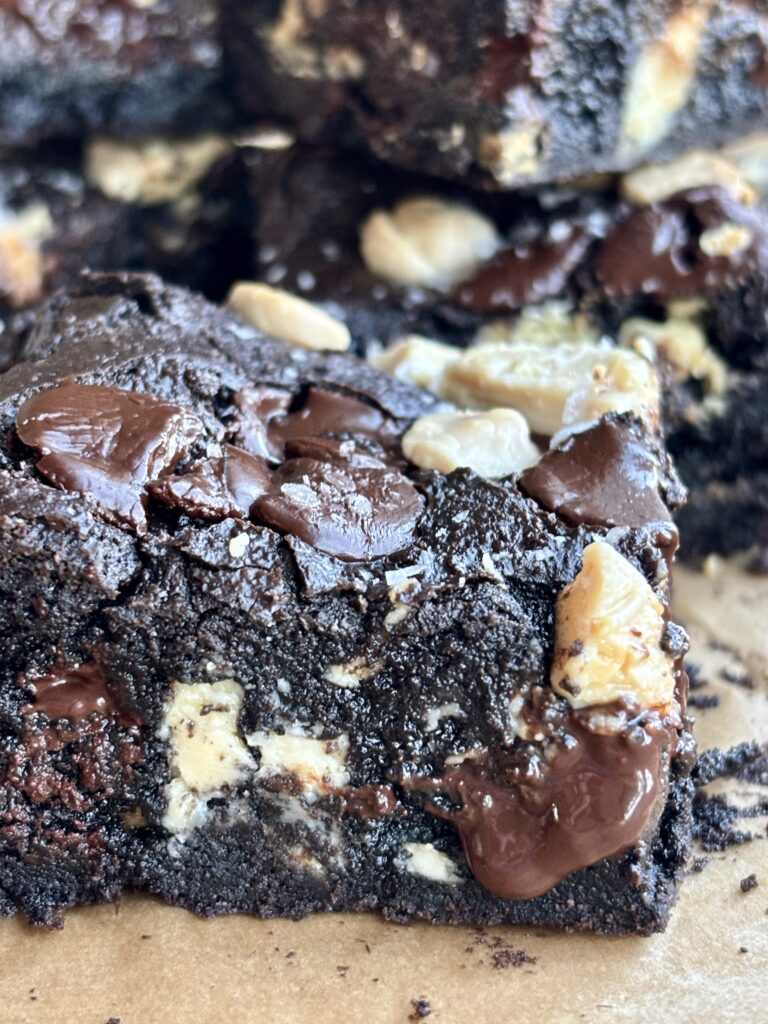
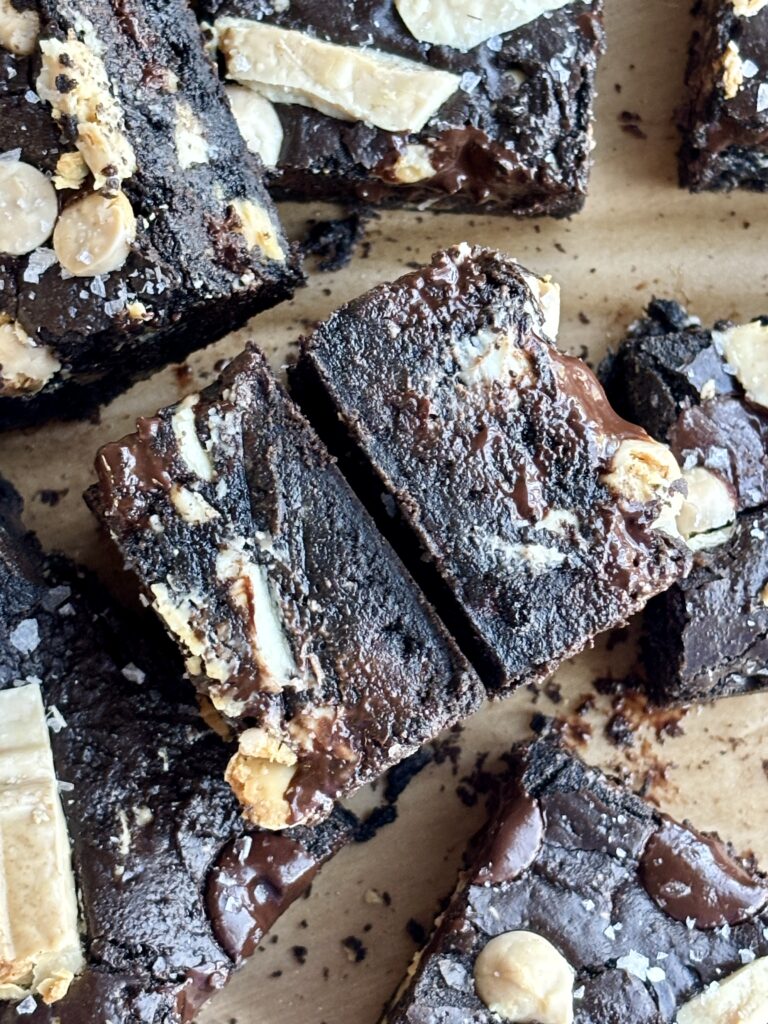
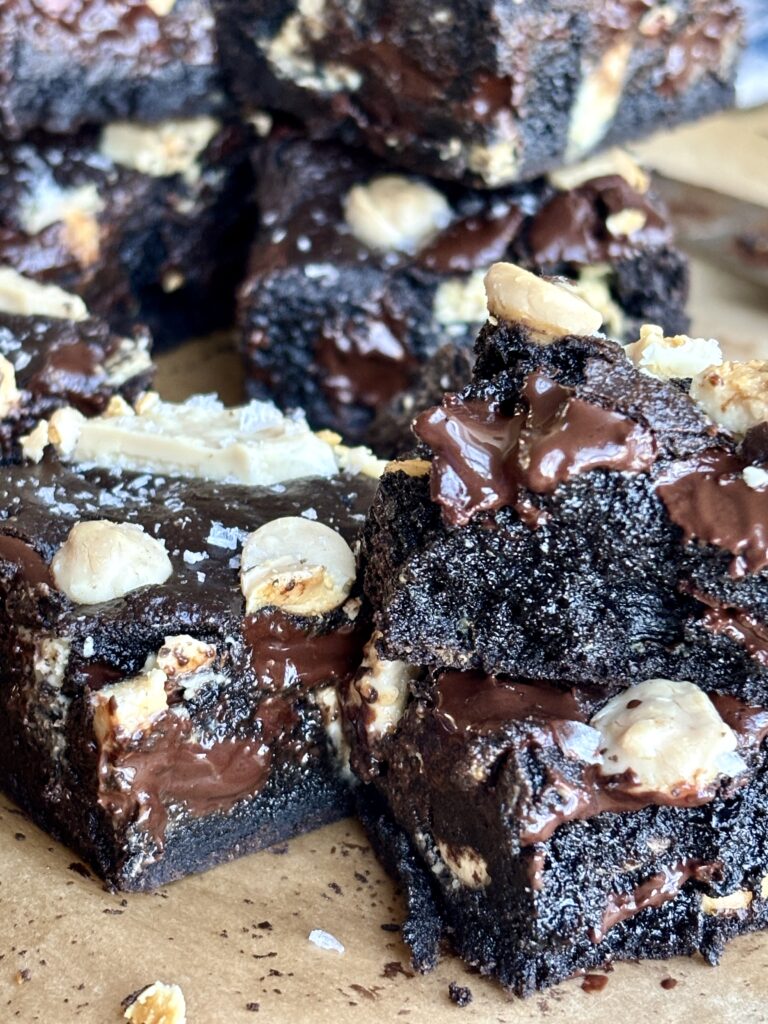
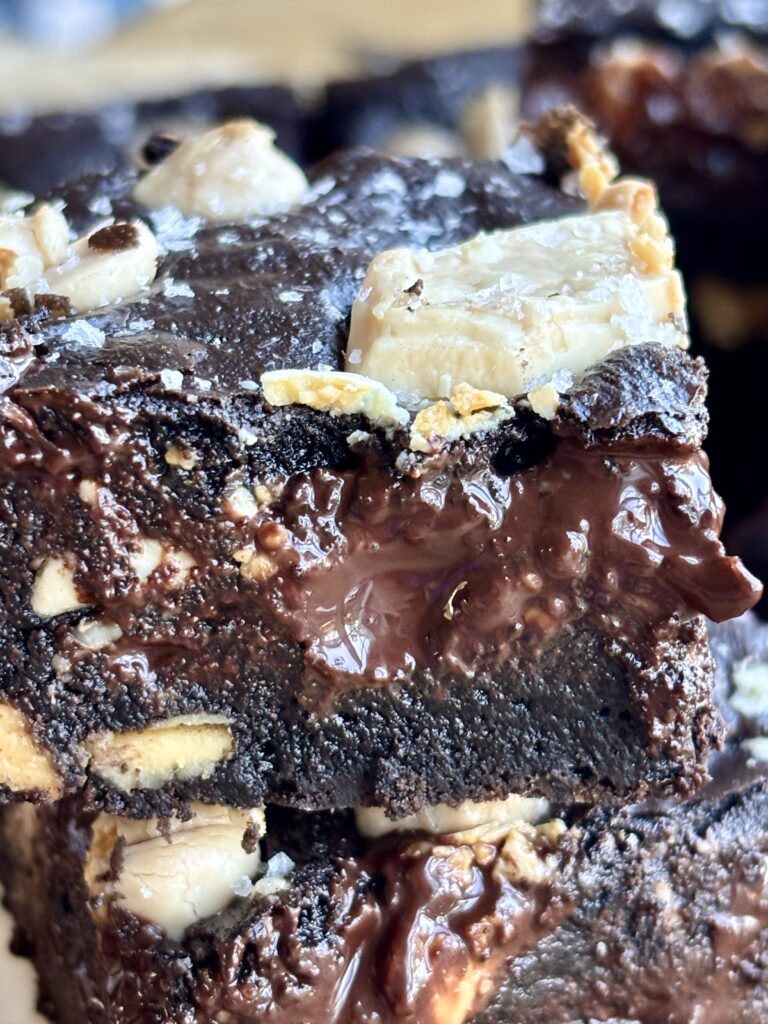
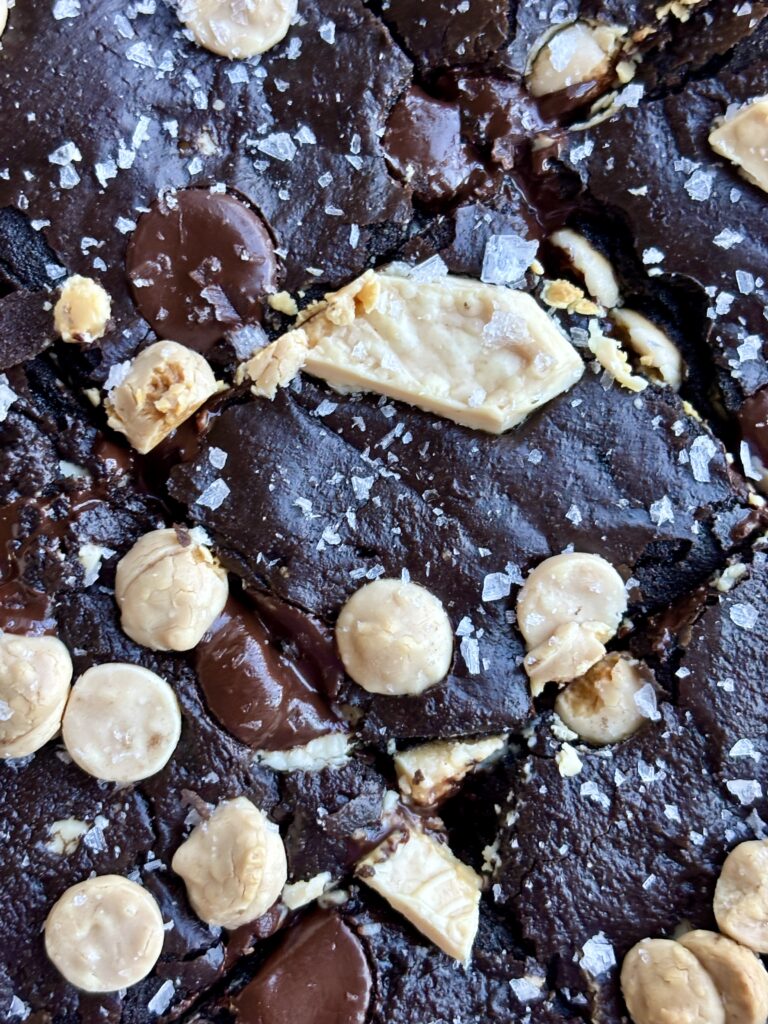
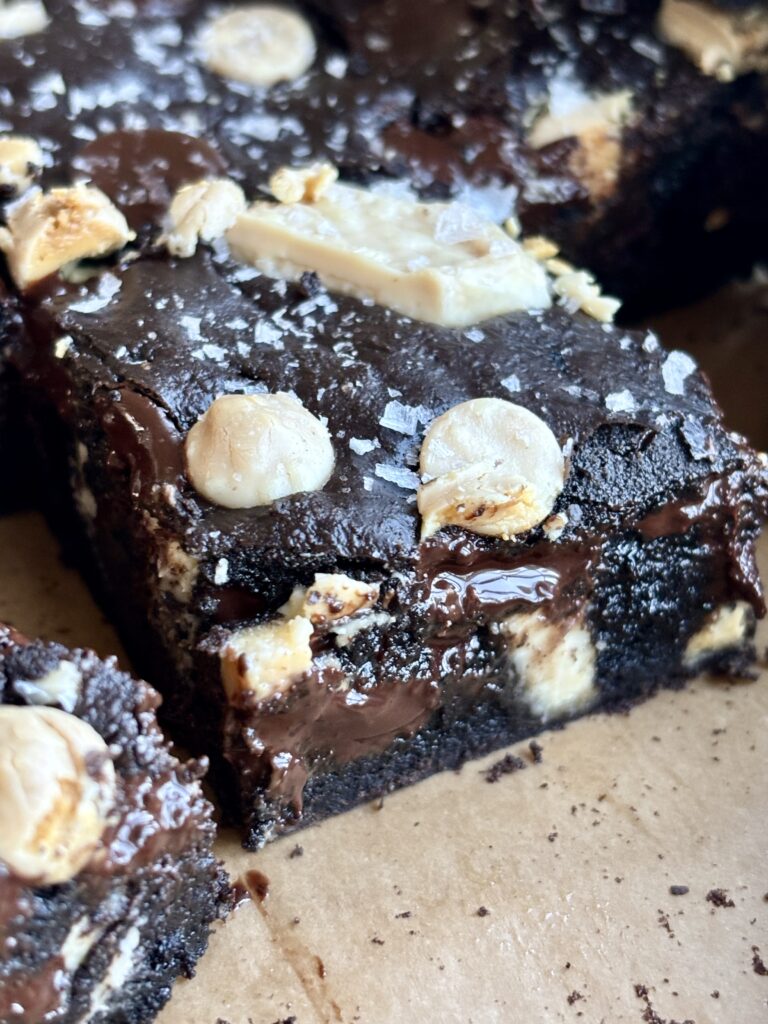
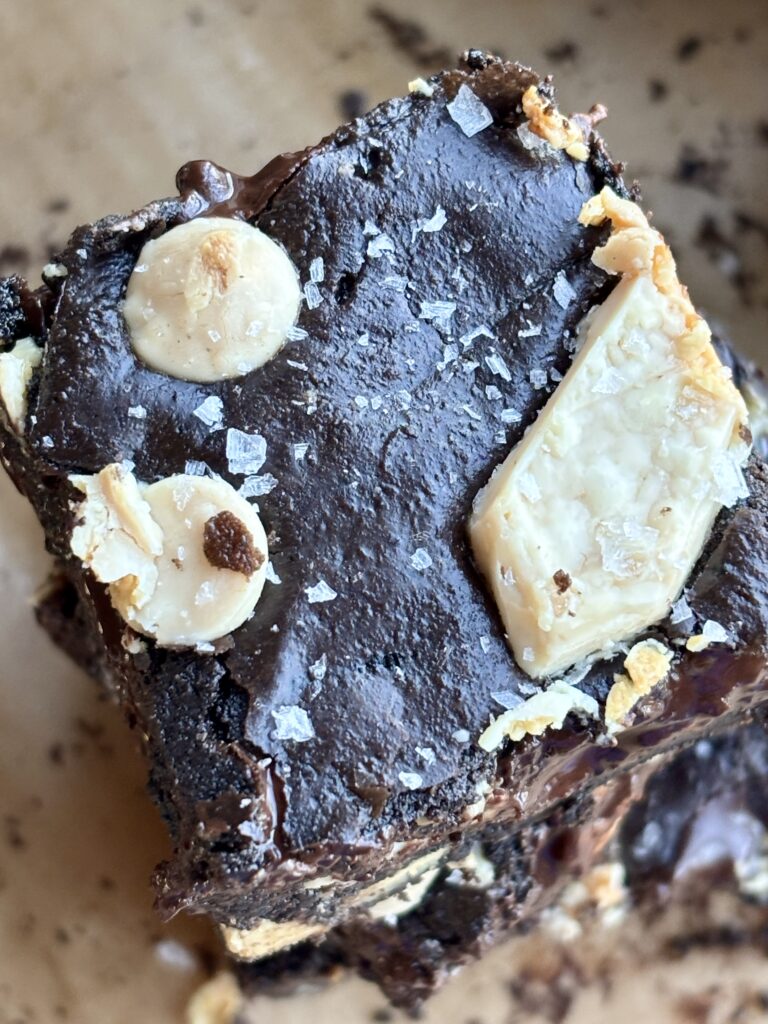
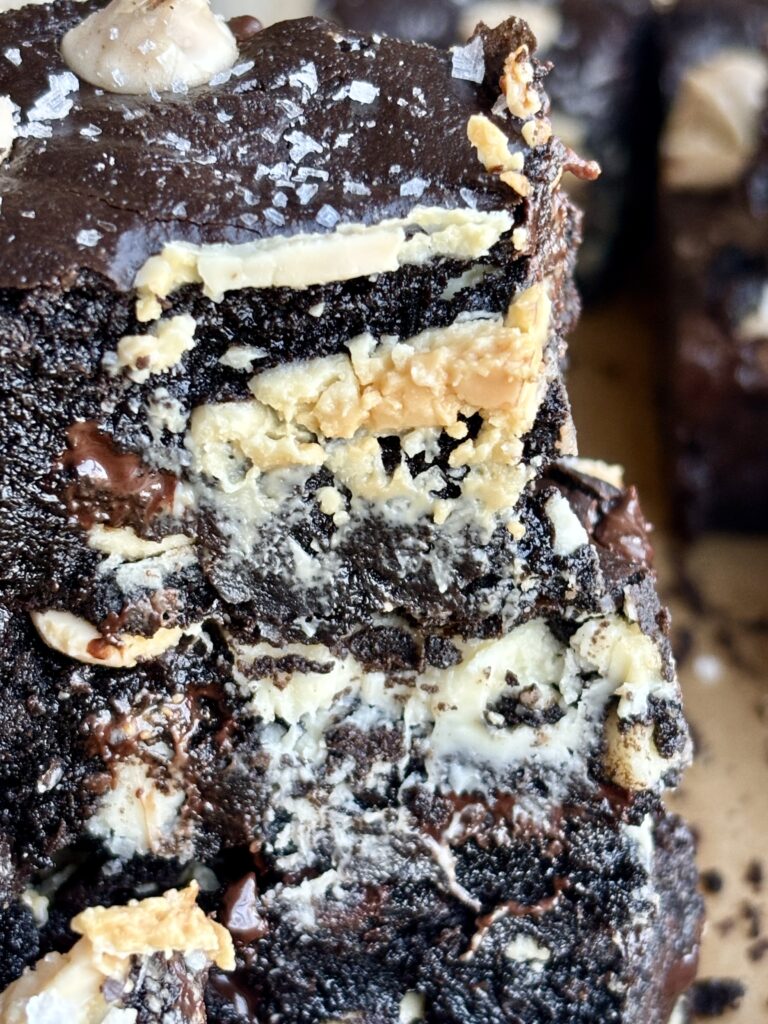
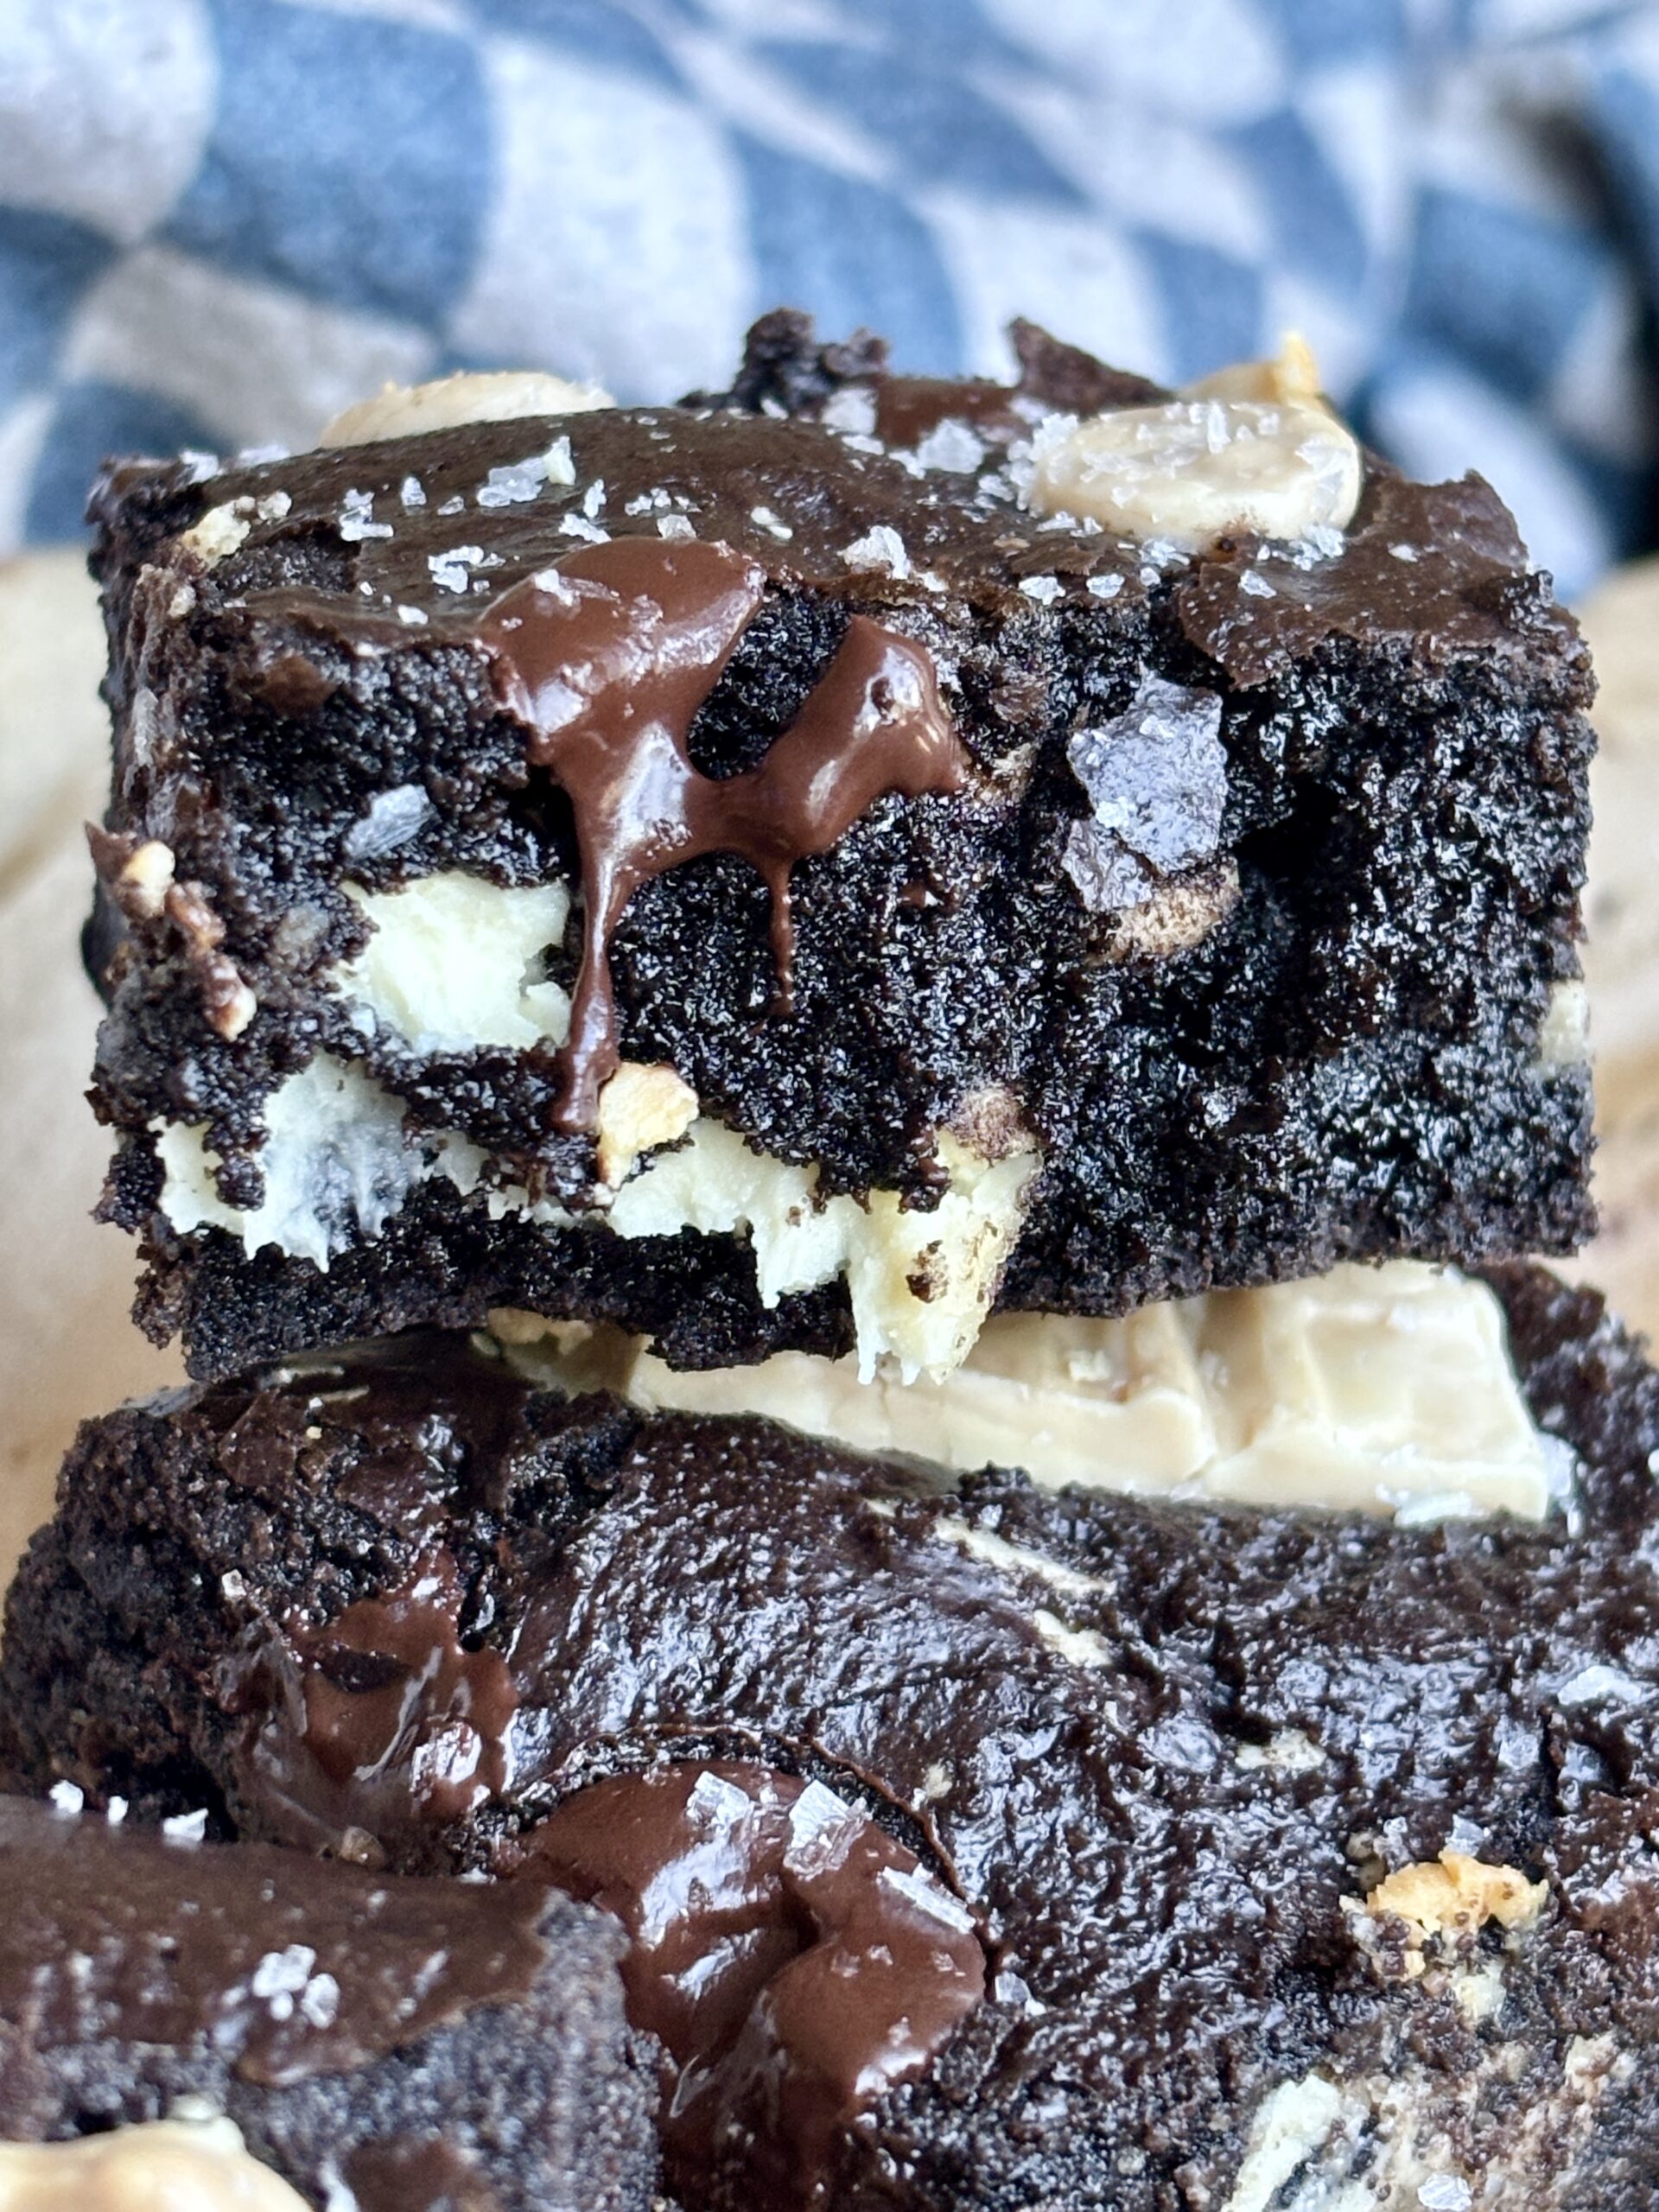
But these aren’t just brownies that happen to taste like Oreos. They’re everything I want in a homemade brownie: a shiny, crackly top, slightly chewy edges, and an ultra-fudgy center that practically melts in your mouth.
Melted dark chocolate in the batter adds richness and helps to create that dense, almost truffle-like texture, while a combination of dark chocolate chips and chopped white chocolate creates little pockets of chocolate throughout every bite. A sprinkle of flaky sea salt finishes everything off and balances all the sweetness.
If you’re someone who always reaches for the fudgiest brownie in the pan (like me!), then this recipe is absolutely for you.
And if you’re craving something a little more classic, be sure to try my more traditional Fudgy Dark Chocolate Brownies. They’re another favorite for serious chocolate lovers!
Why you’ll love this recipe!
What ingredients do I need?
- Unsalted Butter: Provides richness, moisture, and that soft, fudgy texture. Melting the butter with some of the sugar also helps create a smooth, glossy batter.
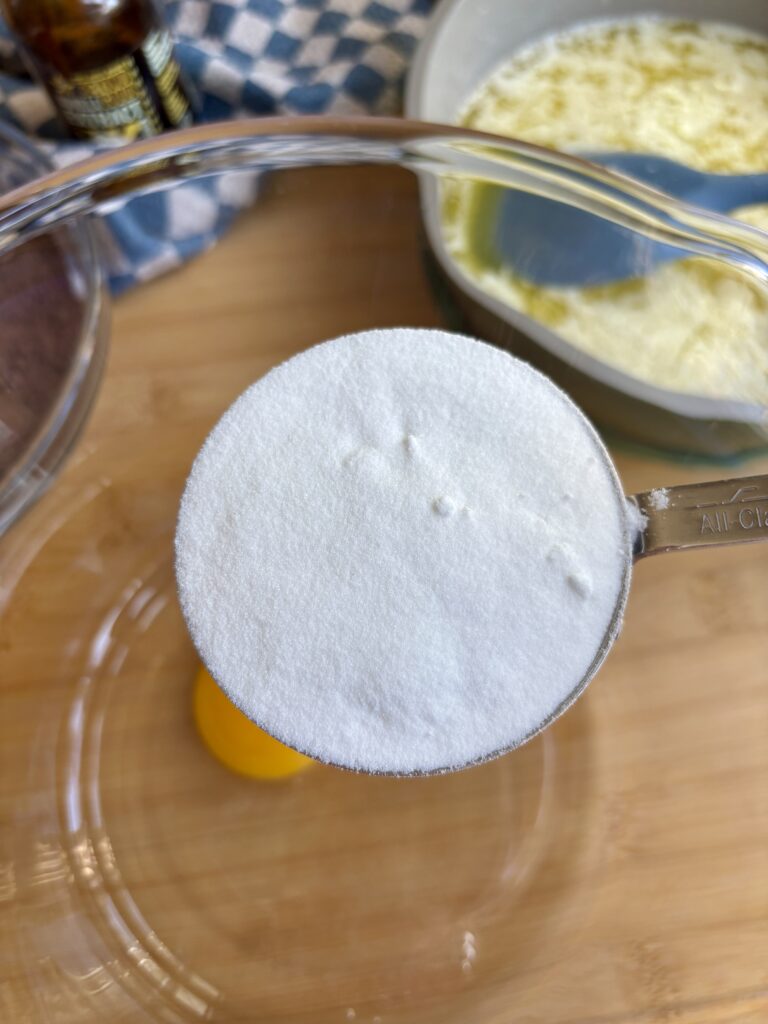
- Granulated Sugar: Sweetens the brownies, balances the intense cocoa flavor, and contributes to their shiny, crackly tops. Dividing the sugar between the butter and eggs helps develop the batter’s texture.
- Whole Egg and Egg Yolks: One whole egg provides structure, while two additional yolks add richness and help keep the brownies dense and fudgy.
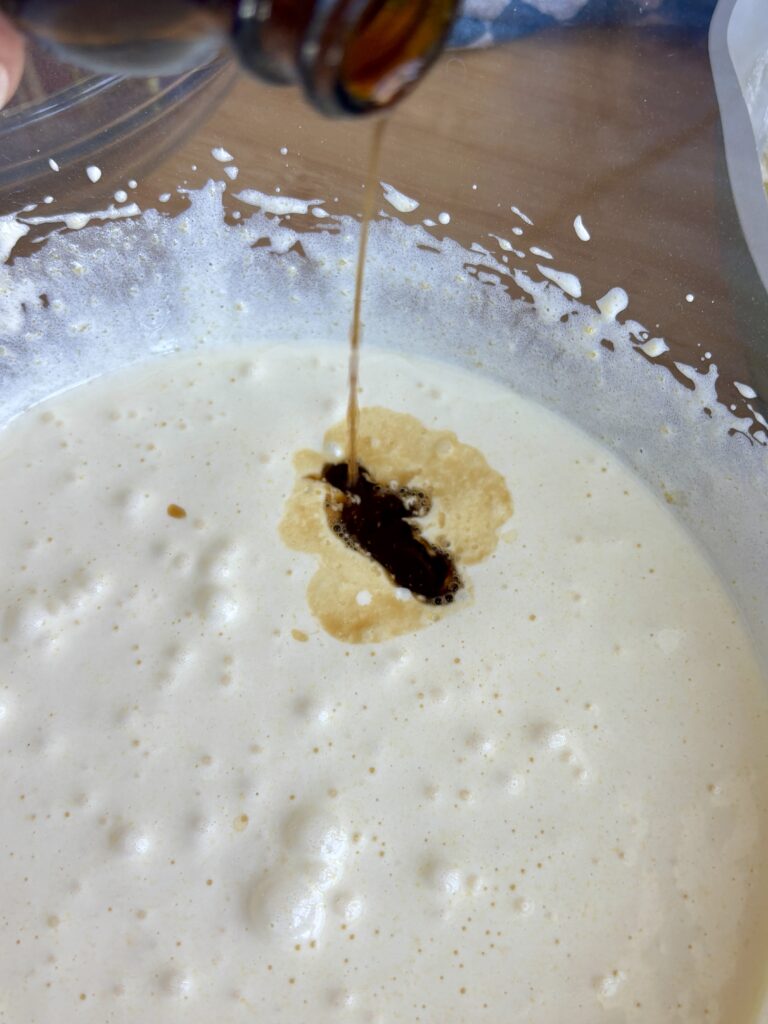
- Vanilla Bean Paste or Vanilla Extract: Enhances the chocolate flavor and adds a subtle warmth that complements the black cocoa.
- Black Cocoa Powder: The star ingredient! Black cocoa is heavily Dutch-processed, giving it an extremely dark color and a smooth, distinctive flavor reminiscent of the chocolate cookies in Oreos.
- All-Purpose Flour: Provides just enough structure to hold the brownies together without making them cakey.
- Espresso Powder: Enhances the chocolate flavor without making the brownies taste noticeably like coffee.
- Kosher Salt: Balances the sweetness and brings out the richness of the chocolate.
- Melted Dark Chocolate: Adds another layer of chocolate flavor and helps create that dense, fudgy center.
- Dark Chocolate Chips: Create rich pockets of chocolate throughout the brownies. I recommend 70–72% cacao for a less-sweet contrast to the white chocolate.
- Chopped White Chocolate: Adds creamy, sweet pockets that complement the dark cocoa and contribute to that cookies and cream inspired flavor.
- White Chocolate Chips: Add extra bursts of sweetness and creamy white chocolate flavor throughout the brownies.
- Flaky Sea Salt: A finishing touch that balances the richness and makes the chocolate flavors stand out.
Recipe Variations
- Extra Dark Chocolate Brownies: Replace the white chocolate with additional dark chocolate for an intensely chocolate-forward brownie.
- Cookies and Cream Brownies: Fold in roughly chopped chocolate sandwich cookies for a version with actual cookie pieces. This is a variation of the original recipe, which contains no Oreos.
- Espresso Black Cocoa Brownies: Increase the espresso powder slightly for a more noticeable coffee flavor.
- Black Cocoa Brownie Sundaes: Serve slightly warmed brownies with vanilla ice cream, hot fudge, and a sprinkle of flaky sea salt.
Pro Tips
- Use a metal baking pan. An 8×8-inch metal pan promotes more predictable baking and helps the brownies cook evenly. Glass and ceramic pans can change how the edges and center bake.
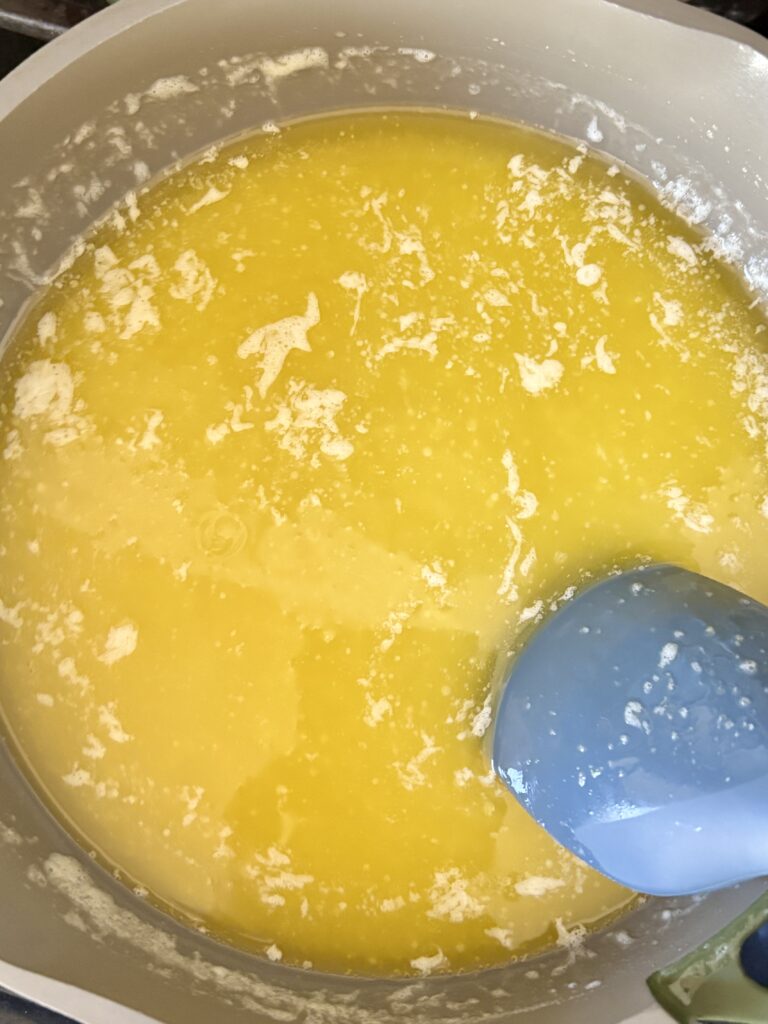
- Don’t overheat the butter and sugar. Warm the mixture gently until glossy and the sugar begins to soften. The sugar does not need to dissolve completely, and the mixture should not boil.
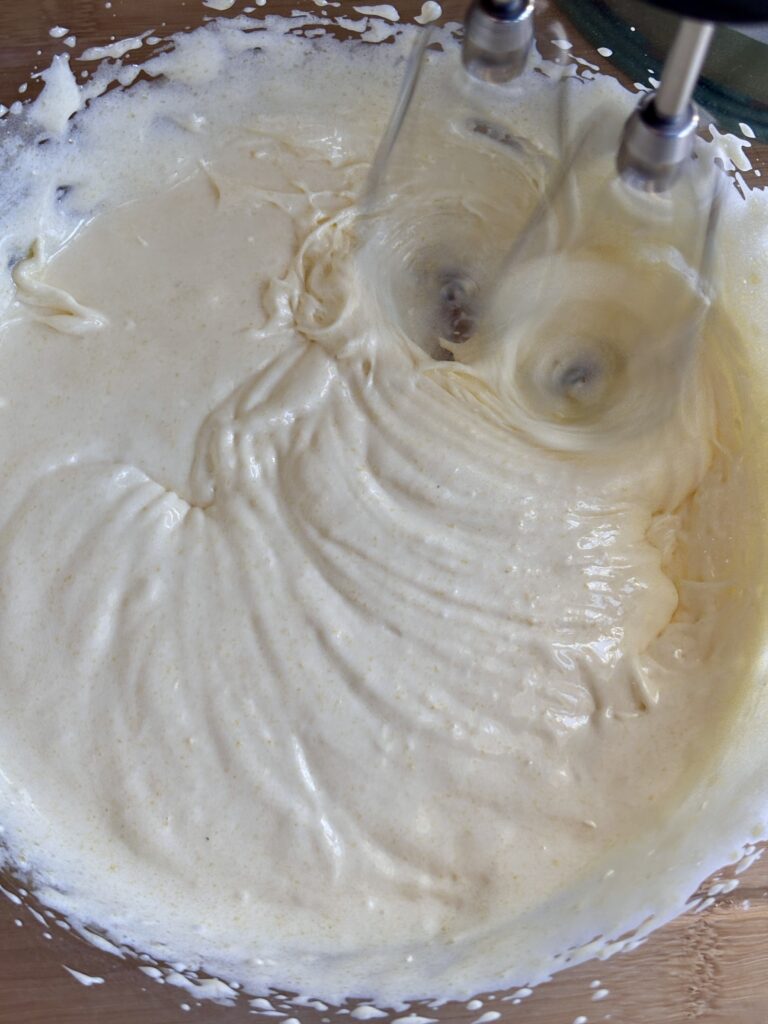
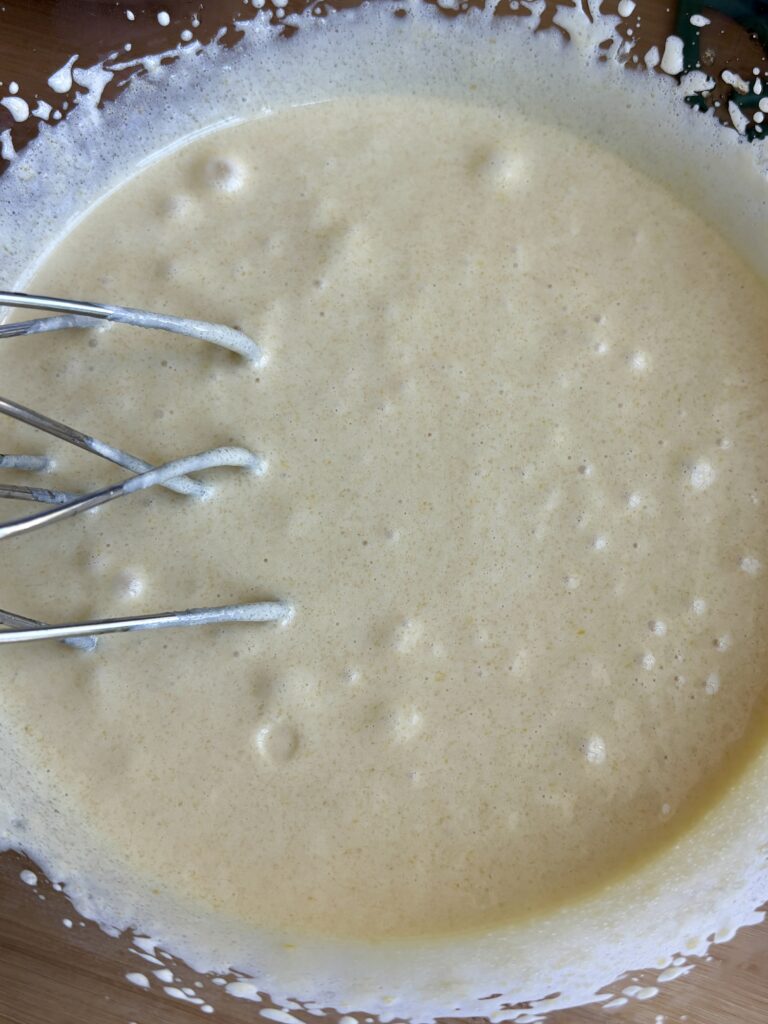
- Whip the eggs and sugar properly. Beat them until thick, pale, and creamy. This step helps develop the shiny, delicate crust on top of the brownies.
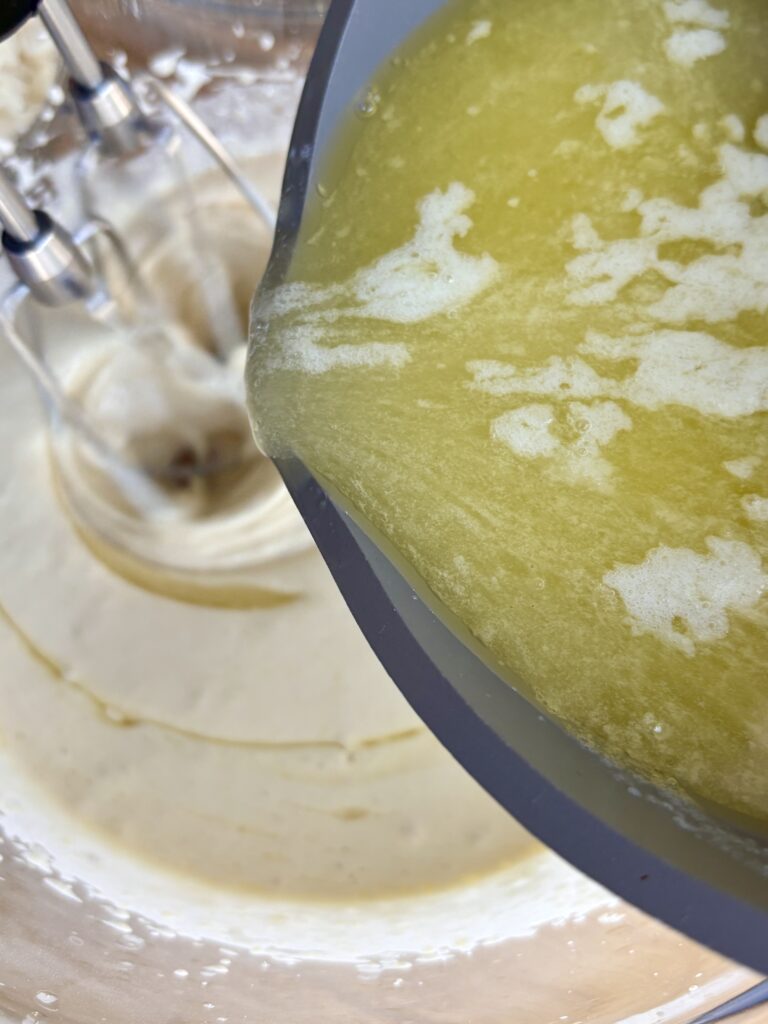
- Let the butter cool slightly before using. Adding very hot butter to the eggs can cause them to cook prematurely. The mixture should still be warm but comfortable enough to incorporate gradually.
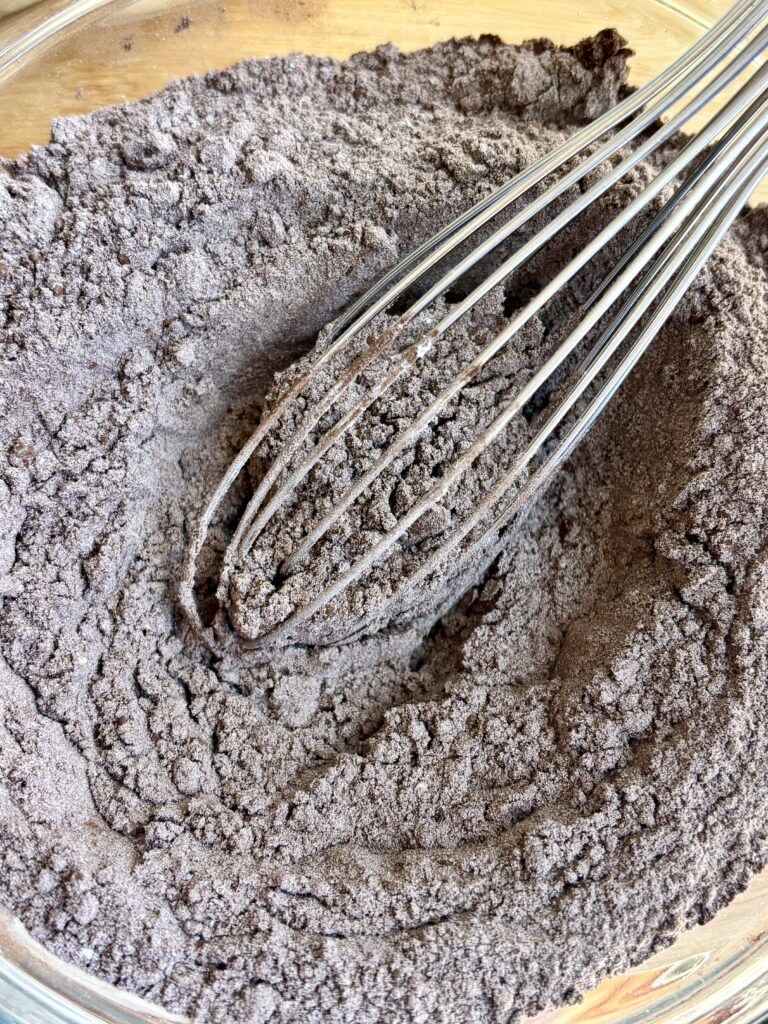
- Sift the cocoa powder. Black cocoa can form lumps, so sift it with the flour and other dry ingredients for a smooth, evenly mixed batter.
- Measure your flour carefully. Spoon the flour into your measuring cup and level it off rather than scooping directly from the bag. Too much flour can make the brownies dry or cakey.
- Avoid overmixing once the flour goes in. Mix only until the dry ingredients disappear. Excessive mixing can develop gluten and make the brownies tougher.
- Use good-quality chocolate if possible. Since chocolate is the main flavor, the type you choose makes a noticeable difference. I prefer dark chocolate, around 70–72% cacao, to balance the sweetness of the white chocolate.
- Don’t overbake! Look for set edges, a shiny top, and a center with a slight jiggle. A toothpick should come out with moist, fudgy crumbs, not wet batter or completely clean.
- Be patient and let them cool completely. These brownies need time to set. Cutting them while warm can make them fall apart, even if they’re properly baked.
- Chill before slicing for clean, bakery-style squares. You can do this by refrigerating the cooled brownies for 1–2 hours. Use a sharp knife, wiping the blade between cuts.
- Finish with flaky sea salt. A little salt balances the dark and white chocolate and makes the brownies taste even richer.
Can I Substitute?
Yes! Like always though, any substitutions made to the recipe can result in a change in texture and/or flavor.
- Black Cocoa Powder: You can substitute dark blend cocoa powder, although the flavor and color will vary depending on the blend. Regular Dutch-process cocoa powder will also work, but the brownies won’t have the same deep black color or distinctive Oreo-like flavor.
- Unsalted Butter: Salted butter can work in a pinch. Reduce the added salt slightly to account for the salt in the butter.
- Vanilla Bean Paste: Substitute an equal amount of pure vanilla extract.
- Espresso Powder: You can leave it out if you prefer. The brownies will still have plenty of chocolate flavor.
- Dark Chocolate: Semisweet chocolate is a good alternative if you prefer a slightly sweeter brownie. Choose a chocolate you enjoy eating on its own.
- White Chocolate: You can use all white chocolate chips instead of a combination of chopped chocolate and chips. Chopped white chocolate typically melts into softer pockets, while chips tend to hold their shape.
- Kosher Salt: Table salt can work, but use slightly less because it is more concentrated by volume.
Dietary Substitutions
- Gluten-Free: Replace the all-purpose flour with a good-quality 1:1 gluten-free baking flour designed for direct substitution. This variation has not been tested with this specific recipe, so texture and baking time may differ.
- Nut-Free: The recipe does not call for nuts, but always check your chocolate, cocoa powder, and other ingredient labels for potential cross-contact if baking for someone with a nut allergy.
- Egg-Free: I don’t recommend a simple egg substitute for this recipe. The whole egg and additional yolks contribute significantly to the fudgy texture and structure.
Leftovers and Storage
- Room Temperature: Store completely cooled brownies in an airtight container at room temperature for approximately 3–4 days. Keep them in a cool, dry place away from direct sunlight or heat. Place parchment paper between layers to prevent sticking.
- Refrigerator: For a firmer, extra-dense fudgy texture, refrigerate the brownies in an airtight container for up to 1 week. Allow them to sit at room temperature for a few minutes before serving if you prefer a softer texture.
- Freezer: These brownies are great for freezing! Allow them to cool completely, then wrap individual brownies tightly in plastic wrap and place them in a freezer-safe container or resealable bag. Freeze for up to 3 months for best quality.
- Thawing: Transfer frozen brownies to the refrigerator overnight, or let them thaw at room temperature, while still wrapped to help prevent condensation from forming directly on the surface.
- Reheating: For a warm, gooey brownie, microwave an individual piece in short 5–10-second intervals until just warmed through. Be careful not to overheat, as the chocolate can become extremely hot.
Troubleshooting
Dry or Cakey Brownies: Overbaking, too much flour, or overmixing can lead to dry, cakey brownies. Measure your flour carefully, mix just until combined, and remove the brownies when the edges are set and the center still has a slight jiggle. They’ll continue to firm up as they cool.
No Shiny, Crackly Top: Make sure to whip the eggs, egg yolks, and sugar for the full 2–3 minutes until thick, pale, and creamy. Gently warming the remaining sugar with the butter also helps encourage that signature shiny crust.
Underbaked or Gooey Center: These brownies should be fudgy, not raw. If the center still looks liquid, bake for a few additional minutes. A toothpick should come out with moist, fudgy crumbs rather than wet batter. Use an 8×8-inch metal pan for the most consistent results.
Sunken Brownies: A little sinking is normal with ultra-fudgy brownies. Significant sinking can indicate an underbaked center or too much air incorporated into the batter. Avoid overmixing after adding the dry ingredients, and make sure the center is properly baked before removing the pan from the oven.
Hard or Overbaked Edges: Dark metal pans and excessive baking time can cause the edges to become too firm. Use a light-colored metal pan if possible, and begin checking for doneness at 35 minutes.
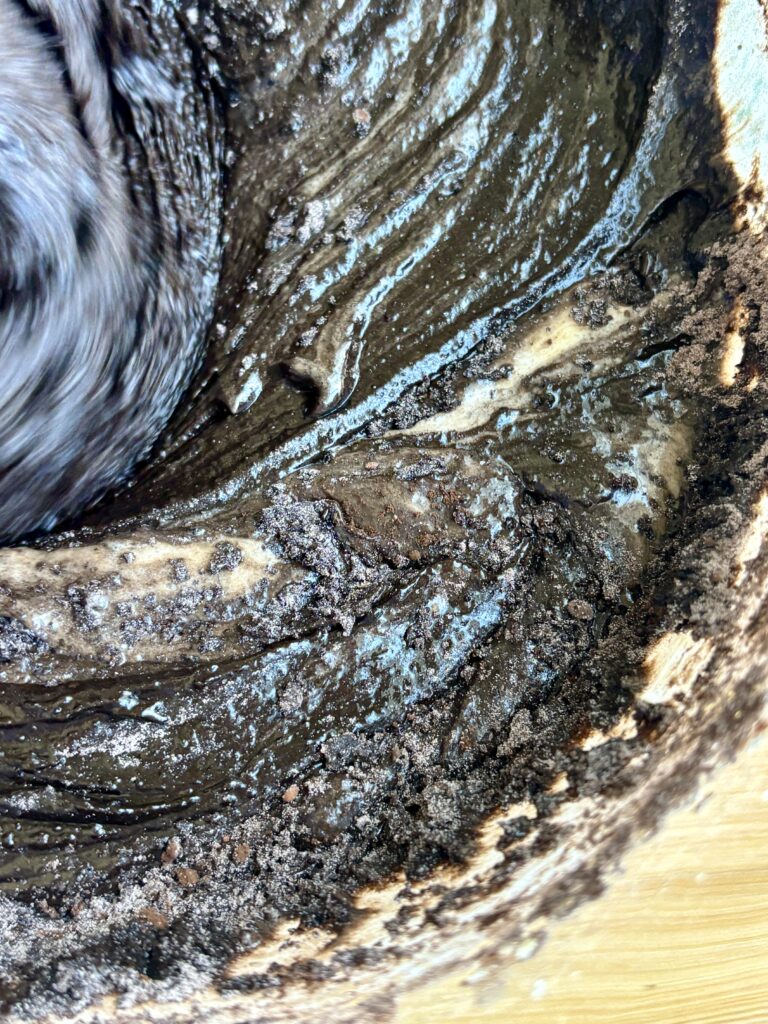
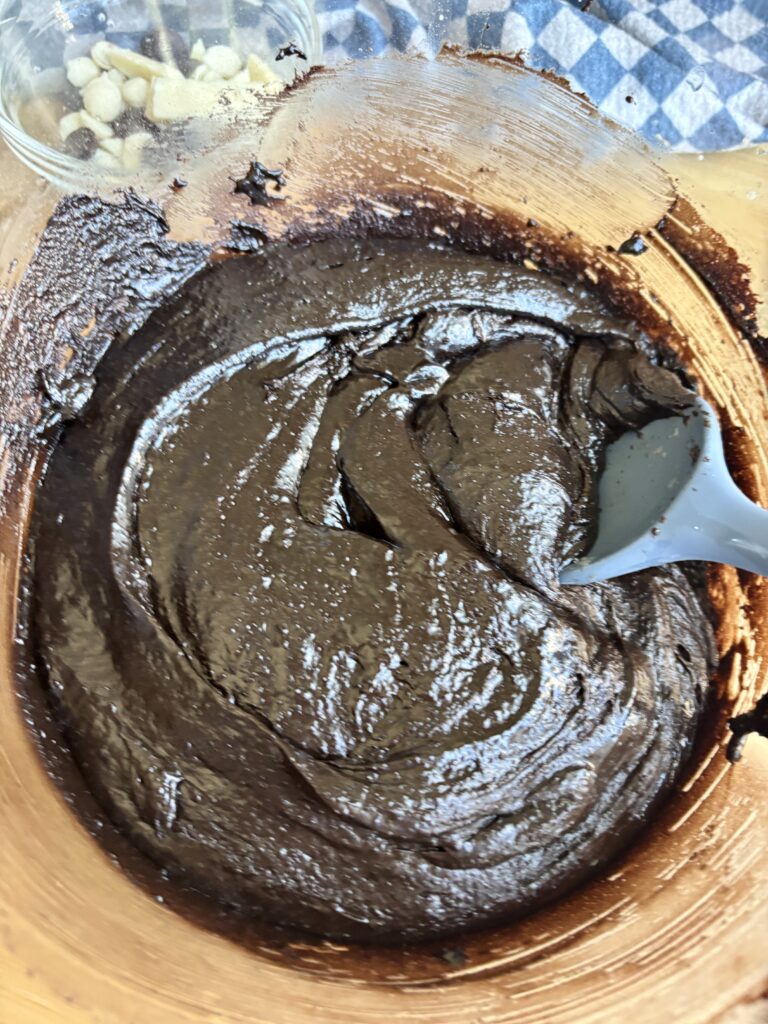
Thick or Stiff Batter: This batter should be thick and spreadable, but not dry or crumbly. Too much flour or cocoa powder can make it excessively stiff. Measure both ingredients carefully and avoid packing them into measuring cups.
Bitter Chocolate Flavor: Black cocoa and dark chocolate create an intense chocolate flavor. For a sweeter brownie, try using 60–65% dark chocolate instead of 70–72%, or replace a portion of the black cocoa with Dutch-process cocoa powder.
White Chocolate Disappearing Into the Batter: Finely chopped white chocolate can melt into the brownies during baking. Use larger chunks for more noticeable pockets of chocolate, and reserve some to press into the top before baking.
Brownies Falling Apart When Sliced: These brownies need time to cool and set because of their high butter and chocolate content. Cool completely, then refrigerate for 1–2 hours before slicing. Use a sharp knife and wipe it clean between cuts.
Greasy Brownies: Butter or oil separating from the batter can indicate that the ingredients didn’t emulsify properly. Allow the butter mixture to cool slightly before adding it to the eggs, and incorporate it slowly while mixing.
Brownies Sticking to the Pan: Line your baking pan with parchment paper, leaving overhang on two sides. Allow the brownies to cool completely before lifting them out.
Missing Oreo-Like Flavor: True black cocoa powder creates that distinctive dark chocolate sandwich cookie flavor. Regular cocoa powder or some dark cocoa blends won’t deliver quite the same result. The white chocolate also helps recreate that cookies and cream contrast.
Brownies Too Firm After Refrigerating: The butter and chocolate naturally firm up when chilled, creating an extra-dense, almost truffle-like texture. Let the brownies sit at room temperature for 15–20 minutes before serving for a softer consistency.
But, I Still Have A Few Questions…
What is black cocoa powder?
Black Cocoa Powder is a heavily Dutch-processed cocoa powder that has been treated with an alkalizing agent to reduce acidity and create an exceptionally dark color. It has a smooth, distinctive chocolate flavor similar to the dark chocolate cookies used in Oreos.
Do these brownies actually contain Oreos?
Nope! Despite their Oreo-like flavor, these brownies don’t contain any Oreo cookies. Black cocoa powder gives them that signature dark chocolate sandwich cookie taste, while white chocolate adds the creamy sweetness that makes the combination so delicious.
Do black cocoa brownies taste different from regular brownies?
Yes! Black cocoa has a distinctive, dark, roasted chocolate flavor that differs from traditional cocoa powder. It’s generally less acidic and has a smoother, more mellow chocolate taste. Combined with melted dark chocolate, it creates a brownie that’s rich and intensely chocolatey.
Can I substitute regular cocoa powder for black cocoa?
Yes, you can.Although the results will taste and look different. Regular natural cocoa powder has a lighter color and more acidic flavor. I recommend Dutch-process cocoa powder as a closer substitute. For the most distinctive Oreo-inspired flavor, black cocoa is the best choice here. If you want a more traditional brownie, then I would suggest making my viral Fudgy Dark Chocolate Brownies!
What is the difference between black cocoa and dark cocoa powder?
Black cocoa undergoes more extensive alkalization than typical Dutch-process cocoa, giving it an almost-black appearance and distinctive flavor. Dark cocoa powders vary by brand and may contain a blend of natural, Dutch-process, or black cocoa. Check the ingredients to see what you’re purchasing.
Why do these brownies have both cocoa powder and melted chocolate?
Using both creates a more complex chocolate flavor and a wonderfully fudgy texture. Black cocoa provides the distinctive dark chocolate cookie flavor, while melted dark chocolate adds richness, cocoa butter, and density. Together, they create a brownie with a deep chocolate flavor and a soft, fudgy center.
Why are there extra egg yolks in this recipe?
Extra egg yolks contribute fat and richness without adding as much liquid or protein as additional whole eggs. This helps create a dense, tender brownie rather than a light, cakey one.
How do I get shiny, crackly tops on brownies?
Whipping the eggs and sugar until thick and creamy helps develop that shiny, delicate crust. Gently warming some of the sugar with the butter also helps it dissolve. Avoid overmixing once the dry ingredients are added. These techniques encourage a crackly top, although the exact appearance can vary.
Why are my brownies cakey instead of fudgy?
Cakey brownies can result from too much flour, excessive mixing, or overbaking. Measure the flour carefully, mix gently after adding the dry ingredients, and remove the brownies when the center still looks slightly soft. Remember that brownies continue to set as they cool.
How do I know when the brownies are done?
The edges should look set, the top should appear shiny and crackly, and the center should have a slight jiggle. A toothpick inserted near the center should come out with moist, fudgy crumbs rather than liquid batter. Don’t wait for a completely clean toothpick, or the brownies may become overbaked.
Why did my brownies sink in the middle?
A little settling is normal for dense, fudgy brownies. However, a significant collapse can happen if the center is underbaked or the eggs were overwhipped. Make sure the edges are set and the center is no longer liquid before removing the pan from the oven.
Can I use a 9×9-inch baking pan instead?
Yes, but the brownies will be thinner and will likely bake more quickly. Begin checking them earlier than the recommended 35-minute mark (maybe closer to the 28-30 minute mark). For the thickest, fudgiest brownies, I prefer an 8×8-inch pan.
Can I use a glass baking dish?
You can, but I recommend a metal pan for more predictable results. Glass retains heat differently, which can cause the edges to bake more quickly while the center takes longer to set. Baking times may need adjustment.
Why do I need to let the brownies cool before slicing?
These brownies have a high proportion of butter and chocolate, so their structure continues to firm up as they cool. Slicing too early can leave you with messy pieces that fall apart. For especially clean cuts, chill the cooled brownies before slicing.
Can I make these brownies ahead of time?
Absolutely! They’re a great make-ahead dessert. Bake them a day before serving, let them cool completely, and store them in an airtight container. Chilling them overnight also makes them easier to slice into neat squares.
Can I add actual Oreo cookies to the brownies?
Of course! If you want to turn these into actual Oreo brownies, replace some of the white chocolate chips with roughly chopped Oreo cookies. Fold them into the batter or press some pieces onto the top before baking. The original recipe already has an Oreo-like flavor without any cookies, so adding them is completely optional.
Are black cocoa brownies bitter?
Black cocoa has a dark, roasted flavor, but that doesn’t necessarily mean the finished brownies will taste bitter. The sugar, butter, melted dark chocolate, and white chocolate help balance its intensity. Using a very high-percentage dark chocolate may make the brownies taste less sweet.
Can I serve these brownies warm?
Yes! They’re delicious slightly warm, especially with vanilla ice cream. However, I recommend allowing them to cool completely first so they set properly, then gently reheating individual portions before serving.
Other Recipes You’ll Love
Let’s engage!
Make sure to tag @thehomechefmomma on Instagram or Facebook, and leave a review or comment if you make these. I always get so excited to see your creations, variations of the recipe, and feedback! Just remember to be kind in your comments, there is still a person behind this screen! 🙂
Black Cocoa Fudgy Brownies
Ingredients
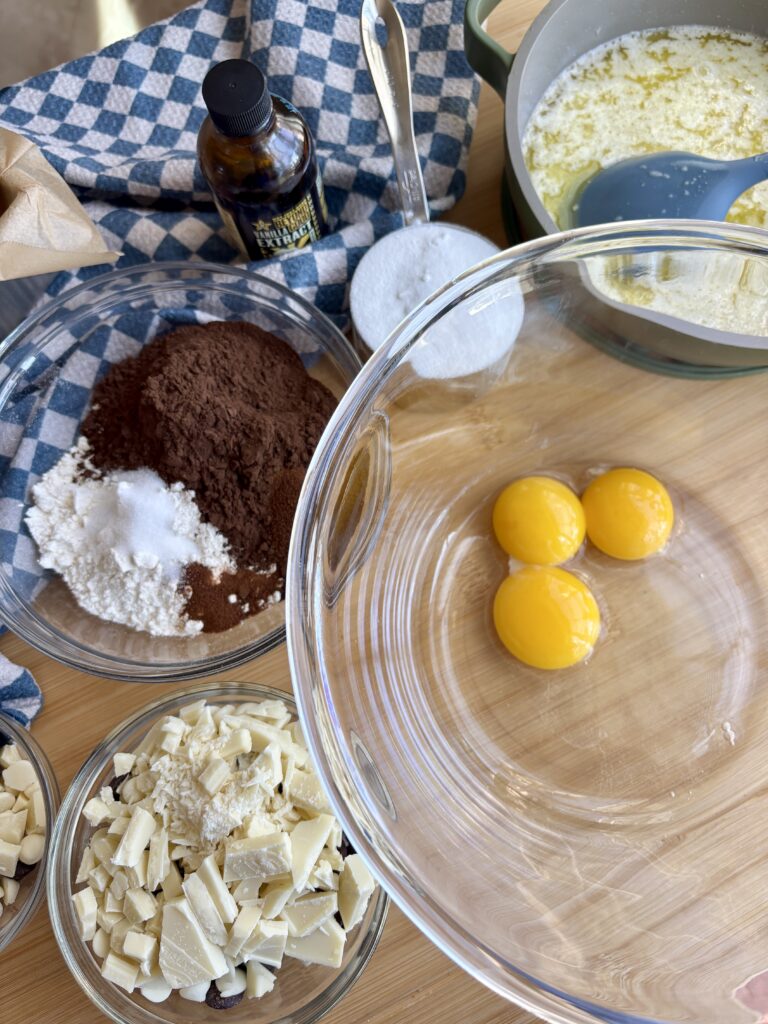
- 12 tablespoons unsalted butter
- 1½ cups granulated sugar divided
- 1 large egg
- 2 large egg yolks
- 2 teaspoons vanilla bean paste or vanilla extract
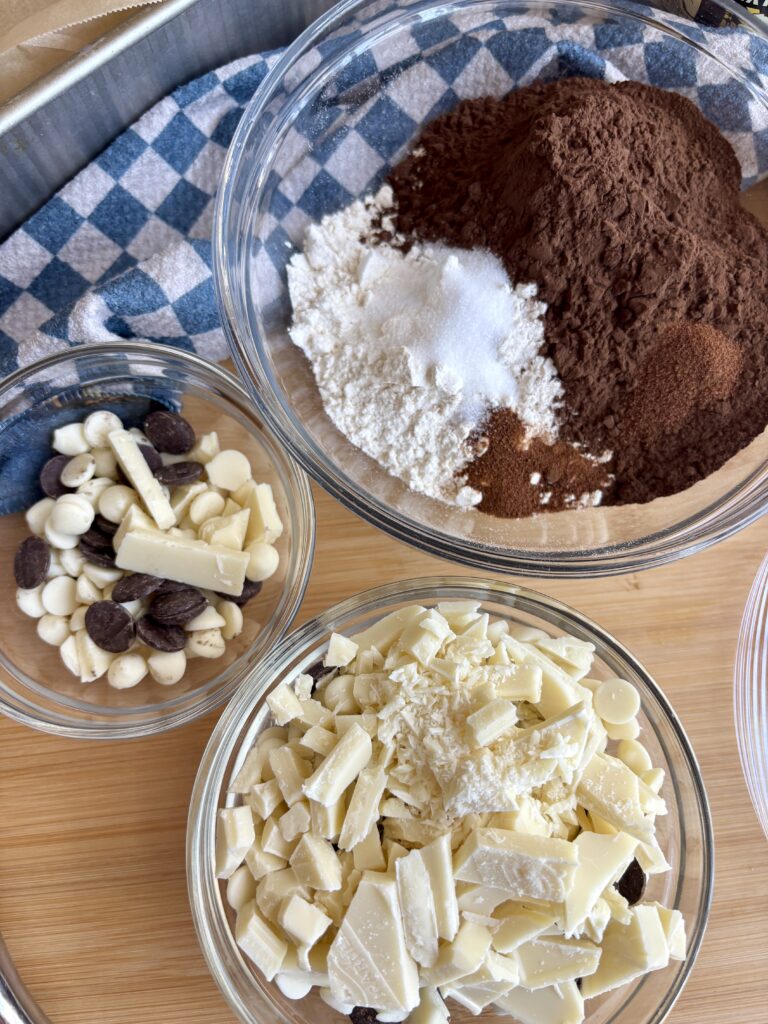
- ⅔ cup black cocoa powder or dark blend cocoa powder
- ⅔ cup all-purpose flour
- ½ teaspoon espresso powder
- ½ teaspoon fine sea salt
- 2 ounces dark chocolate melted and cooled slightly
- 4 ounces dark chocolate chips approximately ⅔ cup, preferably 70–72% cacao
- 4 ounces white chocolate roughly chopped
- 2 ounces white chocolate chips approximately ⅓ cup
- Flaky sea salt for finishing
Instructions
- Preheat the oven to 325°F. Line an 8×8-inch metal baking pan with parchment paper, leaving overhang on two sides to make removing the brownies easier.
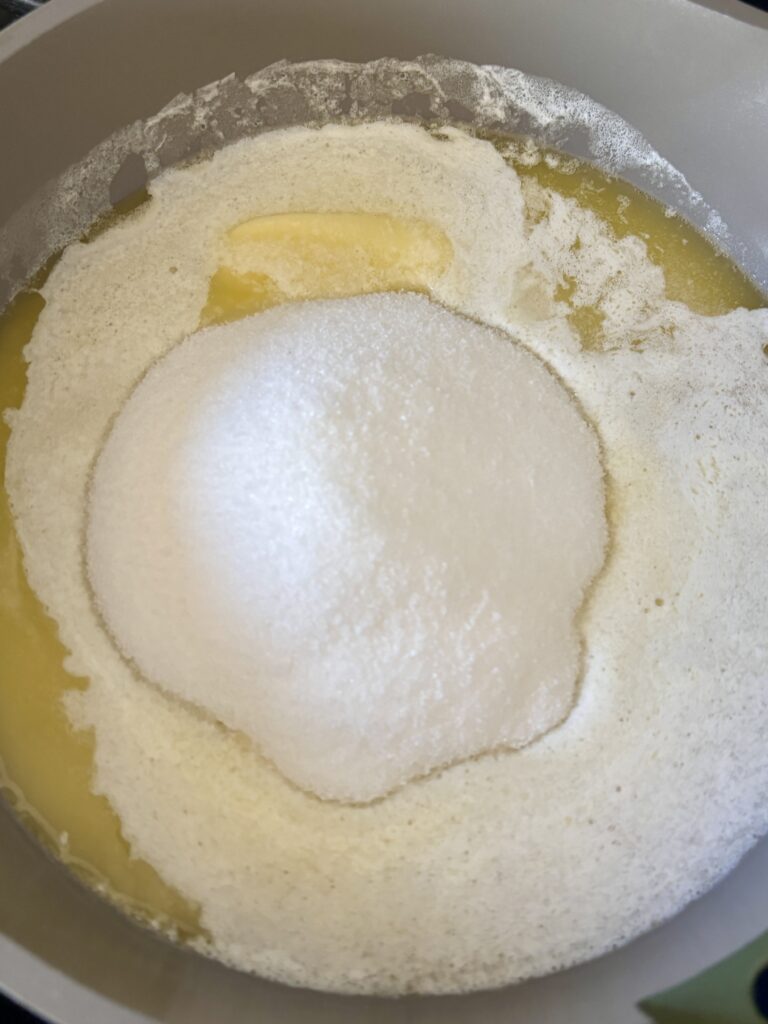
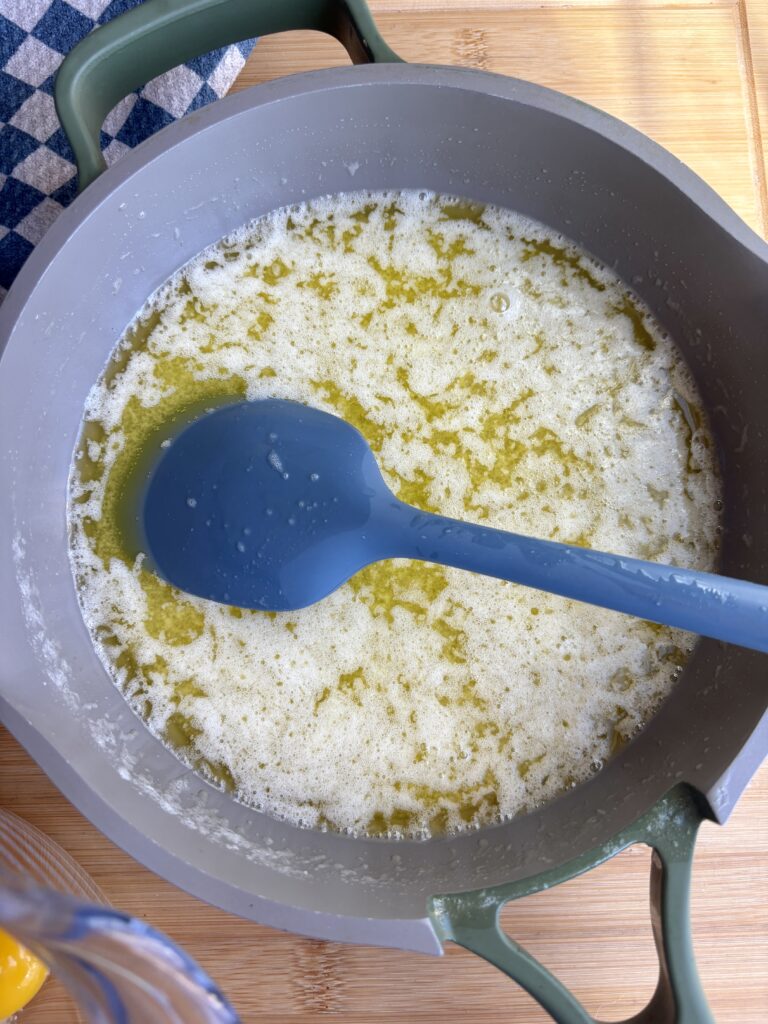
- Add the unsalted butter to a small saucepan over medium-low heat. Once melted, whisk in ¾ cup of the granulated sugar. Cook for 1–2 minutes, stirring frequently, until the mixture looks glossy and the sugar begins to soften. Do not let the mixture boil. Remove from the heat and allow it to cool slightly. It should remain warm, but not hot.
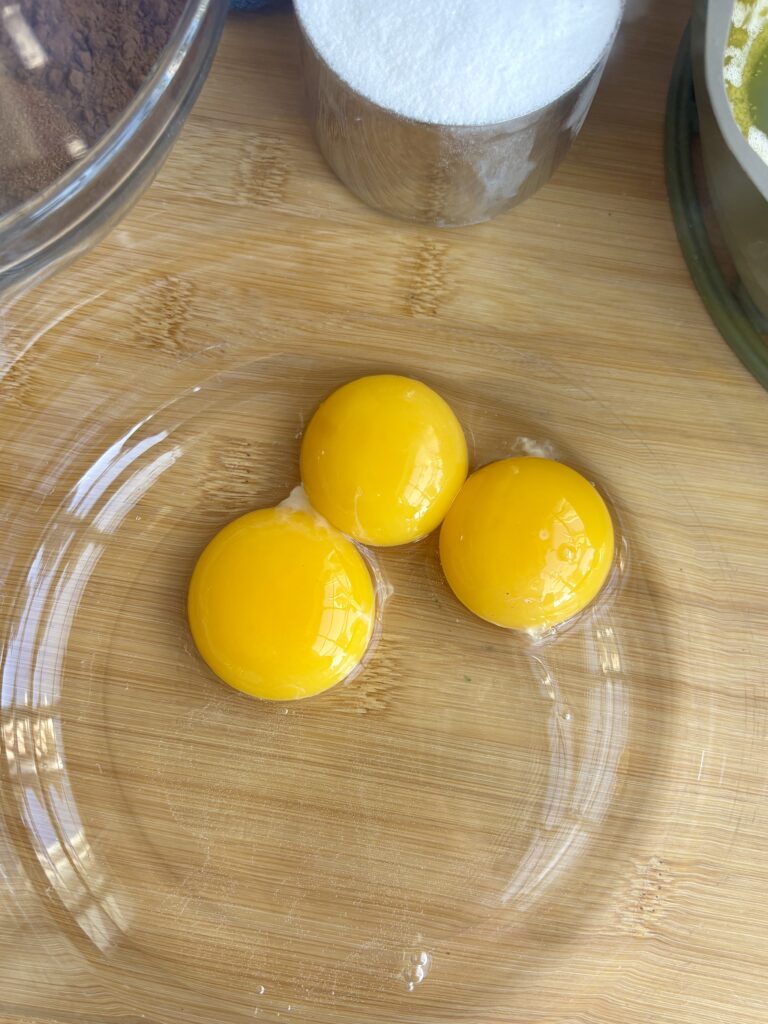
- In a large mixing bowl, combine the whole egg, 2 egg yolks, and remaining ¾ cup granulated sugar. Using a hand mixer or stand mixer, beat on medium-high speed for 2–3 minutes, until the mixture becomes thick, pale, and creamy. Mix in the vanilla bean paste or vanilla extract.
- Reduce the mixer speed to low. Slowly stream the warm butter and sugar mixture into the whipped eggs, mixing until fully incorporated and glossy. Scrape down the sides of the bowl as needed.
- Sift the black cocoa powder, all-purpose flour, espresso powder, and fine sea salt directly into the bowl. Mix on low speed just until no dry streaks remain. Avoid overmixing.
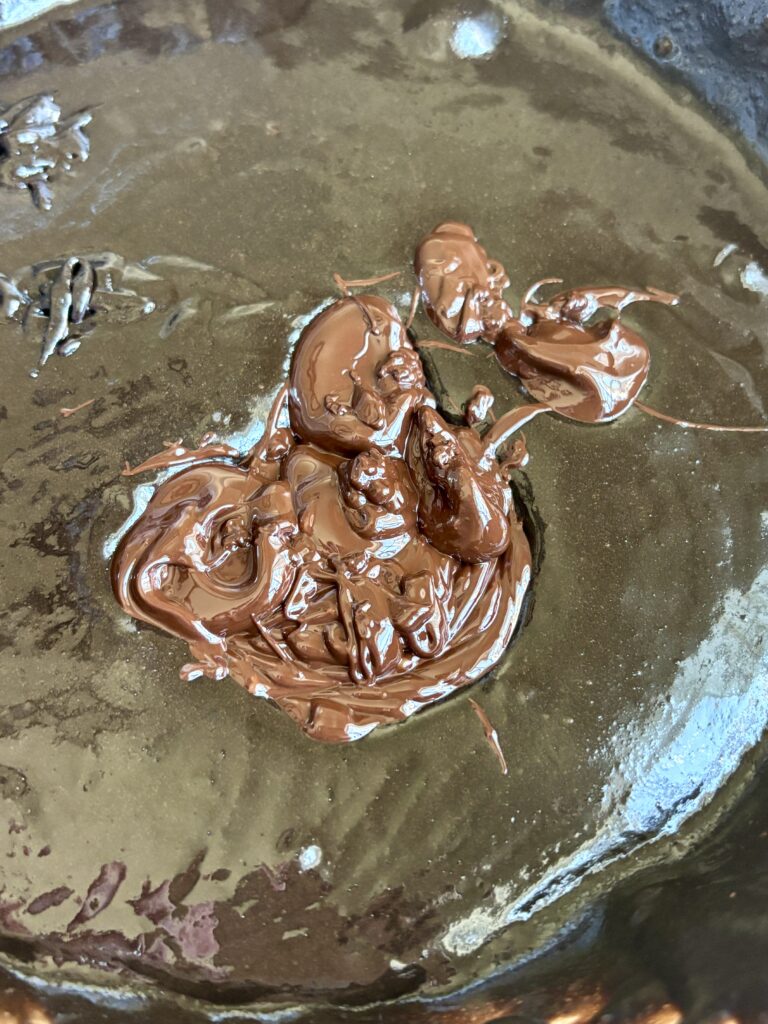
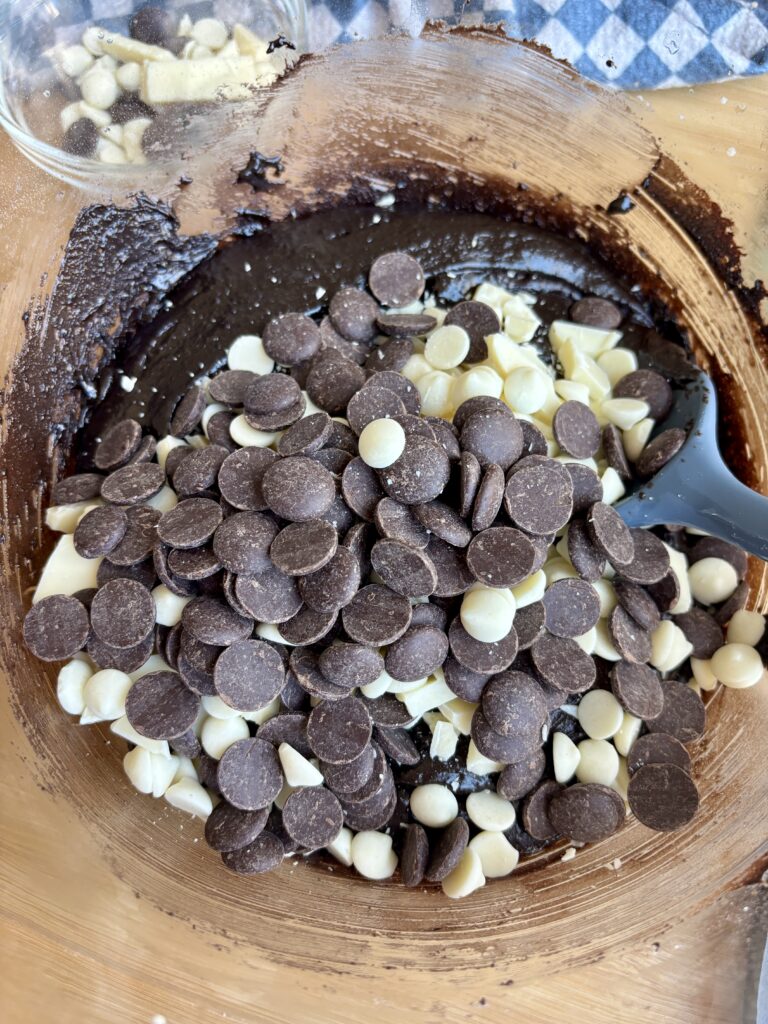
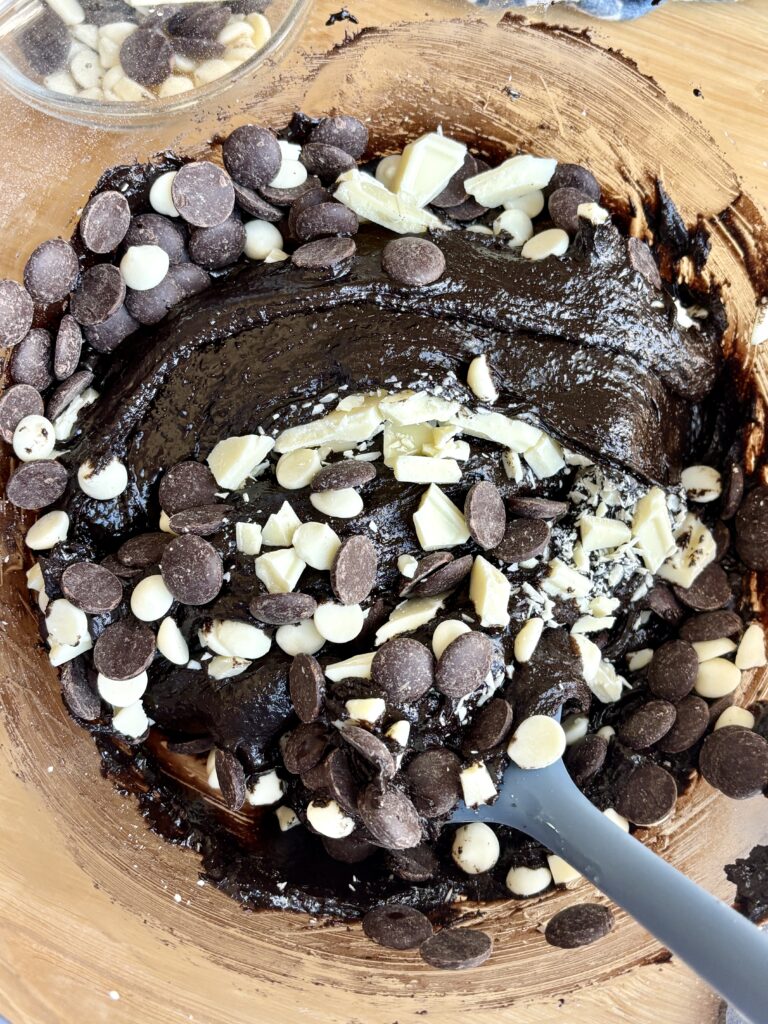
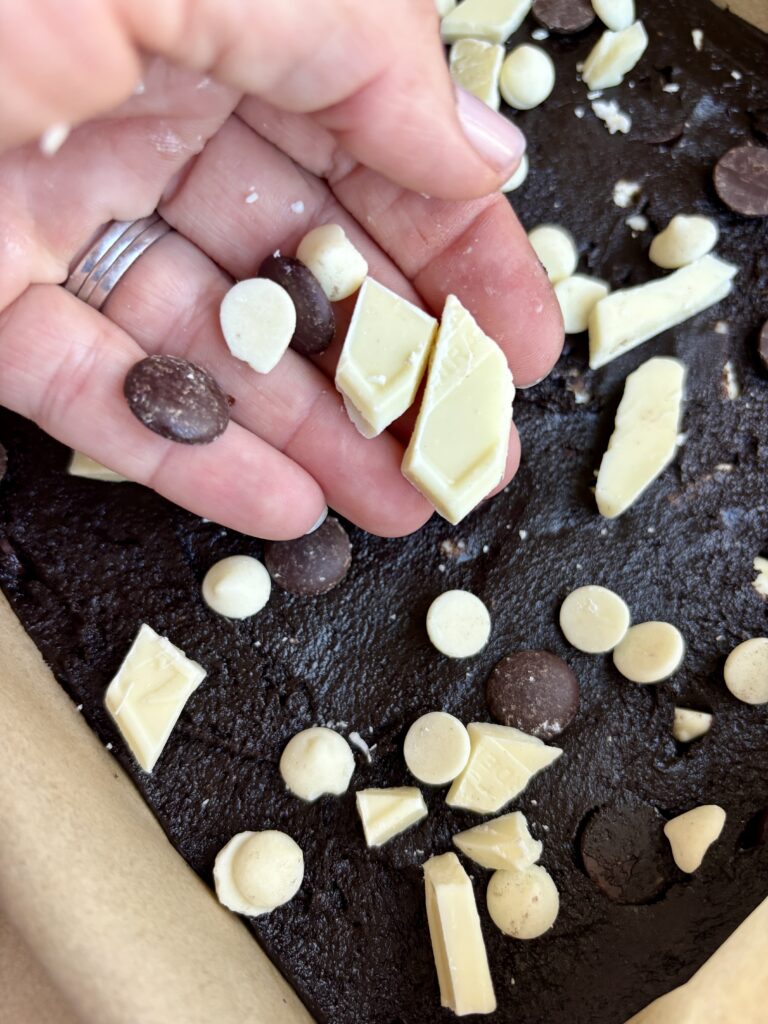
- Add the melted dark chocolate and gently fold until combined. Fold in the dark chocolate chips, chopped white chocolate, and white chocolate chips. Reserve a small handful of the chocolate pieces for topping, if desired.
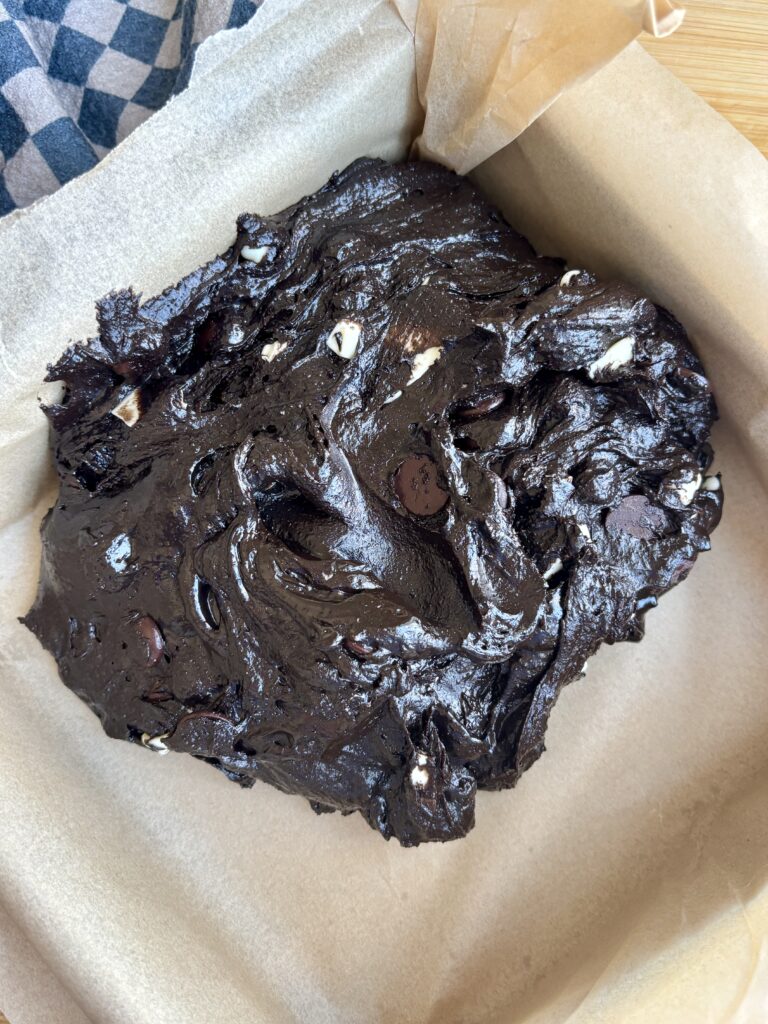
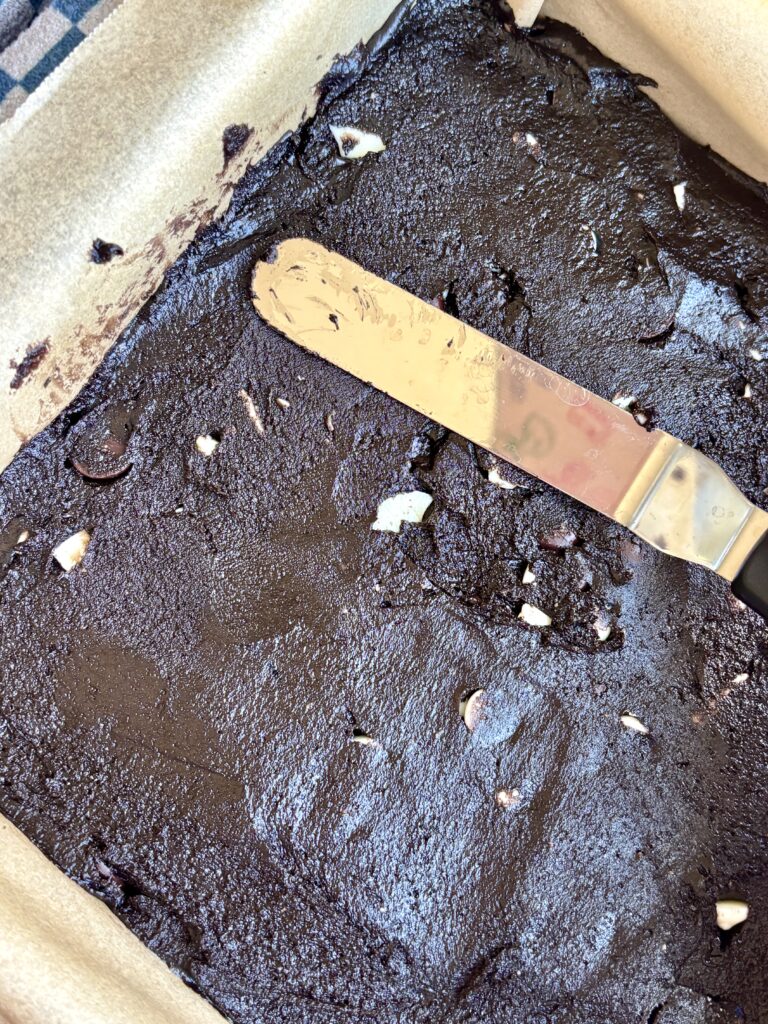
- Spread the brownie batter evenly into the prepared baking pan, smoothing the surface with an offset spatula. Sprinkle the reserved chocolate pieces over the top.
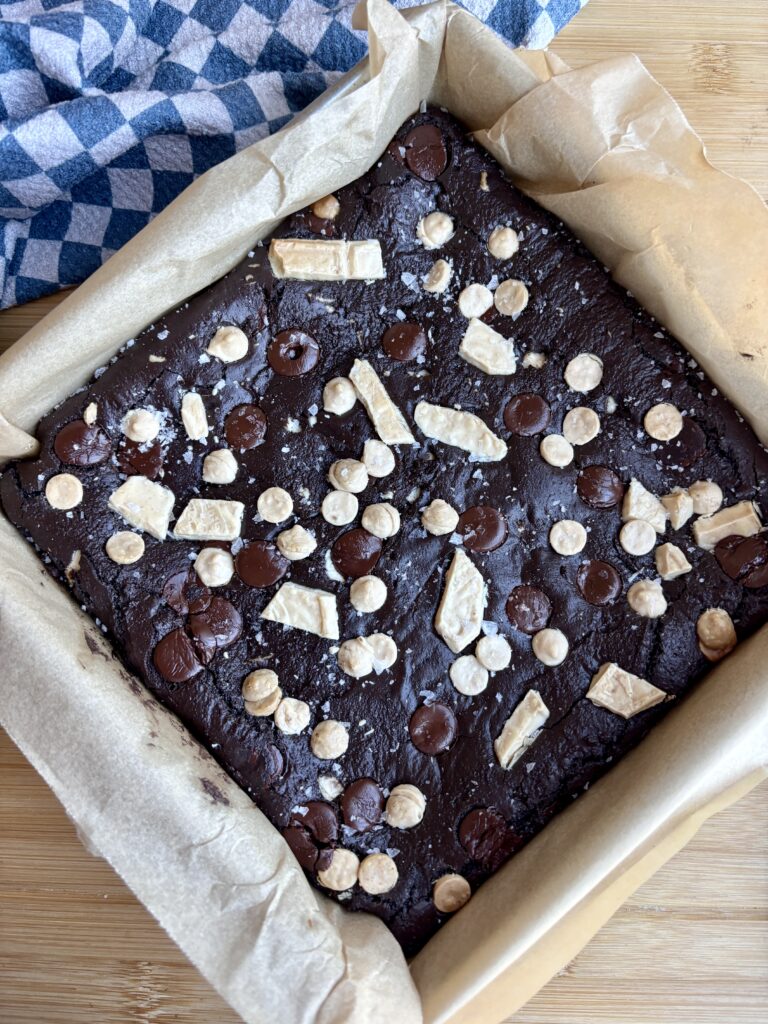
- Bake for 35–42 minutes, or until the edges are set, the top is shiny and crackly, and the center still has a slight jiggle. A toothpick inserted into the center should come out with moist, fudgy crumbs rather than wet batter. Avoid overbaking.
- Remove the brownies from the oven and immediately sprinkle with flaky sea salt.
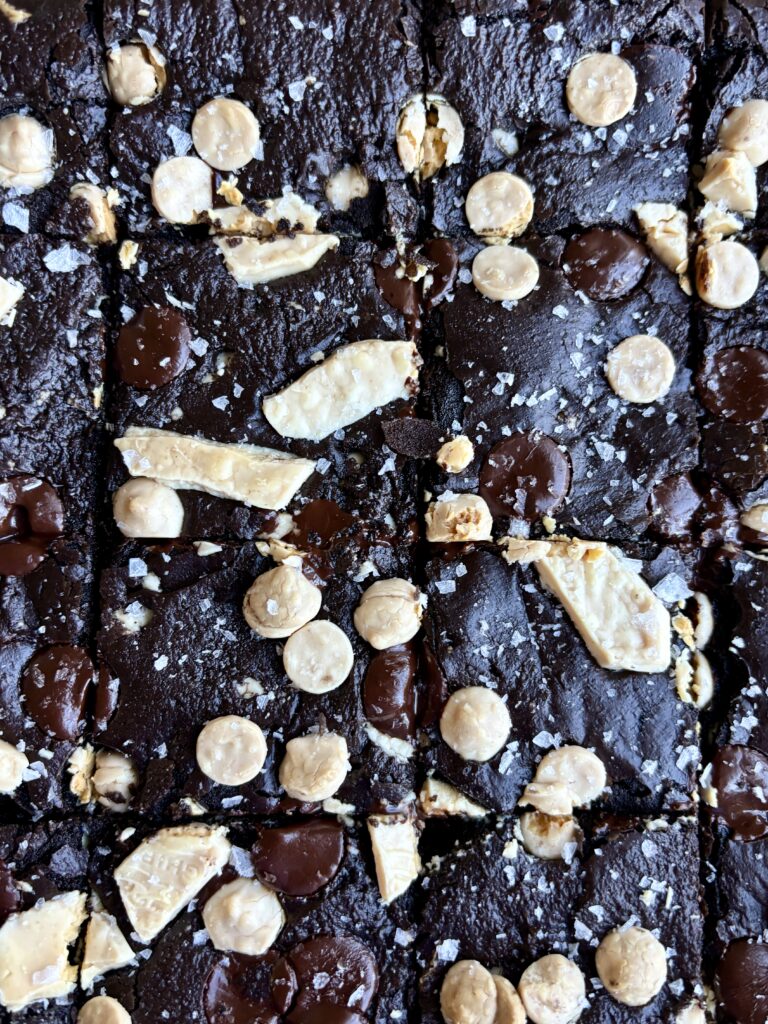
- Allow the brownies to cool completely in the pan. Lift them out using the parchment paper, slice into squares, and enjoy!
Notes
- Black cocoa: Black cocoa creates the signature dark color and Oreo-inspired flavor. Dutch-process cocoa is an alternative, but it will produce a different flavor and appearance.
- Chocolate: Use good-quality dark and white chocolate for the best flavor. The dark chocolate balances the sweetness of the white chocolate.
- Texture: These brownies are intentionally dense and fudgy, not light or cakey.
- Baking: Begin checking at 35 minutes. Baking time varies depending on your oven, pan, and how fudgy you prefer your brownies.
- Cooling: Don’t rush this step! The brownies continue to set as they cool.
- Storage: Store in an airtight container at room temperature for 3–4 days, refrigerate for up to one week, or freeze for up to 3 months.
Black Cocoa Brownies | Black Cocoa Fudgy Brownies | Oreo-Inspired Brownies | Fudgy Oreo Brownies | Black Cocoa Powder Brownies | Cookies and Cream Brownies | Dark Chocolate Brownies | Homemade Fudgy Brownies | White Chocolate Brownies | Oreo-Flavored Brownies | Extra Fudgy Brownies | Blackout Brownies | Brownies with Black Cocoa Powder | Crackly Top Brownies

This recipe was so decadent and delicious. The batter was thicker than any brownie batter I’ve ever made but this was also the best I’ve ever had. I topped my batch with a cheesecake mixture using egg, vanilla, cream cheese, sugar. Then I tried to swirl it into the thick batter. The brownies are glistening and gooey. It was sooo good my family was in love! Thank you for the recipe 🙂
I am so glad you and your family loved this so much. It is definitely a thick batter, but results is so much fudgy goodness. And your version with the added cheesecake, YUM! 🙂