
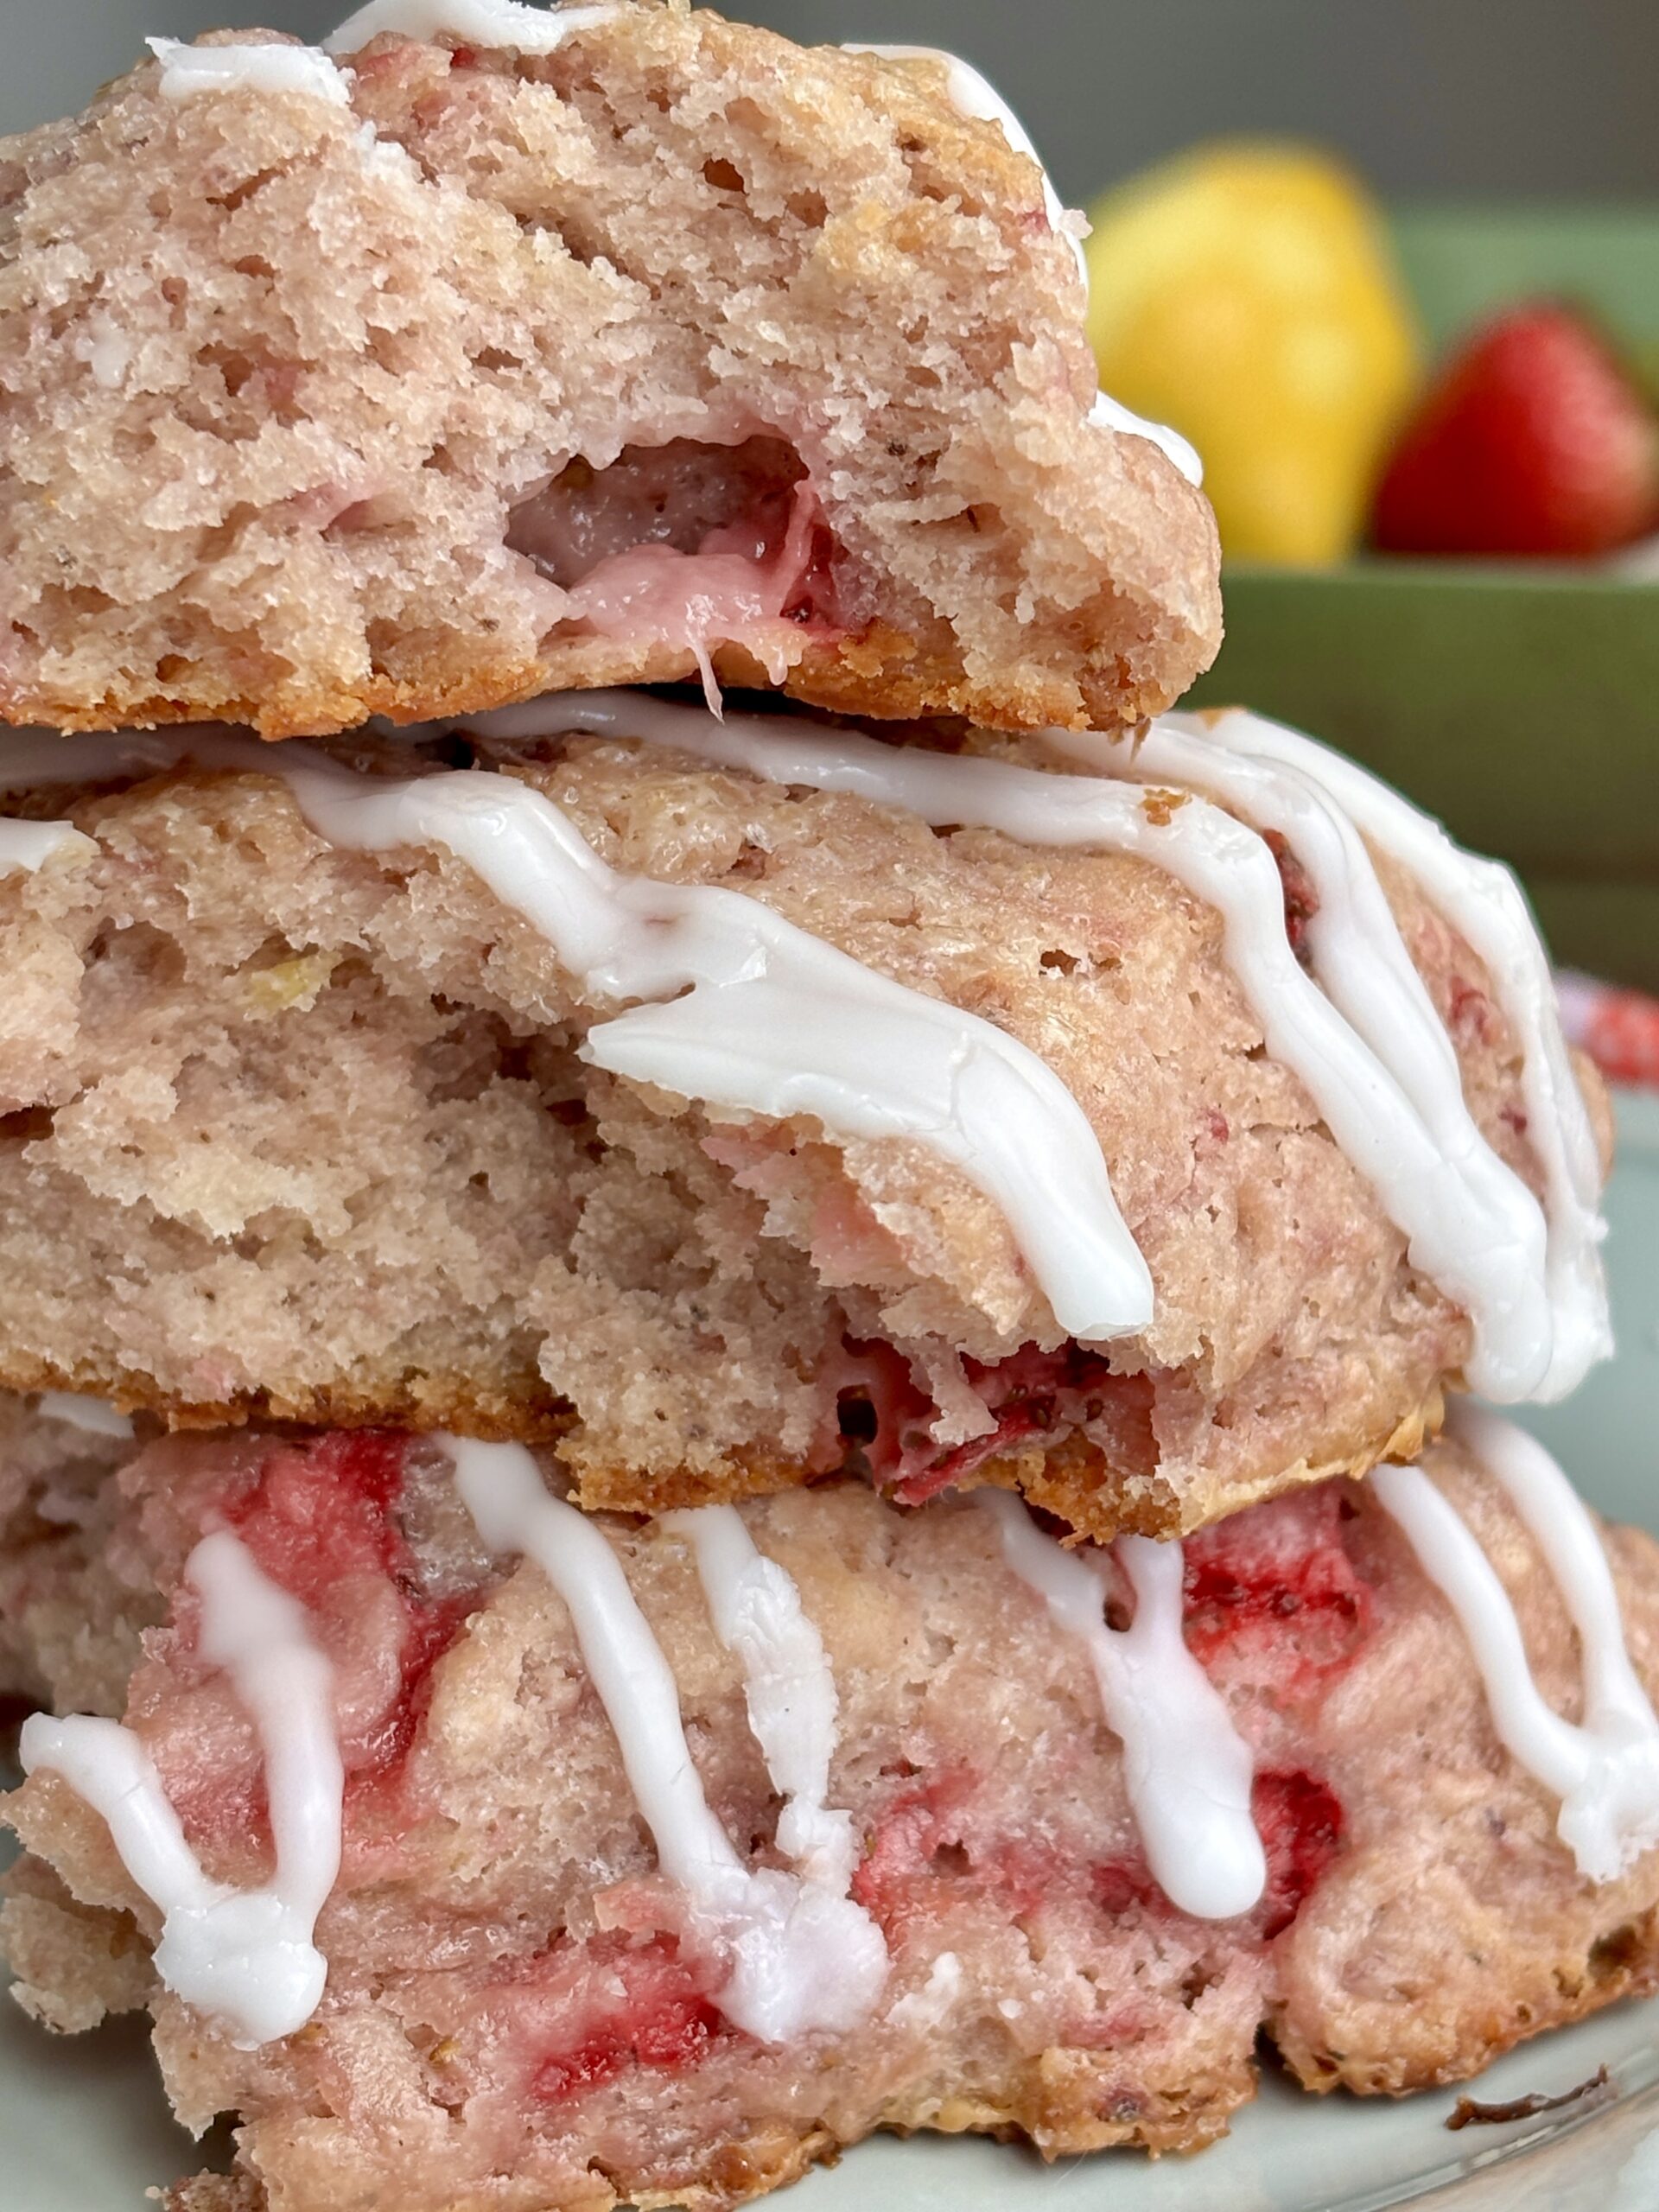
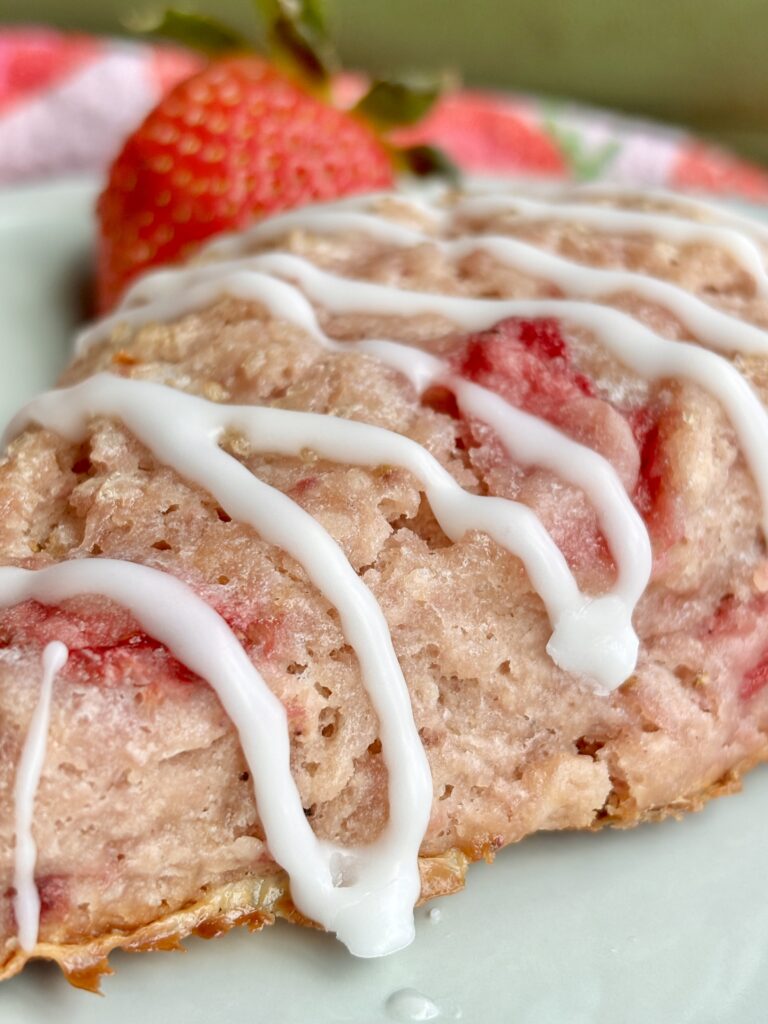
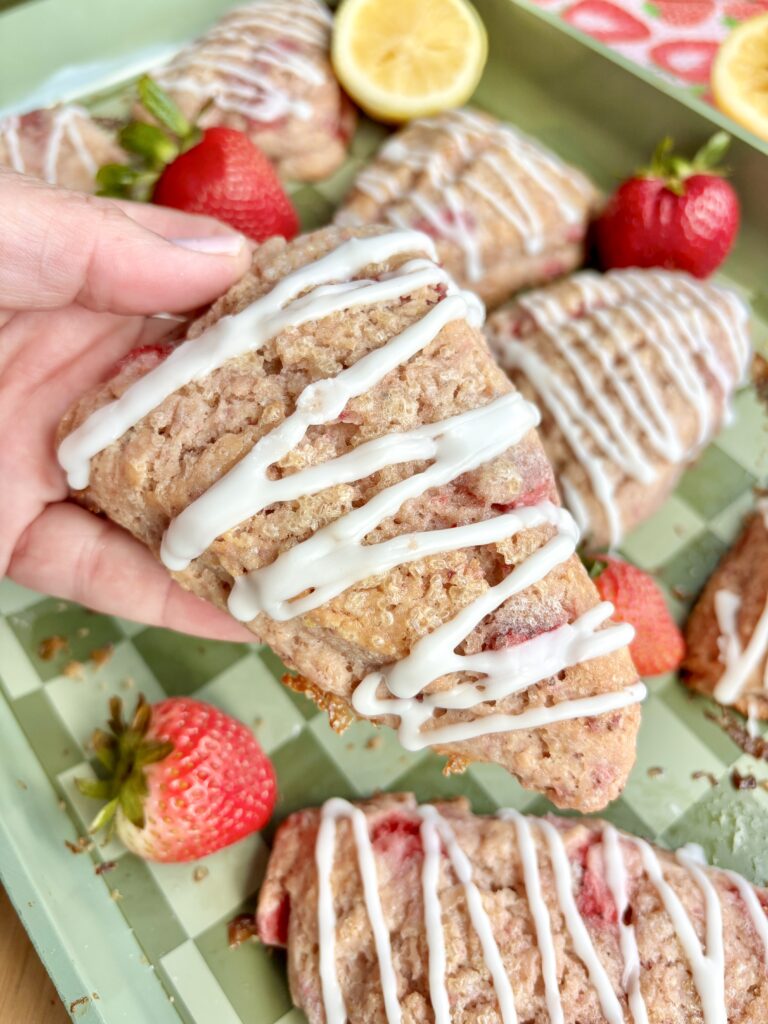
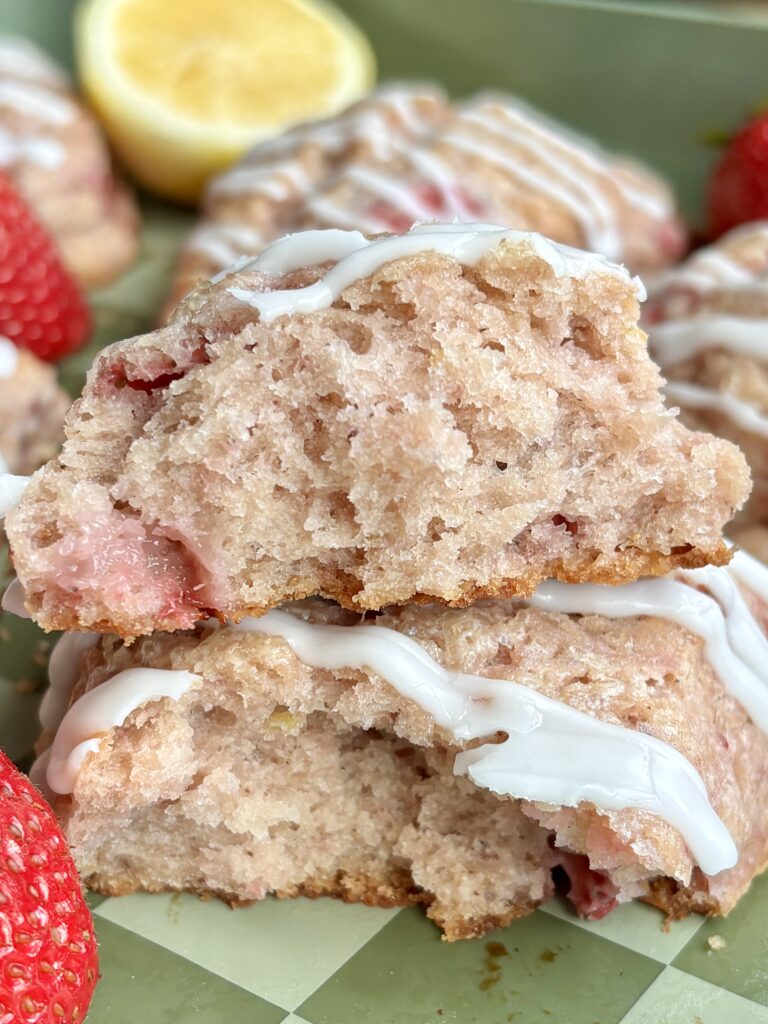
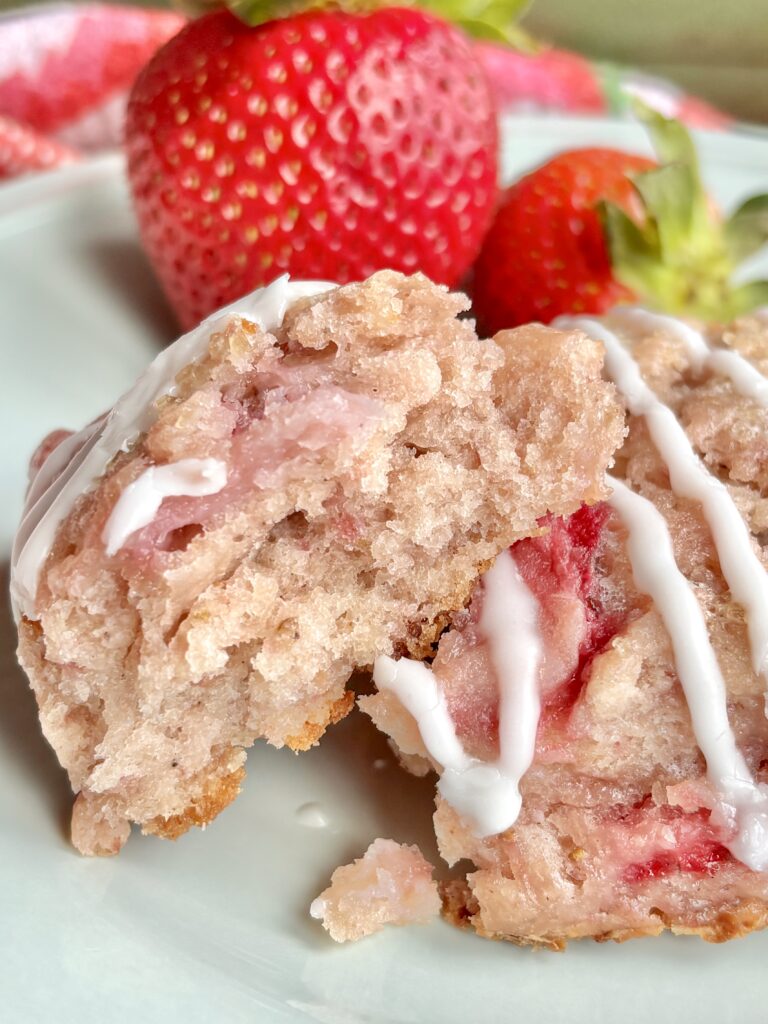
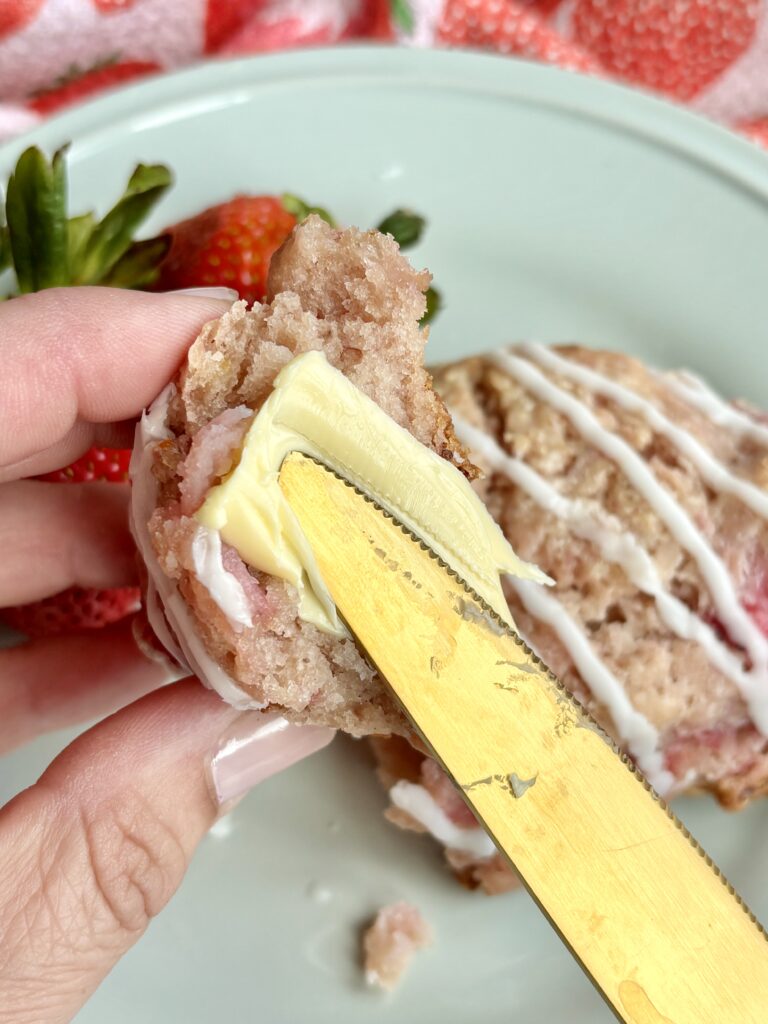
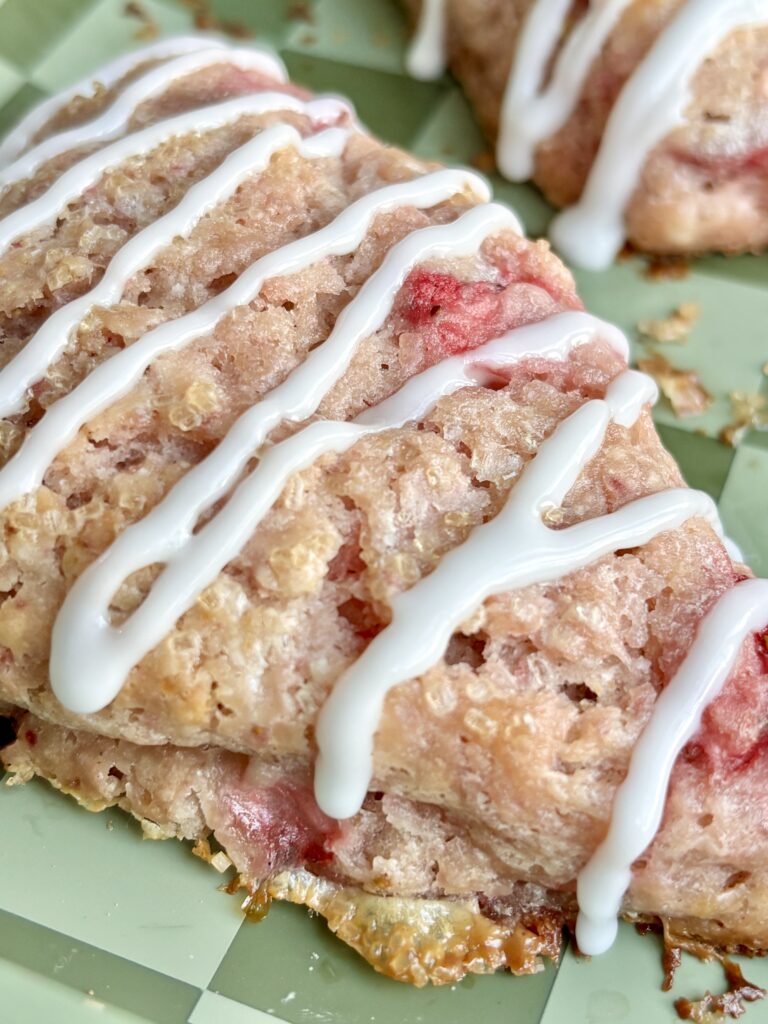
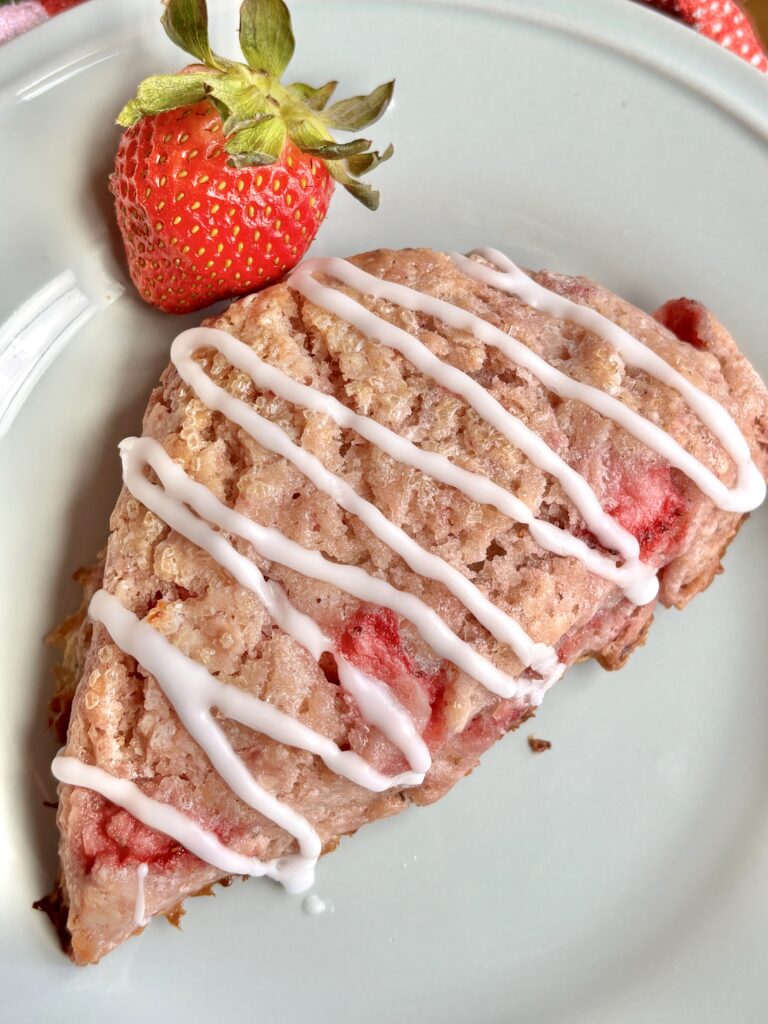
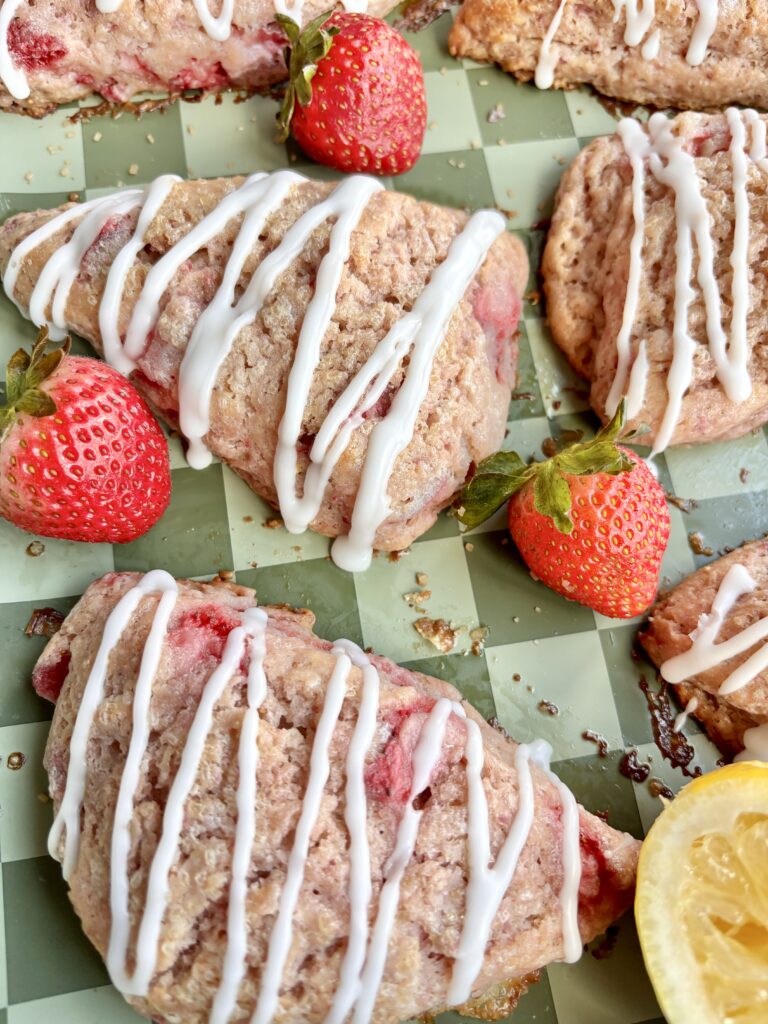
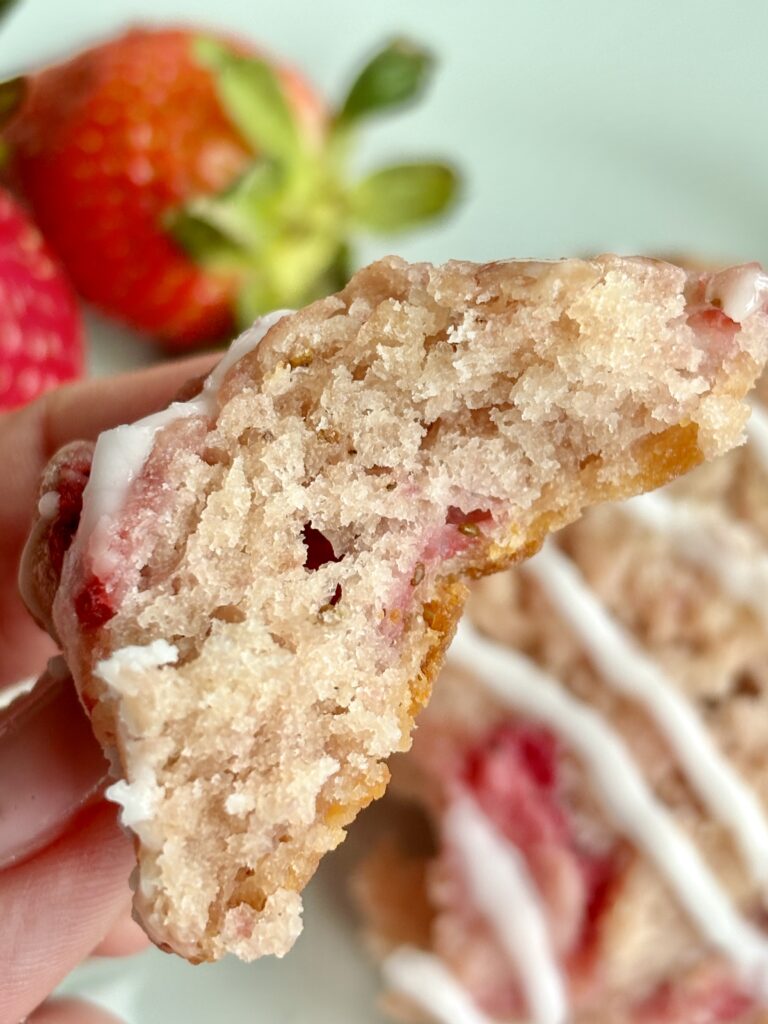
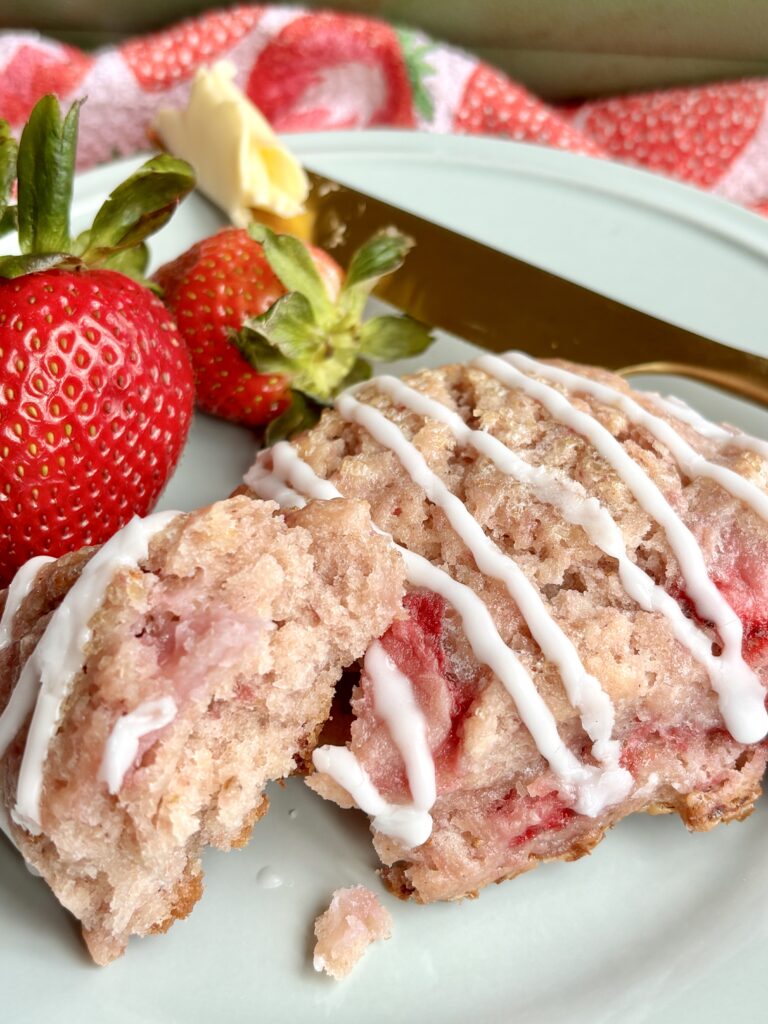
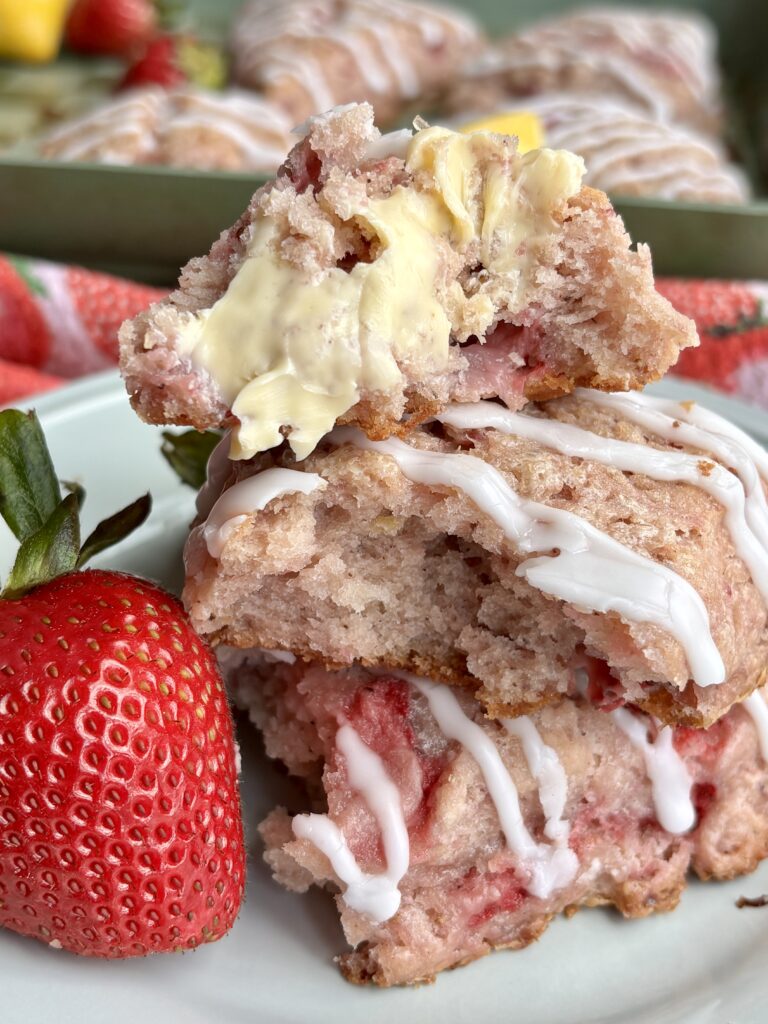
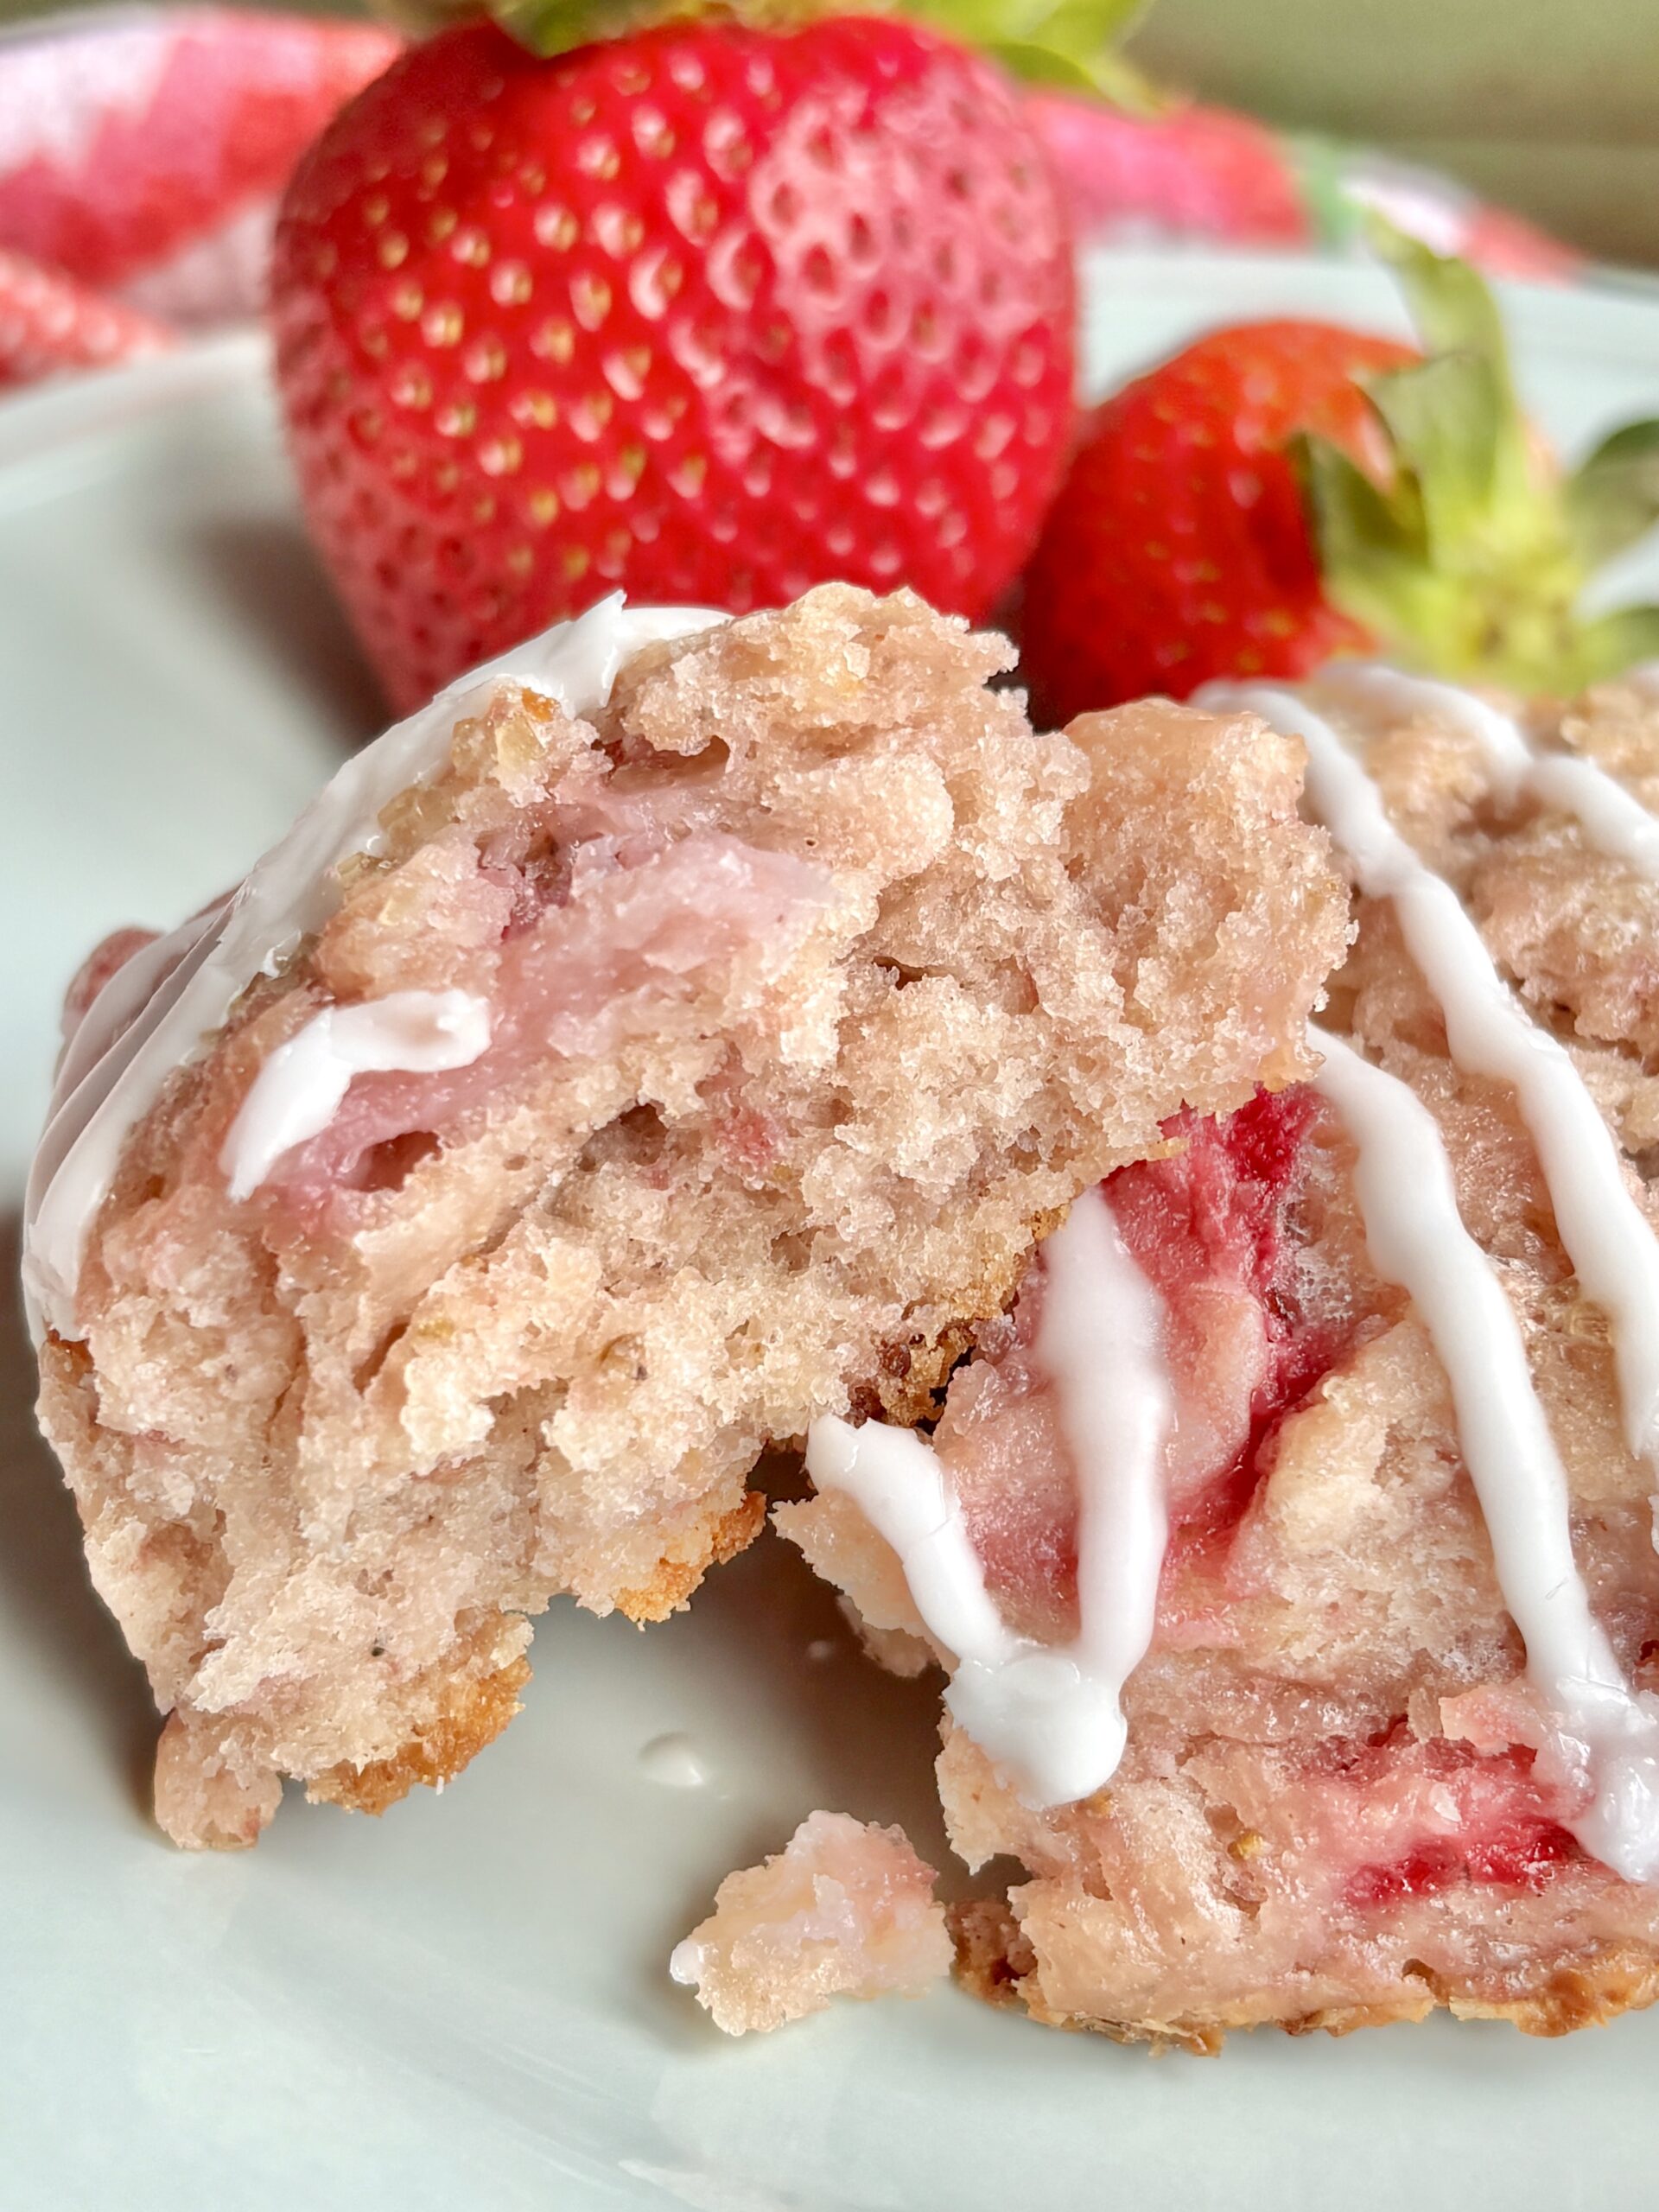
These Strawberry Scones are tender, buttery, flaky, and packed with real strawberry flavor from using both fresh and crushed freeze-dried strawberries. A little lemon zest added to the dough brightens everything up, while a simple folding technique creates those beautiful flaky layers you usually find in bakery-style scones.
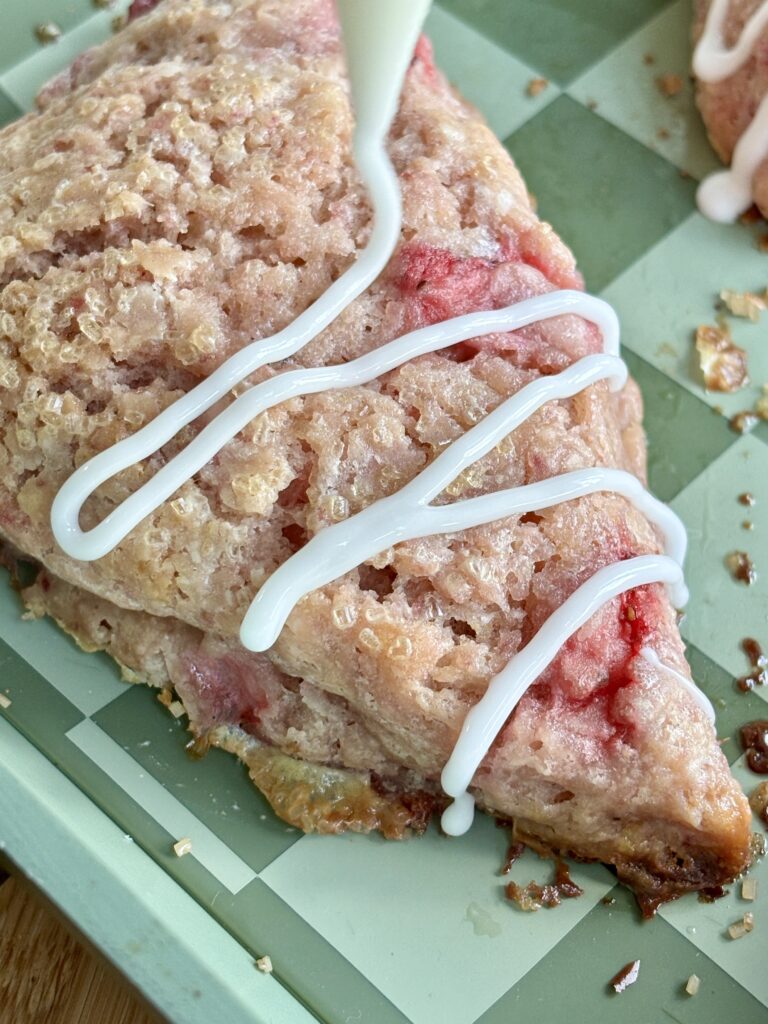
I love finishing these scones with a brush of heavy cream and plenty of crunchy turbinado sugar. They bake up golden and crisp on top while staying soft and buttery inside. And if you want to take them a little further, a simple lemon glaze is pretty hard to resist!
These homemade strawberry scones are perfect for breakfast, brunch, or an afternoon coffee break, especially when strawberries are in season. And yes, they’re absolutely worth saving a few for the freezer!
Why you’ll love this recipe!
What ingredients do I need?
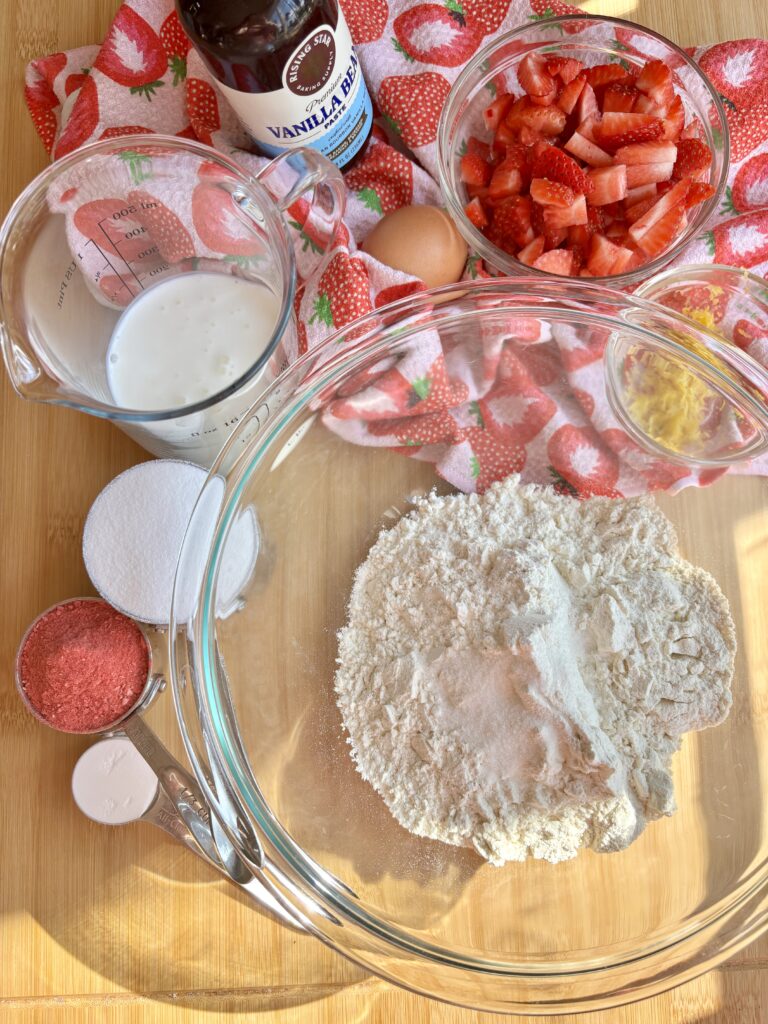
- All-purpose flour: Creates the structure for the scones while keeping them tender.
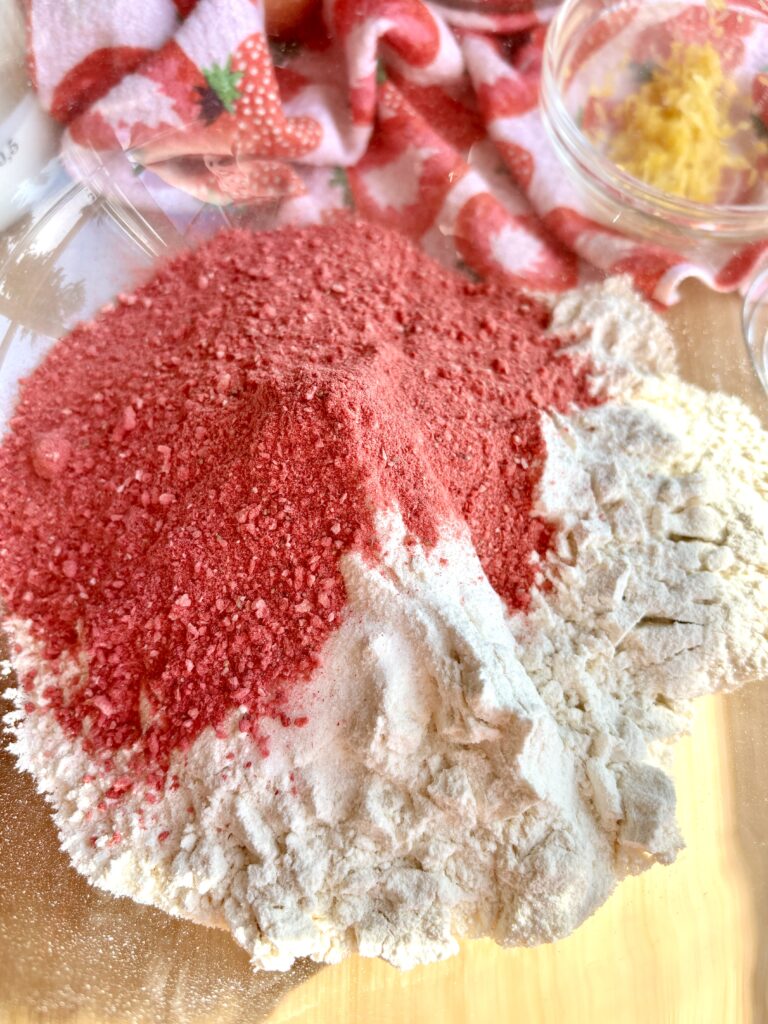
- Freeze-dried strawberries: Add concentrated strawberry flavor without adding extra moisture to the dough. Crush them into small pieces before adding.
- Granulated sugar: Adds sweetness while balancing the tartness of the strawberries and lemon.
- Baking powder: Helps the scones rise and keeps the centers light and tender.
- Kosher salt: Balances the sweetness and enhances the buttery and strawberry flavors.
- Lemon zest: Adds fresh, bright citrus flavor that pairs beautifully with strawberries.
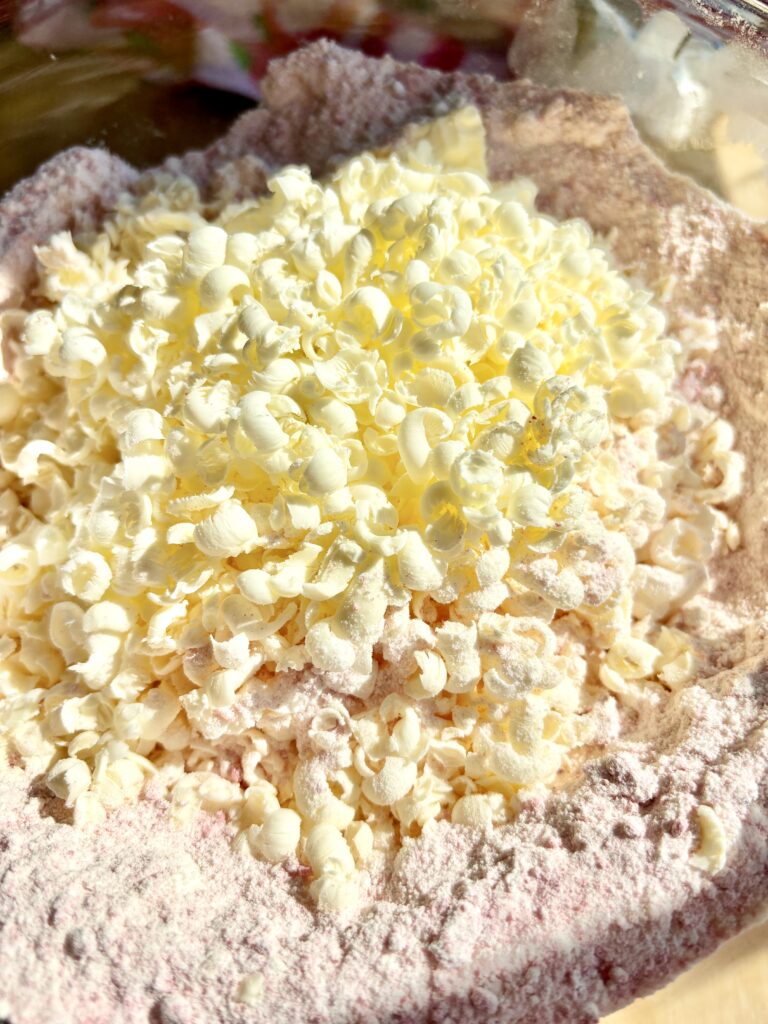
- Unsalted butter: Creates rich flavor and flaky layers. Grating frozen butter makes it easy to distribute throughout the dough.
- Heavy cream: Adds richness and moisture, while also helping create a beautiful golden top when brushed over the scones.
- Egg: Adds richness, structure, and helps bind the dough together.
- Vanilla extract: Adds a little extra warmth and sweetness.
- Fresh strawberries: Bring juicy, fresh strawberry flavor to every bite.
- Cornstarch: Helps absorb some of the moisture from the fresh strawberries so they don’t make the scones overly wet.
- Turbinado sugar: Adds a delicious crunchy topping and a little extra sweetness.
- Lemon glaze: Optional, but adds another layer of bright lemon flavor.
Recipe Variations
- Strawberry White Chocolate Scones: Fold in ½ cup white chocolate chips along with the strawberries.
- Strawberry Almond Scones: Add ½ teaspoon almond extract and sprinkle sliced almonds over the tops before baking.
- Mixed Berry Scones: Replace some of the strawberries with fresh or freeze-dried raspberries or blueberries.
- Chocolate Strawberry Scones: Add ½ cup mini chocolate chips for a chocolate covered strawberry twist.
Pro Tips
- Keep everything cold during the process. Cold butter creates steam in the oven, which helps form flaky layers. Keep the cream and egg cold, too.
- Freeze the butter before grating. Frozen butter is much easier to grate and distributes throughout the dough without melting into it. I always keep a stick of butter in the freezer just for when I’m craving some scones!
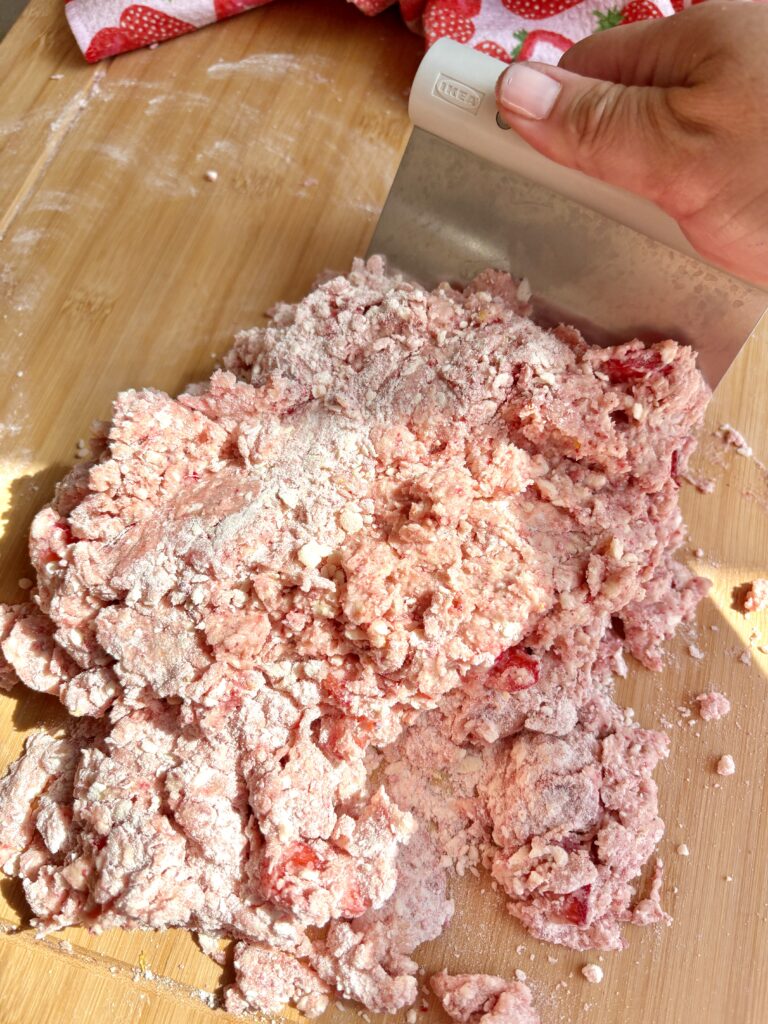
- Don’t overwork the dough. Scone dough should look a little shaggy. Overmixing can make the scones tough instead of tender.
- Toss the fresh strawberries with cornstarch. This helps absorb some of the moisture from the fresh berries and reduces the chance of soggy spots.
- Use finely crushed freeze-dried strawberries. Larger pieces can make the dough harder to shape and distribute unevenly. I typically add my strawberries to a blender and grind them to get that fine texture.
- Don’t worry if the dough looks messy. That’s exactly what you want! Resist the urge to keep mixing until it looks perfectly smooth.
- Use flour sparingly. Add just enough flour to keep the dough manageable. Too much extra flour can make the scones dry.
- Don’t skip the chilling the scones. Refrigerating the shaped scones before baking helps the butter firm back up and helps the scones hold their shape.
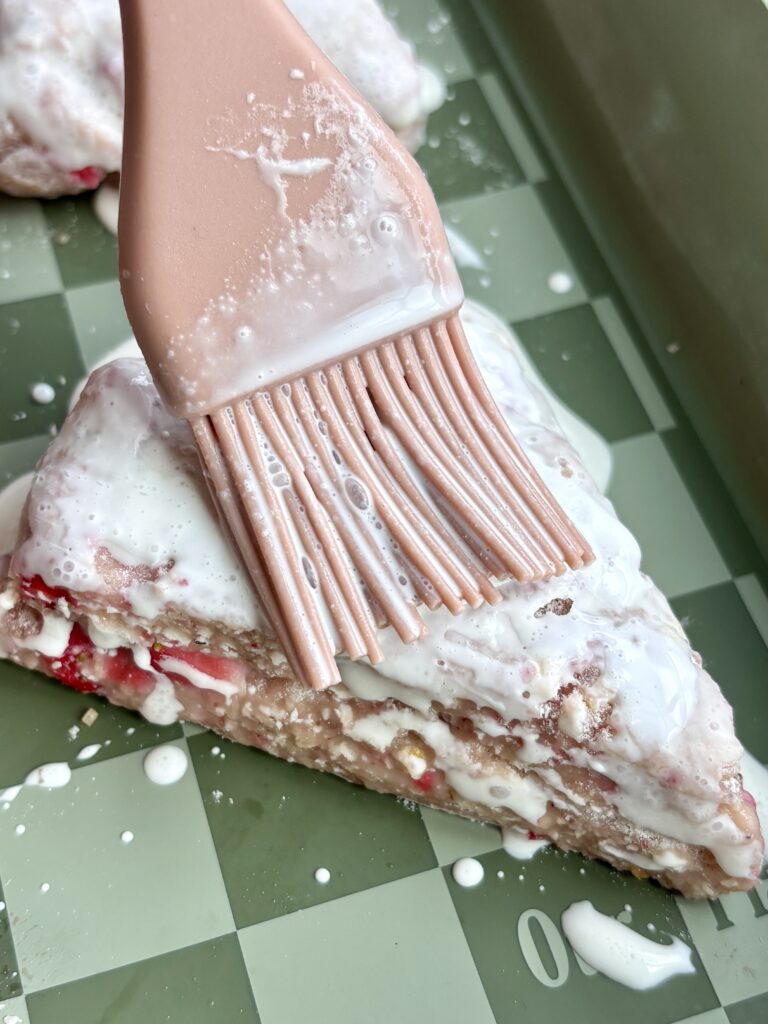
- Brush only the tops with heavy cream. Try not to let the cream run down the sides, as it can interfere with the scones rising.
- Watch the baking time. You want golden edges and tops without overbaking the centers.
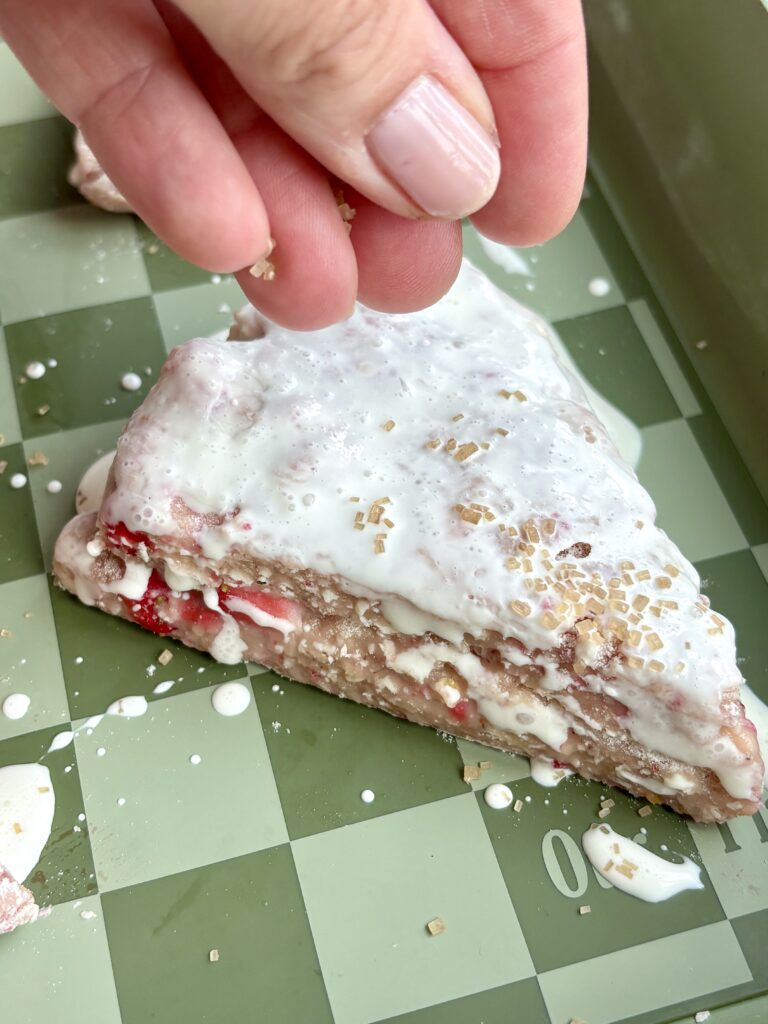
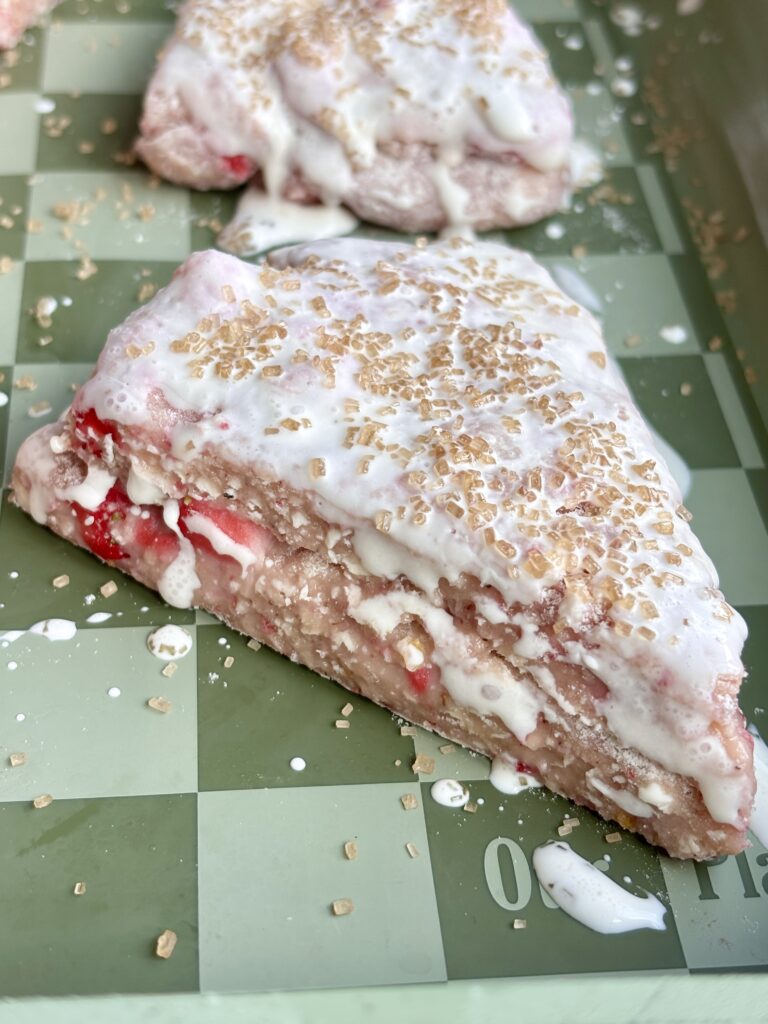
- For extra crunch, don’t be shy with sprinkling the turbinado sugar. It gives the tops that bakery-style crispness.
- Investing in a pastry brush and bench scraper makes these even easier!
Can I Substitute?
Yes! Like always though, any substitutions made to the recipe can result in a change in texture and/or flavor.
- Freeze-dried strawberries: If you don’t have freeze-dried strawberries, you can leave them out and increase the fresh strawberries slightly, but the finished scones won’t have as much concentrated strawberry flavor. I recommend keeping them if you can find them because they add so much strawberry flavor without adding extra moisture.
- Heavy cream: Whole milk, or half-and-half, can be used in place of the heavy cream, although the scones will be slightly less rich and tender. For the best texture, I recommend sticking with heavy cream.
- Unsalted butter: Salted butter works just fine. If using salted butter, reduce the added kosher salt slightly.
- Fresh strawberries: Fresh strawberries work best in this recipe. If using frozen strawberries, thaw them completely and drain them very well before chopping to remove as much excess moisture as possible.
- Turbinado sugar: Coarse sanding sugar can be used in its place for a similar crunchy topping. Regular granulated sugar will work if that’s what you have, but it won’t give you the same crisp texture.
- Lemon: You can omit the lemon zest if needed, although I highly recommend keeping it because the bright citrus flavor pairs so well with the strawberries. For the optional glaze, use a little milk or cream instead of lemon juice if you want a simple vanilla glaze.
Dietary Substitutions
- Gluten-Free: Use a good quality gluten-free all purpose flour blend that is designed to replace regular flour 1:1. Because gluten-free flour blends vary, the dough may have a slightly different texture.
- Vegetarian: These scones are vegetarian as written.
Leftovers and Storage
These strawberry scones are best the day they’re baked, when the edges are crisp and the centers are tender. However, they can be stored a little longer.
- Room temperature: Store leftover scones in an airtight container at room temperature for up to 2 days.
- Refrigerator: Store them in an airtight container for up to 5 days. The refrigerator can make scones a little firmer, so warm them in a 300°F oven for 5–7 minutes before serving.
- Freezer: For the best long-term storage, freeze the scones. You can freeze them either before or after baking for up to 3 months.
- To Freeze Before Baking: Place the shaped, unbaked scones on a parchment-lined baking sheet and freeze until solid. Transfer them to a freezer-safe bag or container. Bake directly from frozen, adding approximately 2–4 minutes to the baking time.
- To Freeze After Baking: Cool the scones completely, then wrap them individually or place them in an airtight freezer-safe container. Thaw at room temperature and warm in a 300°F oven before serving.
But, I Still Have A Few Questions…
Why did my strawberry scones spread in the oven?
Warm butter is one of the most common reasons scones spread. Make sure the butter stays cold while you work, and don’t skip the 30-minute chill after shaping. If your kitchen is warm, you can also refrigerate the dough briefly during the folding process.
Why are my strawberry scones soggy?
Fresh strawberries contain a lot of water, which can make scones soggy if you add too much moisture. Chop the strawberries finely, toss them with cornstarch, and avoid adding any excess strawberry juice to the dough. Using freeze-dried strawberries also boosts the strawberry flavor without adding moisture.
Do I have to use freeze-dried strawberries?
No, but I highly recommend them. They provide concentrated strawberry flavor without adding liquid, which lets you get a much stronger strawberry flavor while keeping the dough manageable.
Can I make these scones without fresh strawberries?
Yes. You can make the scones with freeze-dried strawberries alone. You’ll get a more concentrated strawberry flavor and a slightly different texture, but they will still be delicious.
Why do I need to grate the frozen butter?
Grating frozen butter creates small pieces that distribute easily throughout the flour. As the scones bake, those pieces of butter create steam and help form flaky layers.
Why do I need to fold the dough several times?
The simple folding process creates layers of dough and butter. As the scones bake, those layers separate and create a flaky, tender texture.
Do I really need to chill the scones before baking?
Yes, I really can’t stress how important this is! The 30-minute chill helps firm the butter after you’ve handled the dough and gives the scones a better rise and flakier texture.
Can I make the dough ahead of time?
Yes. Shape the scones, cover them well, and refrigerate them until you’re ready to bake. For the best results, bake them within about a day. You can also freeze the unbaked scones for up to 3 months. Freeze the shaped scones on a baking sheet until solid, then transfer them to a freezer-safe bag or container. Bake directly from frozen and add a few extra minutes to the baking time.
Can I freeze baked strawberry scones?
Yes. Let them cool completely, then wrap them well and freeze for up to 3 months. Thaw at room temperature and warm them in the oven before serving.
Can I use a different type of sugar on top?
Yes, but turbinado sugar gives the best crunchy, bakery-style finish. Coarse sanding sugar is another good option.
Can I skip the lemon glaze?
Definitely. The lemon glaze is completely optional. The scones already have lemon zest in the dough, so they’ll still have a nice bright flavor without it.
How do I know when the scones are done?
Look for golden-brown edges and tops. The centers should feel set but still tender. Try to avoid overbaking them, which can dry out the scones.
Why are my scones tough?
Overmixing and adding too much flour are the most likely culprits. Mix the dough just until it comes together and use only enough flour to make the dough manageable.
How do I make 16 smaller strawberry scones instead of 8?
After you finish folding and laminating the dough, divide it evenly in half. Gently shape each half into a smaller disc about 5–6 inches wide and 1 inch thick. Cut each disc into 8 wedges, giving you 16 smaller scones total. Place them on a parchment-lined baking sheet and chill for 30 minutes before baking. Because the smaller scones will bake more quickly, start checking them around 14–16 minutes, looking for golden edges and tops. Don’t overcrowd the baking sheet, use two baking sheets if needed.
Other Recipes You’ll Love
Let’s engage!
Make sure to tag @thehomechefmomma on Instagram or Facebook, and leave a review or comment if you make these. I always get so excited to see your creations, variations of the recipe, and feedback! Just remember to be kind in your comments, there is still a person behind this screen! 🙂
Strawberry Scones
Ingredients
For the Scones
- 1¾ cups all-purpose flour
- ⅓ cup crushed freeze-dried strawberries
- ⅔ cup granulated sugar
- 1 tablespoon baking powder
- ½ teaspoon kosher salt
- Zest of 1 lemon
- ½ cup unsalted butter frozen and grated
- ½ cup cold heavy cream
- 1 large egg cold
- 1 teaspoon vanilla extract
- 1 cup fresh strawberries finely chopped
- 1 tablespoon cornstarch
For Topping
- Heavy cream for brushing
- Turbinado sugar for sprinkling
Optional Lemon Glaze
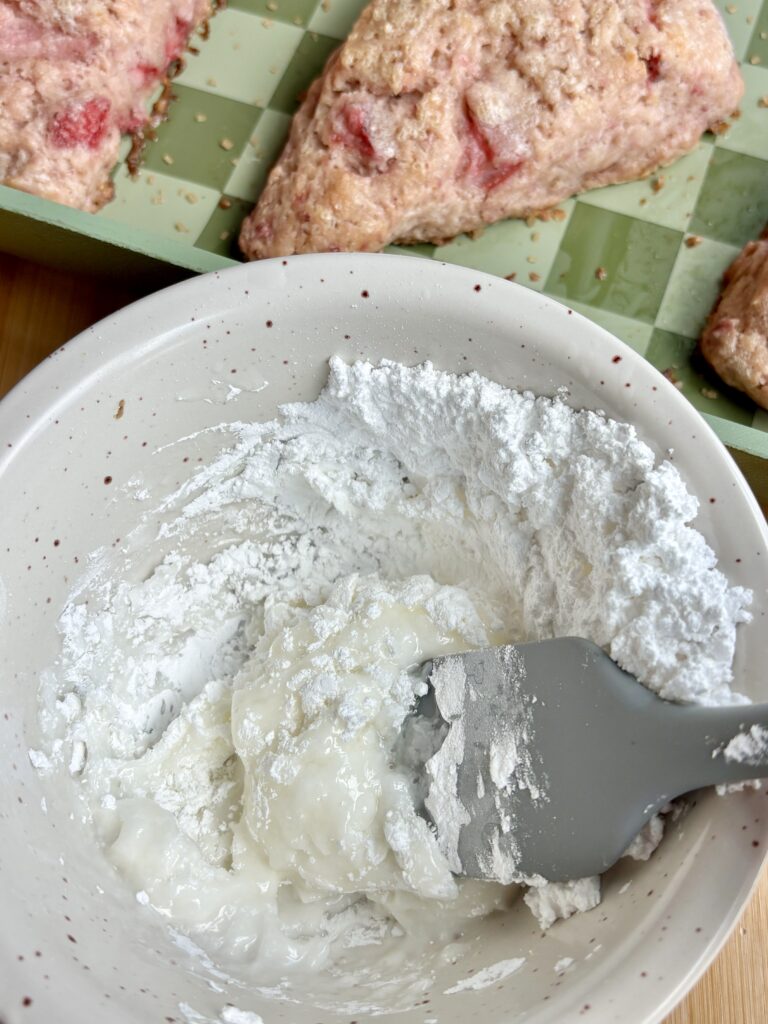
- ¾ cup powdered sugar
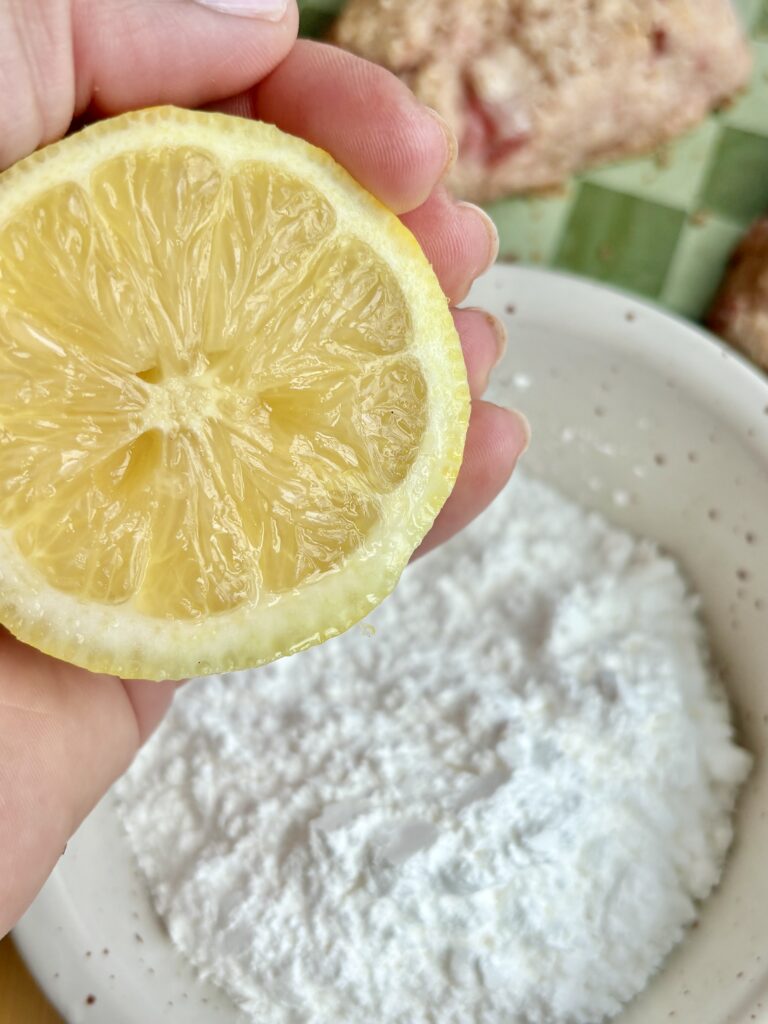
- 1 –2 tablespoons fresh lemon juice
Instructions
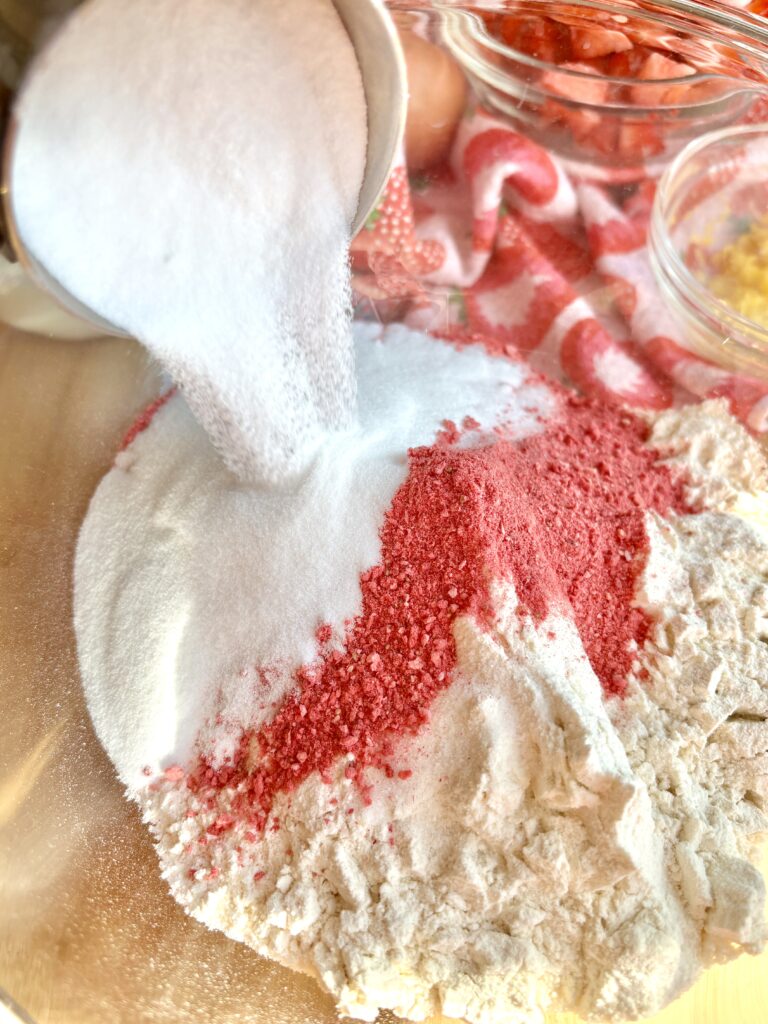
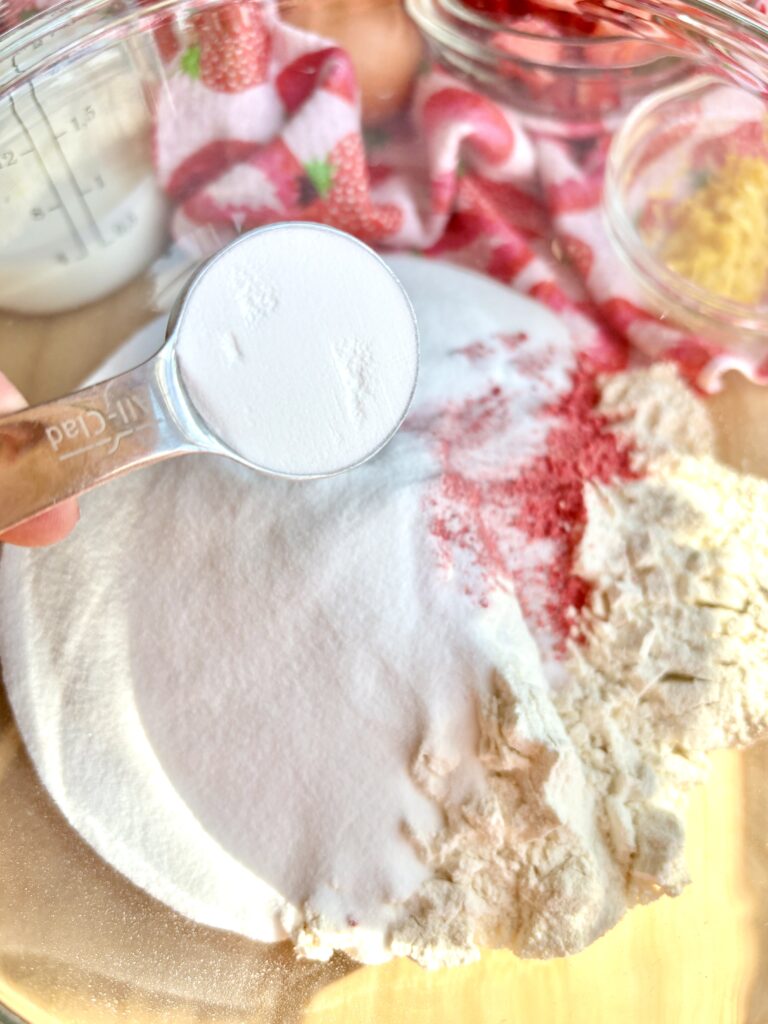
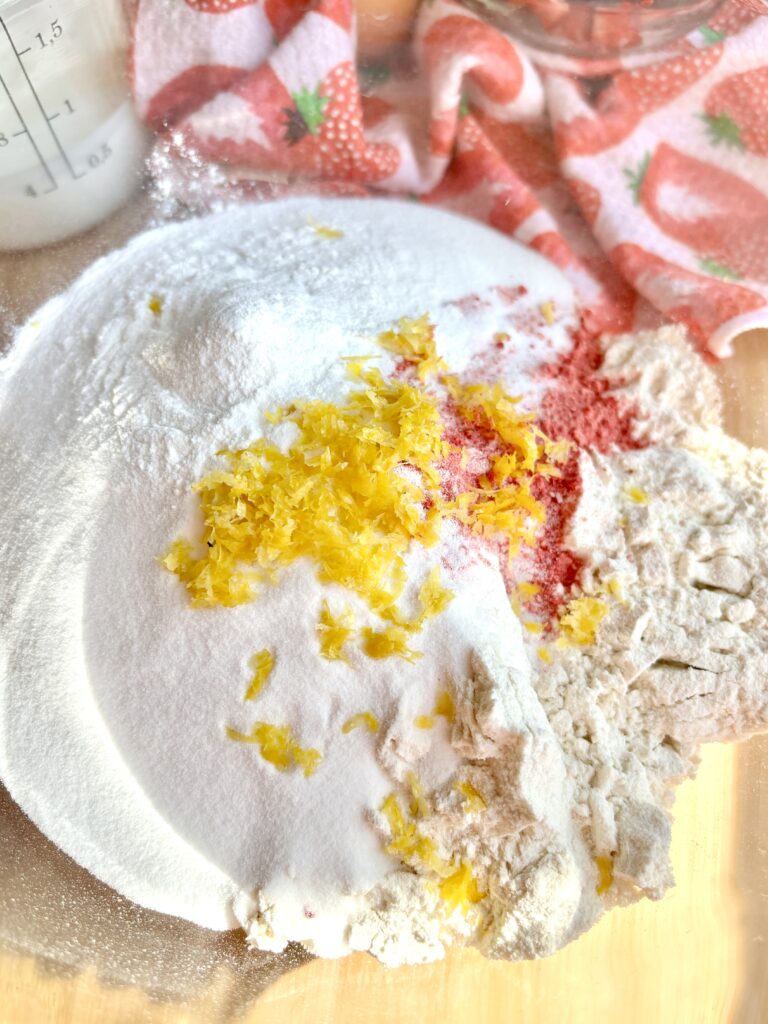
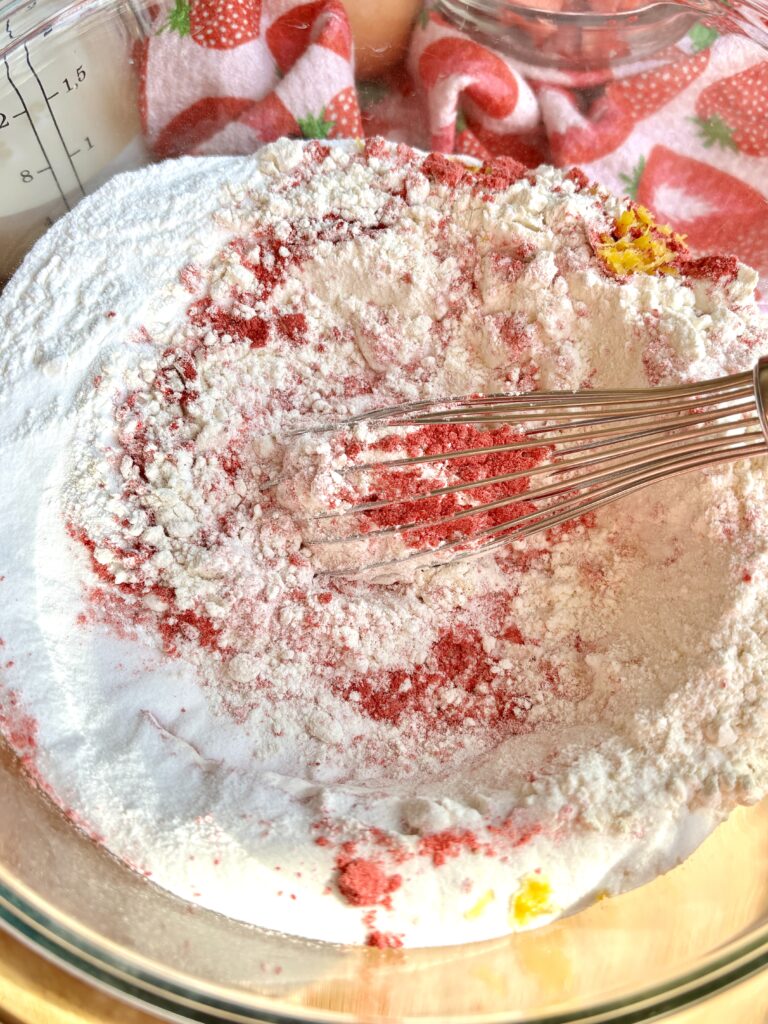
- In a large bowl, whisk together the flour, crushed freeze-dried strawberries, granulated sugar, baking powder, kosher salt, and lemon zest.
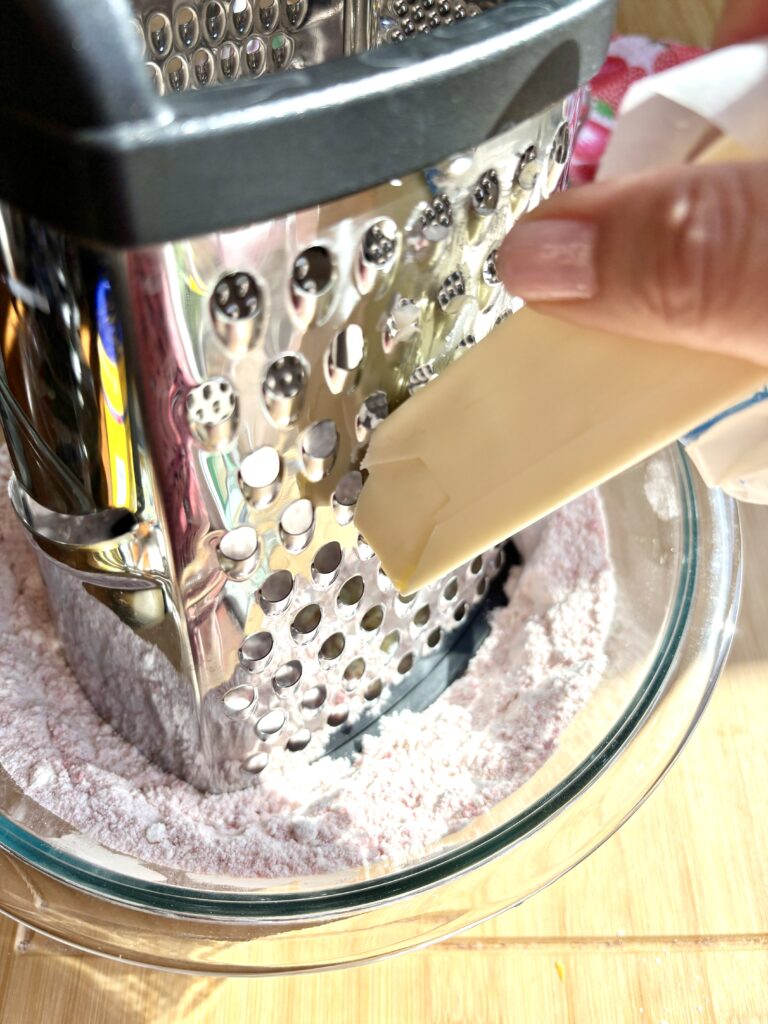
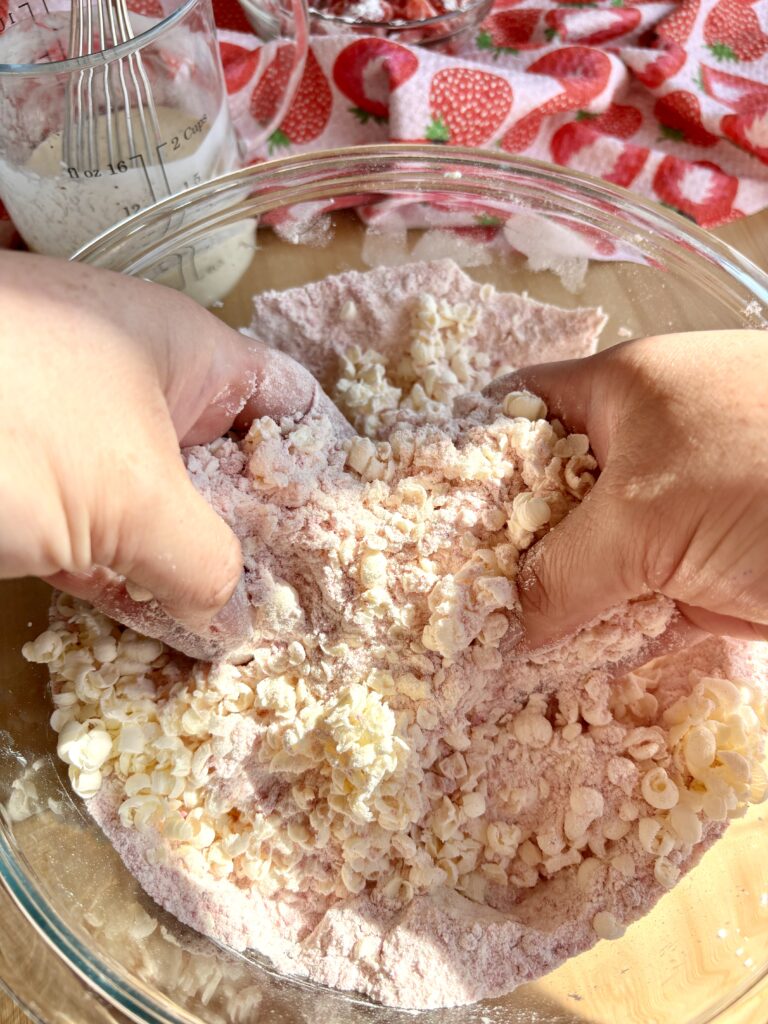
- Grate the frozen butter directly into the flour mixture using the large holes of a box grater. Gently toss the butter into the flour until evenly distributed and small pieces of butter remain throughout.
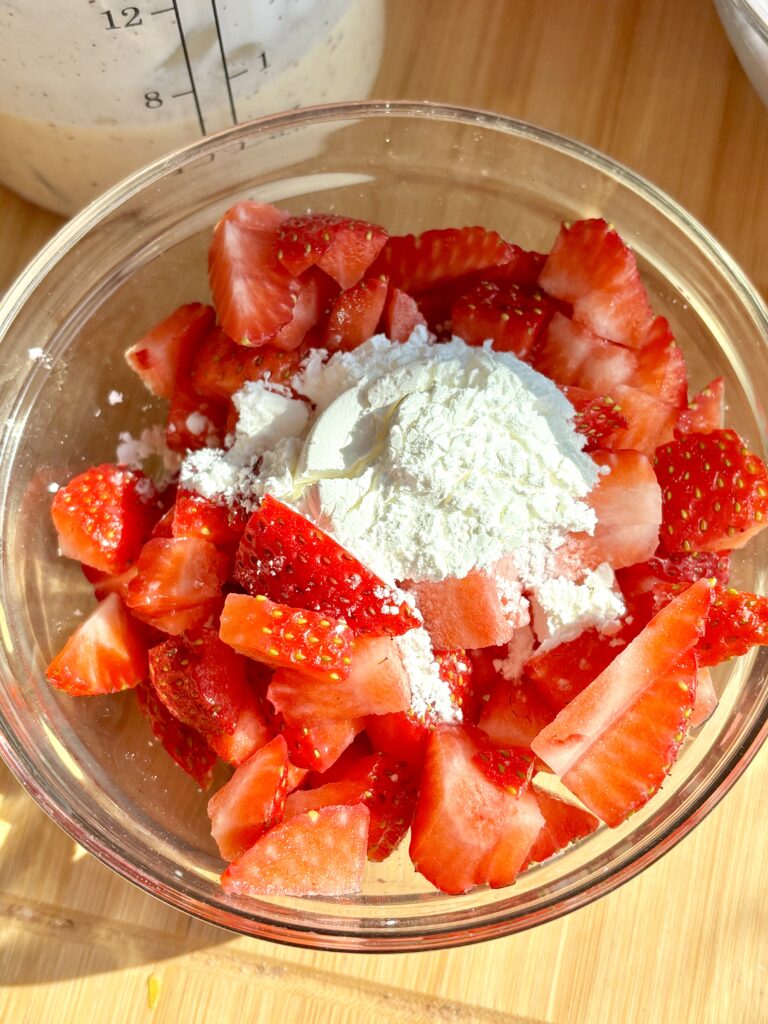
- In a small bowl, toss the finely chopped strawberries with the cornstarch until evenly coated.
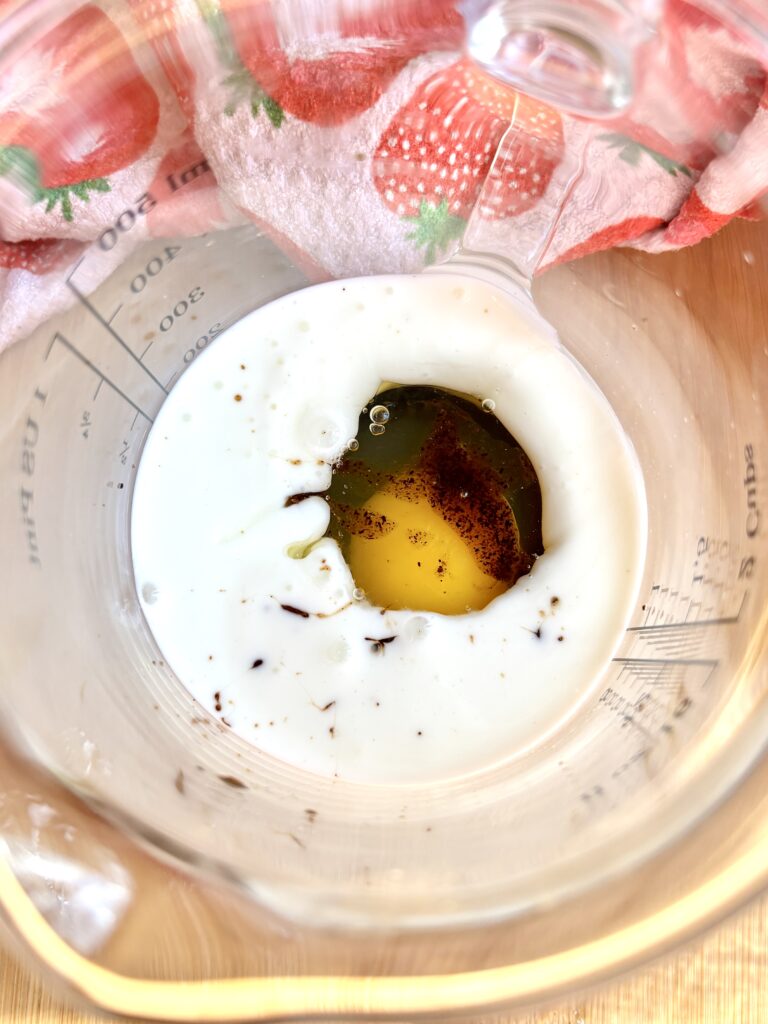
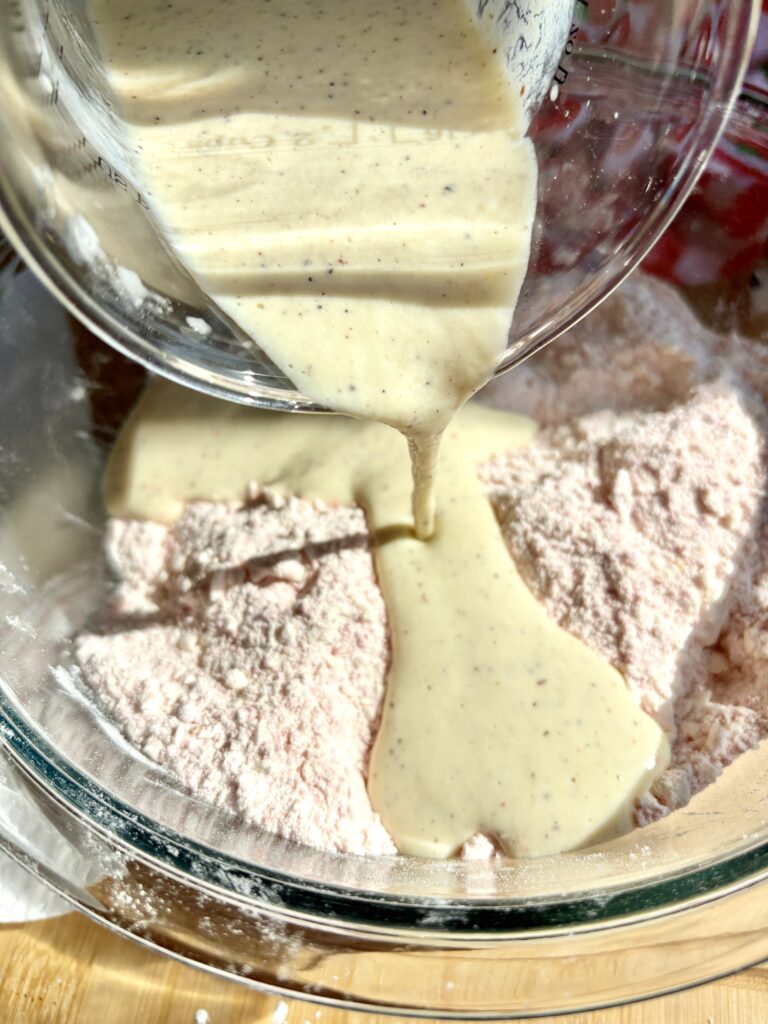
- In a separate medium bowl, whisk together the cold heavy cream, egg, and vanilla extract.
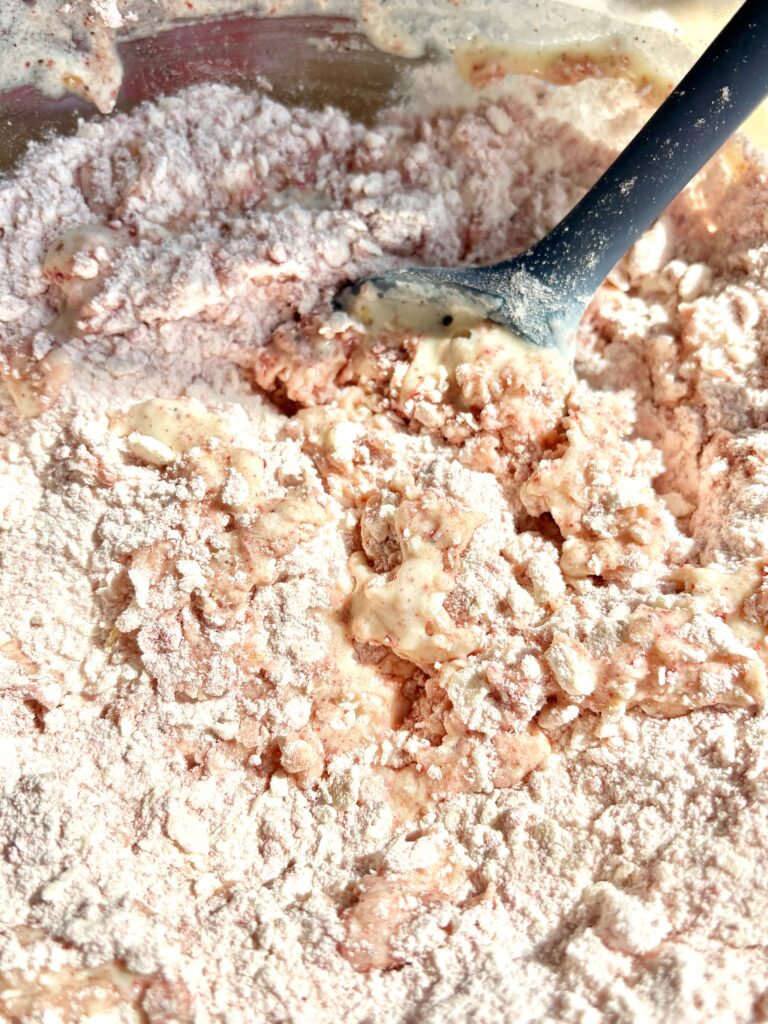
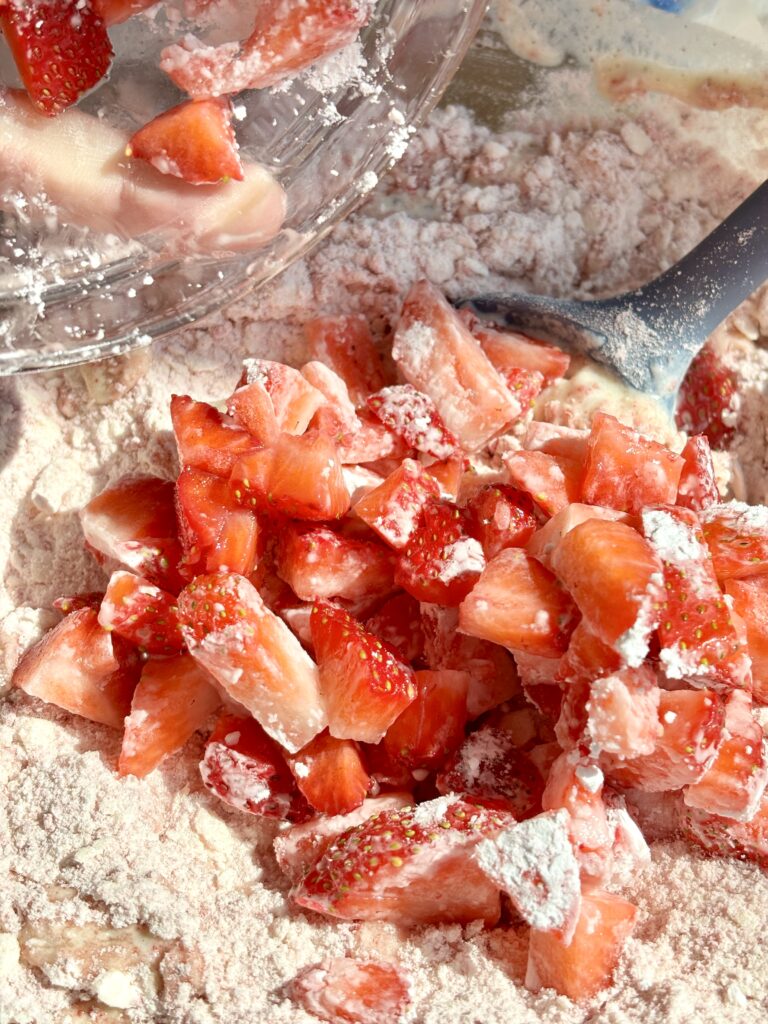
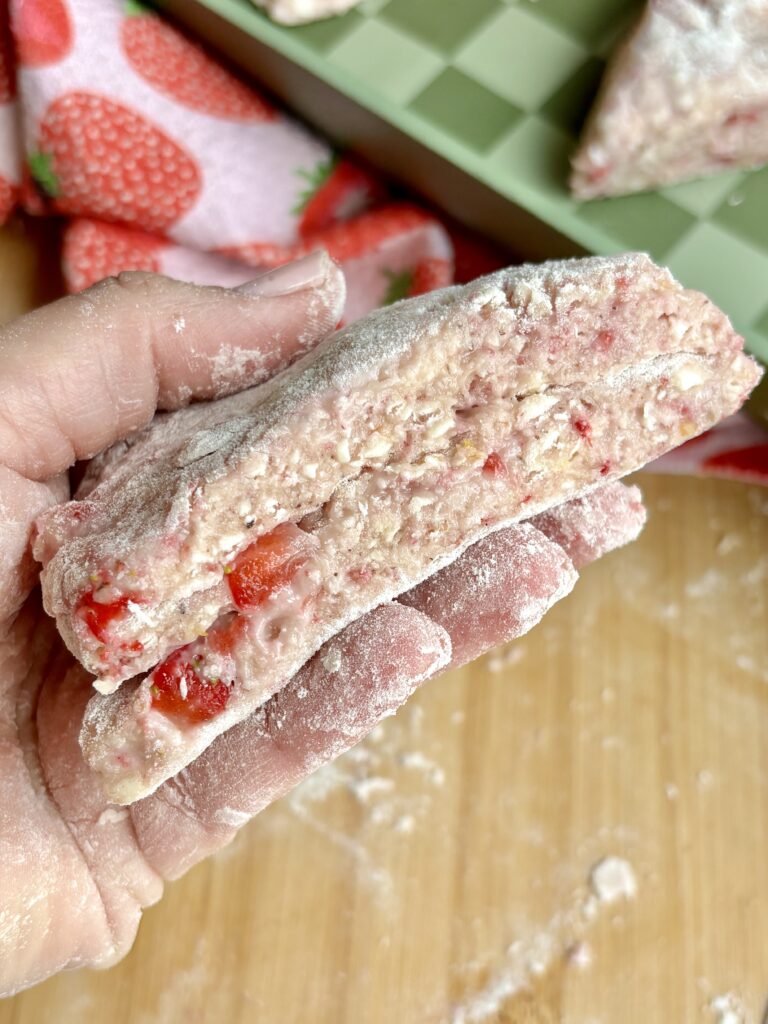
- Pour the wet ingredients into the dry ingredients and gently stir until the dough just begins to come together. Add the strawberries and fold them in gently. The dough should look shaggy. If it feels excessively wet, add additional flour 1 tablespoon at a time, using only enough to make the dough manageable.
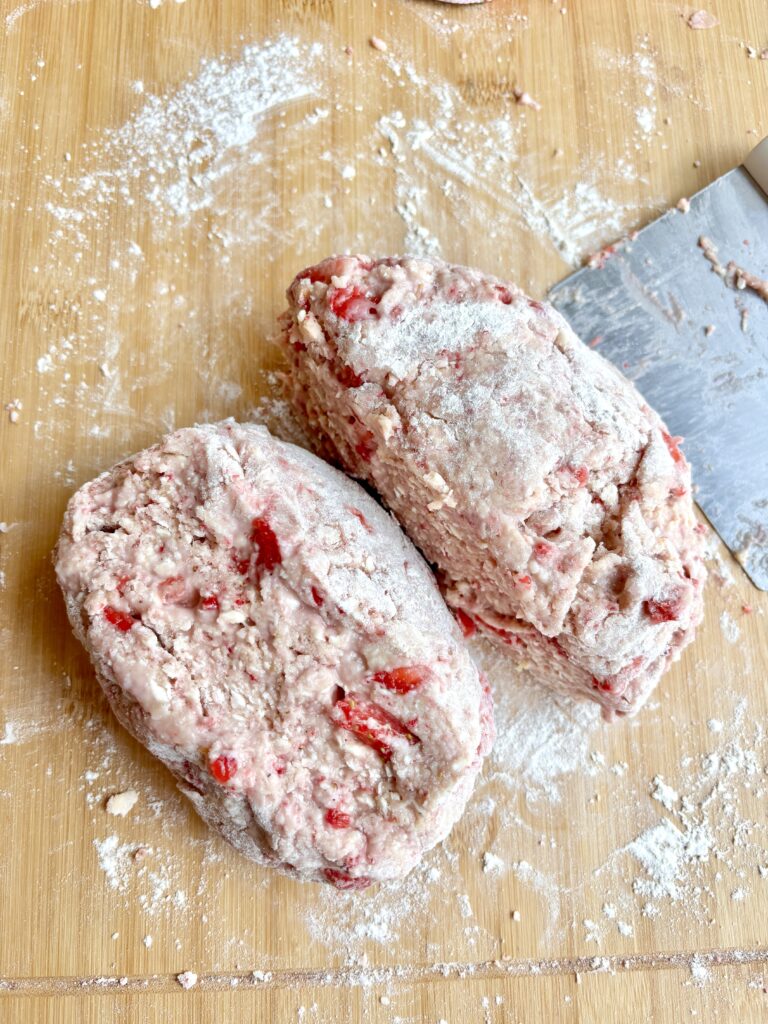
- Turn the dough onto a lightly floured work surface. Gently press it into a rectangle about 1 inch thick.
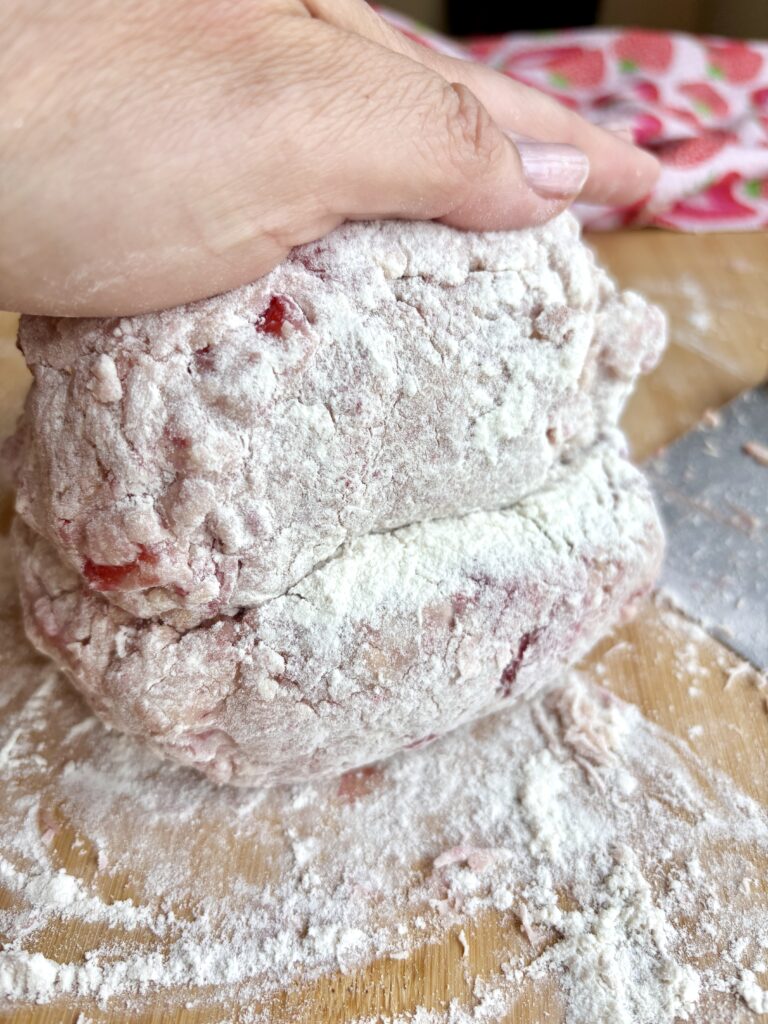
- Fold the dough into thirds like a letter. Rotate the dough 90 degrees, gently flatten it into a rectangle again, and repeat the folding process 2–3 more times. Work gently and avoid overmixing.
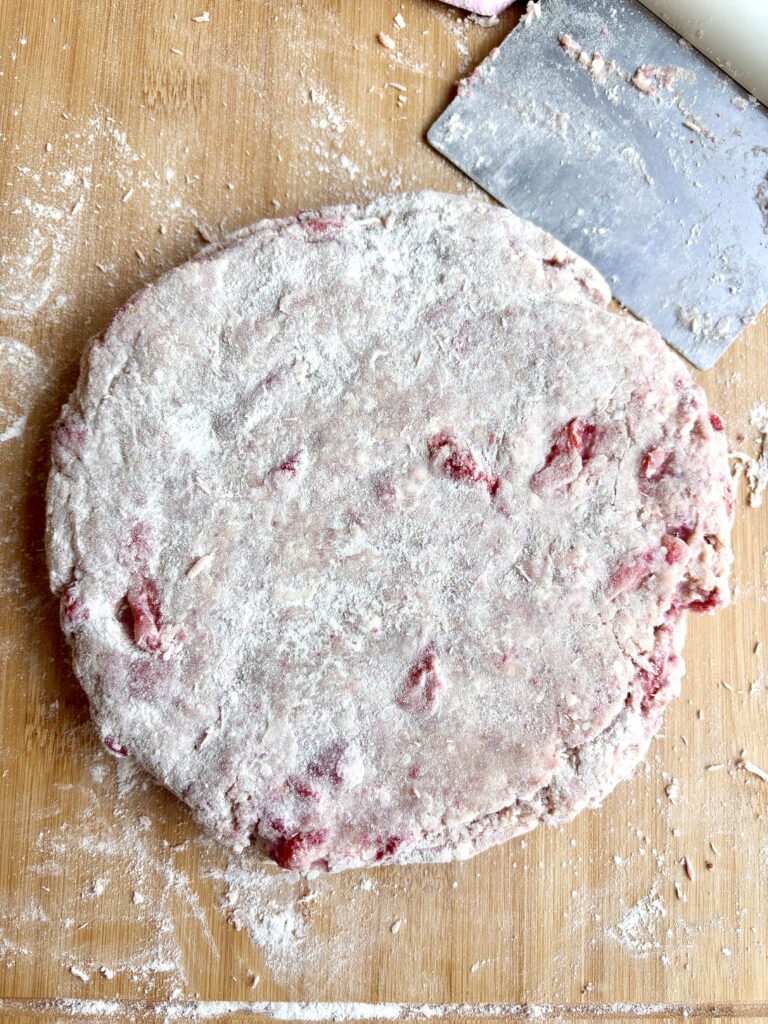
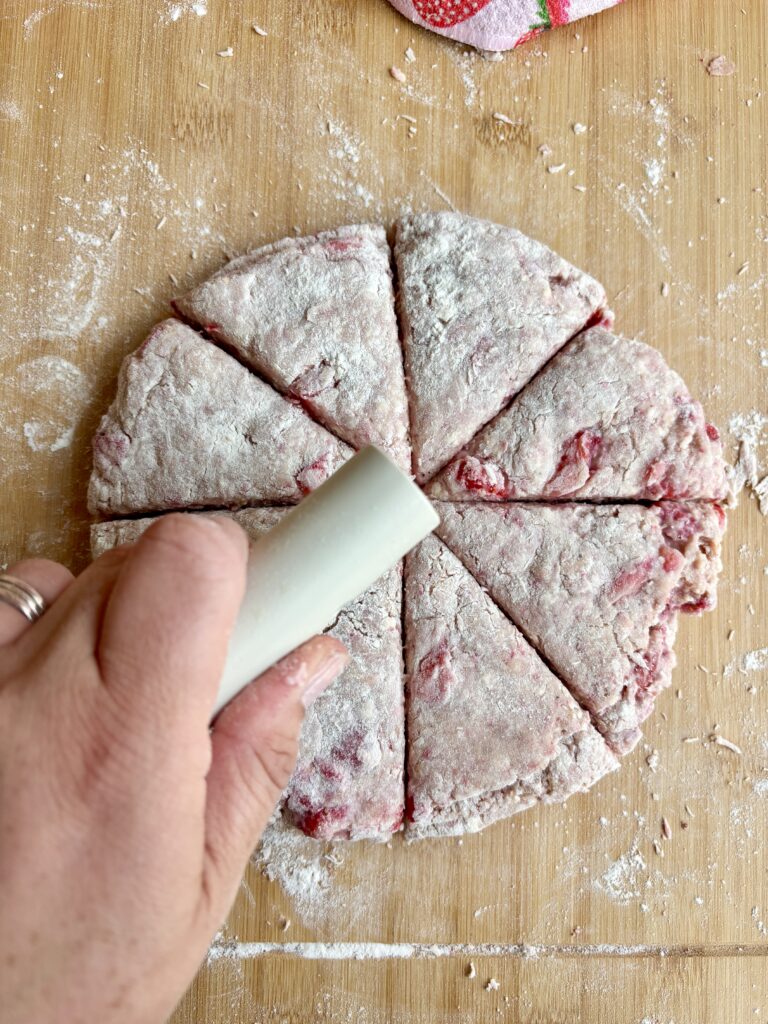
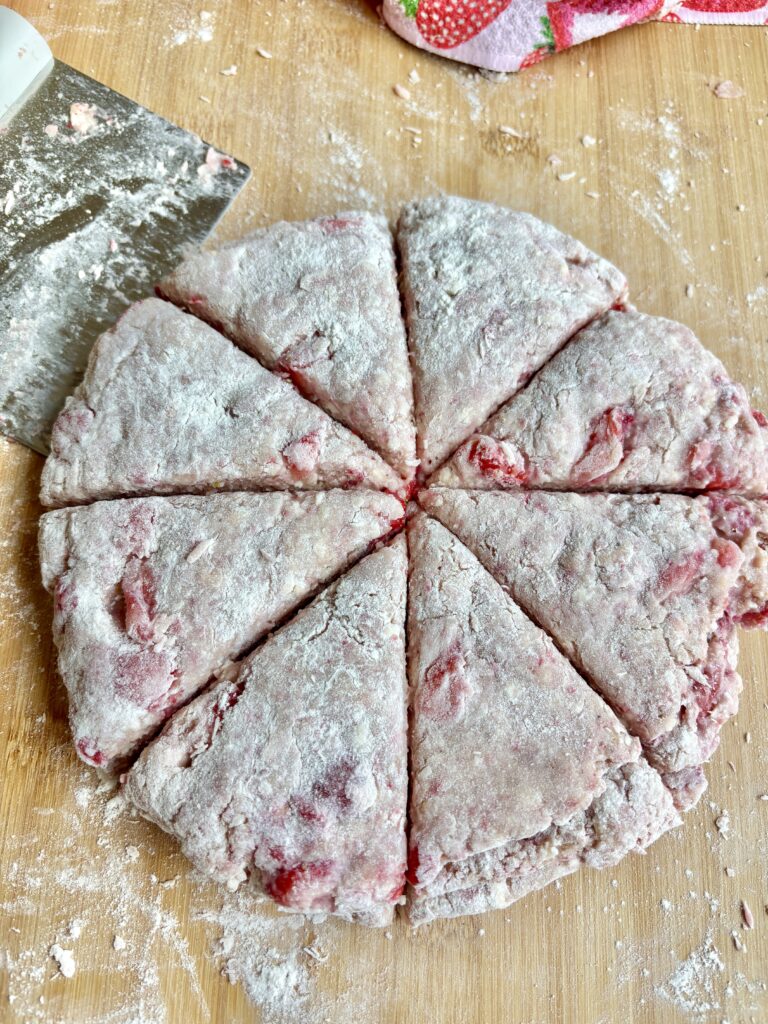
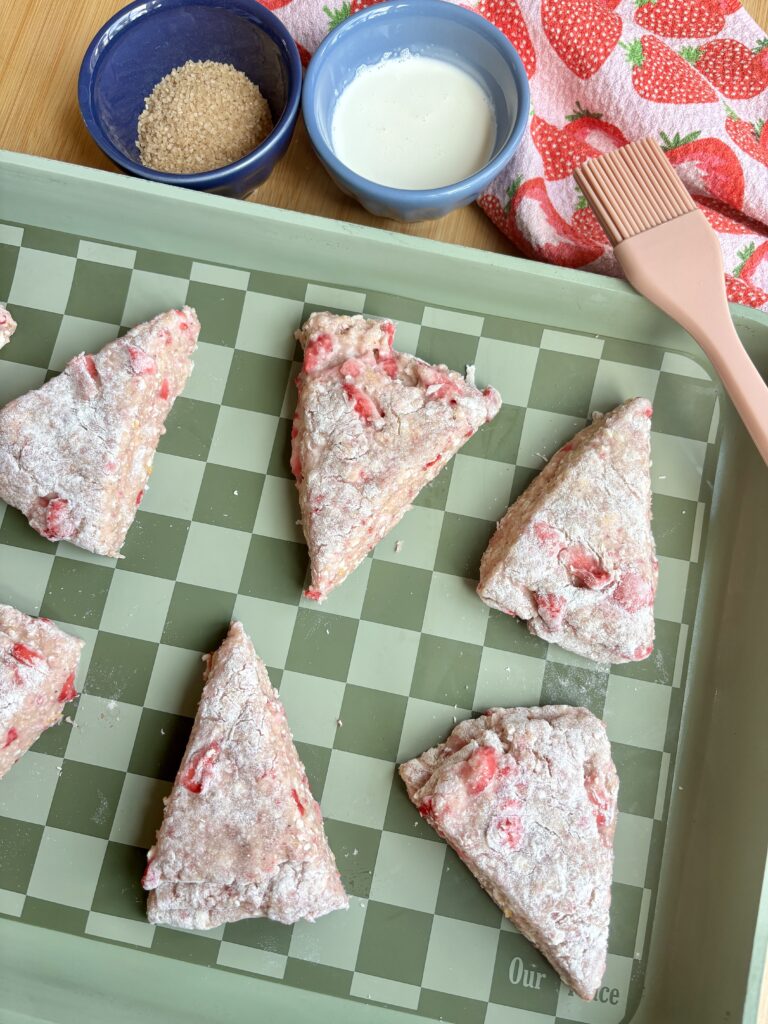
- Pat the dough into a 7–8-inch circle about 1 inch thick. Cut the dough into 8 equal wedges using a sharp knife or bench scraper.
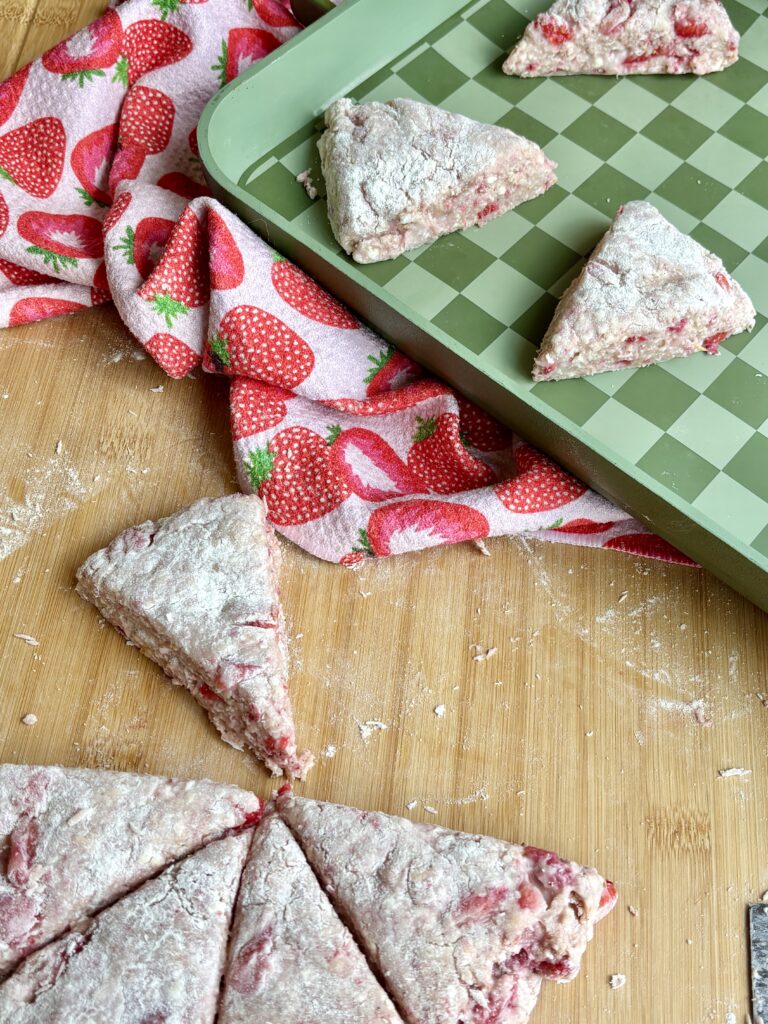
- Transfer the scones to a parchment-lined baking sheet and refrigerate for 30 minutes.
- Preheat the oven to 400°F.
- Brush the chilled scones lightly with heavy cream and sprinkle generously with turbinado sugar.
- Bake for 18–22 minutes, or until the tops and edges are golden brown and the centers are cooked through.
- Allow the scones to cool on the baking sheet for 5 minutes, then transfer to a wire rack.
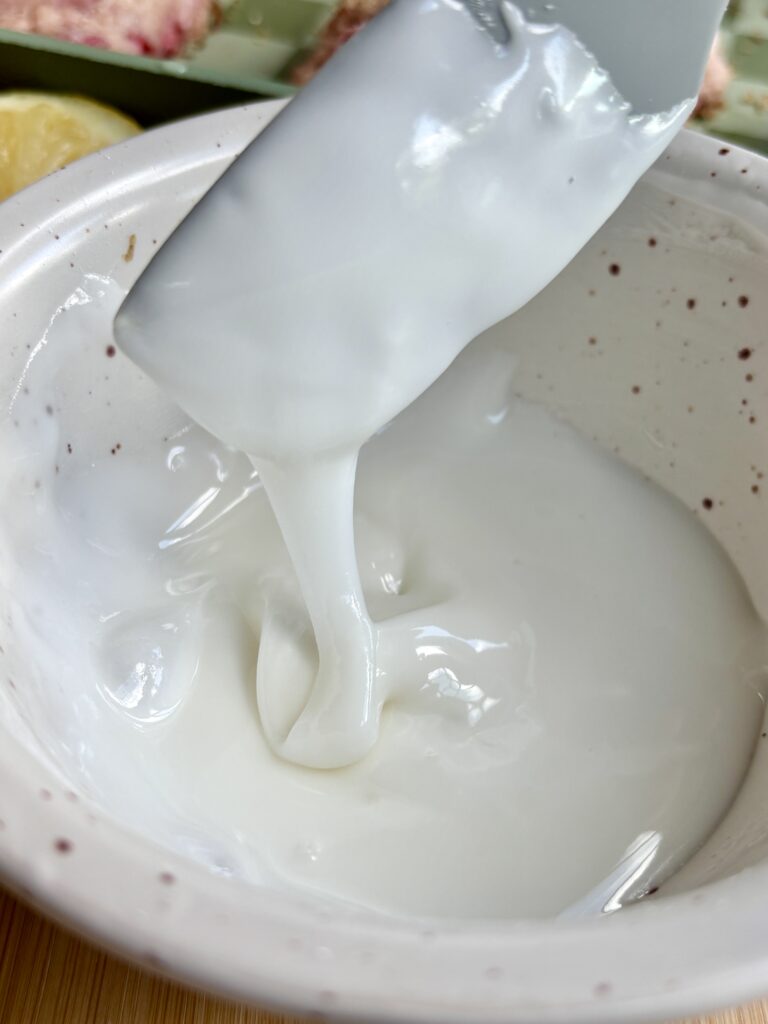
- If using the lemon glaze, whisk the powdered sugar and lemon juice together until smooth. Drizzle over the cooled scones.
strawberry scones | fresh strawberry scones | strawberry scone recipe | homemade strawberry scones | easy strawberry scones | flaky strawberry scones | bakery style strawberry scones | strawberry breakfast recipes | strawberry brunch recipes | strawberry and lemon scones | fresh strawberry breakfast recipes | summer strawberry recipes | homemade scones recipe | how to make strawberry scones | scones with fresh strawberries

Nutritional Content Disclaimer
I choose not to include nutritional information with my recipes, as these values can be calculated from the ingredients provided. With my background as a pediatric nurse practitioner and my own family experience with disordered eating, I understand how focusing on numbers can affect our relationship with food. My philosophy is that all foods have a place—sweet, savory, nourishing, or indulgent. I aim to share recipes that support a healthy, joyful approach to eating. My hope is that this space also encourages a balanced, healthy relationship with food for you and your family too.