
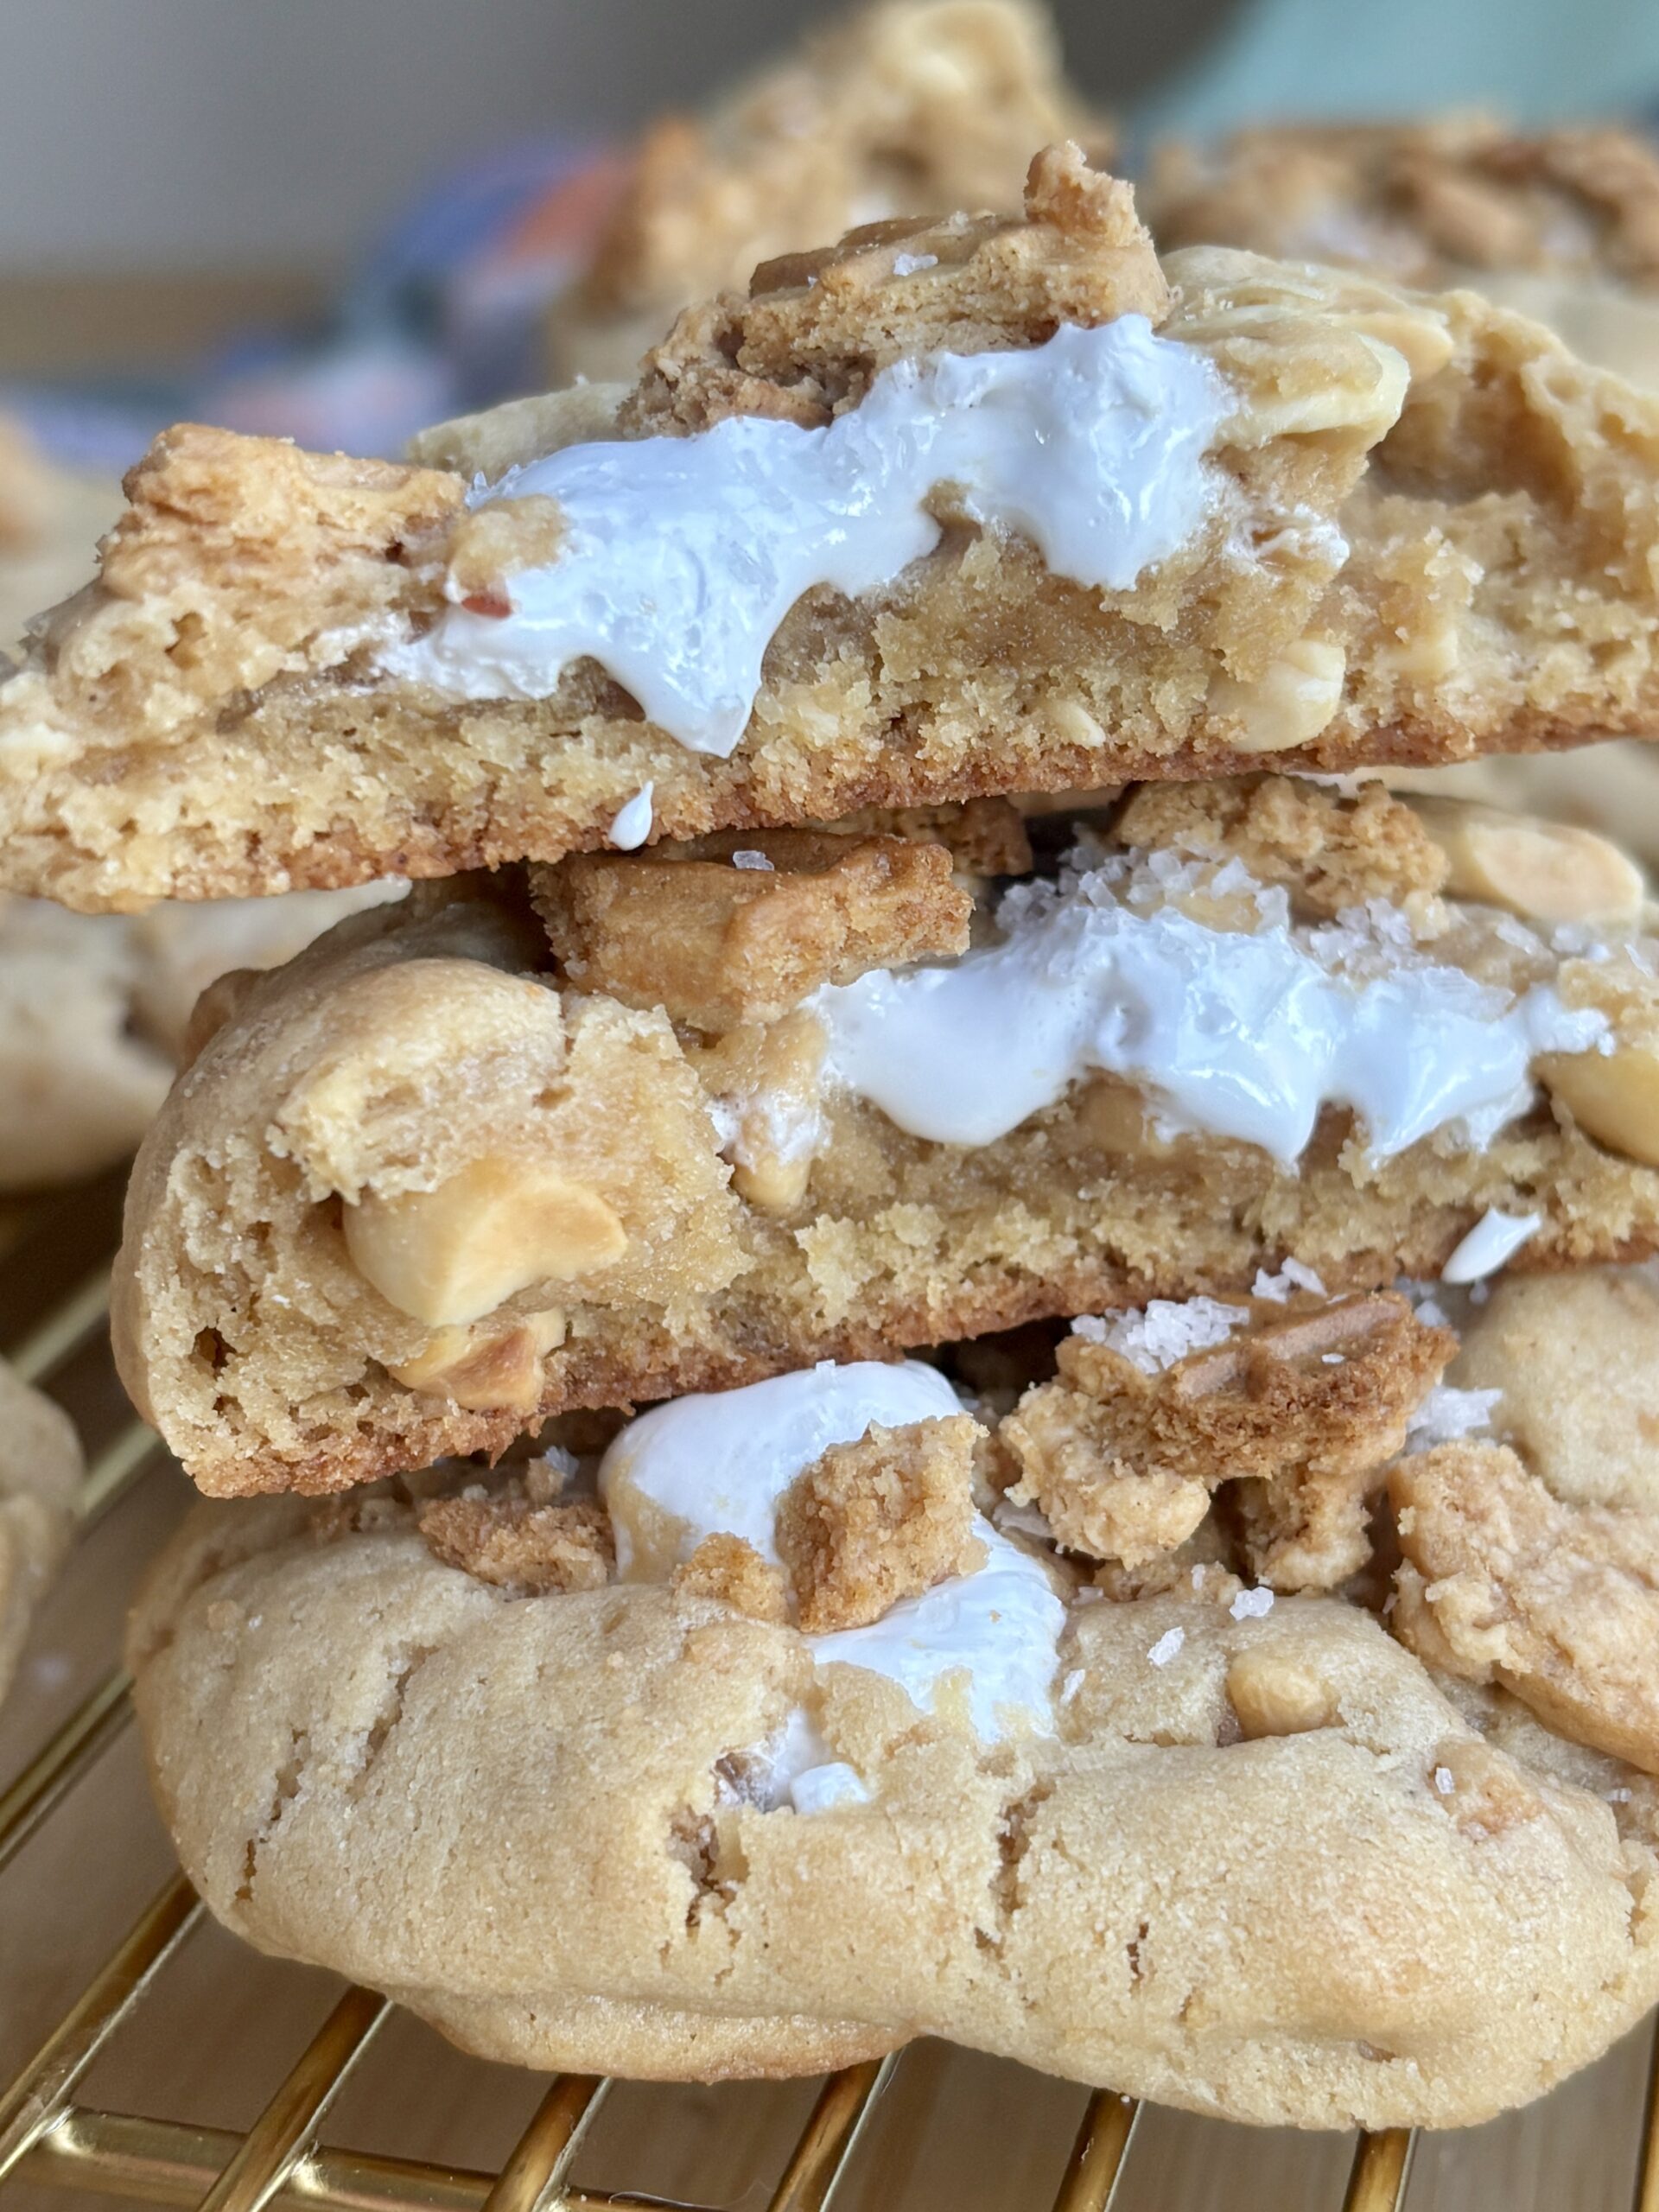
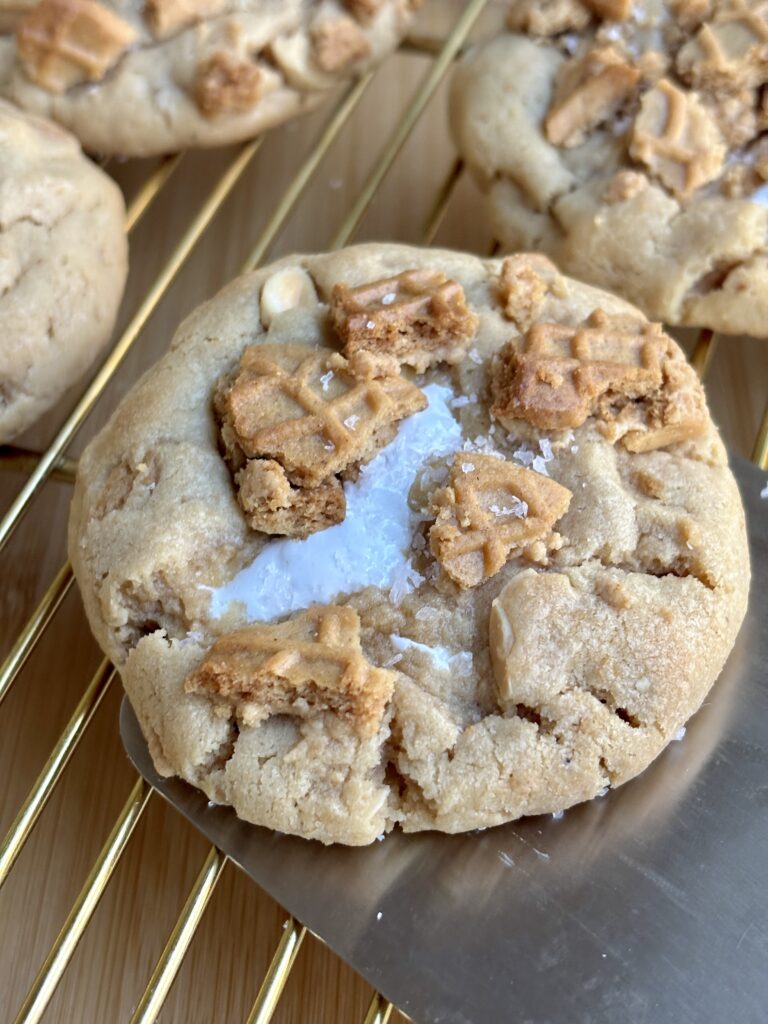
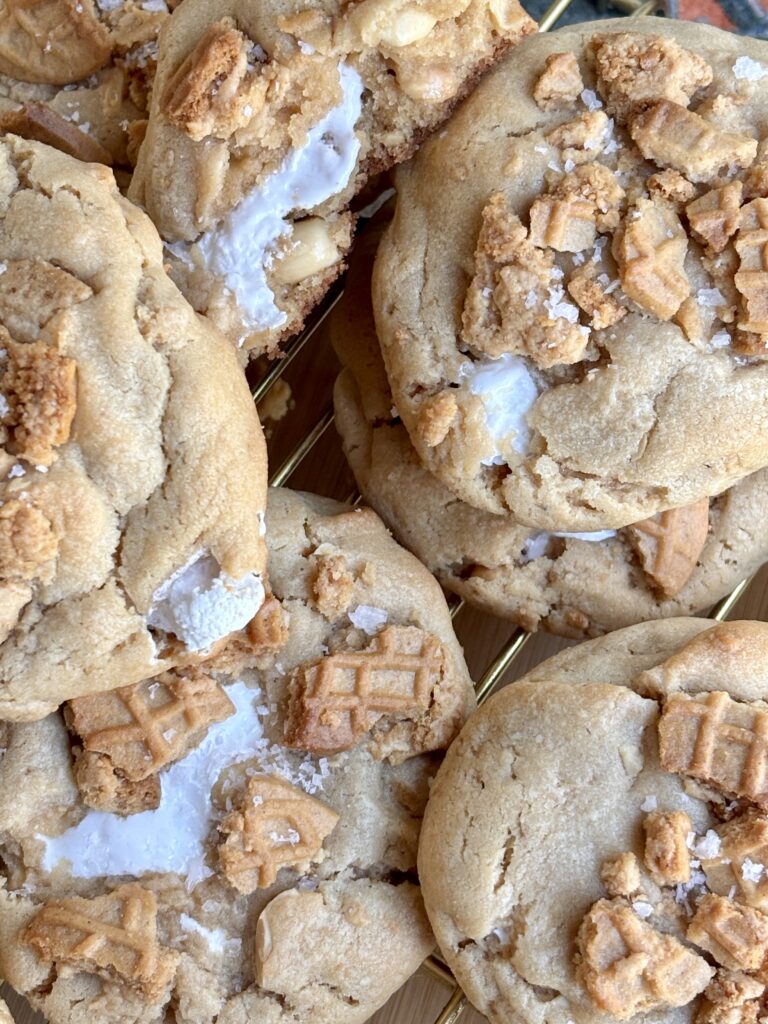
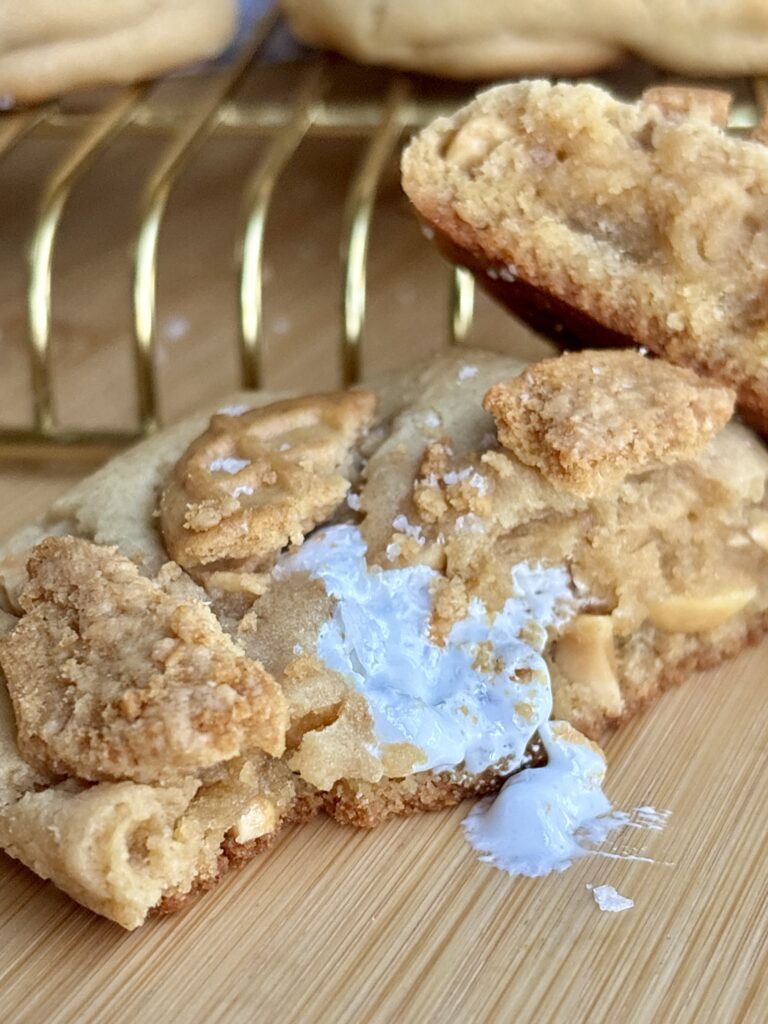
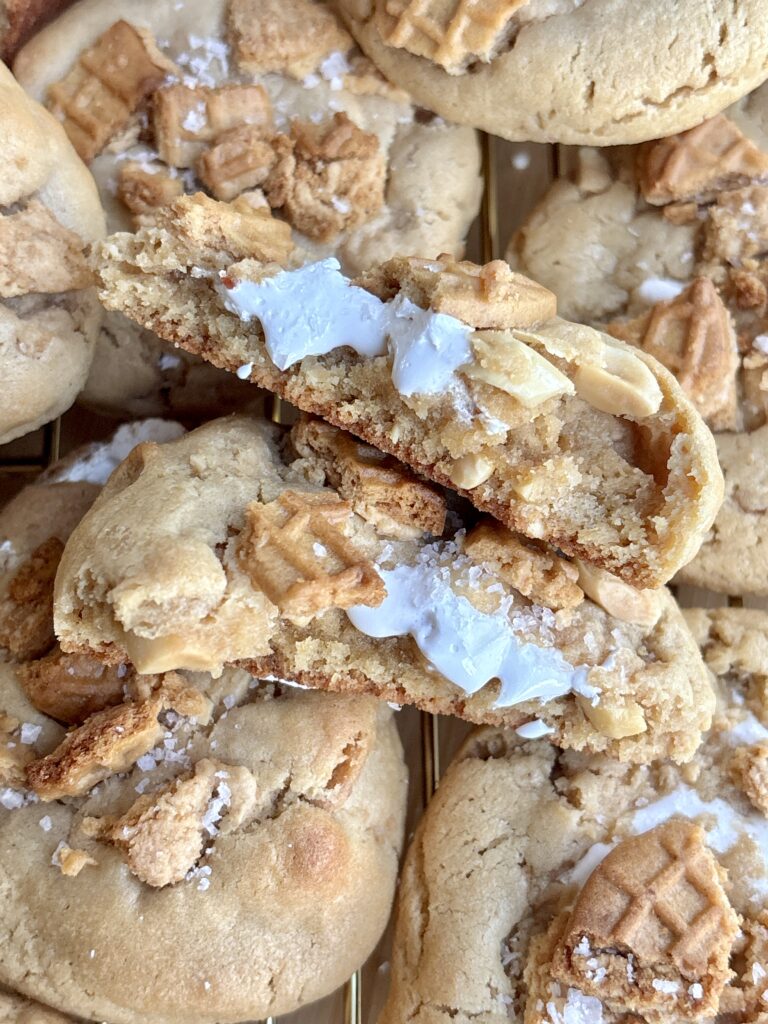
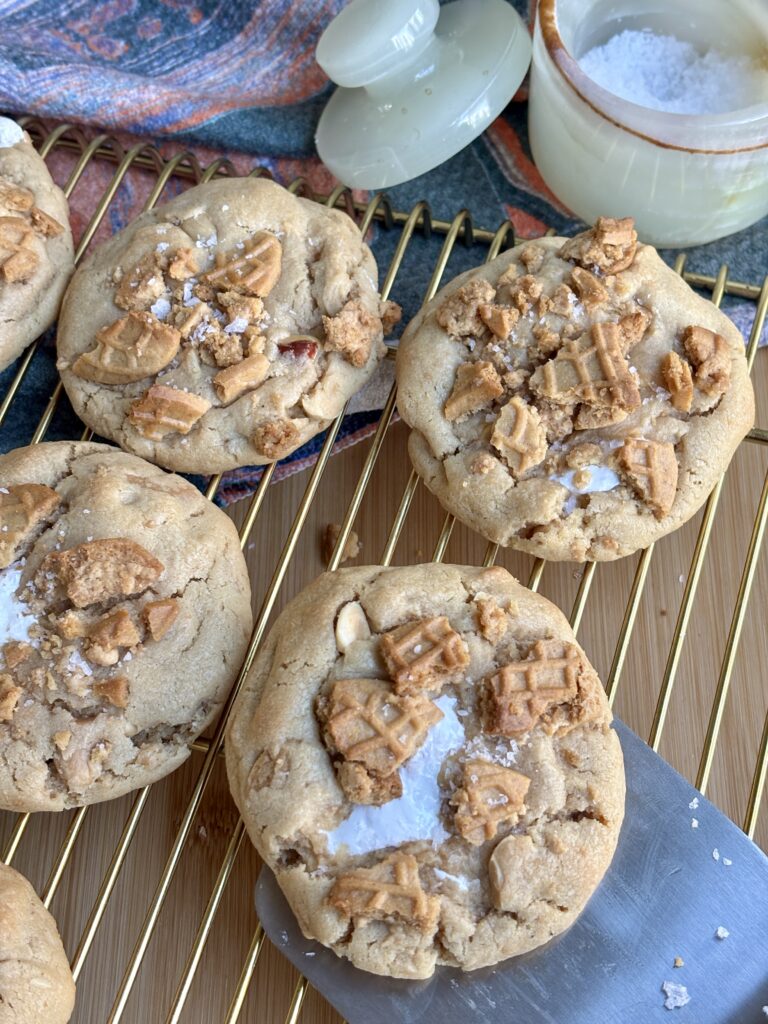
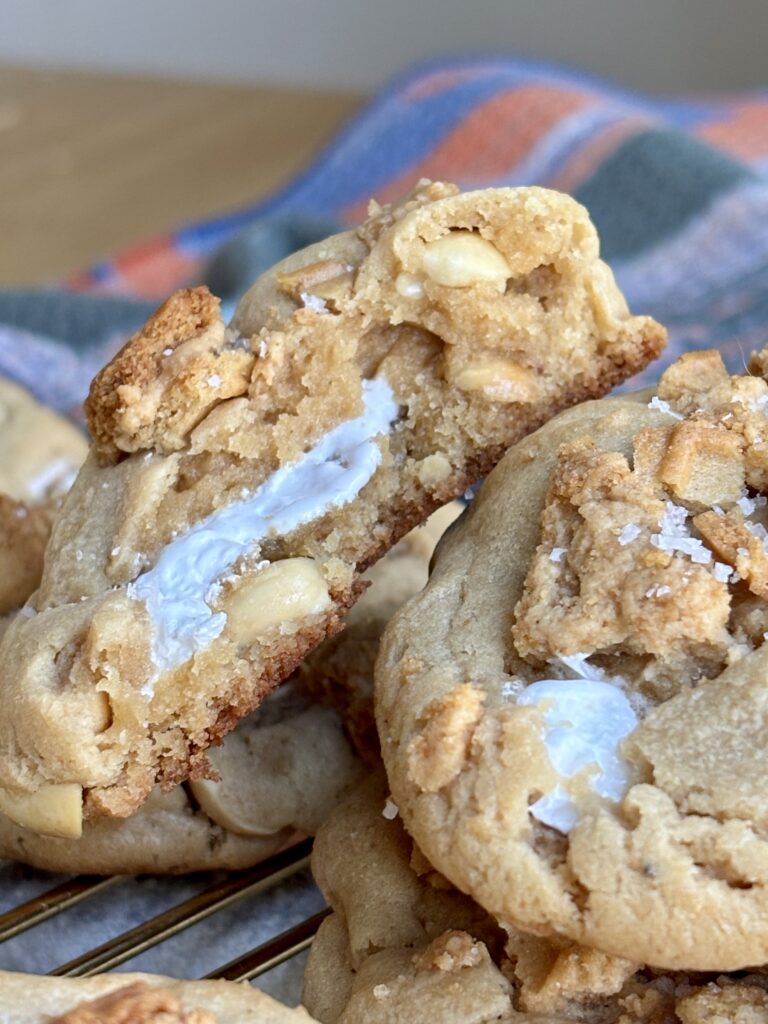
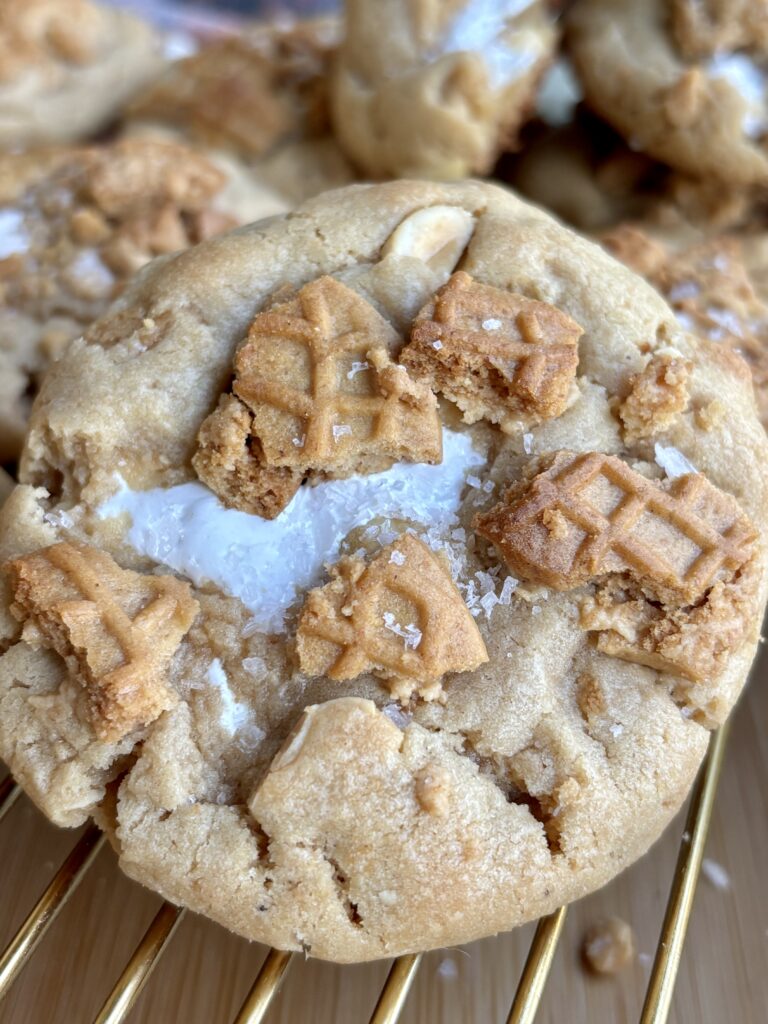
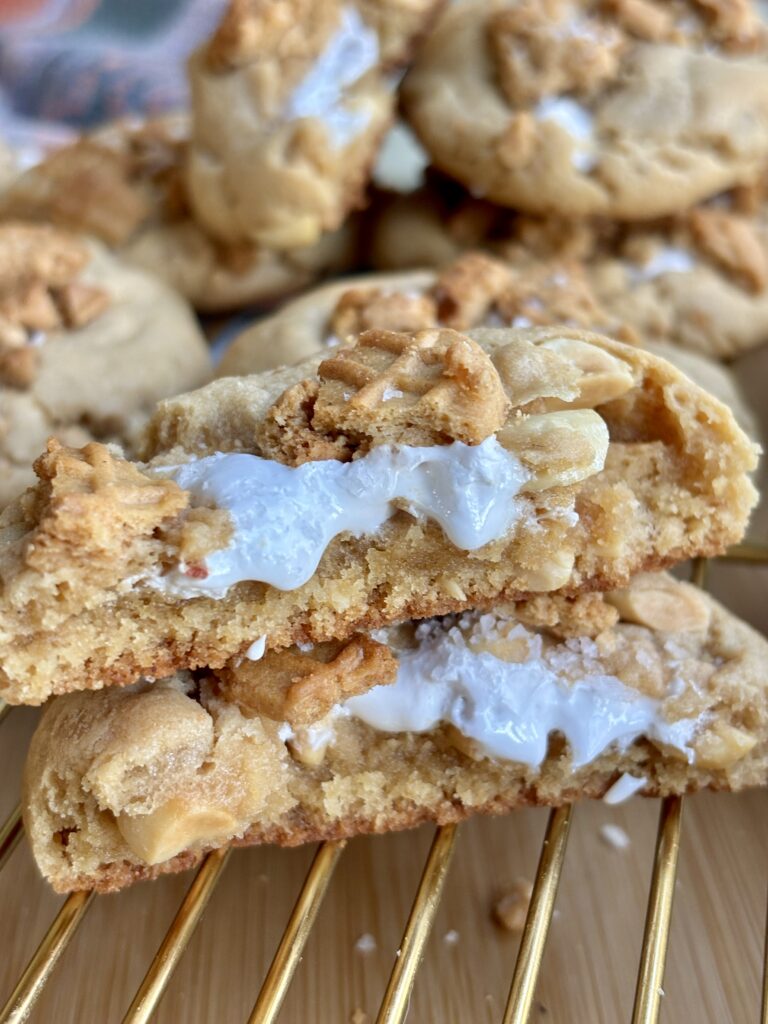
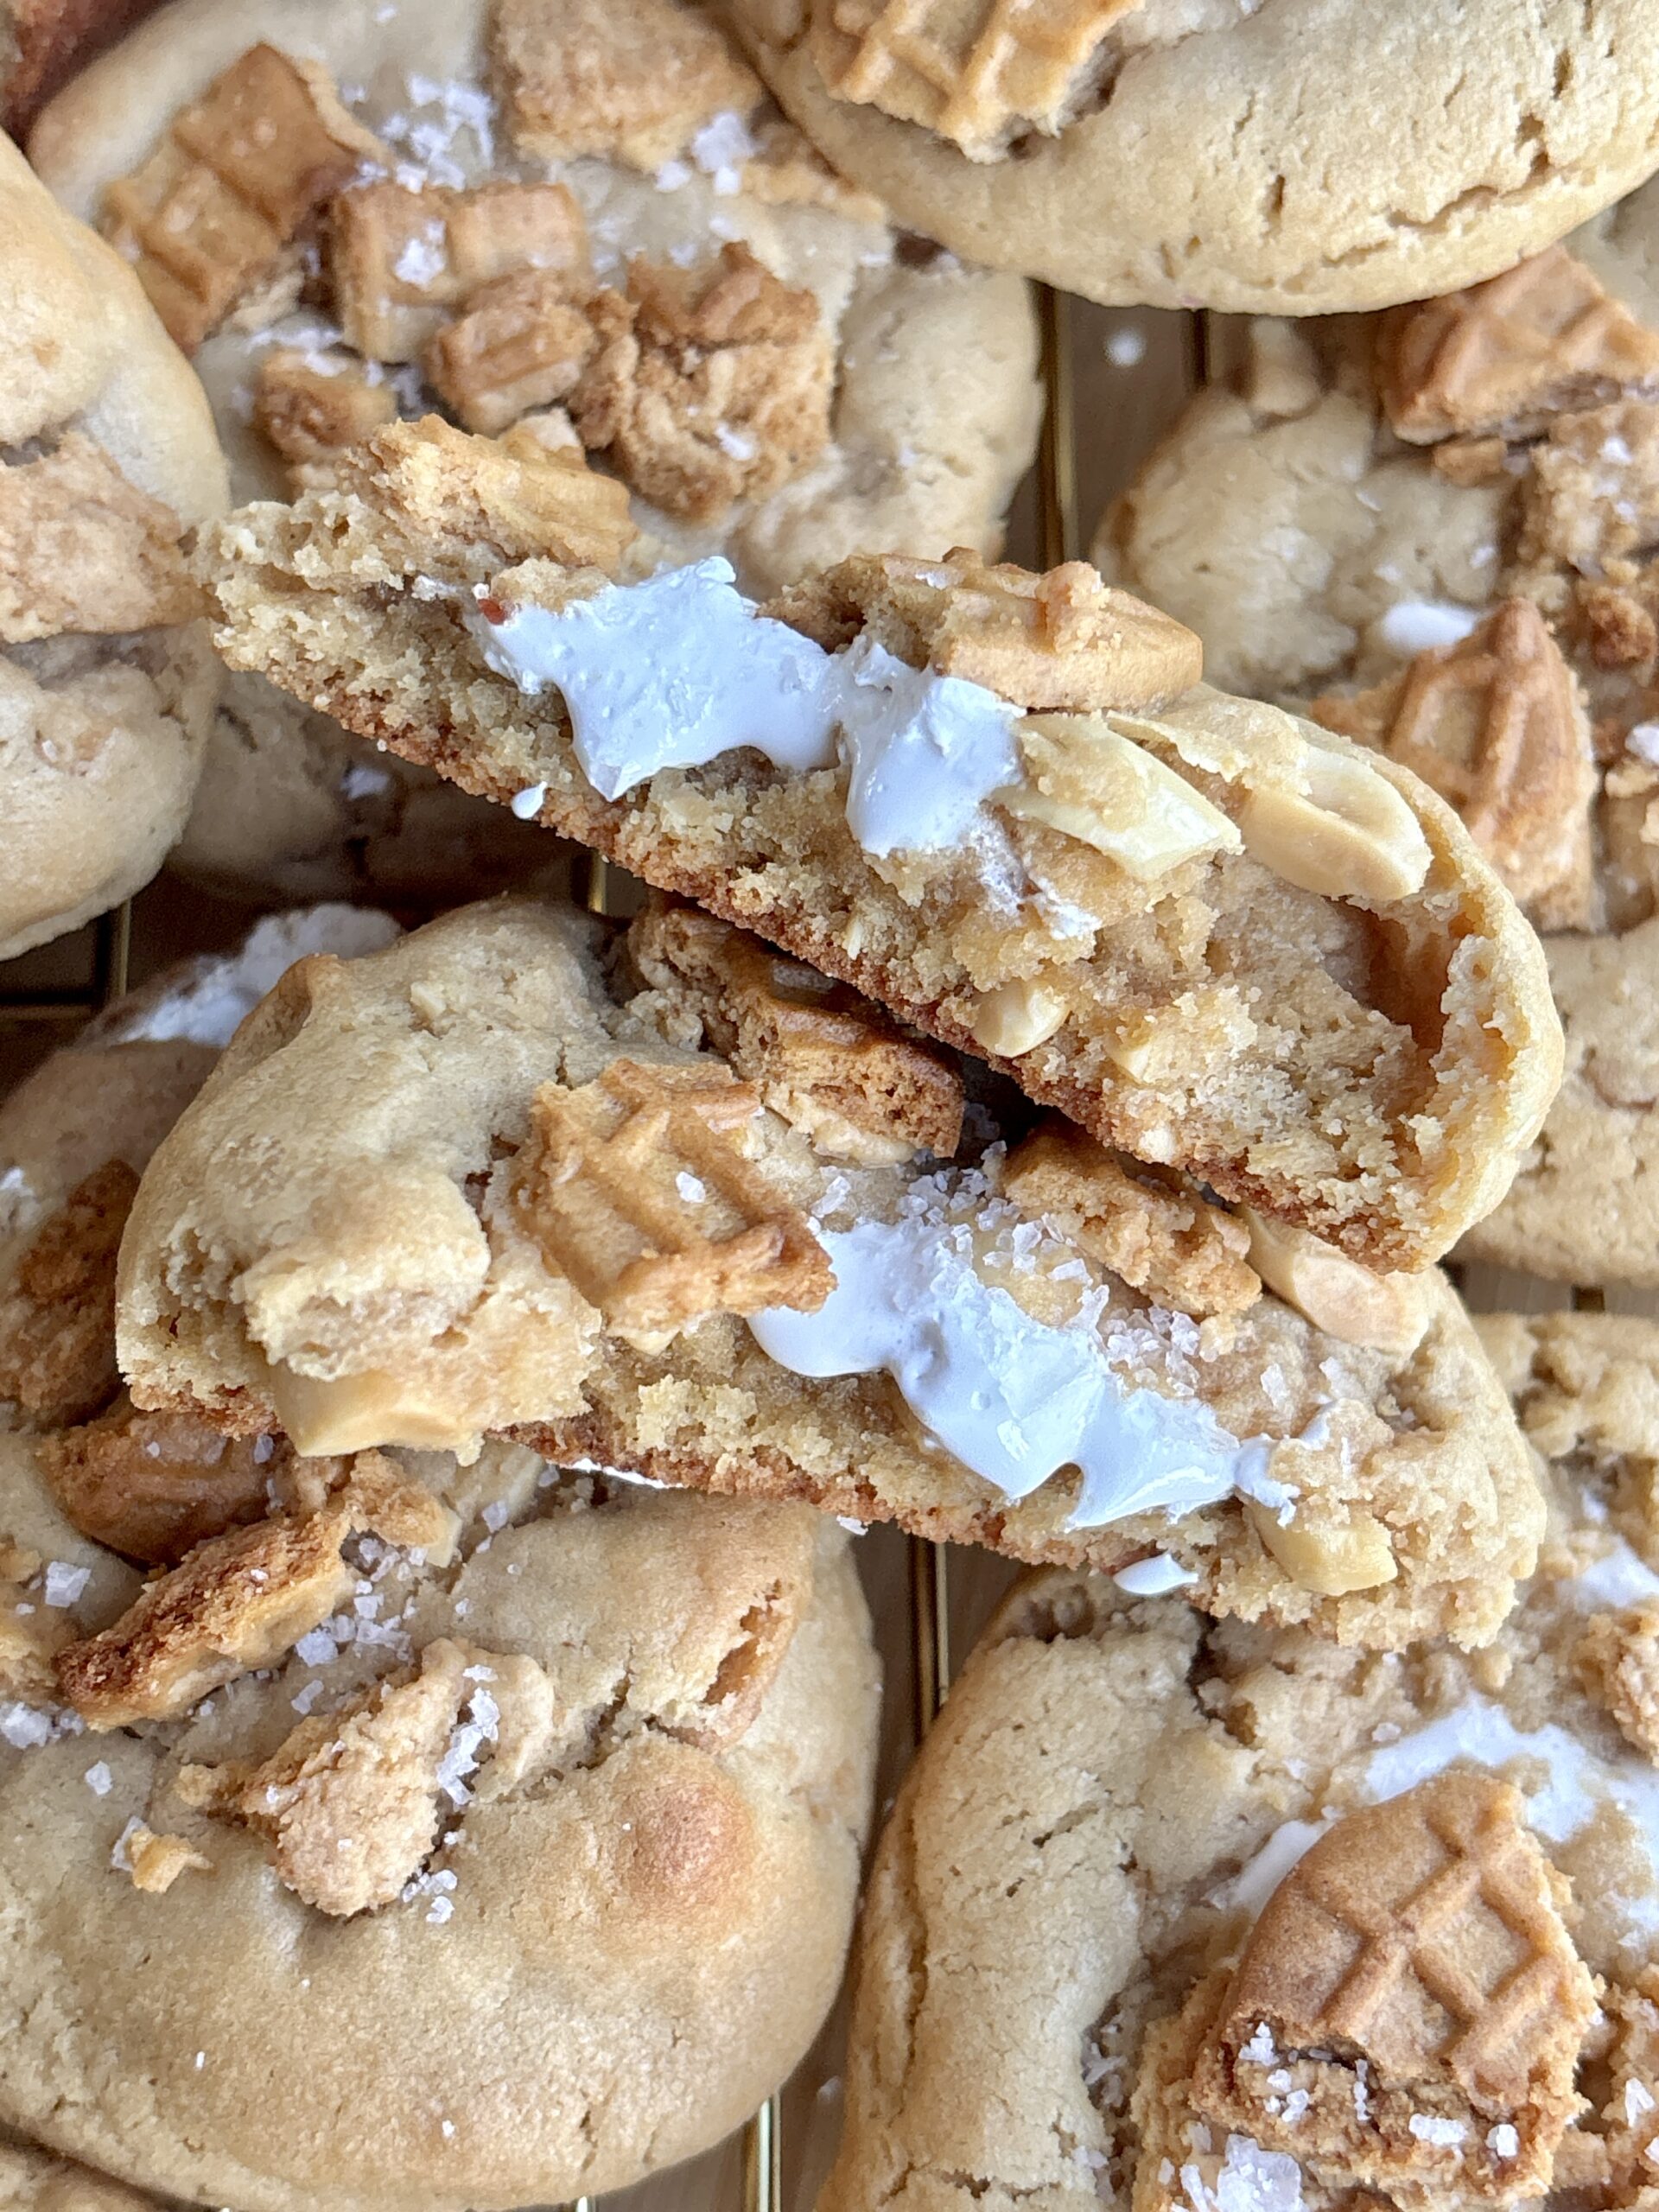
I grew up on fluffernutter sandwiches, so when I was dreaming up a cookie these Salted Fluffernutter Cookies immediately came to mind. These bakery-style peanut butter cookies are rich, soft, chewy and packed with chopped roasted peanuts and crushed Nutter Butter cookies. And then they are stuffed with a creamy marshmallow fluff center that bakes into the dreamiest pocket of sweet, sticky goodness. Finished with a sprinkle of flaky sea salt, these cookies hit that perfect sweet and salty balance while delivering everything you want in a truly over the top homemade cookie.
These cookies bake up thick with soft centers, lightly crisp edges, and just enough texture from the chopped peanuts and crushed cookies to keep every bite irresistible. They’re perfect for holidays, cookie boxes, bake sales, gifting, or just because you want a good cookie!
If you’re a peanut butter dessert lover, consider this your warning: these cookies disappear fast.
Why you’ll love this recipe!
What ingredients do I need?
- Cookie Dough
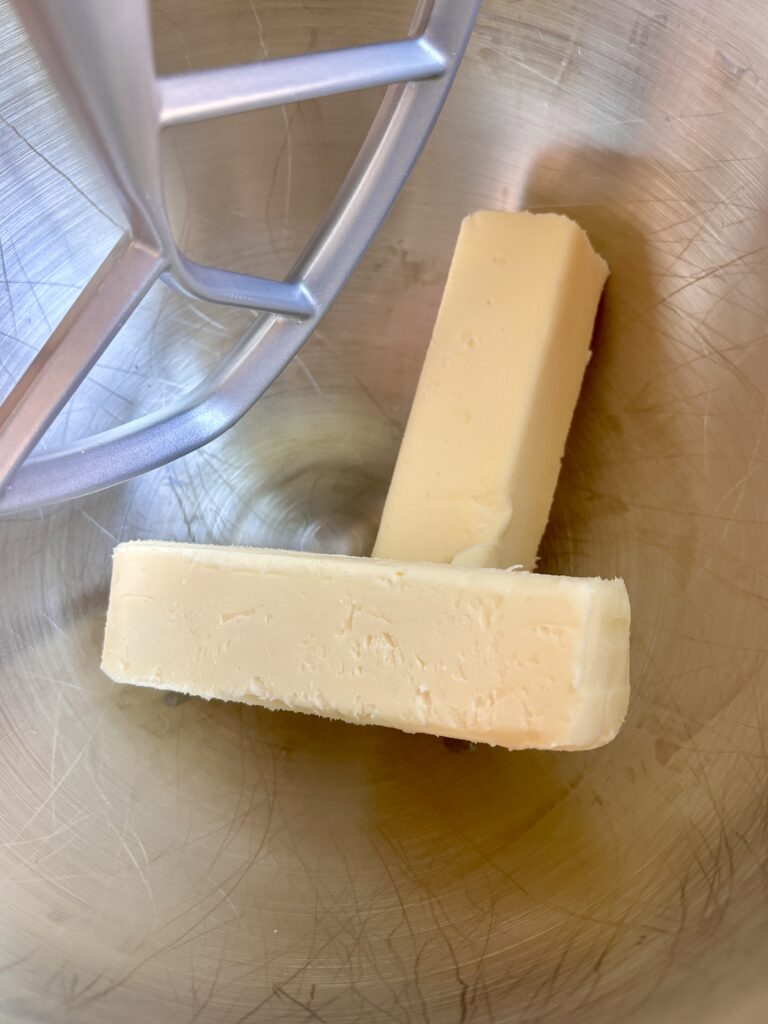
- Unsalted Butter: Butter gives these cookies richness, structure, and that classic soft cookie texture. Using softened butter helps it cream properly with the sugars for a lighter, fluffier dough.
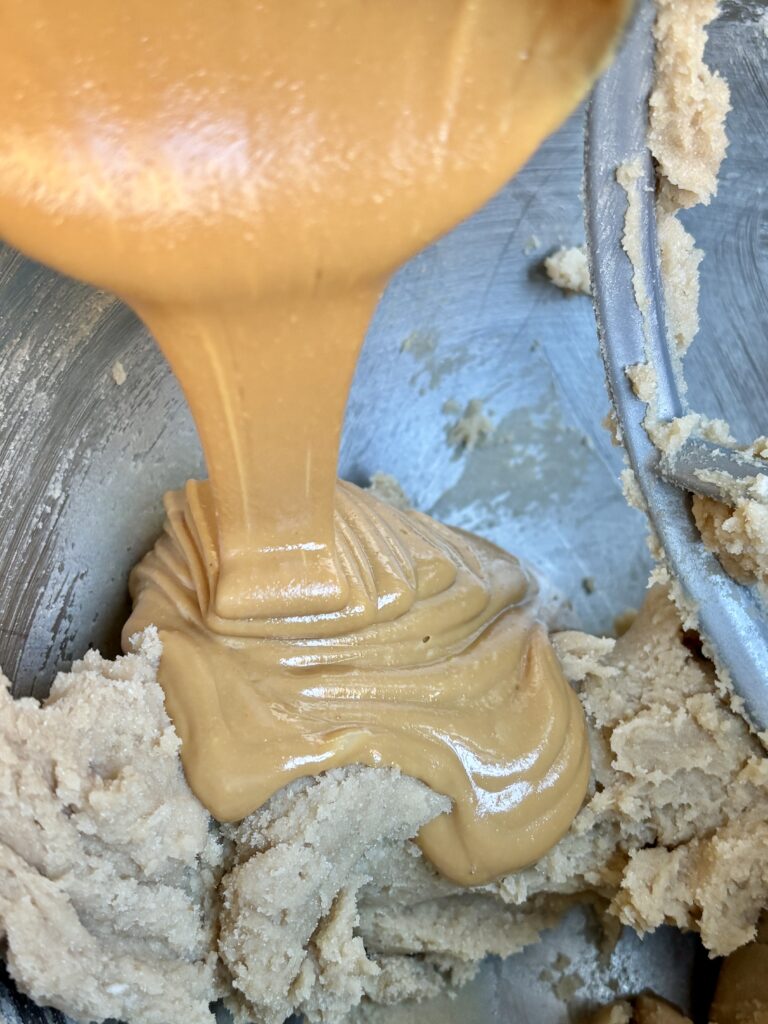
- Creamy Peanut Butter: The peanut butter is the heart of these cookies, adding rich, nutty flavor and helping create that soft, dense, bakery-style texture.
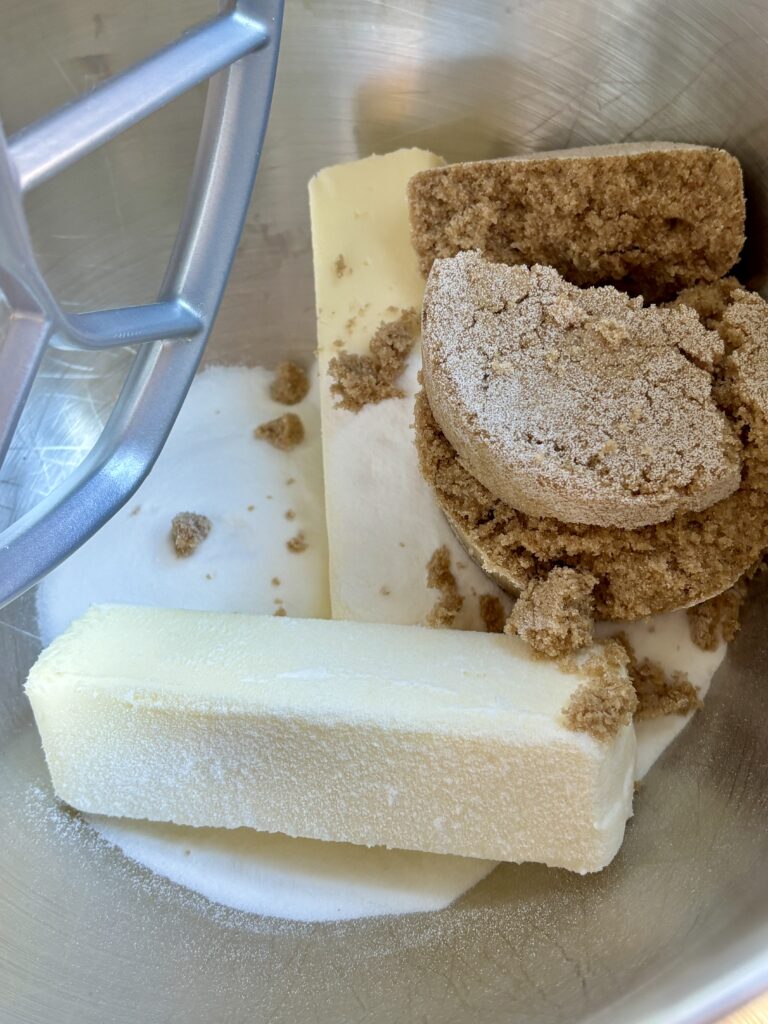
- Granulated Sugar: Adds sweetness and helps the cookies spread just enough while contributing to lightly crisp edges.
- Dark Brown Sugar: Dark brown sugar adds deeper caramel flavor, extra moisture, and chewiness.
- Eggs: Eggs provide structure, richness, and help bind the dough together while contributing to the soft interior.
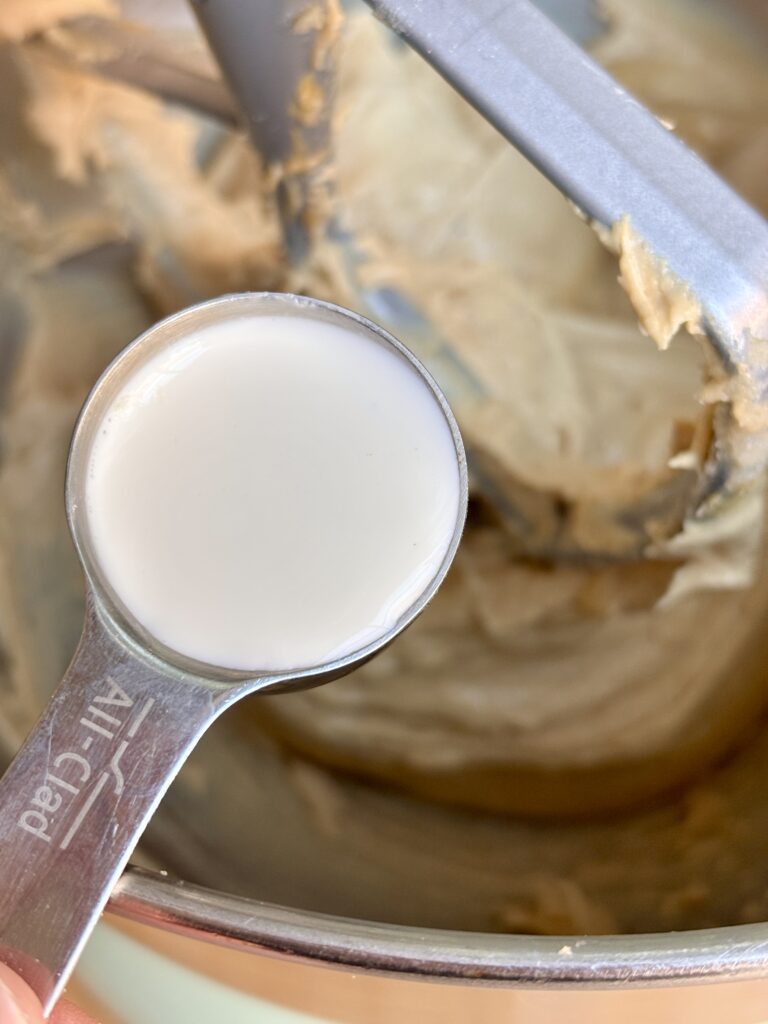
- Half and Half or Whole Milk: A little extra dairy helps loosen the dough slightly and adds tenderness, which is especially helpful in a rich peanut butter cookie dough.
- Vanilla Extract: Rounds out the peanut butter flavor and adds warmth and depth to the dough.
- All-Purpose Flour: Provides the structure for these thick cookies while still allowing them to stay soft and tender.
- Cornstarch: Cornstarch is one of the keys to ultra-soft, bakery-style cookies. It helps create a more tender crumb and keeps the cookies thick and chewy.
- Baking Soda: Helps the cookies rise and spread properly while encouraging browning.
- Baking Powder: Adds a little extra lift so the cookies stay thick and soft rather than dense and heavy.
- Salt: Balances the sweetness and enhances the peanut butter flavor throughout the dough.
- Mix-Ins
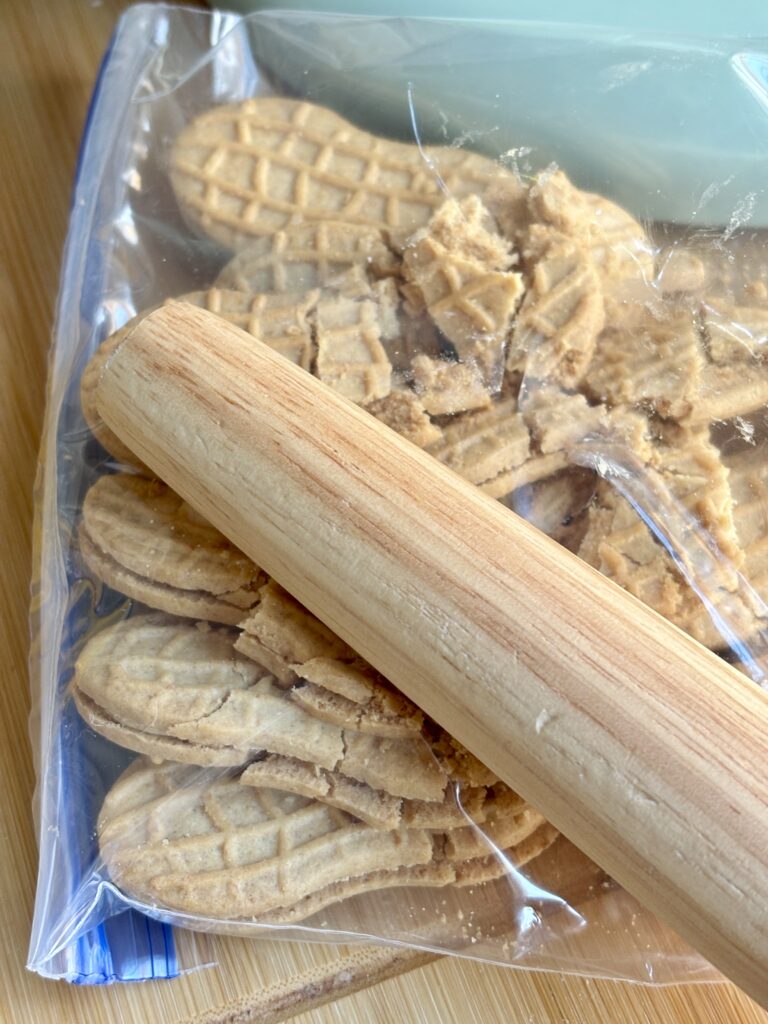
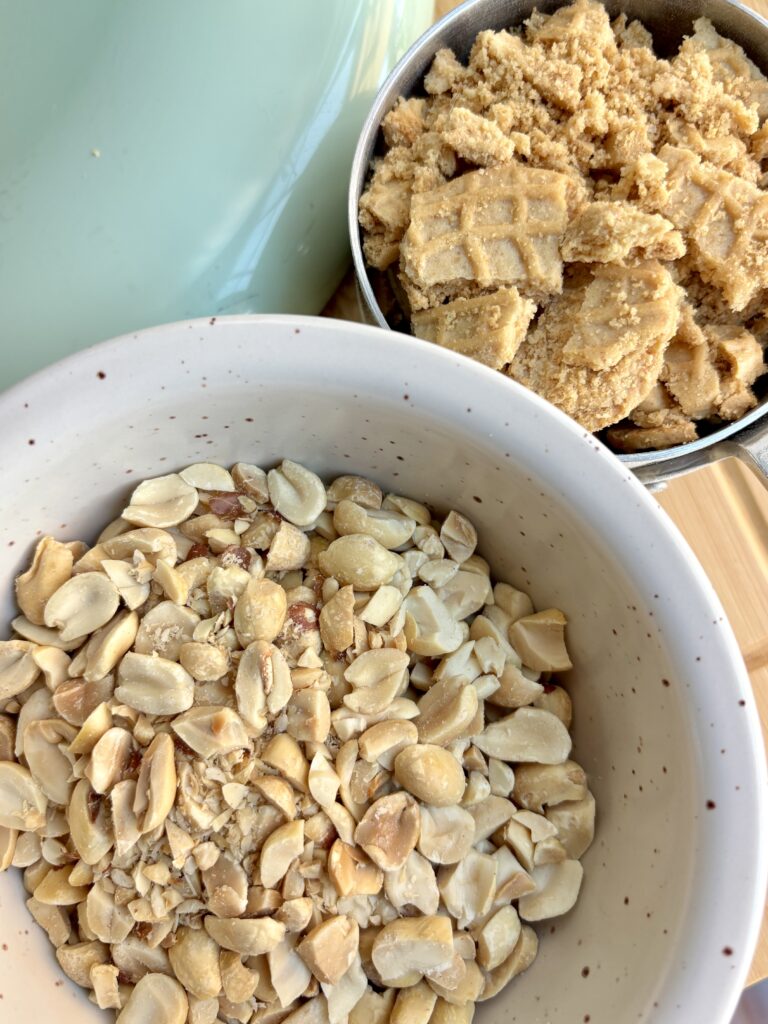
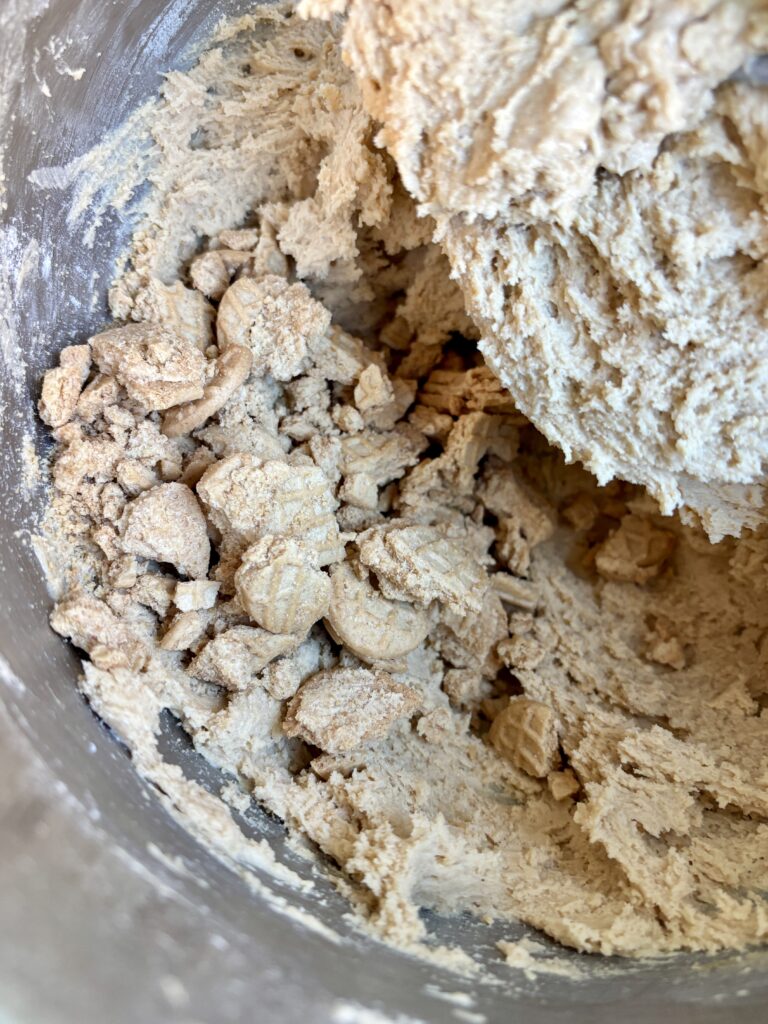
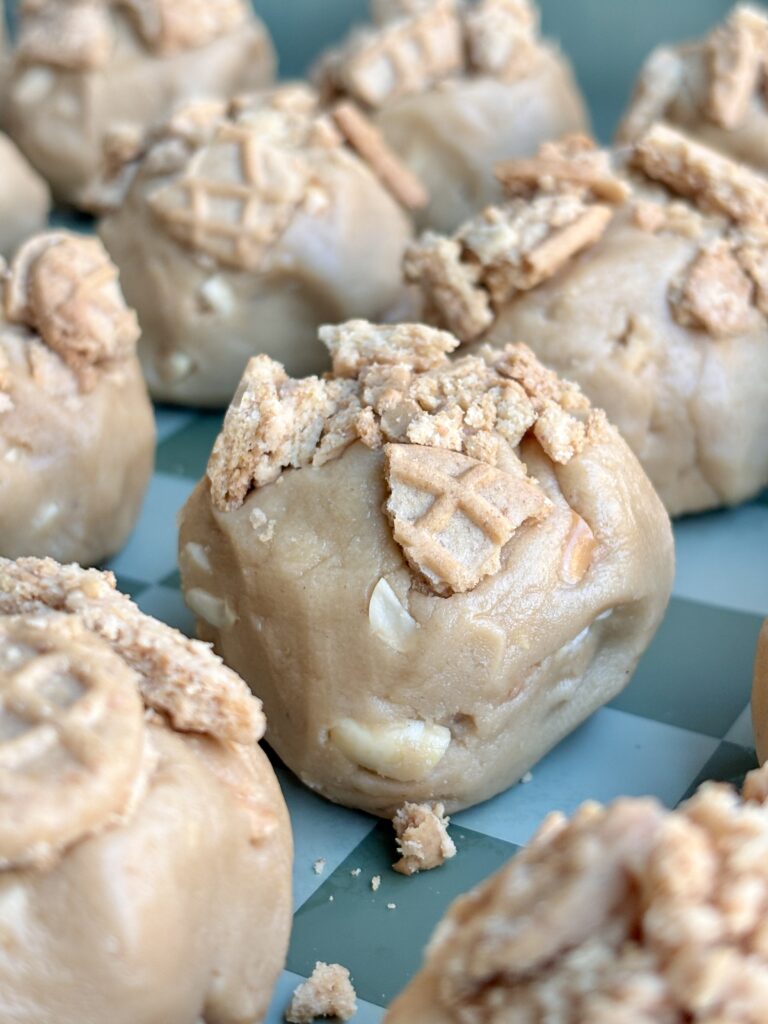
- Nutter Butter Cookies: Crushed Nutter Butter cookies reinforce that nostalgic peanut butter flavor while adding buttery cookie texture throughout the dough. I also love adding a little extra on top for that bakery-style look.
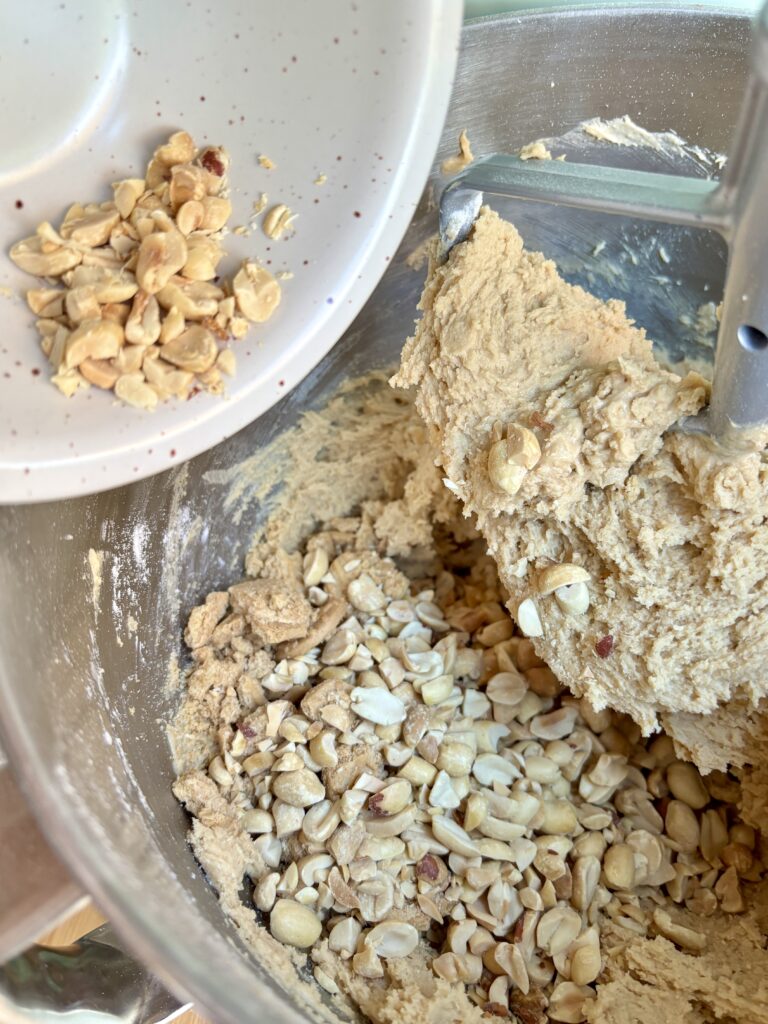
- Roasted Peanuts: Chopped roasted peanuts add crunch and even more peanut flavor, which makes these cookies feel extra special and gives them a little texture contrast against the gooey center.
- Filling
- Marshmallow Fluff: This is what transforms these from a great peanut butter cookie into a full-on fluffernutter cookie. Once baked, the frozen marshmallow fluff turns into a warm, gooey center that’s sweet, sticky, and completely irresistible.
- Finishing
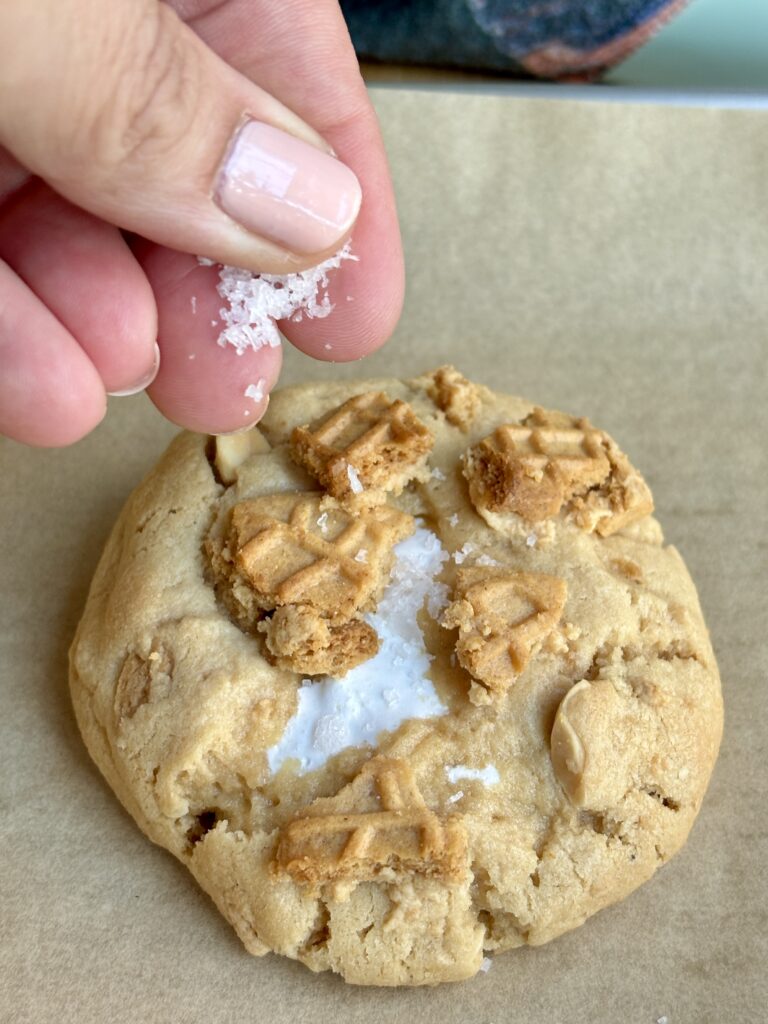
- Flaky Sea Salt: A sprinkle of flaky salt on top balances the sweetness and makes all of the peanut butter and marshmallow flavors pop.
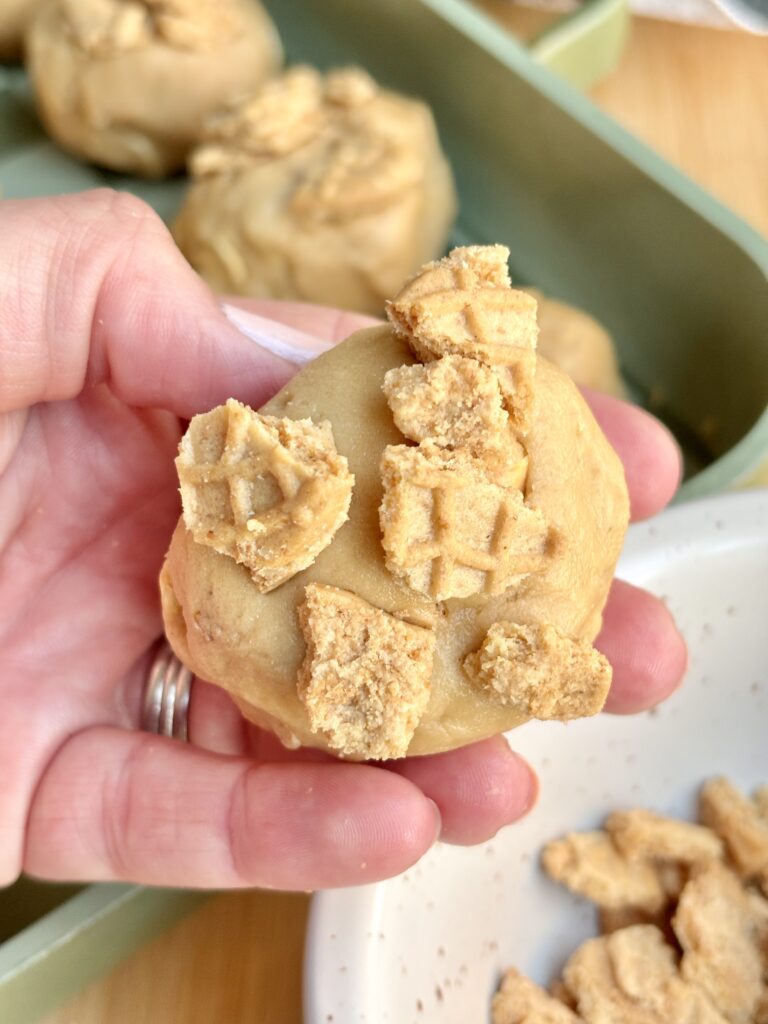
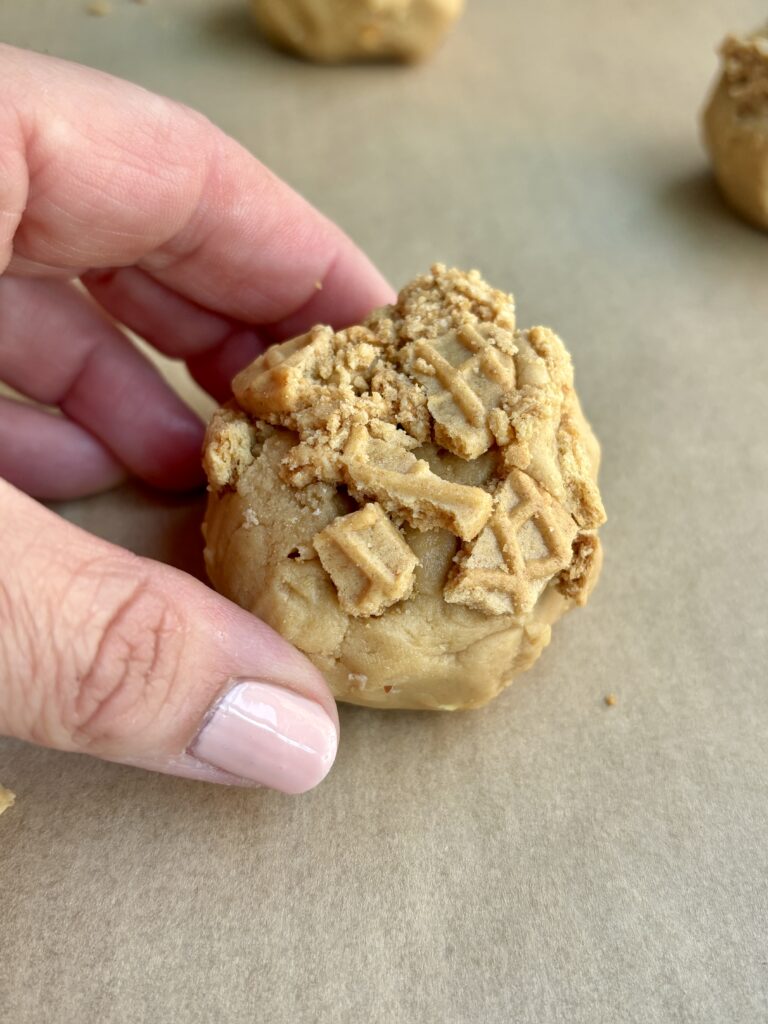
- Extra Nutter Butter Cookie Crumbs: Optional, but so fun for texture and presentation. A few crushed pieces pressed onto the tops of the cookies makes them look extra bakery-style and hints at what’s inside.
Recipe Variations
- Chocolate Version: Add mini semi-sweet chocolate chips to the dough for a peanut butter cup-inspired twist.
- White Chocolate: Add white chocolate chips to the dough for a different sweet flavor.
- Warm Cinnamon: Add a touch of cinnamon to the dough for a little warmth.
Pro Tips
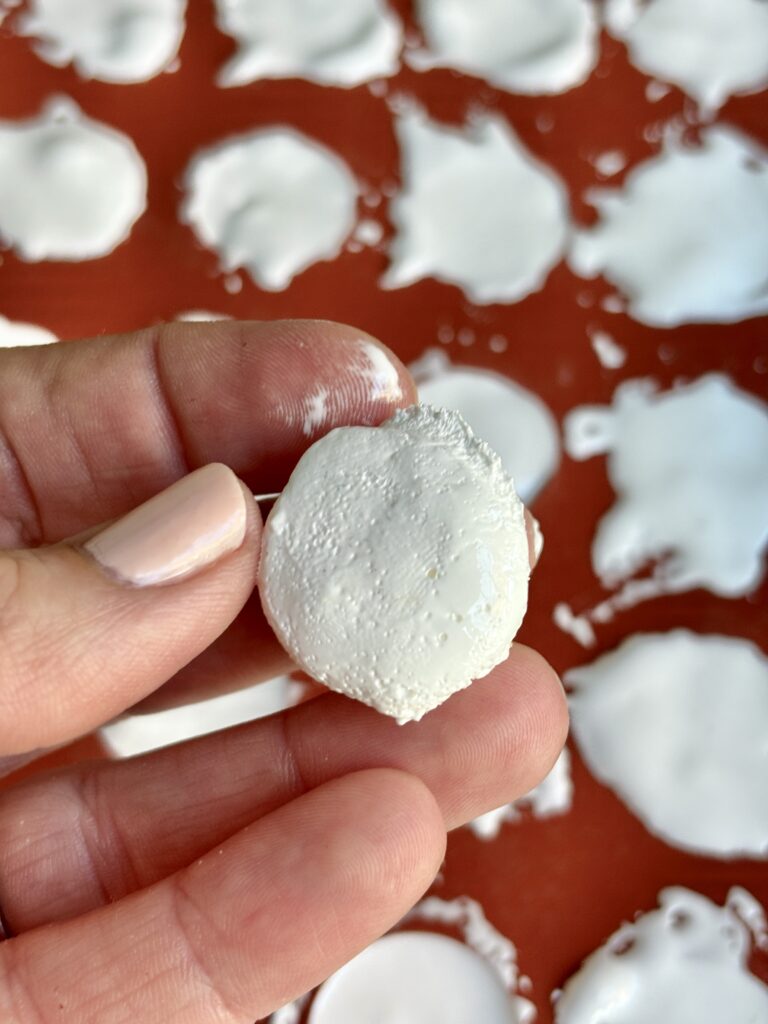
- Freeze the marshmallow fluff in a silicone mold. This is the easiest way to make these cookies. I portioned the fluff into 1 teaspoon silicone molds and froze it until solid so I could pop out little fluff centers and wrap the dough around them much more cleanly. It’s far easier than scooping sticky fluff straight from the jar during assembly. Plus it helps it to hold it’s shape more while baking instead of melting into the dough.
- Freeze the fluff completely solid (at least 2 hours or more). If it’s only partially frozen, it’ll soften too quickly in your hands and be much harder to seal inside the dough.
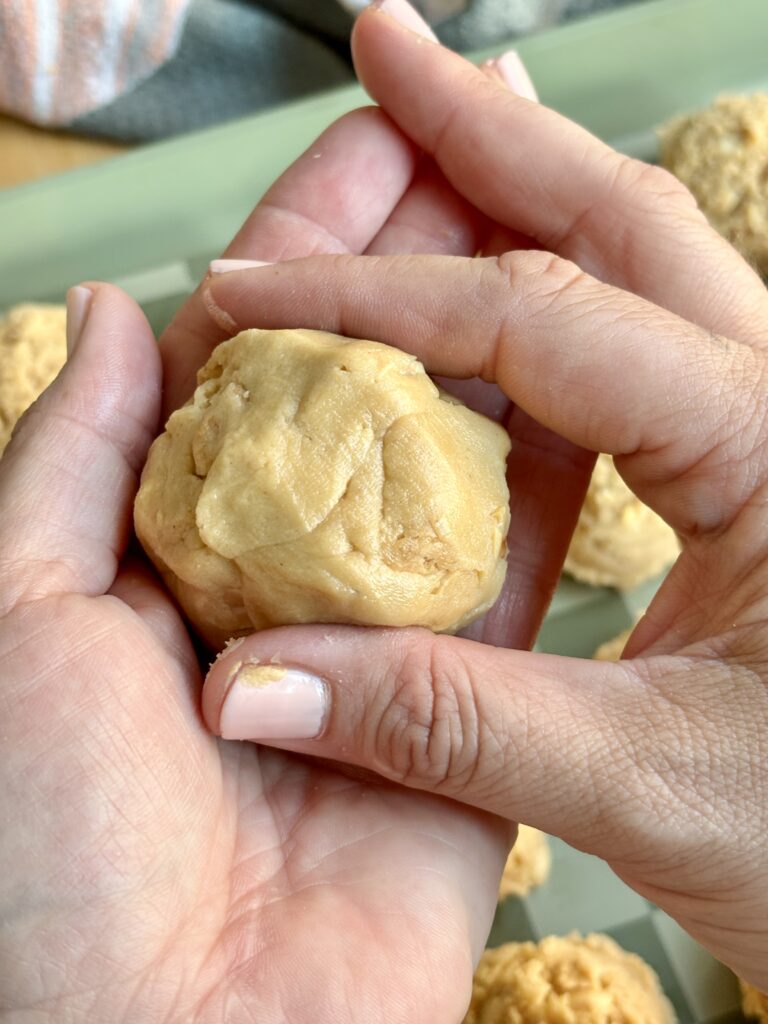
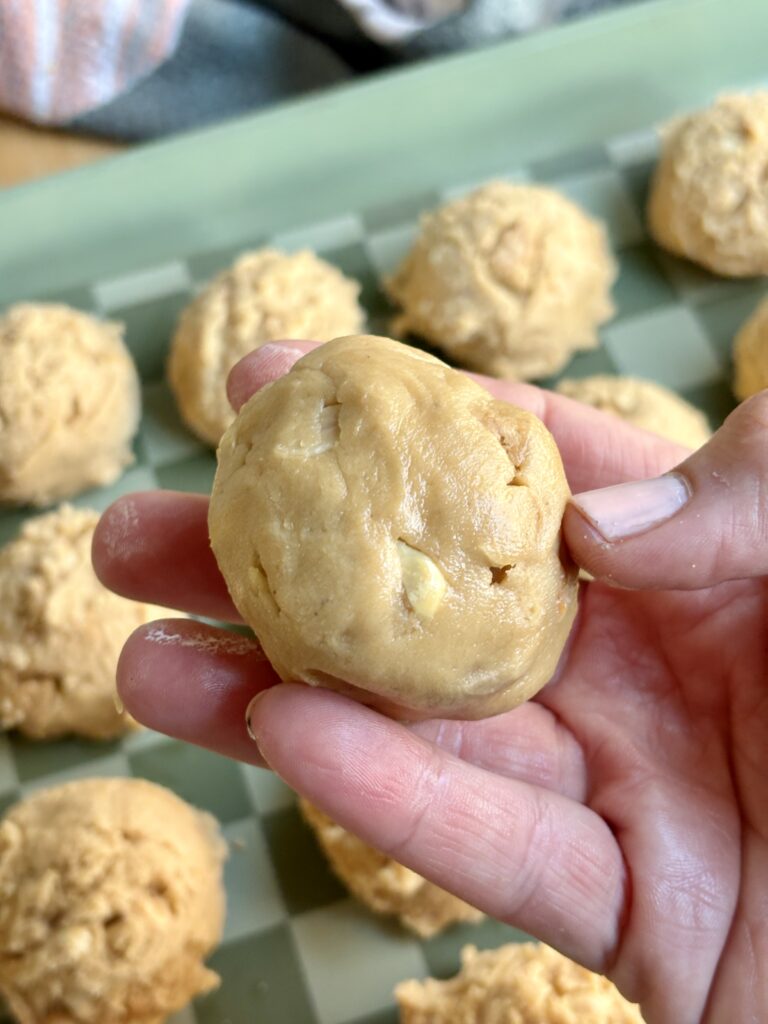
- Seal the dough really well. Pinch the dough tightly around the fluff and make sure no marshmallow is exposed. If the fluff peeks through, it’s much more likely to leak during baking.
- Expect your fingers to get a little messy. Even with frozen fluff, your hands may get sticky while shaping the cookies. If needed, lightly chill the dough again or wipe your hands between cookies. If you are making them in batches, I would put the silicone mold with fluff back in the freezer in between stuffing the cookie dough.
- Chill the assembled cookies before baking. A quick freezer chill helps keep the cookies thick and prevents them from spreading out too much in the oven.
- Slightly underbake the cookies. Pull the cookies when the edges are set and lightly golden but the centers still look soft and slightly underdone. They’ll continue to set on the baking sheet and stay perfectly gooey in the center.
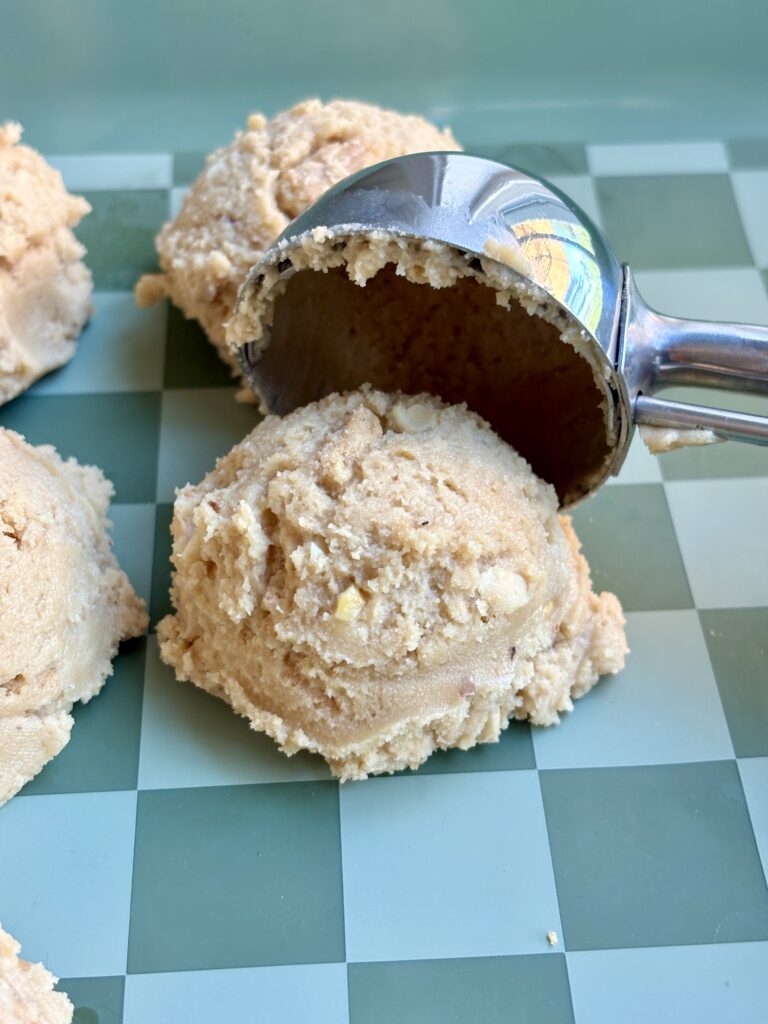
- Use a cookie scoop to portion out the dough. Keeping the dough portions even helps the cookies bake consistently and keeps the fluff centered.
- Don’t skip the flaky sea salt. It cuts the sweetness and makes the peanut butter flavor shine.
- Top with extra Nutter Butter pieces. It adds bakery-style texture and makes the cookies look extra fun and finished.
Can I Substitute?
Yes! Like always though, any substitutions made to the recipe can result in a change in texture and/or flavor.
- Peanut butter: Conventional creamy peanut butter will give you the most reliable texture here. Natural peanut butter can sometimes make cookies spread differently because of the oil separation. I love using this brand for peanut butter and it works beautifully in this recipe.
- Half and half: Whole milk works perfectly in its place.
- Dark brown sugar: Light brown sugar can be used if that’s what you have.
- Roasted peanuts: You can leave them out if you want a smoother cookie, or swap in chopped honey roasted peanuts for a sweeter, salty crunch.
- Nutter Butter cookies: If you can’t find Nutter Butters, you can omit them, though they really help reinforce the fluffernutter flavor.
- Marshmallow fluff: Mini marshmallows can work in a pinch, but the center won’t be quite as creamy or gooey.
Dietary Substitutions
- Gluten-Free: I haven’t tested these with a gluten-free flour blend, so I can’t say for sure how the texture would change. If you try it, I’d recommend using a 1:1 gluten-free baking flour and a gluten-free peanut butter sandwich cookie in place of Nutter Butters.
- Dairy-Free: Use a dairy-free butter substitute and a dairy-free milk. I haven’t tested a dairy-free version, so I can’t guarantee the exact texture.
- Nut-Free: This recipe is built around peanut butter and peanuts, so it wouldn’t be a true fluffernutter cookie without them. I wouldn’t recommend a nut-free adaptation unless you’re comfortable experimenting with sunflower seed butter and a different cookie mix-in.
Leftovers and Storage
- Room Temperature: Store the cooled cookies in an airtight container at room temperature for up to 3 days.
- Refrigerator: For a slightly longer storage option, refrigerate the cookies in an airtight container for up to 5 days.
- Freezer: You can freeze the baked cookies for up to 2 months. Let them cool completely, then store them in a freezer-safe container or bag. For best texture, thaw them at room temperature and warm slightly before serving.
- To Reheat: For that fresh-from-the-oven gooey center, microwave a cookie for 8–10 seconds before serving. This softens the marshmallow center and brings the peanut butter cookie texture right back to life.
But, I Still Have A Few Questions…
Why freeze the marshmallow fluff first?
Freezing the fluff is one of the most important steps in this recipe. Marshmallow fluff is very sticky and difficult to portion neatly straight from the jar, but freezing it into small 1 teaspoon portions makes it much easier to handle and stuff inside the dough. It also helps create a more defined gooey center instead of the fluff disappearing into the dough too quickly during assembly.
Why use a silicone mold for the fluff?
I love using a silicone mold for this because it made the fluff so much easier to portion and work with. I added the fluff to a 1 teaspoon silicone mold, froze it until solid, and then simply popped out the frozen pieces when I was ready to stuff the cookies. It’s much cleaner, more efficient, and less frustrating than trying to scoop sticky marshmallow fluff one cookie at a time.
Can I make the dough ahead of time?
Yes! The cookie dough can be covered and refrigerated for up to 24 hours before shaping and baking. You can also fully assemble the stuffed cookie dough balls and refrigerate or freeze them until you’re ready to bake.
Can I freeze the stuffed cookie dough balls?
Yes. Once assembled, freeze the cookie dough balls on a baking sheet until solid, then transfer them to a freezer-safe container or zip-top bag. Bake from frozen, adding a couple extra minutes to the bake time as needed.
Why did my marshmallow fluff leak out?
Usually this happens for one of two reasons: the fluff wasn’t frozen solid enough, or the cookie dough wasn’t fully sealed around the center. Make sure the dough completely encloses the fluff and pinch the seams tightly shut before rolling into a ball.
Can I use marshmallows instead of marshmallow fluff?
You can use mini marshmallows in a pinch, but the center won’t be quite the same. Marshmallow fluff creates a softer, creamier, more molten filling, while marshmallows tend to melt differently and can leave more hollow pockets.
Why are my cookies spreading too much?
If your cookies spread too much, the dough may have been too warm or the assembled cookies may not have chilled long enough before baking. Chilling the dough balls in the freezer helps keep them thick and bakery-style.
How do I get thick bakery-style cookies?
There are a few keys here: use enough dough per cookie, chill the assembled cookies before baking, avoid overmixing the dough, and pull them from the oven when the centers still look slightly underbaked. Those steps help create thick, soft, bakery-style cookies with gooey centers.
Do I have to use Nutter Butter cookies?
No, but they really add to the fluffernutter flavor and give the cookies a fun little crunch and extra peanut butter-cookie vibe. If you skip them, the cookies will still be delicious, but they won’t have quite the same layered flavor and texture.
Can I make these smaller?
You can, but because these are stuffed cookies, I recommend keeping them fairly generous in size so you have enough dough to fully wrap the marshmallow center. If you make them smaller, use less fluff in each cookie and watch the bake time carefully.
How do I know when they’re done baking?
The edges should look set and lightly golden, while the centers should still look soft and just a touch underbaked. They’ll continue to set on the hot baking sheet after they come out of the oven.
Can I make them without the chopped peanuts?
Absolutely. The peanuts add texture and extra peanut flavor, but if you prefer a smoother cookie or need to simplify the ingredient list, you can leave them out.
Other Recipes You’ll Love
Let’s engage!
Make sure to tag @thehomechefmomma on Instagram or Facebook, and leave a review or comment if you make these. I always get so excited to see your creations, variations of the recipe, and feedback! Just remember to be kind in your comments, there is still a person behind this screen! 🙂
Salted Fluffernutter Cookies
Ingredients
Cookie Dough
- 1 cup (2 sticks) unsalted butter, softened
- ¾ cup creamy peanut butter
- ¾ cup granulated sugar
- ¾ cup packed dark brown sugar
- 2 large eggs room temperature
- 2 tablespoons half and half or whole milk
- 1 teaspoon vanilla extract
- 2½ cups all-purpose flour
- 1 tablespoon cornstarch
- 1 teaspoon baking soda
- ½ teaspoon baking powder
- 1 teaspoon salt
Mix-Ins
- 1 cup lightly crushed Nutter Butter cookies about 10 cookies, plus more for topping if desired
- 1 cup roasted peanuts slightly chopped
Filling
- Marshmallow fluff portioned into 24- 1 teaspoon balls and frozen solid (I used a silicone mold to freeze the fluff, which made it much easier to work with when stuffing the cookies.)
Finishing
- Flaky sea salt for sprinkling
- Extra crushed Nutter Butter cookies optional
Instructions
Freeze the Marshmallow Fluff
- Spoon marshmallow fluff into 1 teaspoon portions in a silicone mold or onto a parchment-lined baking sheet (this way they will be flat though and make it a little harder to roll the dough around it).
- Freeze until fully solid, at least 2 hours or overnight for best results.
- *Using a silicone mold makes this much easier because you can pop out neat little frozen fluff portions for stuffing the cookies.
Make the Cookie Dough
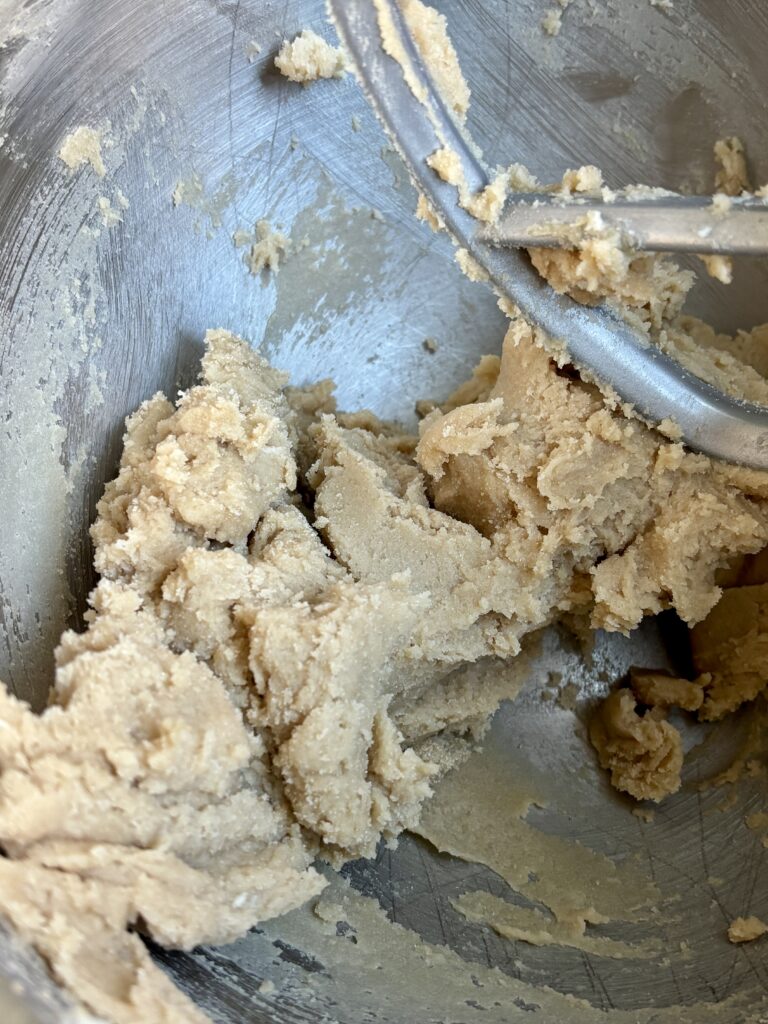
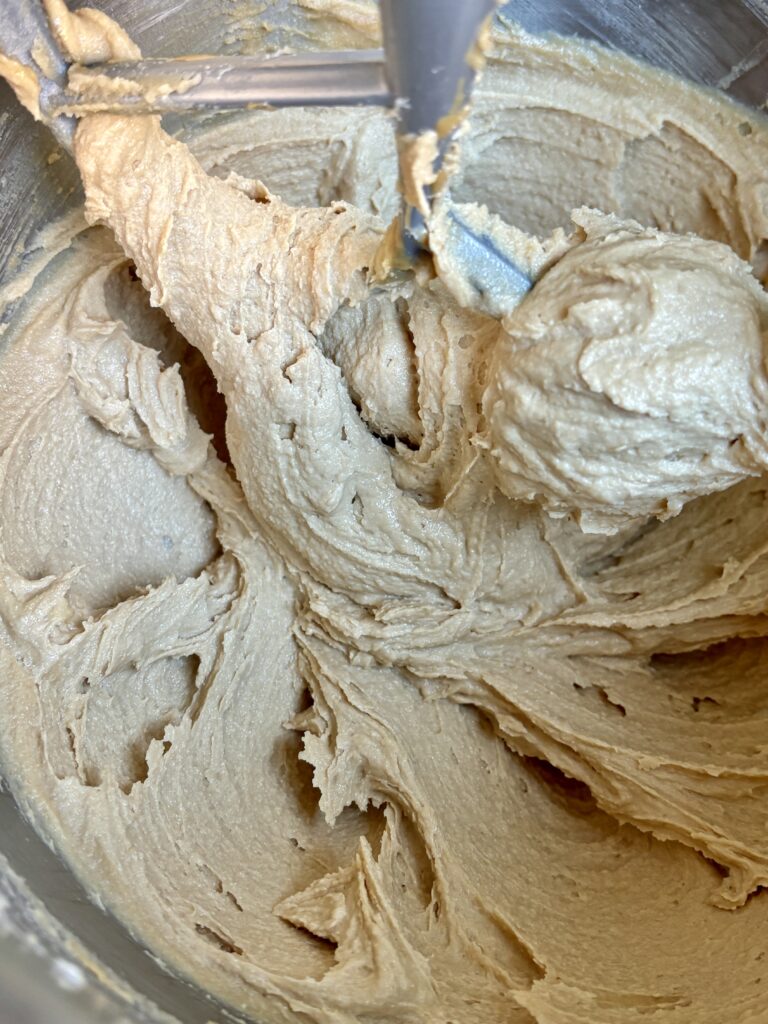
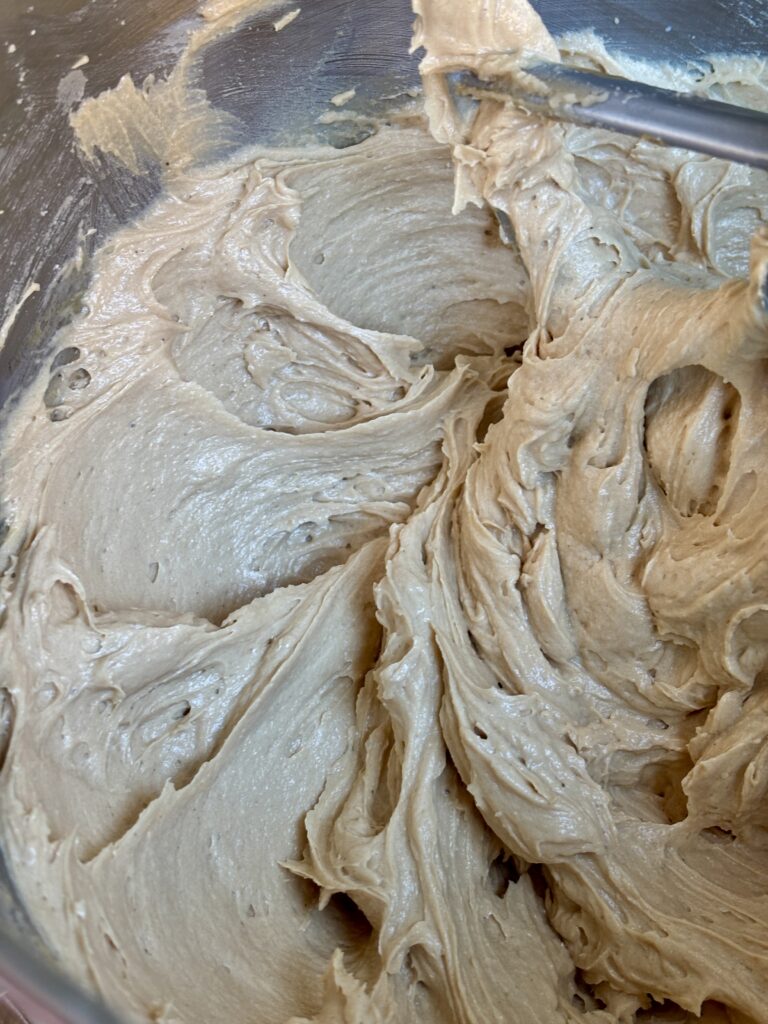
- In a large mixing bowl, cream together the softened butter, peanut butter, granulated sugar, and dark brown sugar until light and smooth, about 2–3 minutes.
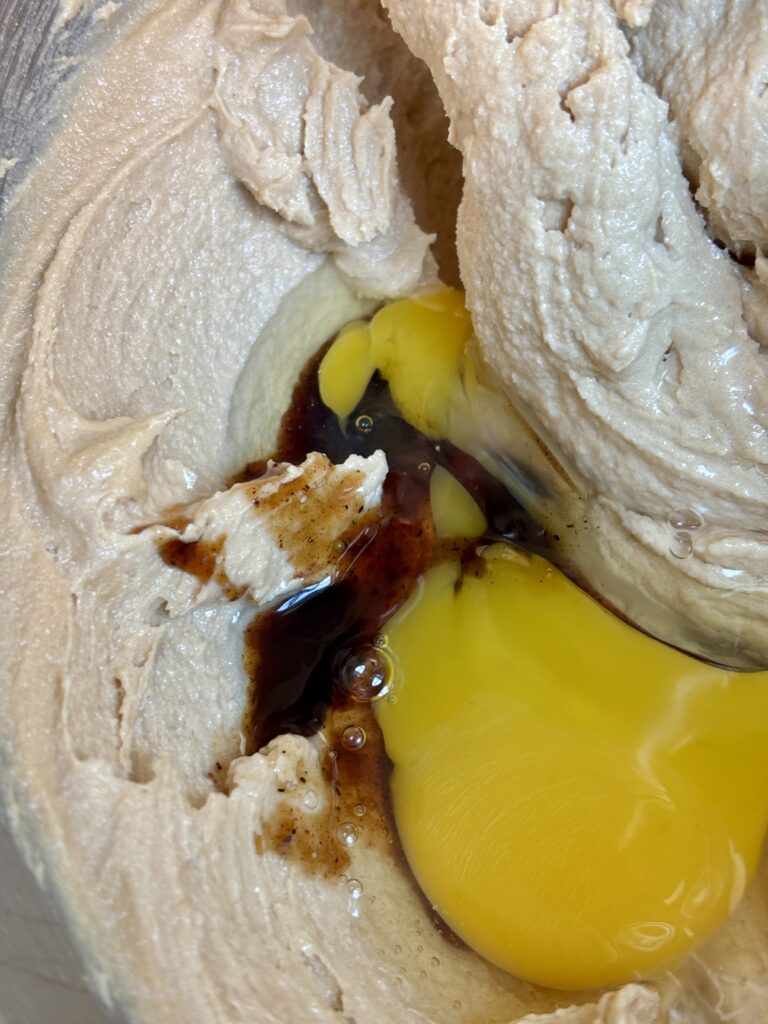
- Add the eggs, half and half, and vanilla extract. Beat until fully combined and slightly fluffy, scraping down the bowl as needed.
Add the Dry Ingredients
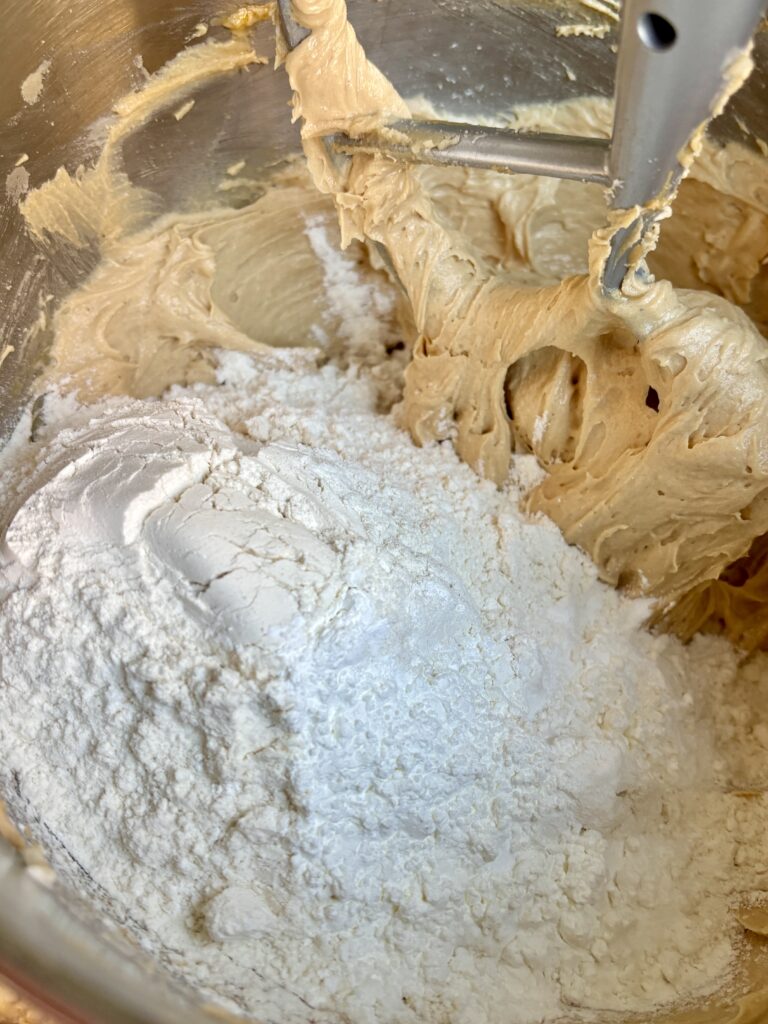
- In a separate bowl, whisk together the flour, cornstarch, baking soda, baking powder, and salt.
- Add the dry ingredients to the wet ingredients and mix on low speed just until combined. Do not overmix.
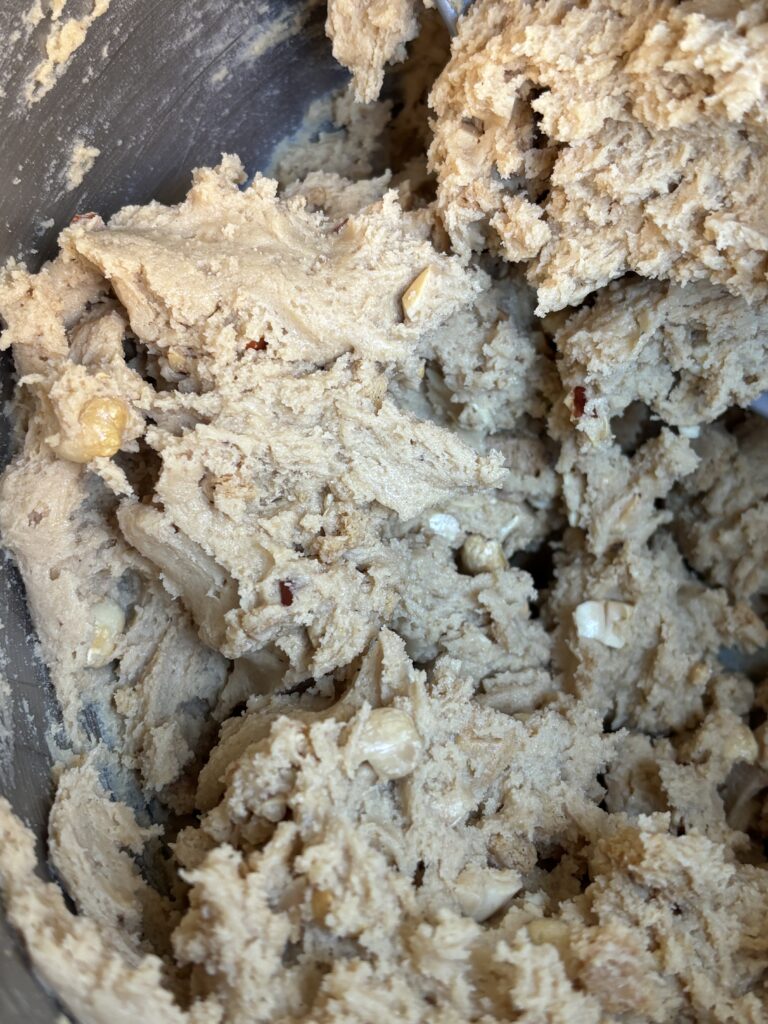
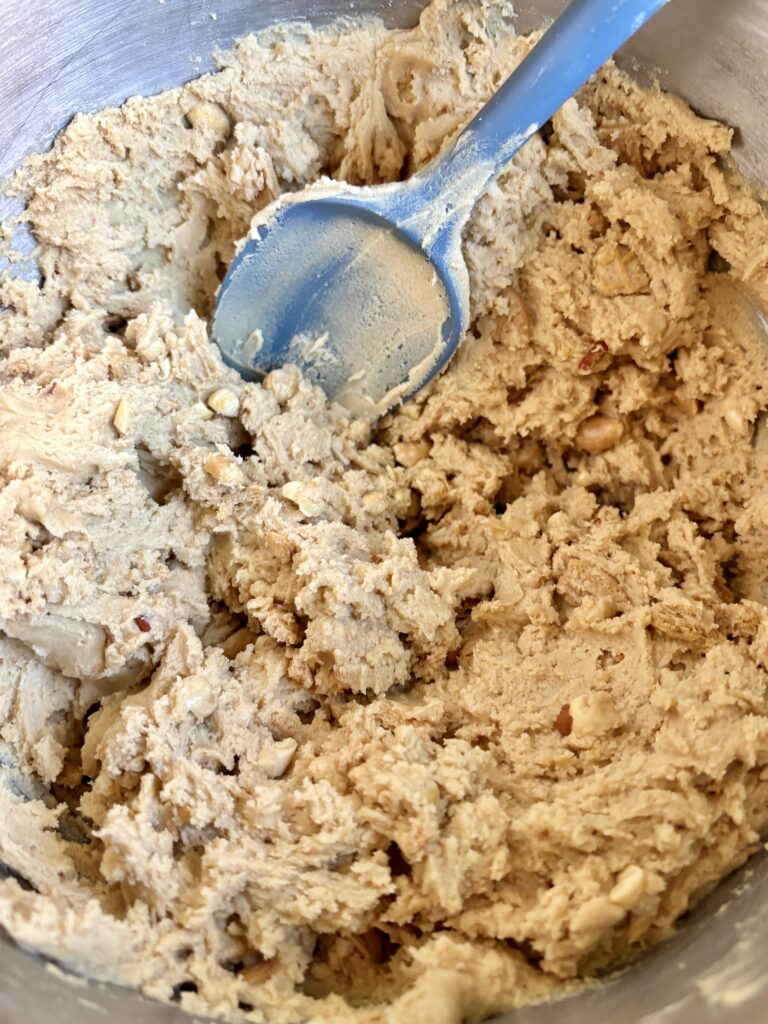
- Fold in the chopped roasted peanuts and lightly crushed Nutter Butter cookies.
Stuff the Cookies
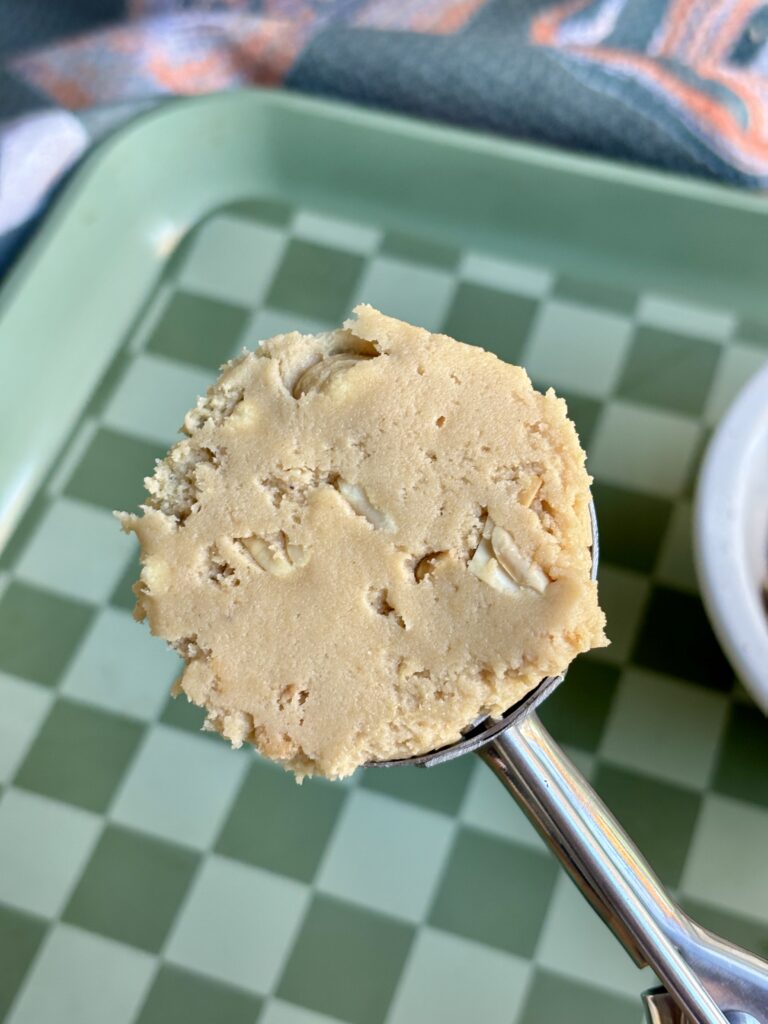
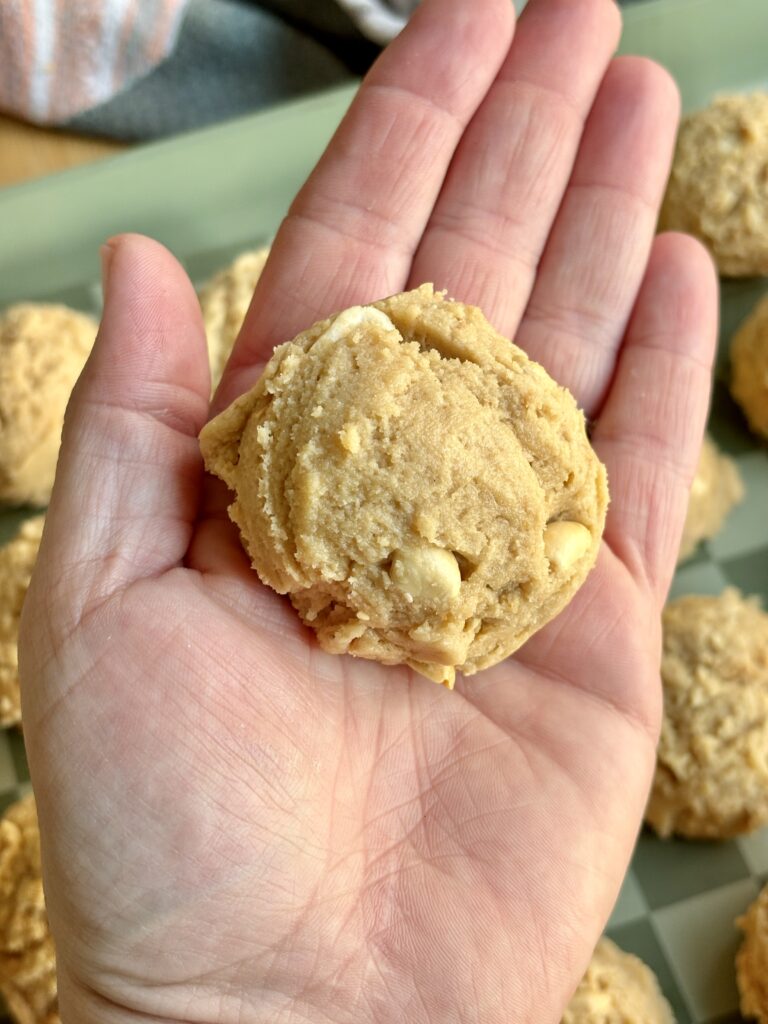
- Scoop about 3 tablespoons of dough per cookie.
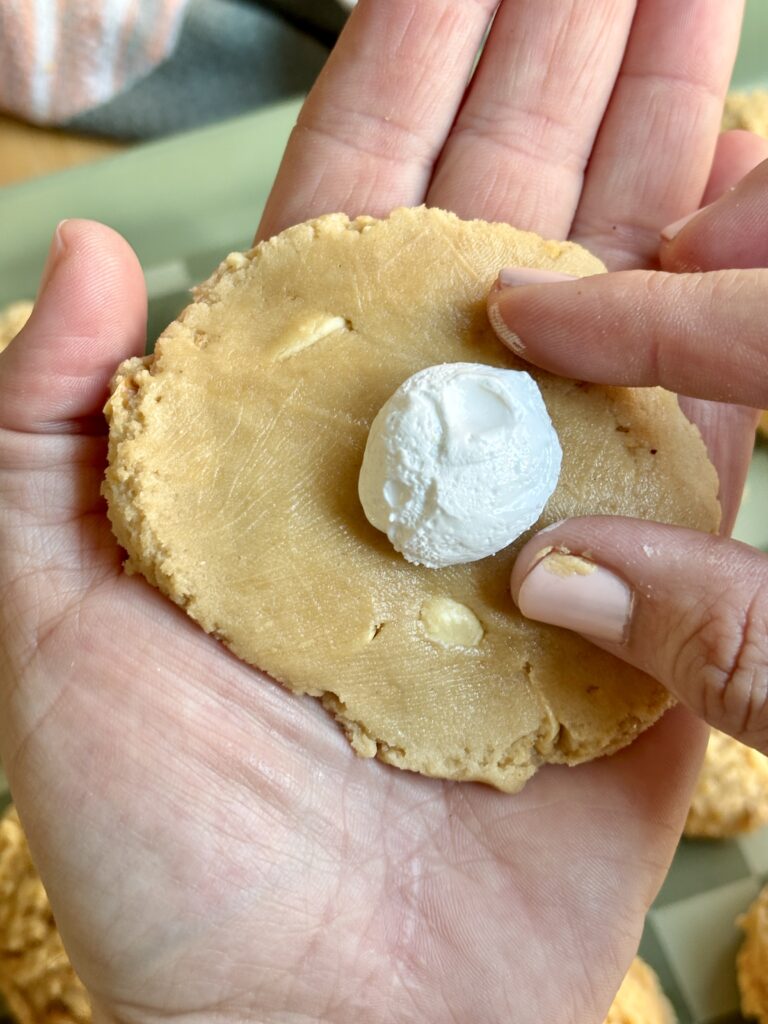
- Flatten the dough slightly in your hand.
- Place one frozen marshmallow fluff portion in the center.
- Wrap the dough completely around the fluff, making sure no marshmallow is exposed.
- Pinch the seams tightly closed, then gently roll into a smooth ball.
- If desired, press or roll the tops lightly in extra crushed Nutter Butter cookies.
Chill the Assembled Cookies
- Place the formed cookie dough balls on a parchment-lined baking sheet.
- Freeze for 20 minutes (or put in the fridge for 40 minutes) while the oven preheats.
- If the cookies stay in the freezer longer, add an extra 1–2 minutes to the bake time.
Bake
- Preheat the oven to 375°F and line baking sheets with parchment paper.
- Arrange the chilled cookie dough balls a few inches apart on the prepared baking sheets.
- Bake for 11–13 minutes, or until the edges are lightly golden and set and the centers still look soft and slightly underbaked.
- Do not overbake the cookies, they will continue to set as they cool, and that’s what keeps the centers gooey.
Finish
- Immediately sprinkle the warm cookies with flaky sea salt.
- Let the cookies cool on the baking sheet for at least 10 minutes before transferring. This helps them set while keeping the centers soft and gooey.
Notes
- I recommend using a silicone mold to freeze the fluff, makes it much easier to work with when stuffing the cookies.
salted fluffernutter cookies | fluffernutter cookies | peanut butter stuffed cookies | marshmallow fluff cookies | nutter butter cookies | bakery style peanut butter cookies | gooey peanut butter cookies | stuffed cookie recipe | peanut butter marshmallow cookies | chewy peanut butter cookies | peanut butter dessert recipe | thick peanut butter cookies | homemade fluffernutter cookies | nutter butter dessert recipe | stuffed peanut butter cookies

Nutritional Content Disclaimer
I choose not to include nutritional information with my recipes, as these values can be calculated from the ingredients provided. With my background as a pediatric nurse practitioner and my own family experience with disordered eating, I understand how focusing on numbers can affect our relationship with food. My philosophy is that all foods have a place—sweet, savory, nourishing, or indulgent. I aim to share recipes that support a healthy, joyful approach to eating. My hope is that this space also encourages a balanced, healthy relationship with food for you and your family too.