
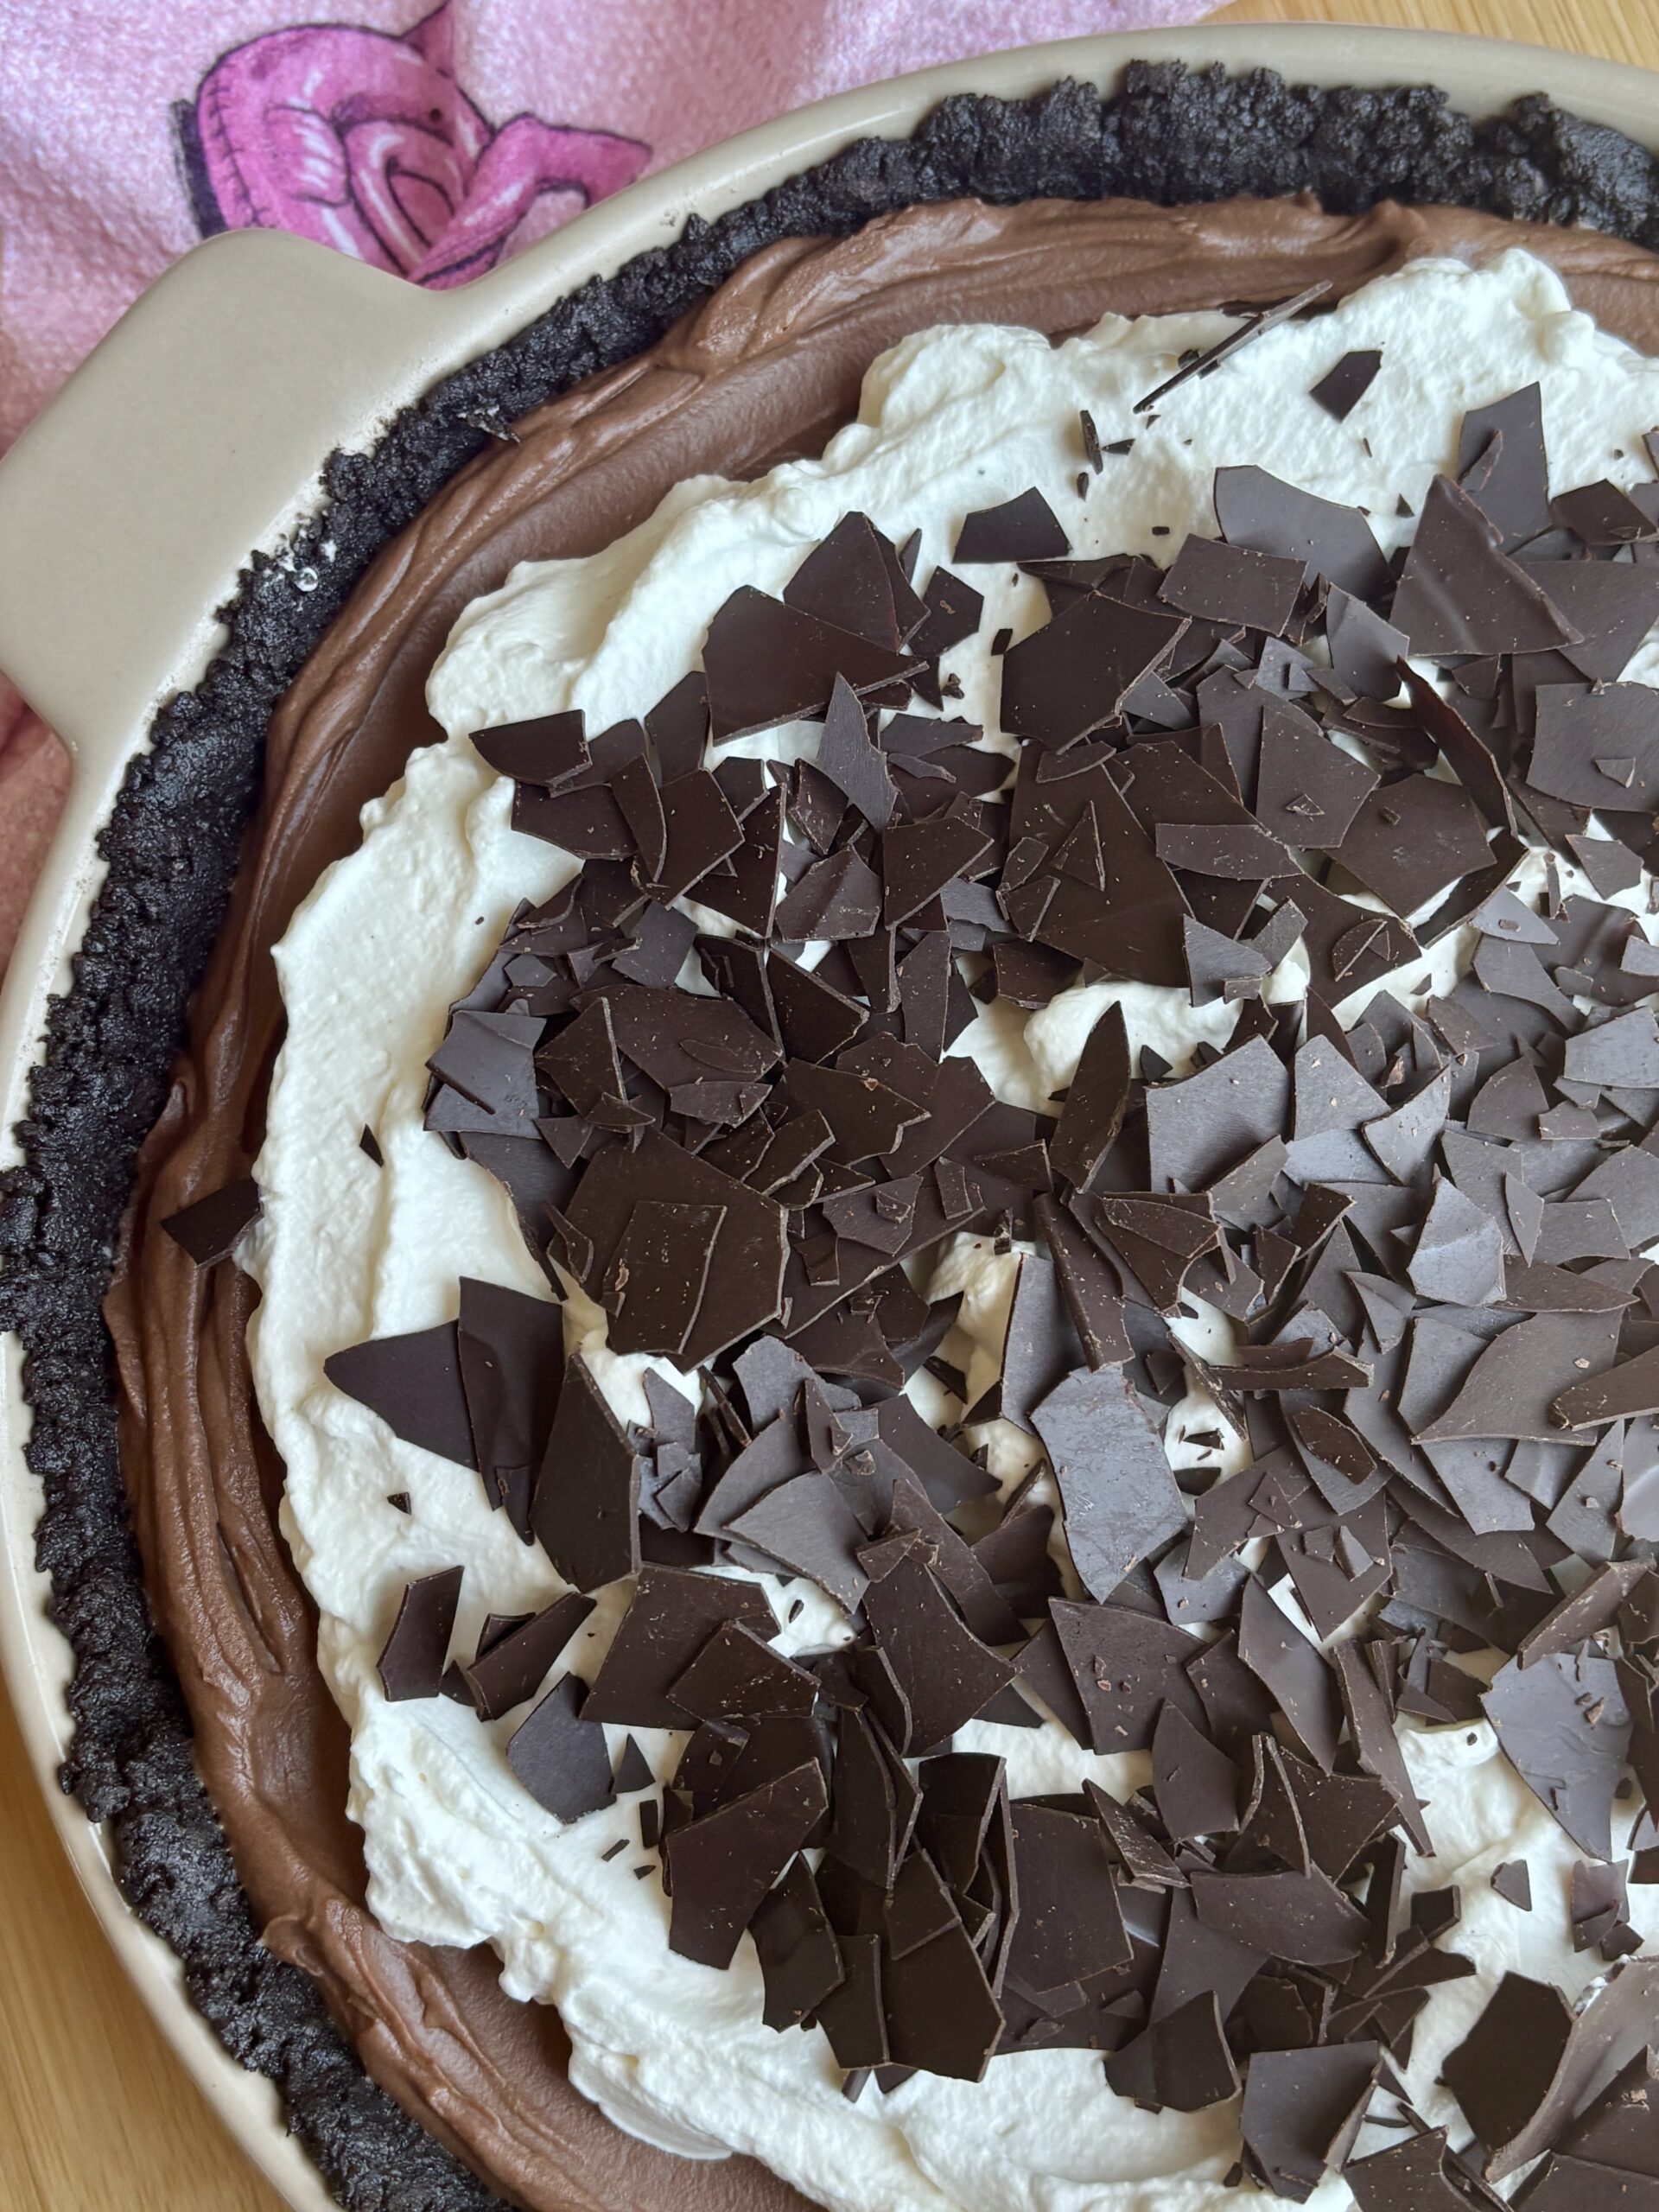
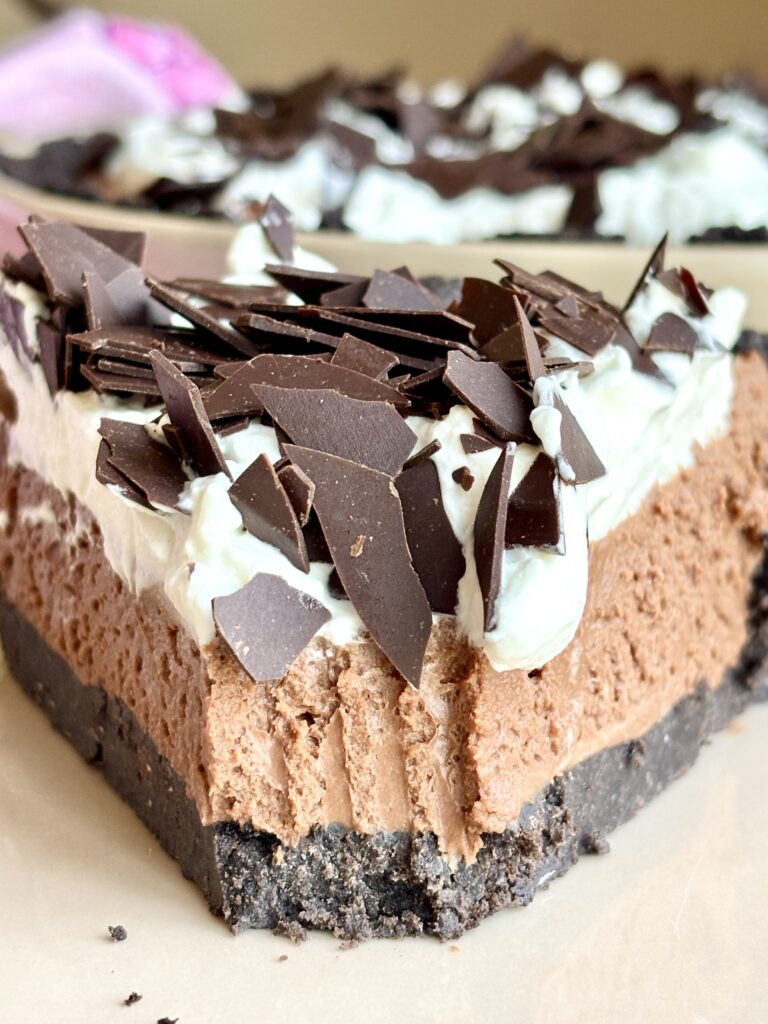
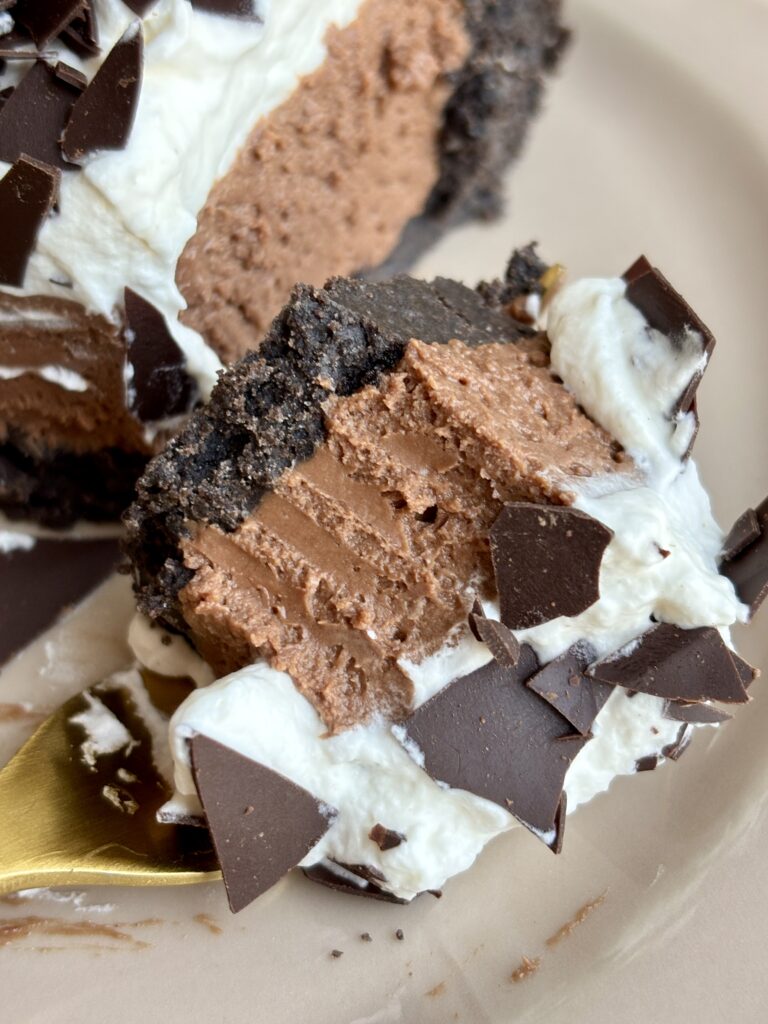
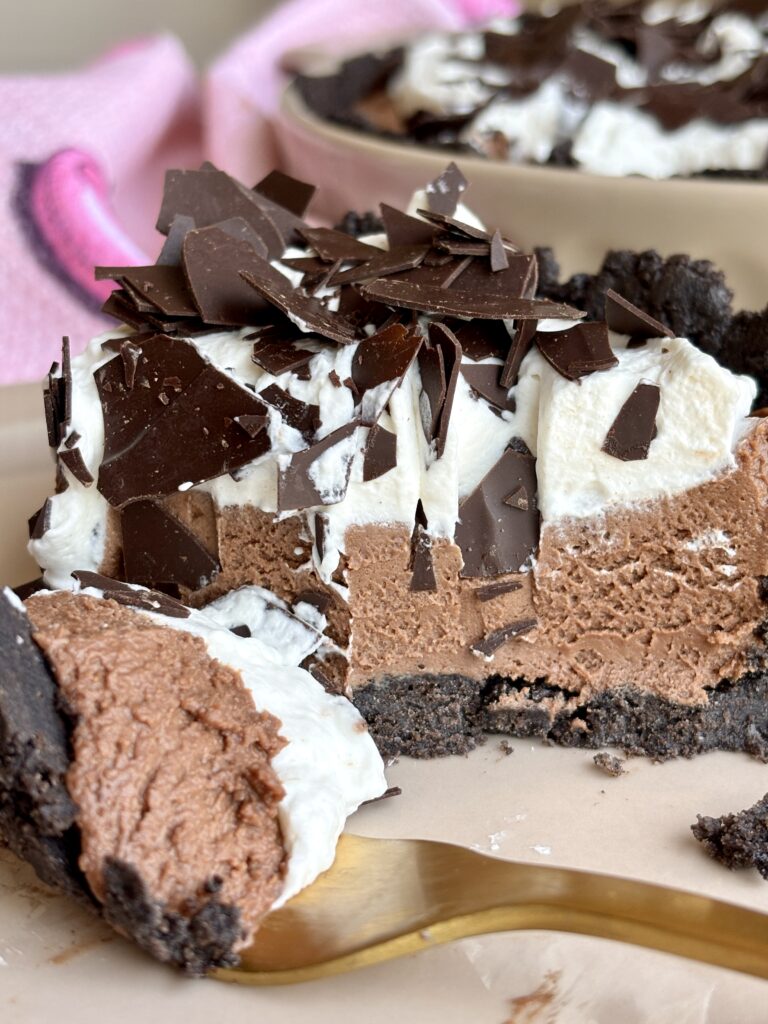
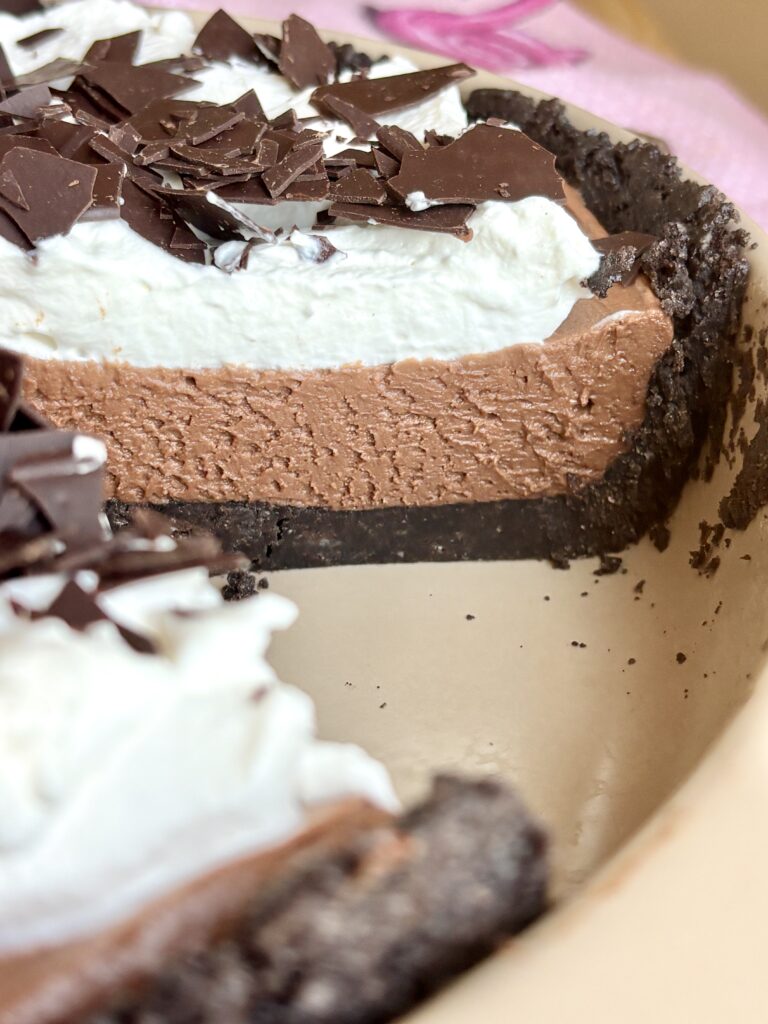
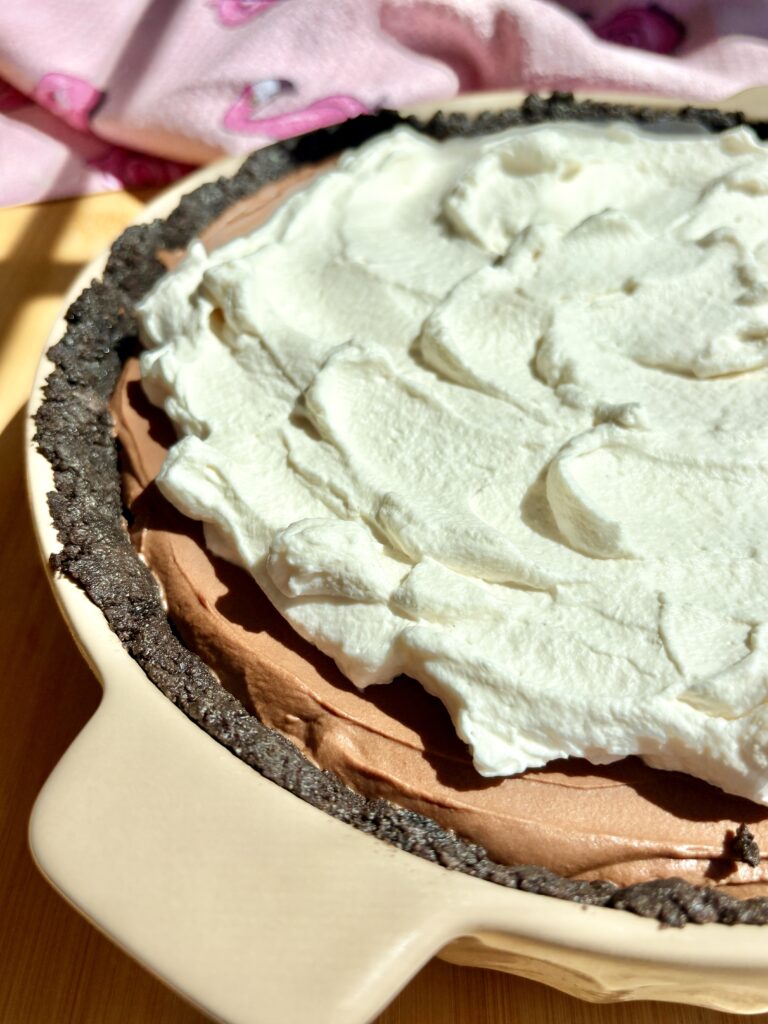
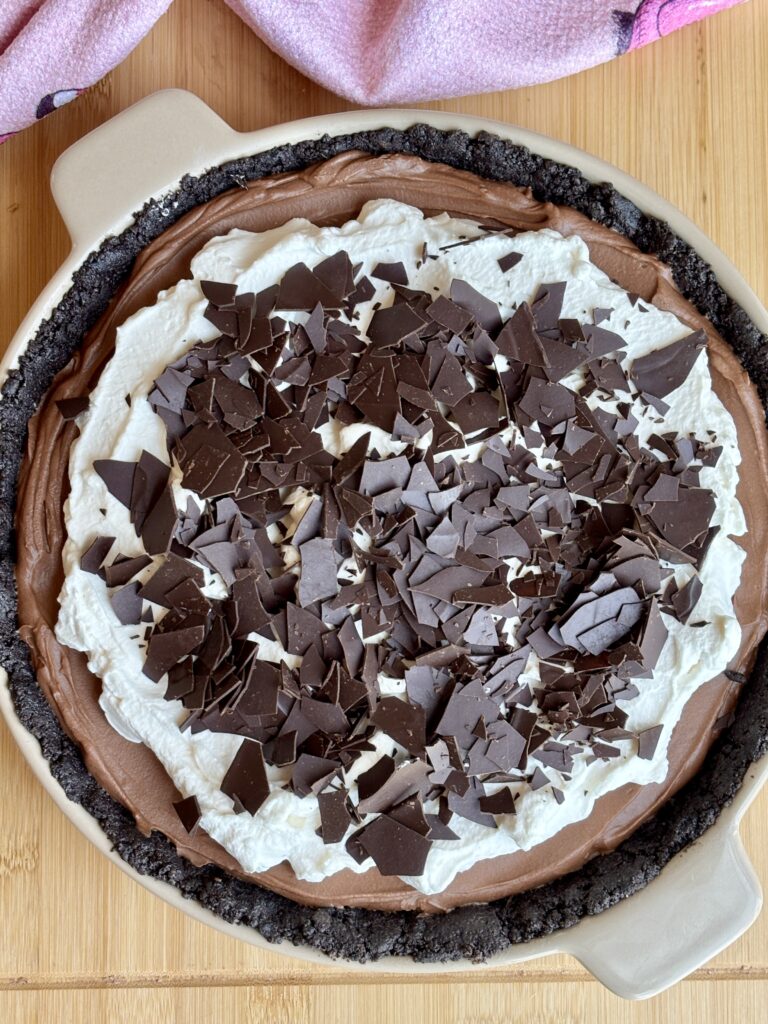
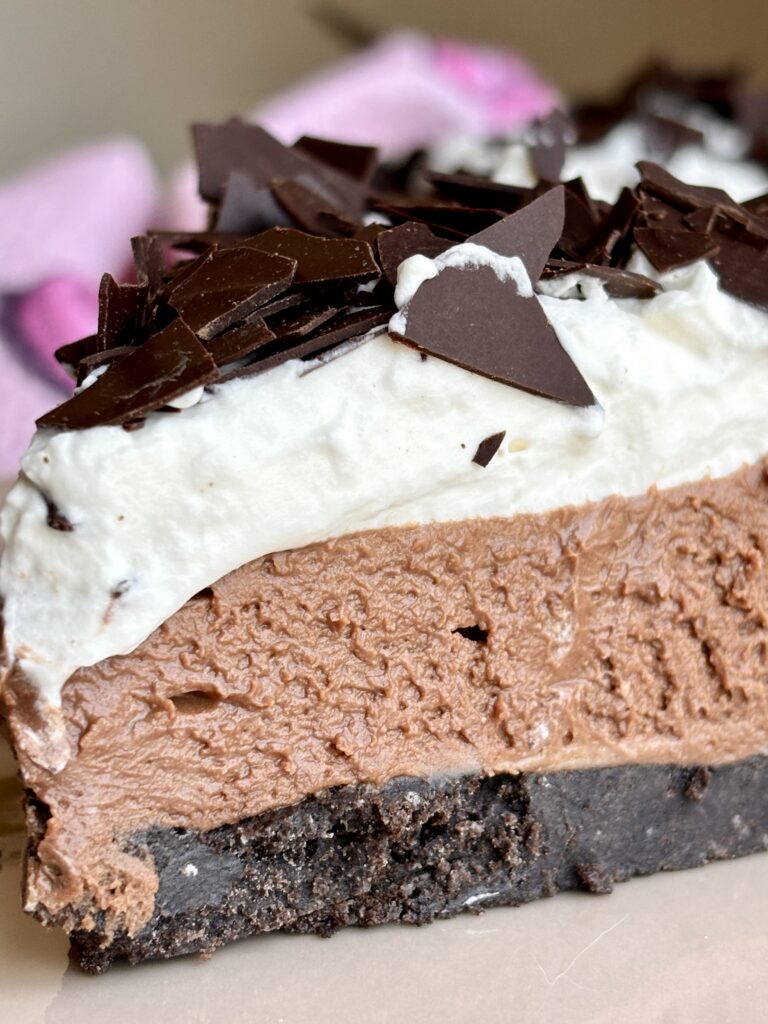
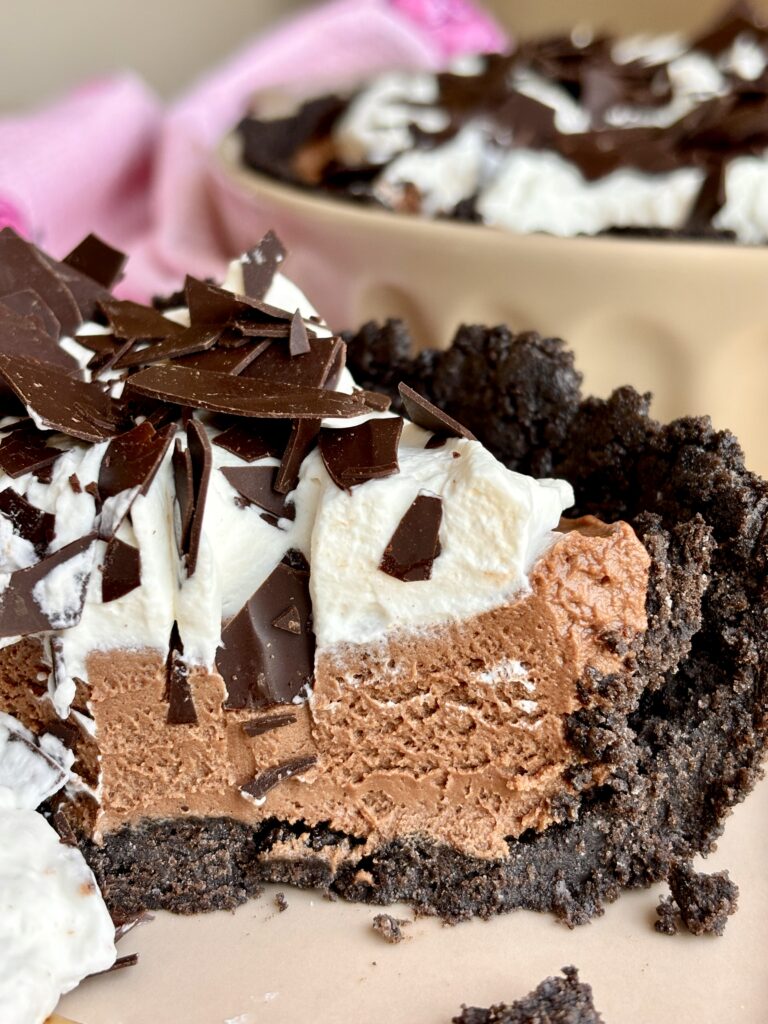
This No Bake Chocolate Cheesecake Mousse Pie (aka Dream Pie) is the ultimate dessert for all my chocolate lovers. With a buttery Oreo cookie crust, a rich and creamy chocolate cheesecake filling, and a cloud of homemade whipped cream, every bite is smooth, decadent, and packed with deep chocolate flavor.
Unlike traditional baked cheesecakes, this easy no bake pie comes together without ever turning on the oven, which is perfect for those hot summer days. The filling combines tangy cream cheese with melted dark chocolate and a touch of vanilla, creating a silky mousse-like texture that feels luxurious while remaining incredibly simple to make.
Whether you’re hosting a holiday gathering, bringing dessert to a potluck, celebrating a birthday, or just simply craving chocolate, this pie will deliver all your chocolate dreams with minimal effort. The combination of crunchy Oreo crust, velvety chocolate filling, and light whipped cream topping creates the perfect balance of textures and flavors.
And the best part? It is even better the next day, making it the ideal make ahead dessert! Just chill, slice, and serve.
Why you’ll love this recipe!
What ingredients do I need?
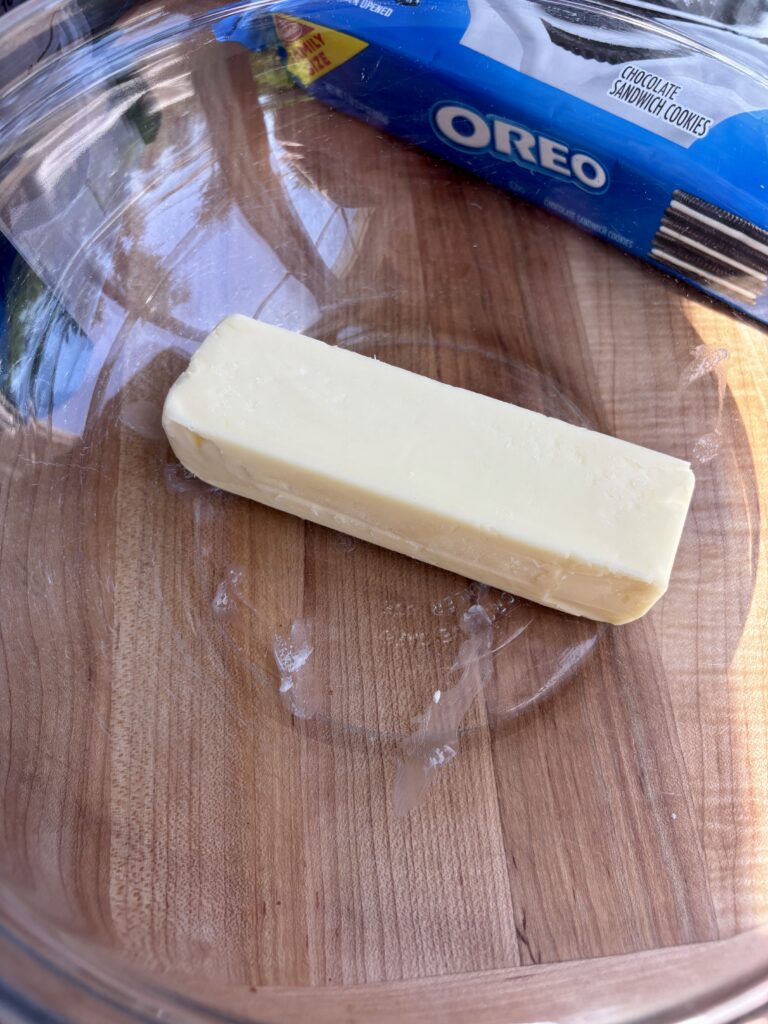
- Oreo Cookies: Oreos create a rich, chocolatey crust with the perfect amount of sweetness and crunch.
- Unsalted Butter: Melted butter binds the cookie crumbs together, helping the crust hold its shape when sliced. Using unsalted butter allows you to control the overall salt level of the dessert.
- Cream Cheese: Cream cheese forms the foundation of the filling, adding richness, body, and the signature tangy flavor that balances the sweetness of the chocolate. Be sure it’s fully softened for the smoothest texture.
- Granulated Sugar: Sugar sweetens the filling while also helping create a creamy, silky consistency when beaten with the cream cheese.
- Vanilla Extract, or Vanilla Bean Paste: Vanilla enhances the flavor of both the chocolate and cream cheese without overpowering them. It adds warmth and depth that makes the pie taste more complex and homemade.
- Dark Chocolate (72%): Dark chocolate provides the rich, luxurious flavor that makes this pie so irresistible. A 72% chocolate offers a perfect balance of sweetness and deep cocoa flavor without becoming too bitter.
- Heavy Cream: Heavy cream is used to create a smooth ganache used in the filling and also forms the light, fluffy whipped cream topping. Its high fat content contributes to the pie’s rich texture.
- Salt: A small amount of salt balances the sweetness and helps intensify the chocolate flavor throughout the pie.
- Espresso Powder (Optional): Espresso powder enhances the natural flavor of chocolate, making it taste richer and more intense. Even coffee skeptics won’t notice a coffee flavor in the finished pie.
- Powdered Sugar: Powdered sugar sweetens the whipped cream topping while dissolving easily for a smooth, stable texture.
- Vanilla Bean Paste: Vanilla bean paste adds beautiful vanilla flavor along with tiny flecks of real vanilla bean, giving the whipped cream a bakery-style appearance.

Recipe Variations
- Mocha Chocolate Pie: Increase the espresso powder in the filling to 1 teaspoon and/or use my Espresso Whipped Cream on top.
- Peanut Butter Chocolate Pie: Swirl ½ cup of creamy peanut butter into the filling before chilling.
- Salted Caramel Chocolate Pie: Drizzle a little caramel sauce over the whipped cream and finish with flaky sea salt.
- Cookies and Cream Pie: Fold crushed Oreos into the filling before refrigerating.
Pro Tips
- Use room temperature cream cheese. Softened cream cheese blends much more smoothly than cold cream cheese. Starting with room temperature ingredients helps prevent lumps and creates an ultra-creamy filling.
- Let ganache cool slightly before adding it to the filling. The chocolate mixture should be warm, but not hot when added to the cream cheese. If it’s too hot, it can affect the texture of the filling and make it difficult to achieve a smooth consistency. If you have more questions on ganache, check out my How to Guide here.
- Beat the filling on low speed. Once the chocolate is incorporated, mixing on low speed helps create a dense, silky filling without introducing excess air bubbles that can affect the texture.
- Chill the pie longer for cleaner slices. While the pie is delicious after a few hours, an overnight chill produces the best texture and makes slicing much easier.
- Use high-quality chocolate if possible. Because chocolate is the star ingredient, using a quality chocolate bar instead of chocolate chips will give you a smoother filling and better overall flavor.
- Don’t over whip the topped. Stop whipping the cream once medium-stiff peaks form. Overwhipped cream can become grainy and lose its smooth, luscious texture.
- Add the espresso powder! Even if you don’t drink coffee, a small amount of espresso powder makes the chocolate taste deeper, richer, and more intense without adding a noticeable coffee flavor.
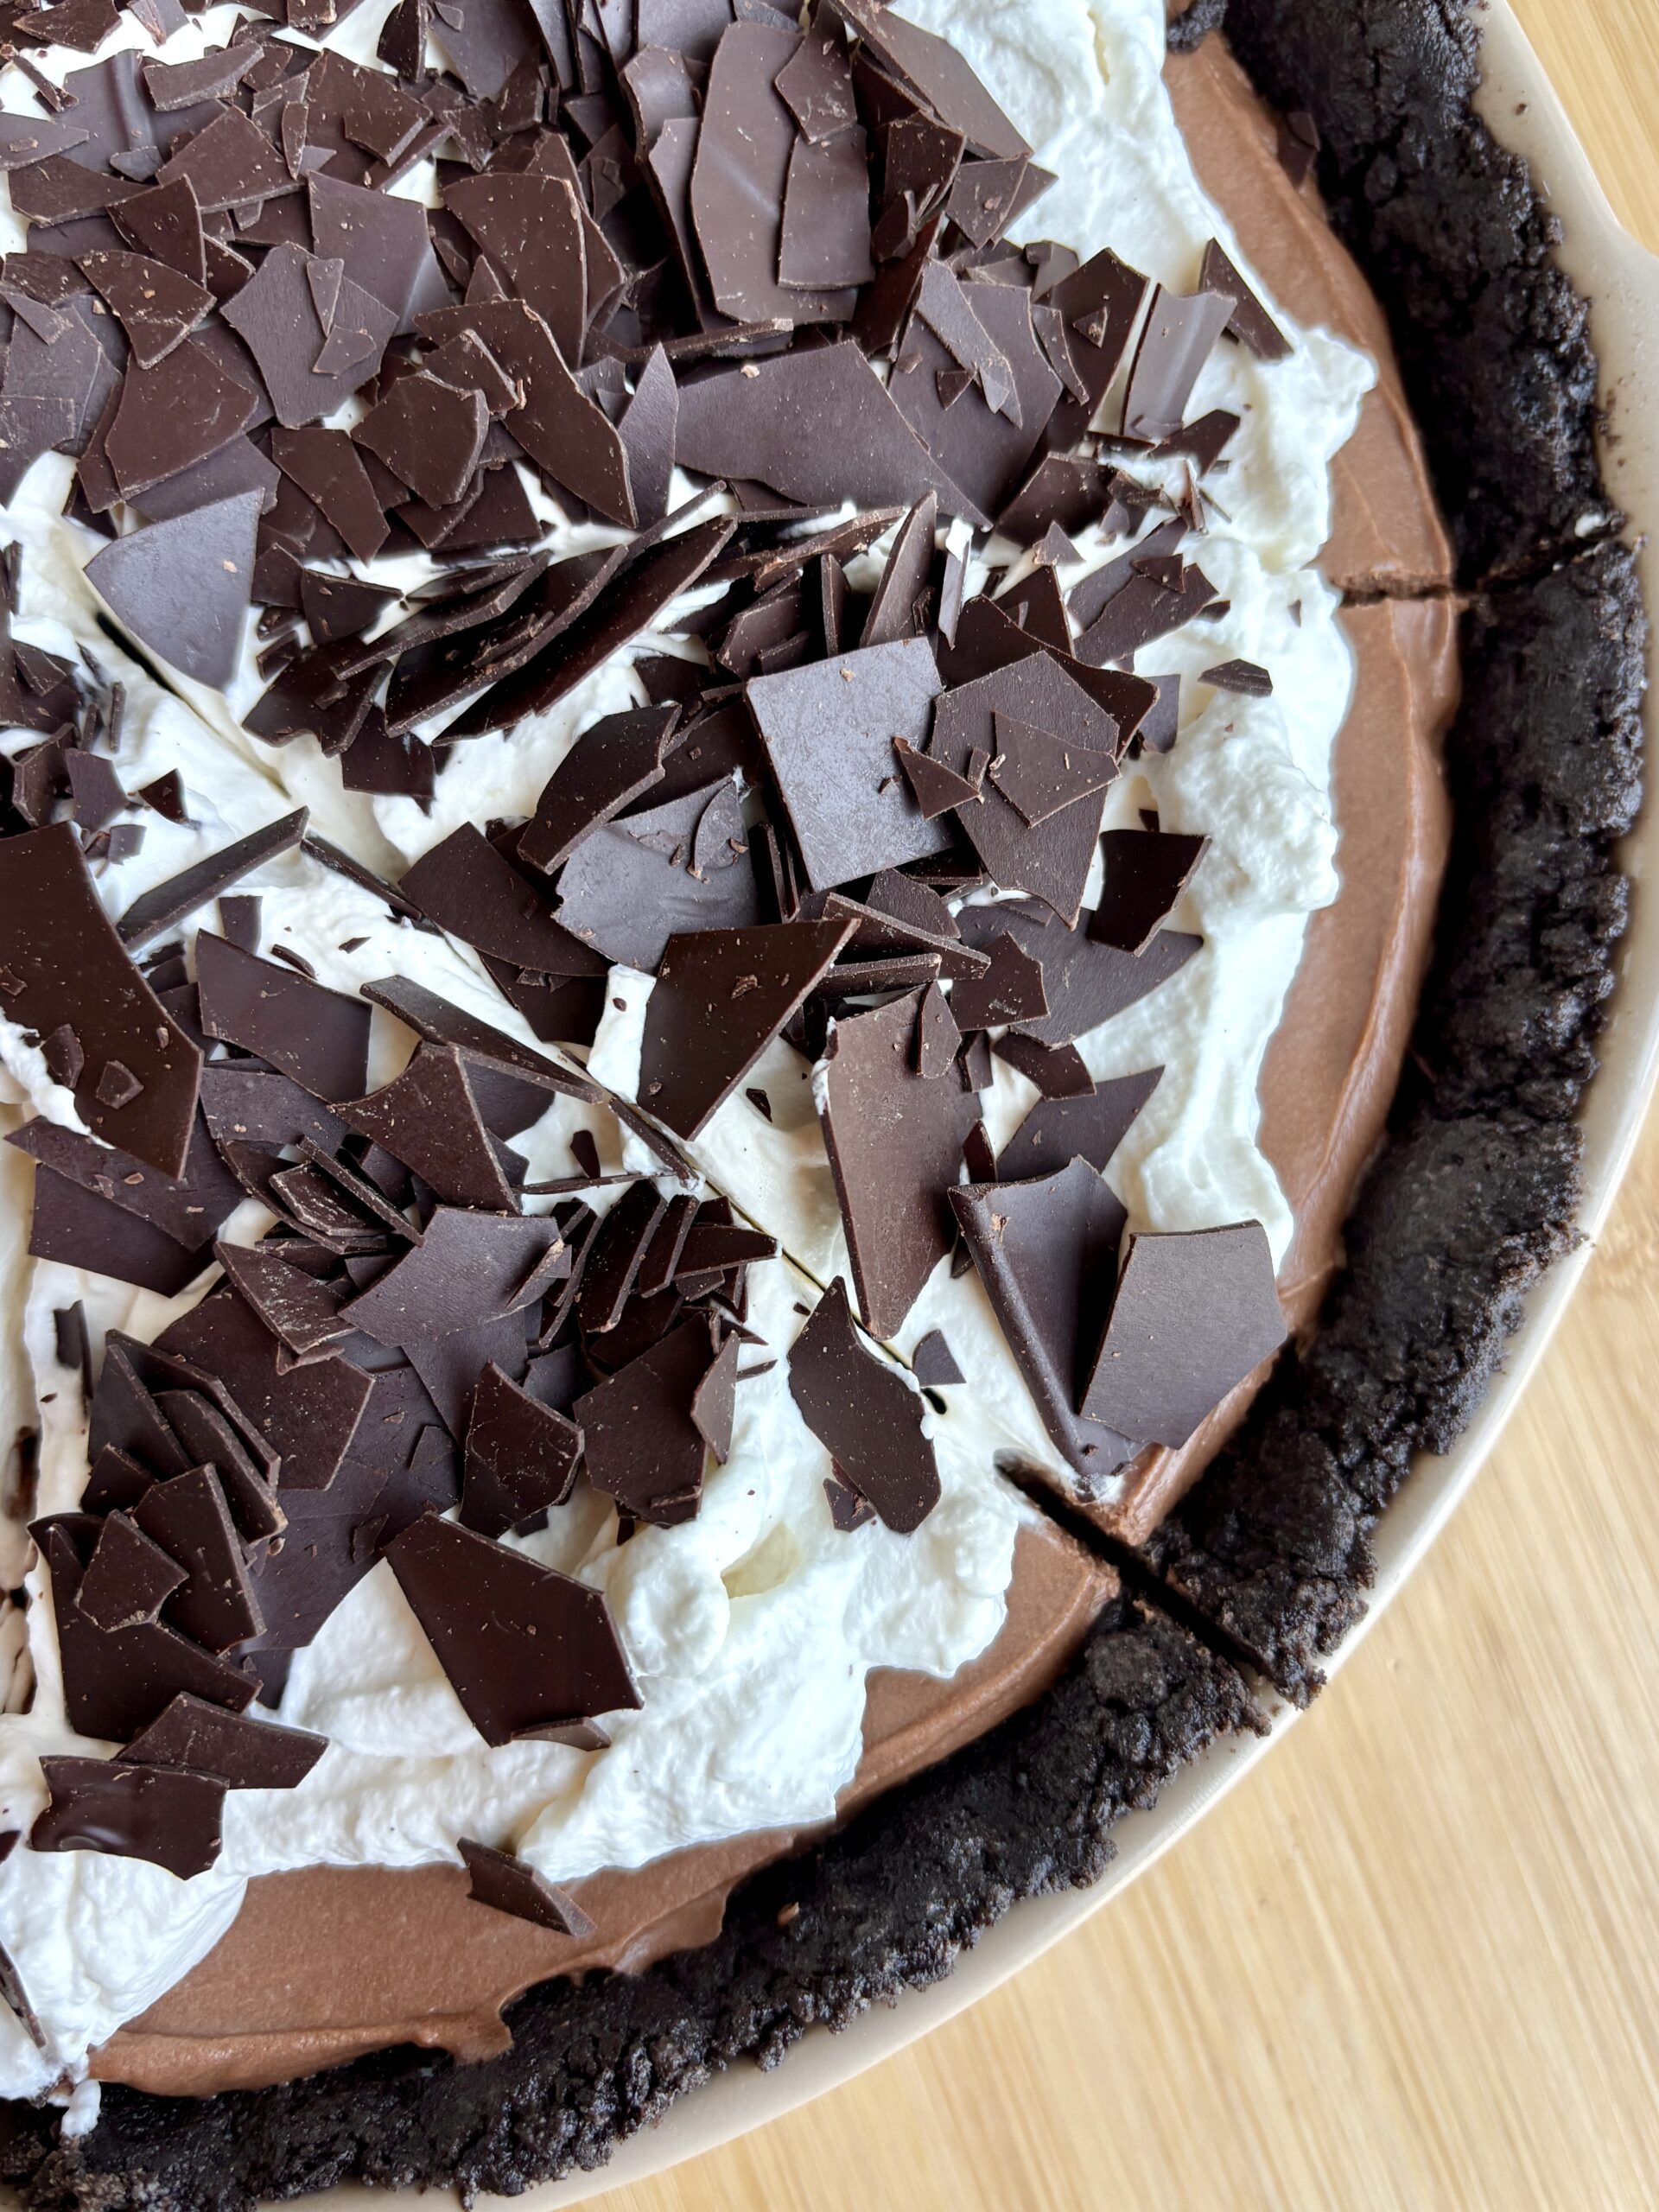
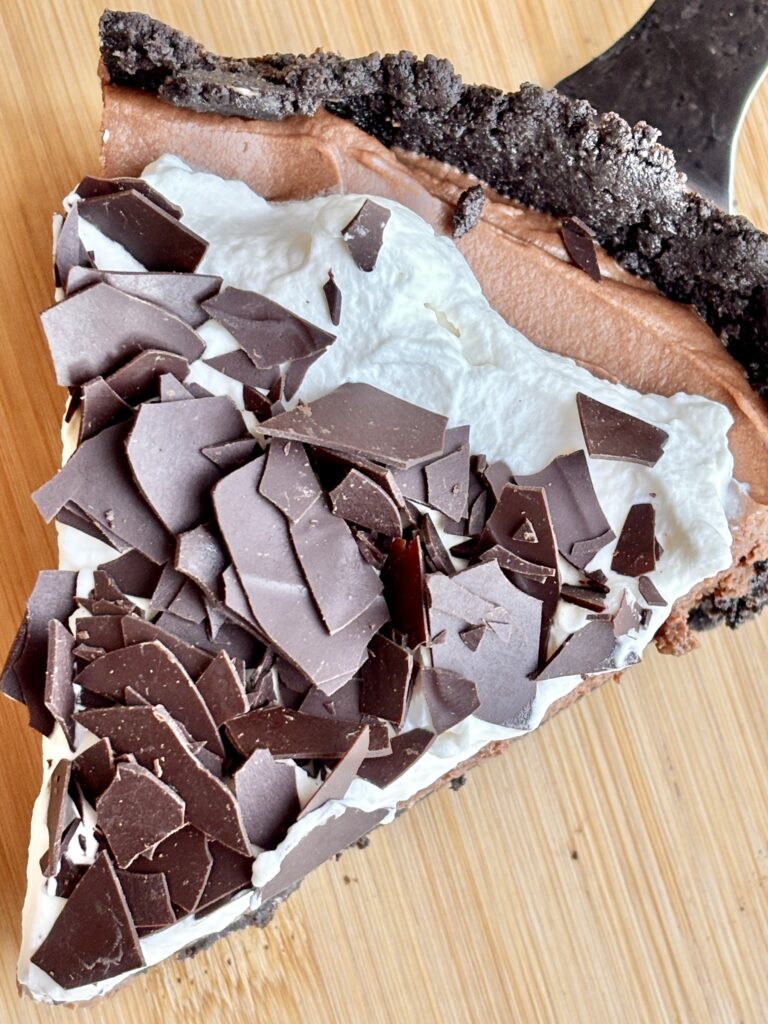
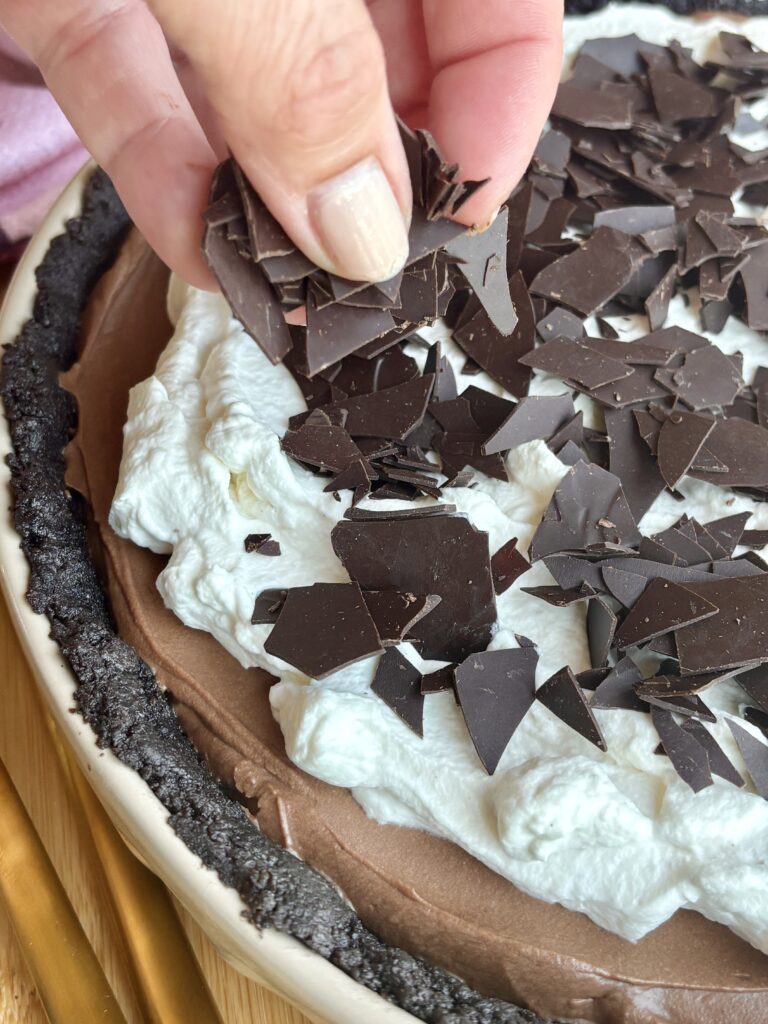
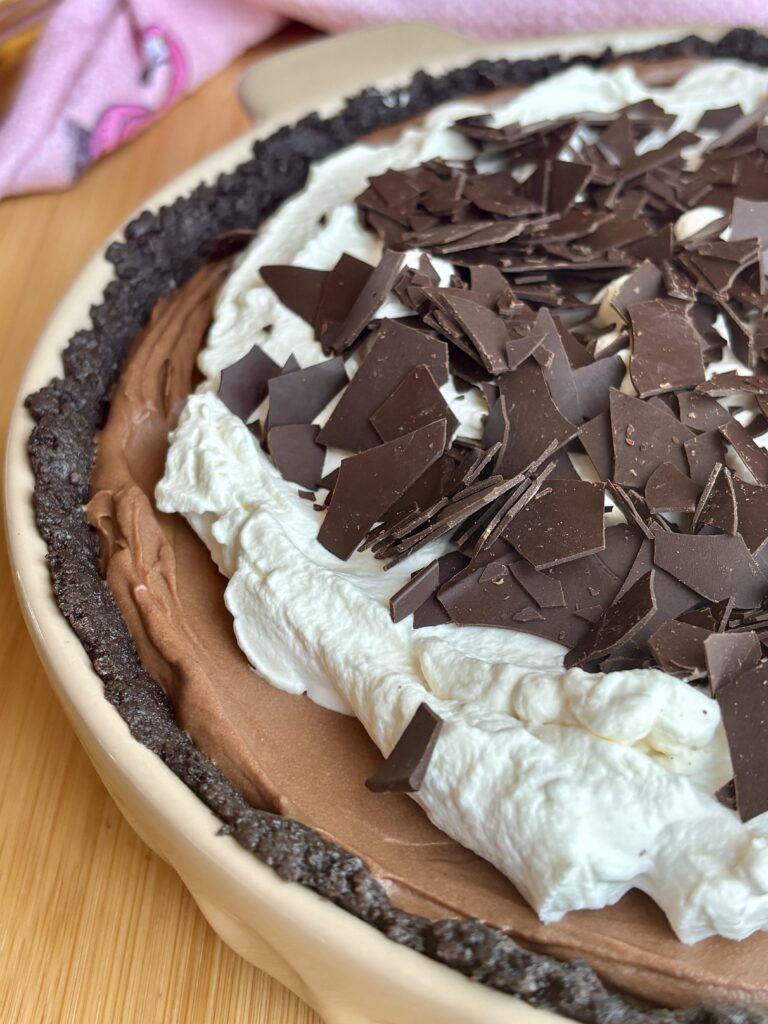
- Make your own chocolate flakes for a bakery-style finish. Melt 2 ounces of chocolate and spread it into a thin layer on a parchment-lined baking sheet or plate. Freeze until firm, then use a knife to chop or scrape it into small flakes and shards. Store the chocolate flakes in the freezer until you’re ready to decorate the pie. They add a beautiful homemade touch and an extra layer of rich chocolate flavor. Short on time? Mini chocolate chips or chocolate sprinkles make great substitutes.
Can I Substitute?
Yes! Like always though, any substitutions made to the recipe can result in a change in texture and/or flavor.
- Oreos: Use chocolate sandwich cookies instead.
- Dark Chocolate: Milk chocolate can be substituted for a sweeter pie. Semi-sweet chocolate also works well if you prefer a more balanced sweetness.
- Vanilla: The vanilla bean paste and vanilla extract are interchangeable, so use what you can.
- Whipped Cream: Store-bought whipped topping can be used in place of homemade whipped cream. There’s nothing wrong with shortcuts and this one is perfect!
Dietary Substitutions
- Gluten-Free: Use gluten-free chocolate sandwich cookies for the crust.
Leftovers and Storage
- Refrigerator: Store covered in the refrigerator for up to 5 days.
- Freezer: Freeze tightly wrapped for up to 2 months. Thaw overnight in the refrigerator before serving.
- Make Ahead: This is an excellent make-ahead dessert and can be prepared 1–2 days before serving.
- Best Serving Tip: Serve chilled straight from the refrigerator for the creamiest texture and cleanest slices.
But, I Still Have A Few Questions…
Can I make this pie ahead of time?
Yes! This is an excellent make-ahead dessert. In fact, it tastes even better after chilling overnight because the filling has more time to set and the flavors have a chance to really come together. You can make it up to 2 days in advance and keep it covered in the refrigerator. If you can, I do like to add the whipped cream on the day of serving so it holds it’s shape.
Does this taste more like cheesecake or chocolate mousse?
It’s the perfect combination of both. The cream cheese gives it the rich, tangy flavor of cheesecake, while the chocolate ganache creates a silky, slightly lighter texture reminiscent of chocolate mousse.
Can I use milk chocolate instead of dark chocolate?
Absolutely. Milk chocolate will create a sweeter pie with a milder chocolate flavor. Semi-sweet chocolate is another great option if you prefer something in between milk and dark chocolate.
Why isn’t my pie setting properly?
If your pie seems soft, it likely needs more chilling time. For best results, refrigerate the pie for at least 4–6 hours, though overnight is ideal. Using softened cream cheese and allowing the ganache to cool slightly before mixing will also help ensure a properly set filling.
Do I have to use espresso powder?
Nope! The espresso powder is completely optional. It simply enhances the chocolate flavor and makes it taste richer and more intense without adding a noticeable coffee flavor.
Can I freeze this pie?
Yes! This pie freezes beautifully. Wrap it tightly and freeze for up to 2 months. When you’re ready to serve, thaw it overnight in the refrigerator.
Can I use a store-bought Oreo crust?
Yes. A store-bought Oreo crust is a great time-saving option. Just keep in mind that a homemade crust is usually a bit thicker and has a fresher flavor.
Can I use whipped topping, or canned whipped cream, instead of homemade whipped cream?
Yes. If you’d like a shortcut, you can substitute an 8-ounce container of whipped topping for the homemade whipped cream or simply a can of store-bought shipped cream.
How long will leftovers last?
Store leftover pie covered in the refrigerator for up to 5 days. The texture remains creamy and delicious, making it a great dessert to enjoy throughout the week.
Can I make this pie in a springform pan instead of a pie dish?
Yes. A 9-inch springform pan works wonderfully and gives the dessert more of a cheesecake-style presentation. Just be sure to chill it thoroughly before removing the sides of the pan.
What toppings pair well with this pie?
This pie is delicious with chocolate curls, crushed Oreos, mini chocolate chips, fresh berries, a little cocoa powder, or a drizzle of chocolate or caramel sauce. A sprinkle of flaky sea salt is also fantastic if you enjoy sweet-and-salty desserts.
Can I use chocolate chips instead of chopped chocolate for the ganache?
You can, but chopped chocolate bars are recommended for the smoothest ganache and best flavor. Chocolate chips contain stabilizers that can make the filling slightly less silky. For the most luxurious texture, use a good-quality chocolate bar.
Can I use chocolate chips or sprinkles instead of chocolate flakes?
Absolutely! While homemade chocolate flakes give the cheesecake a bakery-style appearance and add a little extra chocolate flavor, mini chocolate chips, chocolate sprinkles, chocolate curls, or even chopped chocolate bars work wonderfully. Ultimately, use whatever you have on hand, it will be delicious no matter what!
How do I make the chocolate flake topping I see in your pictures?
It is really easy! Melt 2 ounces of chocolate and spread it into a thin layer on a parchment-lined baking sheet or plate. Freeze until completely firm, then use a knife to chop or scrape the chocolate into flakes and small shards. Store the flakes in the freezer until you’re ready to garnish the cheesecake.
Can I make the chocolate flakes ahead of time?
Yes! Chocolate flakes can be made several days in advance and stored in an airtight container in the freezer until needed. This makes decorating the cheesecake quick and easy when you’re ready to serve.
Other Recipes You’ll Love

Let’s engage!
Make sure to tag @thehomechefmomma on Instagram or Facebook, and leave a review or comment if you make these. I always get so excited to see your creations, variations of the recipe, and feedback! Just remember to be kind in your comments, there is still a person behind this screen! 🙂
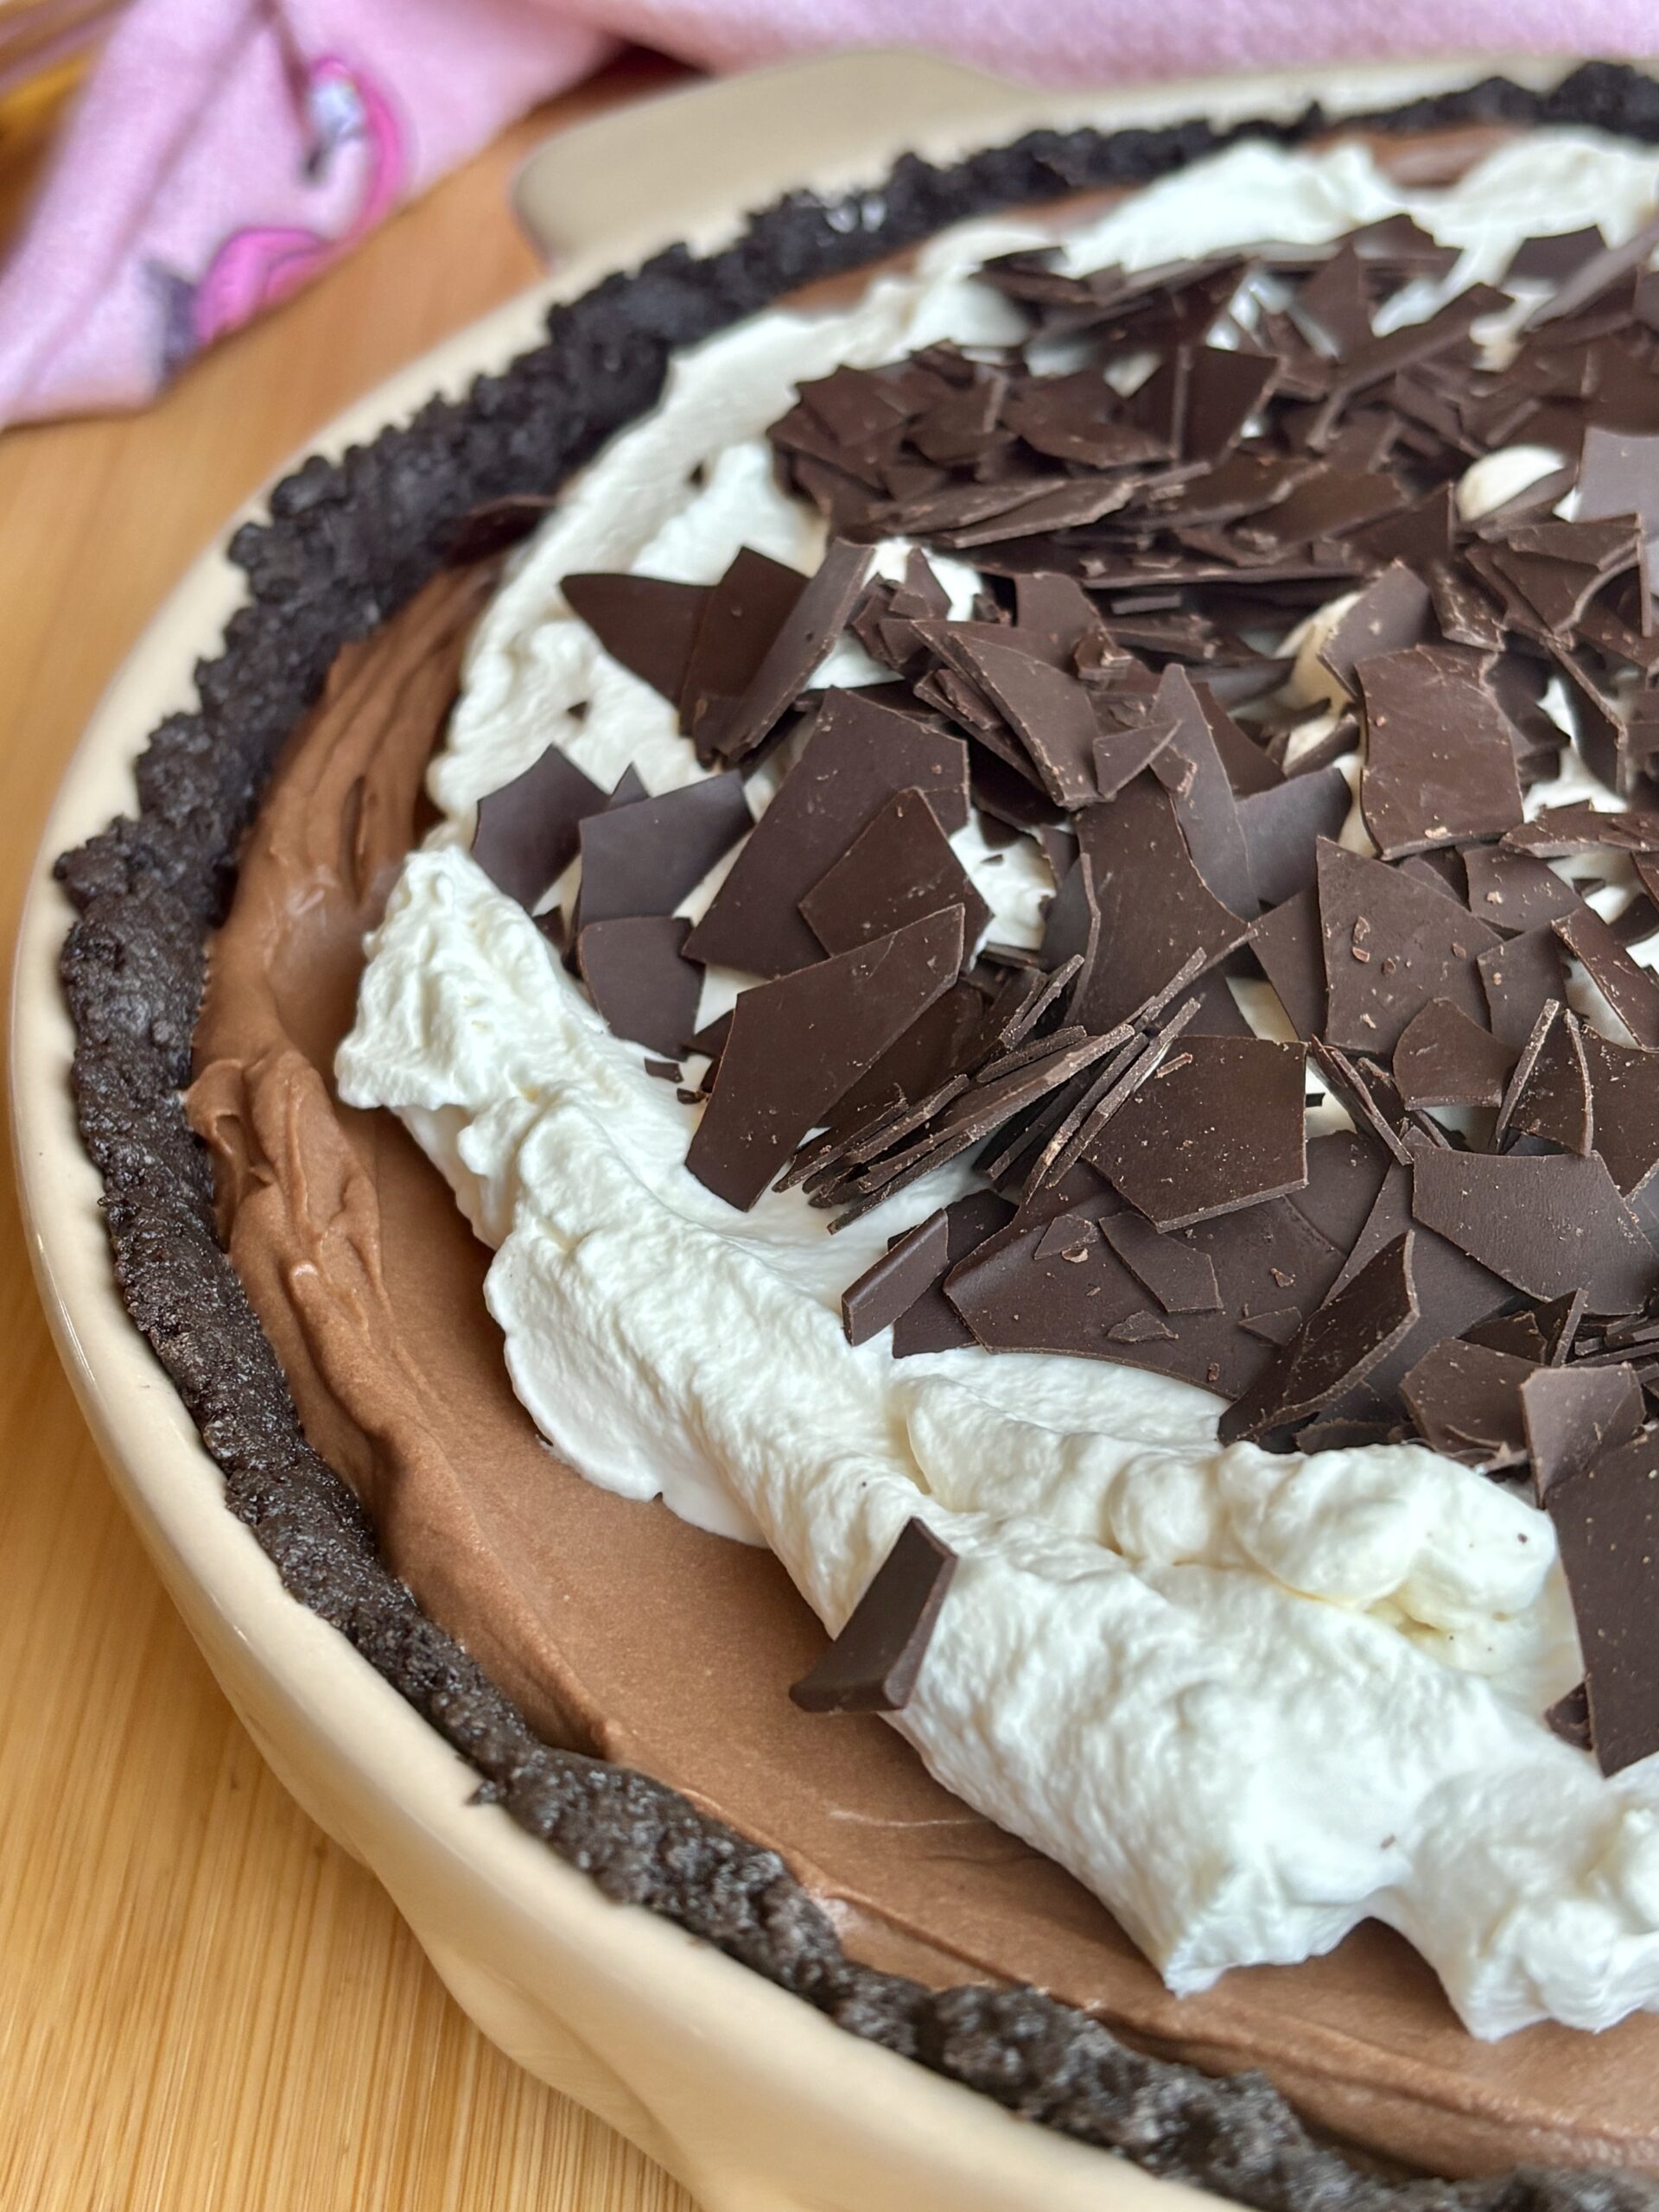
No-Bake Chocolate Dream Pie
Ingredients
Oreo Crust
- 30 Oreo cookies finely crushed
- 8 tablespoons unsalted butter melted
- Pinch of salt
Chocolate Cheesecake Filling
- 16 ounces cream cheese softened
- 1 cup granulated sugar
- 2 teaspoons vanilla extract
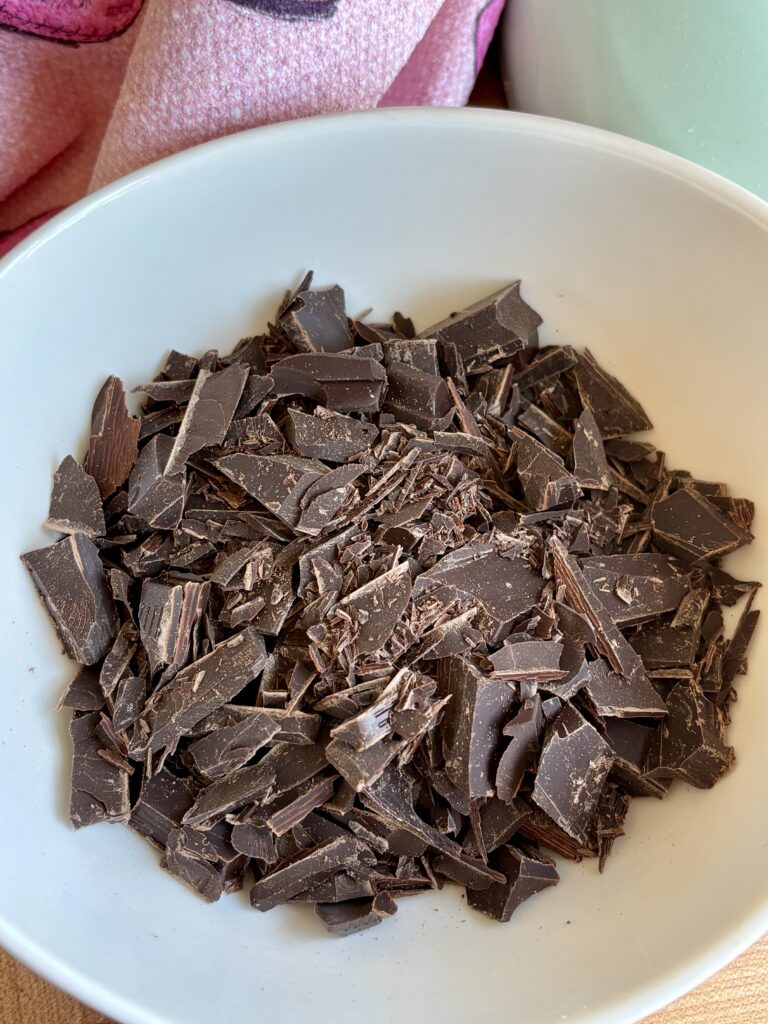
- 6 ounces dark chocolate 72%, finely chopped
- ½ cup heavy cream warmed
- Pinch of salt
- ½ teaspoon espresso powder optional
Whipped Cream Topping
- 1 cup heavy cream
- 2 tablespoons powdered sugar
- 1 teaspoon vanilla bean paste or vanilla extract
- Pinch of salt
Instructions
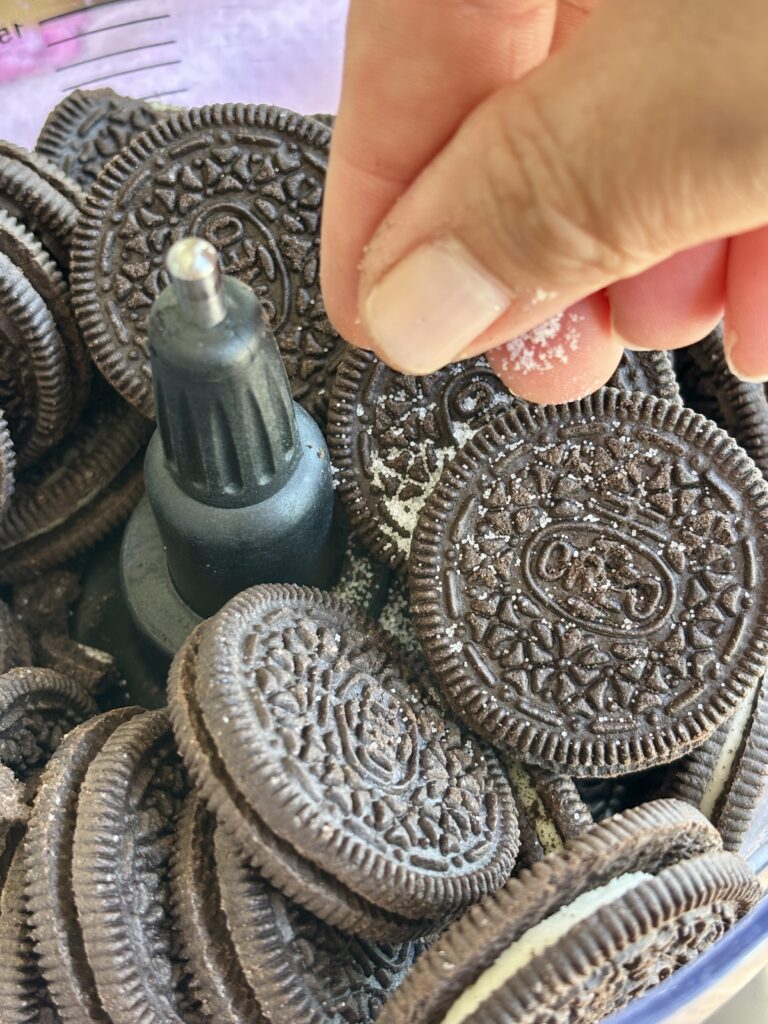
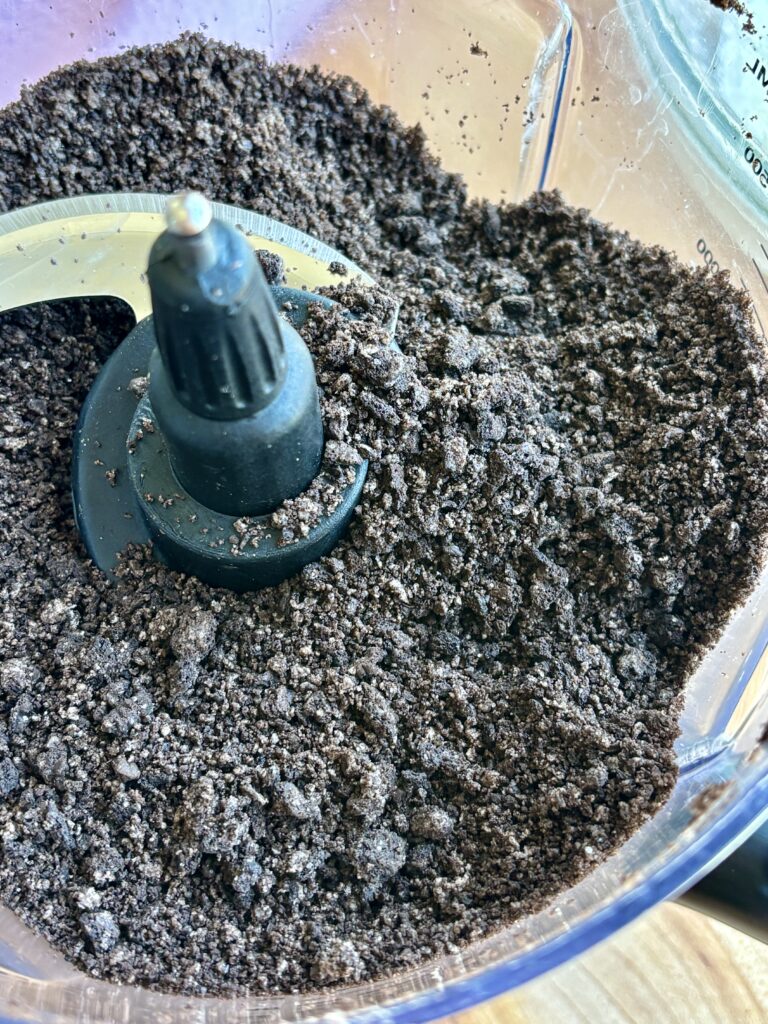
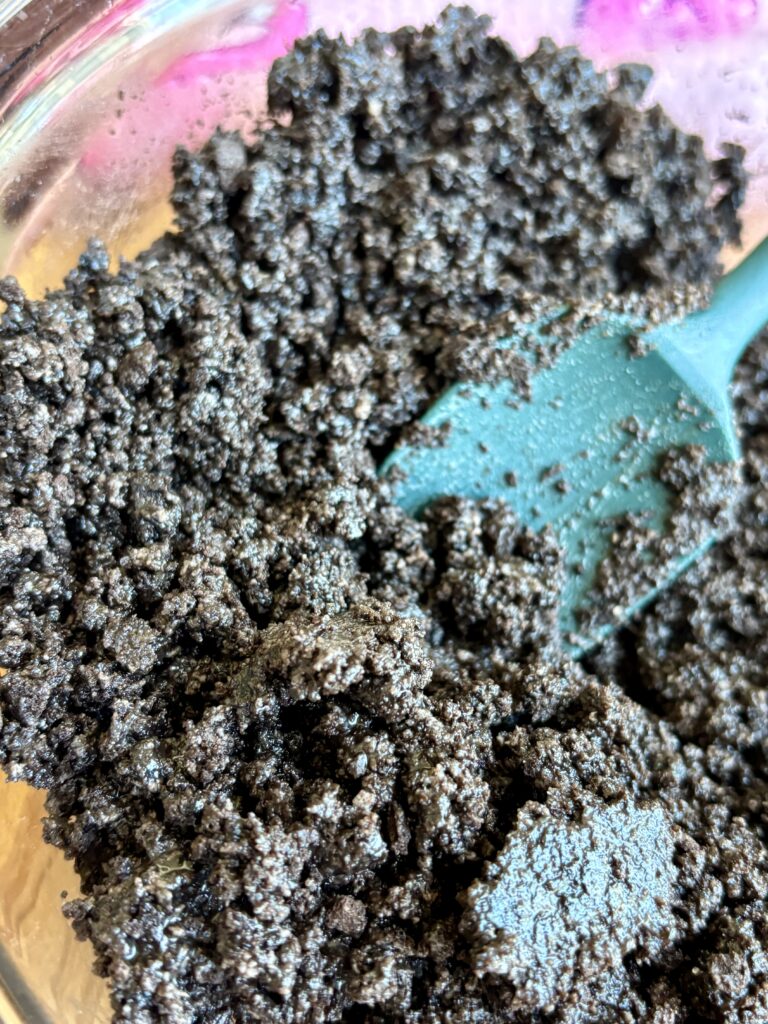
- Add the Oreos to a food processor and pulse until they resemble fine sand.
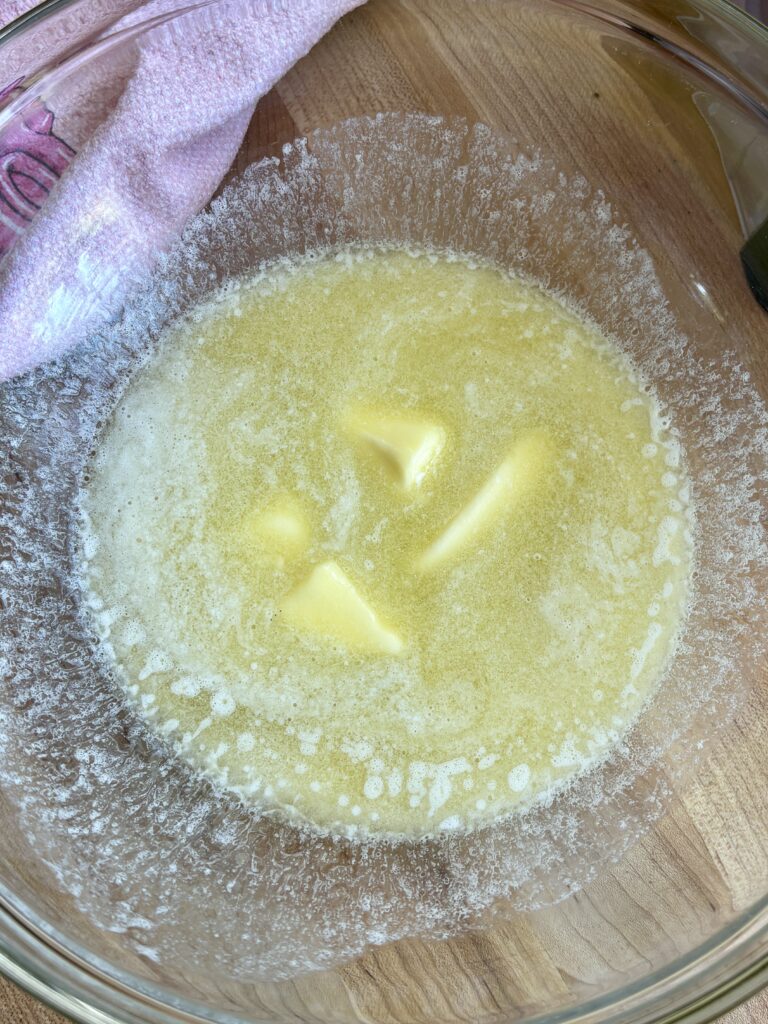
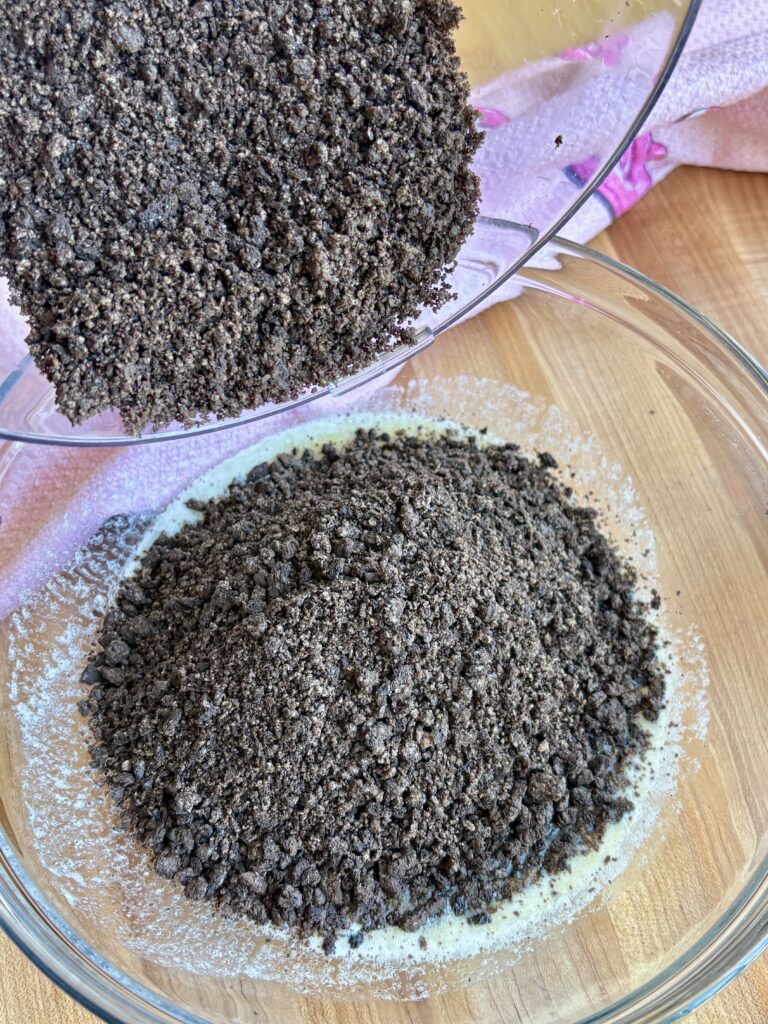
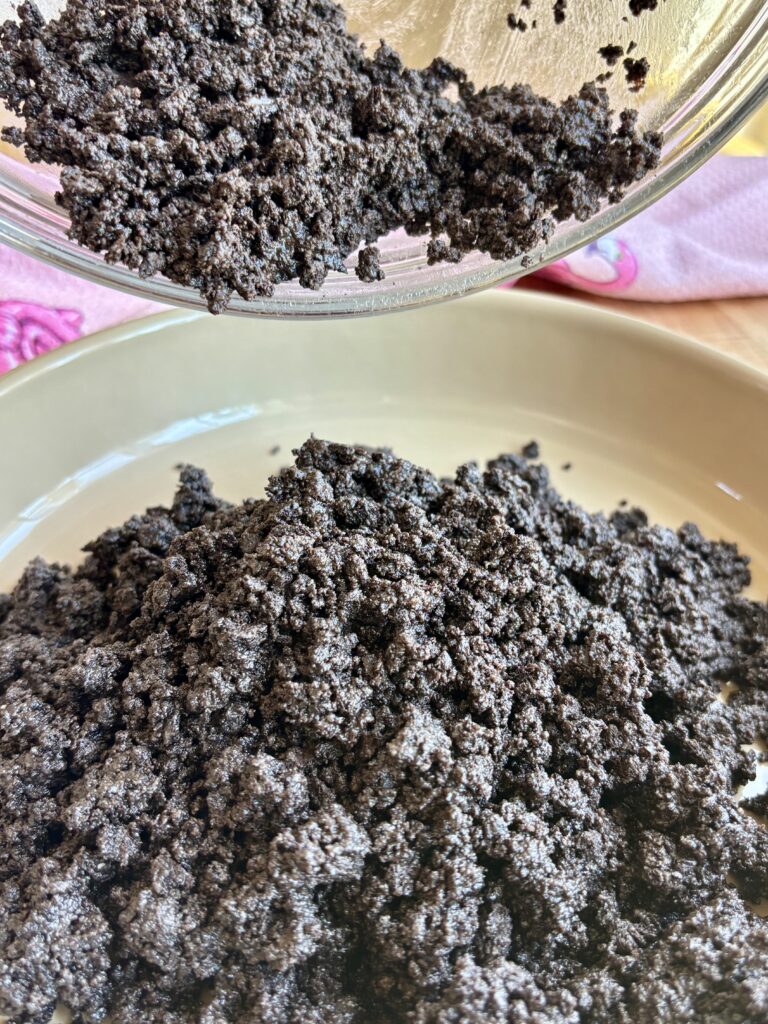
- Then in a medium bowl, combine the crushed Oreos, melted butter, and salt.
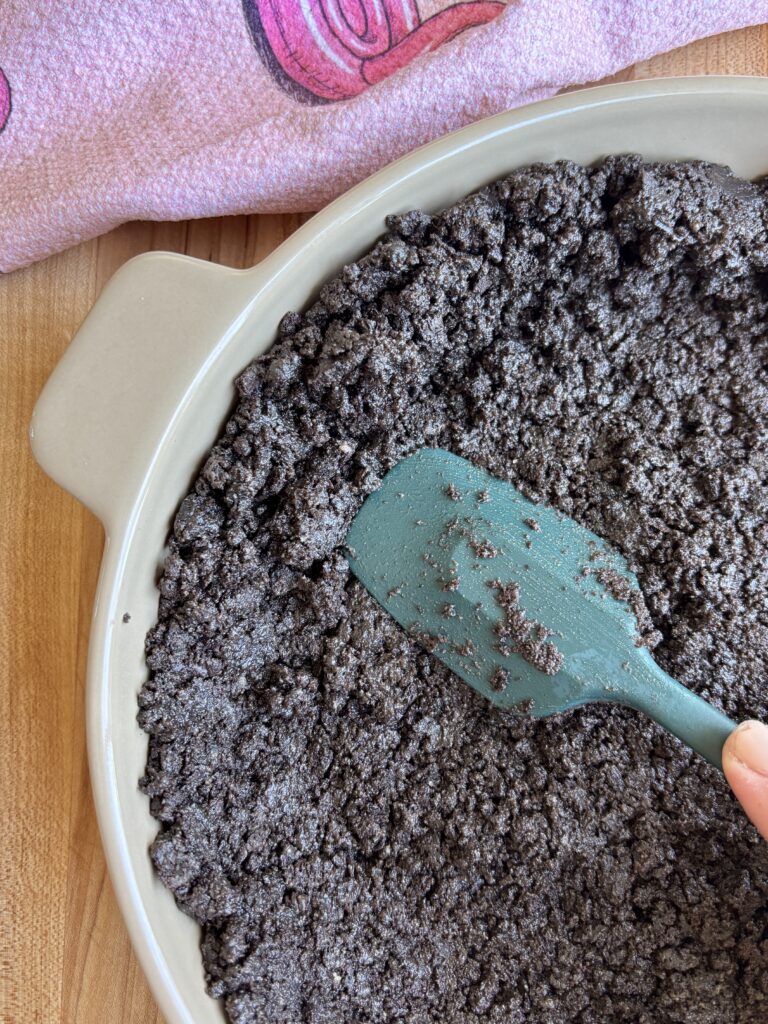
- Press the mixture firmly into a 9-inch pie dish, covering the bottom and sides evenly.
- Refrigerate the crust while preparing the filling.
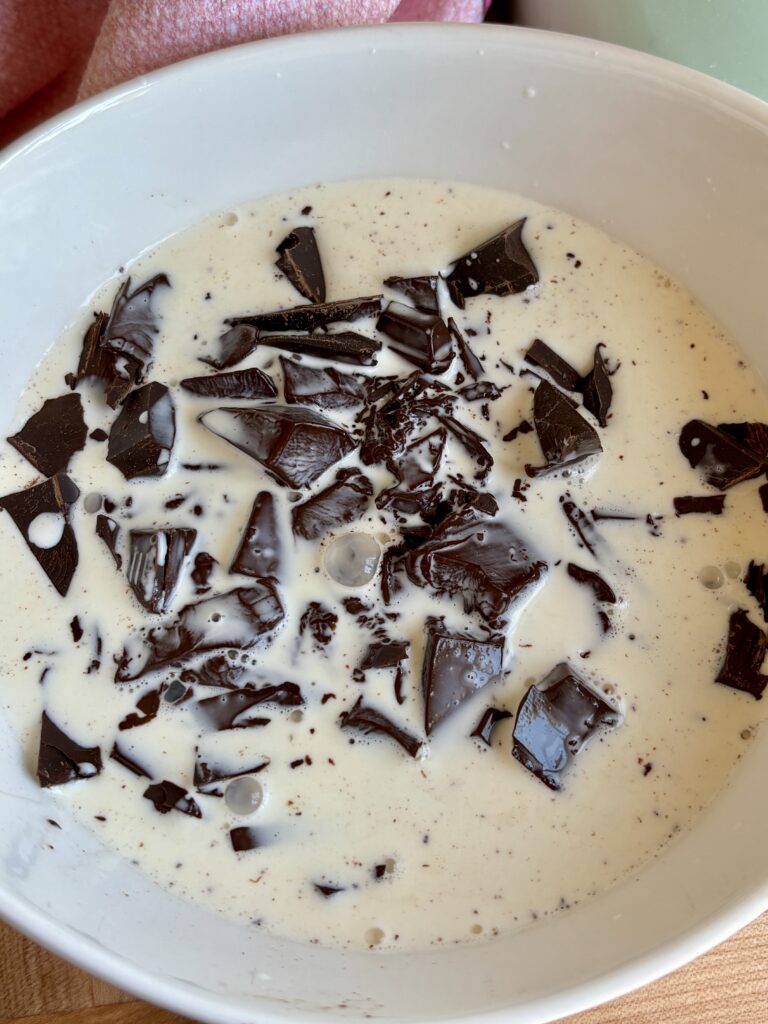
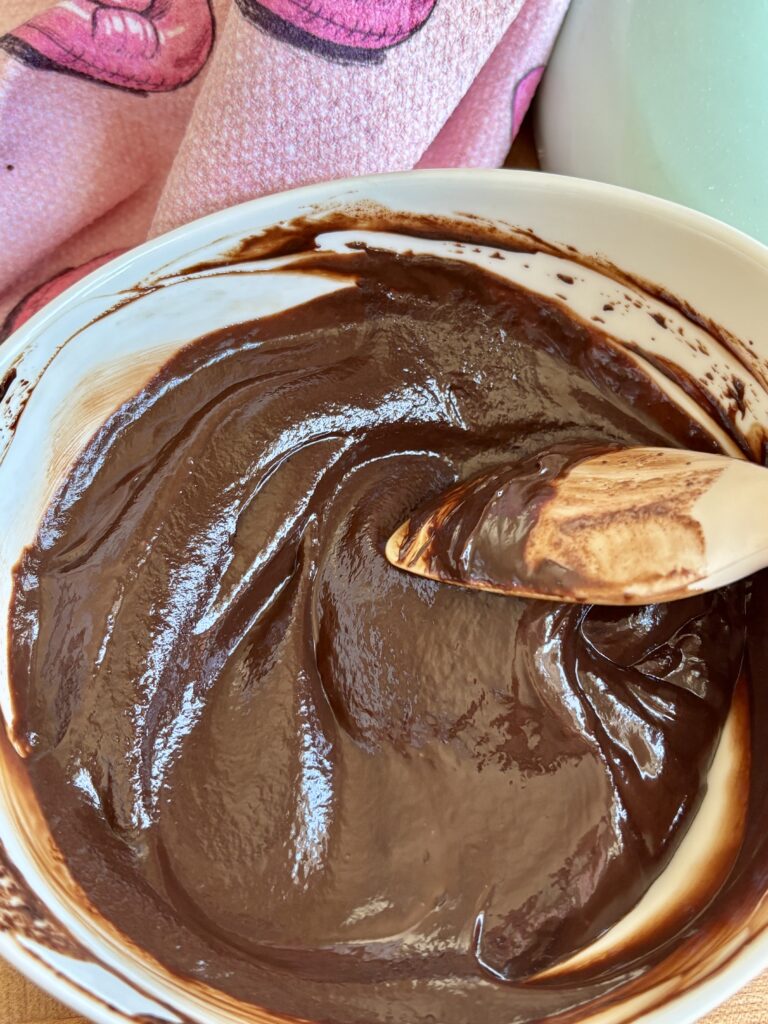
- Place the chopped chocolate in a heat-safe bowl and pour the warm heavy cream over the chocolate and let it sit for 2 minutes. Stir the mix, starting in the center, until completely smooth and glossy. Allow to cool for 2–3 minutes.
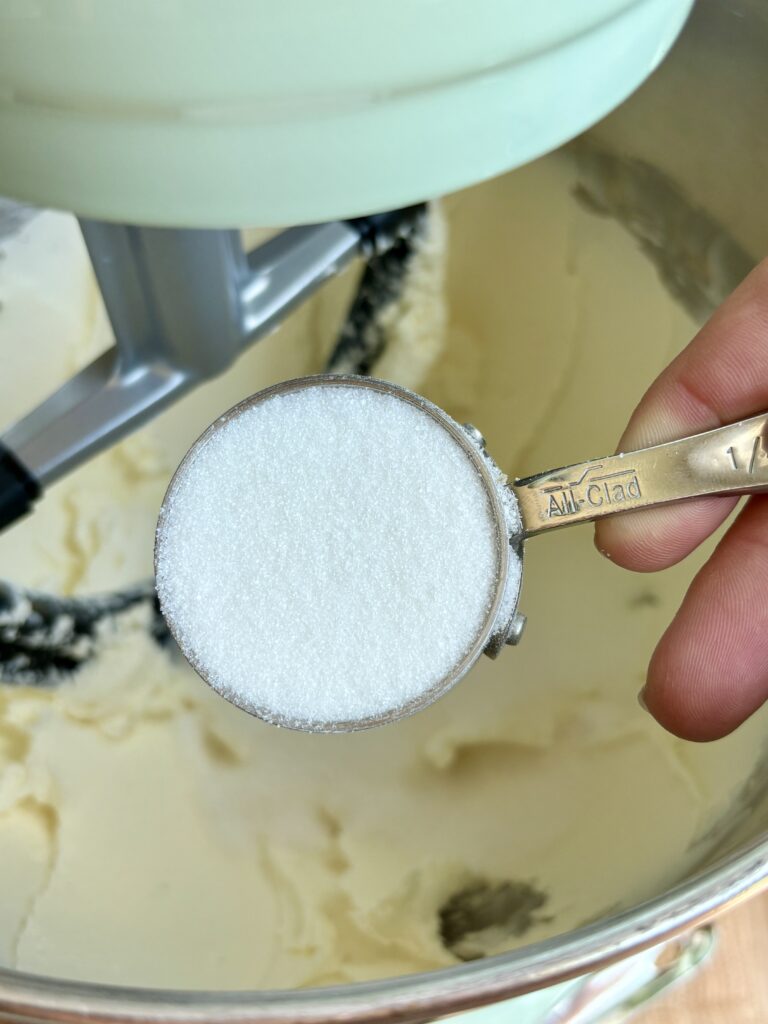
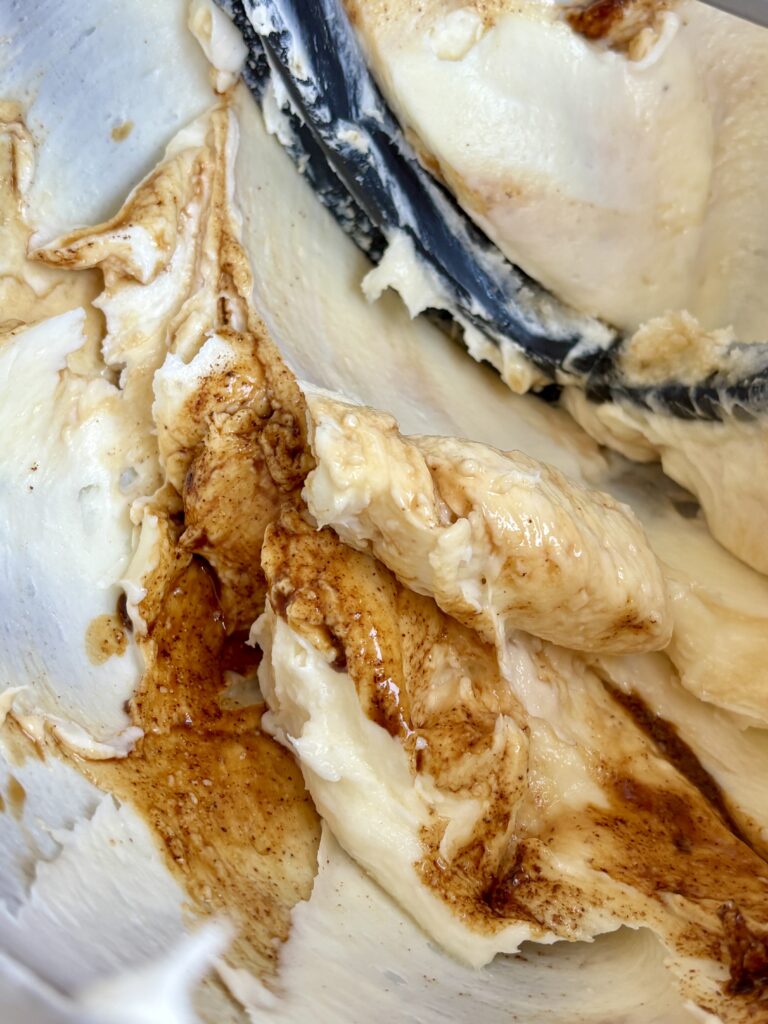
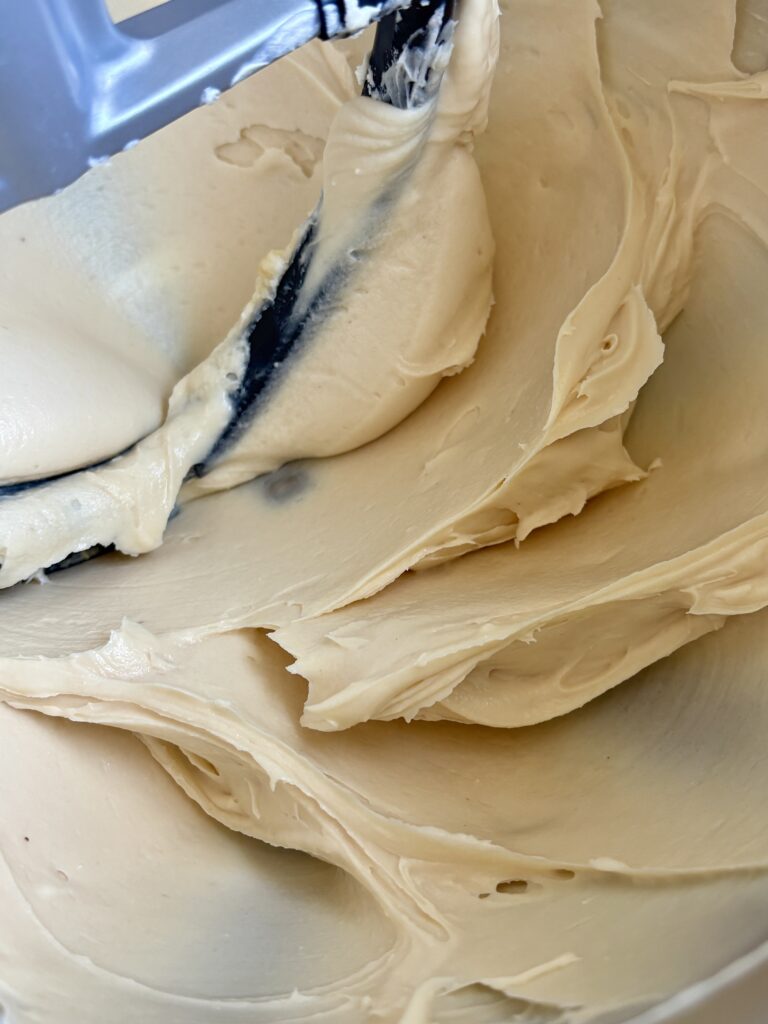
- In a large mixing bowl, beat the softened cream cheese and sugar until smooth and creamy.
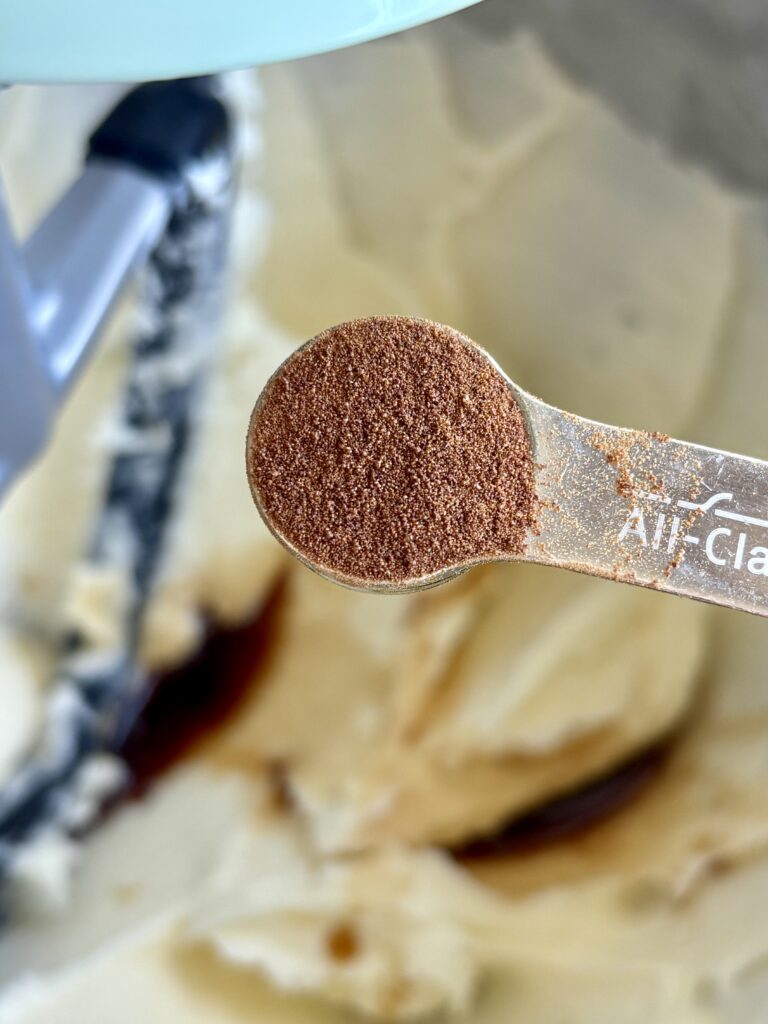
- Add the vanilla bean past, salt, and espresso powder if using and beat until combined.
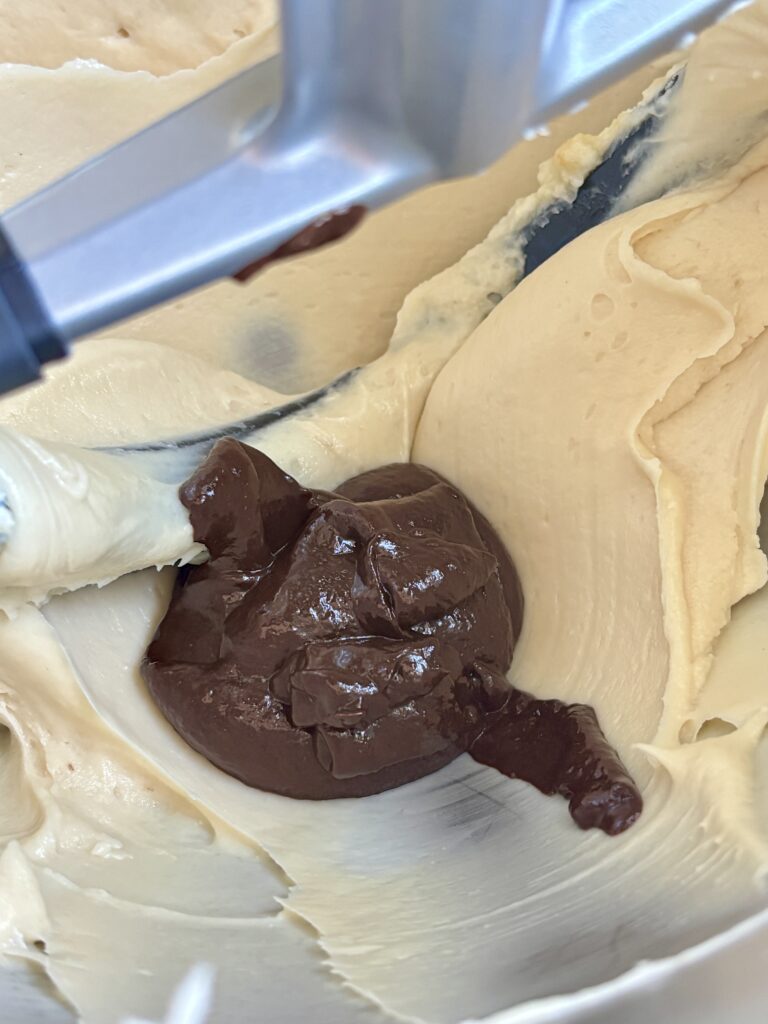
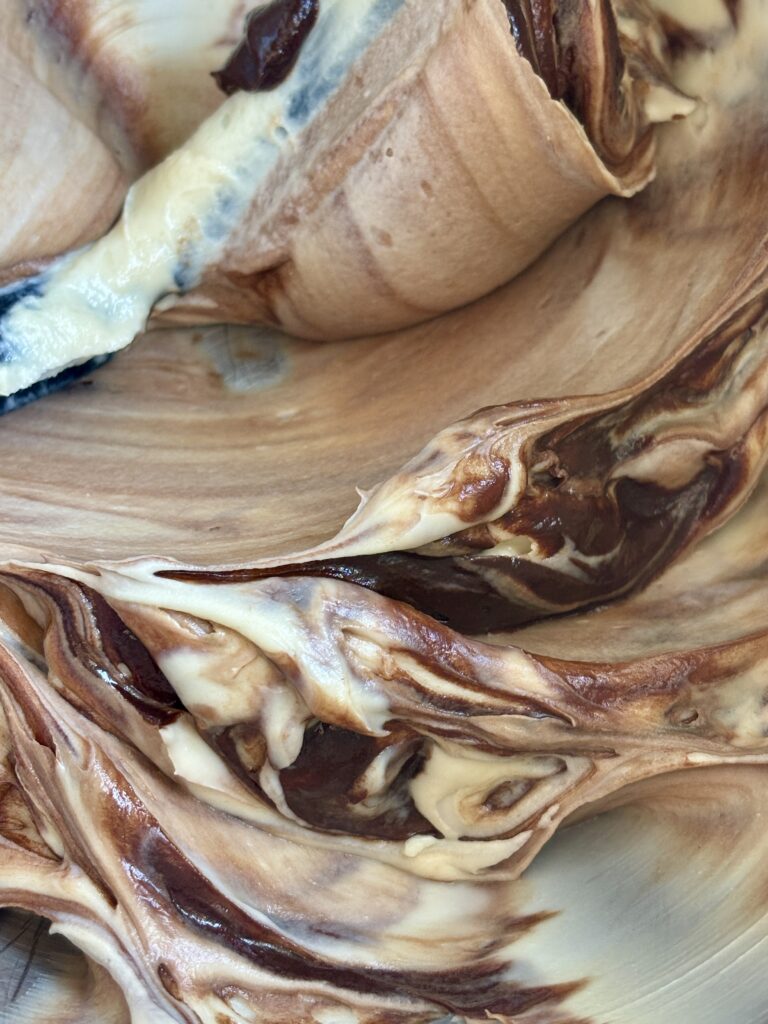
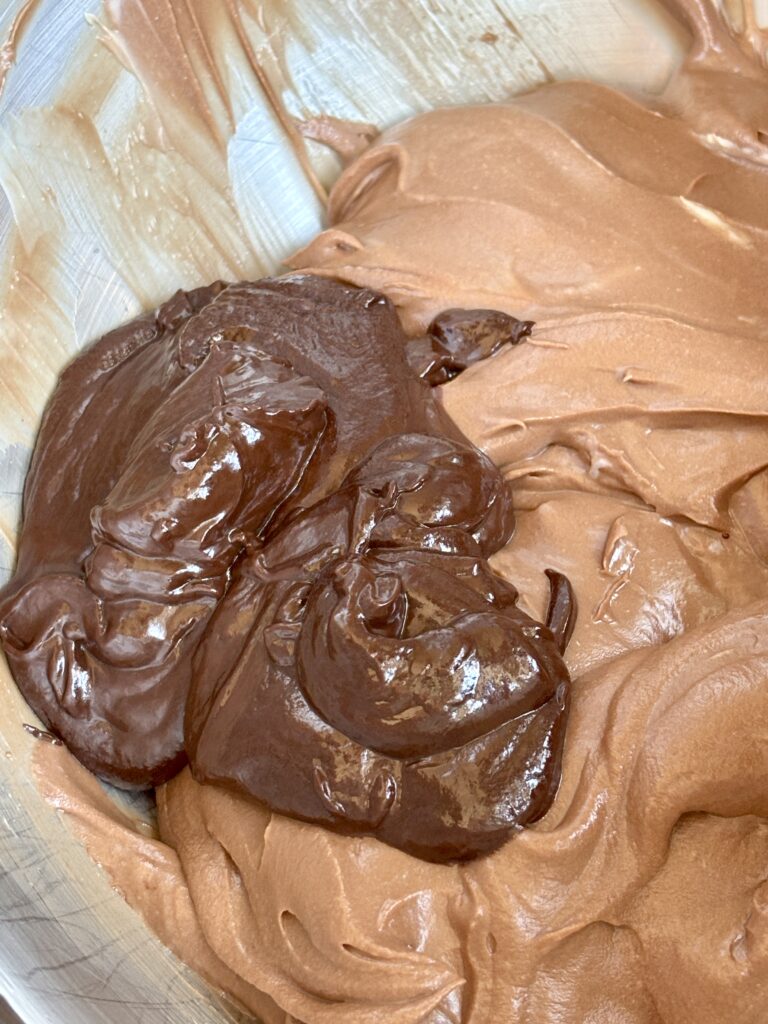
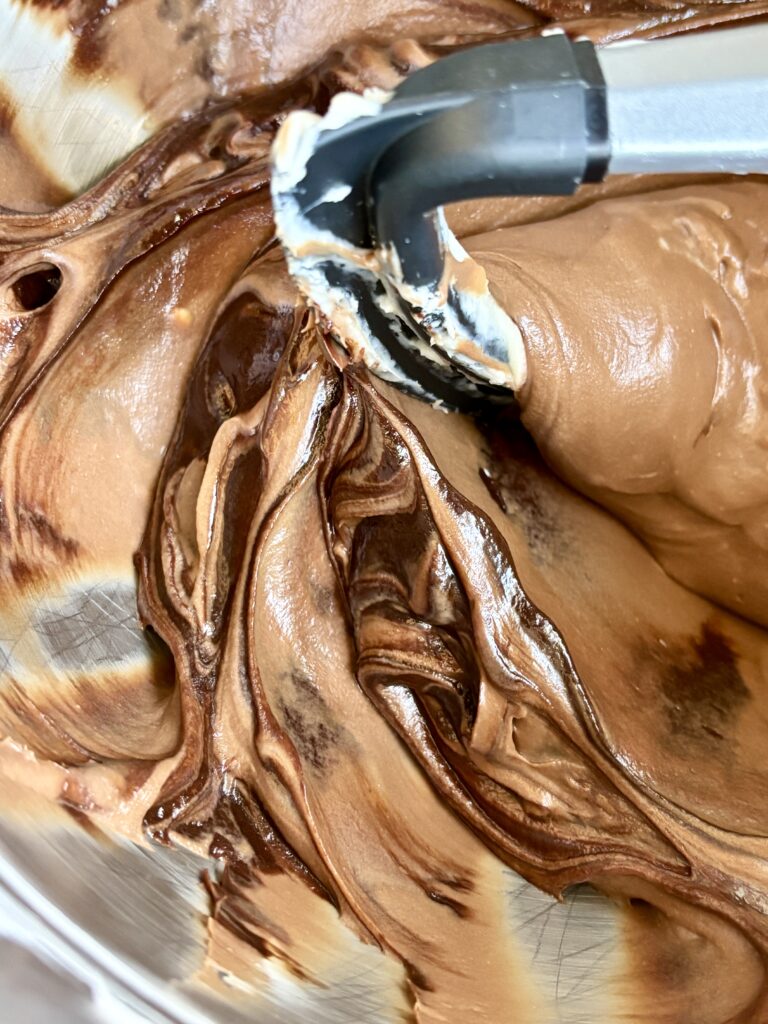
- Slowly add the chocolate ganache into the cream cheese mixture while mixing on low speed.
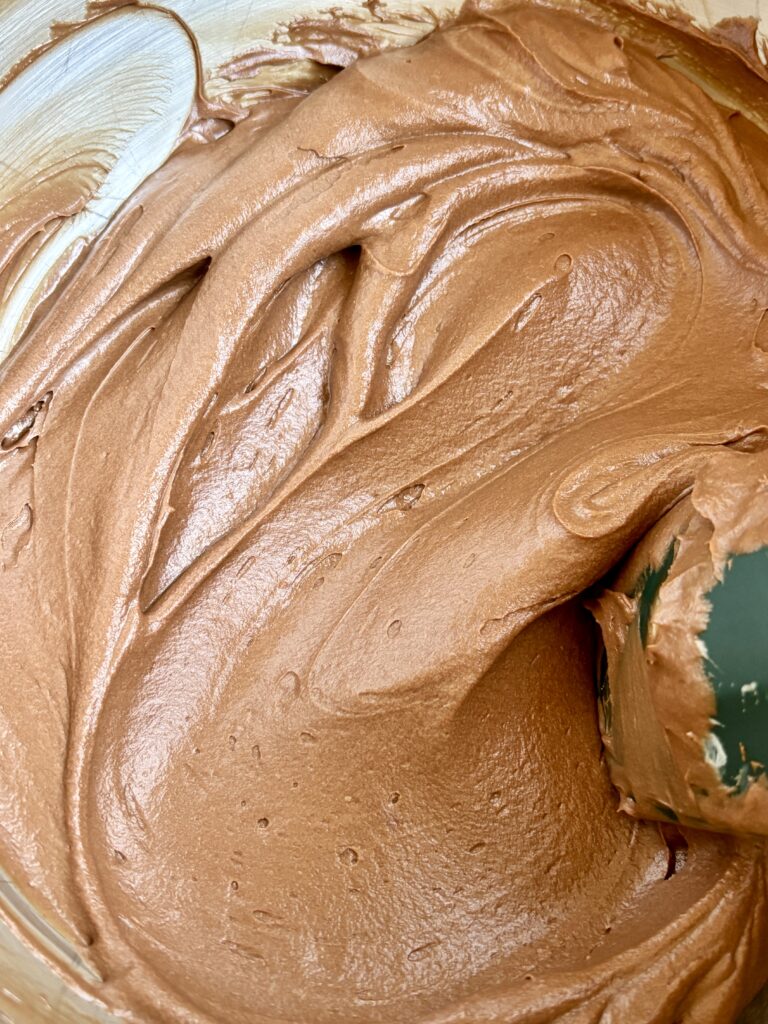
- Continue mixing on low speed for about 2 minutes until silky smooth.
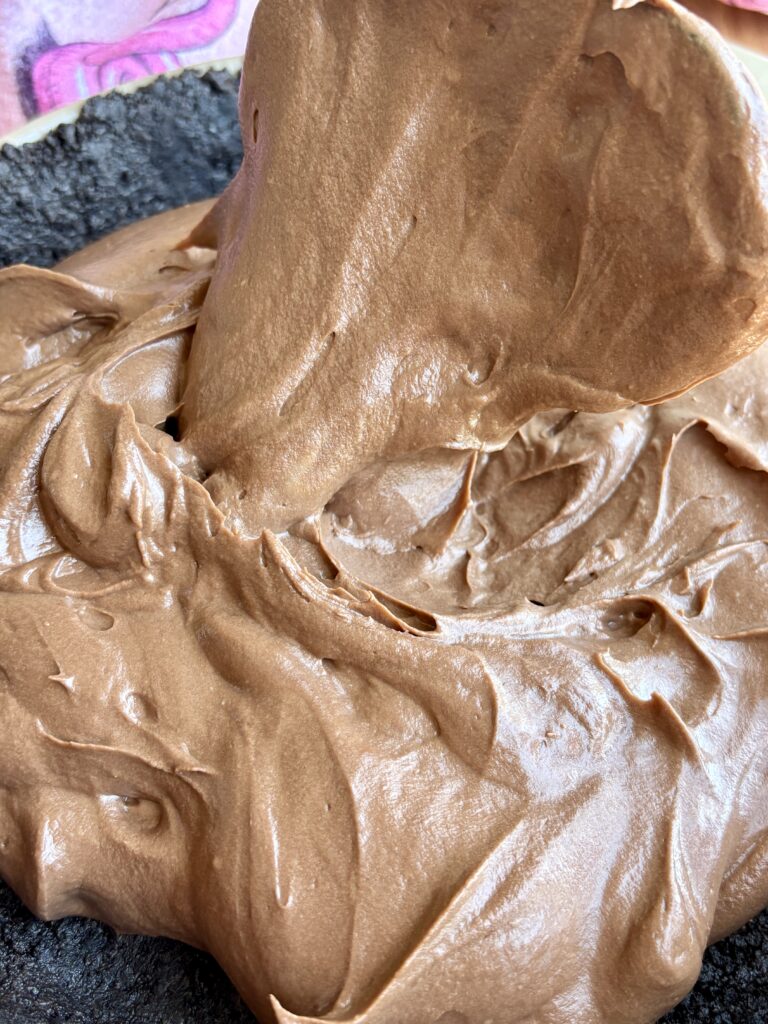
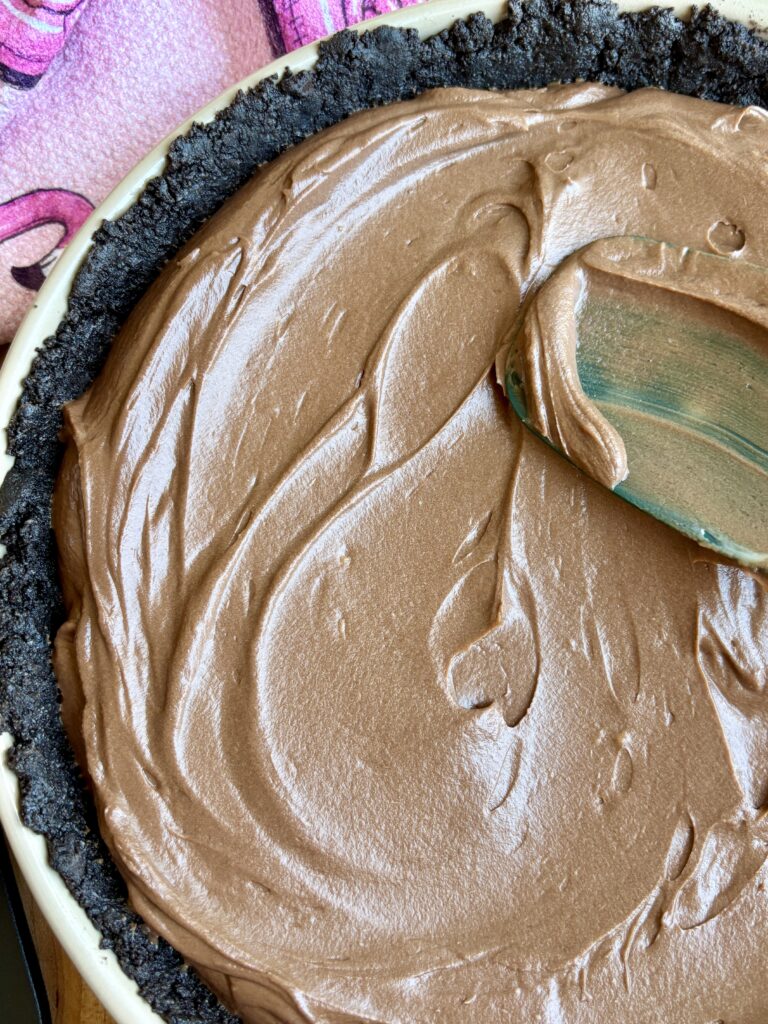
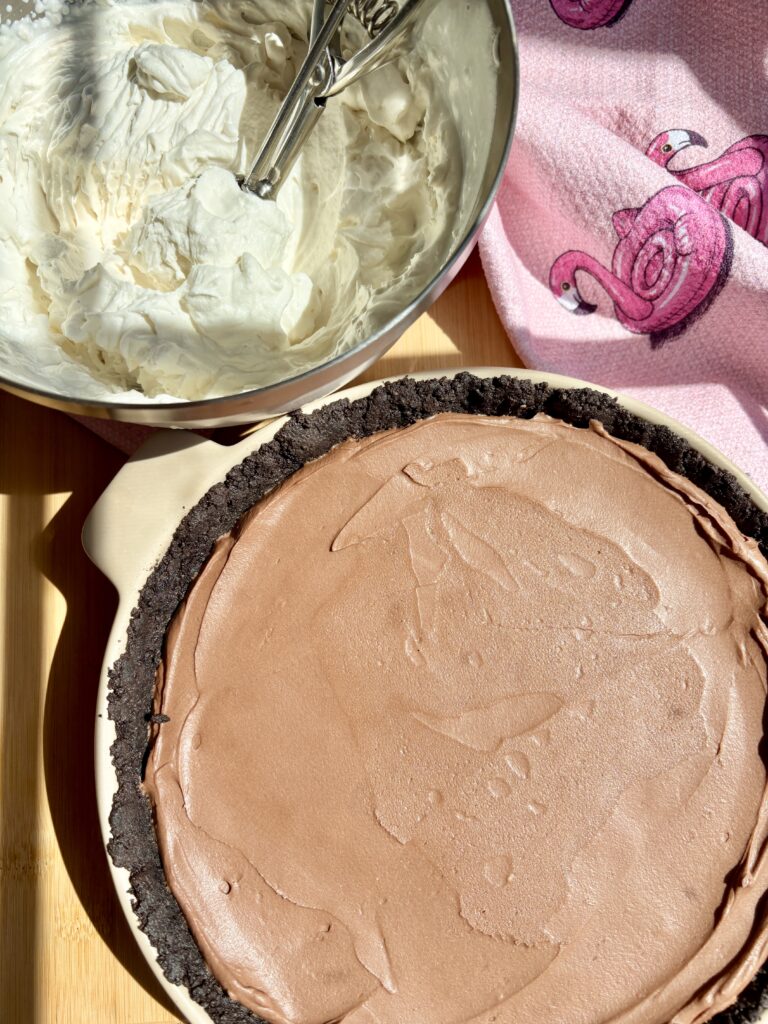
- Spread the filling evenly into the prepared crust.
- Cover and refrigerate for at least 4 hours or until fully set.
- For the topping, beat the heavy cream, powdered sugar, vanilla, and salt until medium-stiff peaks form.
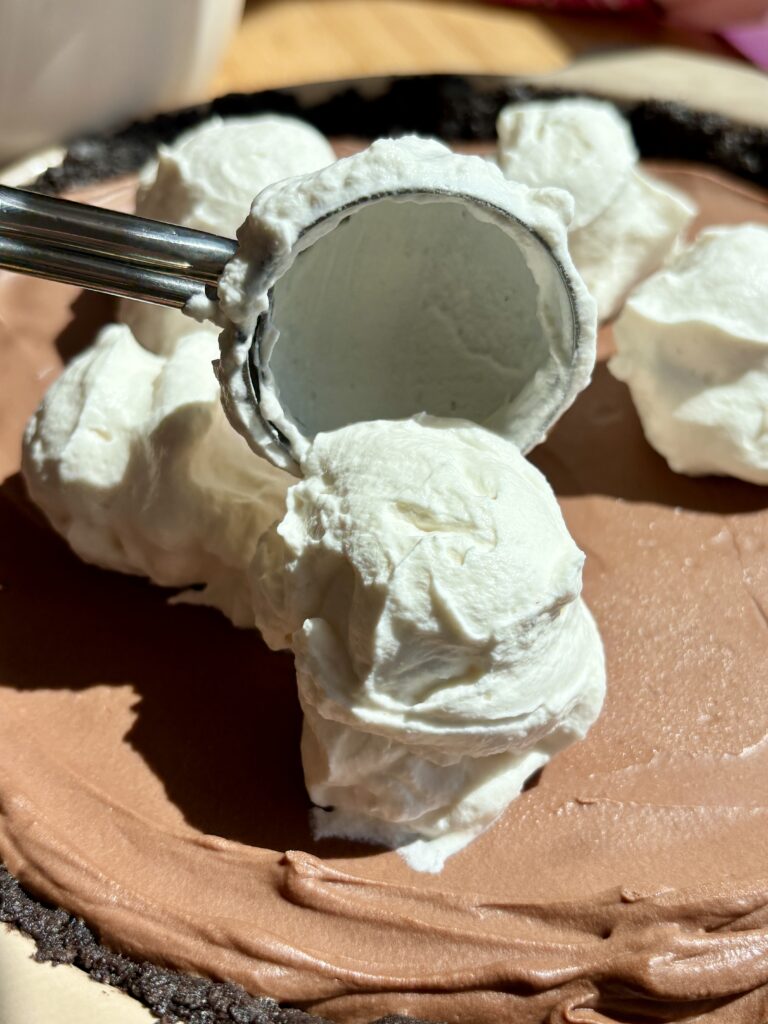
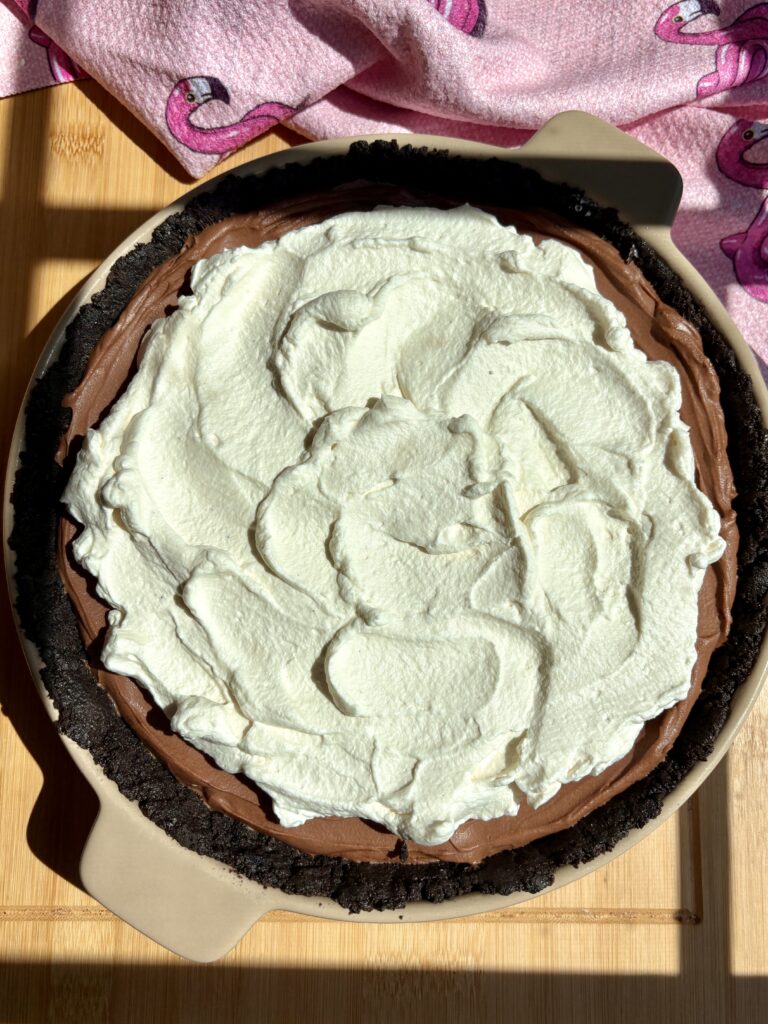
- Spread or pipe the whipped cream over the chilled pie.
- Refrigerate for at least 1 additional hour before serving.
- Slice and enjoy.
creamy chocolate pie | no bake chocolate pie | chocolate cheesecake pie | chocolate mousse pie | no bake cheesecake pie | easy chocolate dessert | Oreo crust pie | dark chocolate cheesecake | chocolate cream pie recipe | make ahead chocolate dessert | no bake chocolate cheesecake | chocolate mousse cheesecake | holiday chocolate dessert | easy pie recipe | chocolate lovers dessert

This looks terrific!I would like to make it for Father’s Day, and I’m wondering how far ahead I can make the pie crust and /or the filling (leaving it un-assembled)?
Hi! You can make the pie the day before! The only thing I would add that day (if you have the time) is the homemade whipped cream. I like the whipped cream better when it is fresh. That being said, if you don’t have time the day of, then just make it all the day before! I hope you love it!