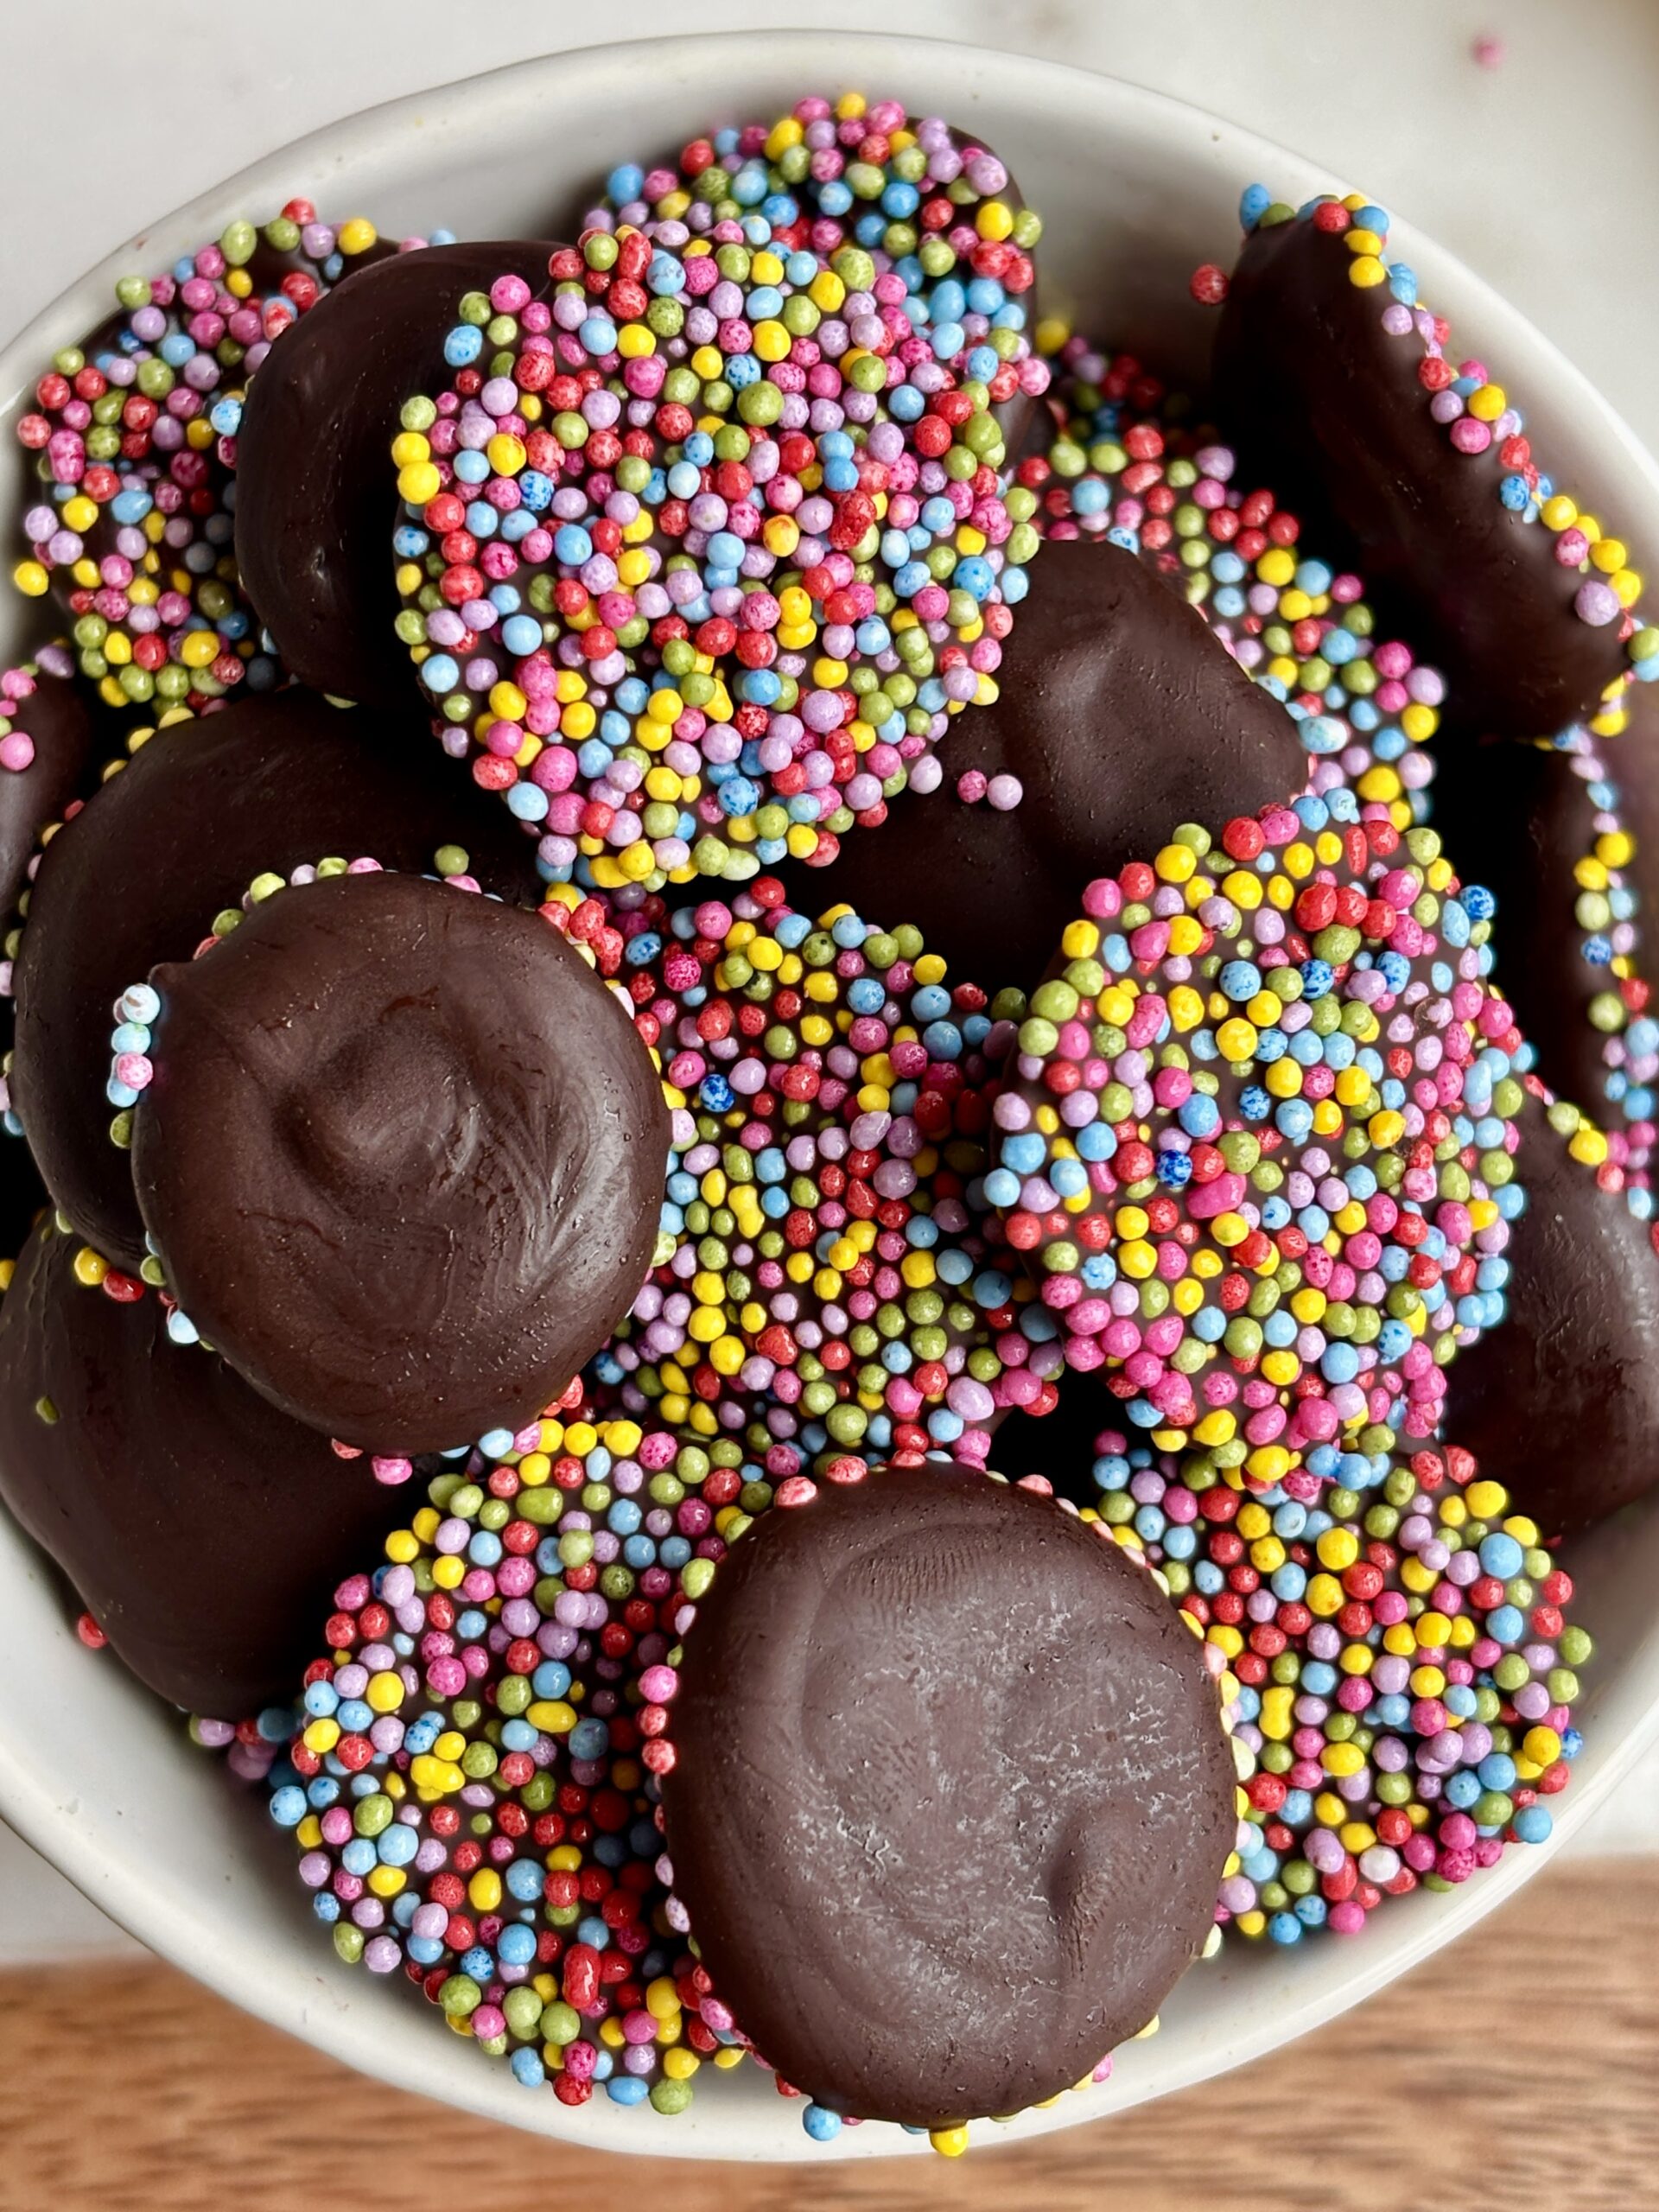
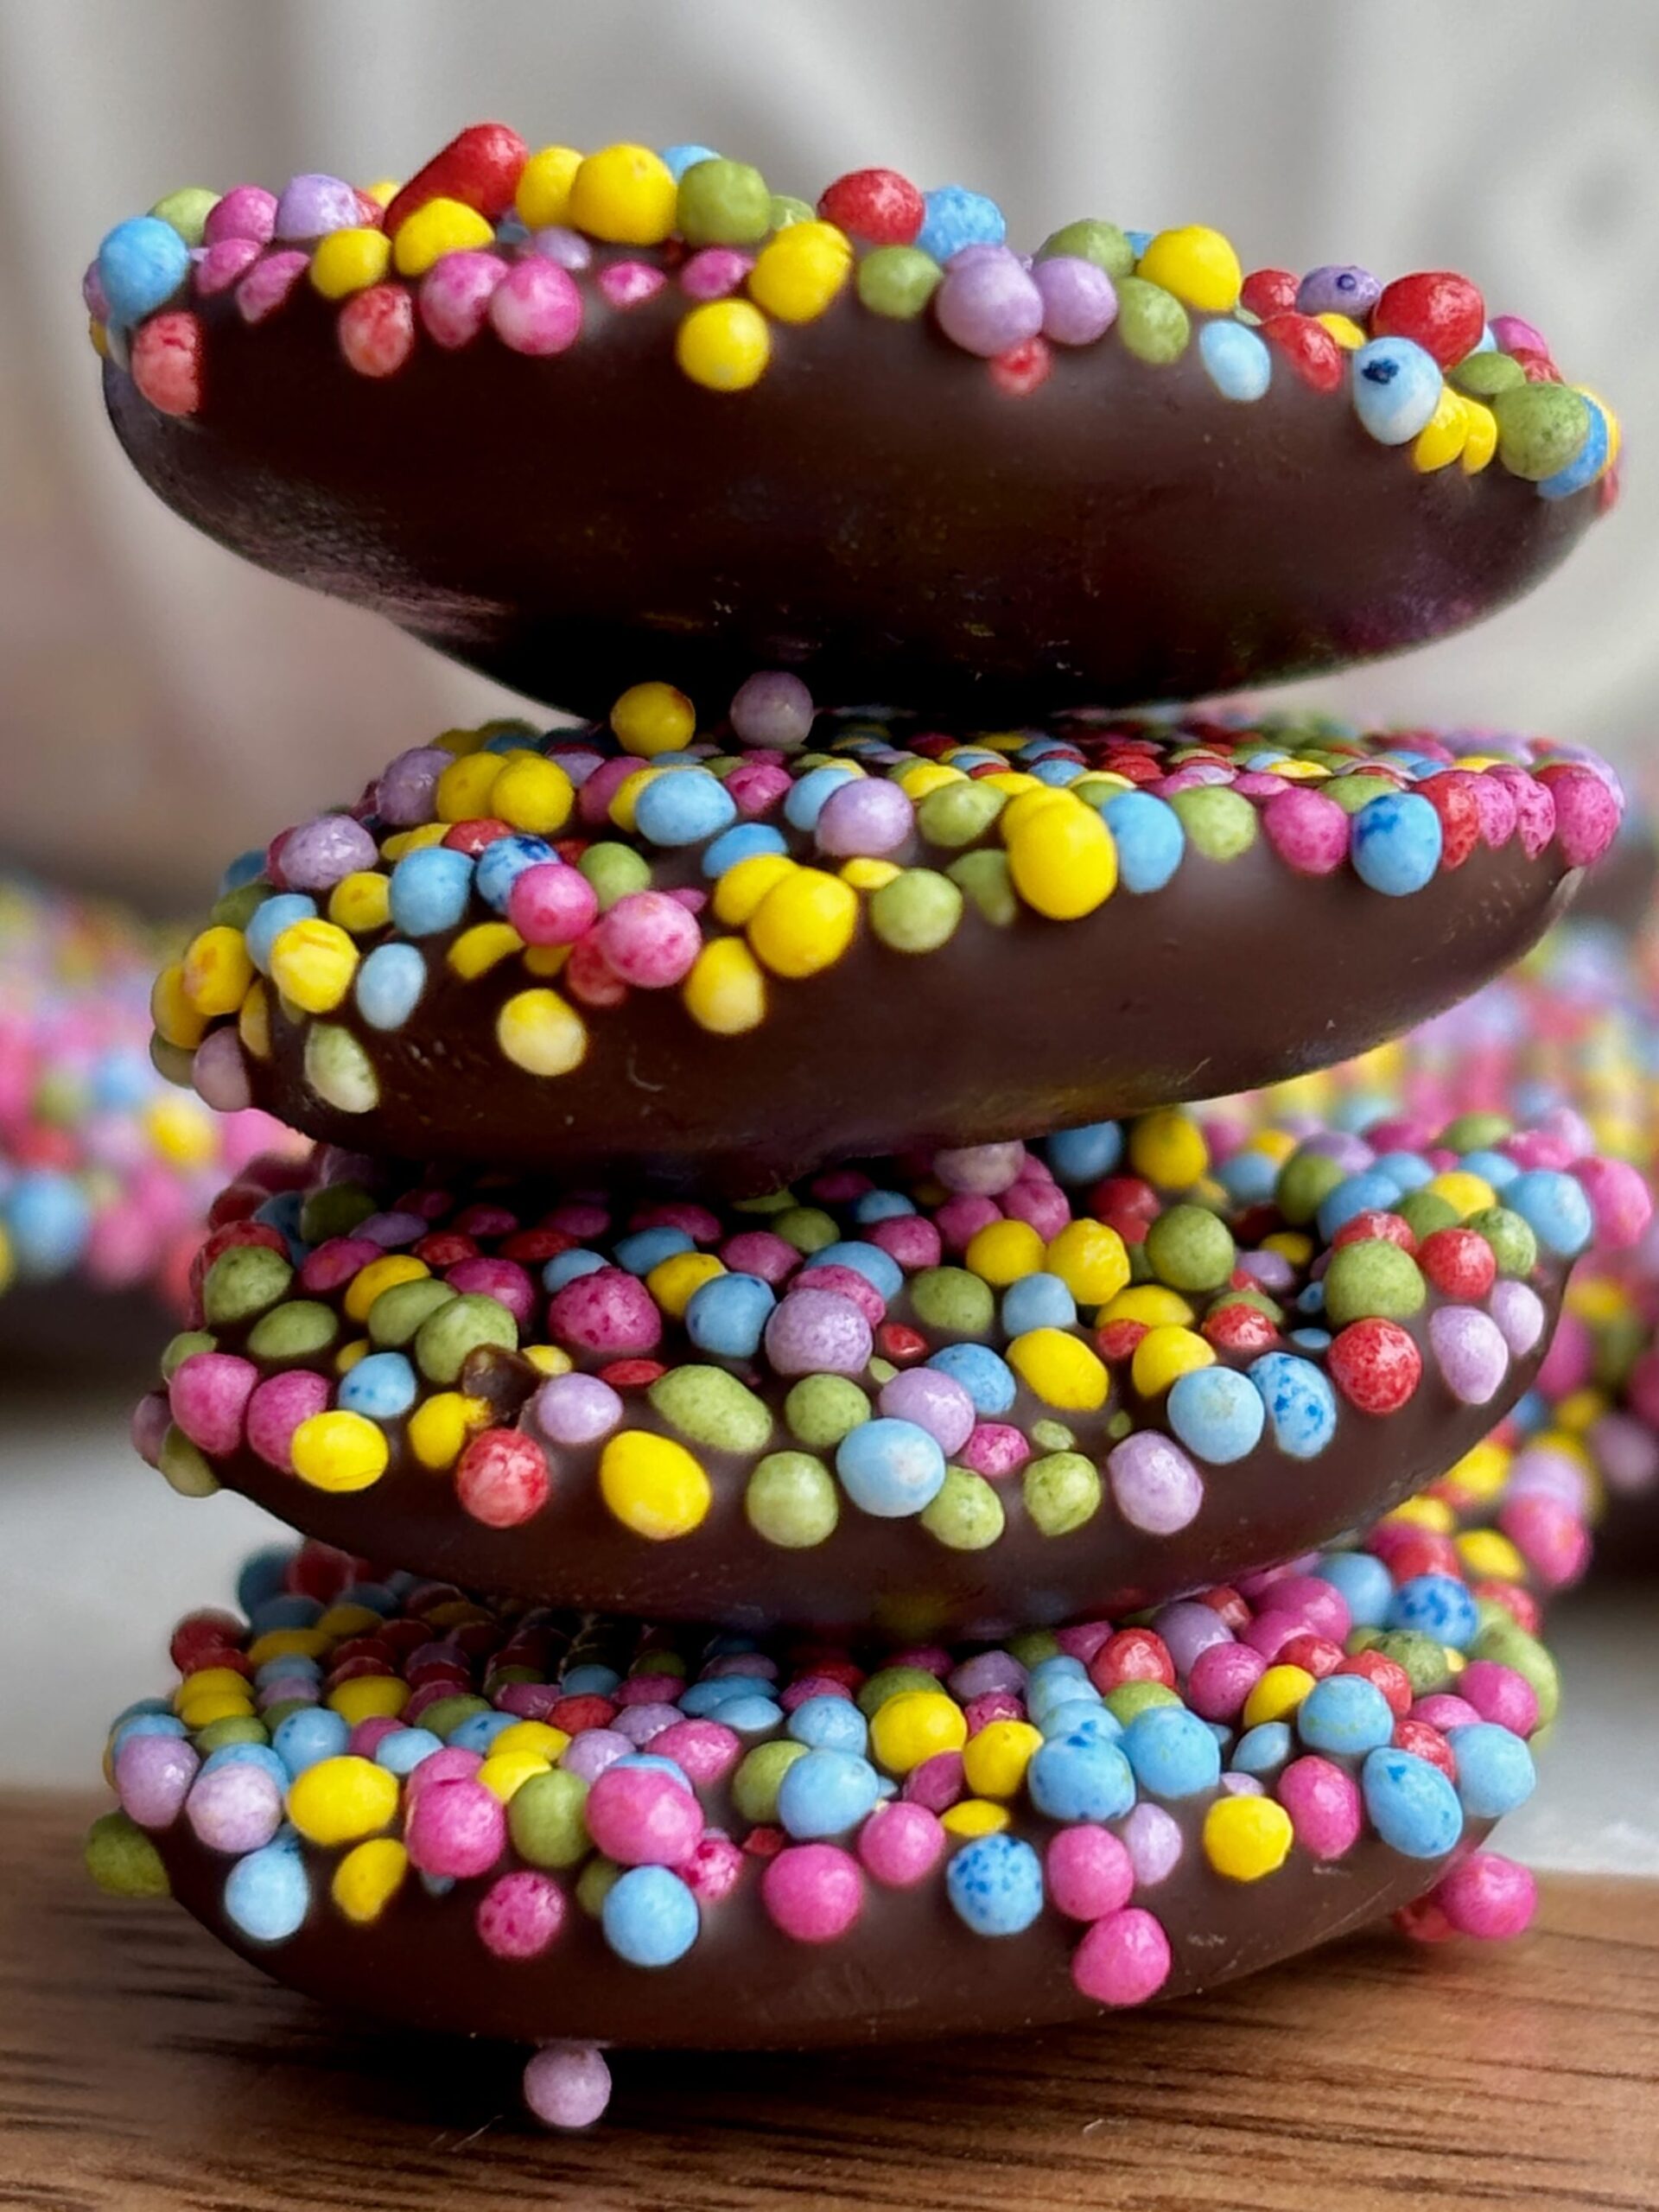
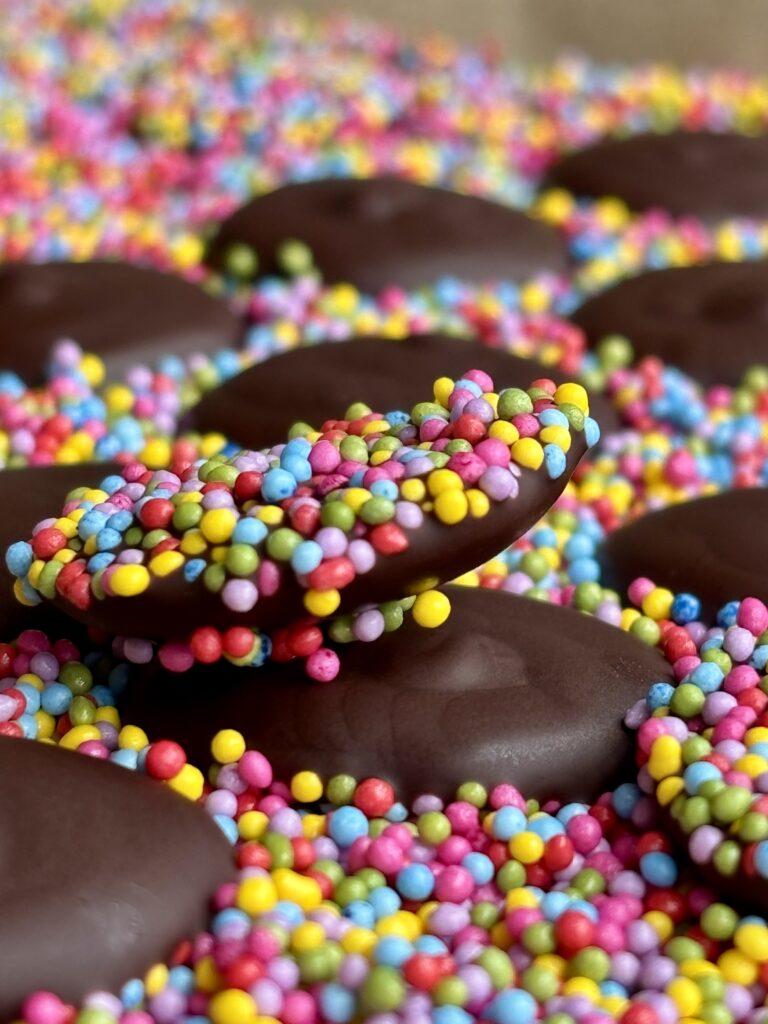
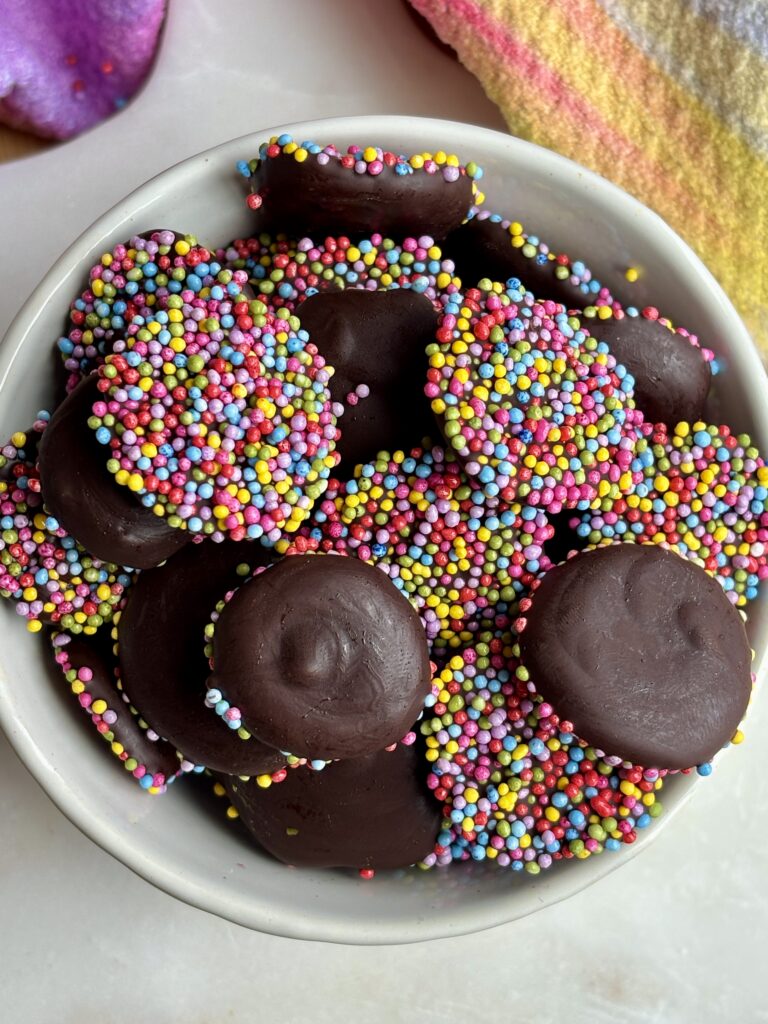
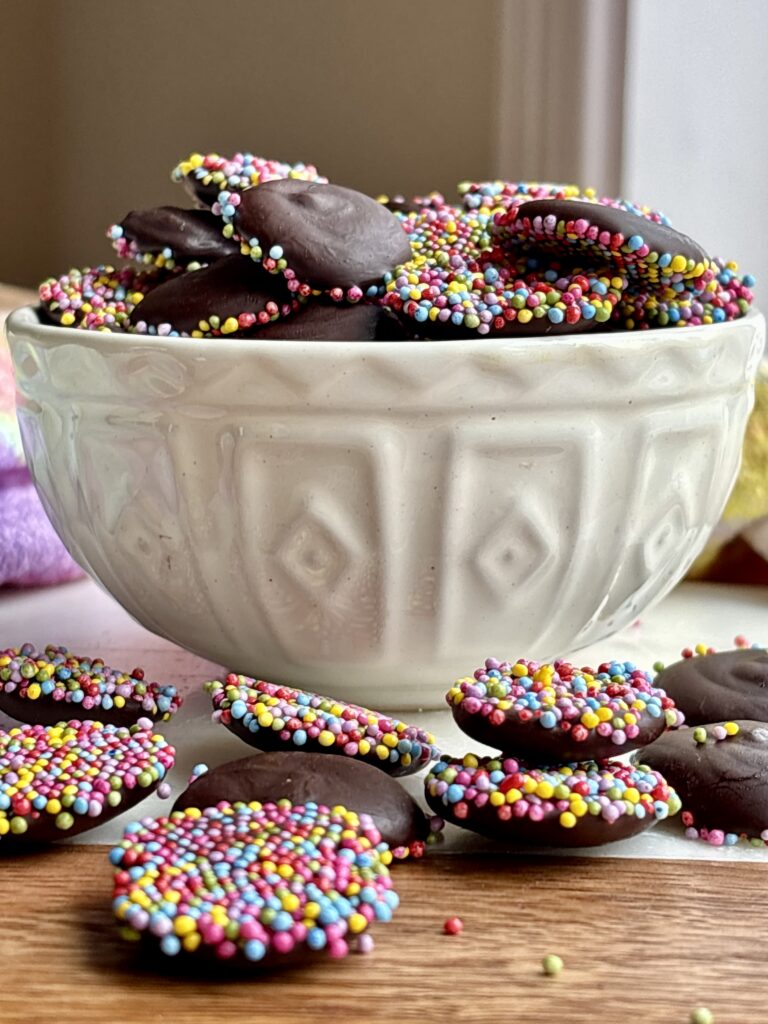
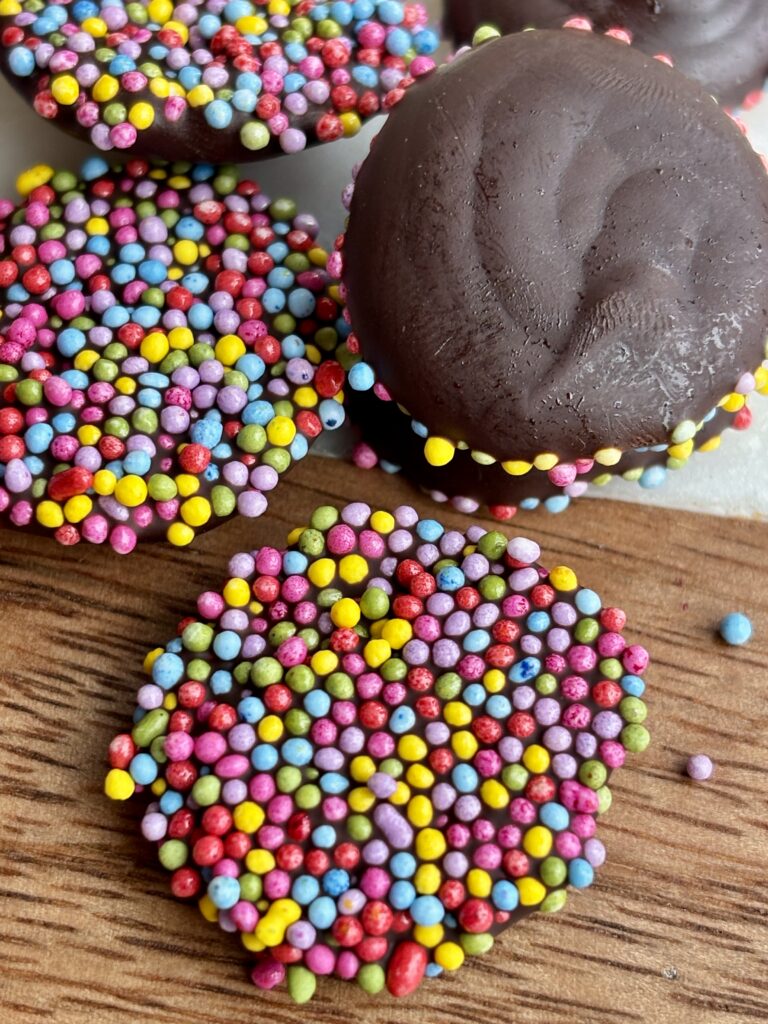
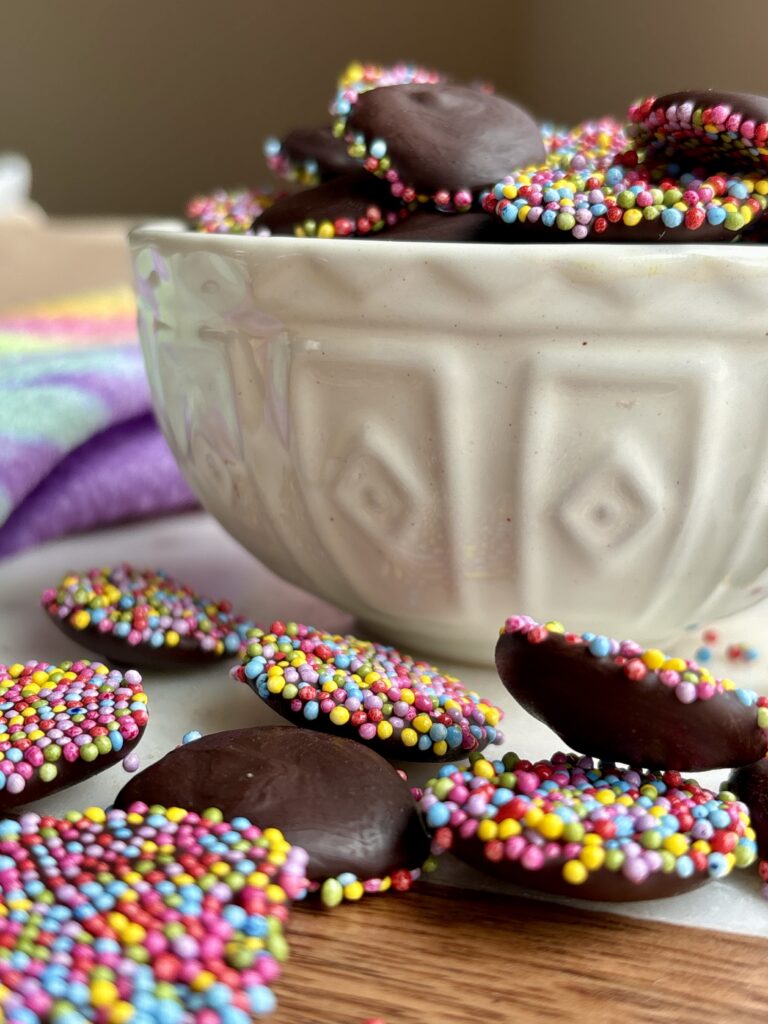
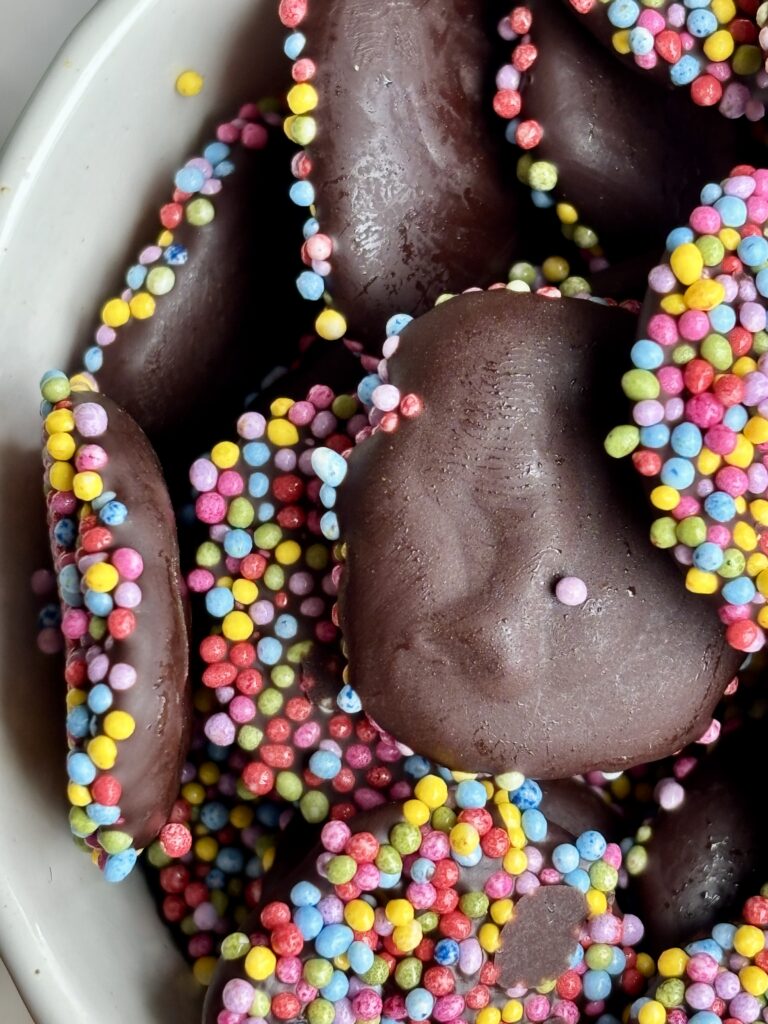
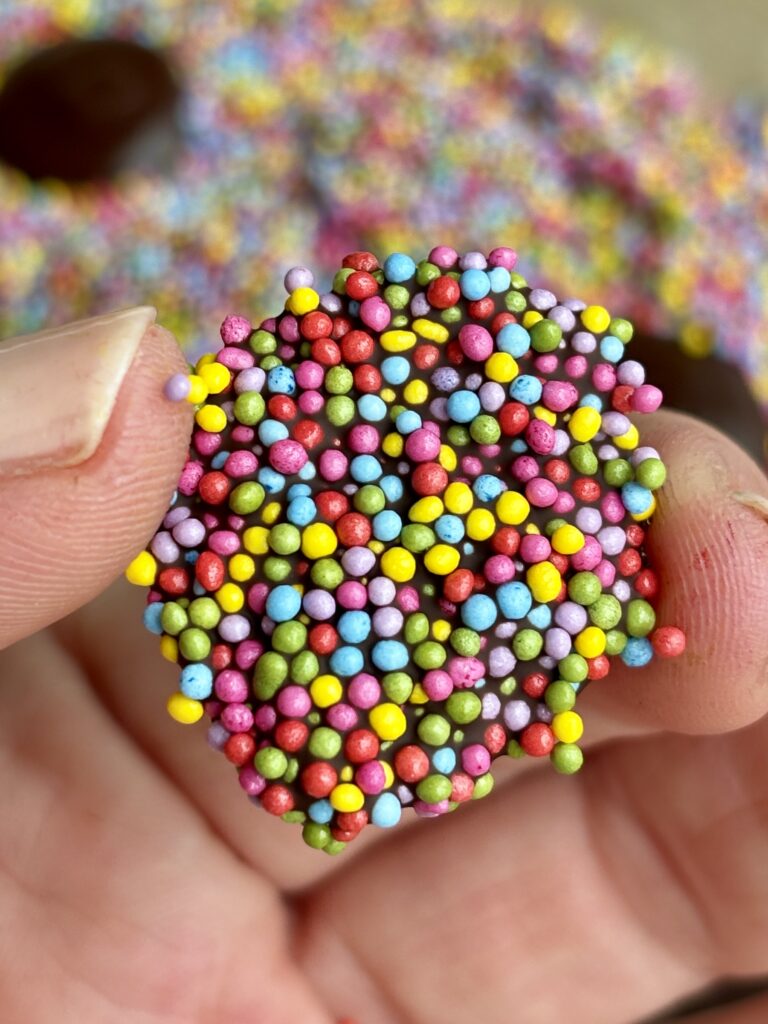
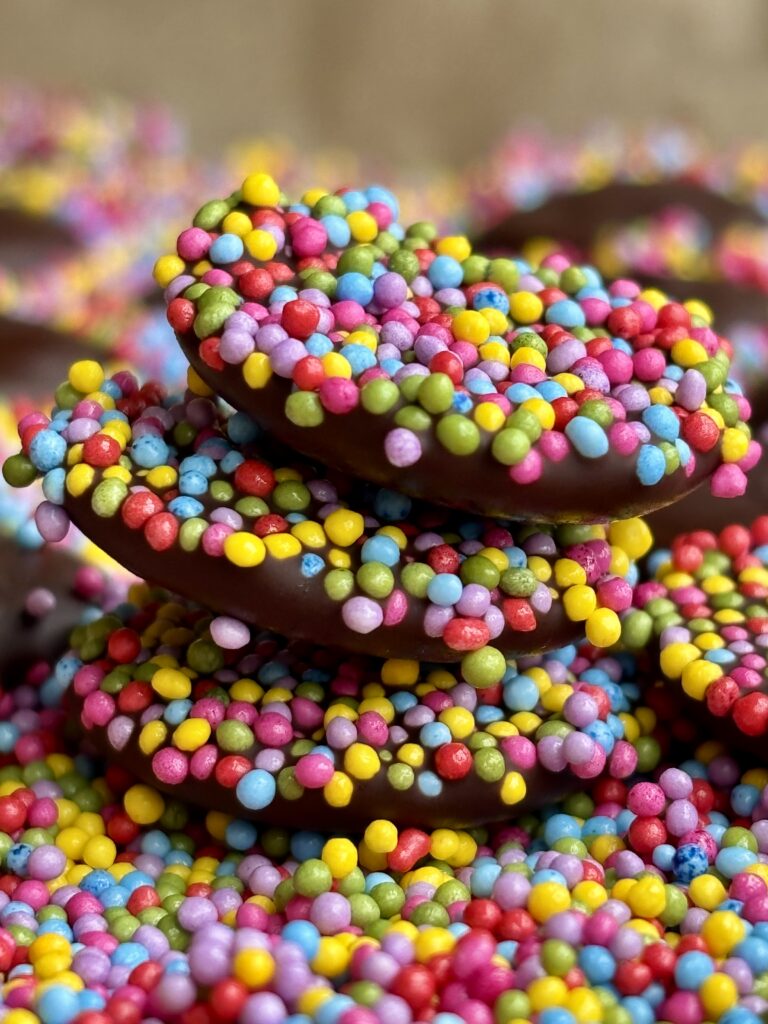
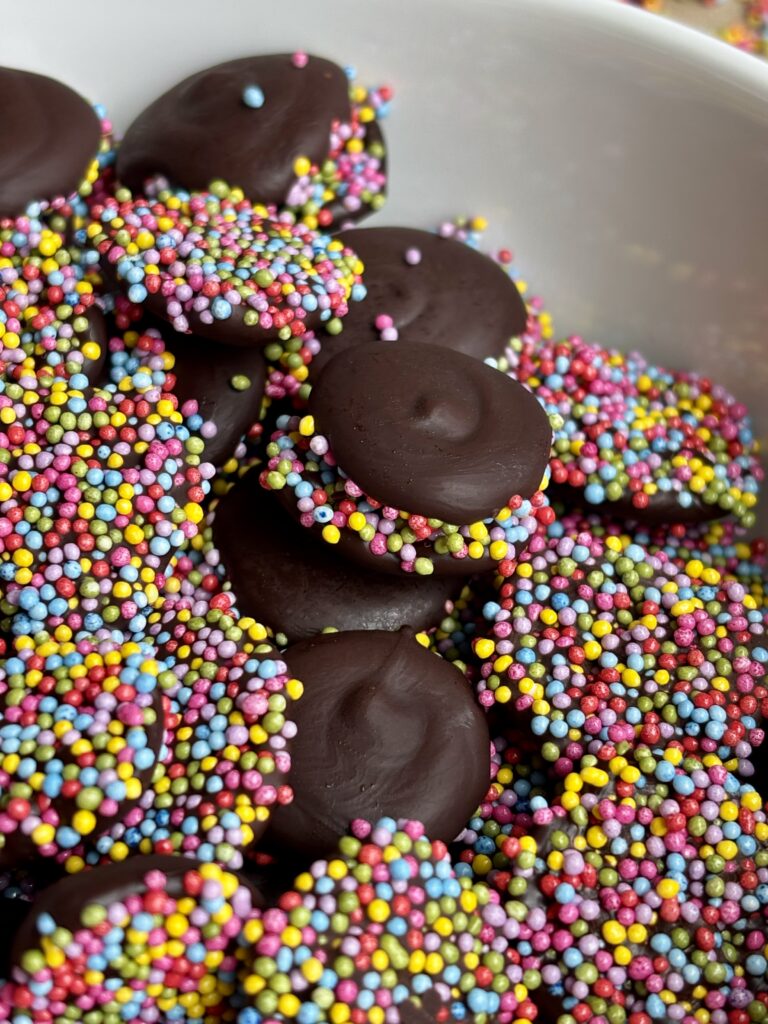
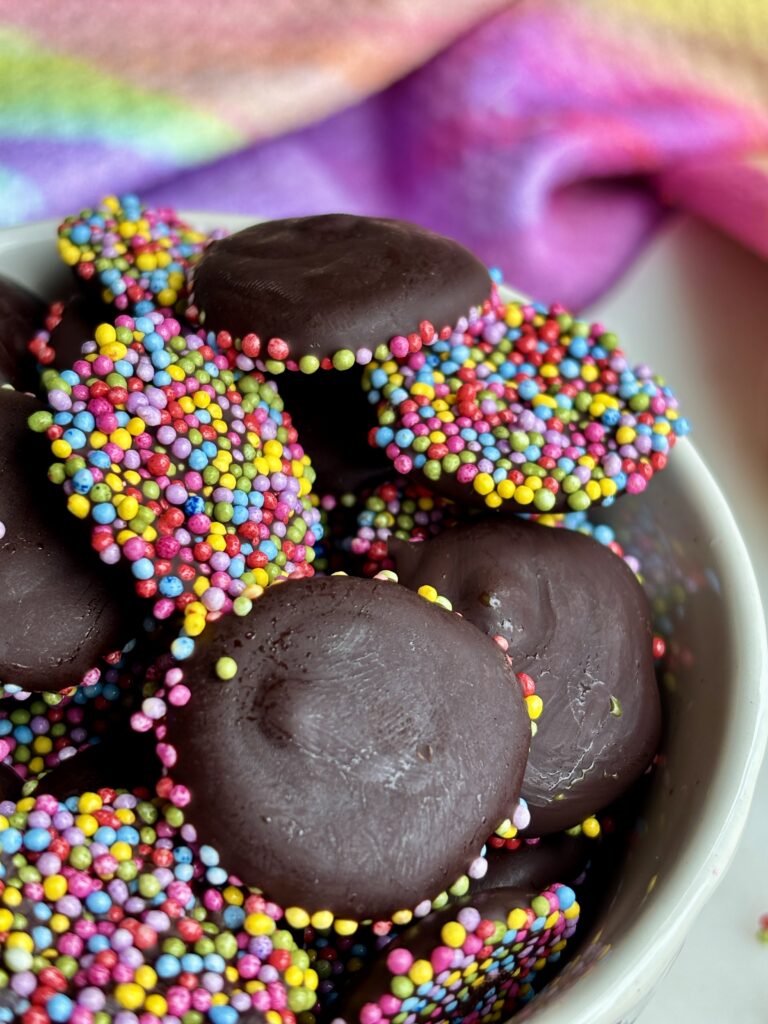
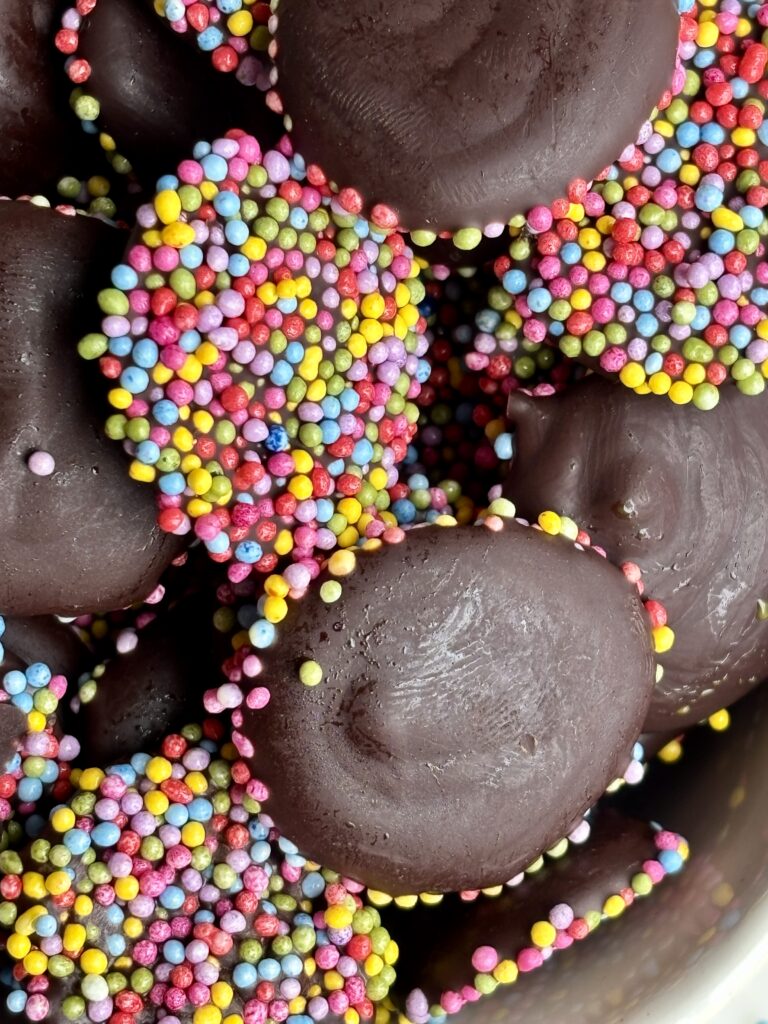
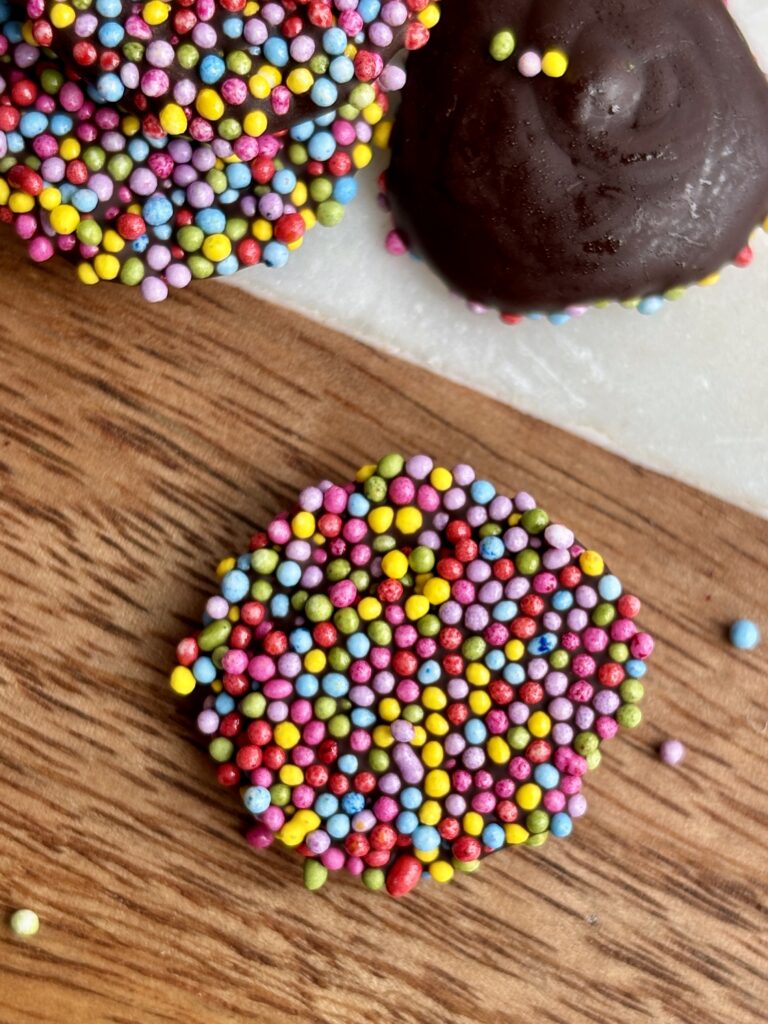
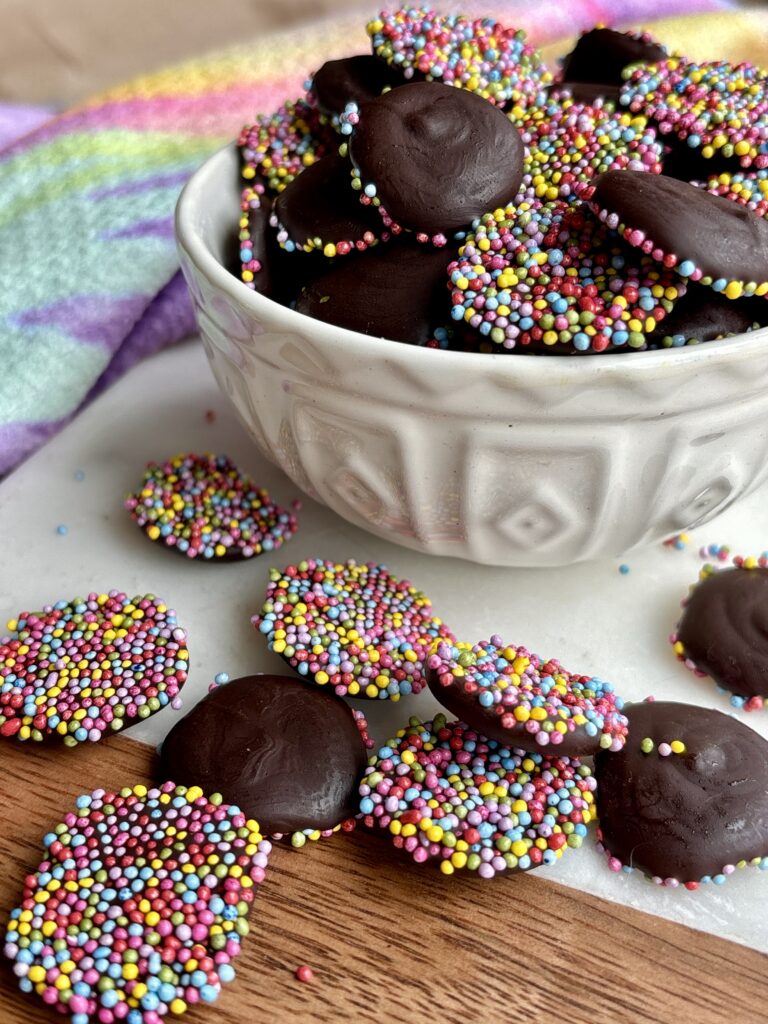
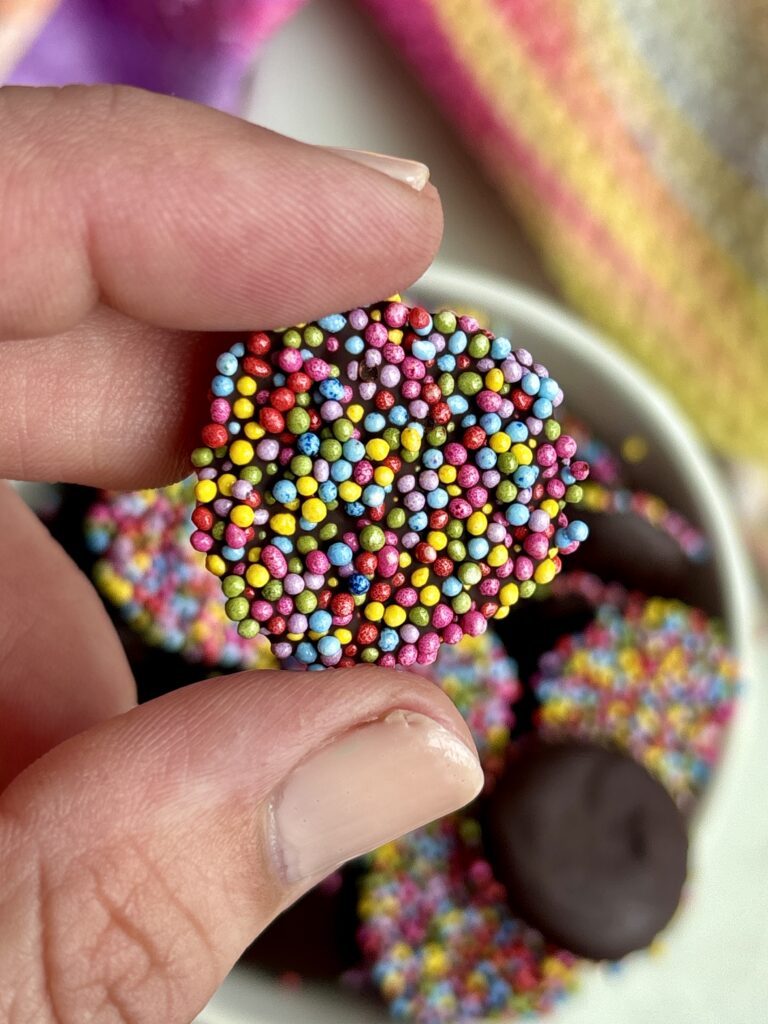
If I could choose one chocolate candy that gives me an immense nostalgic feeling, it would be Chocolate Nonpareils. These Dark Chocolate Nonpareil Candies are tiny little bites of crunchy, chocolatey happiness that classic, fancy, and dangerously snackable. Made with rich dark chocolate and colorful rainbow nonpareils, these homemade candies are crisp, creamy, rich, and almost impossible to stop grabbing.
These no bake, easy, homemade nonpareils are even better than you remember too! The dark chocolate is rich and smooth and the rainbow nonpareils add the perfect delicate crunch. The entire recipe comes together with just a few simple ingredients and minimal time and effort.
This recipe requires no special equipment, or complicated steps, and they are perfect for holiday trays, edible gifts, birthday parties, dessert boards, or honestly just keeping in the fridge for any and all chocolate cravings.
These rainbow chocolate candies are endlessly customizable too. Change the sprinkle colors for holidays, baby showers, birthdays, sports teams, or seasonal dessert boards. They’re simple, delicious, and honestly really fun to make.
Why you’ll love this recipe!
What ingredients do I need?
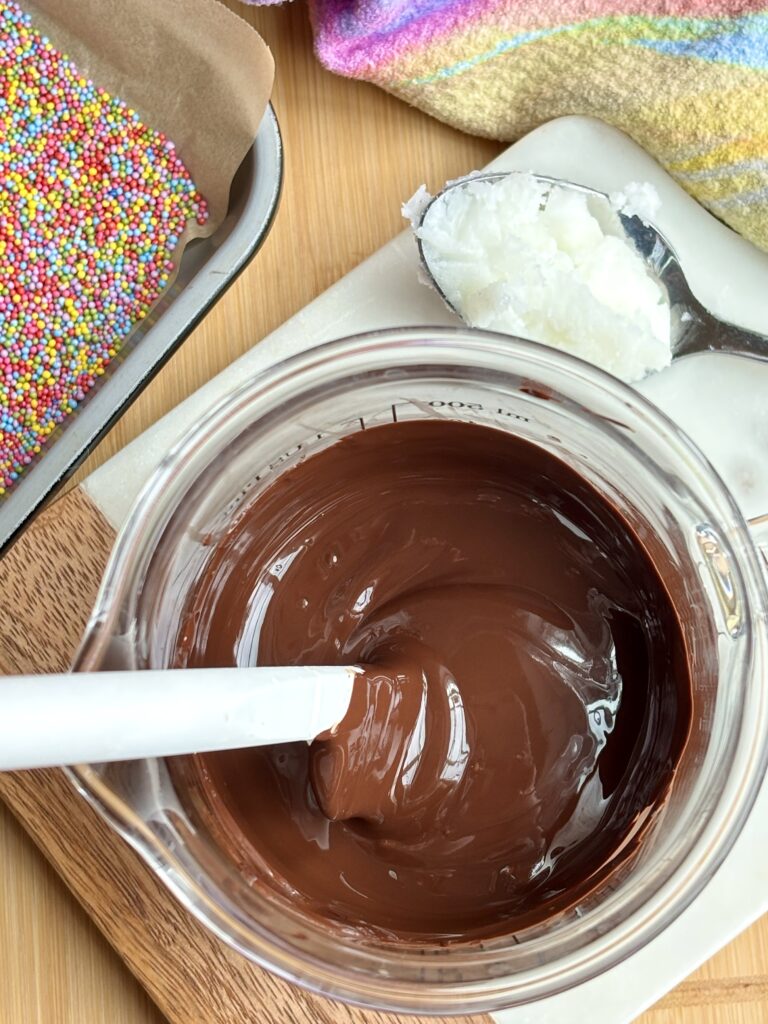
- Dark Chocolate: Dark chocolate creates the rich smooth base of the candies. Use a good quality chocolate bar for the best flavor and texture.
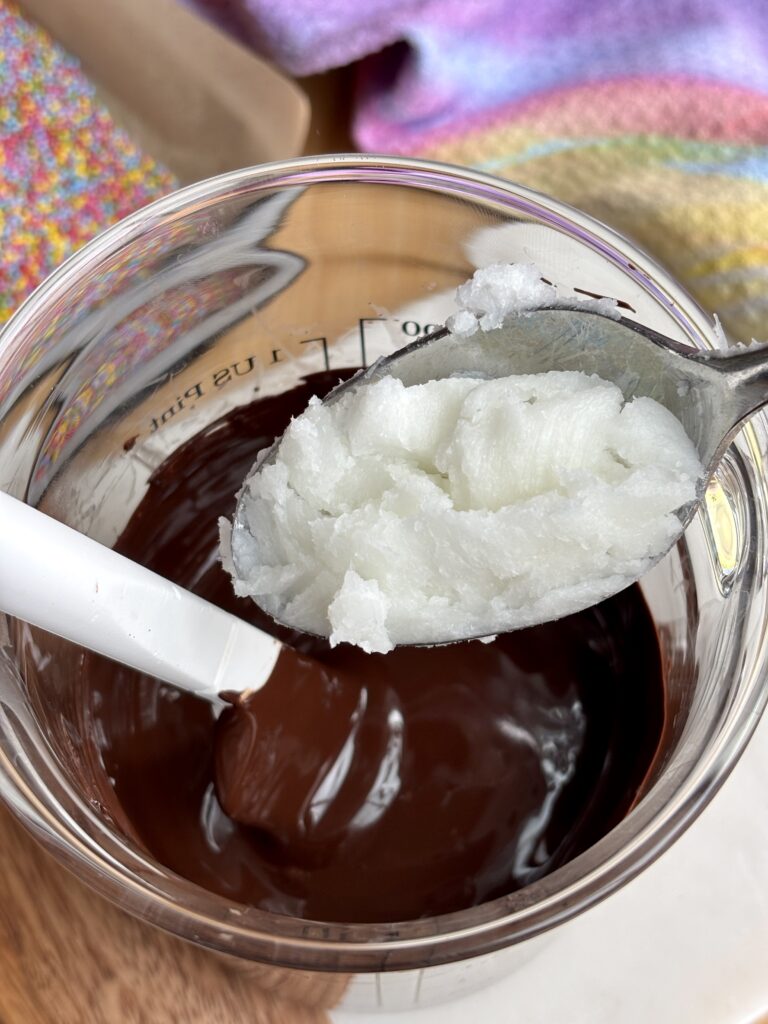
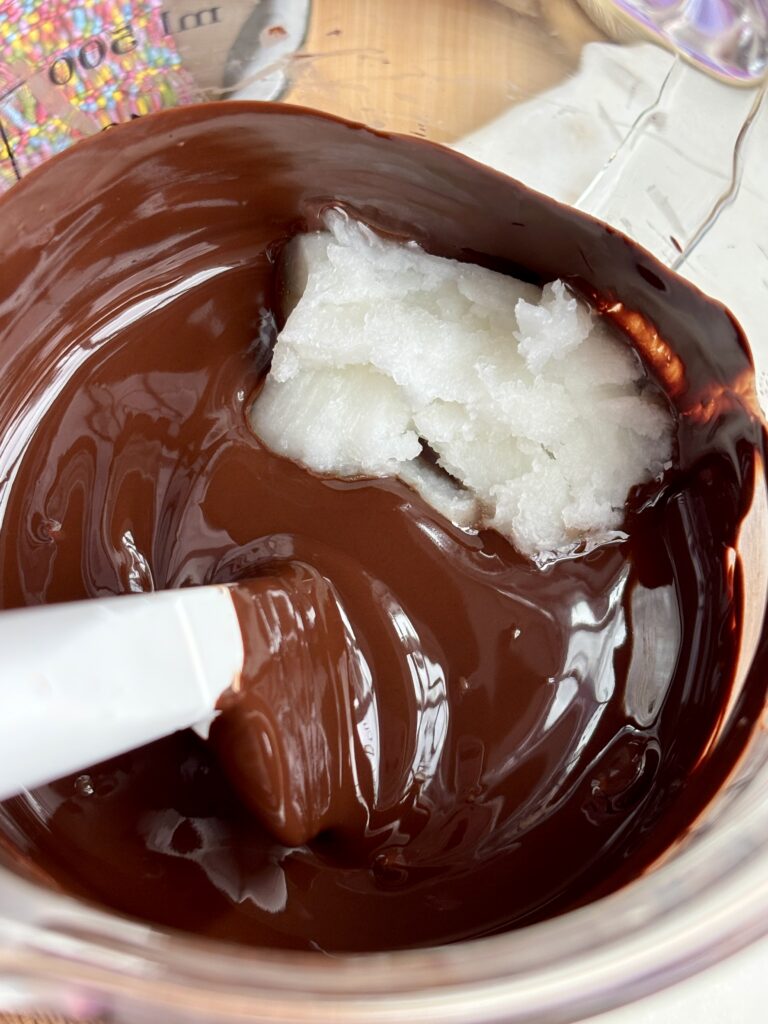
- Coconut Oil: Coconut oil helps thin the chocolate slightly for easier piping and creates a smoother finish.
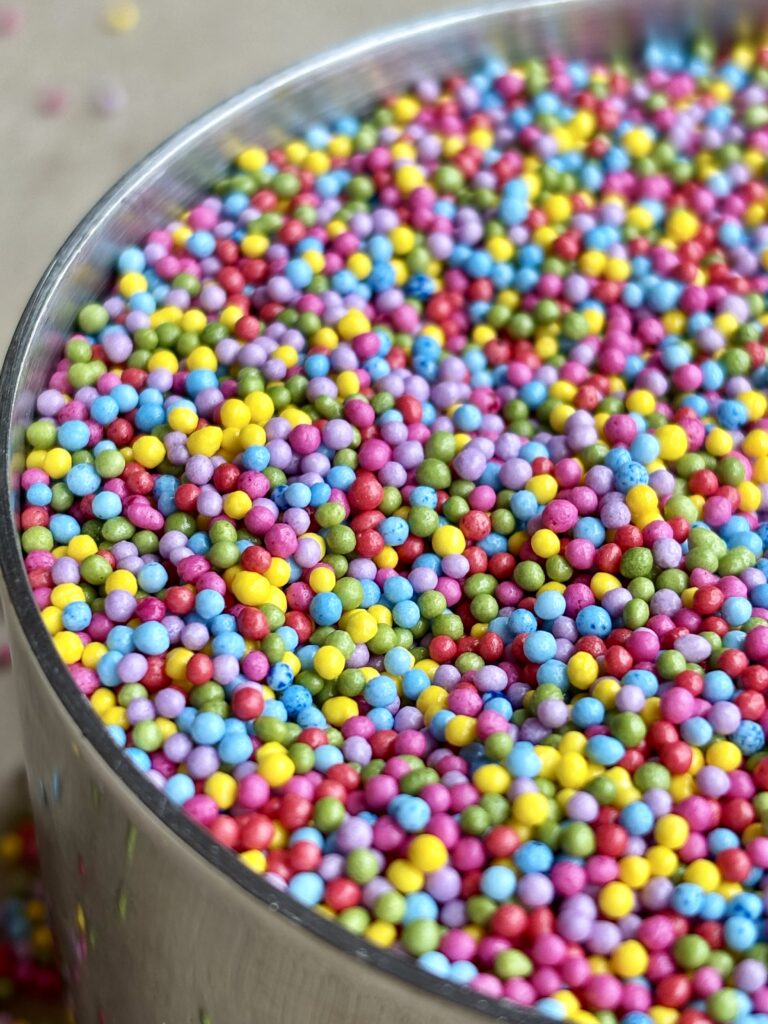
- Nonpareils: Nonpareils add the signature crunchy texture and colorful appearance that make these candies classic and nostalgic.

Recipe Variations
- Holiday variations: Use red and green sprinkles for Christmas, pastel sprinkles for Easter, purple and orange for halloween.
- Chocolate variations: Use semi-sweet, milk, or white chocolate instead of dark.
Pro Tips
- Use chopped chocolate bars instead of chocolate chips for smoother melting and better texture.
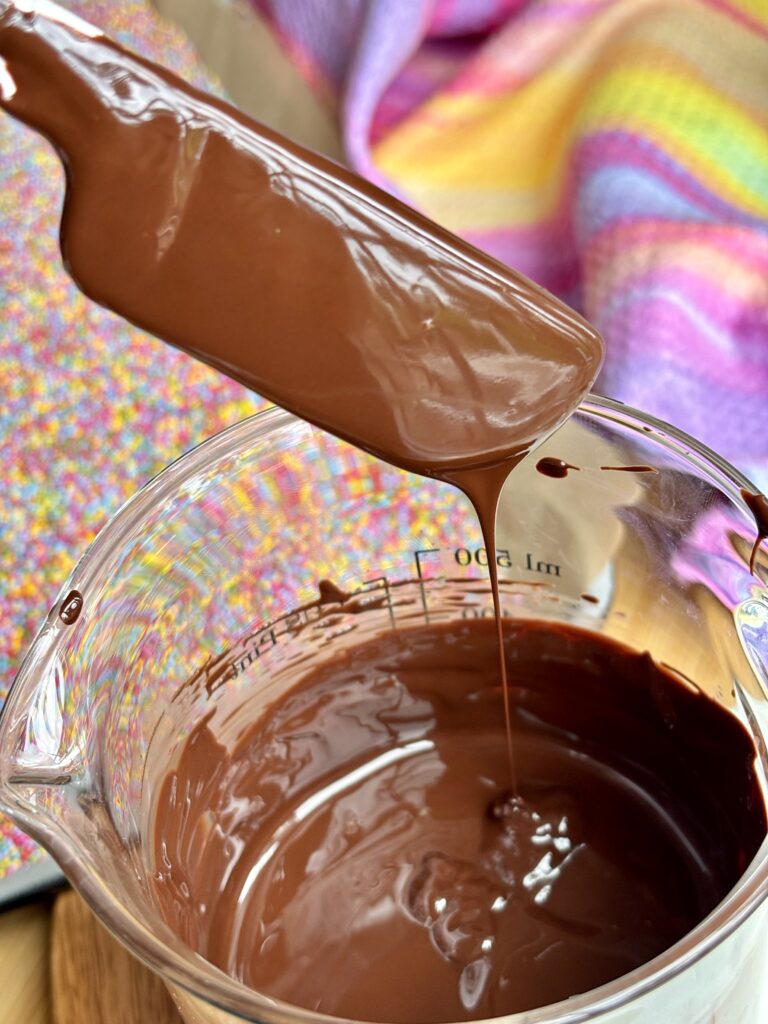
- Melt the chocolate slowly at 50% power to avoid scorching or seizing. Stop microwaving when the chocolate is about 90% melted and stir the rest smooth using residual heat. Check out my post on How to Melt Chocolate for more tips!
- Allow the chocolate to cool slightly before piping so it thickens just enough to hold neat round shapes.
- If the chocolate is too warm, the candies may spread out too much when piped.
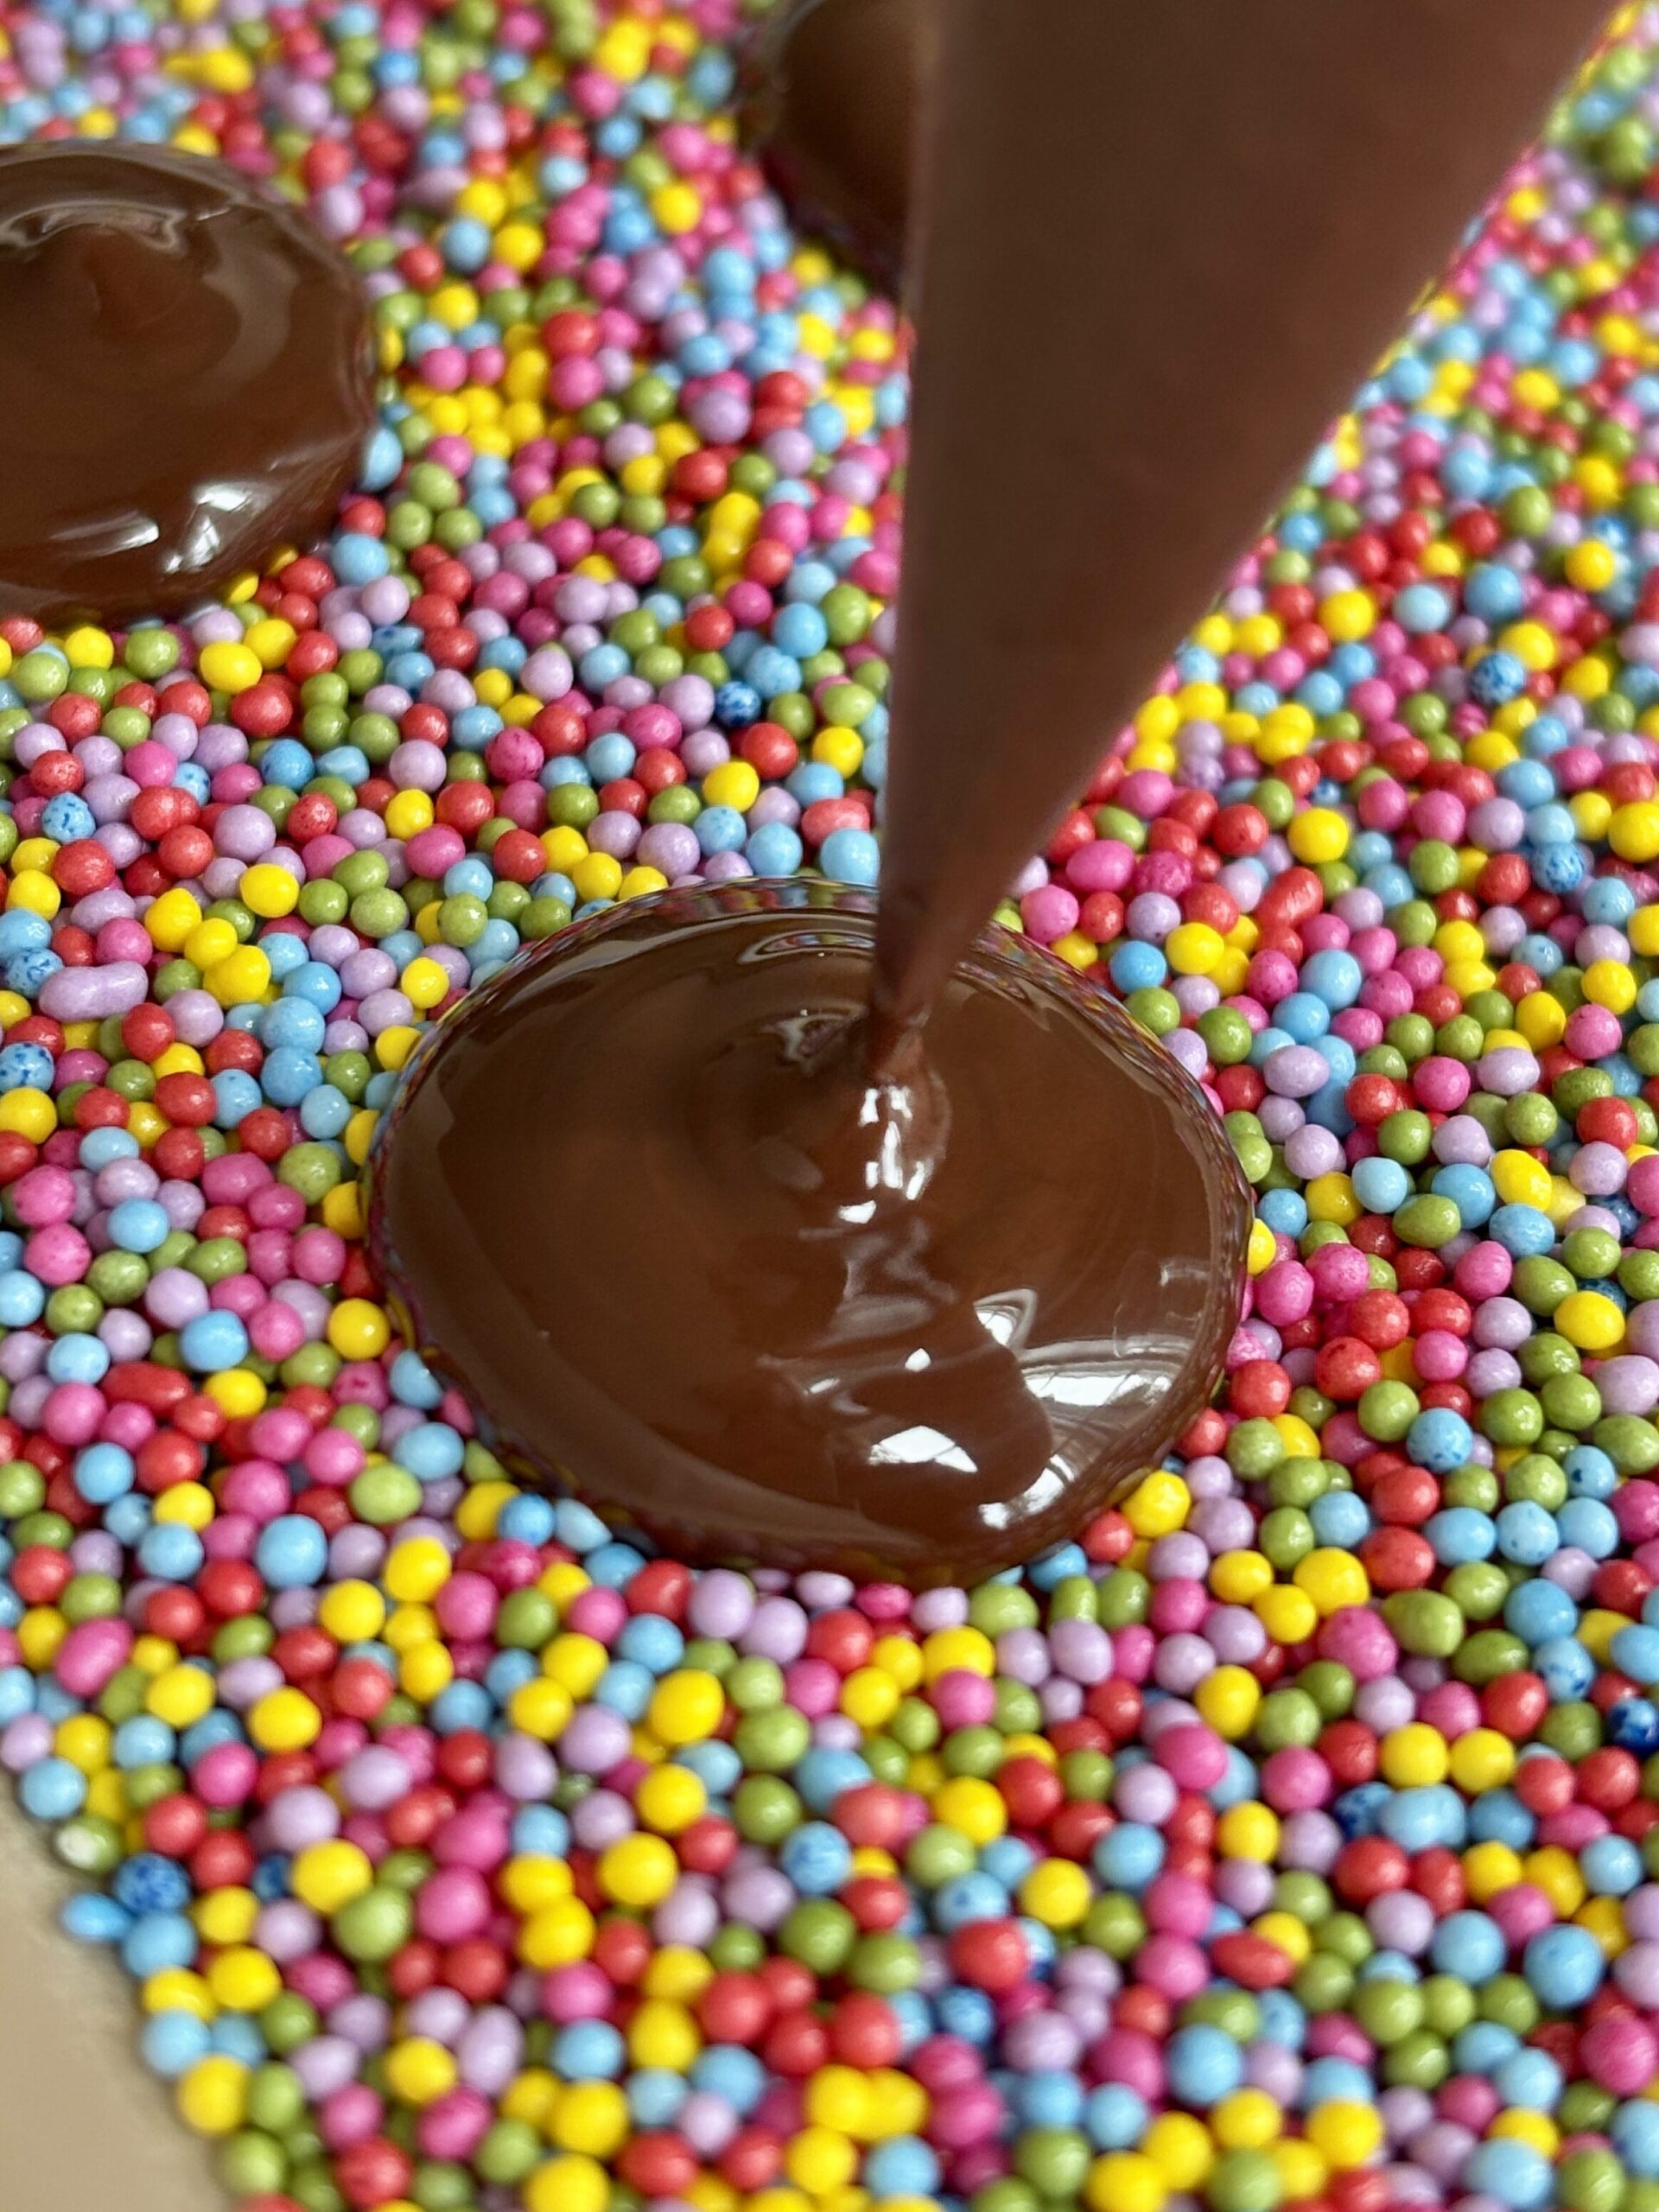
- Cut only a very tiny opening in the piping bag. I mean I’m talking milimeters. Start small with your cut, you can always make a larger opening if needed. Smaller openings give cleaner, more uniform candies.
- Work in batches if needed so the nonpareils stay evenly distributed.Keep extra chocolate sealed at the piping tip between batches to prevent leaking.
- Freezing the candies briefly helps them set quickly and release cleanly from the parchment paper.
- Store the finished candies in the refrigerator for the best texture and snap.
Can I Substitute?
Yes! Like always though, any substitutions made to the recipe can result in a change in texture and/or flavor.
- Dark Chocolate: Milk chocolate, white, or semi sweet chocolate may be used instead.
- Coconut Oil: Vegetable shortening may replace coconut oil if preferred.
- Nonpareils: Seasonal sprinkle colors can be swapped for holidays, or themed events.
Dietary Substitutions
- Gluten Free: Most dark chocolate and nonpareils are naturally gluten free, but always verify labels to ensure no cross contamination.
- Dairy Free: Use dairy free dark chocolate to keep the candies fully dairy free.
- Vegan: Use vegan dark chocolate and vegan certified sprinkles if needed.
Leftovers and Storage
- Refrigerator: Store in an airtight container in the refrigerator for up to 2 weeks.
- Freezer: These store really well in the freezer for longer storage. Store in freezer safe containers for up to 2 months. Allow to sit at room temperature for a few minutes before serving if frozen.
- Because these candies are small and delicate, layering parchment paper between layers when storing can help prevent sticking and keep the sprinkle coating intact.
But, I Still Have A Few Questions…
What supplies do I need to make homemade nonpareil candies?
You only need a few simple kitchen supplies for this recipe: a microwave safe bowl, rubber spatula, parchment paper, a small baking sheet or tray, and a small piping bag. A binder clip, or bag clip, also helps keep the melted chocolate from leaking out the top while piping. No candy thermometer or special candy making equipment required.
What are nonpareils?
Nonpareils are tiny crunchy sugar sprinkles commonly used for decorating candies and desserts.
Can I use chocolate chips instead of chopped chocolate?
You can, but chopped chocolate bars usually melt smoother and create a better texture.
Do I need to temper the chocolate?
No. This recipe is designed to be simple and beginner friendly without needing to temper.
Why does the chocolate need to cool before piping?
Slightly cooled chocolate pipes more neatly and helps the candies hold their shape better.
Can I use white chocolate?
Absolutely. White chocolate versions are especially fun for holidays and themed parties.
How should I store these candies?
Store them in the refrigerator in an airtight container for best texture for up to 2 weeks.
Can I freeze them?
Yes, these freeze really well. Freeze in airtight containers for up to 2 months.
Can kids help make these?
Definitely. This is a very fun beginner candy recipe for kids with supervision during the melting step.
Why are my candies spreading too much?
The chocolate may still be too warm. Let the melted chocolate cool a little longer before piping (at least 10-15 minutes).
Can I make these larger?
Heck yes! You can pipe the candy rounds as big as you’d like!
Let’s engage!
Make sure to tag @thehomechefmomma on Instagram or Facebook, and leave a review or comment if you make these. I always get so excited to see your creations, variations of the recipe, and feedback! Just remember to be kind in your comments, there is still a person behind this screen! 🙂

Dark Chocolate Nonpareil Candies
Ingredients
- 10 ounces dark chocolate chopped
- 1 tablespoon coconut oil
- ¾ cup nonpareils color of choice
Instructions
- Add the chopped dark chocolate to a microwave safe bowl.
- Microwave in 30 second intervals at 50% power, stirring between each interval, until about 90% melted.
- Stir until completely smooth, then mix in the coconut oil.
- Allow the chocolate to cool for 10–15 minutes so it thickens slightly.
- Line a small baking sheet or tray with parchment paper.
- Pour the nonpareils onto the parchment lined baking sheet and spread into an even layer.
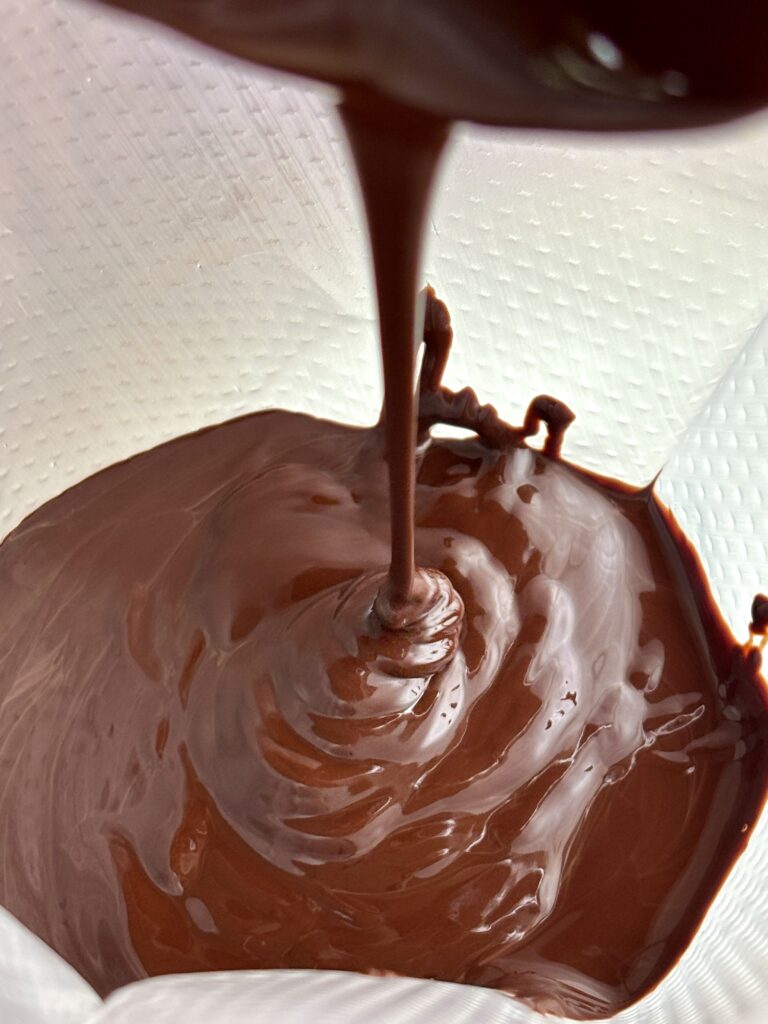
- Transfer the melted, slightly cooled, chocolate to a small piping bag.
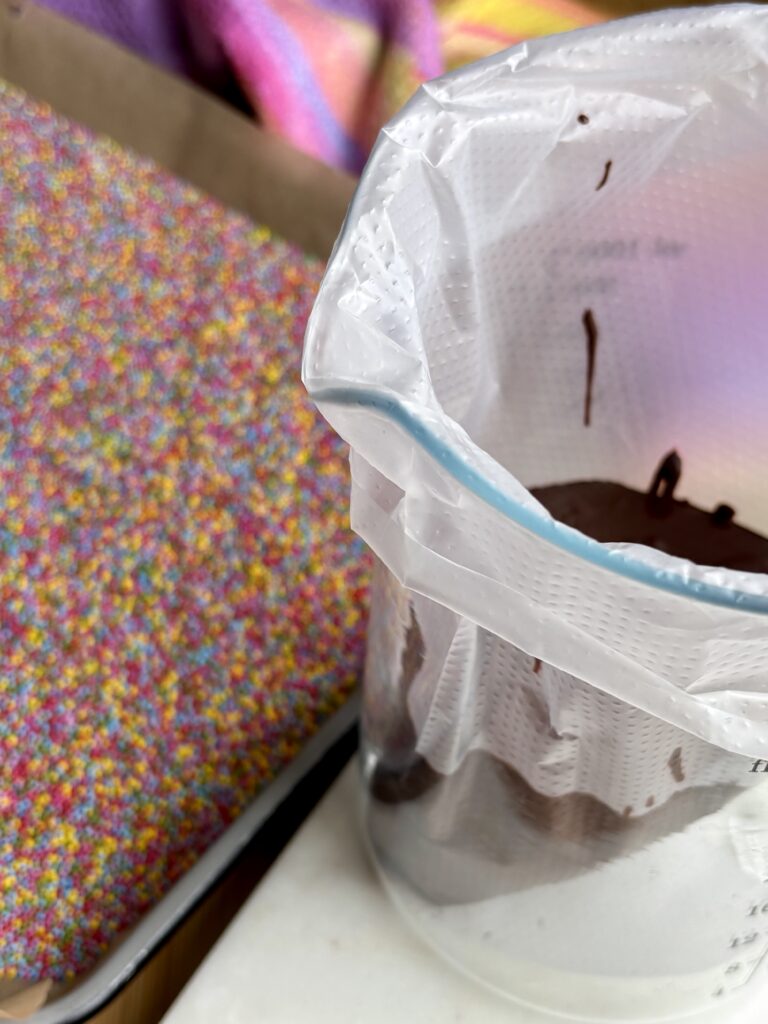
- Secure the top tightly using a binder clip, or similar clip, to prevent leaking.
- Cut a very tiny opening at the tip of the piping bag.
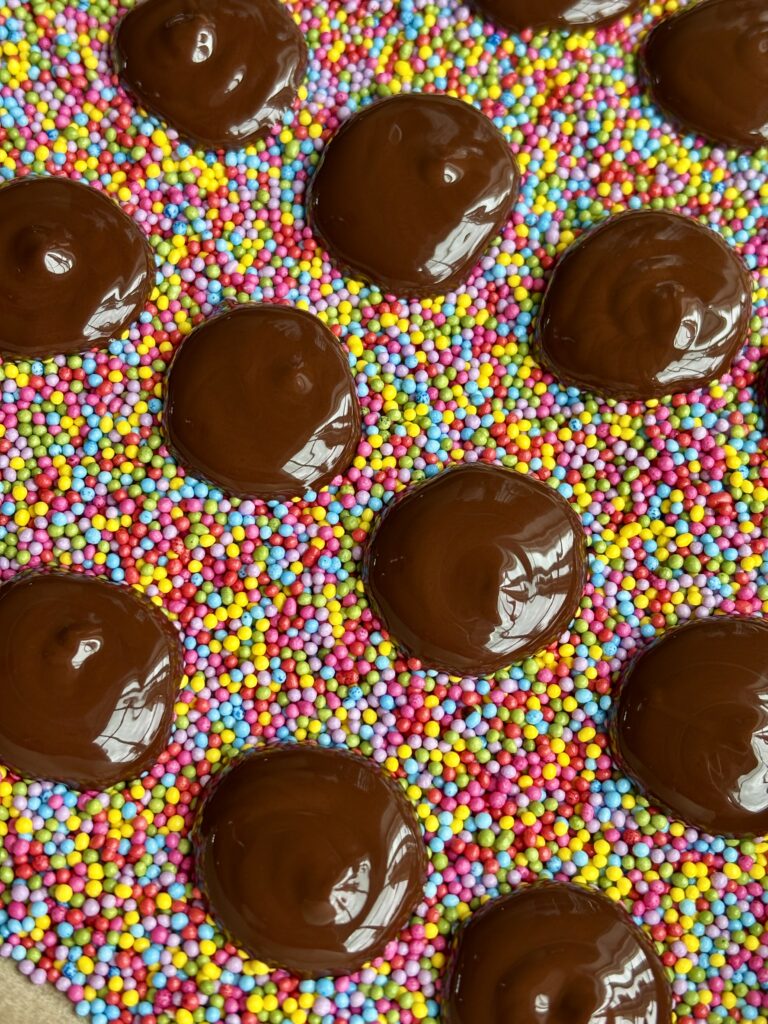
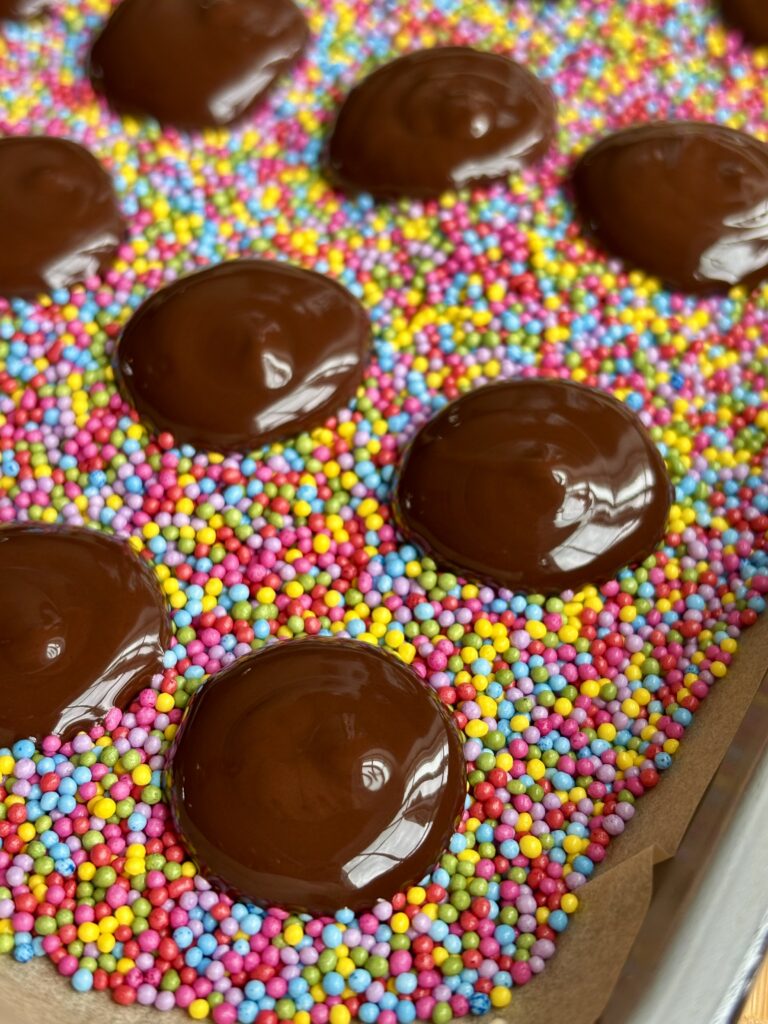
- Gently pipe small quarter sized rounds of chocolate directly onto the nonpareils.
- Continue piping until the baking sheet is full.
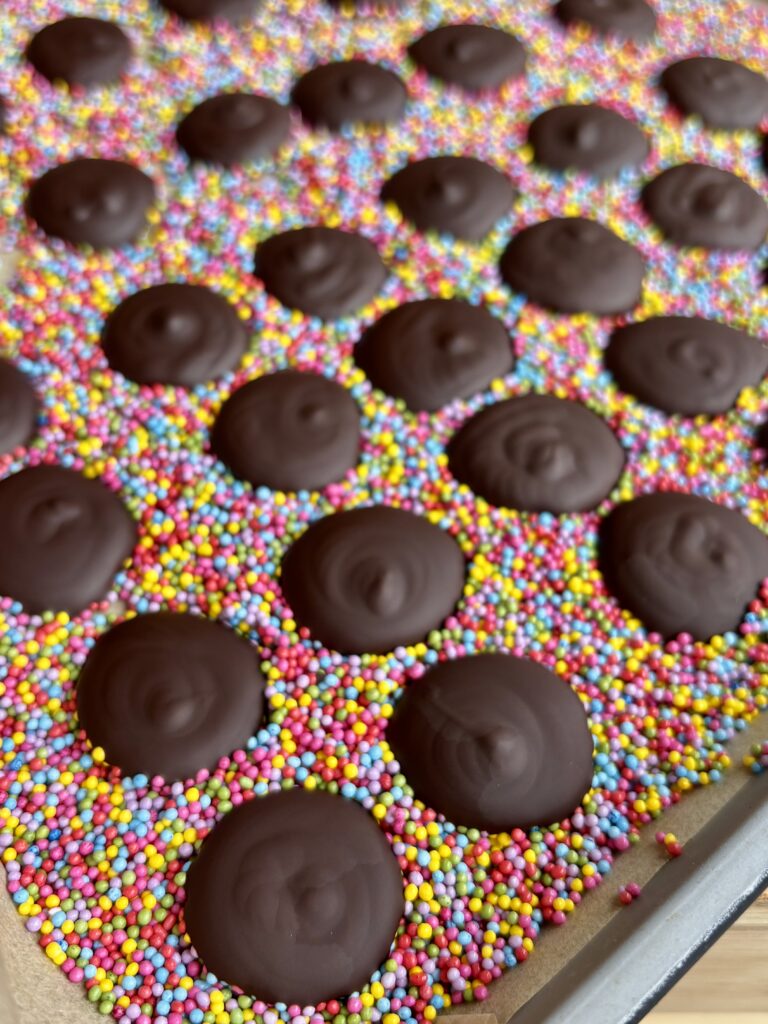
- Place the tray into the freezer for about 10 minutes, or until fully set.
- Remove the candies from the baking sheet.
- Spread the nonpareils back into an even layer and repeat with any remaining chocolate.
- Store the finished candies in the refrigerator until ready to serve.
Notes
- Allowing the chocolate to cool slightly before piping helps create cleaner candy shapes.
- Dark chocolate bars melt smoother than chocolate chips.
- The candies can be made larger or smaller depending on preference.
- Different sprinkle colors make these perfect for holidays and themed parties.
dark chocolate nonpareils | homemade nonpareil candies | rainbow chocolate candies | chocolate sprinkle candies | easy homemade candy recipe | dark chocolate candy bites | rainbow nonpareils | homemade chocolate candy | holiday candy recipe | chocolate dessert bites | easy no bake candy | sprinkle chocolate candies | old fashioned nonpareils | bite sized chocolate treats | homemade holiday candies | colorful chocolate candies | classic nonpareil candies | nostalgic nonpareil candy
Nutritional Content Disclaimer
I choose not to include nutritional information with my recipes, as these values can be calculated from the ingredients provided. With my background as a pediatric nurse practitioner and my own family experience with disordered eating, I understand how focusing on numbers can affect our relationship with food. My philosophy is that all foods have a place—sweet, savory, nourishing, or indulgent. I aim to share recipes that support a healthy, joyful approach to eating. My hope is that this space also encourages a balanced, healthy relationship with food for you and your family too.