
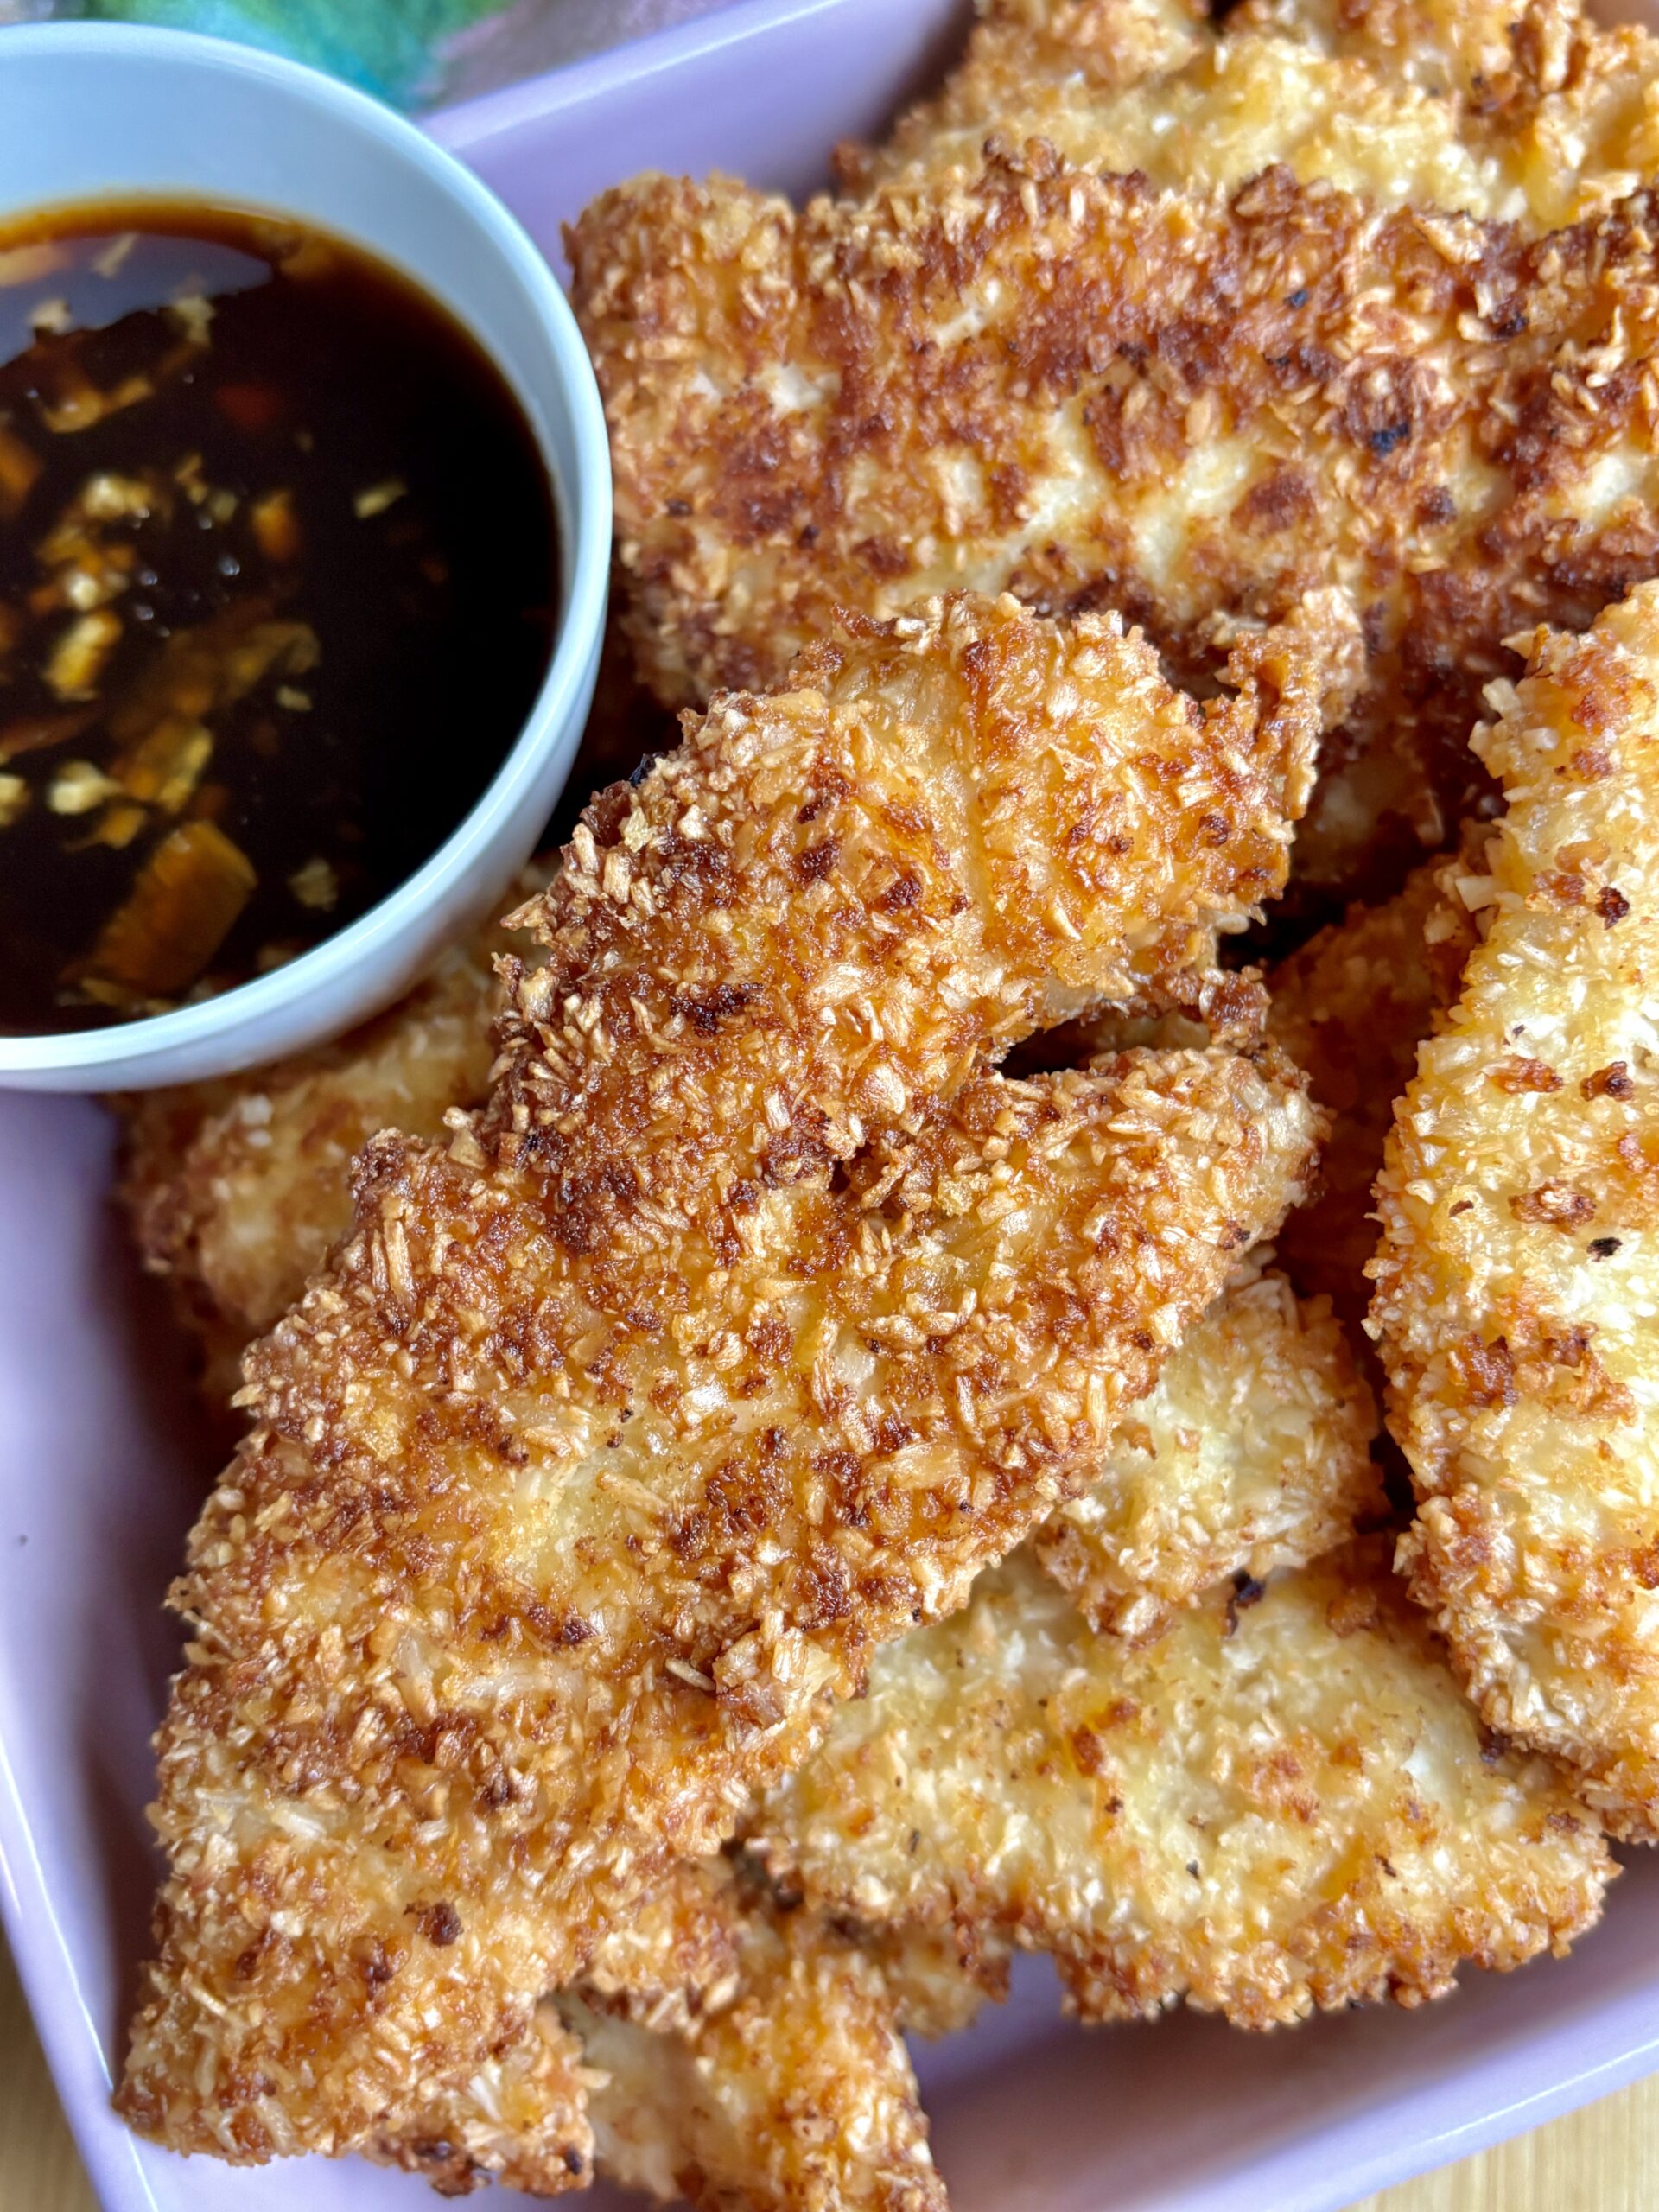
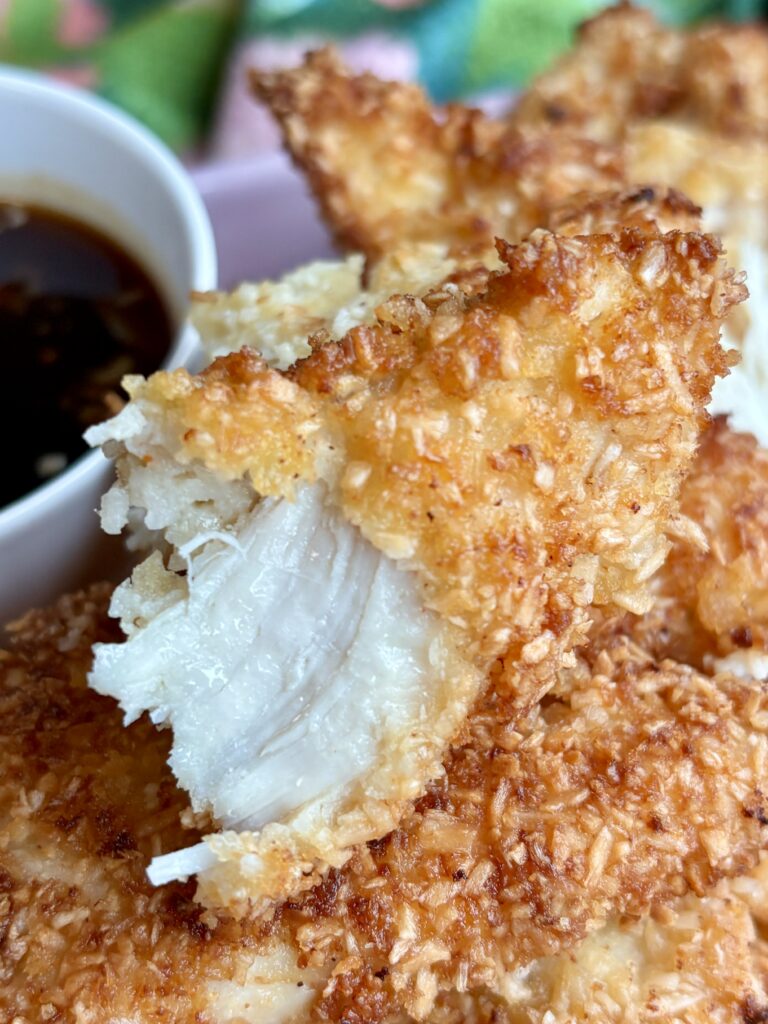
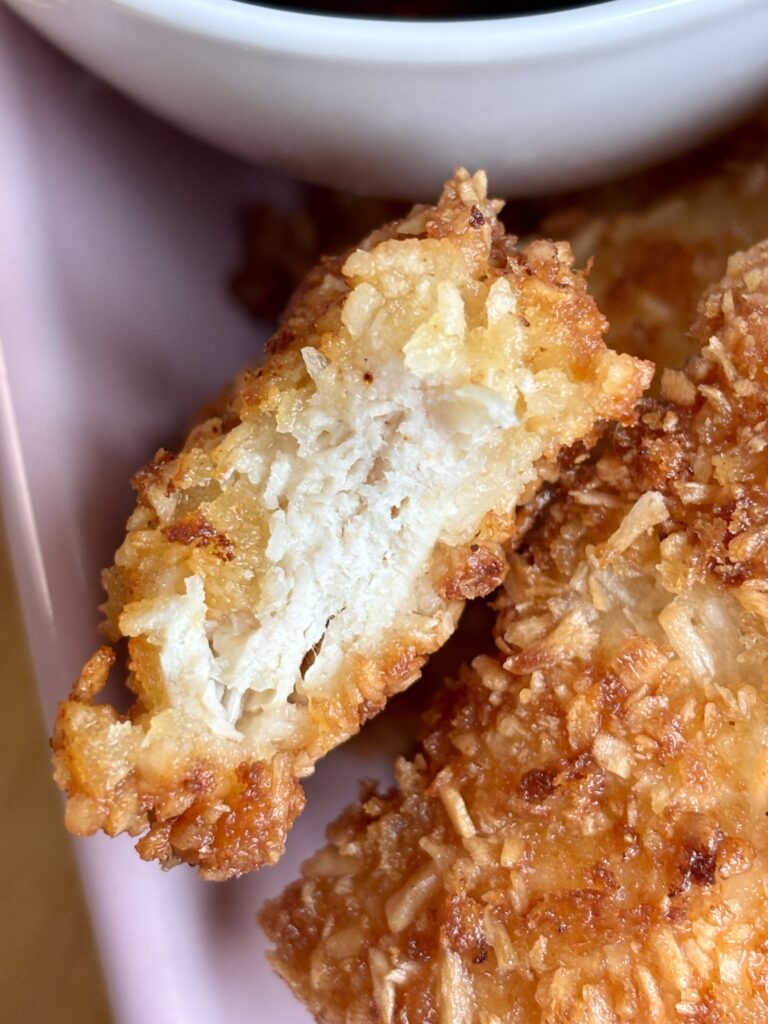
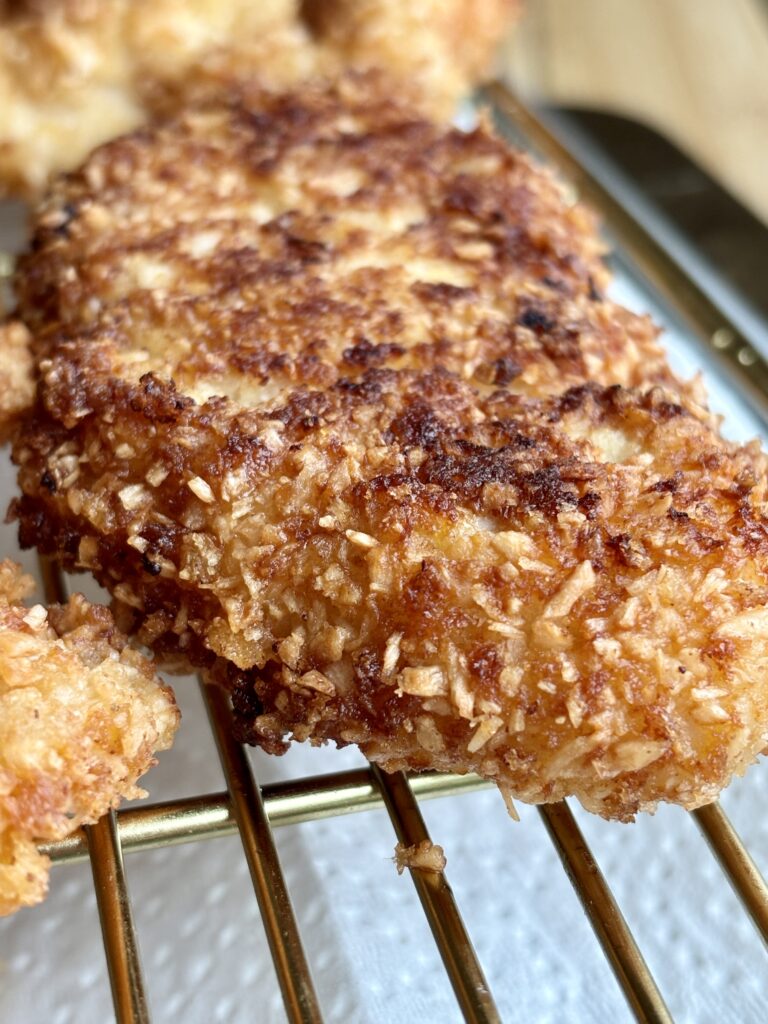
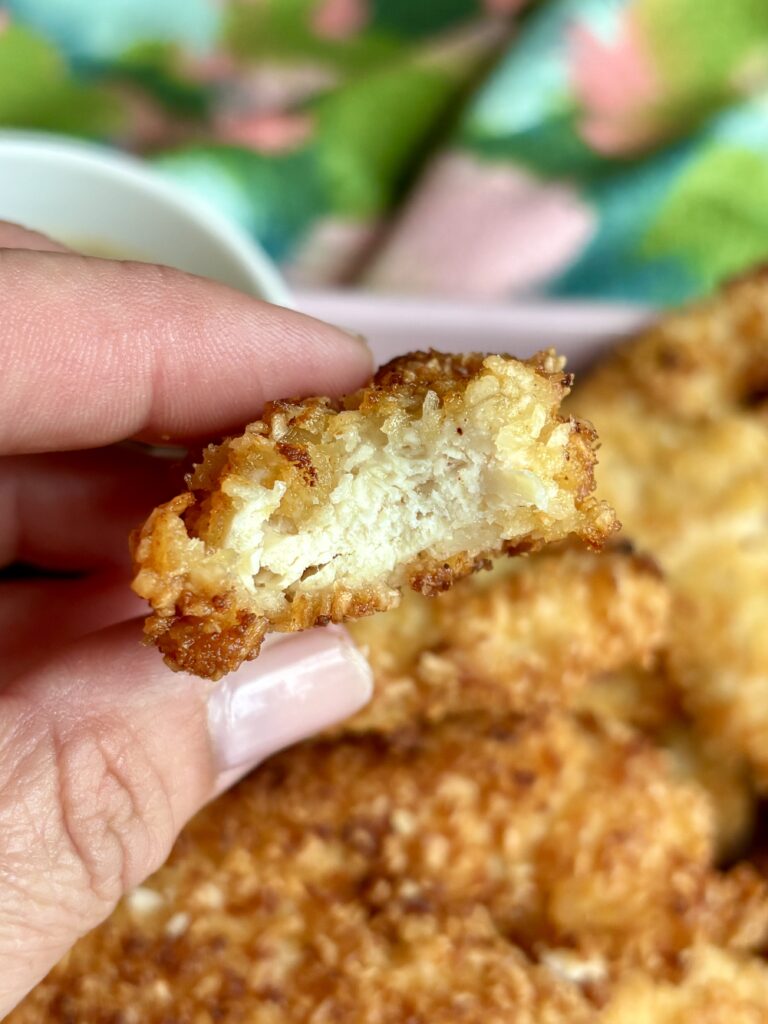
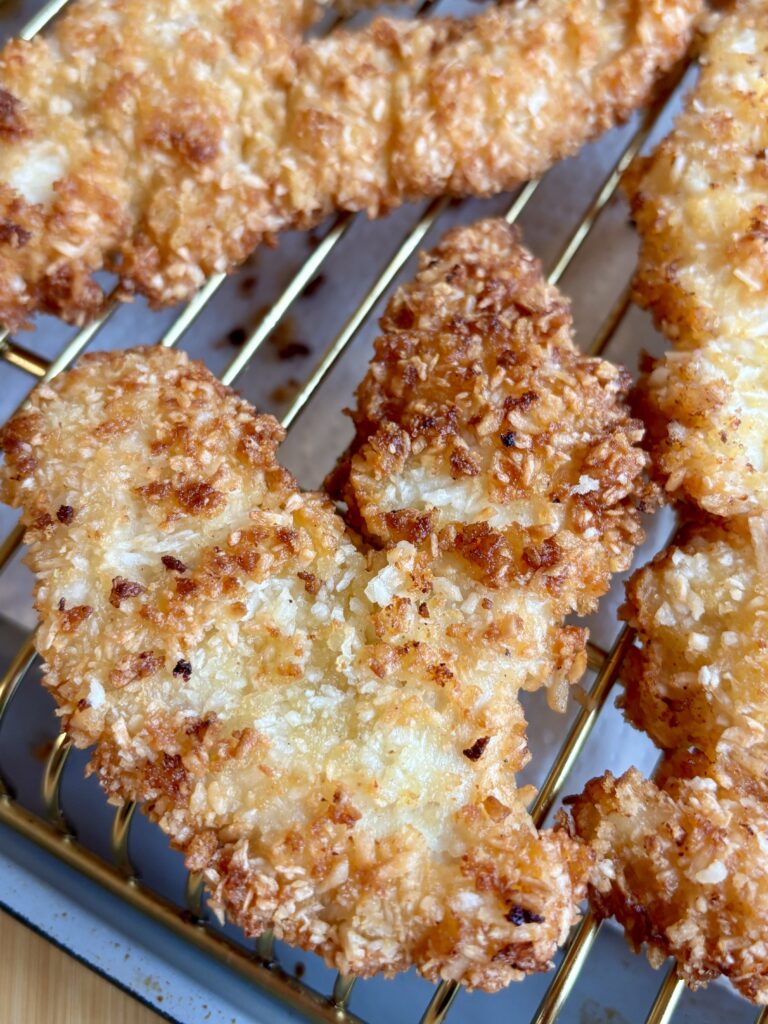
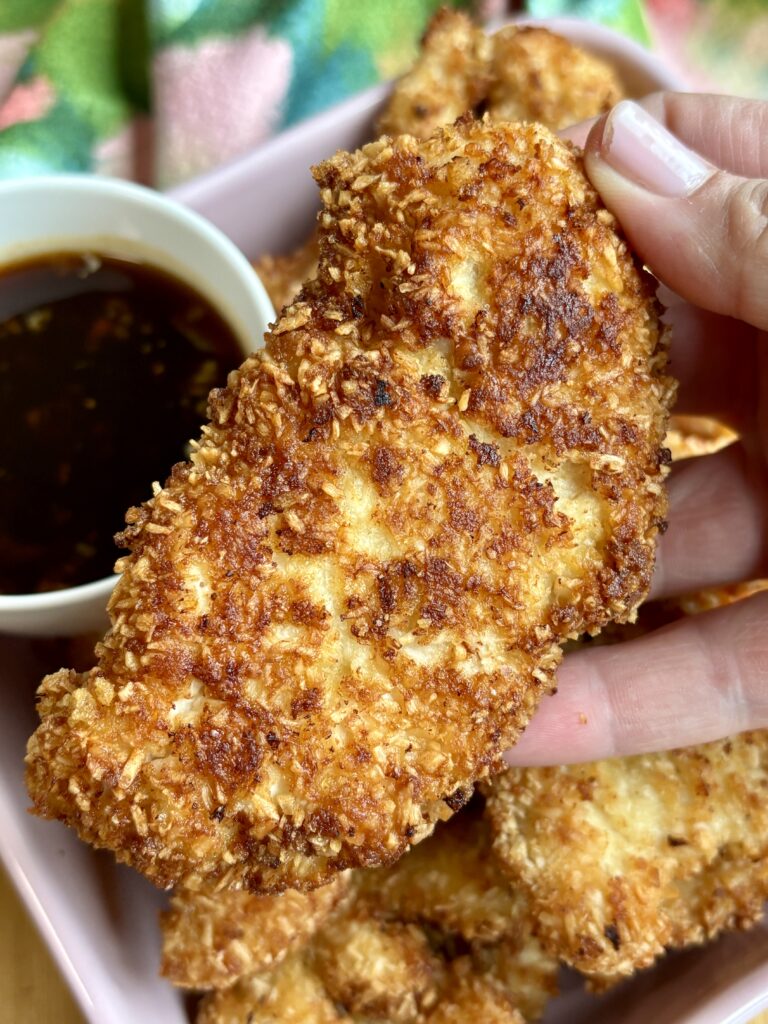
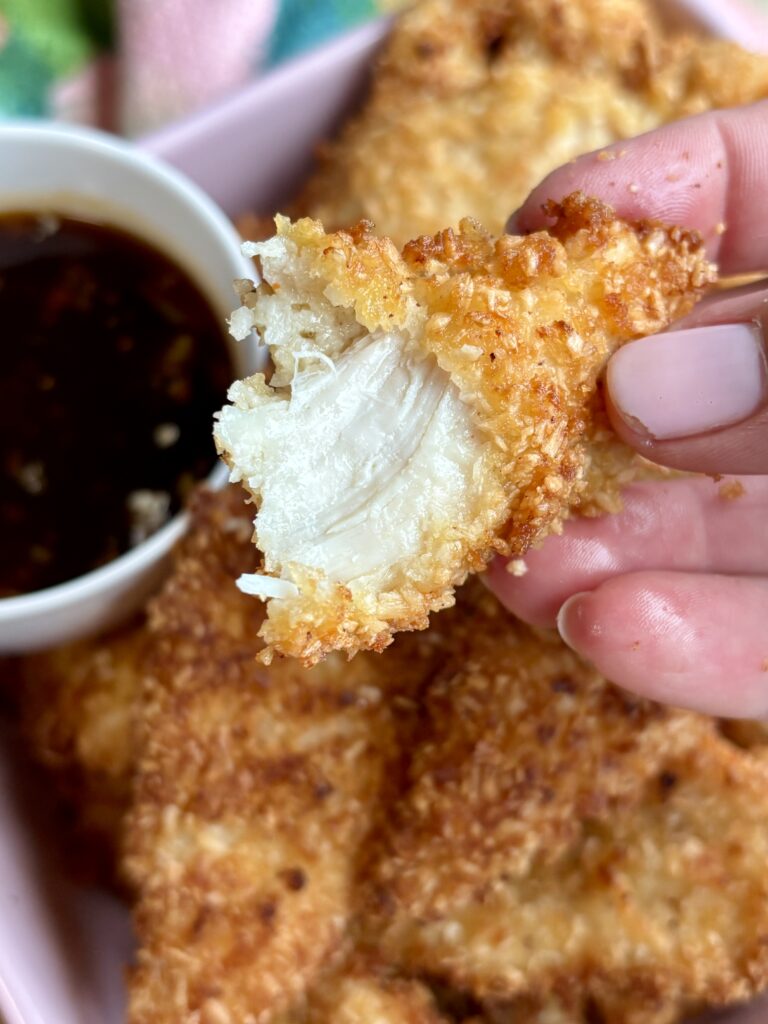
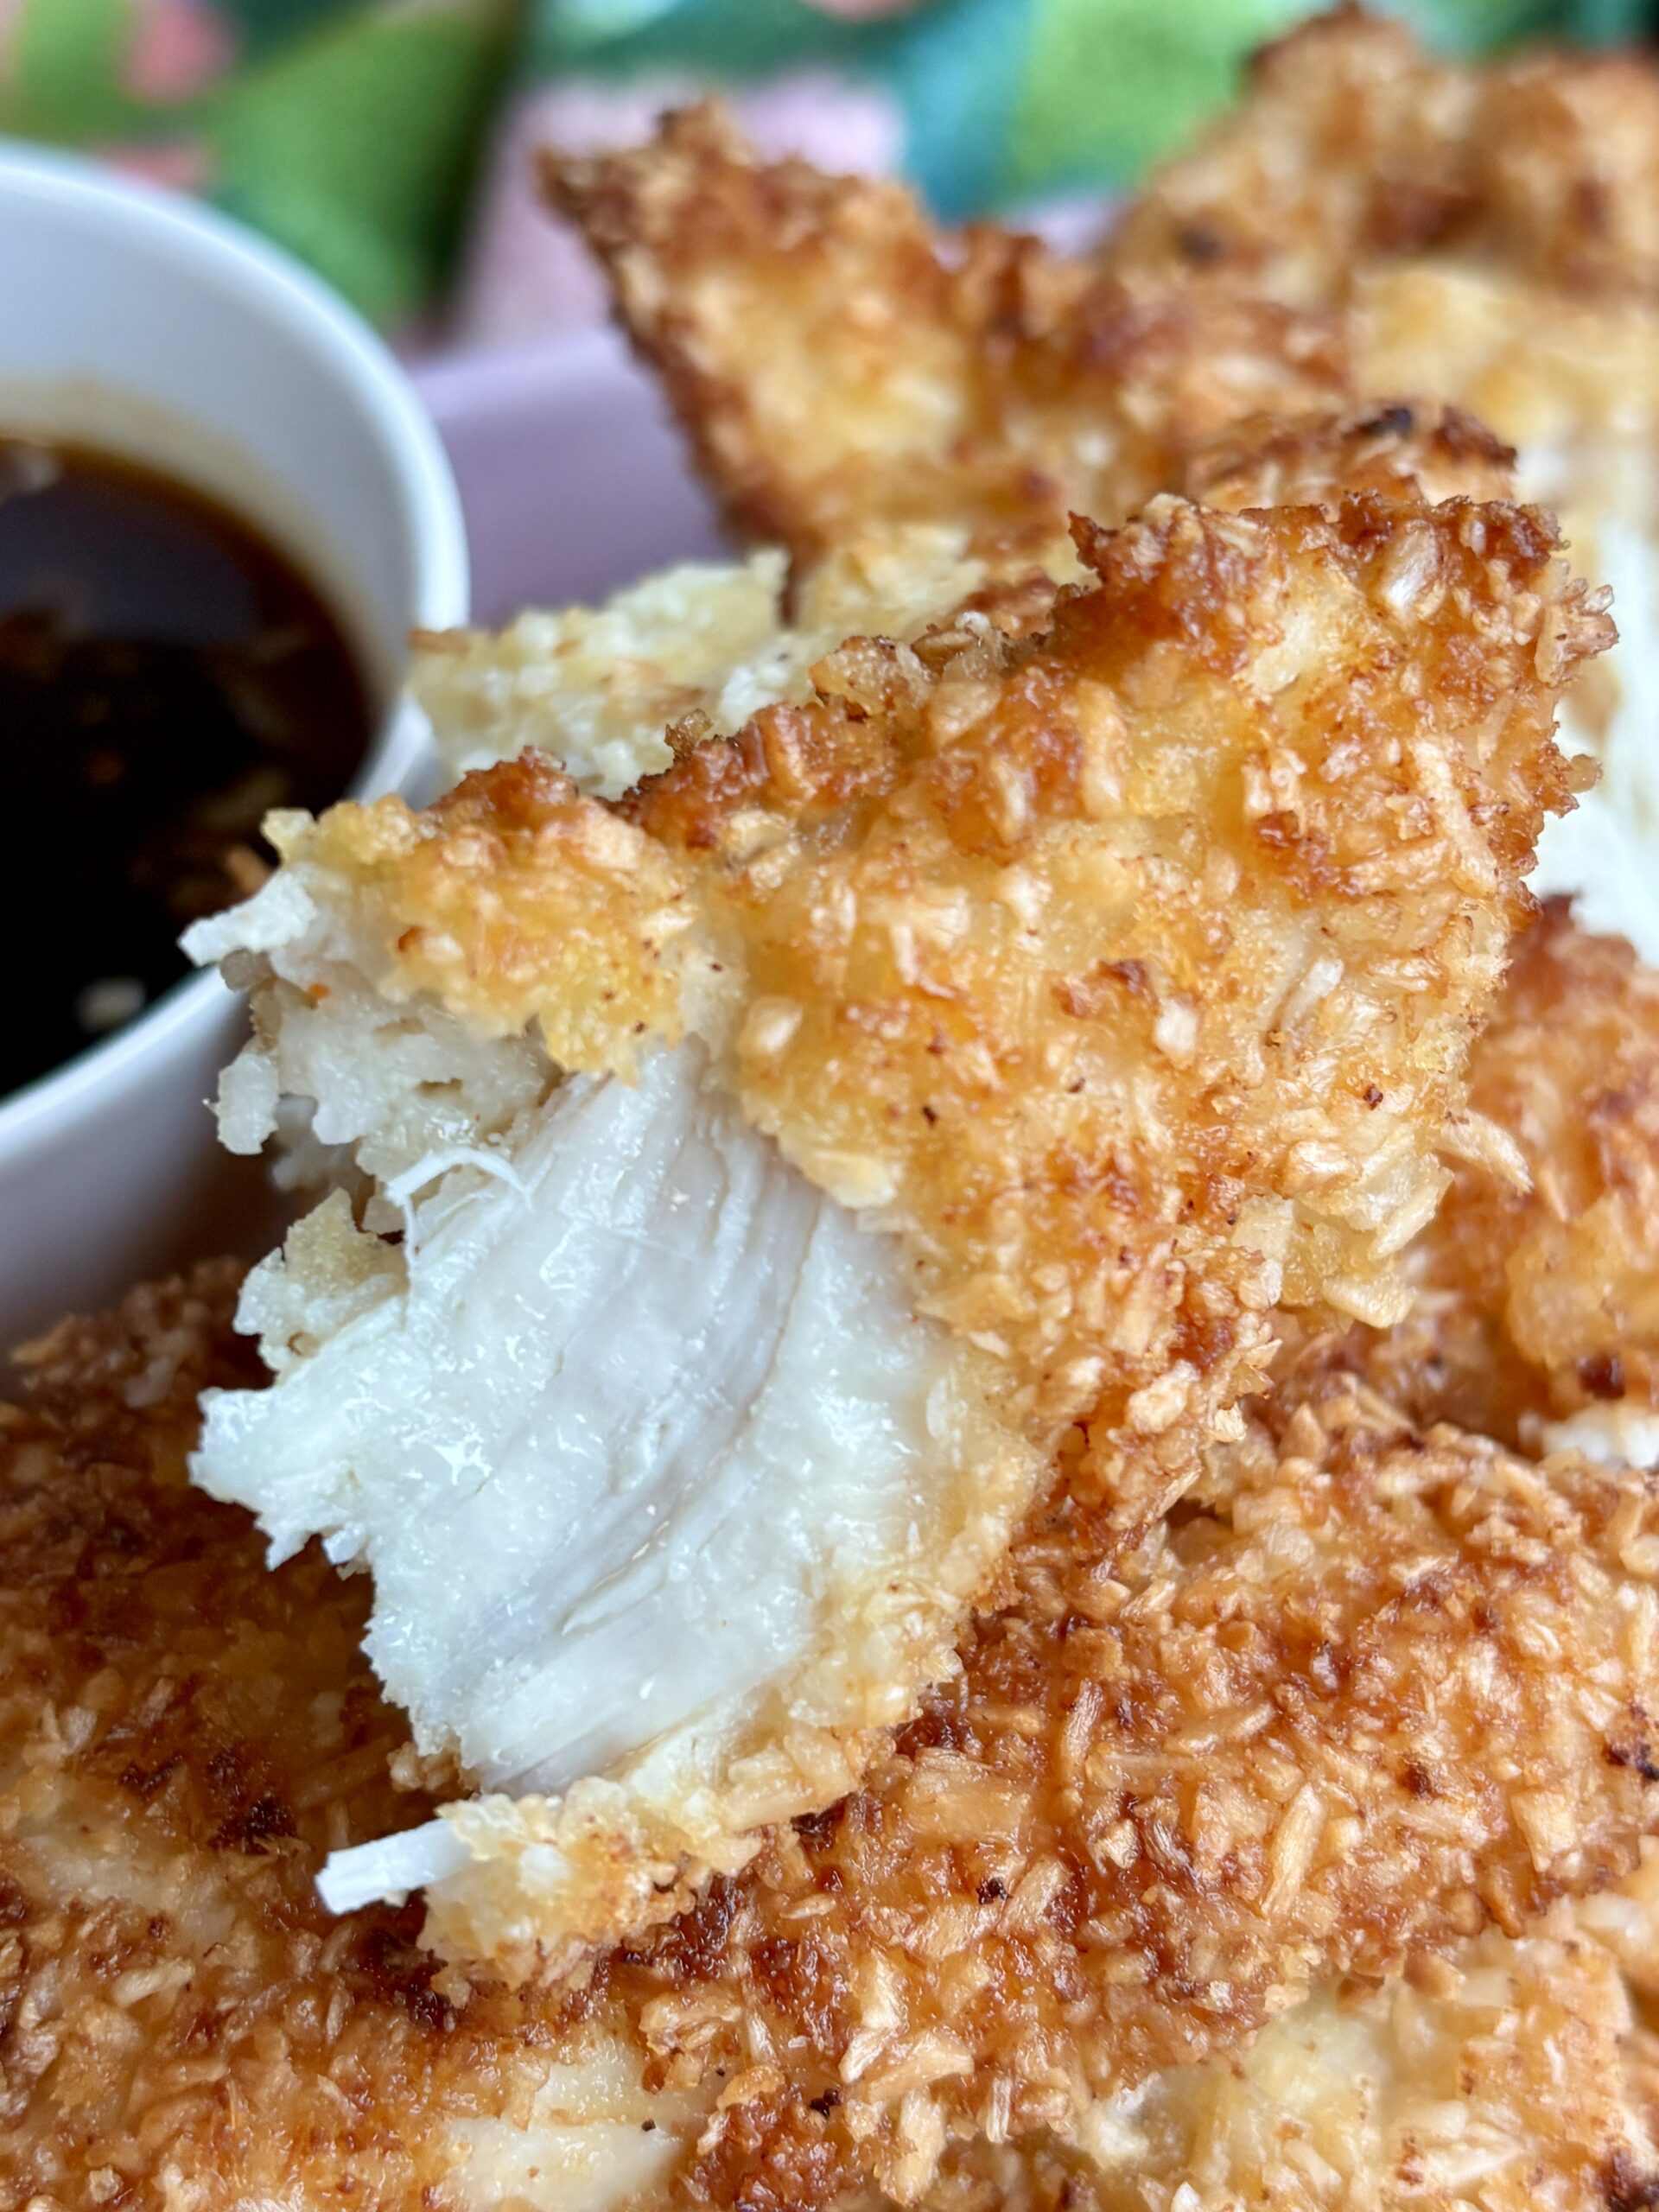
These Crispy Coconut Chicken Tenders are everything you want in a homemade chicken tender: juicy and tender on the inside, golden brown and incredibly crunchy on the outside, with just the right amount of lightly sweet coconut flavor.
Instead of simply coating the chicken in coconut, these tenders start with a flavorful seasoned batter made with eggs, milk, club soda, flour, garlic powder, onion powder, paprika, black pepper, and just a tiny pinch of cinnamon. The club soda helps create a light coating, while the combination of unsweetened shredded coconut and panko breadcrumbs gives the chicken that irresistible crispy texture.
And the best part of this recipe is that they are surprisingly quick to make! The chicken is coated and fried in just a few minutes, making these crispy coconut chicken tenders perfect for a weeknight dinner, fun family meal, appetizer, game day spread, or casual entertaining.
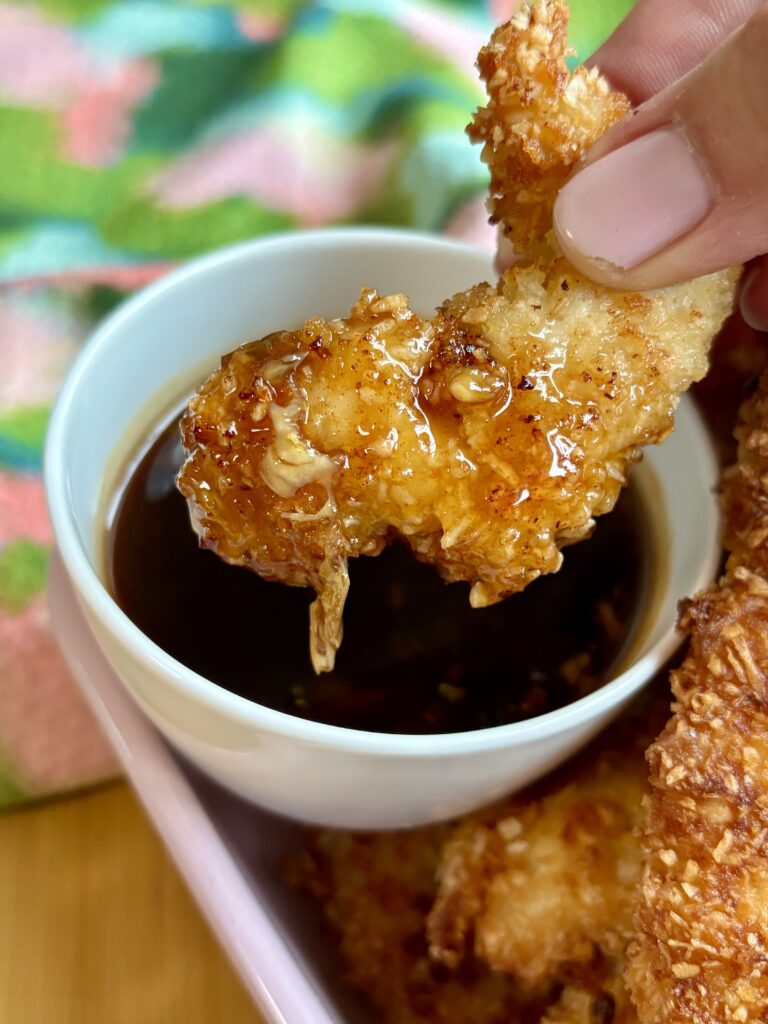
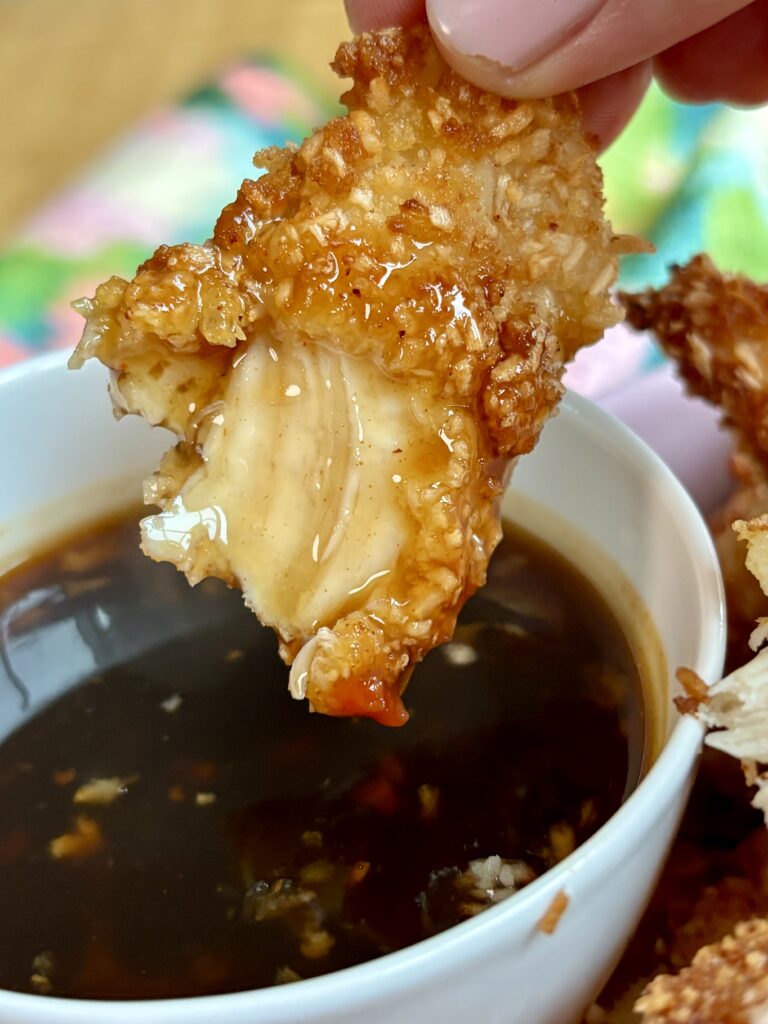
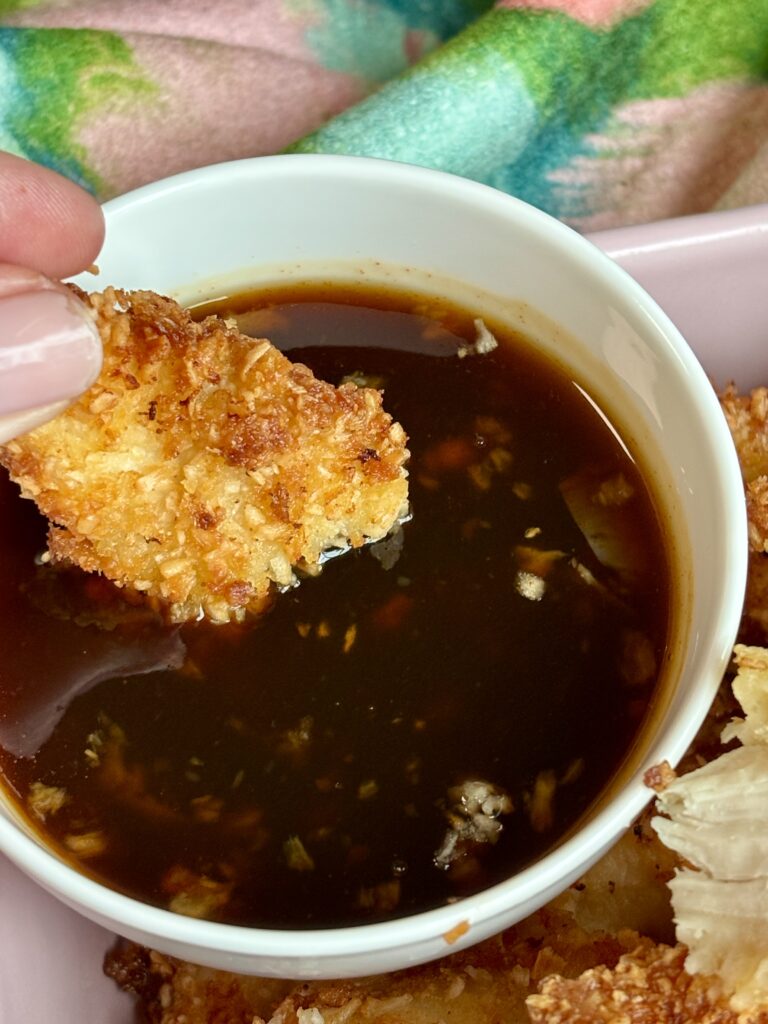
Serve them with your favorite dipping sauce, but I especially love pairing them with my Sweet Chili Dipping Sauce. The sweet, slightly spicy sauce is the perfect contrast to the savory, crunchy coconut coating.
If your family loves homemade chicken tenders, these are such a fun way to switch things up. They’re familiar enough for picky eaters, but different enough to make dinner feel a little more special!
Why you’ll love this recipe!
What ingredients do I need?
- Chicken
- Chicken tenderloins: Chicken tenderloins are naturally tender and cook quickly, making them ideal for homemade chicken tenders. Remove the tendon before coating for the best texture.
- Batter
- Eggs: Eggs provide structure and help create a batter that clings to the chicken.
- Whole milk: Milk adds richness and helps loosen the batter to the right consistency.
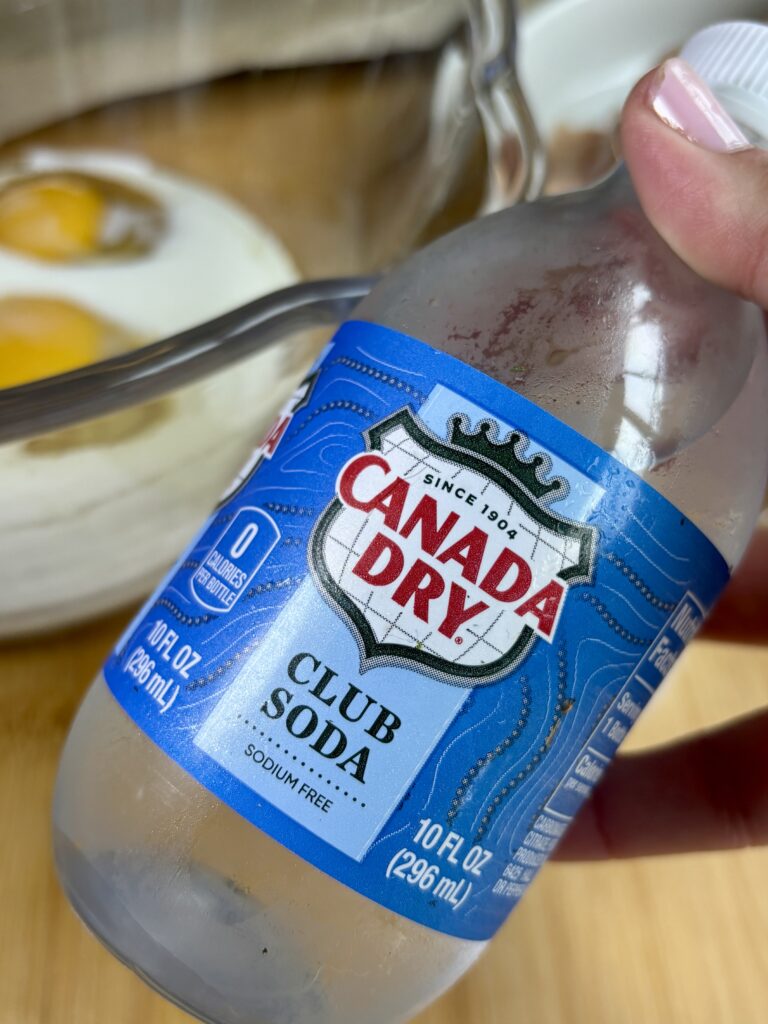
- Club soda: A little club soda helps create a lighter batter.
- All-purpose flour: Flour gives the batter structure and helps the coconut-panko coating adhere to the chicken.
- Kosher salt: Seasons the chicken and batter.
- Garlic powder: Adds savory garlic flavor throughout the coating.
- Onion powder: Adds another layer of savory flavor.
- Paprika: Adds warmth and mild spice while contributing to the golden color.
- Cinnamon: Just a small pinch adds subtle warmth that pairs surprisingly well with the coconut.
- Black pepper: Adds a little peppery bite.
- Coconut Coating
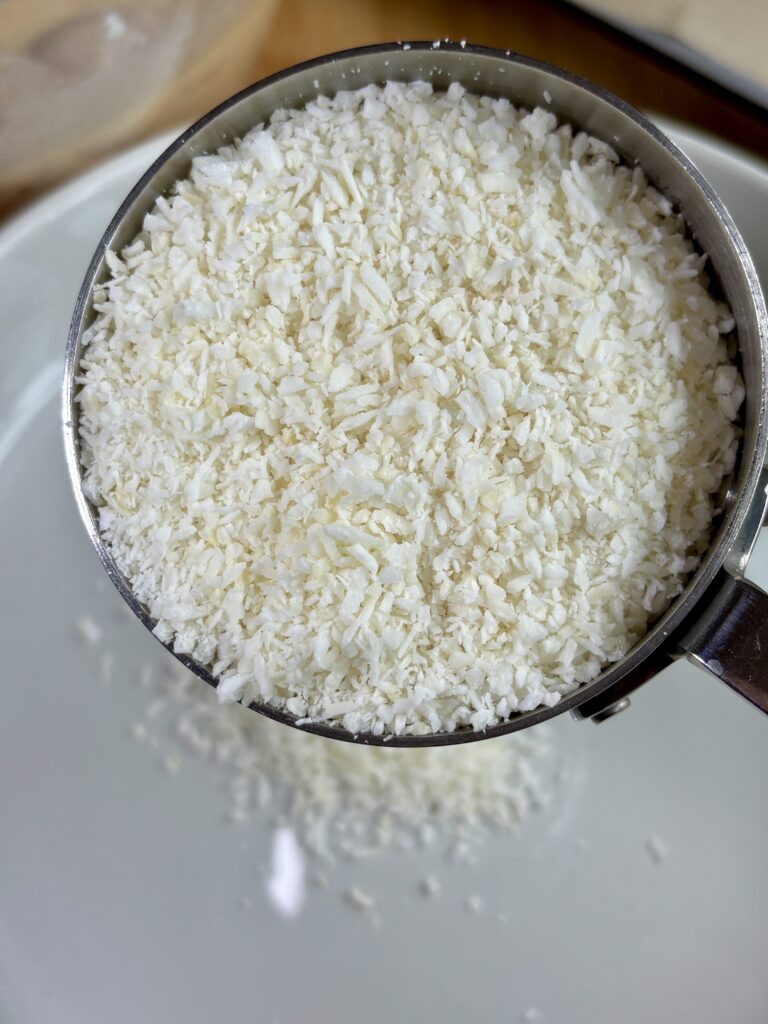
- Unsweetened shredded coconut: Use unsweetened shredded coconut rather than large coconut flakes. The smaller shreds create better coverage and crisp up beautifully.
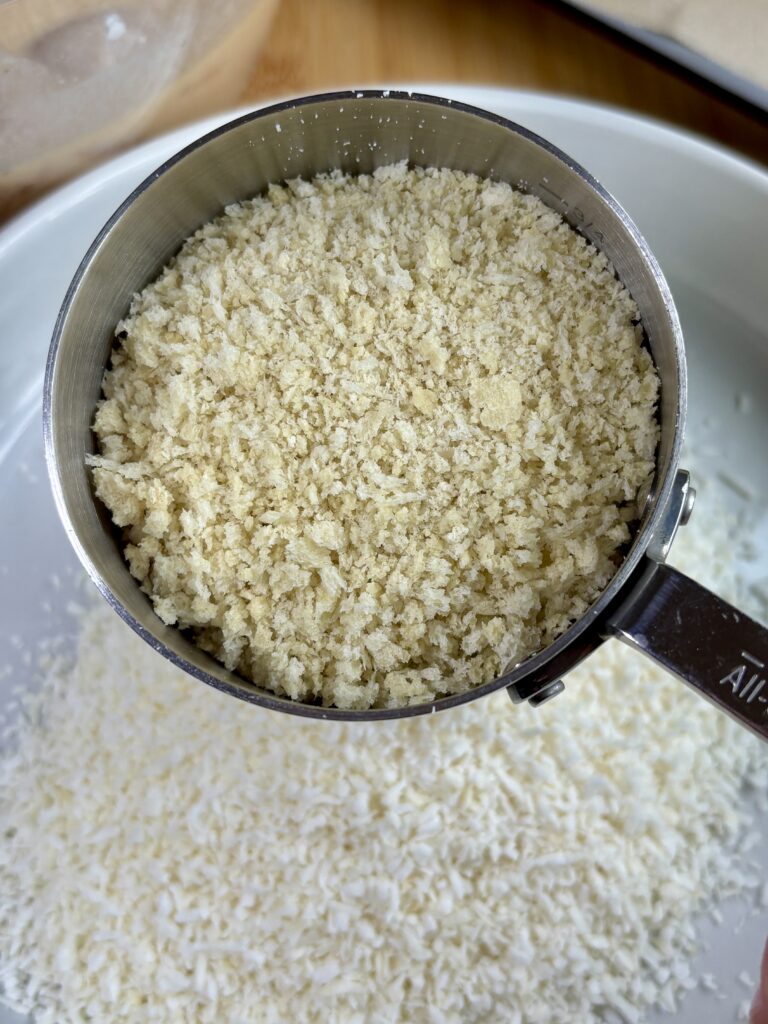
- Panko breadcrumbs: Panko gives the tenders their signature light, crunchy texture.
- Kosher salt: Helps season the crispy exterior.
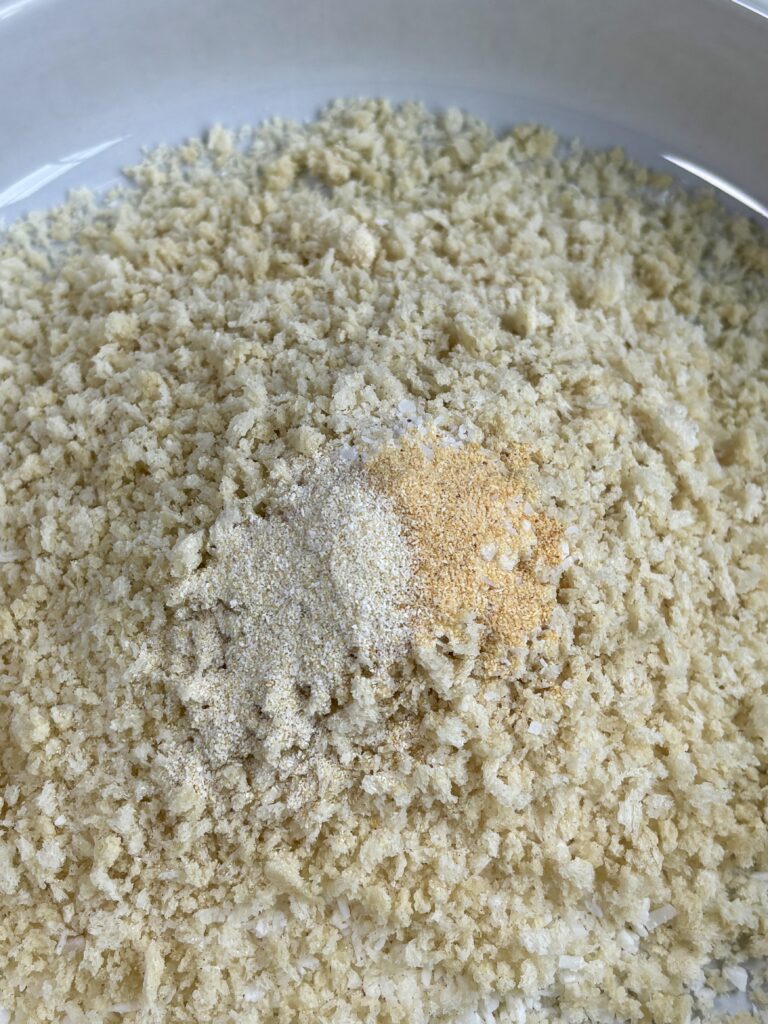
- Garlic powder and onion powder: Add even more savory flavor to the coconut-panko coating.
- For Frying
- Neutral oil: Avocado, vegetable, or canola oil all work well for frying. You’ll want an oil with a neutral flavor that can handle the frying temperature.
Why Is Club Soda Used in the Batter?
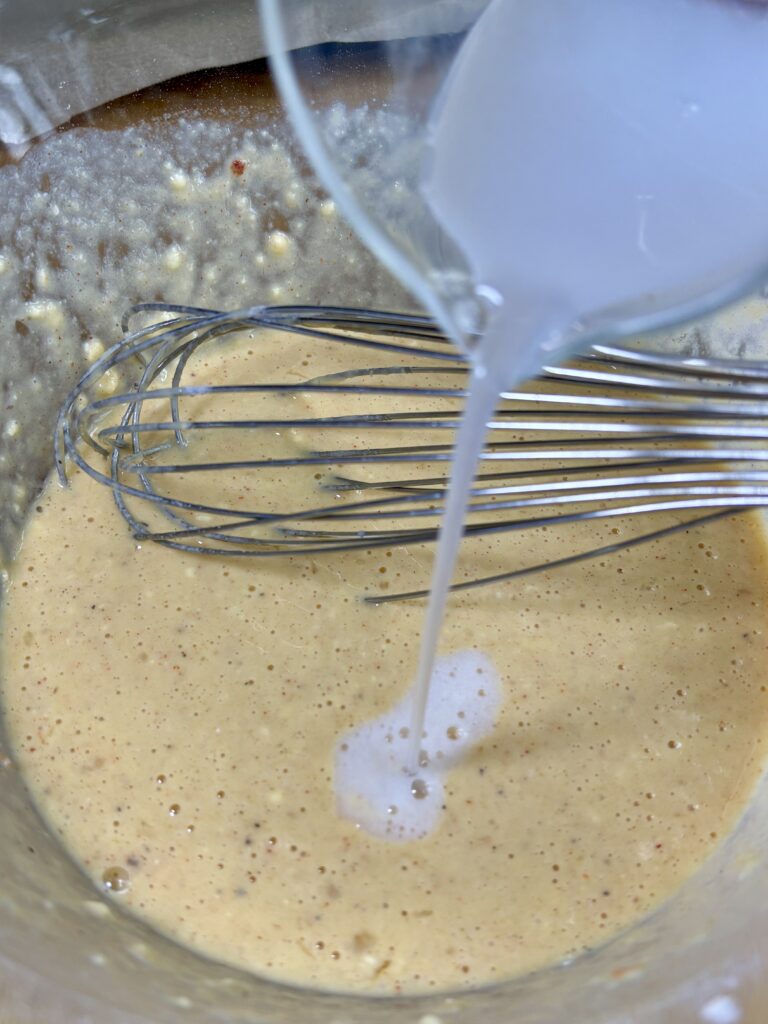
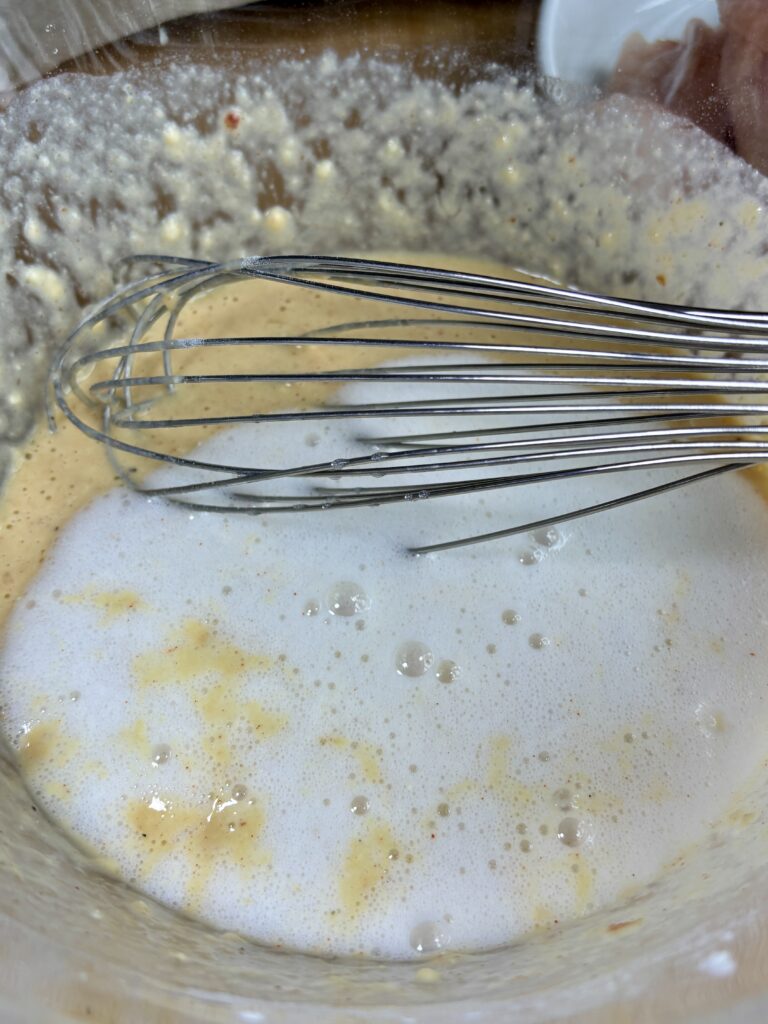
The club soda in this recipe helps create a lighter, crispier coating on these coconut chicken tenders. The carbonation adds tiny bubbles to the batter, which can help keep the coating from becoming too dense or heavy once fried. Combined with the milk and flour, it creates a batter that coats the chicken nicely while still frying up light and crisp.
You don’t need much in the recipe either, just ¼ cup is enough to make a difference without making the batter overly thin. For the best results, use fresh club soda straight from the bottle or can so it is still well carbonated when you add it to the batter.
How to Remove the Tendon from Chicken Tenderloins
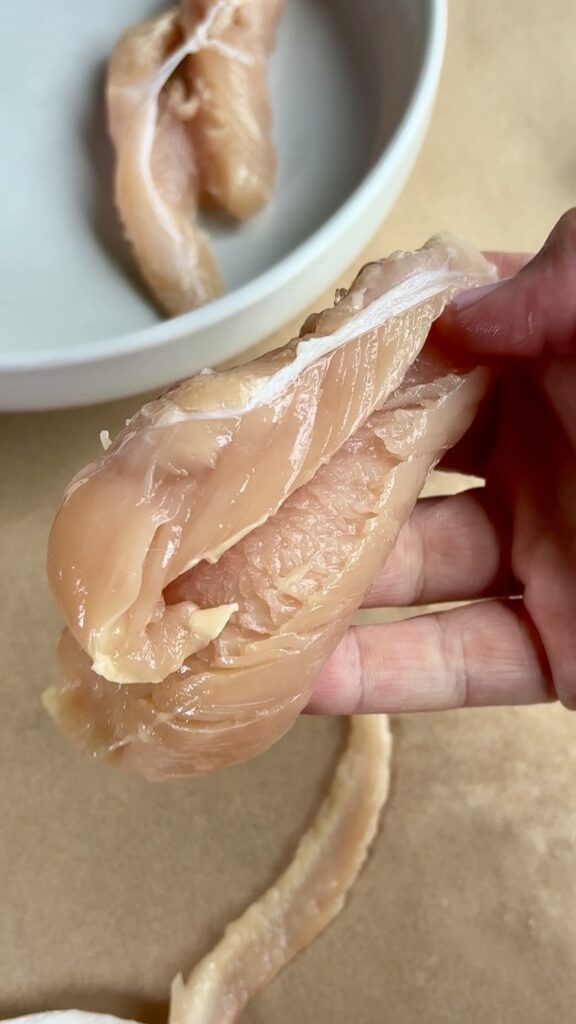
Chicken tenderloins have a tough white tendon running through them. You can remove it before cooking so you don’t end up with a chewy piece in your chicken tender.
Here’s my favorite easy method:
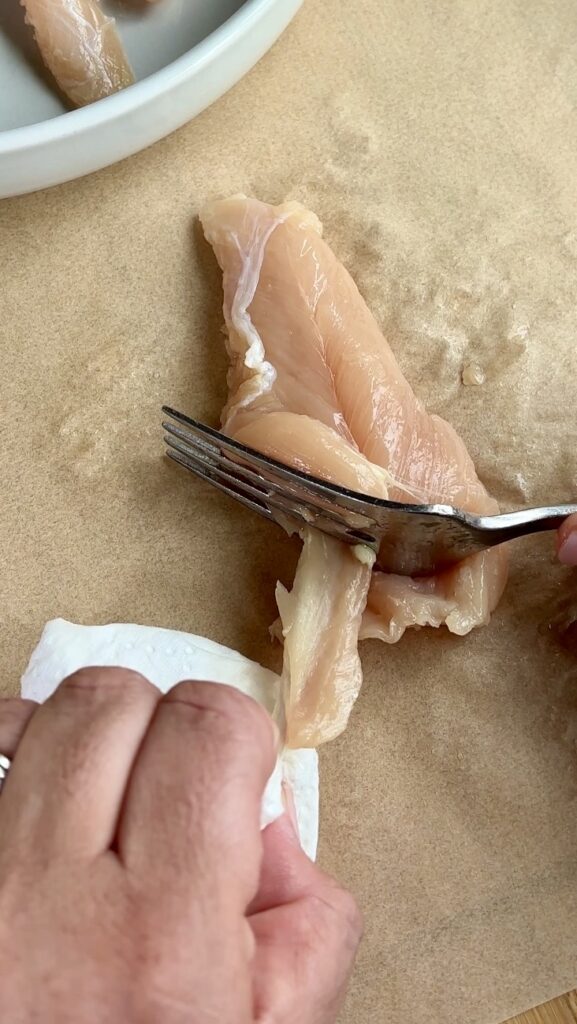
- Grab the end of the tendon with a paper towel. The paper towel gives you a much better grip because the tendon can be slippery.
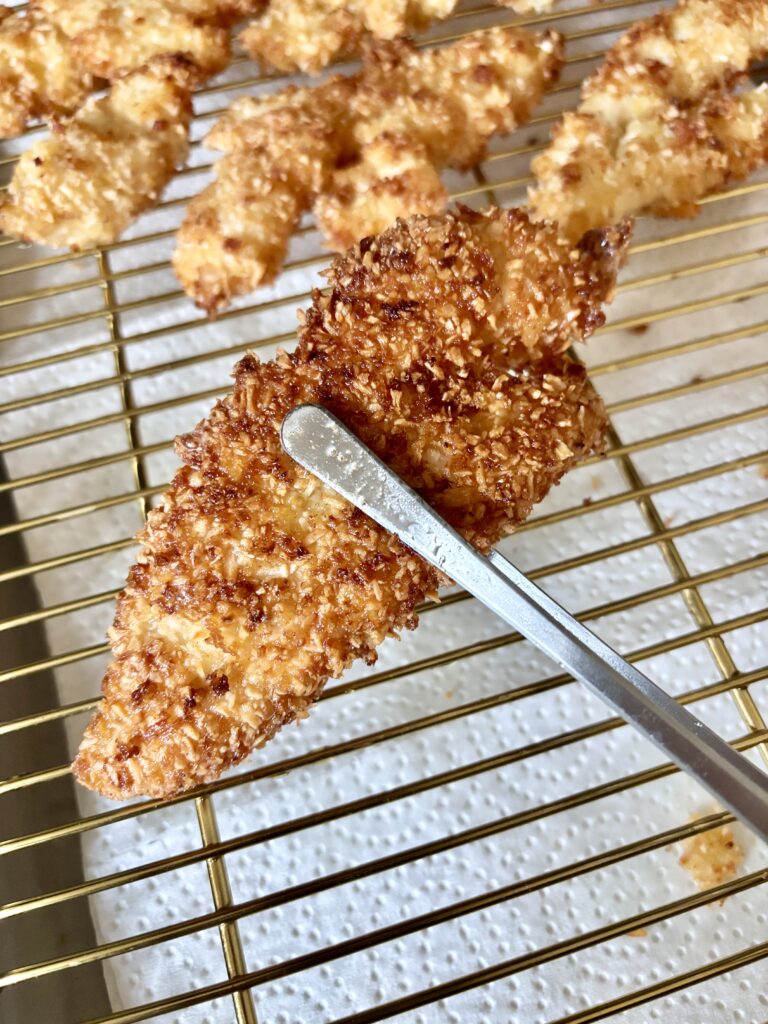
- Slide a fork underneath the tendon, positioning the tendon between the tines of the fork. (See the photos above)
- Hold the tendon firmly with the paper towel and press the fork down against the chicken.
- Pull the tendon through the fork while keeping the fork pressed against the chicken. The chicken tender should slide away while the tendon pulls free.
It may take a little practice, but once you get the motion down, it’s a quick and easy way to remove the tendon from chicken tenderloins.
Pro tip: Don’t worry if a tiny bit of meat comes away with the tendon. The goal is simply to remove the tough tendon while keeping as much of the tenderloin intact as possible.
Recipe Variations
- Spicy Coconut Chicken Tenders: Add cayenne pepper or your favorite hot pepper seasoning to the batter and coconut coating for a spicy version.
- Coconut Chicken Bites: Cut the chicken tenderloins into smaller bite-sized pieces before coating and frying. Reduce the cooking time accordingly and always check that the chicken reaches 165°F internally.
- Hot Honey Coconut Chicken: Serve the finished chicken tenders drizzled with hot honey for a sweet-and-spicy twist.
- Coconut Chicken Sandwiches: Pile the crispy chicken onto toasted buns with lettuce, pickles, and your favorite creamy or sweet chili sauce for a fun chicken sandwich.
Pro Tips
- Remove the tendon first! Removing the tough tendon is so important for delicious homemade tenders, making the tenderlions much more enjoyable to eat.If left in, the tendon becomes a chewy piece inside the tenders. The paper towel and fork method makes this process surprisingly easy (see above).
- Use unsweetened shredded coconut. Large coconut flakes don’t adhere as evenly and can burn more easily. Smaller shredded coconut gives you better coverage and a more consistent crunch.
- Don’t skip the panko bread crumbs. Coconut provides flavor and texture, but the panko helps create that light, crispy coating.
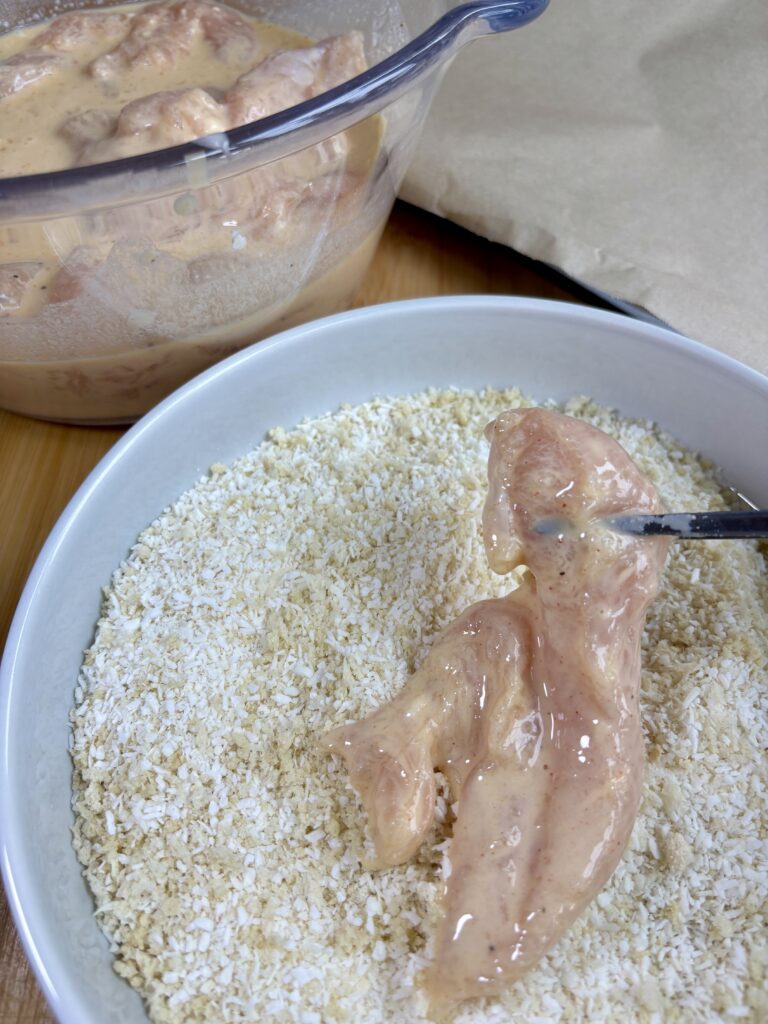
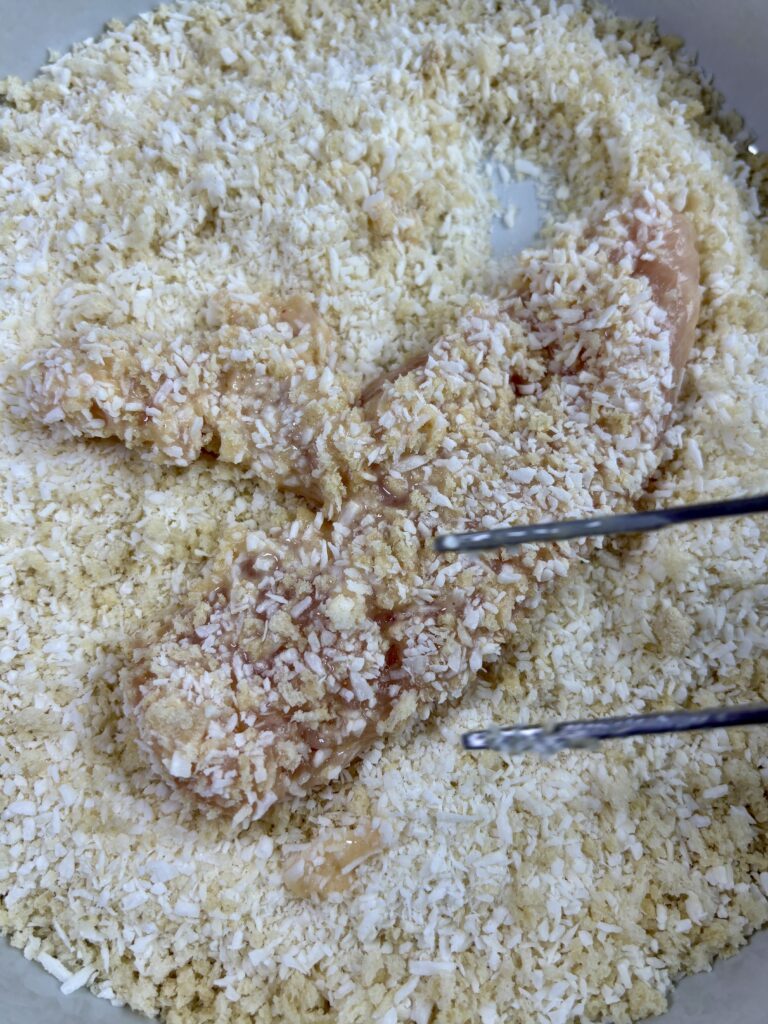
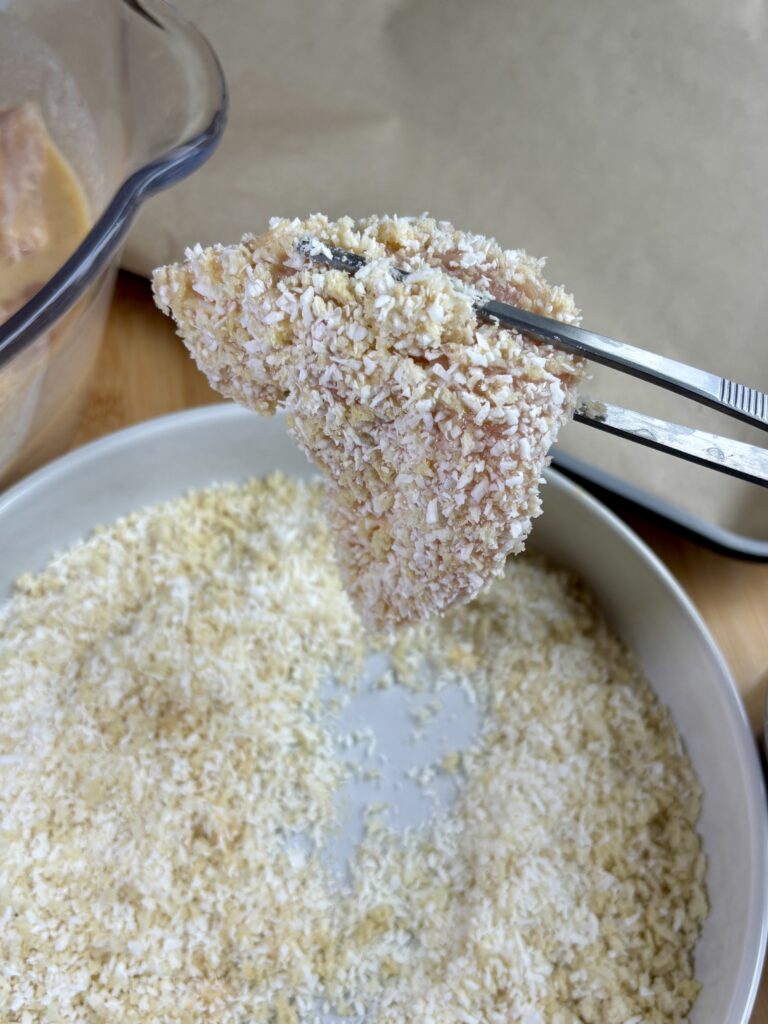
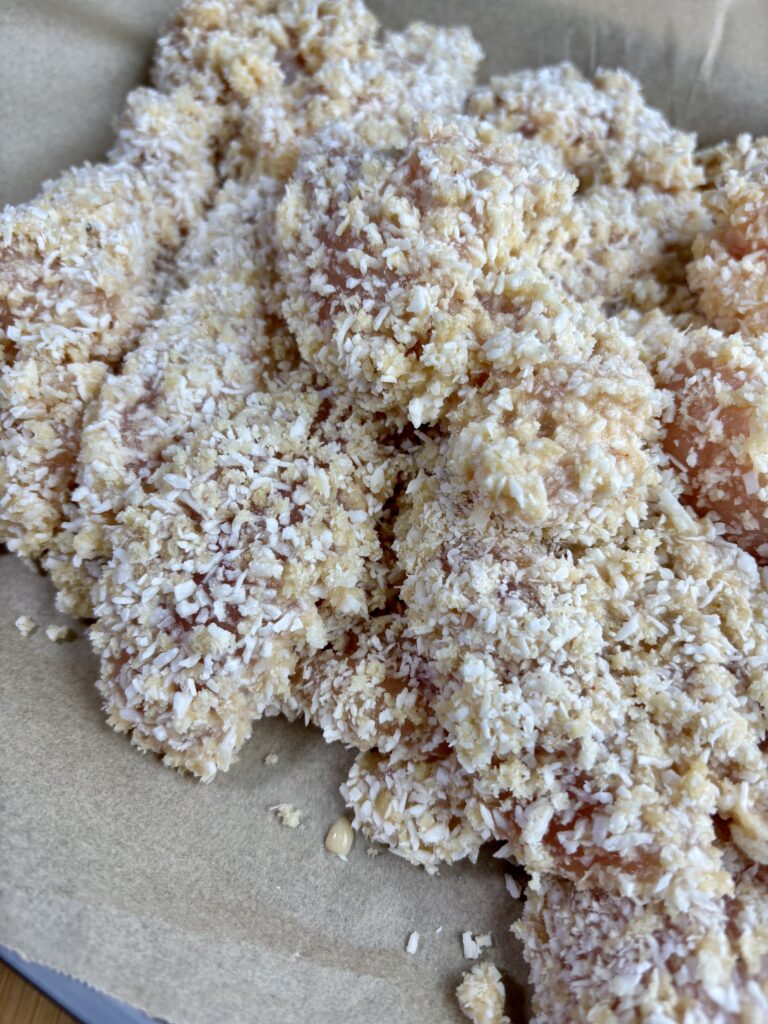
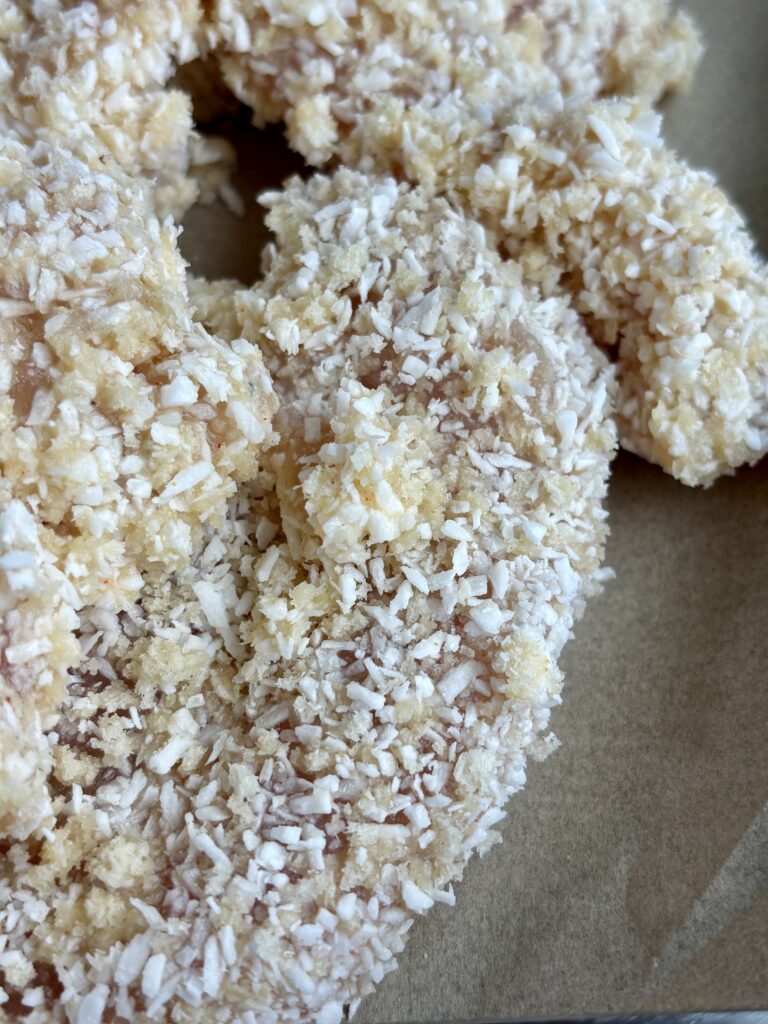
- Press the coating onto the chicken. After dipping the chicken into the batter, gently press it into the coconut-panko mixture. This helps the coating adhere instead of falling off in the oil.
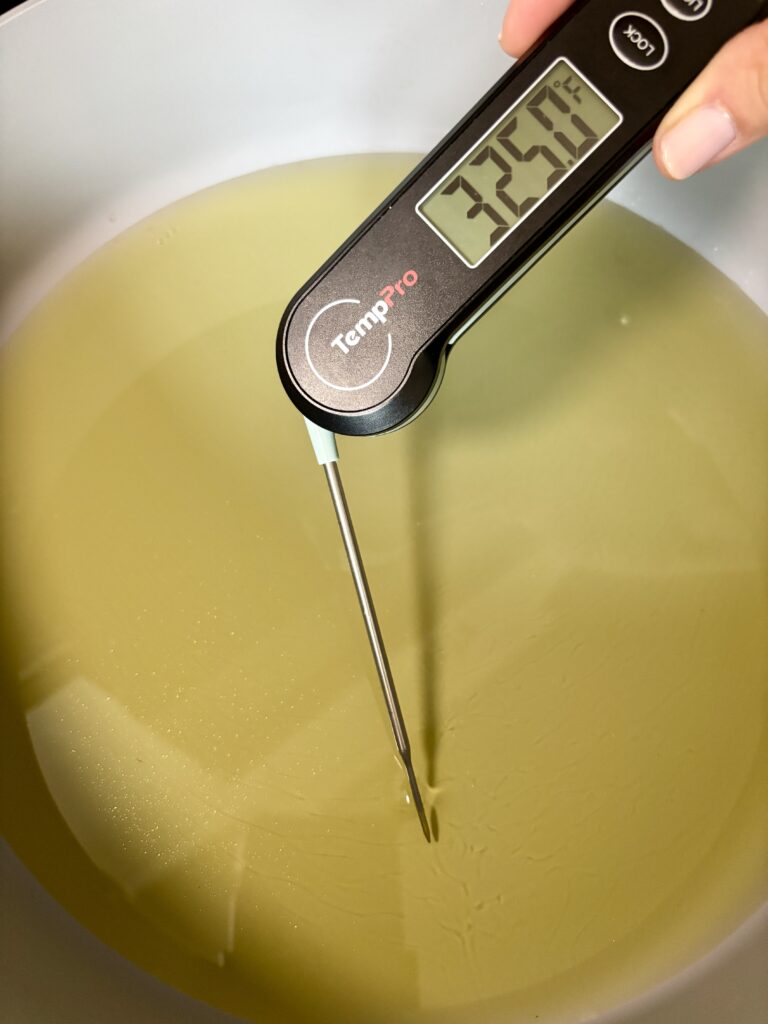
- Watch your oil temperature. Keep the oil around 325-350°F. Coconut can brown quickly, so frying at too high of a temperature can leave you with a dark exterior before the chicken is cooked through.
- Use a thermometer. The easiest way to know your oil is at the right temperature is with a kitchen thermometer. The chicken should reach an internal temperature of 165°F.
- Don’t overcrowd the frying pan. Fry the tenders in batches. Adding too much chicken at once can cause the oil temperature to drop, resulting in a less crispy coating.
- Let the oil recover between batches. Give the oil a moment to return to 325–350°F before adding the next batch.
- Use a wire rack when possible. A wire rack allows excess oil to drain away while keeping the bottom of the chicken from becoming soggy.
- Season all the layers. Both the batter and coconut coating are seasoned, which gives you much more flavorful chicken than seasoning only the exterior.
Can I Substitute?
Yes! Like always though, any substitutions made to the recipe can result in a change in texture and/or flavor.
- Chicken tenderloins: Boneless, skinless chicken breasts can be cut into strips and used instead. Keep in mind that thicker pieces may require additional cooking time.
- Whole milk: 2% milk can be used if that’s what you have. I prefer whole milk for the slightly richer batter.
- Club soda: Sparkling water can be substituted for club soda.
- Panko breadcrumbs: Regular breadcrumbs can be used, although the coating won’t have quite the same light, crispy texture.
- Unsweetened shredded coconut: Unsweetened coconut is strongly recommended. Sweetened coconut will make the tenders noticeably sweeter and can brown more quickly during frying.
- Neutral oil: Avocado, vegetable, and canola oil are all good choices.
Dietary Substitutions
- Gluten-Free: Use a gluten-free all-purpose flour and gluten-free panko breadcrumbs. Check the labels on all packaged ingredients to ensure they are certified or labeled gluten-free if needed.
- Dairy-Free: Replace the whole milk with an unsweetened, unflavored dairy-free milk. Choose one with a relatively neutral flavor. In fact, full-fat coconut milk would likely be great!
Leftovers and Storage
- Refrigerator: Allow leftover chicken tenders to cool, then refrigerate them in an airtight container for up to 3–4 days. For the best texture, store them in a single layer if possible or separate layers with parchment paper.
- Reheating: The best way to bring back some of that crispy texture is to reheat the tenders in an air fryer, toaster oven, or oven until heated through and crisp.
- Avoid the microwave if crispiness is important to you. It will warm the chicken but can make the coconut-panko coating soft.
- Freezing: Cooked coconut chicken tenders can be frozen. Arrange them in a single layer on a baking sheet and freeze until solid. Once frozen, transfer them to a freezer-safe airtight container or bag. For the best quality, use within about 2–3 months.
- Reheat from frozen in an oven, toaster oven, or air fryer until hot throughout and the coating is crisp. Always make sure the chicken is thoroughly heated before serving.
- Leftover Ideas:
- Crunchy chicken salad
- Coconut chicken wrap
- Create a rice bowl with the vegetables and sweet chili sauce
- Add to a chopped chicken salad
- Chicken sandwiches
- An appetizer platter with several dipping sauces
But, I Still Have A Few Questions…
Do I have to remove the tendon from chicken tenderloins?
No, but I highly recommend it. The tendon is tough and chewy compared with the rest of the tenderloin. Removing it gives you a more tender bite. A paper towel and fork make the process much easier (see directions above).
What is the easiest way to remove the tendon from chicken tenderloins?
Grab the tendon with a paper towel, then slip a fork between the paper towel and the chicken. Press the fork down against the chicken while pulling the tendon through the fork. The fork helps hold the chicken in place while the tendon slides out.
Can I use chicken breast instead of chicken tenderloins?
Yes. Cut boneless, skinless chicken breasts into strips that are similar in size to chicken tenders. Because the thickness can vary, use the internal temperature rather than time alone to determine when they’re finished.
Can I use sweetened coconut?
I recommend unsweetened shredded coconut. Sweetened coconut will make the coating considerably sweeter and can brown or burn more quickly during frying.
Why should I use shredded coconut instead of coconut flakes?
Smaller shredded coconut pieces provide more even coverage over the chicken and integrate better with the panko breadcrumbs. Large coconut flakes can be more difficult to adhere to the chicken and may brown too quickly.
Can I use regular breadcrumbs instead of panko?
Yes, but panko will give you a lighter and crunchier coating. Regular breadcrumbs create a somewhat finer, denser crust.
Why is my coconut coating falling off?
Make sure you’re allowing excess batter to drip off before transferring the chicken to the coconut mixture. Then gently press the coconut-panko mixture onto the chicken so it adheres. Avoid handling the coated chicken excessively before it goes into the oil.
Why did my coconut chicken get too dark?
Coconut can brown quickly, especially if the frying oil is too hot. Keep the oil between 325–350°F and adjust the heat as needed throughout frying.
Why aren’t my chicken tenders crispy?
The most common culprits are oil that’s too cool, overcrowding the pan, or allowing the cooked chicken to sit directly on a flat surface where steam can collect underneath. Fry in batches and transfer the cooked tenders to a wire rack when possible.
Can I make these in an air fryer?
I have not tested this specific recipe in an air fryer, so I can’t confidently provide a time and temperature without testing it. The batter and coating were developed for frying in oil.
Can I make these chicken tenders ahead of time?
They’re best served immediately after frying while the coating is at its crispiest. You can prepare the batter and coconut mixture ahead of time and fry the chicken closer to serving.
What dipping sauce goes best with coconut chicken tenders?
My sweet chili dipping sauce is one of my favorites because the sweet and slightly spicy flavor pairs beautifully with the savory coconut coating. Serving these with honey mustard, hot honey, or a creamy coconut-lime sauce would also be delicious.
Can I freeze coconut chicken tenders?
Yes. For the best texture, freeze the cooked tenders in a single layer until solid, then transfer them to an airtight freezer-safe container or bag. Reheat directly from frozen rather than thawing first.
How do I keep leftover chicken tenders crispy?
For the best texture, reheat them in an oven, toaster oven, or air fryer rather than the microwave. The microwave will warm them but won’t restore the crispy coating as well.
How do I know when the chicken is done?
The chicken should reach an internal temperature of 165°F at the thickest part. Because chicken tenderloins can vary in size, a thermometer is the most reliable way to check.
Can I make these gluten-free?
Yes. Use a gluten-free all-purpose flour and gluten-free panko breadcrumbs. Be sure to check the labels of your other ingredients as needed.
Other Recipes You’ll Love
Let’s engage!
Make sure to tag @thehomechefmomma on Instagram or Facebook, and leave a review or comment if you make these. I always get so excited to see your creations, variations of the recipe, and feedback! Just remember to be kind in your comments, there is still a person behind this screen! 🙂
Crispy Coconut Chicken Tenders
Ingredients
Chicken
- 2 pounds chicken tenderloins tendons removed
Batter
- 3 large eggs
- ⅔ cup whole milk
- ¼ cup club soda
- ½ cup all-purpose flour
- 1½ teaspoons kosher salt
- 1½ teaspoons garlic powder
- 1½ teaspoons onion powder
- ¾ teaspoon paprika
- Large pinch of cinnamon
- ¼ teaspoon black pepper
Coconut Coating
- 1½ cups unsweetened shredded coconut
- 1 cup panko breadcrumbs
- ¾ teaspoon kosher salt
- ¾ teaspoon garlic powder
- ¾ teaspoon onion powder
For Frying
- Neutral oil such as avocado, vegetable, or canola oil
Instructions
- If your chicken tenderloins still have the tendon attached, grab the end of the tendon with a paper towel. Slip a fork underneath the tendon, between the paper towel and the chicken. Press the fork down firmly against the chicken while pulling the tendon through the fork with the paper towel. Discard the tendon and repeat with the remaining tenderloins.
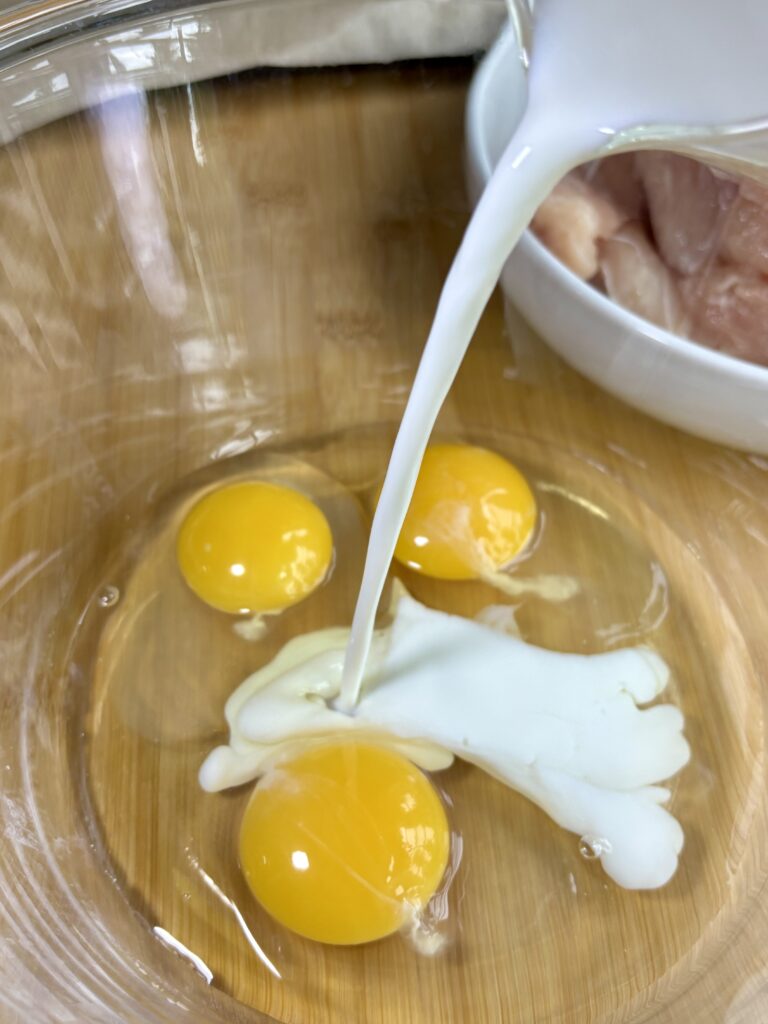
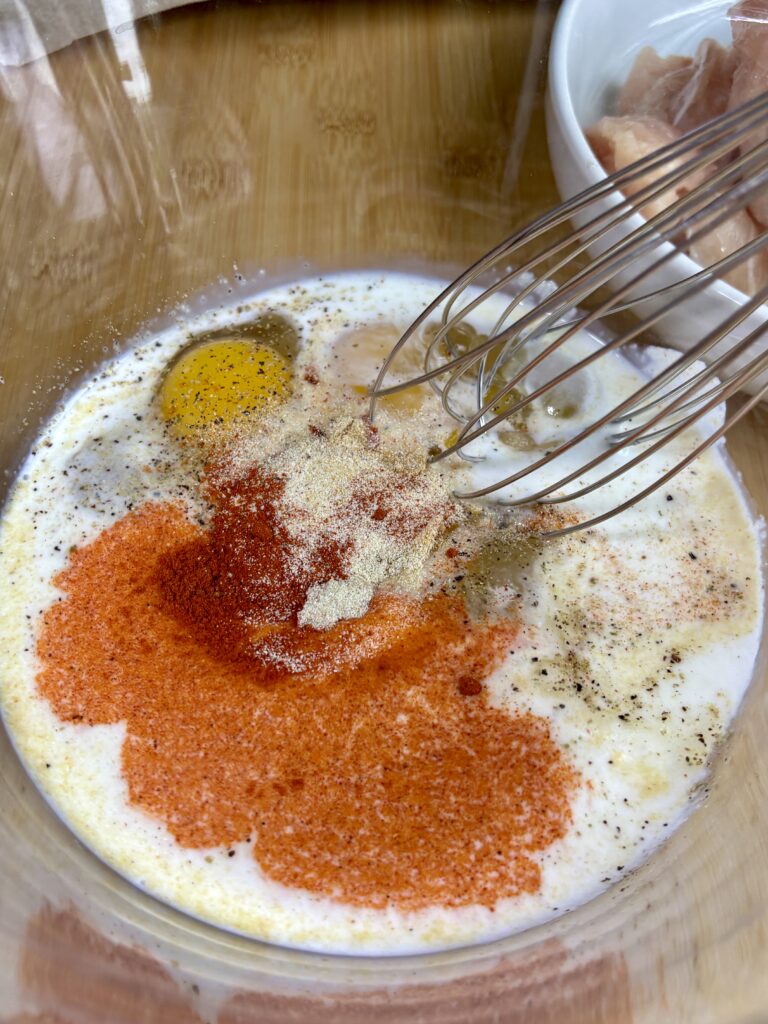
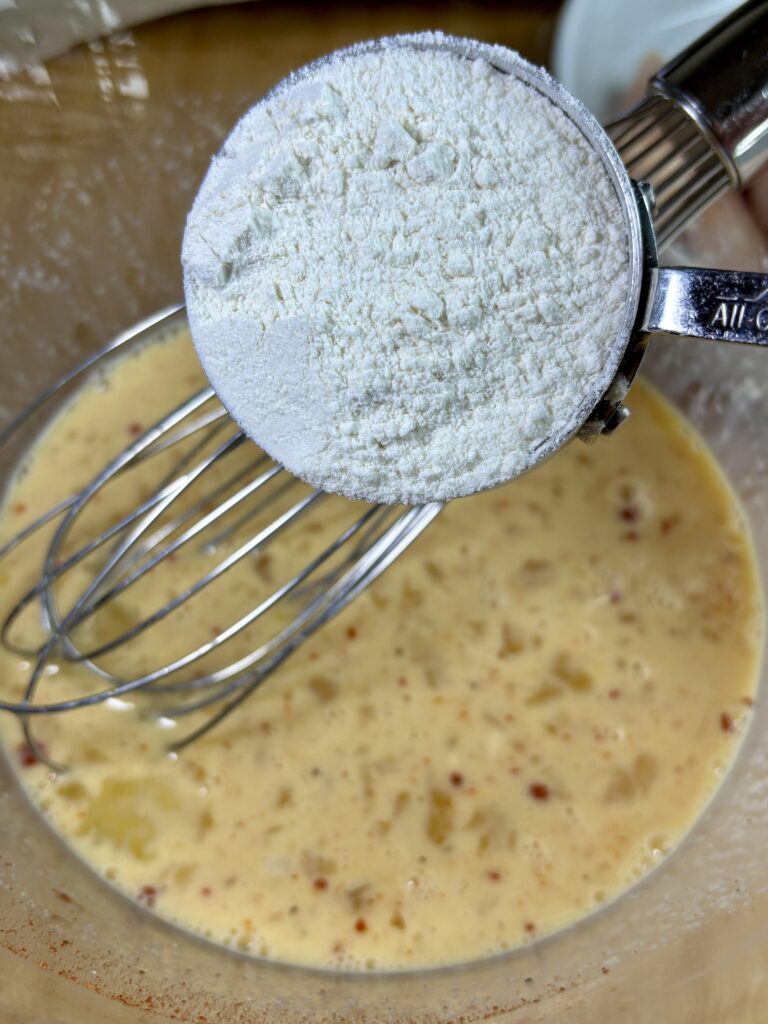
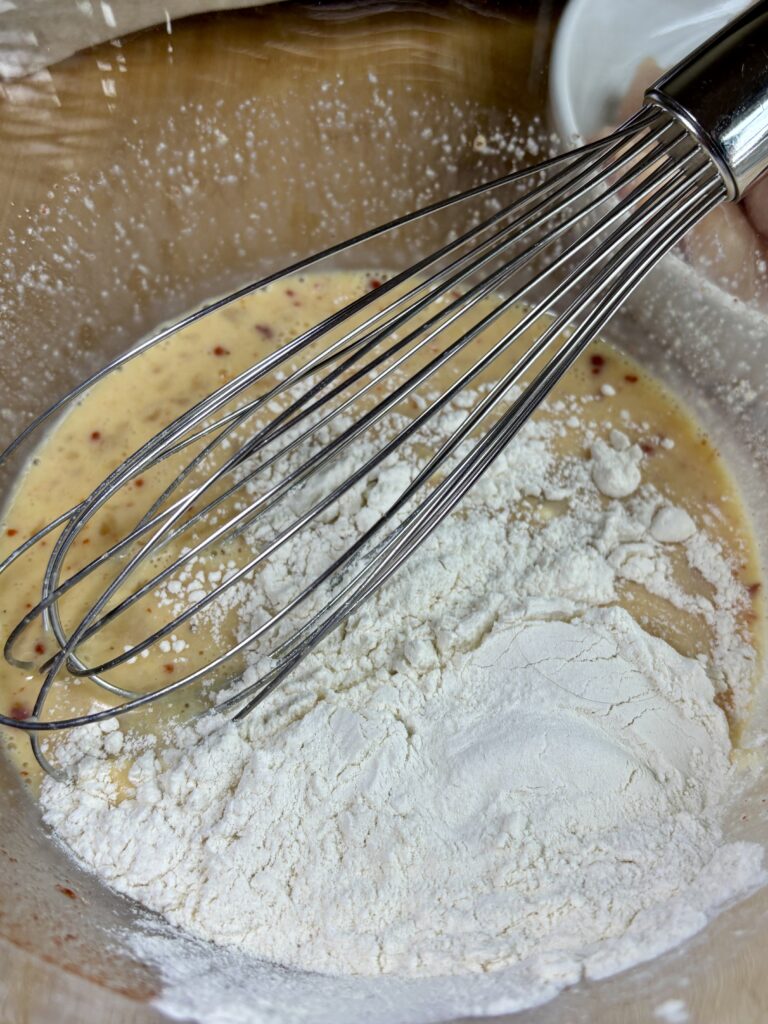
- In a medium bowl, whisk together the eggs, whole milk, club soda, flour, kosher salt, garlic powder, onion powder, paprika, cinnamon, and black pepper until smooth.
- In a shallow bowl, stir together the shredded coconut, panko breadcrumbs, kosher salt, garlic powder, and onion powder.
- Add about 1 to 1½ inches of neutral oil to a heavy-bottomed skillet, or Dutch oven. Heat the oil to 325-350°F.
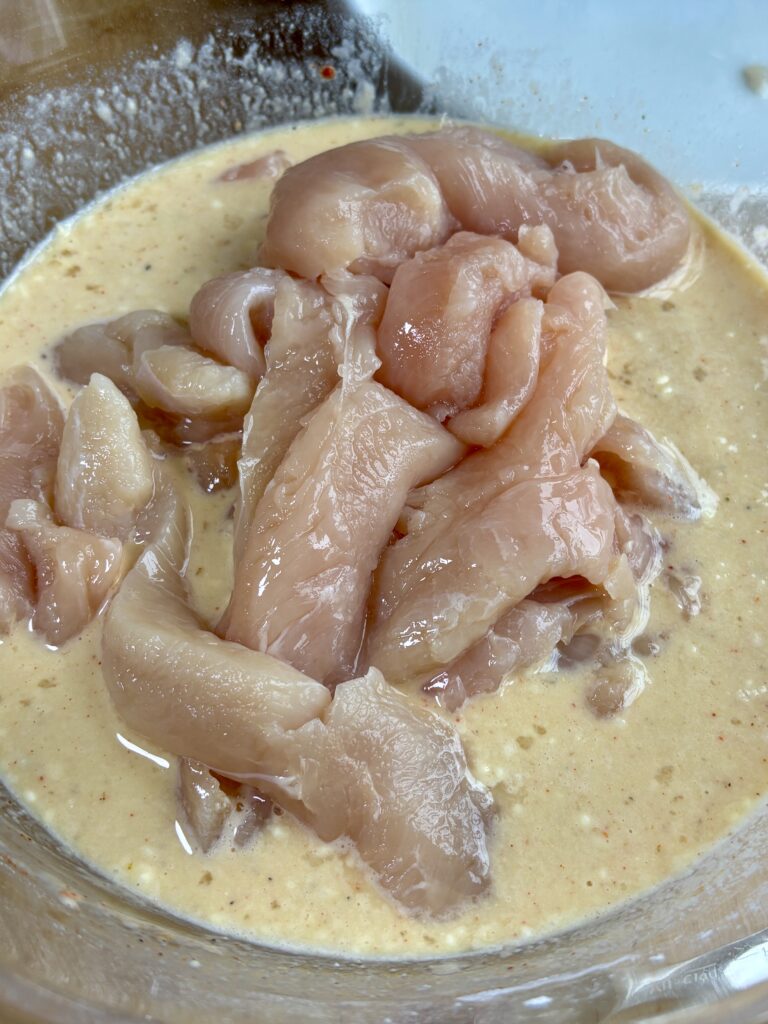
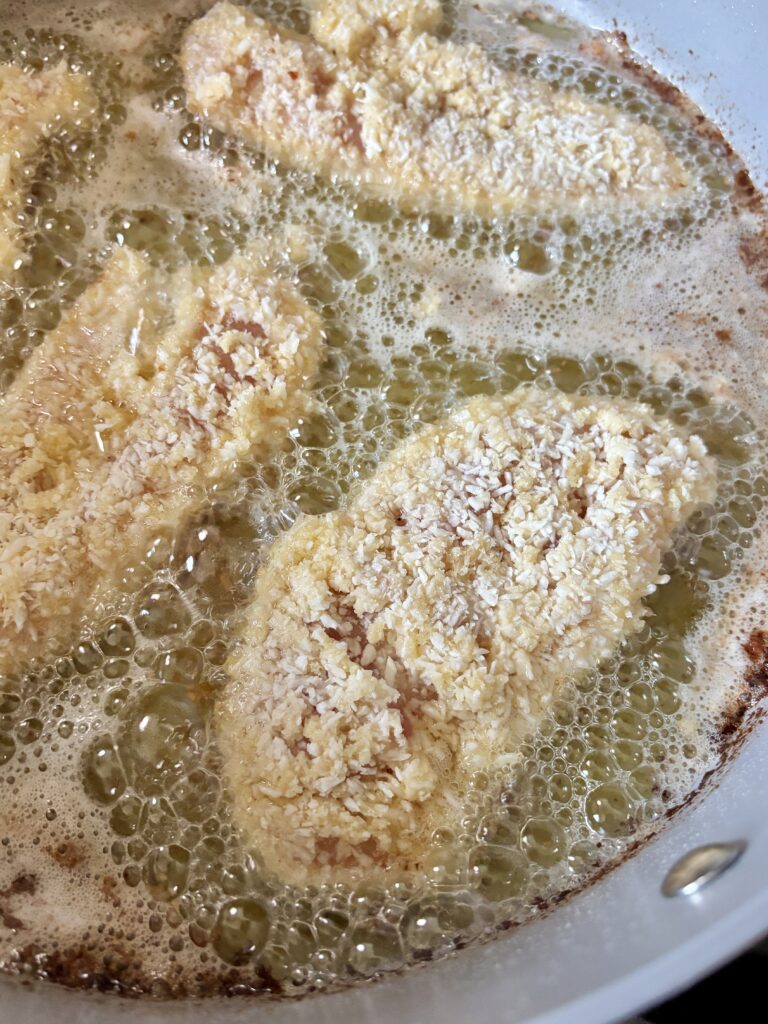
- Dip each chicken tender into the batter, allowing the excess to drip off. Transfer it to the coconut-panko mixture and gently press and turn the chicken so the coating adheres well on all sides.
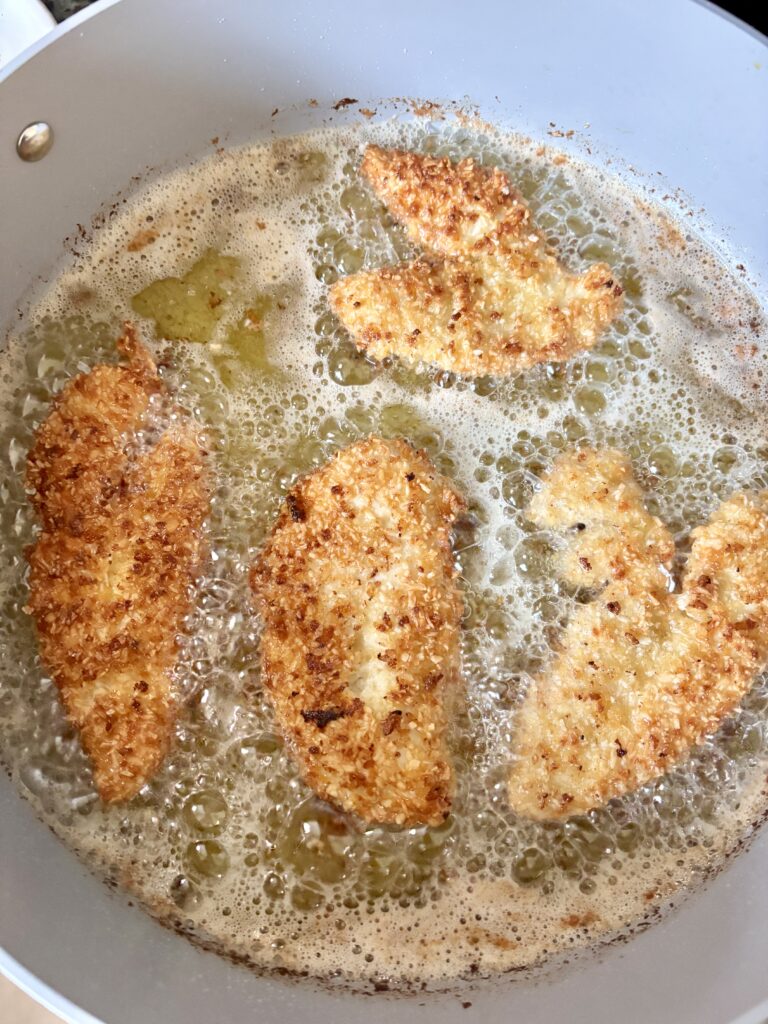
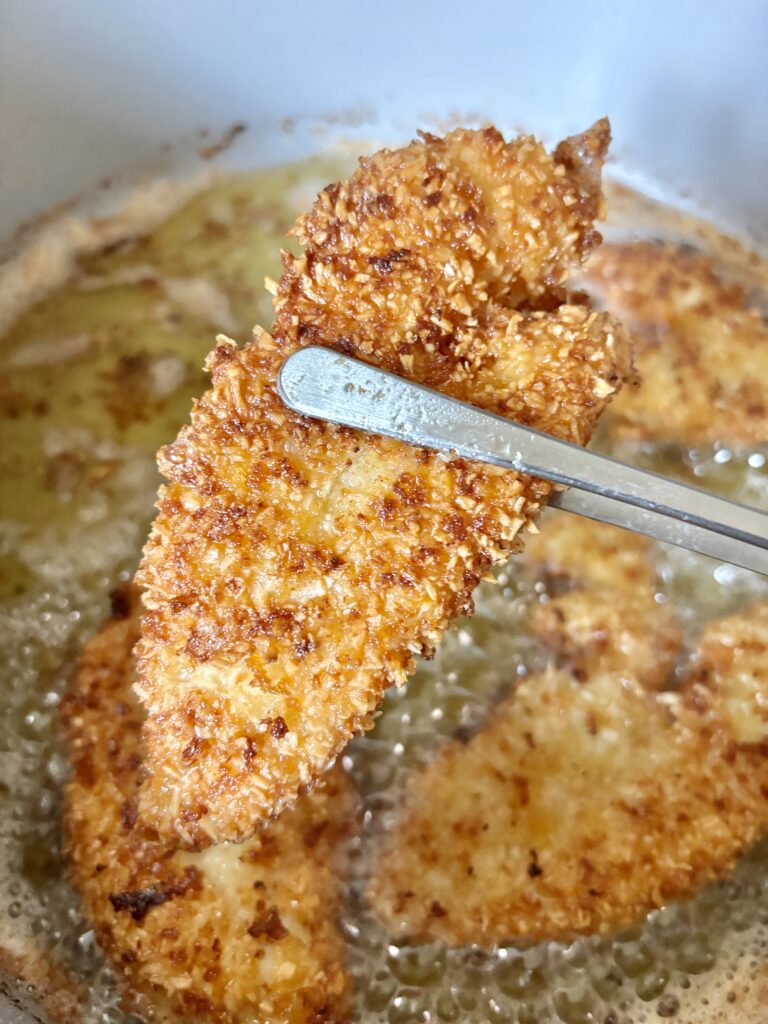
- Working in batches, carefully lower the coated chicken tenders into the hot oil. Fry for about 3–4 minutes per side, or until deeply golden brown, crisp, and the internal temperature reaches 165°F.
- Adjust the heat as needed to keep the oil between 325-350°F. Coconut can brown quickly, so don’t allow the oil to get too hot.
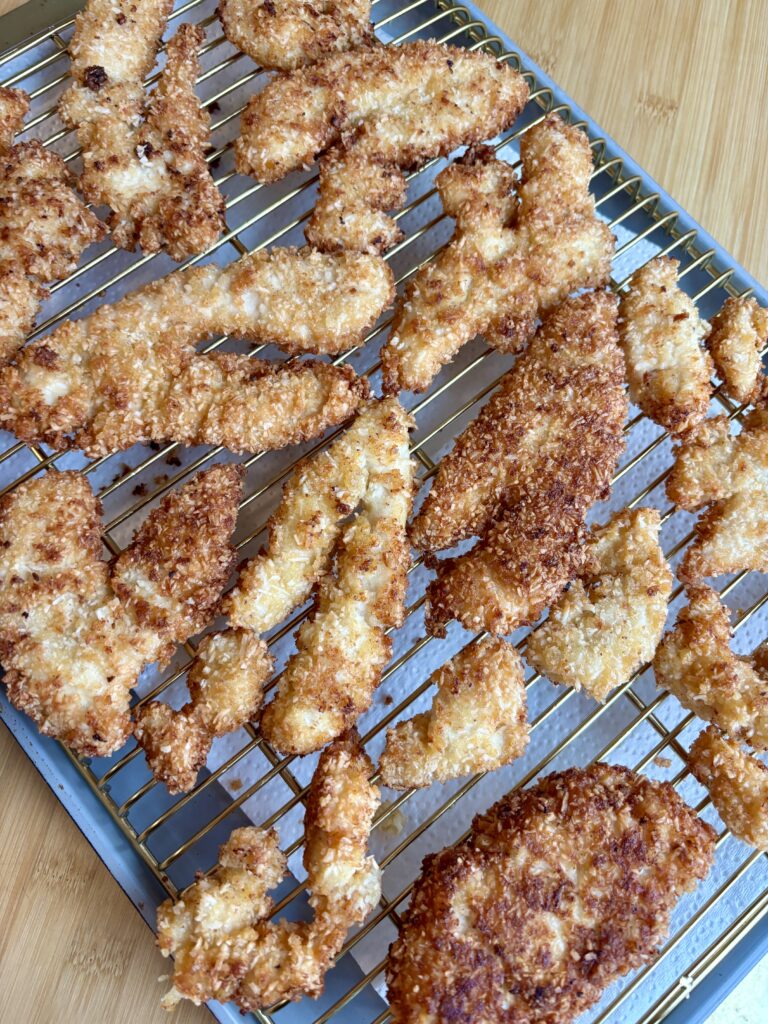
- Transfer the cooked chicken tenders to a paper towel-lined plate or, preferably, a wire rack. Let them cool for a minute or two before serving. Serve warm with your favorite dipping sauce.
crispy coconut chicken tenders | coconut chicken tenders | fried coconut chicken | crispy coconut chicken | coconut crusted chicken tenders | fried chicken tenders | homemade chicken tenders | crispy fried chicken tenders | coconut crusted chicken | panko coconut chicken | crispy chicken tender recipe | easy chicken tender recipe | family friendly chicken dinner | coconut chicken recipe | coconut chicken chicken tenders with sweet chili sauce | homemade crispy chicken | fried chicken with coconut | coconut panko chicken | easy fried chicken recipe

Nutritional Content Disclaimer
I choose not to include nutritional information with my recipes, as these values can be calculated from the ingredients provided. With my background as a pediatric nurse practitioner and my own family experience with disordered eating, I understand how focusing on numbers can affect our relationship with food. My philosophy is that all foods have a place—sweet, savory, nourishing, or indulgent. I aim to share recipes that support a healthy, joyful approach to eating. My hope is that this space also encourages a balanced, healthy relationship with food for you and your family too.