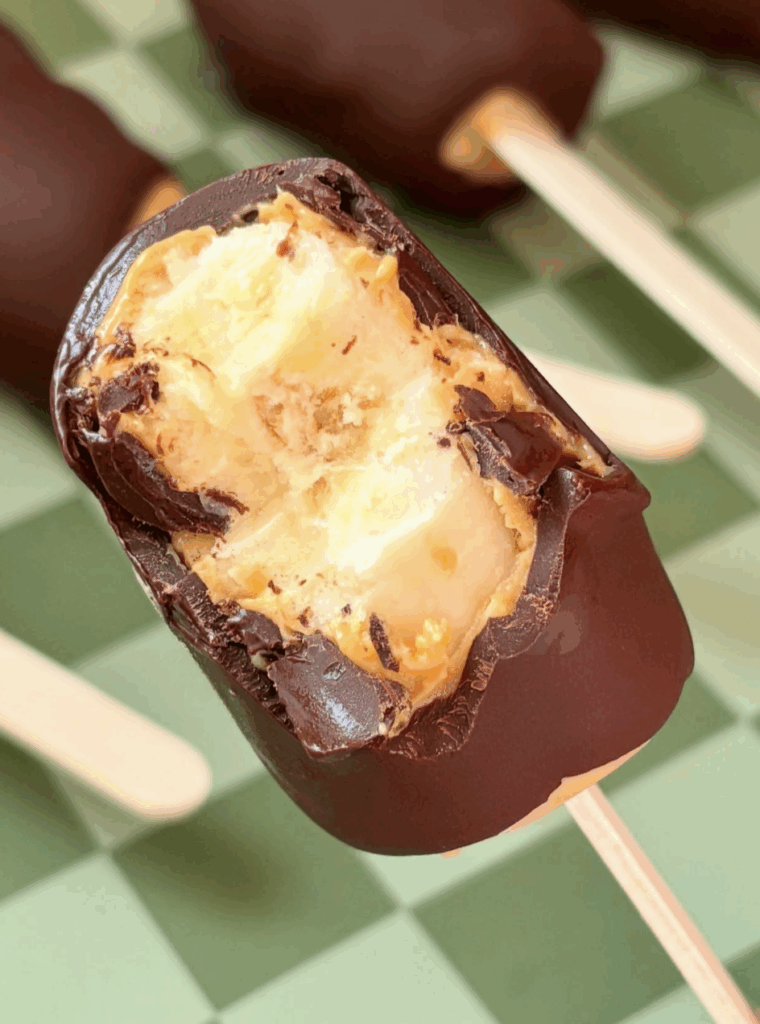
If you’re looking for a simple, satisfying way to curb your sweet tooth without turning on the oven, these Chocolate Peanut Butter Banana Pops are about to become your new favorite go-to. Made with just three wholesome ingredients, these frozen treats strike the perfect balance between creamy, crunchy, and chocolatey, while still feeling light and nourishing.
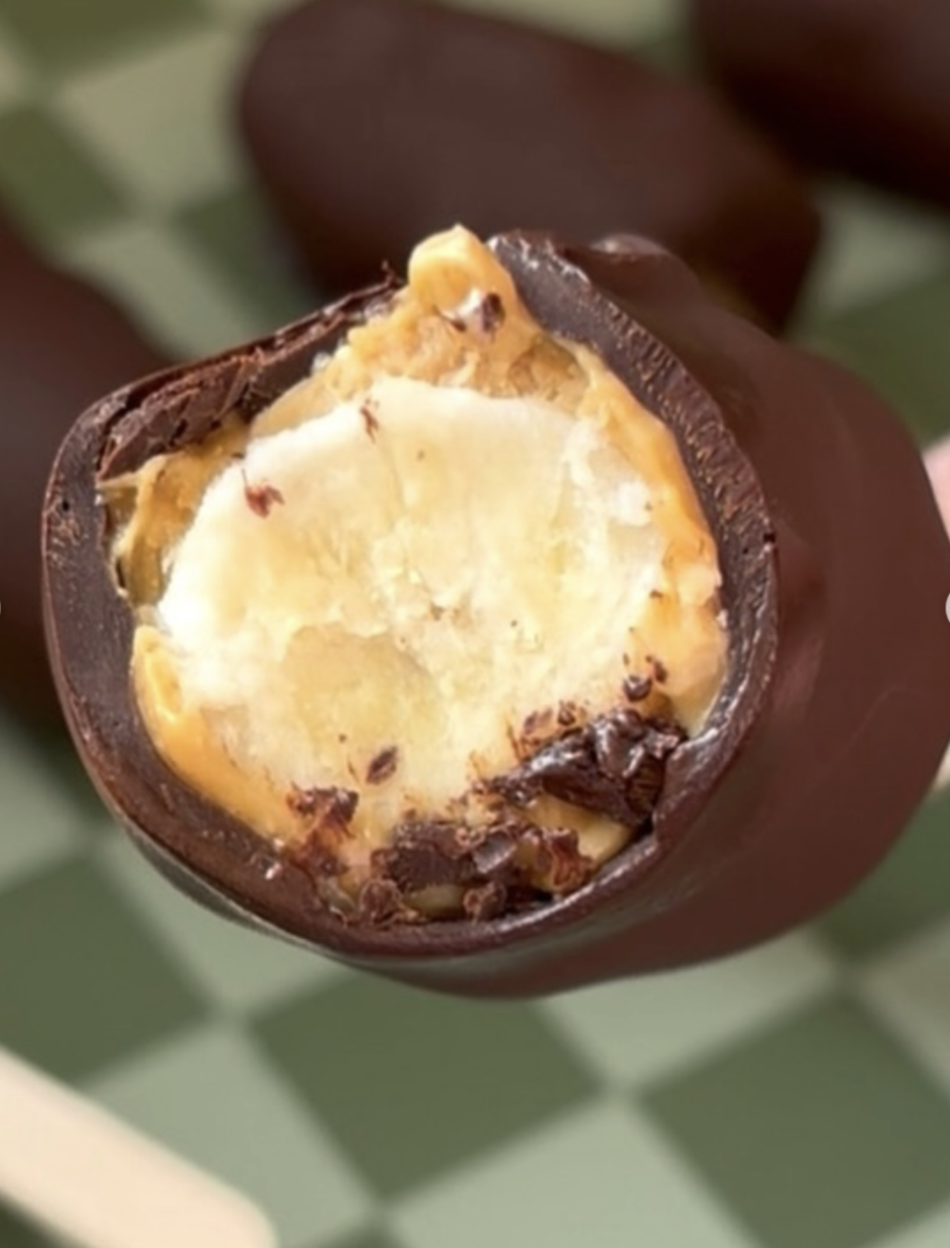
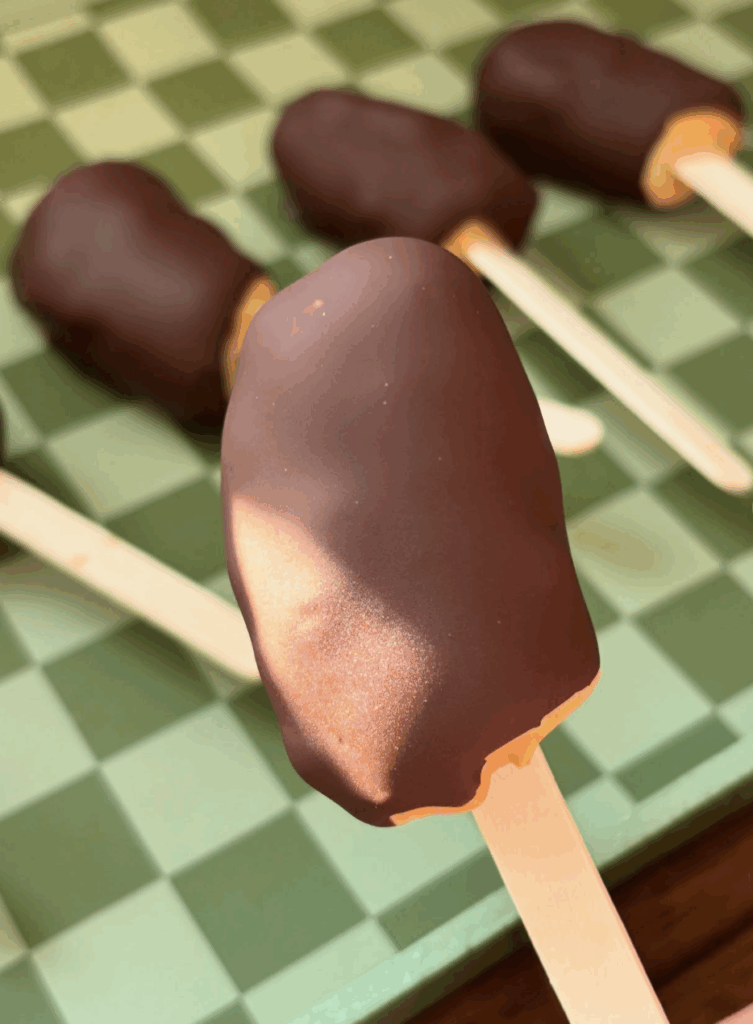
They’re everything you want in a dessert: easy, fun to eat, and secretly better for you than most store bought options. The natural sweetness of ripe bananas, paired with rich, crunchy peanut butter and a crisp dark chocolate shell, creates that classic flavor combo we all love (just in a refreshing frozen form).
Whether you’re stocking your freezer for after school snacks, prepping ahead for warm weather cravings, or just want a quick dessert you can feel good about, these banana pops deliver every time. Plus, anything on a stick just feels instantly more fun!

Why you’ll love this recipe!
What ingredients do I need?
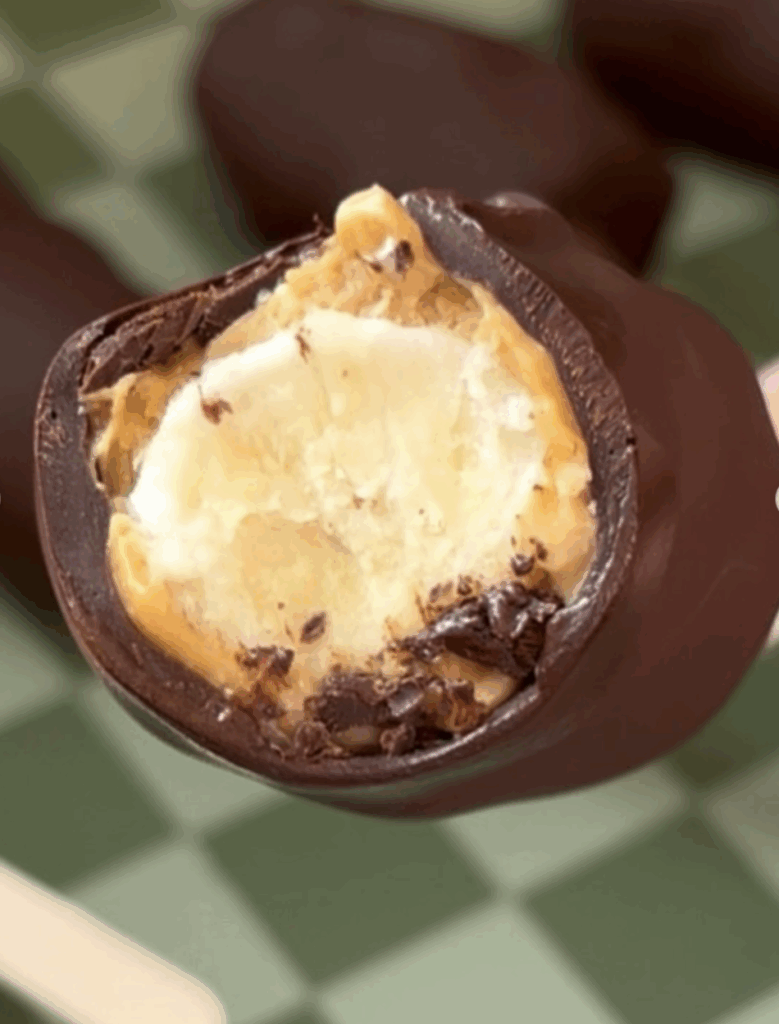
- Bananas: The star of this recipe. Use ripe (but not overly soft) bananas for the best natural sweetness and texture.
- Chunky Peanut Butter: Adds richness, protein, and that irresistible crunch. Melting it makes dipping smooth and easy. Any chunky (or smooth) peanut butter works, but my favorite is from One Trick Pony.
- Dark Chocolate: Creates that crisp outer shell. Dark chocolate balances the sweetness and gives a more elevated flavor.
- Coconut Oil (Optional): A small amount mixed into the melted chocolate helps create a smoother, more fluid consistency, which can make dipping easier. Giving you that thin, even chocolate shell that sets beautifully.

Recipe Variations
- Roll in crushed nuts, granola, or toasted coconut flakes after dipping in chocolate.
- Instead of peanut butter, try using pistachio butter/spread! Make your own Pistachio Butter or Pistakio has a great one!
- Drizzle with leftover extra peanut butter or more chocolate!
- Add a layer of Greek yogurt before freezing for a protein boost.
- Use mini banana slices to dip instead for bite sized treats.
Pro Tips
- Use ripe, but firm bananas for the best texture (too soft will be hard to dip).
- Use popsicle sticks, like these, for easy eating and dipping!
- Freeze after peanut butter coating first, this will help the chocolate set instantly and also won’t mix weirdly with the peanut butter.
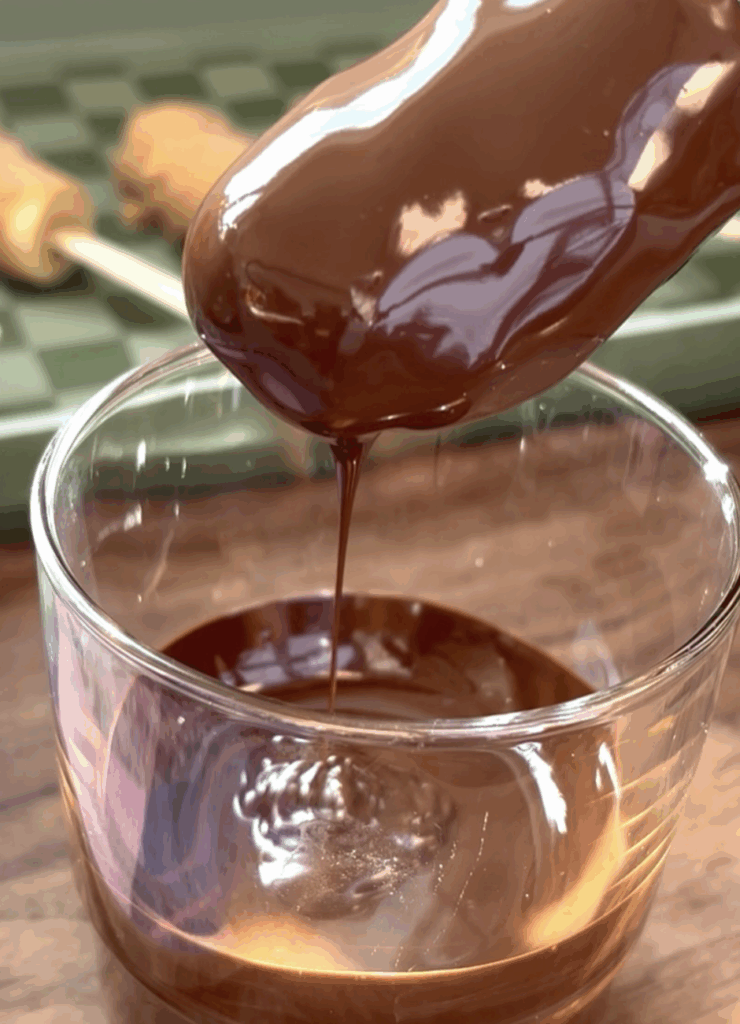
- Use a tall glass for dipping to get smooth, even coatings
- Add 1–2 teaspoons coconut oil to your chocolate for silky smooth dipping. Use my how to melt chocolate guide for more help.
- Let the chocolate cool slightly before dipping so it doesn’t melt the peanut butter layer.
- Line your baking sheet with parchment paper or silicone to prevent sticking.
- Work quickly when dipping in chocolate. The bananas thaw fast.
- Double batch it! You’ll go through these faster than you think.
Can I Substitute?
Yes! Like always though, any substitutions made to the recipe can result in a change in texture and/or flavor.
- Peanut Butter: Almond butter, cashew butter, pistachio butter, or sunflower seed butter
- Dark Chocolate: Milk chocolate, semi-sweet chocolate, or white chocolate
- Chunky Peanut Butter: Creamy peanut butter (for a smoother coating)
- Coconut Oil: Can be omitted, but highly recommended for easier dipping
Dietary Substitutions
- Dairy Free: Naturally dairy free if using dairy free chocolate
- Gluten Free: This recipe is naturally gluten free
- Refined Sugar Free: Use refined sugar free chocolate
- Vegan: Ensure your chocolate is vegan friendly
- Nut Free: Substitute with sunflower seed butter!
Leftovers and Storage
- Store banana pops in an airtight container or freezer-safe bag for up to 2-3 weeks.
- Enjoy straight from the freezer for the best texture.
But, I Still Have A Few Questions…
Do I have to use coconut oil?
No, but it’s highly recommended. It helps thin the chocolate, making it much easier to dip and giving you a smoother, more even coating.
Can I use frozen bananas to start?
No, fresh bananas work best for inserting the popsicle sticks and coating properly before freezing.
Why do I need to freeze twice?
The first freeze sets the peanut butter layer, allowing the chocolate to harden quickly and evenly.
How long do these last in the freezer?
They’ll stay fresh for up to 2-3 weeks when stored in an airtight container.
Why is my chocolate too thick?
Adding the coconut oil will help thin it out and make dipping easier.
Can I make these nut-free?
Yes! I would recommend using sunflower seed butter or another nut-free alternative.
Other Recipes You’ll Love
Let’s engage!
Make sure to tag @thehomechefmomma on Instagram or Facebook, and leave a review or comment if you make these. I always get so excited to see your creations, variations of the recipe, and feedback! Just remember to be kind in your comments, there is still a person behind this screen! 🙂
Chocolate Peanut Butter Banana Pops
Ingredients
- 2 bananas cut into 3 pieces
- ½ cup chunky peanut butter melted
- 6 oz dark chocolate melted
- 1 –2 tsp coconut oil optional, for smoother dipping
Instructions
- Cut bananas into three pieces and insert a popsicle stick into each piece, being careful not to push all the way through.
- Pour melted peanut butter into a tall glass. Dip each banana piece into the peanut butter, allowing excess to drip off. Place onto a parchment or silicone-lined baking sheet.
- Freeze for at least 4 hours, or until fully firm.
- Melt the dark chocolate and stir in coconut oil (if using) until smooth. Transfer to a tall glass.
- Dip each frozen banana into the chocolate, gently shaking off excess.
- Place back onto the baking sheet and freeze again until set.
- Store in the freezer and enjoy straight from frozen!
chocolate peanut butter banana pops | frozen banana pops | healthy frozen dessert | banana peanut butter chocolate recipe | easy no bake treats | healthy sweet snacks | frozen banana recipes | kid friendly frozen treats | 3 ingredient dessert | healthy dessert ideas | banana pops with coconut oil
Nutritional Content Disclaimer
I choose not to include nutritional information with my recipes, as these values can be calculated from the ingredients provided. With my background as a pediatric nurse practitioner and my own family experience with disordered eating, I understand how focusing on numbers can affect our relationship with food. My philosophy is that all foods have a place—sweet, savory, nourishing, or indulgent. I aim to share recipes that support a healthy, joyful approach to eating. My hope is that this space also encourages a balanced, healthy relationship with food for you and your family too.