
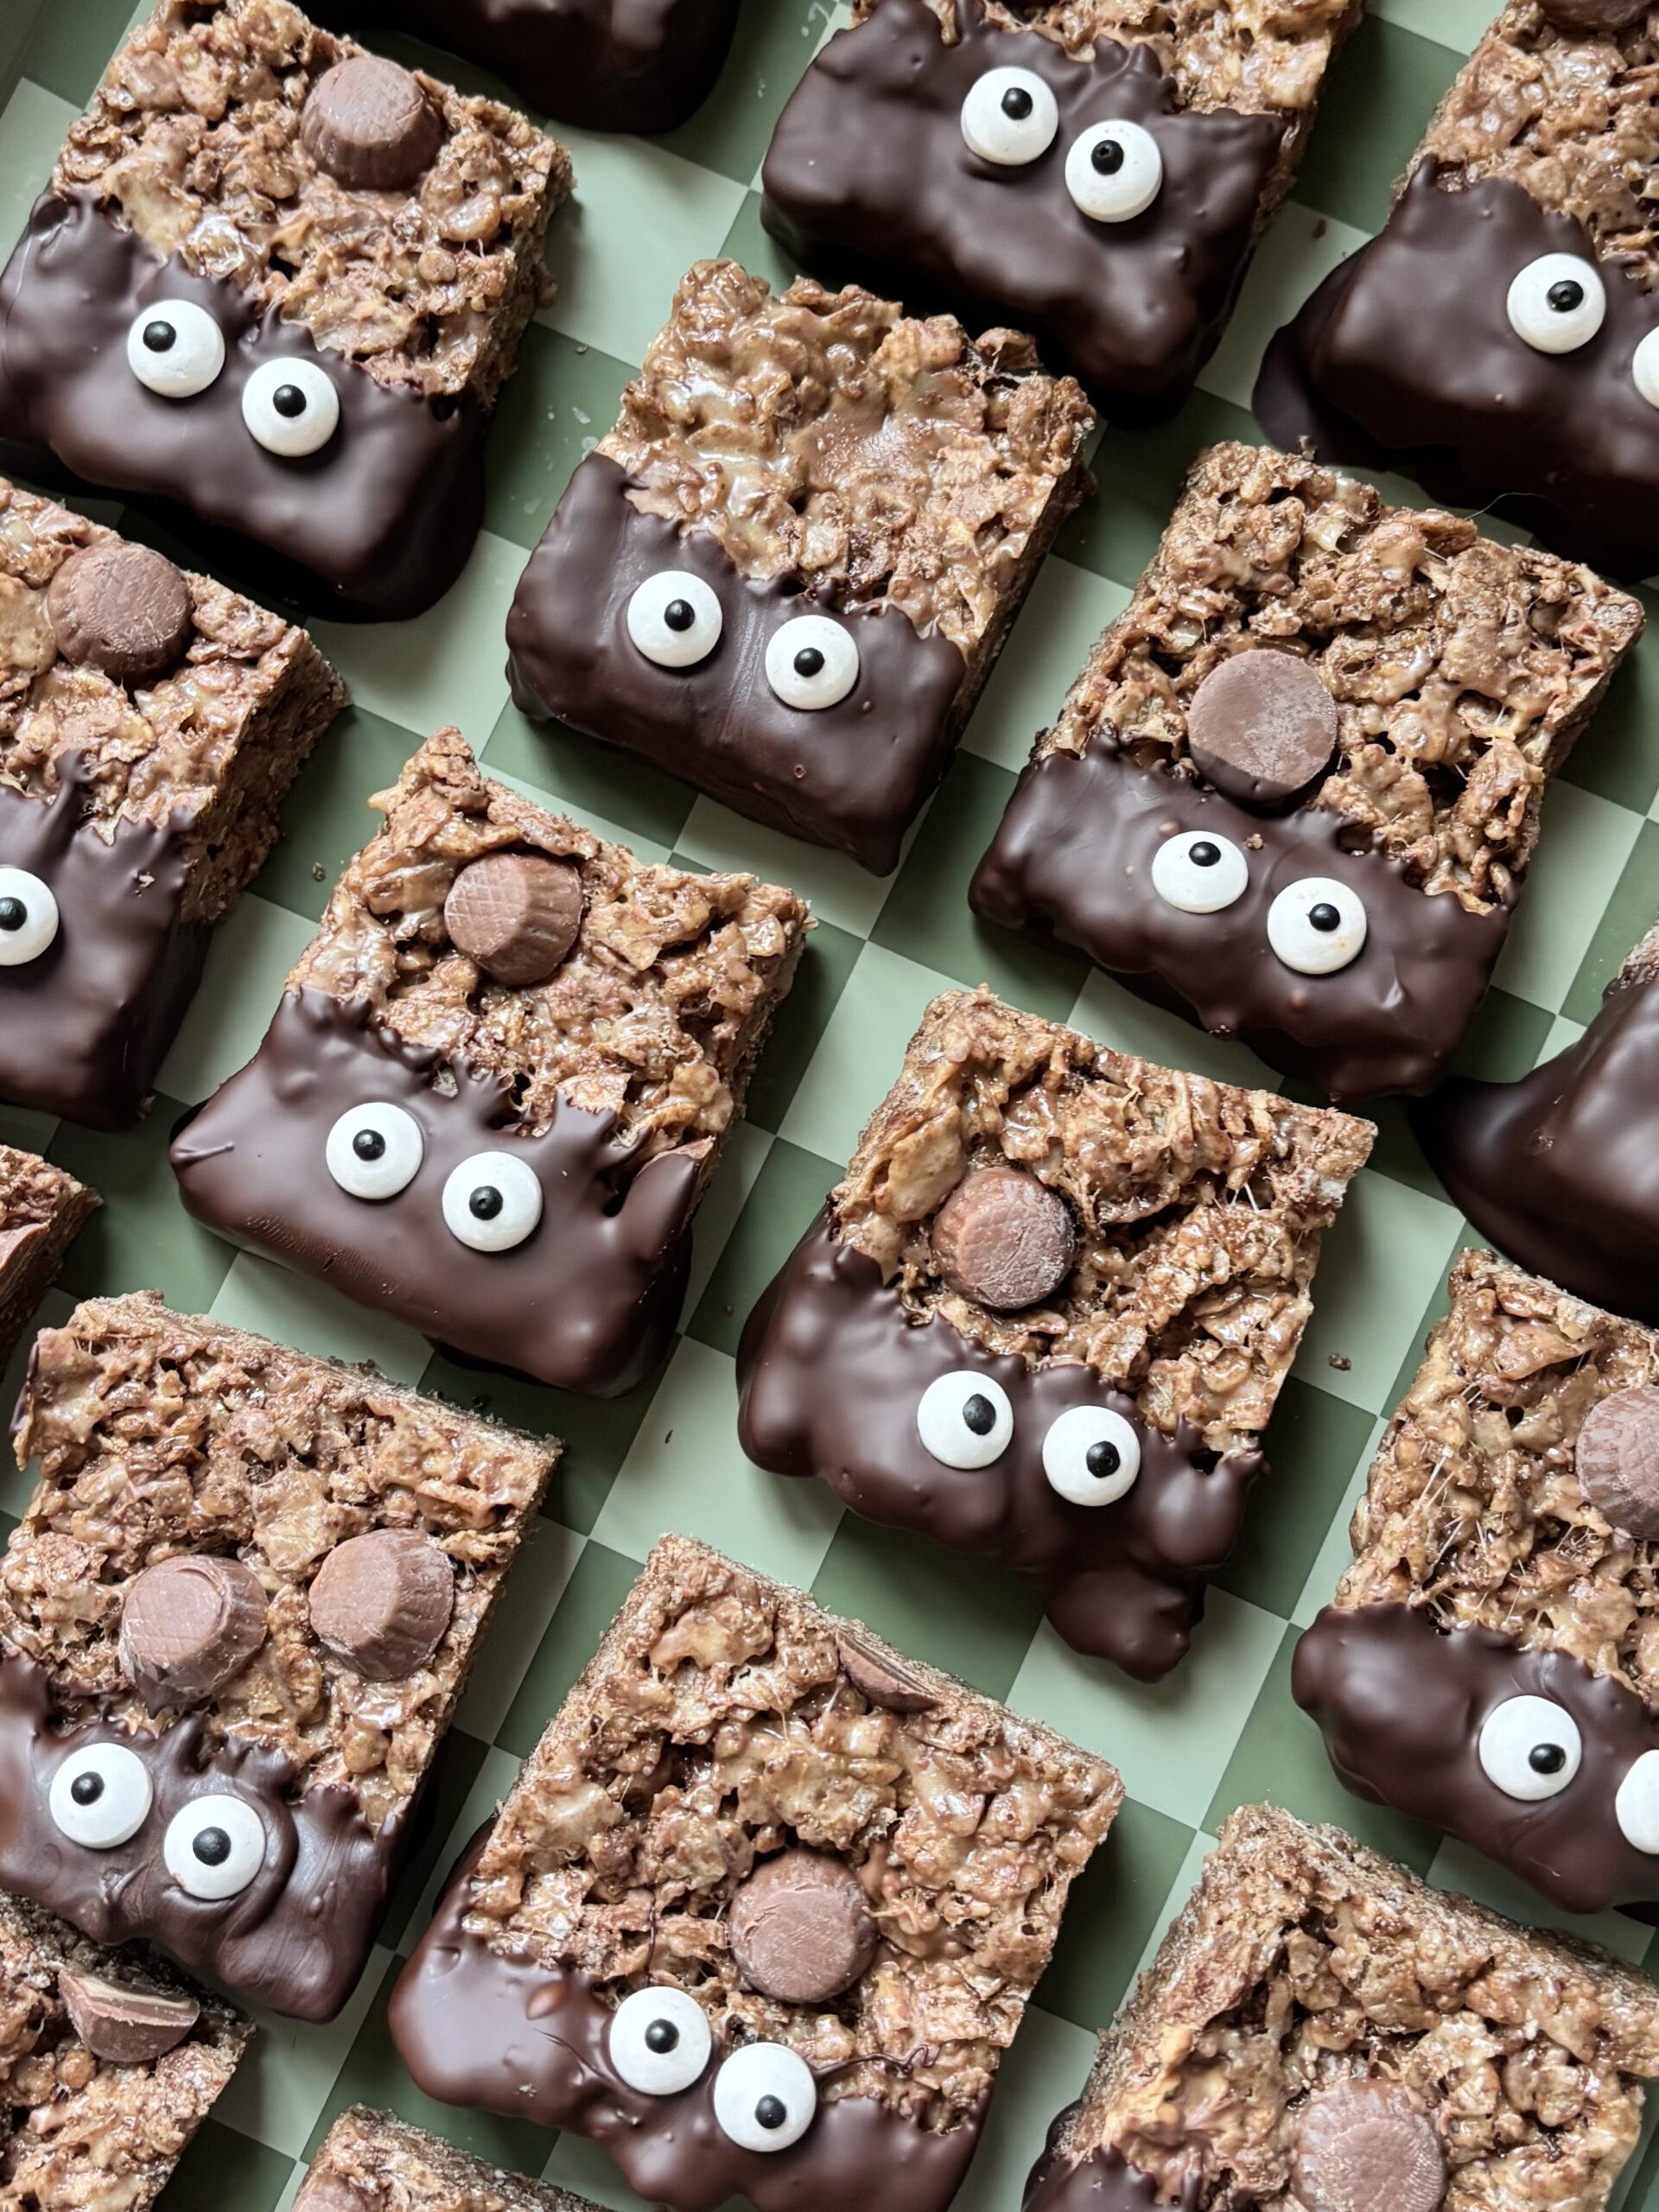
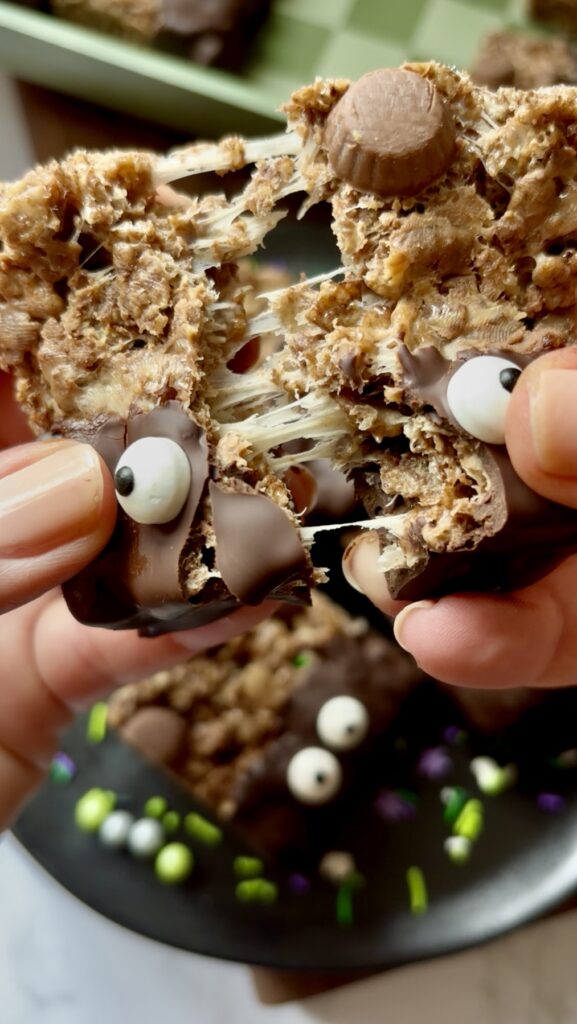
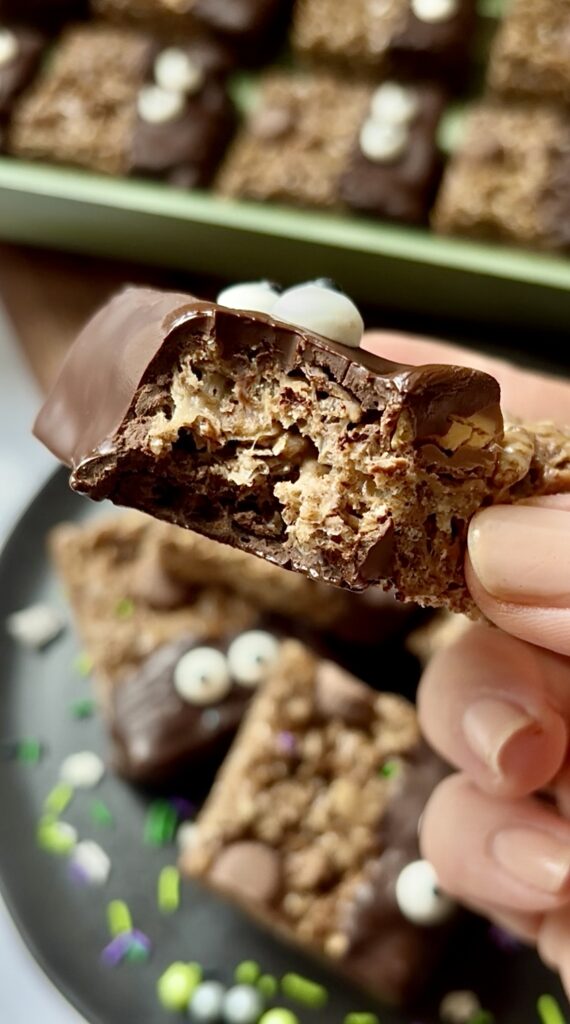
These Chocolate Peanut Butter Rice Krispie Treats take the classic crispy cereal treat and give it a serious chocolate and peanut butter upgrade. They’re gooey, crunchy, loaded with mini peanut butter cups, dipped in dark chocolate, and finished with fun sprinkles or candy eyes.
Plus, they’re ridiculously easy to make!
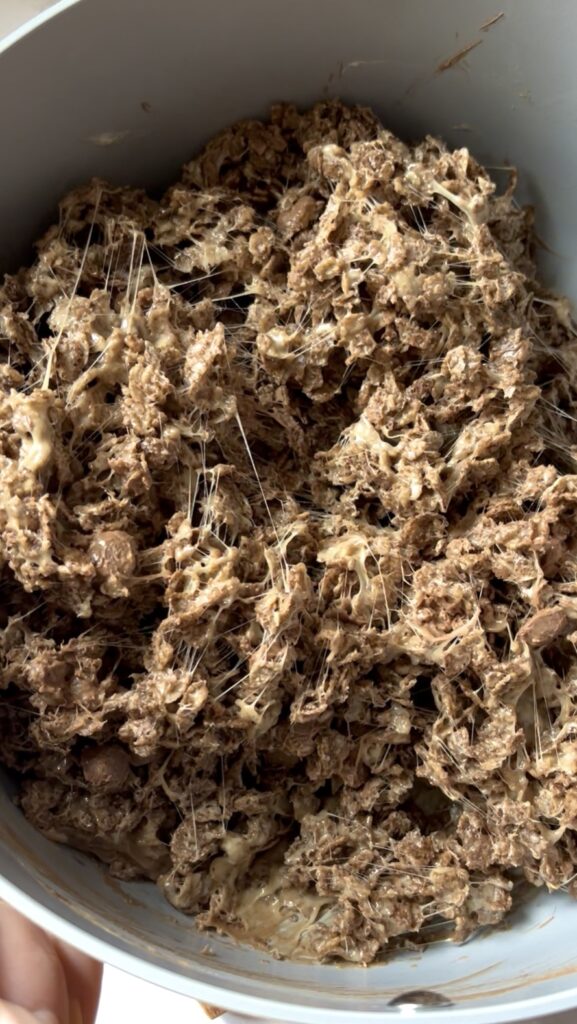
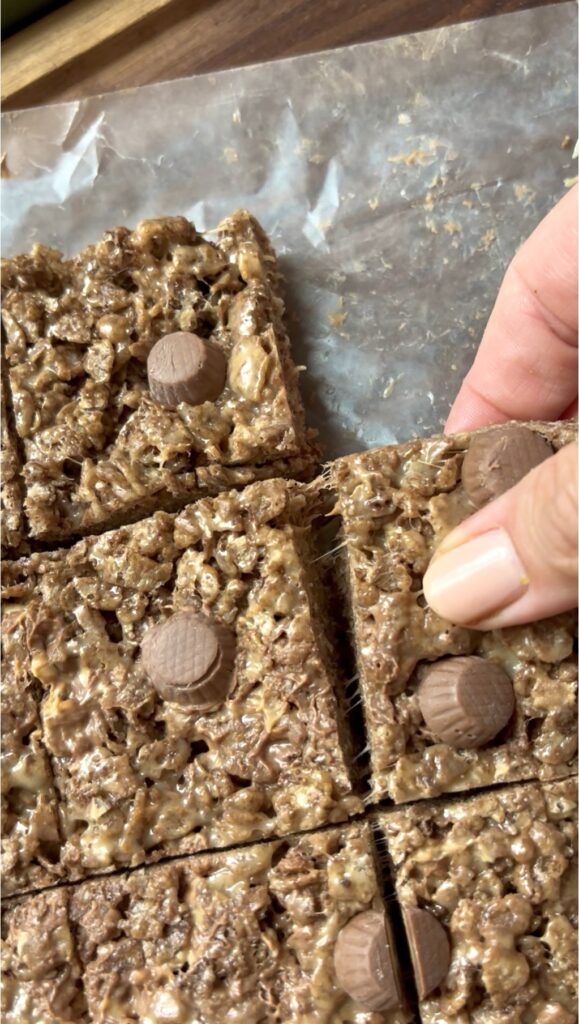
Instead of making traditional Rice Krispie treats, this version starts with crispy cocoa rice cereal and a gooey mixture of melted marshmallows, butter, and peanut butter. Mini peanut butter cups get folded right into the cereal mixture, so you get little pockets of chocolate and peanut butter throughout every bite.
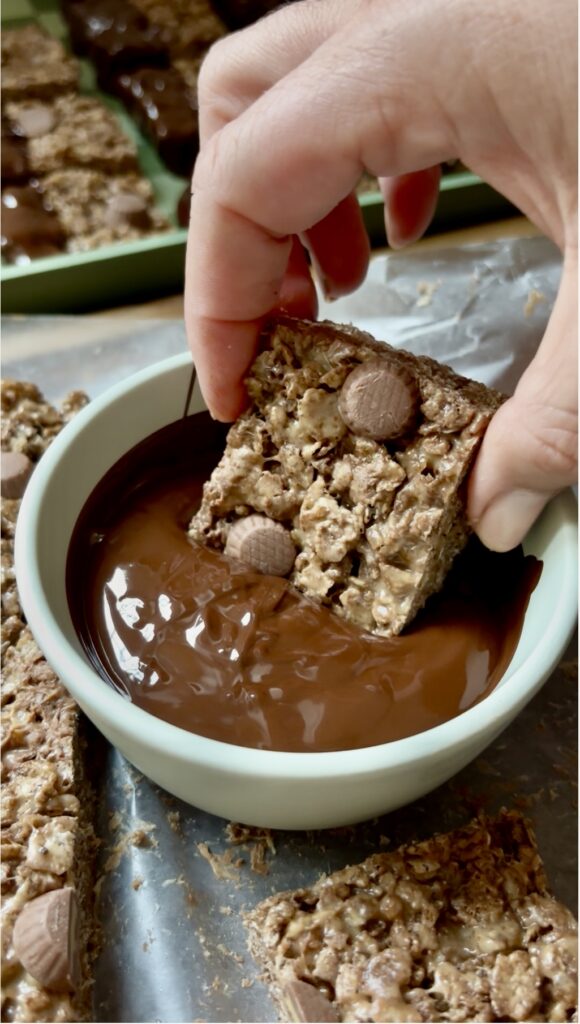
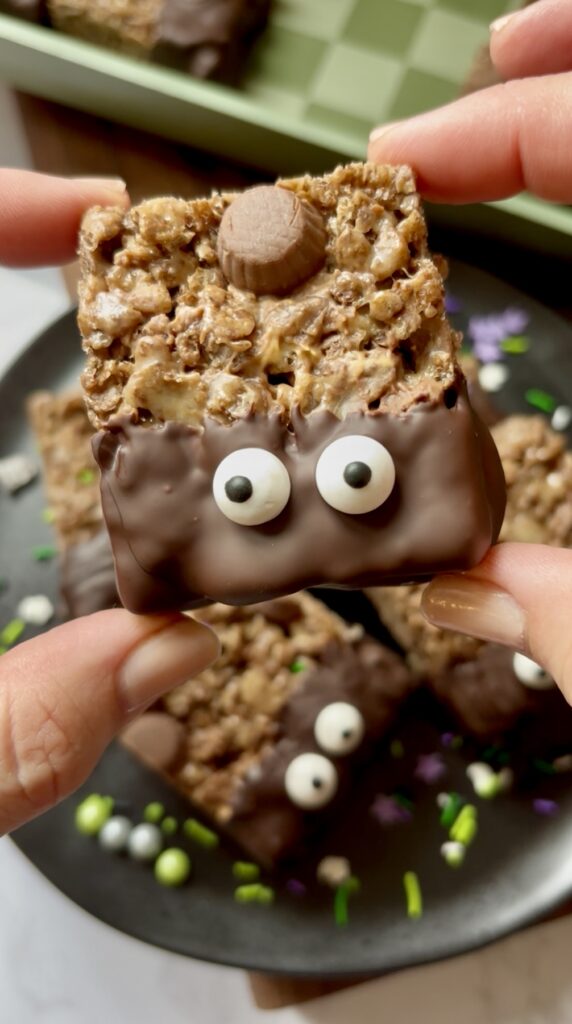
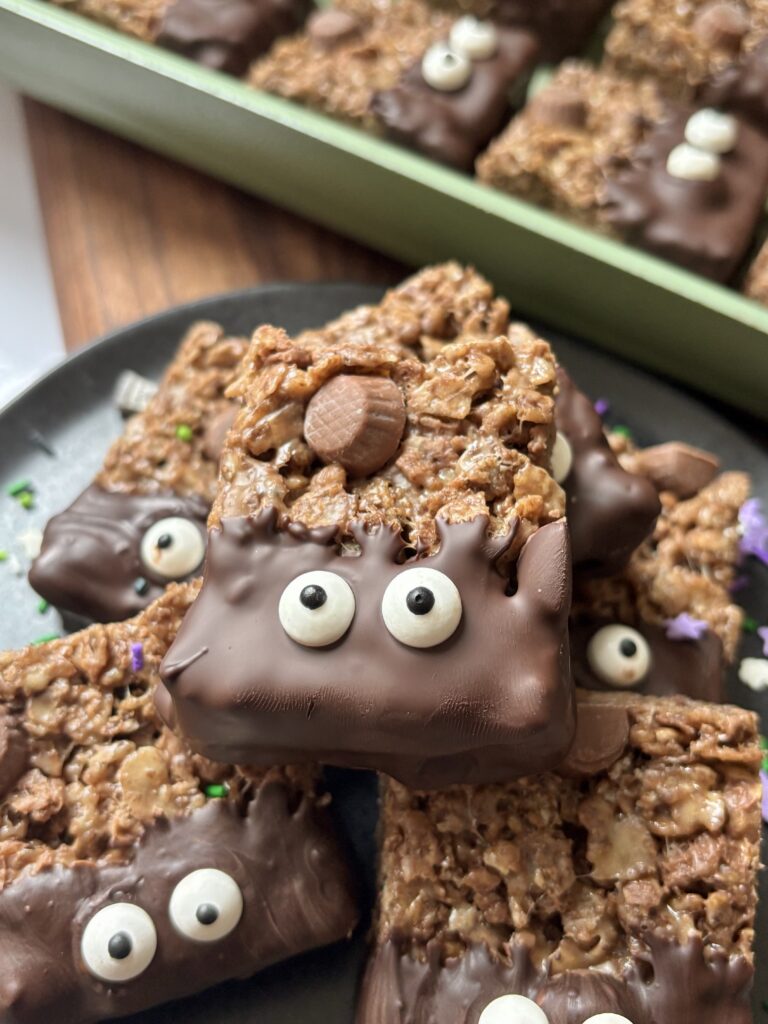
Then comes the best part. Once the treats are cut, they’re dipped in melted dark chocolate. Add some sprinkles or candy eyes before the chocolate sets, and you’ve got a fun treat that’s perfect for Halloween parties, school celebrations, bake sales, holiday dessert tables, or just having fun with the kids.
I love using dark chocolate here because it balances the sweetness of the marshmallow mixture and peanut butter cups, but you could absolutely use milk or semi-sweet chocolate if that’s what you prefer.
And don’t feel like these need to be reserved for Halloween! Skip the candy eyes and use your favorite seasonal sprinkles for birthdays, Christmas, Valentine’s Day, or any time you need an easy chocolate peanut butter treat.
Why you’ll love this recipe!
What ingredients do I need?
- Unsalted butter: Butter adds richness to the marshmallow mixture and helps create that soft, chewy texture. I use unsalted butter so the overall sweetness and saltiness can be controlled.
- Peanut butter: Peanut butter gives the marshmallow mixture a creamy peanut butter flavor and makes these treats taste much more like a chocolate peanut butter dessert than a traditional crispy cereal treat.
- Mini marshmallows: These melt into the butter and peanut butter to create the gooey mixture that holds the cereal together. Mini marshmallows melt quickly and evenly, making them especially convenient for this recipe.
- Vanilla extract: Vanilla rounds out the flavors and adds a little warmth.
- Crispy cocoa rice cereal: Cocoa-flavored crispy rice cereal gives these treats their chocolate base and adds plenty of crunch. It also makes the finished treats look extra chocolatey before you even add the chocolate coating.
- Mini peanut butter cups: These little peanut butter cups add pockets of chocolate and peanut butter throughout the cereal treats. You can also chop regular-size peanut butter cups into smaller pieces.
- Dark chocolate: Melted dark chocolate is used to dip the bottoms of the treats. Its slightly bittersweet flavor helps balance the sweetness of the marshmallows and peanut butter cups.
- Candy eyes: Completely optional, but so much fun for Halloween! They turn these simple treats into little chocolate peanut butter monsters.
- Sprinkles: Use any sprinkles you like to customize these for the occasion. Halloween sprinkles, seasonal colors, or even simple chocolate sprinkles would all work.
Recipe Variations
- White Chocolate Twist: Dip the bars in melted white chocolate instead of dark, or drizzle it over the top for a gorgeous contrast and extra sweetness.
- Almond Butter Version: Try it using almond butter in place of the peanut butter!
- Nut-Free Option: Use sunflower seed butter or cookie butter in place of peanut butter, and skip the peanut butter cups. You’ll still get that rich, creamy texture with a fun twist.
- Extra Crunchy Treats: Mix in chopped pretzels, use crunchy peanut butter, or even toffee bits for added crunch and flavor. It’s a great way to make each bite extra special.
- Halloween Chocolate Peanut Butter Treats: Use candy eyes and Halloween sprinkles to turn the chocolate-dipped treats into fun little monster treats. This is an especially easy Halloween dessert for kids to help decorate.
- Holiday Chocolate Peanut Butter Treats: Skip the candy eyes and use seasonal sprinkles instead. Red and green for Christmas, pastel sprinkles for Easter, or festive colors for birthdays all work.
- Extra Peanut Butter: For an even stronger peanut butter flavor, add additional mini peanut butter cups to the top of the treats before chilling.
- Milk Chocolate Peanut Butter Treats: Swap the dark chocolate for milk chocolate if you prefer a sweeter chocolate coating.
- Semi-Sweet Chocolate Peanut Butter Treats: Semi-sweet chocolate gives you a middle ground between dark and milk chocolate and works especially well with the sweet marshmallow mixture.
Pro Tips
- Use fresh marshmallows. Older marshmallows don’t melt as smoothly and can make your treats dry instead of gooey.
- Grease your spatula! The marshmallow mixture is sticky! A lightly greased spatula makes pressing the cereal mixture into the pan much easier.
- Don’t overcook the marshmallows. Melt the butter, peanut butter, and marshmallows over medium-low heat and stir frequently. Once everything melts and turns smooth, remove the pot from the heat. Work quickly after adding the cereal. Stir in the cocoa cereal and peanut butter cups, then immediately transfer the mixture to the prepared pan while it’s still easy to spread.
- Don’t smash the cereal treats too firmly. Press the mixture firmly enough that the treats hold together, but avoid aggressively compacting them. You want them chewy and crispy rather than dense and hard.
- Chill before cutting and dipping. The recipe calls for chilling the treats while the chocolate melts. This helps them firm up and makes the dipping process much easier.
- Add extra peanut butter cups to the top. Pressing a few additional mini peanut butter cups into the top makes the finished treats look extra loaded and gives you even more peanut butter cup flavor.
- Let the chocolate set before serving. Refrigerating the dipped treats gives the chocolate time to harden so you get that satisfying chocolate shell around the bottom.
- Use different decorations depending on the occasion. Candy eyes make these adorable for Halloween, but don’t let that limit you. Seasonal sprinkles can turn the exact same recipe into a treat for almost any celebration.
- Add the eyes (or other sprinkles) right away after dipping them in chocolate. If decorating with candy eyes or sprinkles, press them on before the chocolate hardens so they stick perfectly.
Can I Substitute?
Yes! Like always though, any substitutions made to the recipe can result in a change in texture and/or flavor.
- Peanut Butter: Creamy peanut butter is the easiest choice for this recipe, but you can try using cashew butter, sun butter, almond butter, etc.
- Mini Peanut Butter Cups: You can use mini peanut butter cups or chop regular-size peanut butter cups into smaller pieces.
- Dark Chocolate: If dark chocolate isn’t your preference, you can use another type of chocolate for dipping. Milk chocolate or semi-sweet chocolate would both pair well with the chocolate peanut butter treats.
- Candy Eyes: Candy eyes are completely optional. Leave them off or replace them with your favorite sprinkles depending on the occasion.
- Sprinkles: Use whatever sprinkles fit your event or holiday. The recipe is easy to customize with different colors and shapes.
Dietary Substitutions
- Vegetarian: The recipe is vegetarian as written based on the listed ingredients.
- Gluten-Free: If you need these to be gluten-free, check the packaging of the cocoa rice cereal, marshmallows, peanut butter cups, chocolate, and decorations to make sure each product is specifically labeled or confirmed gluten-free. Ingredients and manufacturing practices can vary by brand.
- Nut-Free: These are not nut-free because peanut butter and peanut butter cups are central ingredients in the recipe. You can omit the peanut butter cups and try making these with sun butter instead for a nut-free version. I have also seen sun butter cups which would be great to chop up and add in.
Leftovers and Storage
- Room temperature: Store the finished treats in an airtight container at room temperature once the chocolate has completely hardened. Keep them in a cool, dry place away from direct heat or sunlight so the chocolate coating stays firm. Enjoy within 3-4 days.
- For the best texture, avoid storing them somewhere warm, since the chocolate coating can soften and the marshmallow mixture can become stickier.
- Refrigerator: If your home is particularly warm or humid, then I would recommend storing them in an airtight container in the refrigerator for up to 3-4 days. Remove from the refrigerator and allow to come to room temperature before enjoying.
- If you’re making these for a party or holiday gathering, they’re a great make-ahead option because the treats can be assembled, dipped, decorated, and chilled before serving.
But, I Still Have A Few Questions…
Can I use regular Rice Krispies instead of cocoa rice cereal?
The recipe was developed with crispy cocoa rice cereal, so using regular crispy rice cereal will change the chocolate flavor of the finished treats. If you want a less chocolate-forward version, regular crispy rice cereal could be used.
Can I use regular-size peanut butter cups?
Yes! Chop regular peanut butter cups into smaller pieces before mixing them into the cereal mixture.
Can I use crunchy peanut butter?
The recipe calls for peanut butter but does not specify creamy or crunchy. Creamy peanut butter will give you the smoothest marshmallow mixture, while crunchy peanut butter would add additional texture.
Why are my Rice Krispie treats hard?
The recipe is designed to stay soft and chewy. Avoid cooking the marshmallows longer than necessary and don’t press the cereal mixture too firmly into the pan, as both can result in denser treats.
How do I keep the cereal mixture from sticking to my spatula?
Lightly grease the spatula before pressing the mixture into the pan. You can also use a piece of wax paper to gently press the mixture down.
Do I have to chill the treats before dipping them in chocolate?
Chilling helps the treats firm up, making them easier to cut and dip, so I recommend it.
Can I use milk chocolate instead of dark chocolate?
Yes. Milk chocolate can be used for the chocolate coating if you prefer a sweeter finish.
Can I use semi-sweet chocolate?
Yes. Semi-sweet chocolate is another good option for dipping the treats.
Can I skip the chocolate coating?
Yes. The treats will still be delicious without the chocolate dip, although you’ll miss the extra chocolate layer on the bottom.
What can I use instead of candy eyes?
Candy eyes are completely optional. Use your favorite sprinkles, or leave the treats plain.
Can I make these for something other than Halloween?
Absolutely! Change the sprinkles to match the holiday, birthday, party, or event you’re making them for.
Can kids help make these?
Yes! Decorating the chocolate-dipped treats with sprinkles and candy eyes is an especially fun part for kids. Just take care around the melted chocolate and hot marshmallow mixture.
Can I make these ahead of time?
Yes. These treats are well suited to making ahead because they don’t require baking and the chocolate coating can be allowed to fully set before storing.
Other Recipes You’ll Love
Let’s engage!
Make sure to tag @thehomechefmomma on Instagram or Facebook, and leave a review or comment if you make these. I always get so excited to see your creations, variations of the recipe, and feedback! Just remember to be kind in your comments, there is still a person behind this screen! 🙂
Double Chocolate Dipped Crispy Peanut Butter Cup Treats
Ingredients
- 2 tbsp unsalted butter
- 1/4 c peanut butter
- 1 bag mini marshmallows 10oz
- 1 tsp vanilla extract
- 6 c. crispy cocoa rice cereal
- 1 c. Mini peanut butter cups or chopped regular peanut butter cups
- 10 oz dark chocolate melted
- Candy Eyes optional, or any other sprinkles
Instructions
Make the Rice Krispie Treats
- Line a 9×13-inch baking pan with wax paper and set aside.
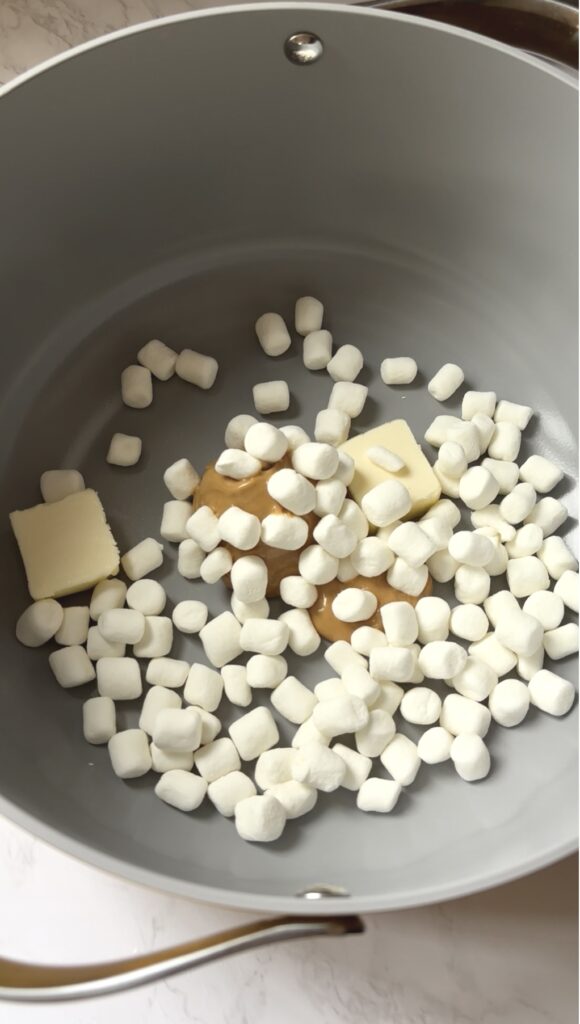
- In a large pot over medium-low heat, add the butter, peanut butter, and mini marshmallows.
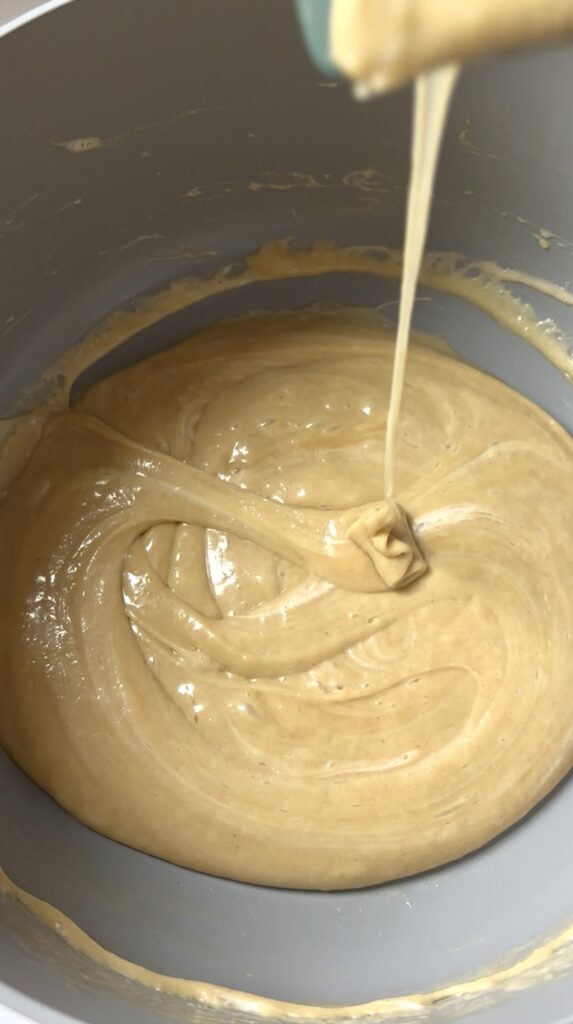
- Stir frequently and cook until the butter, peanut butter, and marshmallows are completely melted and smooth. Add in the vanilla and stir again.
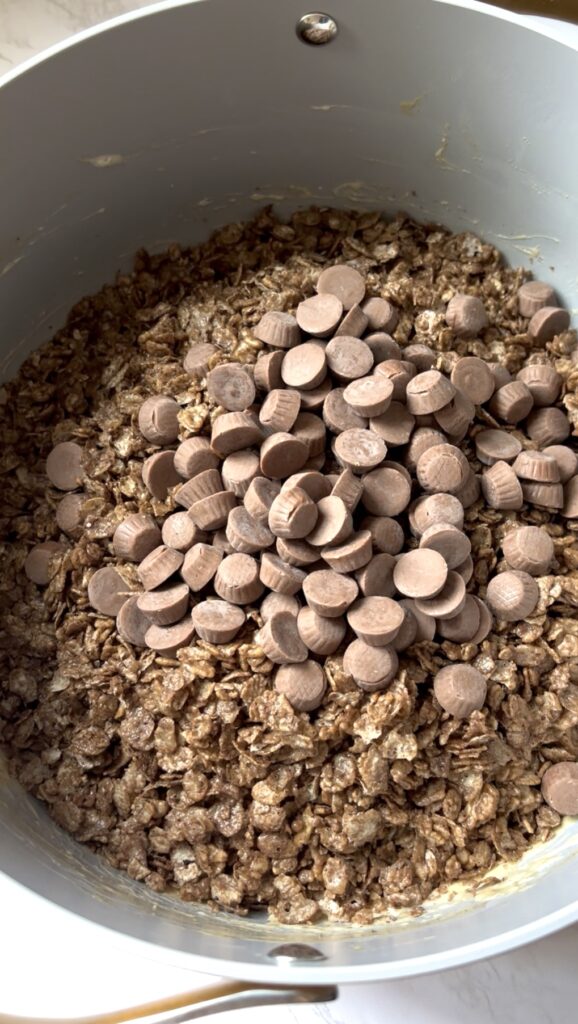
- Remove the pot from the heat and add the crispy cocoa rice cereal and peanut butter cups.
- Stir until everything is well combined.
- Pour the mixture into the prepared baking pan.
- Using a lightly greased spatula or another piece of wax paper, gently press the mixture evenly into all four corners of the pan.
- Press a few additional mini peanut butter cups into the top, if desired.
- Place the pan in the refrigerator while you melt the chocolate.
Dip in Chocolate
- Cut the chilled cereal treats into 24 pieces.
- Dip the bottom edge of each treat into the melted dark chocolate.
- Place the chocolate-dipped treats on parchment paper or a silicone baking mat.
- Before the chocolate sets, add candy eyes and/or sprinkles.
- Return the treats to the refrigerator until the chocolate is completely hardened.
- If you’re short on time, you can place them in the freezer to help the chocolate set, but don’t leave them there for more than 15–20 minutes.
Notes
- Candy eyes and sprinkles are completely optional and can be changed depending on the occasion.
- Mini peanut butter cups can be replaced with chopped regular-size peanut butter cups.
- For the easiest spreading, lightly grease your spatula before pressing the cereal mixture into the pan.
- Don’t overcook the marshmallow mixture. Remove it from the heat as soon as everything is completely melted.
chocolate peanut butter rice krispie treats | chocolate rice krispie treats | peanut butter rice krispie treats | chocolate peanut butter treats | peanut butter cup rice krispie treats | chocolate cereal treats | chocolate krispie treats | peanut butter cup treats | no bake chocolate dessert | no bake peanut butter dessert | easy no bake dessert | Halloween rice krispie treats | Halloween cereal treats | Halloween dessert | chocolate peanut butter dessert | easy Halloween treats | chocolate rice crispy treats | peanut butter crispy treats | chocolate marshmallow treats | easy party dessert | kid friendly dessert | homemade rice krispie treats | chocolate peanut butter bars | peanut butter cup dessert | easy chocolate dessert

Nutritional Content Disclaimer
I choose not to include nutritional information with my recipes, as these values can be calculated from the ingredients provided. With my background as a pediatric nurse practitioner and my own family experience with disordered eating, I understand how focusing on numbers can affect our relationship with food. My philosophy is that all foods have a place—sweet, savory, nourishing, or indulgent. I aim to share recipes that support a healthy, joyful approach to eating. My hope is that this space also encourages a balanced, healthy relationship with food for you and your family too.