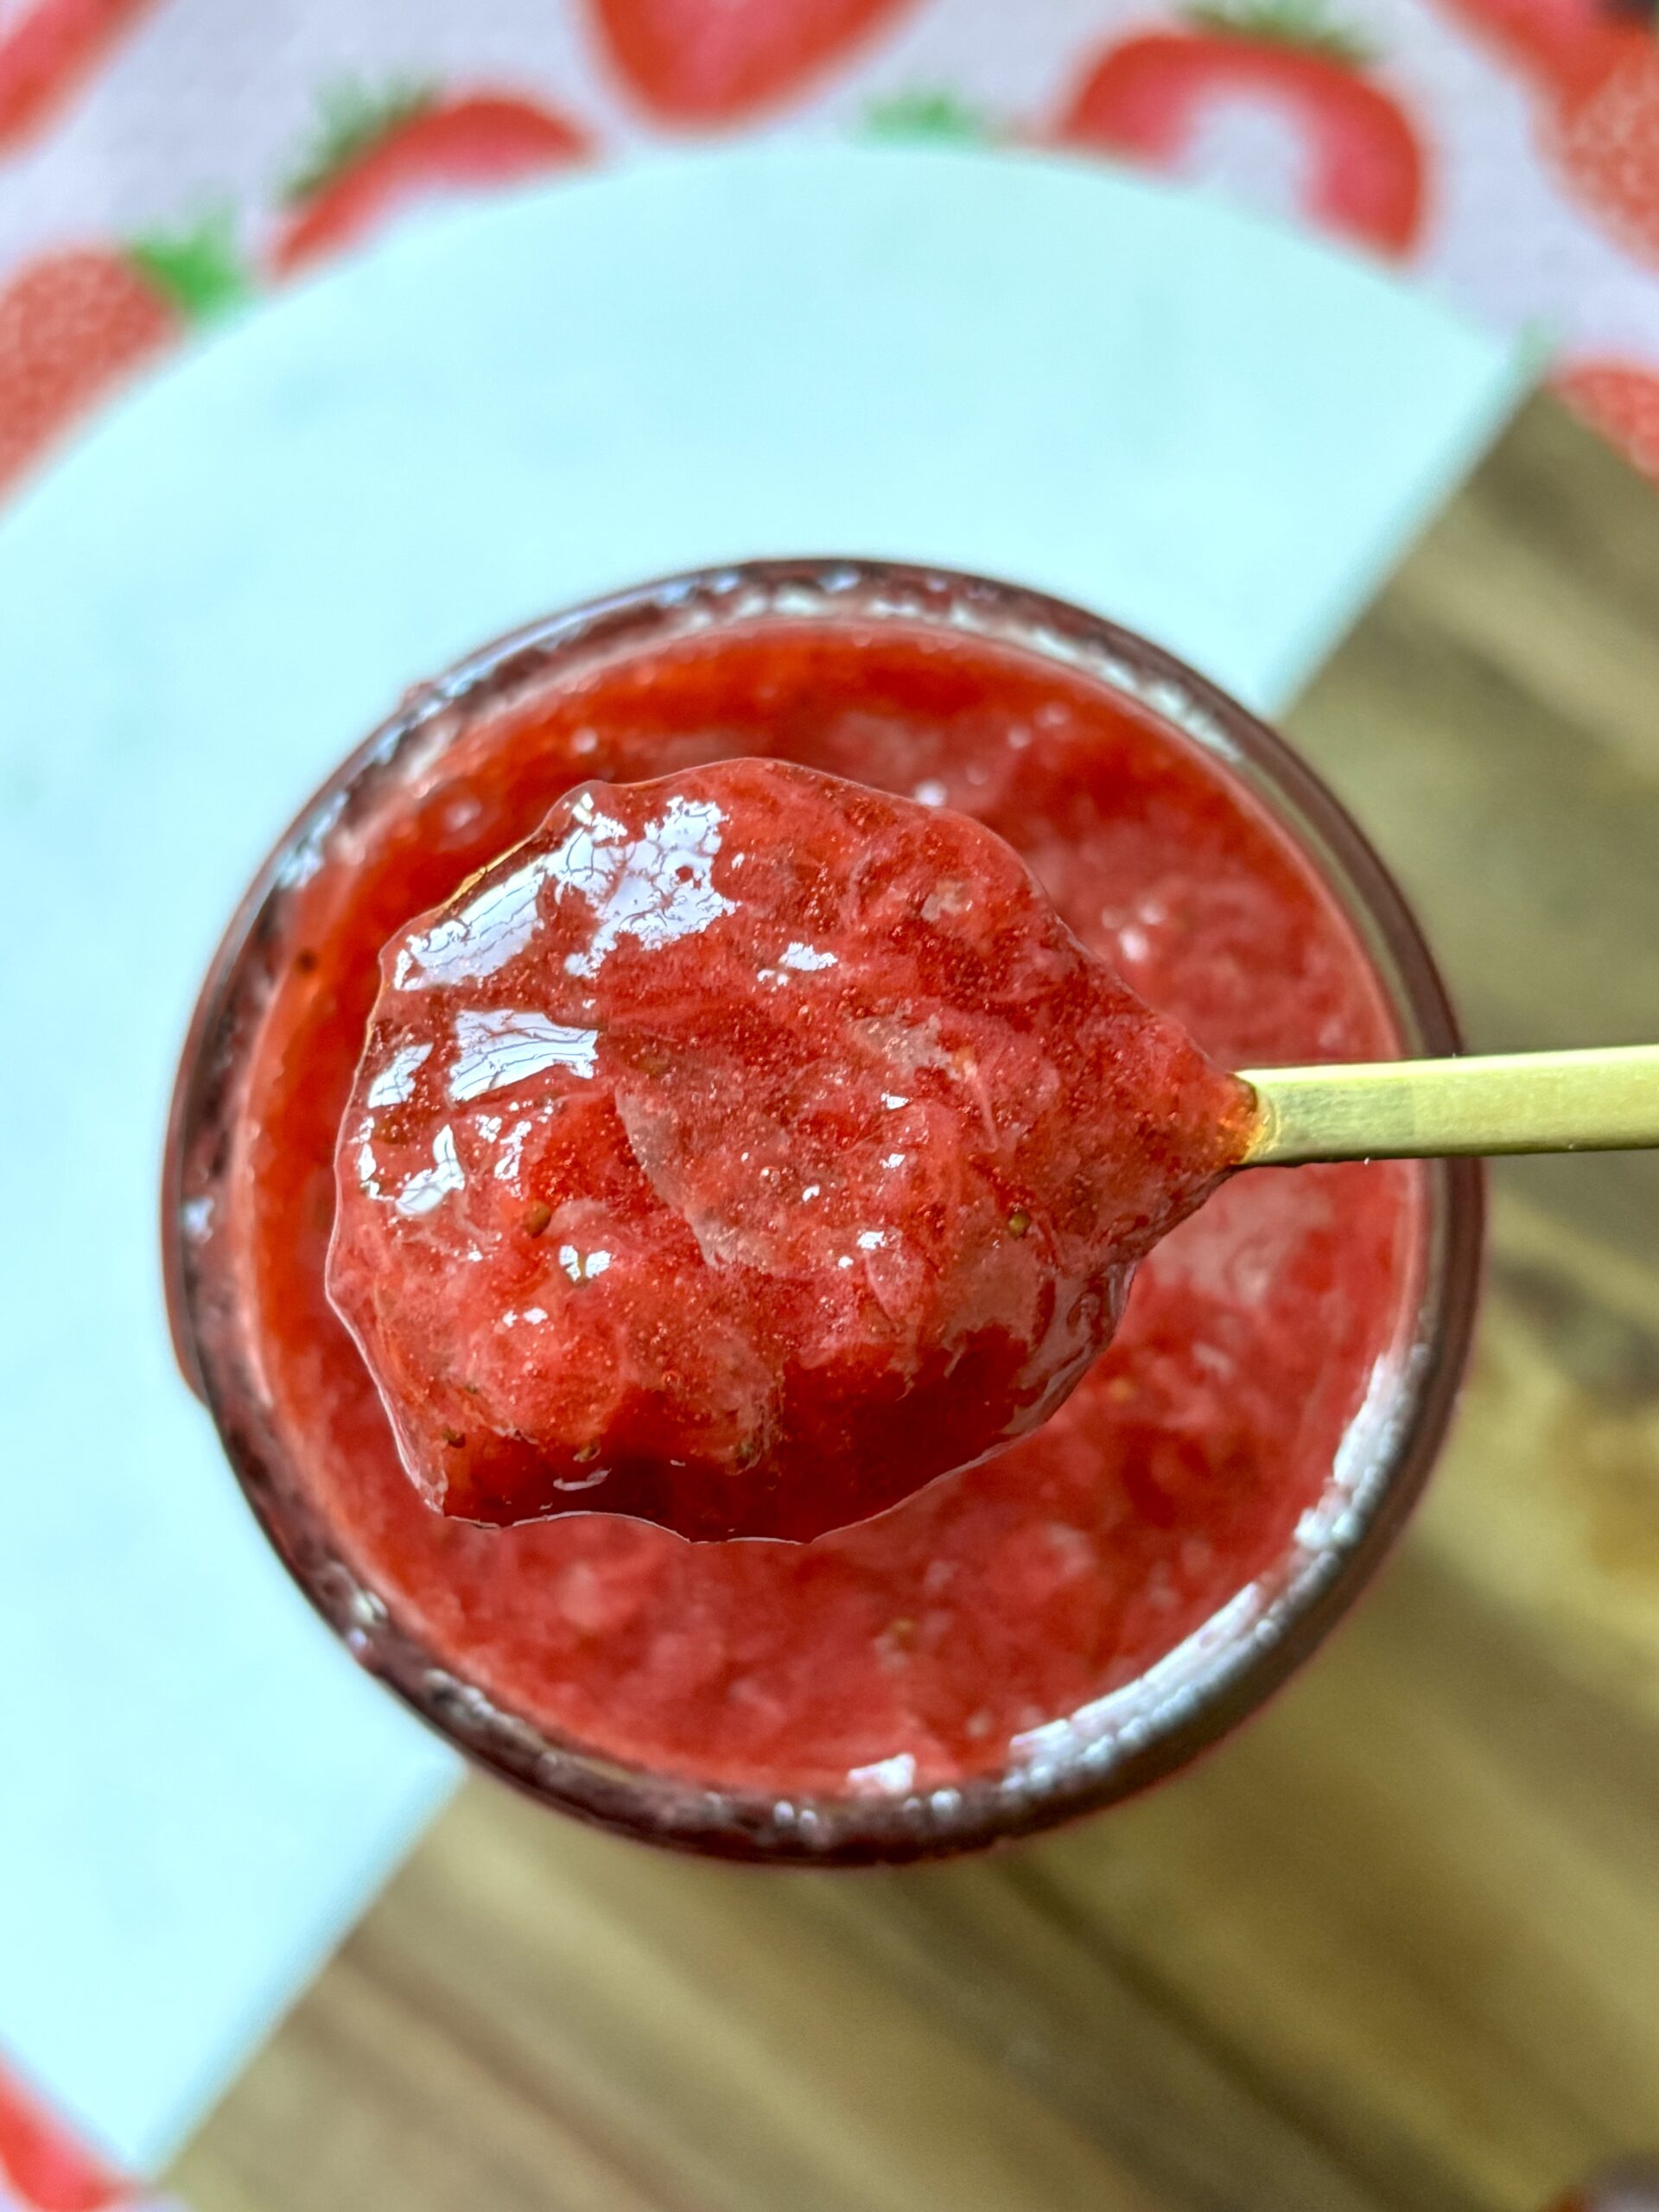
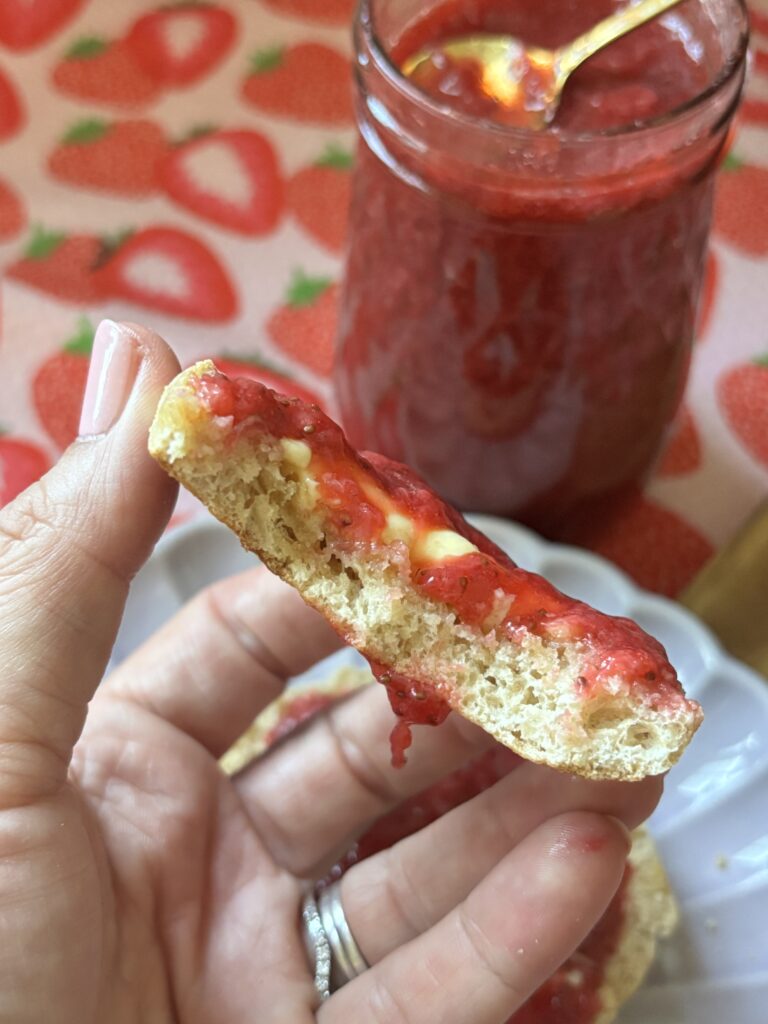
There’s nothing quite like the taste of fresh, homemade strawberry jam. It’s sweet, vibrant, and bursting with real strawberry flavor. This version is made with just two simple ingredients and no pectin. It comes together in under 30 minutes with no special equiptment and captures the very best of strawberry season.
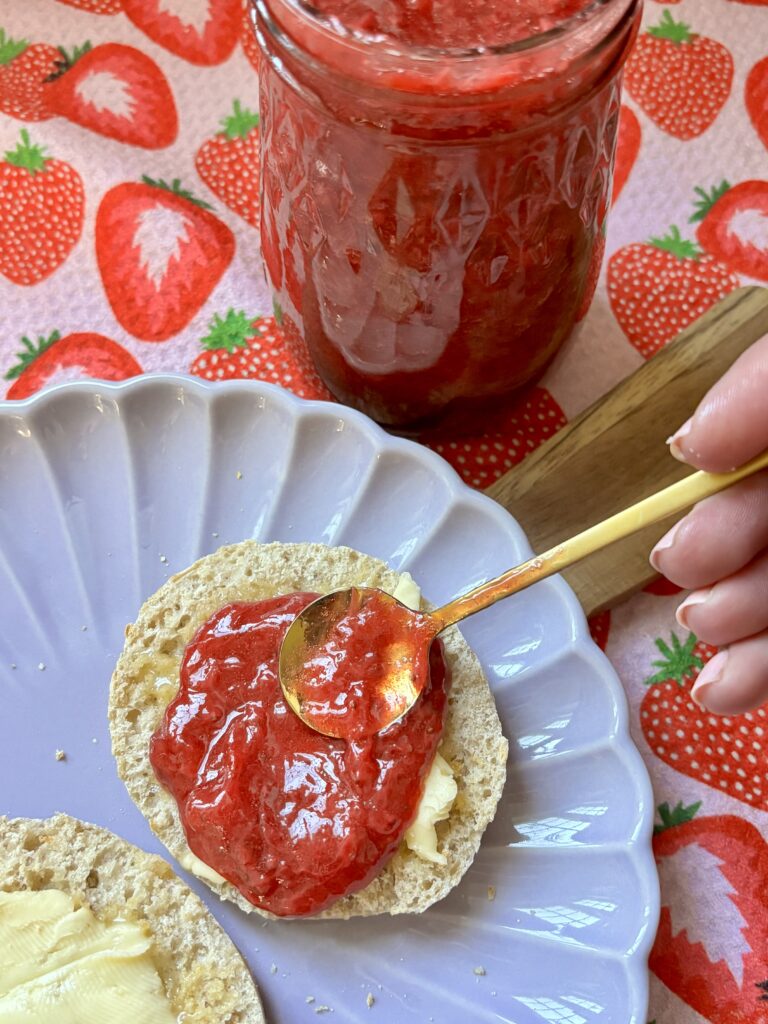
Perfect for spreading over toast, layering in desserts, or spooning over pancakes and yogurt, this small batch strawberry jam is a family favorite that never lasts long in our house.
Whether you’re new to jam making, or a seasoned home cook, this quick stovetop strawberry jam is the perfect way to enjoy everything wonderful about those sweet berries.
Why you’ll love this recipe!
What ingredients do I need?
- Fresh Strawberries: The star of the recipe! Use ripe, in season strawberries for the best flavor and color, but frozen strawberries work incredibly well here too.
- Granulated Sugar: enhances the natural sweetness and helps the jam thicken as it cooks.
Recipe Variations
- Strawberry Vanilla Jam: add ½ tsp vanilla extract, vanilla bean paste, or scrape in vanilla bean seeds.
- Strawberry Lemon Jam: stir in 1 tbsp fresh lemon juice and a bit of zest for a tangy twist.
- Strawberry Lime Jam: stir in 1 tbsp fresh lime juice and a bit of zest for another twist.
- Spiced Strawberry Jam: add a pinch of cinnamon or cardamom for a cozy, warm flavor.
- Strawberry Balsamic Jam: reduce sugar slightly and add 1 tsp balsamic vinegar.
Pro Tips
- Use a wide, heavy bottomed pan for this recipe. The wider the pan, the more surface area you have for the jam to reduce, which means faster thickening and a more concentrated strawberry flavor. A heavy bottomed saucepan also distributes heat more evenly and helps prevent any hot spots that could scorch the bottom of your jam.
- Don’t rush the simmering. I know it’s tempting to crank the heat to speed things up, but patience is everything with jam. A steady, gentle simmer is what gives you that deep, jammy flavor and the right consistency. High heat can cause the bottom to scorch before the jam has had time to properly reduce, and it can make the texture uneven. Low and slow wins every time.
- Taste and adjust the sweetness as you go. Strawberries vary a lot in sweetness depending on the season and how ripe they are. Before you start cooking, taste your berries. If they’re on the tart side, you may want to add a little extra sugar. If they’re perfectly sweet already, you’re good to go as written.
- Don’t skip crushing the strawberries. This step does more than just add to the texture, breaking the berries down releases their natural juices and pectin, which is what helps the jam set and thicken without any added pectin. The more you crush them, the more the natural thickening agents get to work. Crush to your consistency preference, but don’t hold back!
- Not sure if your jam is ready? Drop a small spoonful onto a cold plate (pop one in the freezer for a few minutes beforehand) and let it sit for about a minute before running your finger through it. If it holds and doesn’t flood back together, it’s done. If it runs, give it a few more minutes and test again. This little trick takes all the guesswork out of it.
- Let the jam cool completely before storing. The jam will look a little looser than you expect straight off the stove and that’s completely normal! It continues to thicken as it cools. Give it time to come to room temperature before transferring to your jars and refrigerating. Pouring it in warm is fine, but sealing it while it’s still hot can create condensation inside the jar which affects freshness.
- Fresh strawberries in season are magic. If you can get your hands on ripe, in season strawberries from a farmers market or pick-your-own farm, use them. They are sweeter, more fragrant, and so much more vibrant in color. That said, frozen strawberries are a fantastic year round option and this recipe was made to work beautifully with both!
Can I Substitute?
Yes! Like always though, any substitutions can change the texture and/or flavor of the recipe.
- Granulated sugar: try honey, maple syrup, or coconut sugar for a refined sugar free option (note: texture may be looser).
- Strawberries: swap with raspberries, blueberries, or blackberries for a mixed berry jam variation.
Leftovers and Storage
- Refrigerator: Once the jam has cooled completely, transfer it to a clean airtight glass jar or container and store in the refrigerator for up to 2 weeks. Glass is preferred over plastic since it doesn’t absorb odors or stain, and it keeps the jam fresher longer. Always use a clean spoon when scooping to prevent introducing bacteria and shortening the shelf life.
- Freezer: This jam freezes beautifully! Pour cooled jam into a freezer safe glass jar or airtight container, leaving about an inch of space at the top to allow for expansion. Seal, label with the date, and freeze for up to 3 months. To use from frozen, thaw in the refrigerator overnight. Give it a good stir before serving. It may look a little separated at first but comes right back together.
- Portioning tip: If you’d like to freeze in smaller amounts, using a silicone ice cube trays are a great option. Freeze the jam in individual cubes, then transfer to a zip close freezer bag once solid. This way you can thaw only what you need, perfect for stirring into oatmeal, topping a single serving of yogurt, or adding to a sauce without defrosting the whole batch.
- Important note on canning: This is a small batch refrigerator jam and is not formulated for shelf stable canning. Please do not store at room temperature in sealed jars without following tested, approved canning guidelines. The sugar ratio in this recipe is intentionally kept low, which means it is not safe for pantry storage without proper processing.
- Signs your jam has gone bad: Fresh jam smells sweet and fruity. If you notice any mold, an off smell, or a fizzy or fermented texture, discard it and make a fresh batch. When in doubt though, just throw it out, it only takes a few minutes to make a new one!
But, I Still Have A Few Questions…
Do I need to add pectin? Nope! And that’s one of my favorite things about this recipe! Strawberries have enough natural pectin that with the right simmer time, the jam thickens beautifully on its own. No special ingredients needed, just strawberries and sugar. This is as simple as it gets!
Can I use frozen strawberries? Absolutely! Frozen strawberries work really well here. No need to thaw them first, just add them straight to the pan. They’ll release a lot of liquid as they cook down, so expect the simmer time to run a little longer than with fresh. The flavor is still delicious.
My jam isn’t thickening, what do I do? Keep on simmering! This is almost always just a matter of time. Make sure your heat is at a steady simmer (not too low or it won’t reduce), stir occasionally, and give it a few extra minutes. It will also continue to thicken as it cools, so don’t panic if it looks a little loose in the pan, just let it cool completely before deciding if it needs more time.
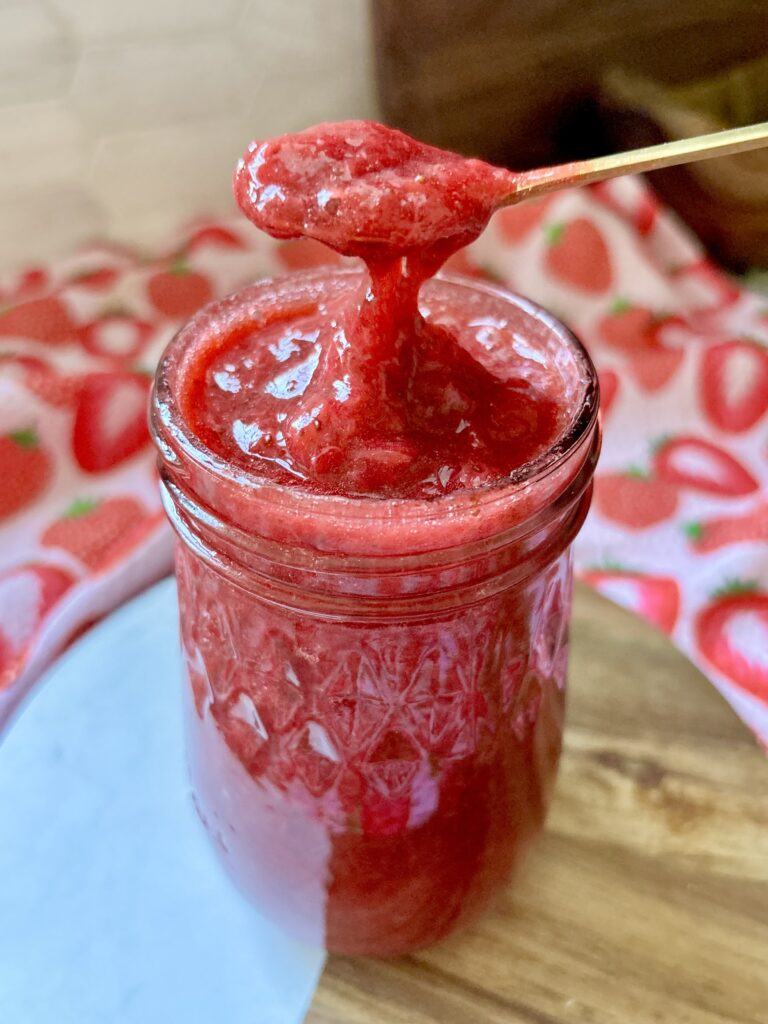
How do I know when it’s done? The jam should look glossy, reduced, and coat the back of a spoon. For a quick test, place a small spoonful on a cold plate and let it sit for a minute, if it holds its shape and doesn’t run then it’s ready!
Can I adjust the amount of sugar? Yes! Less sugar will give you a more tart, fruit forward jam but it may not thicken quite as well since sugar plays a role in the set. If you prefer it sweeter, you can add a touch more sugar as well, just taste as you go.
Can I substitute the granulated sugar? Honey or maple syrup can be swapped in for a different flavor profile, just use slightly less since they’re sweeter. Coconut sugar also works for a more caramel like taste. Just keep in mind the texture and color of the jam may vary.
How long does homemade strawberry jam last? Store in an airtight glass container in the refrigerator for up to 2 weeks. Since this is a small batch refrigerator jam and not formulated for shelf stable canning, I don’t recommend storing it at room temperature. For longer storage, freeze in a freezer safe jar or container for up to 3 months, just leave a little room at the top of the jar for expansion (or you will have a mess)!
Is this recipe safe for canning? This is a small-batch refrigerator jam and is not formulated for shelf-stable canning. If you’d like to can it for pantry storage, I’d recommend following tested, approved canning guidelines with the correct ratios of sugar and acidity to ensure it’s safe.
What can I use this jam for beyond toast? So many things! Swirl it into yogurt or oatmeal, spoon it over pancakes or waffles, layer it into cakes, use it as a filling for thumbprint cookies, stir it into a vinaigrette, top your favorite cheesecake, or serve it on a charcuterie board with brie. It also makes a really sweet homemade gift in a little jar!
Let’s engage!
Make sure to tag @thehomechefmomma on Instagram or Facebook, and leave a review or comment if you make these. I always get so excited to see your creations, variations of the recipe, and feedback! Just remember to be kind in your comments, there is still a person behind this screen! 🙂
Homemade Strawberry Jam
Ingredients
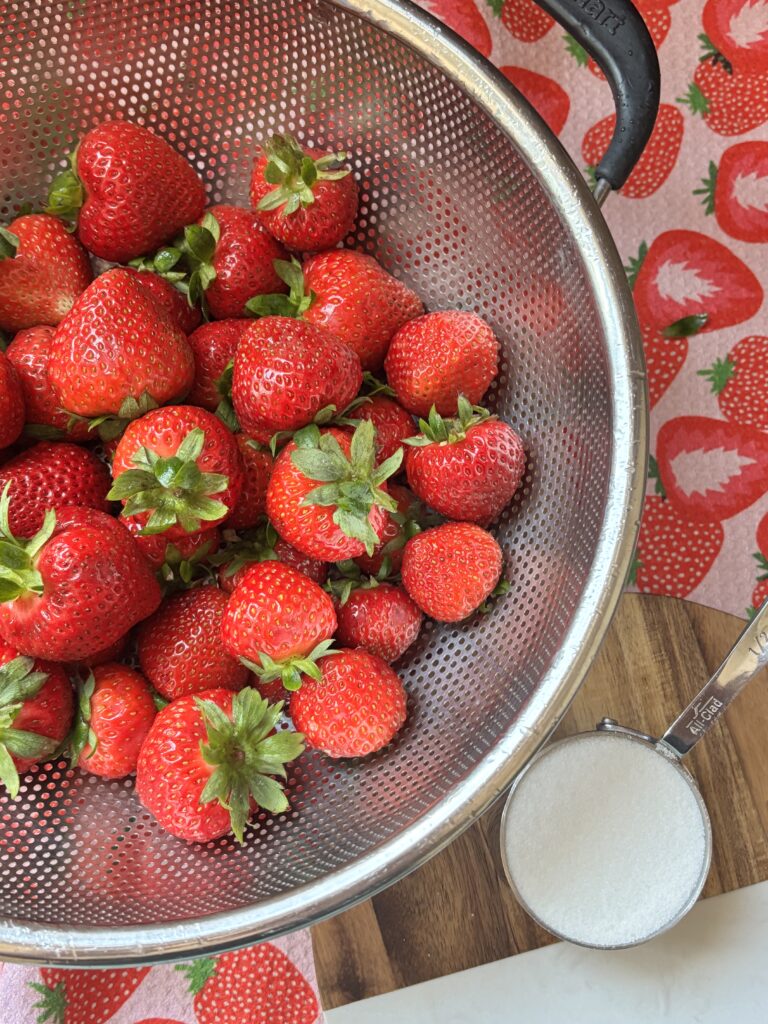
- 2 lbs fresh strawberries (frozen works well too)
- 1/3 c. Granulated sugar
Instructions
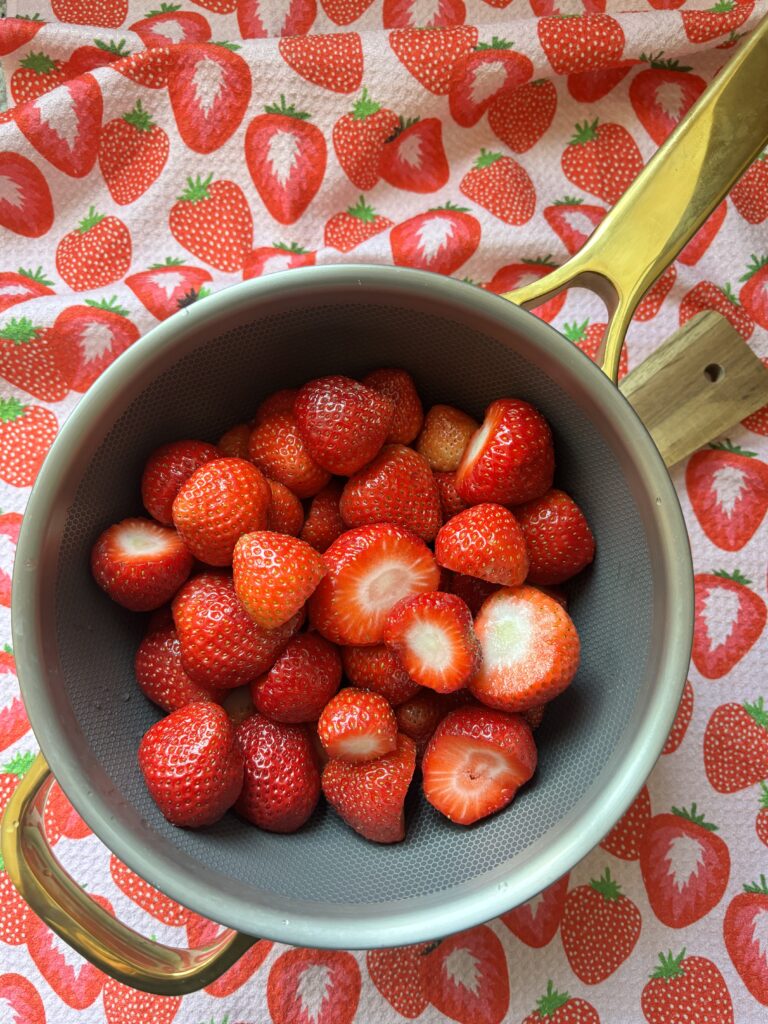
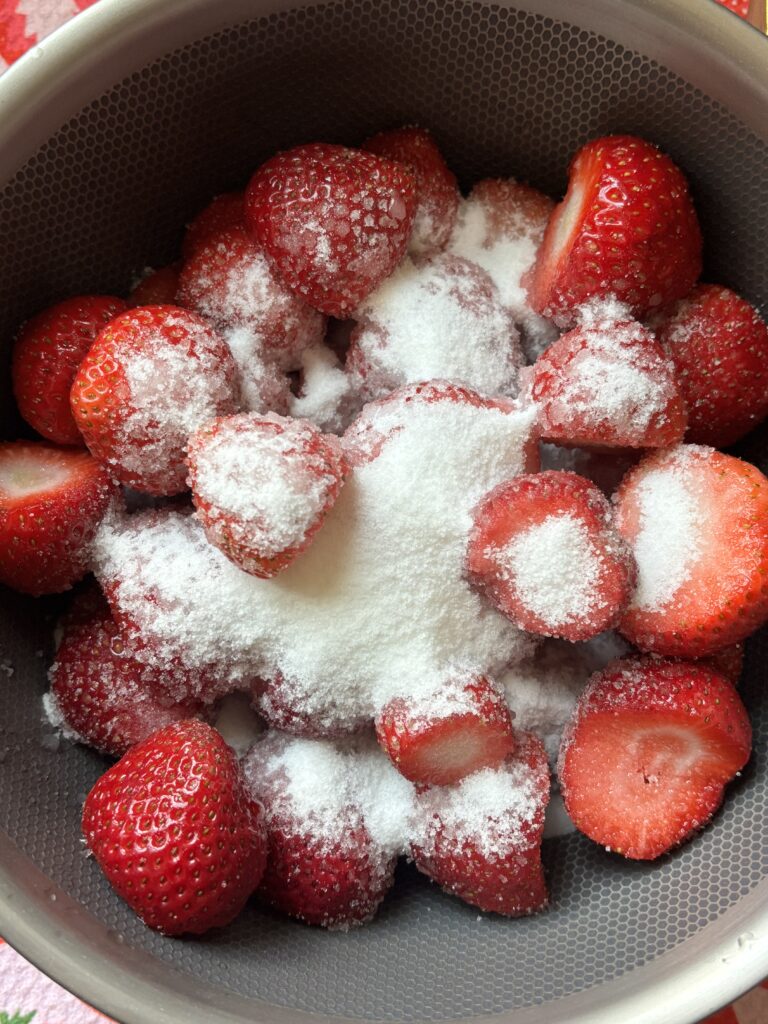
- In a saucepan over medium heat, add strawberries and sugar. Stir and bring to a slight boil.
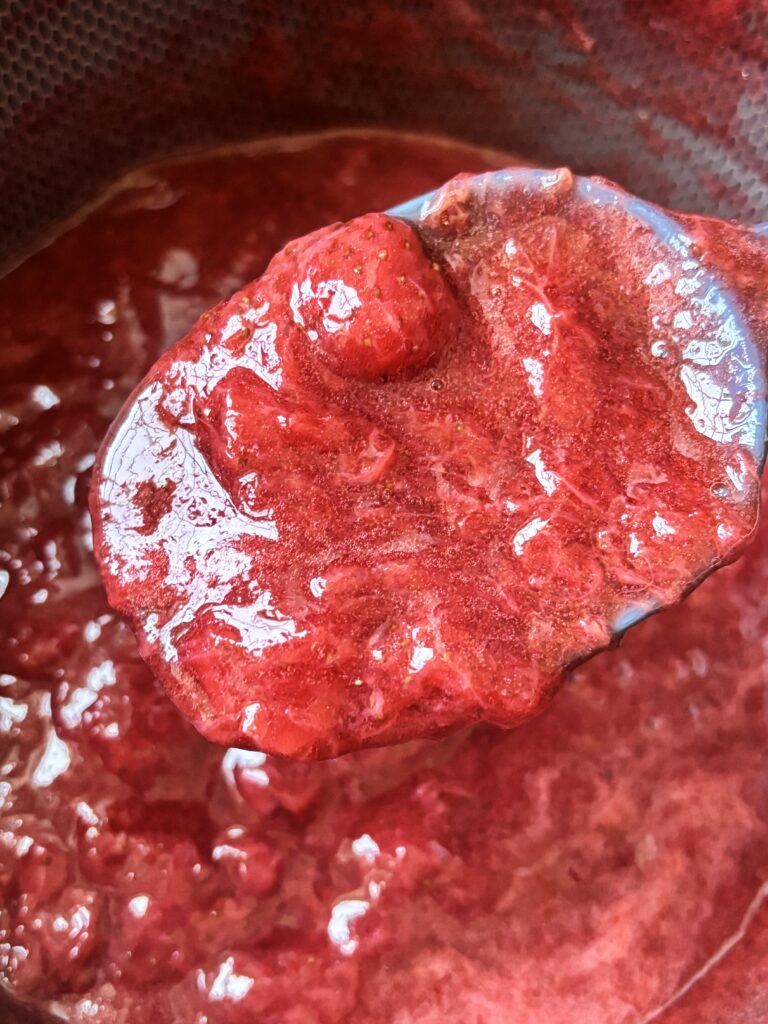
- Reduce heat to a simmer and use a fork, masher, or back of your spatula to crush the strawberries as much as you can (based on consistency preference).
- Then cook for 15-20 minutes at a simmer until reduced and thickened, stirring occasionally.
- Cool and then pour into glass containers for storage.
Homemade Strawberry Jam | Easy Strawberry Jam | No Pectin Strawberry Jam | Fresh Strawberry Jam Recipe | Small Batch Strawberry Jam | How to Make Strawberry Jam | Strawberry Jam Without Pectin | Quick Strawberry Jam | Summer Strawberry Recipes | Jam Recipes | Sweet Jam Recipe | Strawberry Recipes
Nutritional Content Disclaimer
I choose not to include nutritional information with my recipes, as these values can be calculated from the ingredients provided. With my background as a pediatric nurse practitioner and my own family experience with disordered eating, I understand how focusing on numbers can affect our relationship with food. My philosophy is that all foods have a place—sweet, savory, nourishing, or indulgent. I aim to share recipes that support a healthy, joyful approach to eating. My hope is that this space also encourages a balanced, healthy relationship with food for you and your family too.