
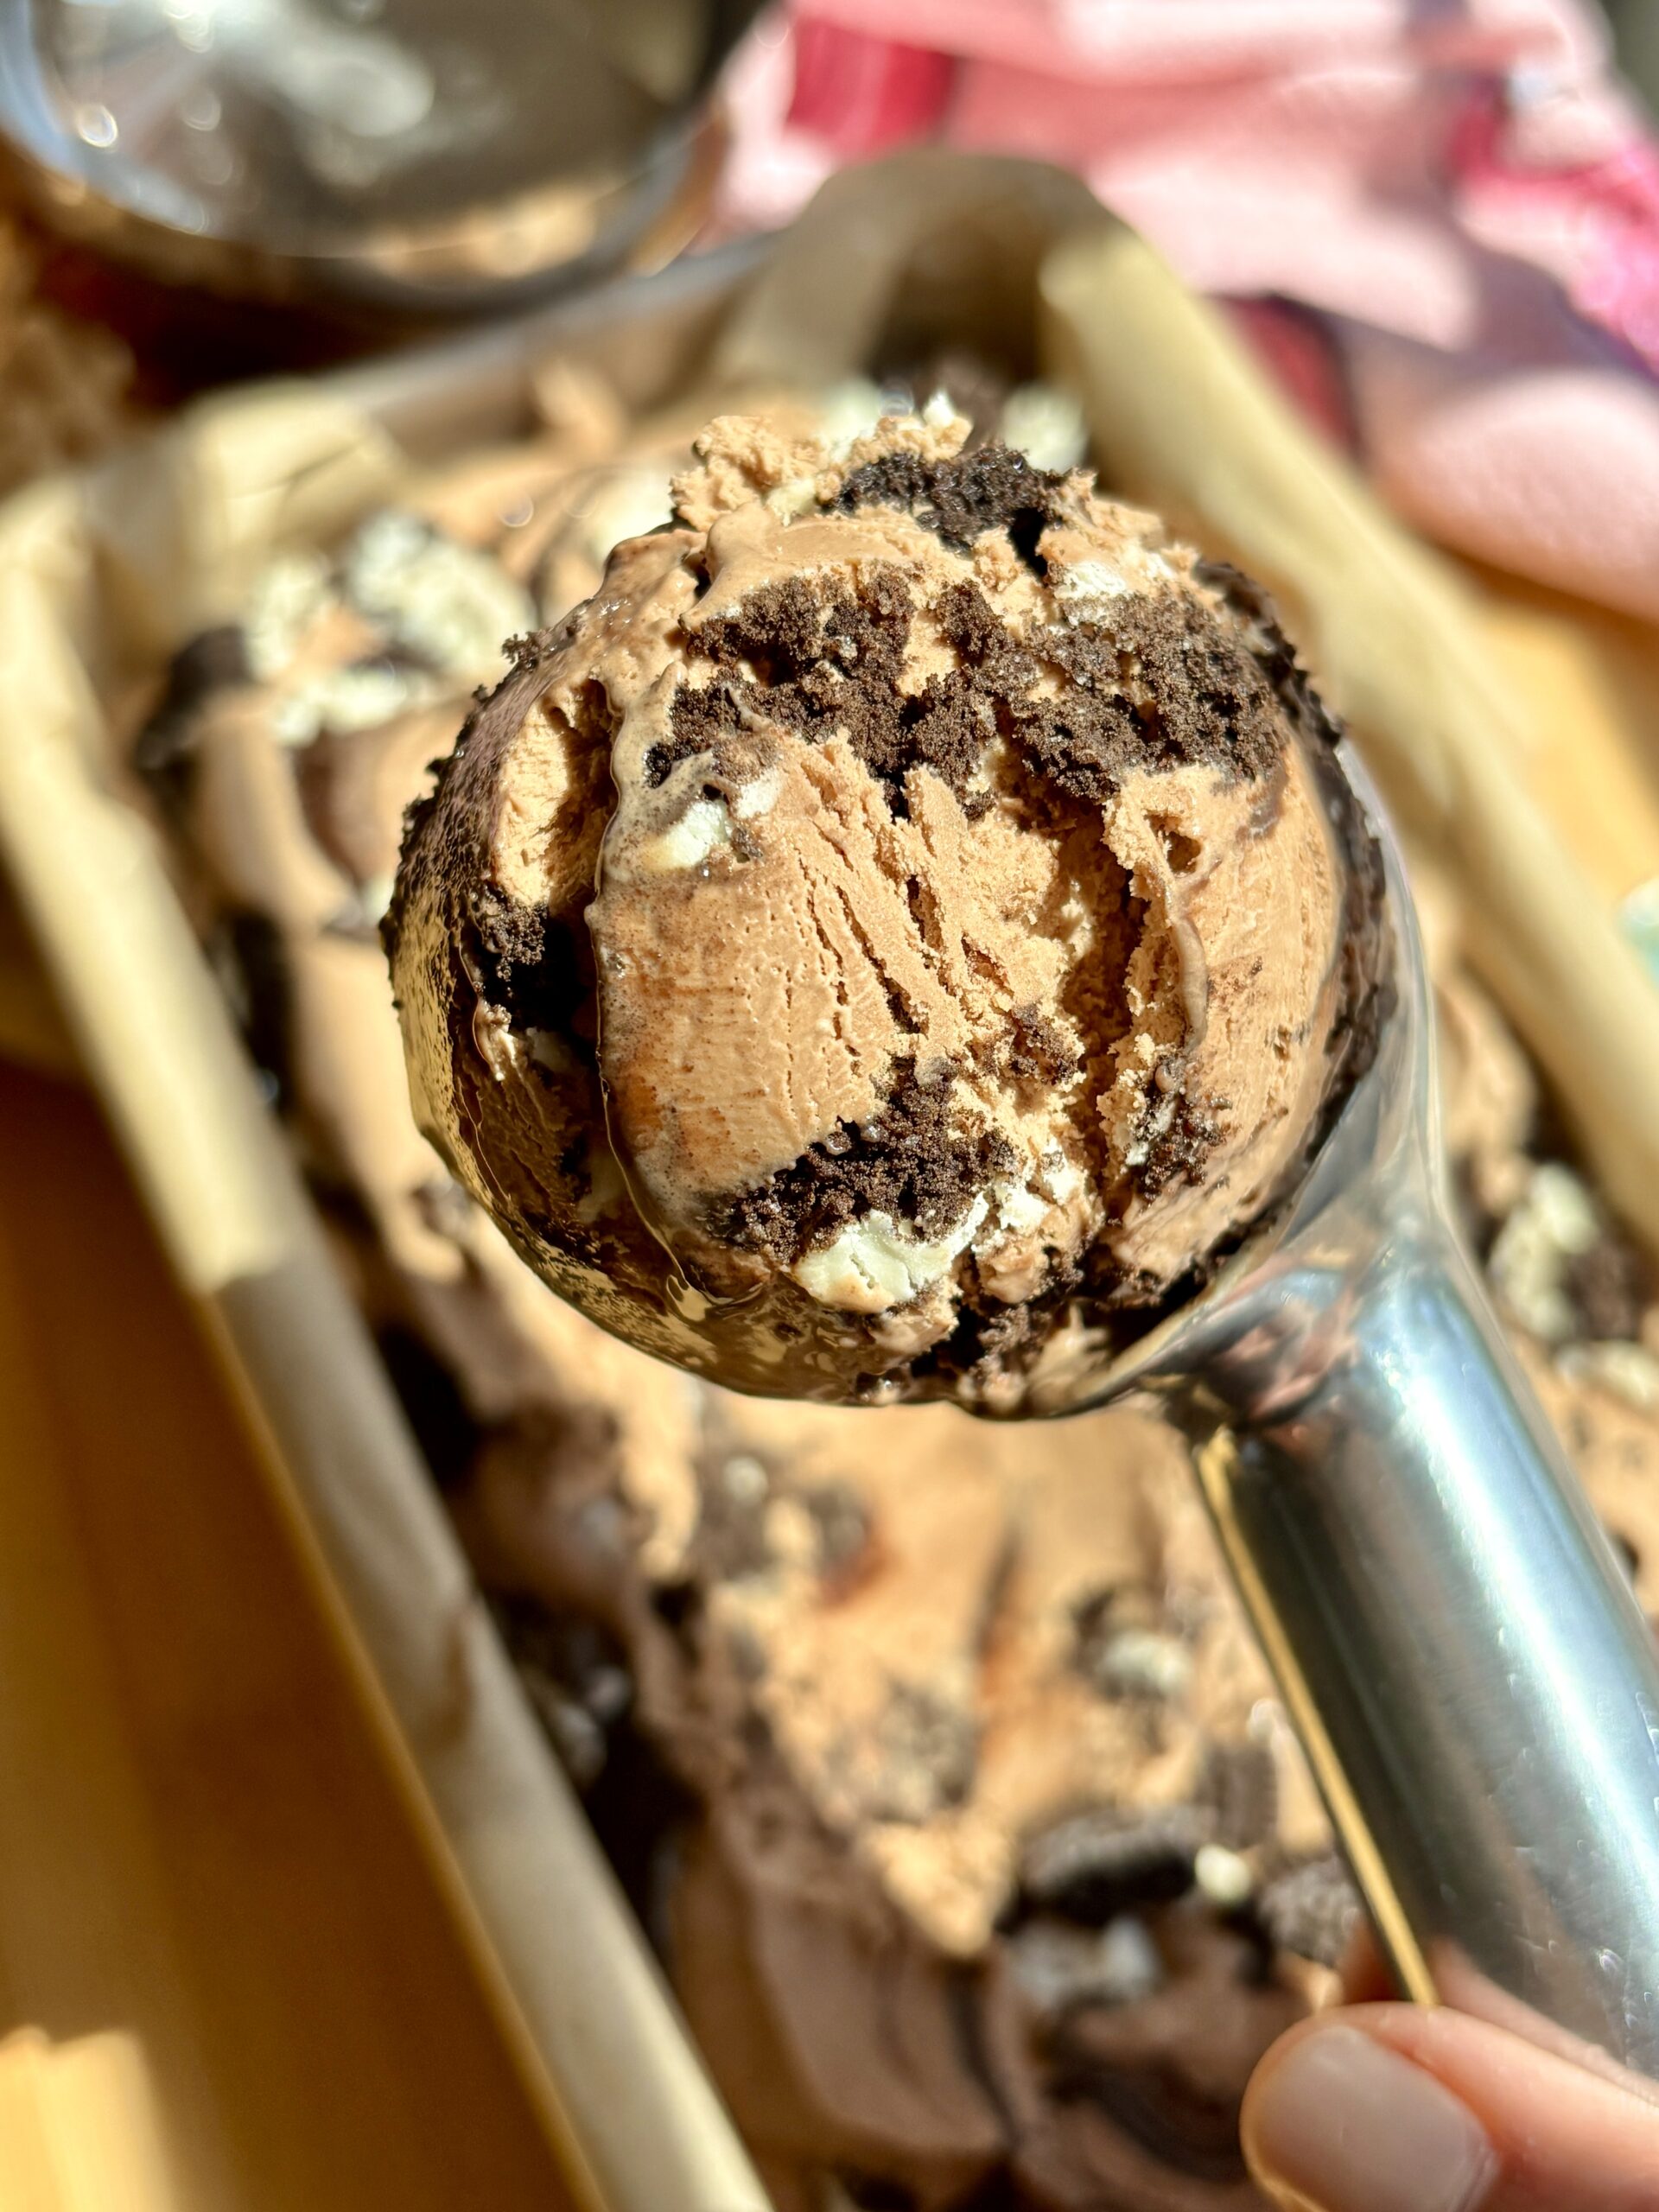
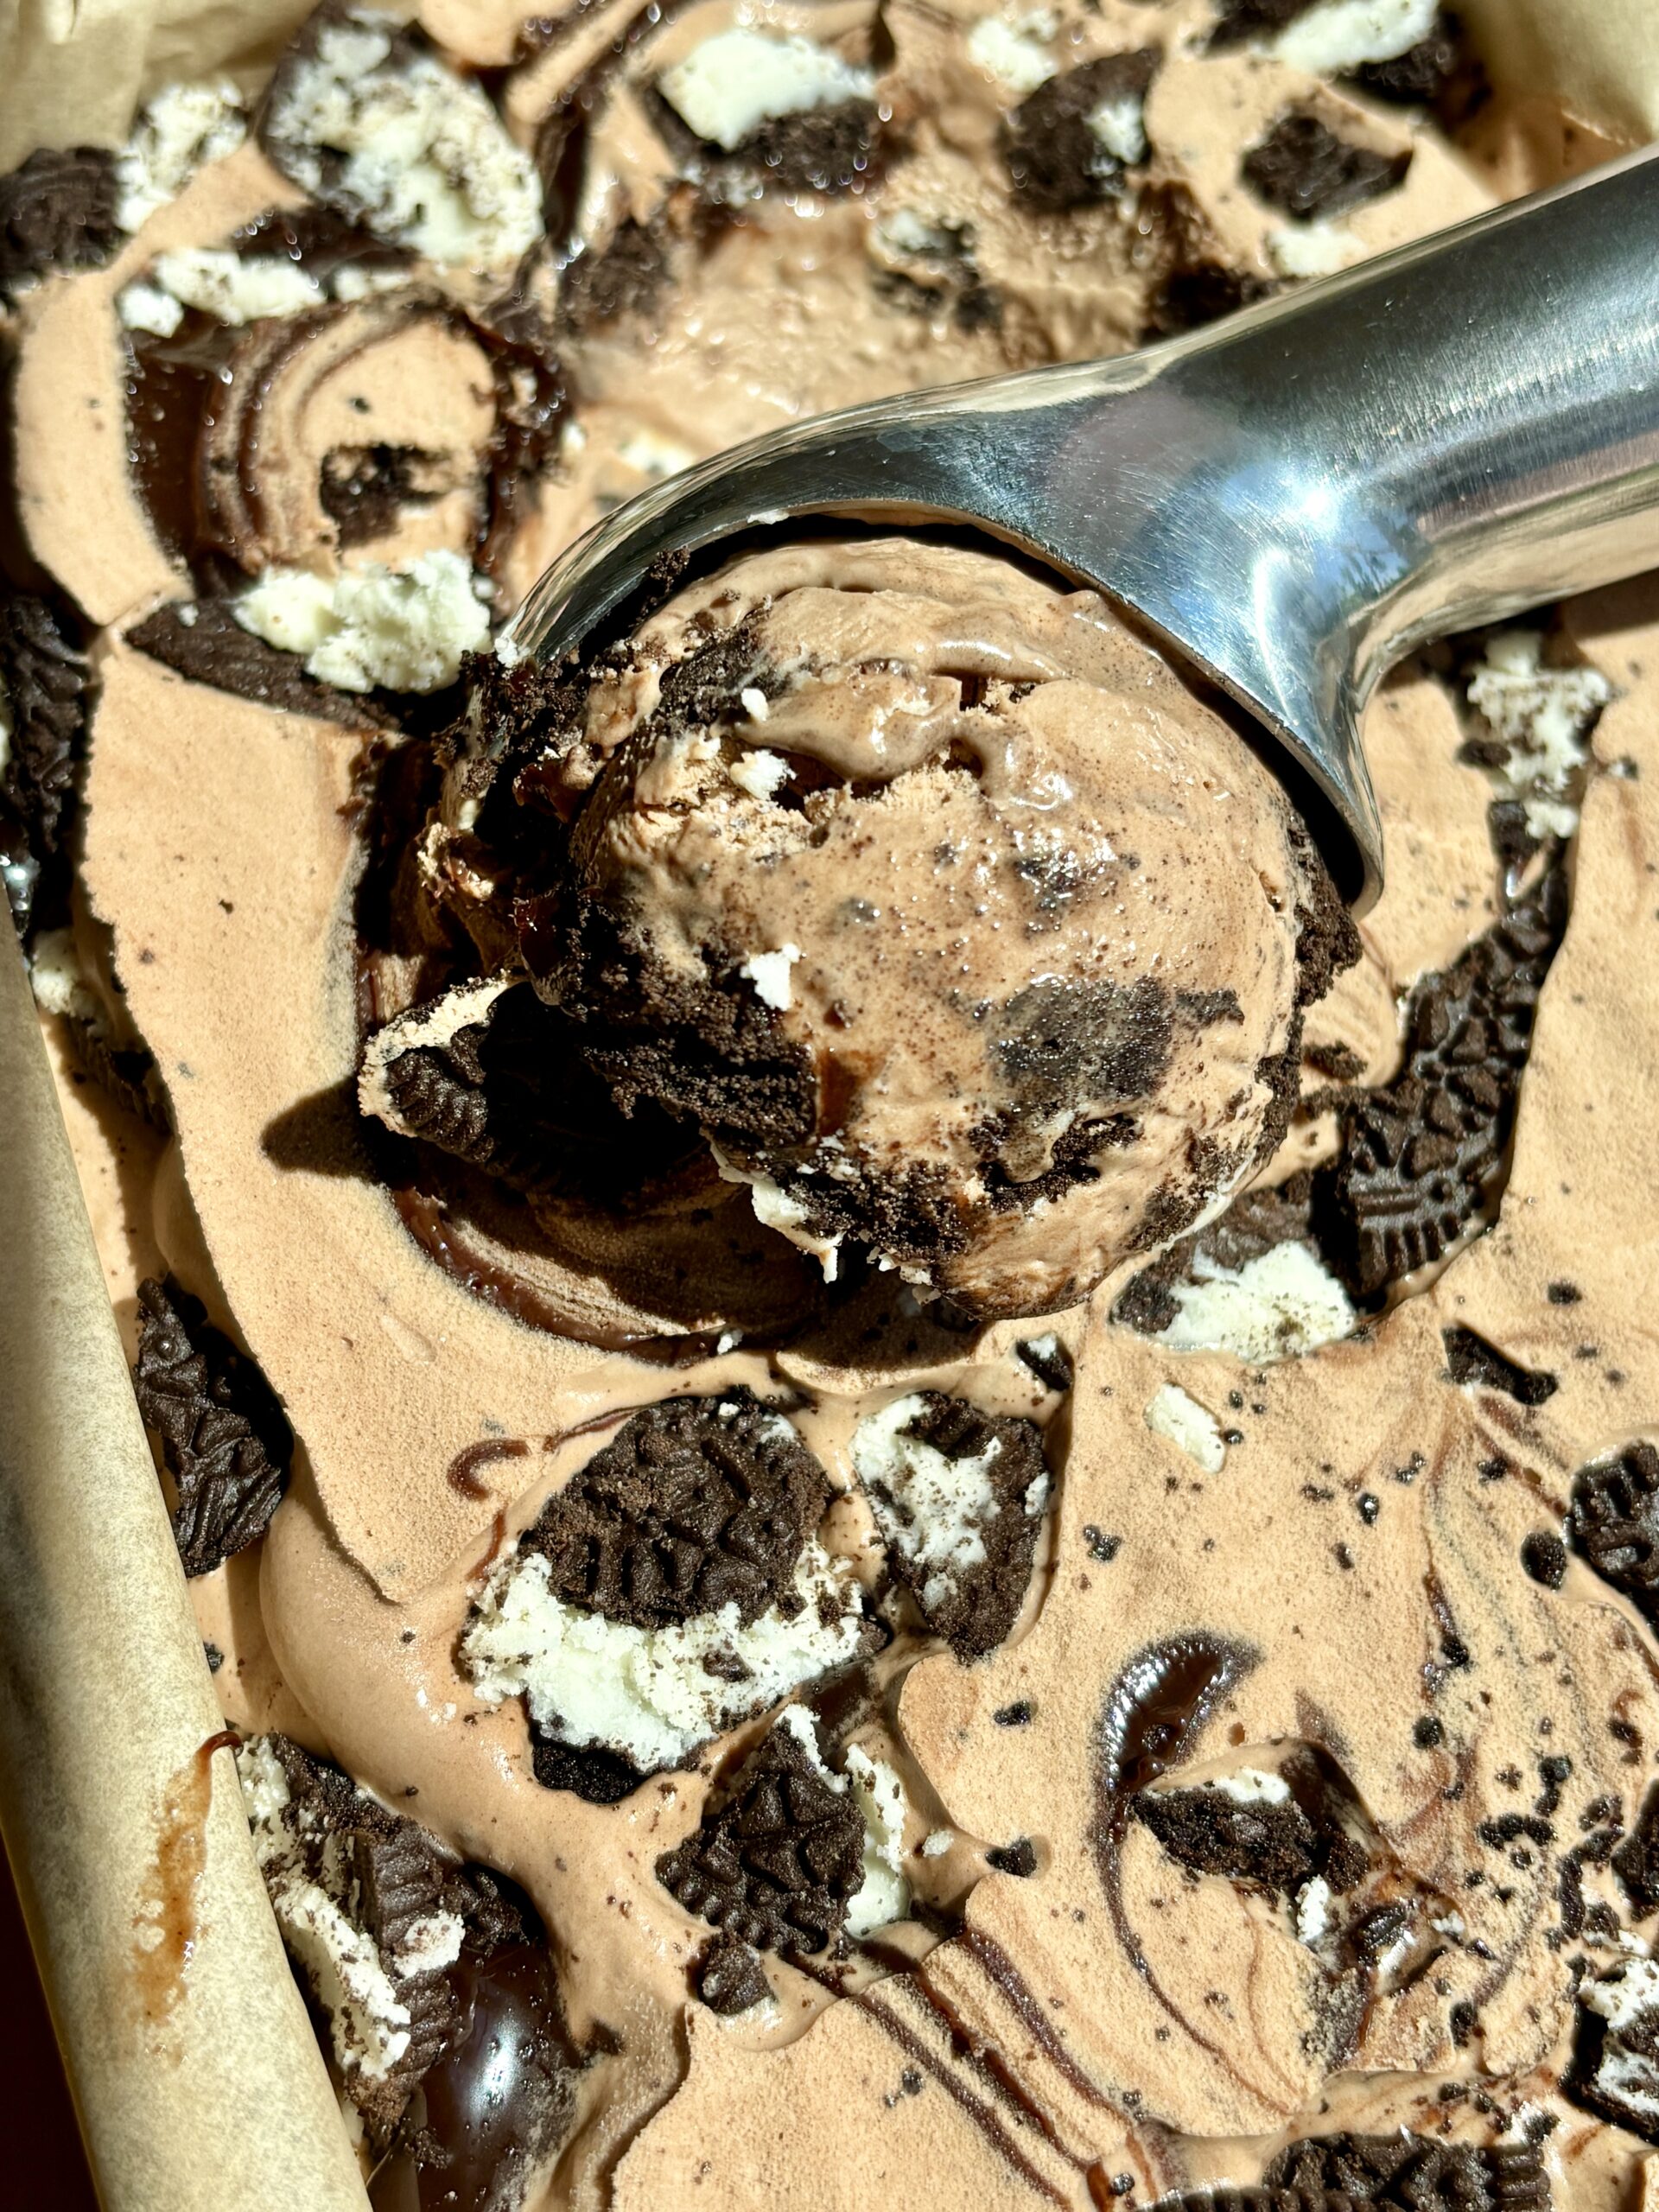
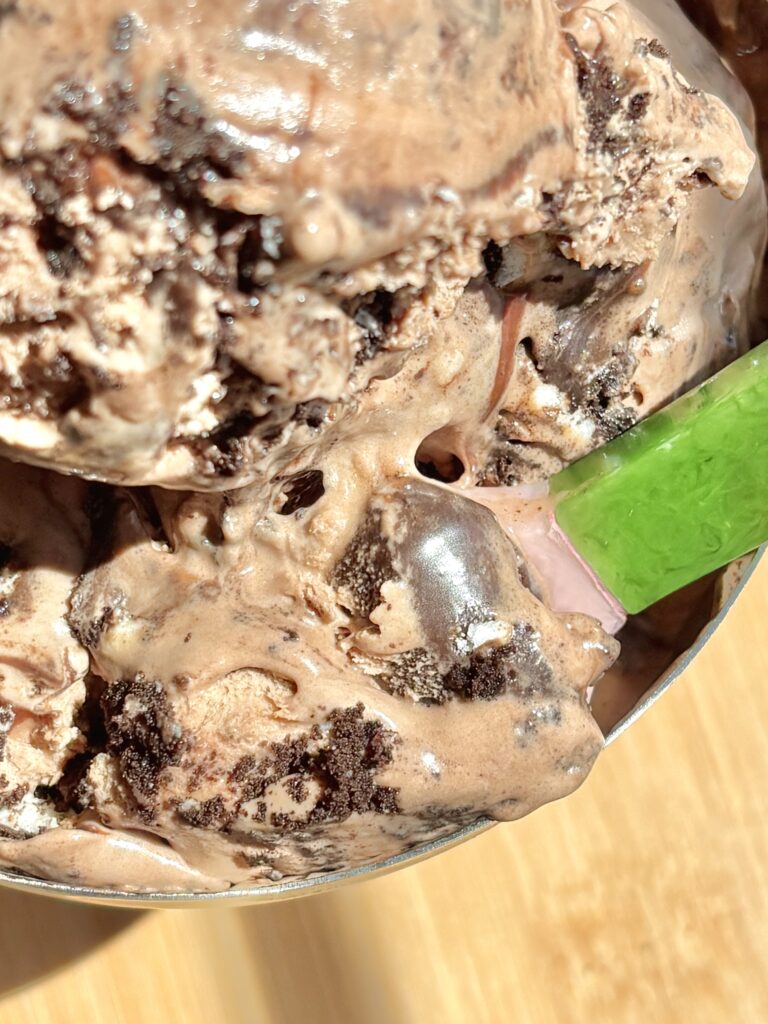
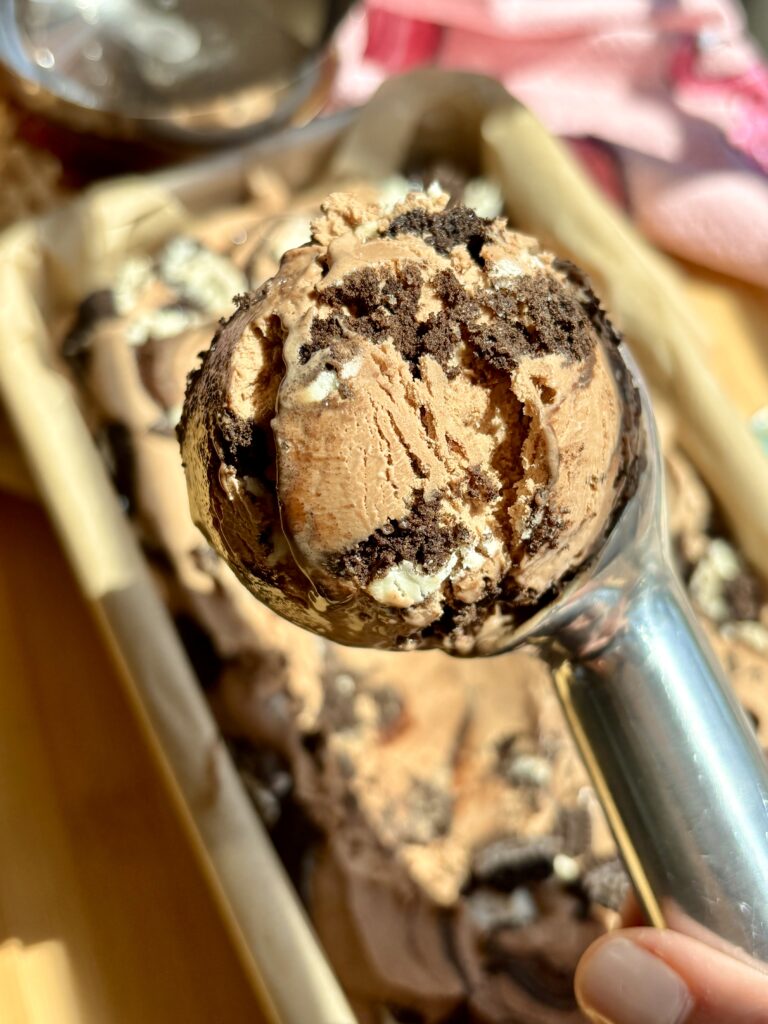
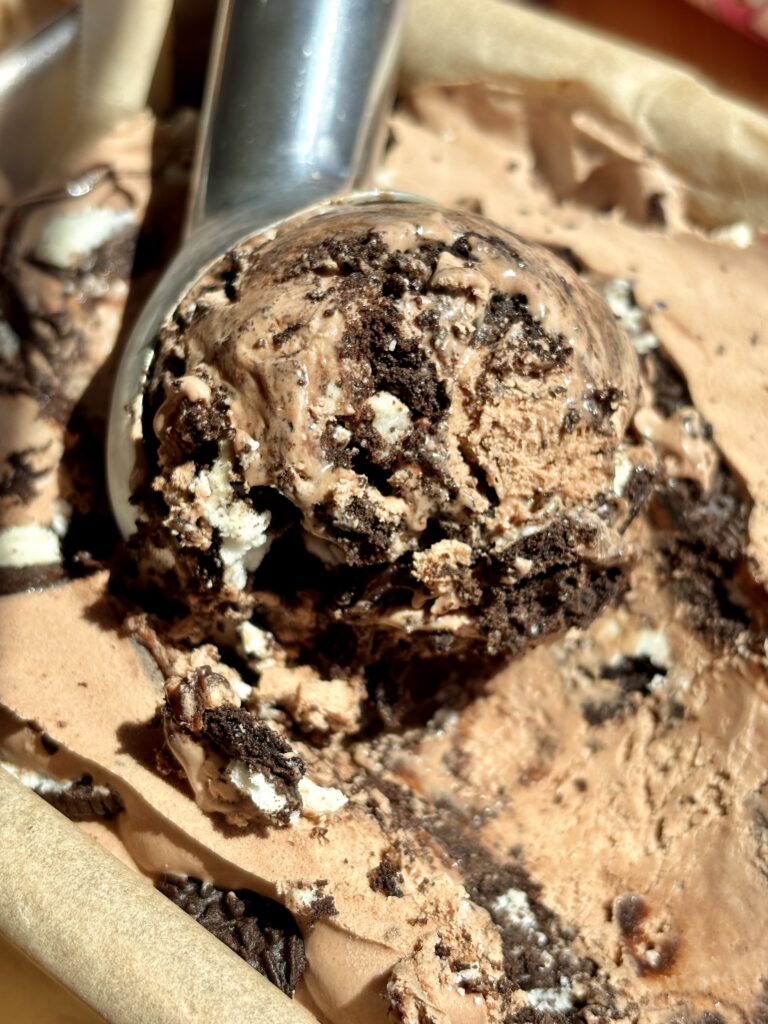
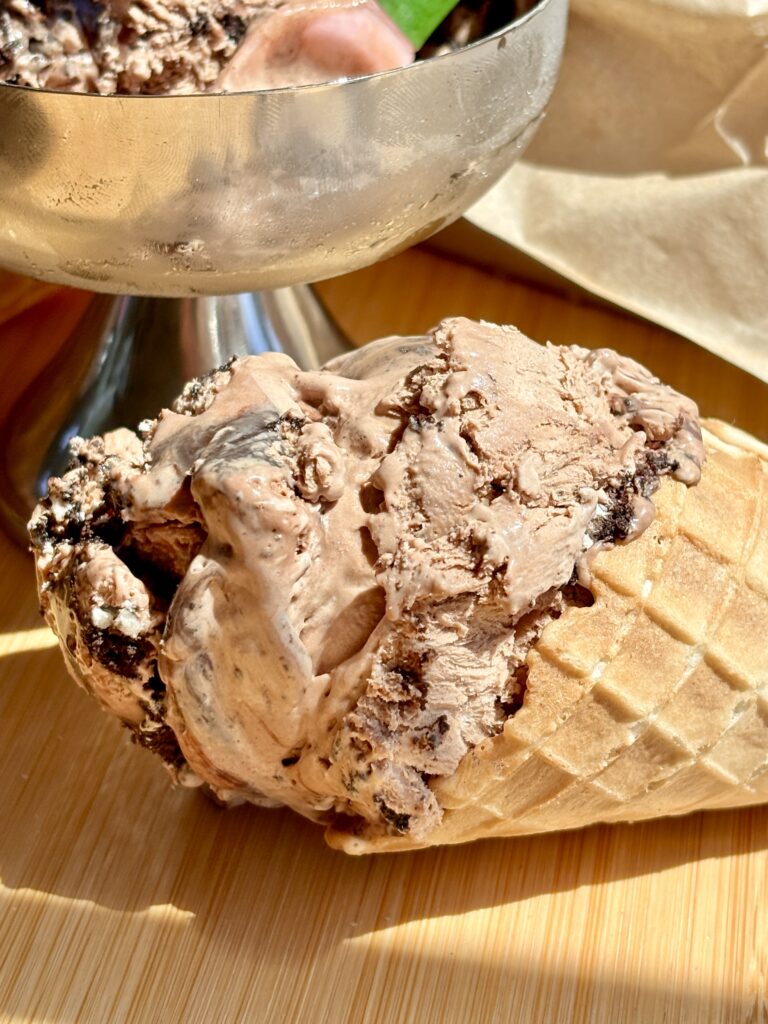
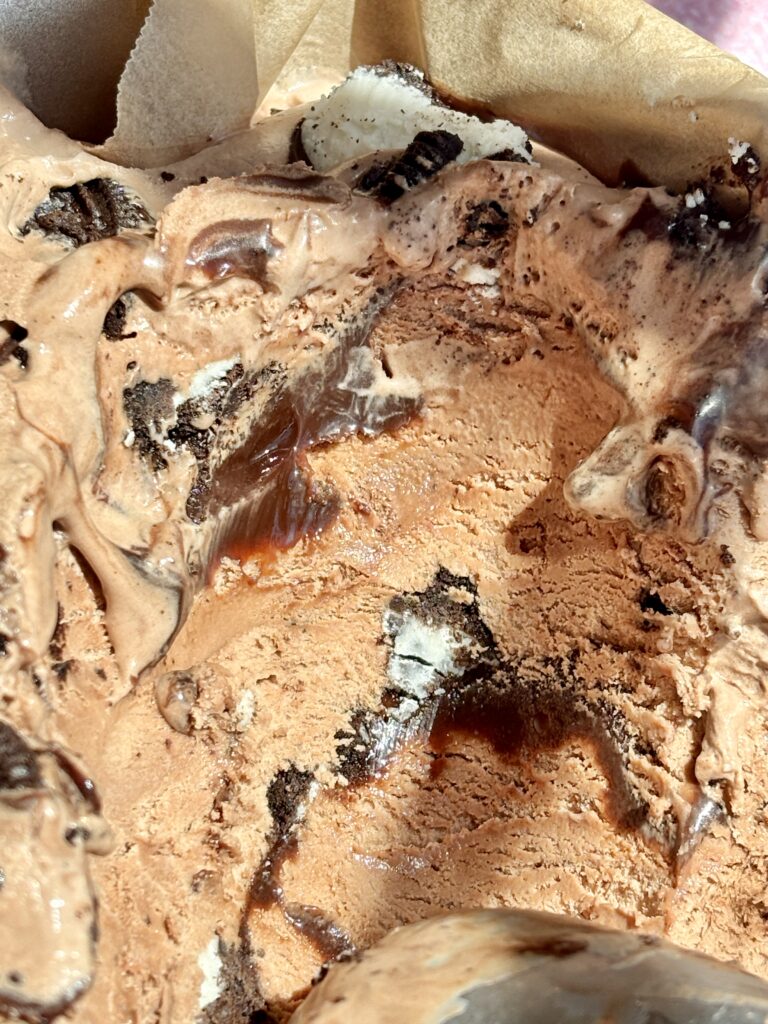
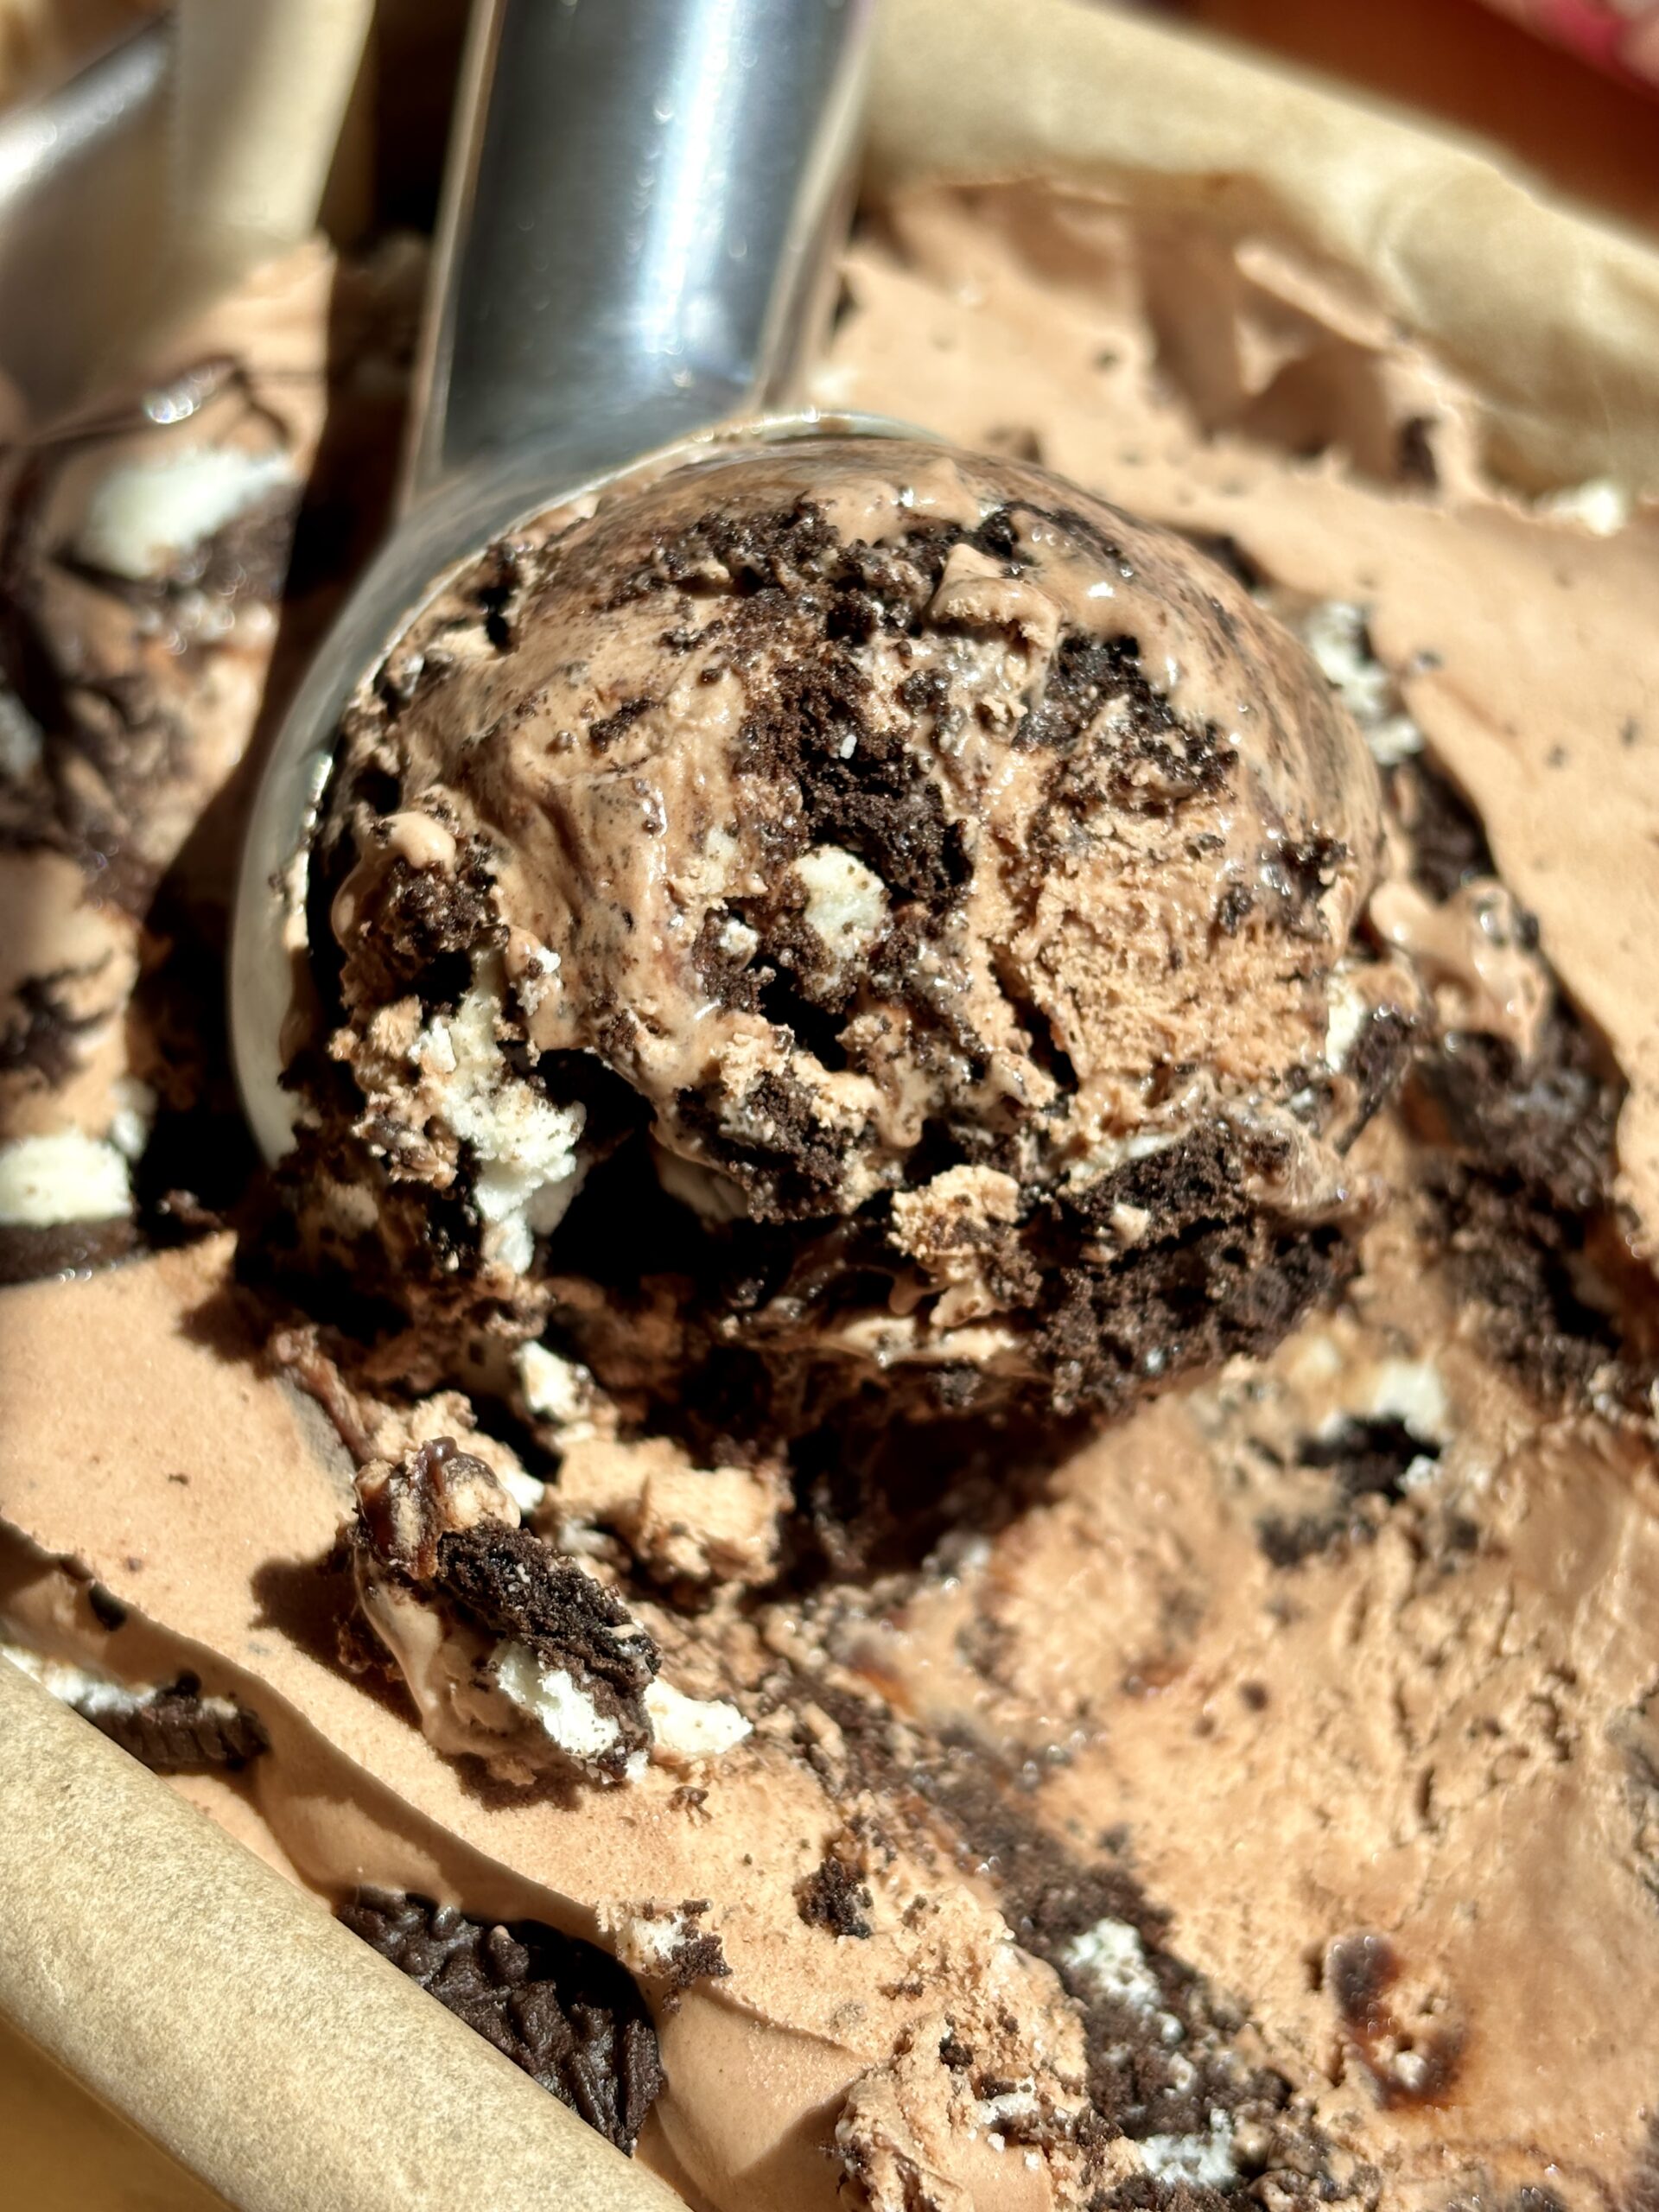
If you’re looking for the kind of frozen dessert that disappears scoop by scoop, this No Churn Chocolate Chocolate Ripple Cookie Ice Cream is it! Yes, it is a mouthful to say, but it’s ultra creamy, deeply chocolatey, swirled with ribbons of hot fudge, and layered with crushed chocolate sandwich cookies for the ultimate cookies-and-chocolate moment. The best part? You don’t need an ice cream maker, fancy equipment, or complicated custard base to make it happen.
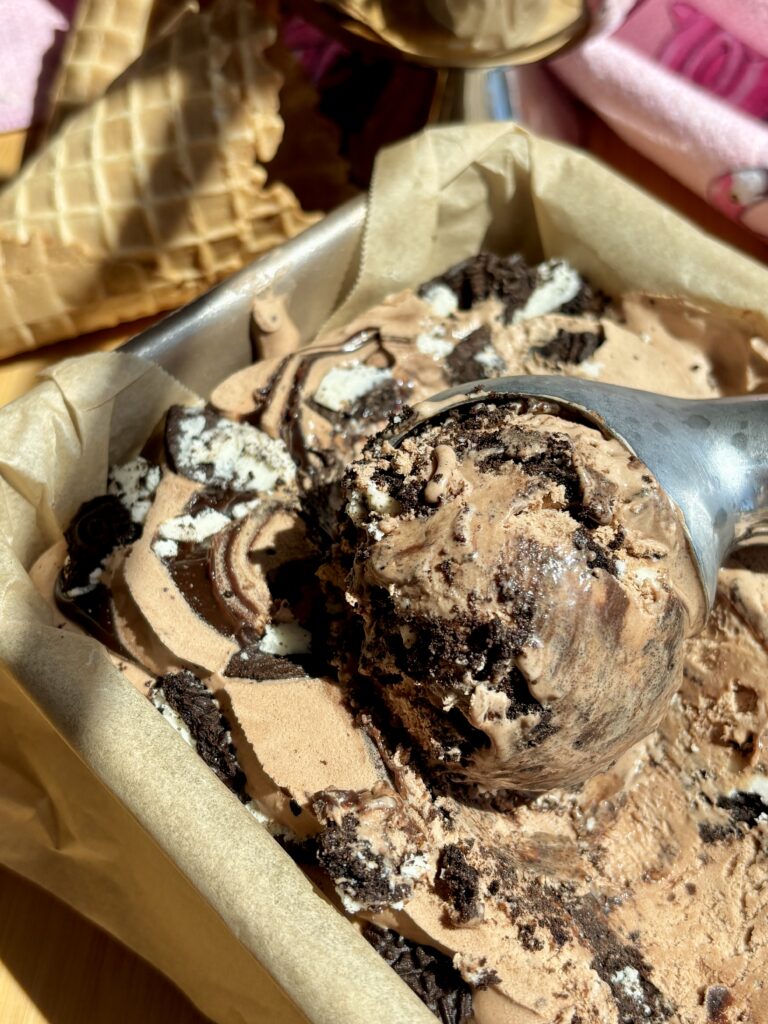
This homemade no churn chocolate ice cream starts with a rich base of whipped heavy cream and sweetened condensed milk, then gets even more decadent with melted dark chocolate, cocoa powder, vanilla, and a pinch of sea salt to balance all that sweetness. Once the fluffy chocolate mixture is layered into a loaf pan with warm hot fudge and crushed cookies, it heads to the freezer until perfectly scoopable and irresistibly creamy.
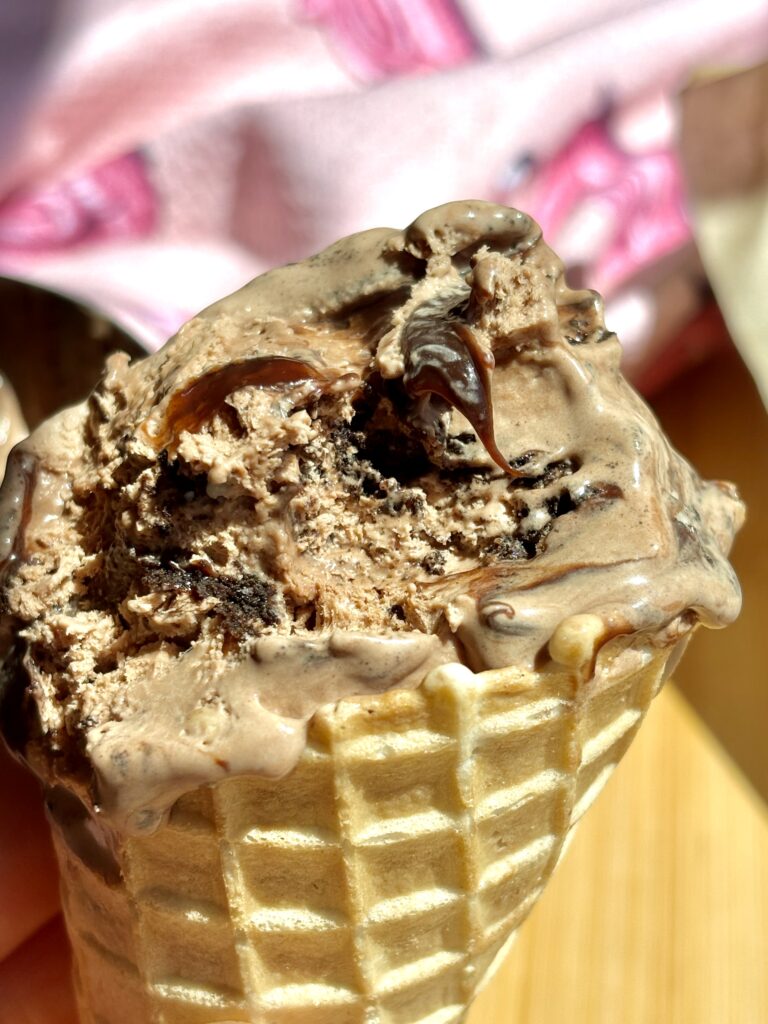
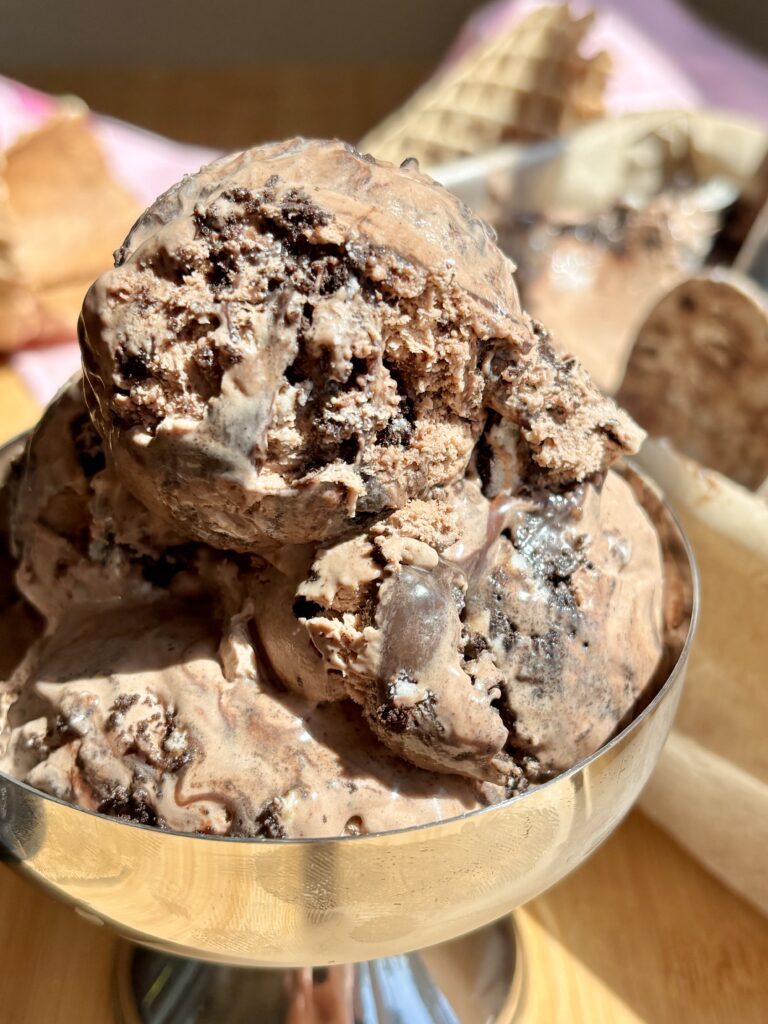
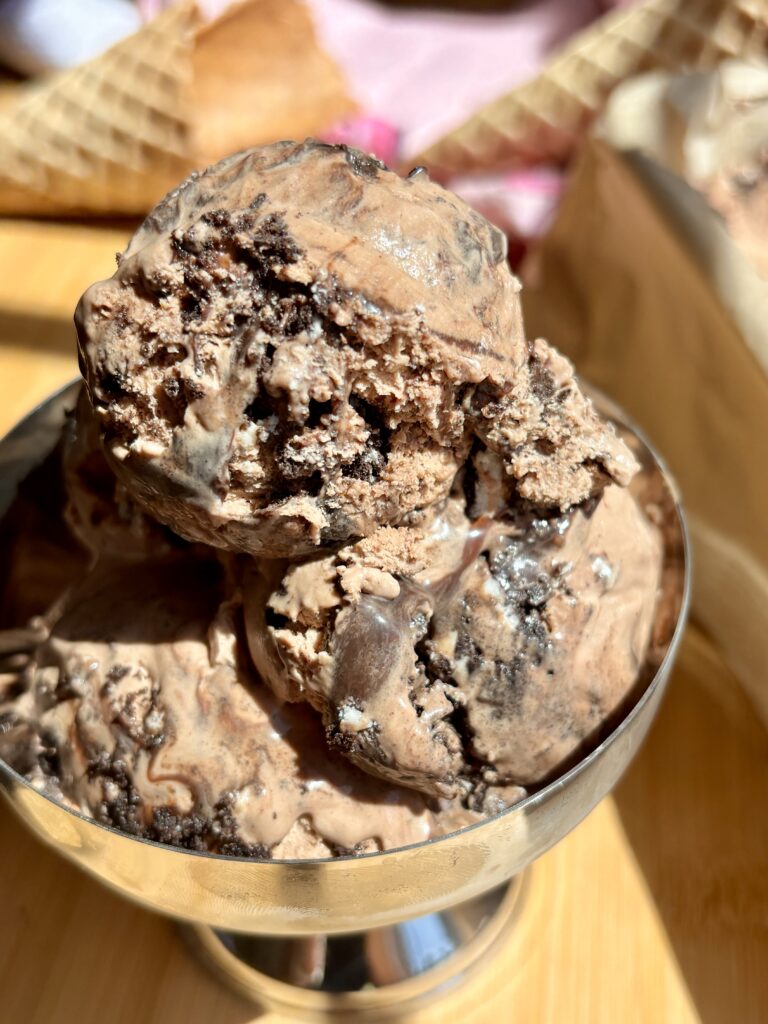
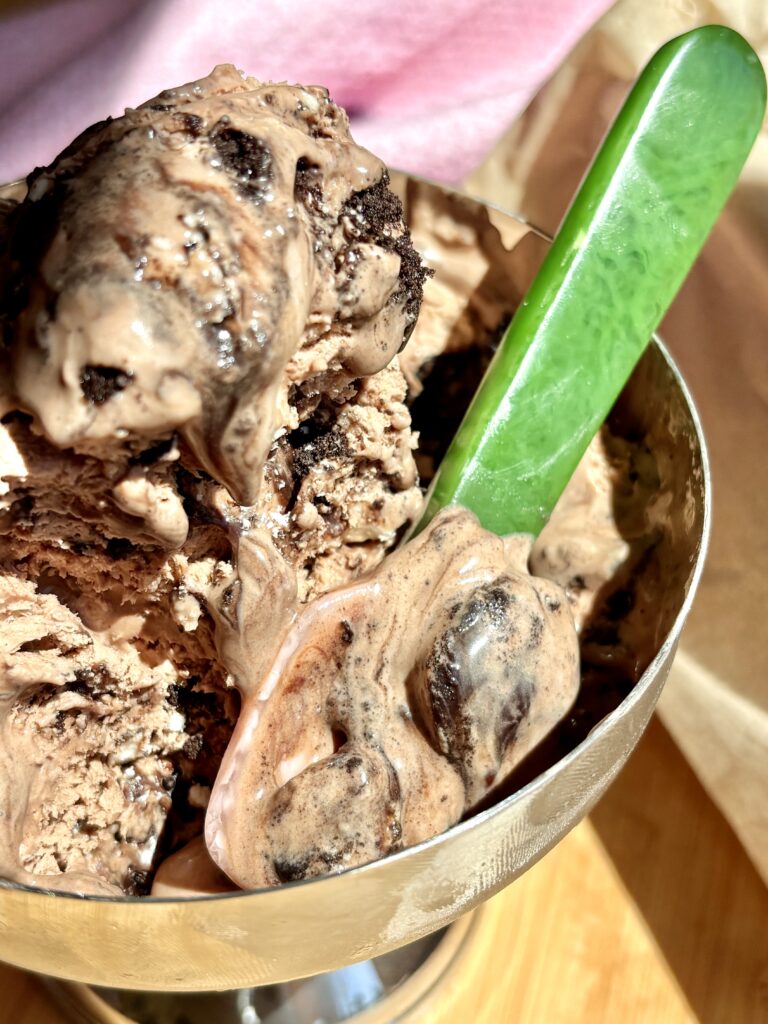
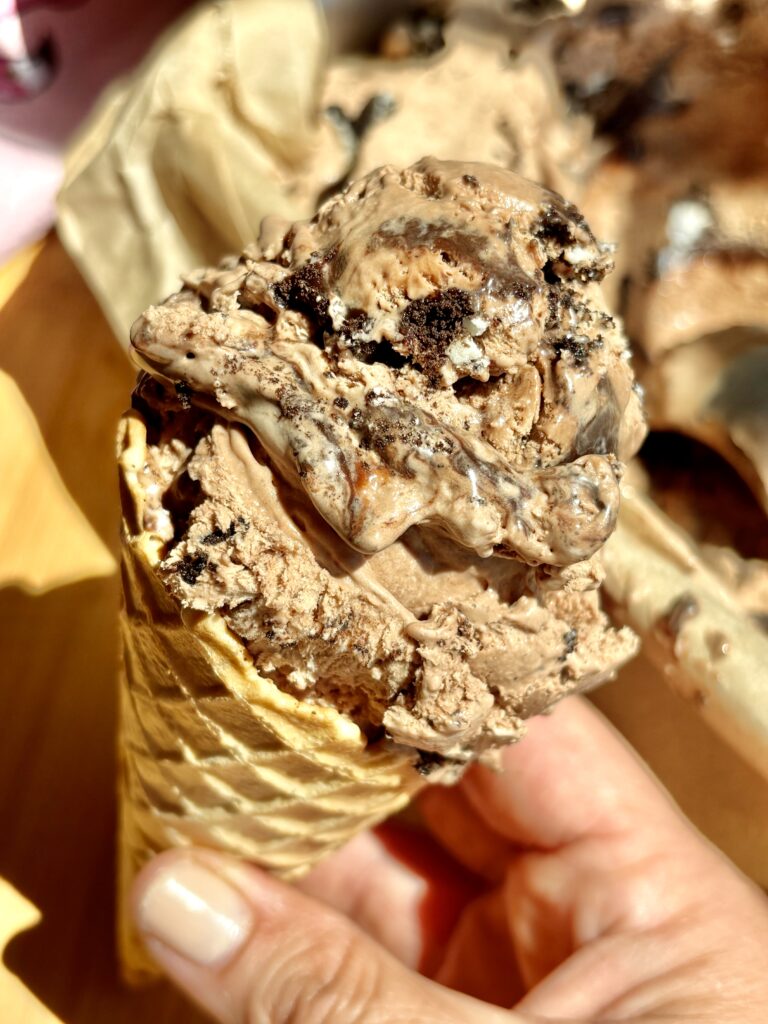
It’s the kind of dessert that feels special enough for summer entertaining but easy enough to make on a random weeknight when you want something fun. Whether you serve it in cones, bowls, or piled high with extra chocolate ripple on top, this no churn chocolate ripple cookie ice cream is a guaranteed crowd pleaser for chocolate lovers.
Why you’ll love this recipe!
What ingredients do I need?
- Heavy whipping cream: Whipped to stiff peaks, this creates the light, airy structure that makes no churn ice cream creamy and scoopable.
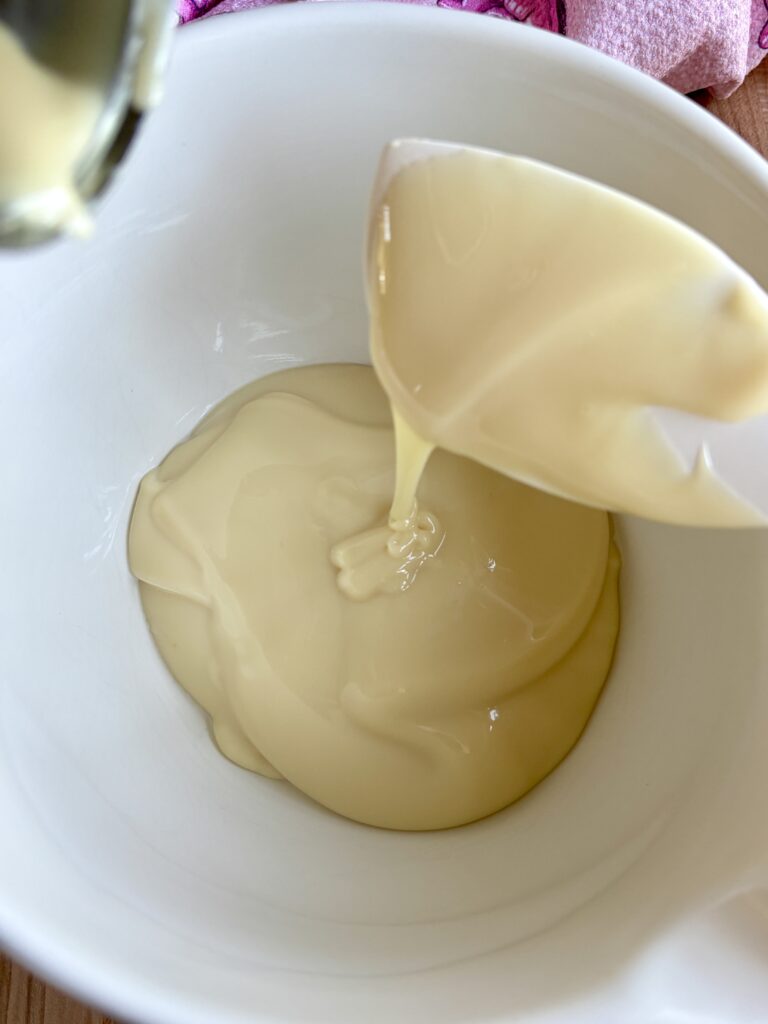
- Sweetened condensed milk: Sweetens the ice cream while also helping create a smooth, soft texture without the need for a custard base.
- Dark chocolate: Melted into the base for a deeper, richer chocolate flavor and extra decadence.
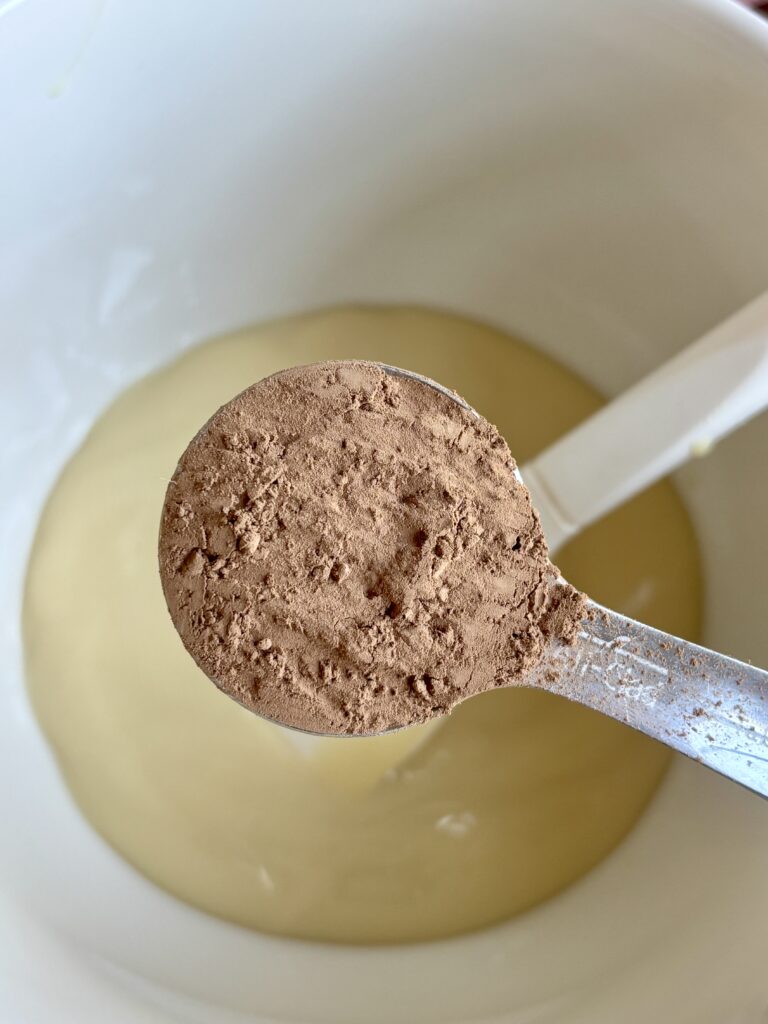
- Cocoa powder: Adds concentrated chocolate flavor throughout the ice cream base.
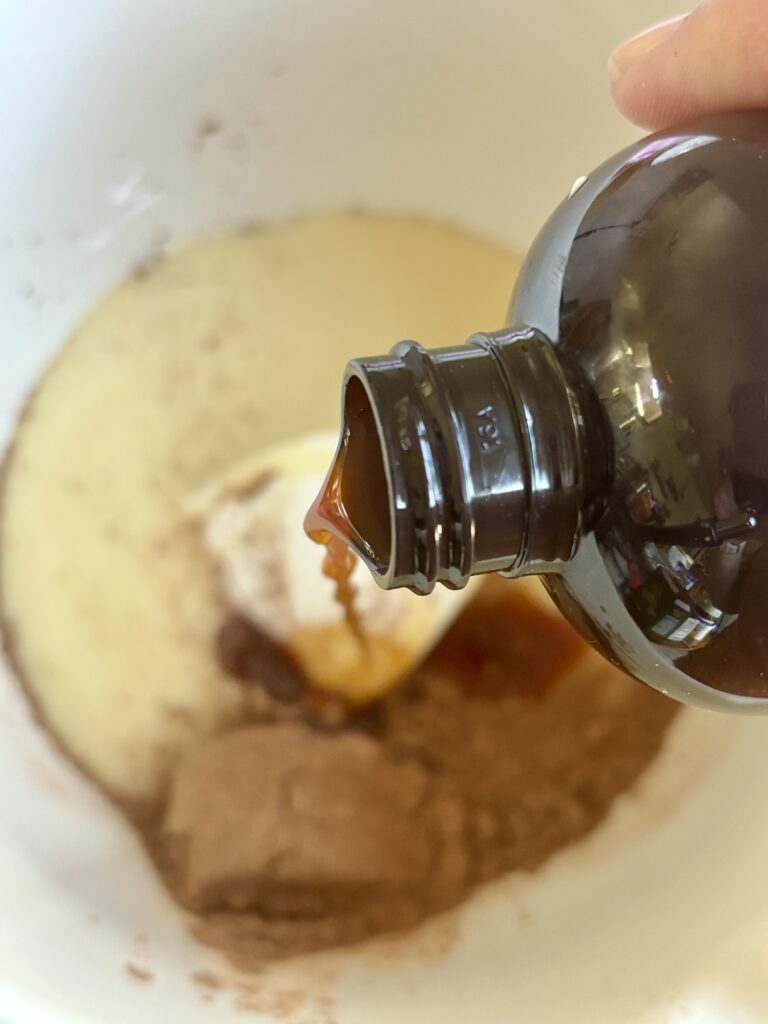
- Vanilla bean paste or vanilla extract: Rounds out the chocolate and adds warmth to the flavor.
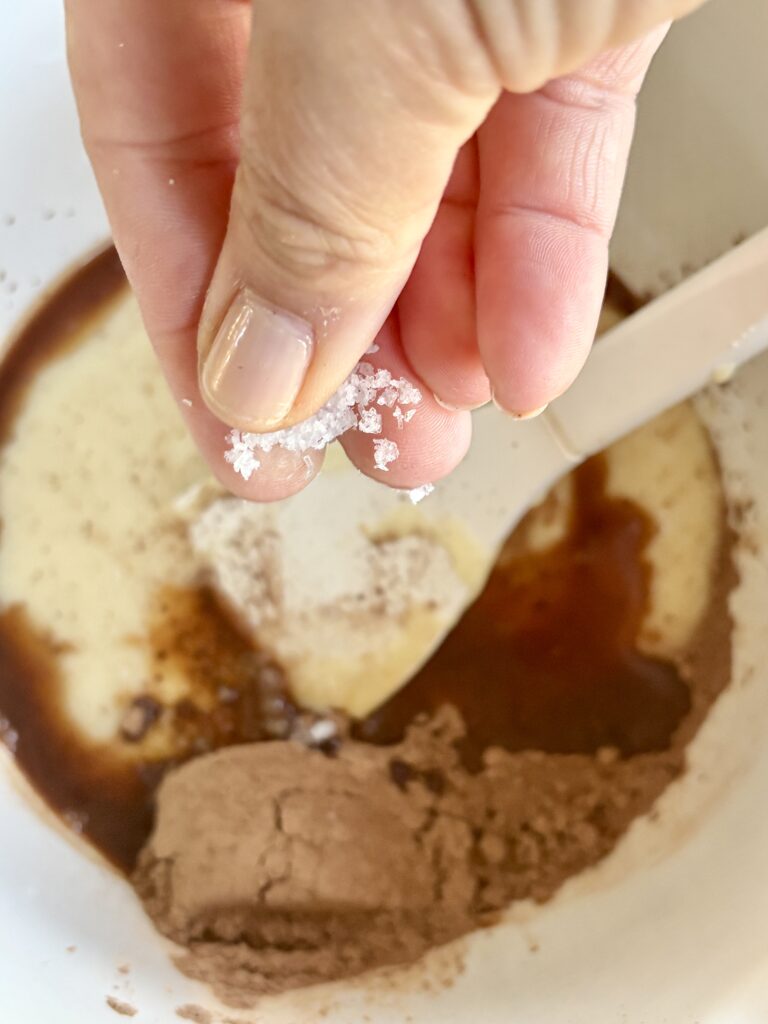
- Sea salt: Balances the sweetness and helps the chocolate flavor pop.
- Hot fudge: Swirled throughout the ice cream for rich ribbons of fudgy chocolate in every bite.
- Crushed chocolate sandwich cookies (Oreos): Add crunch, texture, and that classic cookie-and-cream vibe that pairs perfectly with the chocolate base.
Recipe Variations
- Triple Chocolate Brownie Ice Cream: Swap the cookies for chunks of brownies.
- Chocolate Peanut Butter Ice Cream: Add dollops of peanut butter between the layers along with the chocolate ripple. Warm the peanut butter slightly first to make it easy to drizzle.
- Mocha Ripple Ice Cream: Whisk 1 to 2 teaspoons espresso powder into the base to deepen the chocolate flavor.
- Chocolate Caramel Cookie Ice Cream: Add ribbons of caramel sauce alongside the chocolate ripple.
Pro Tips
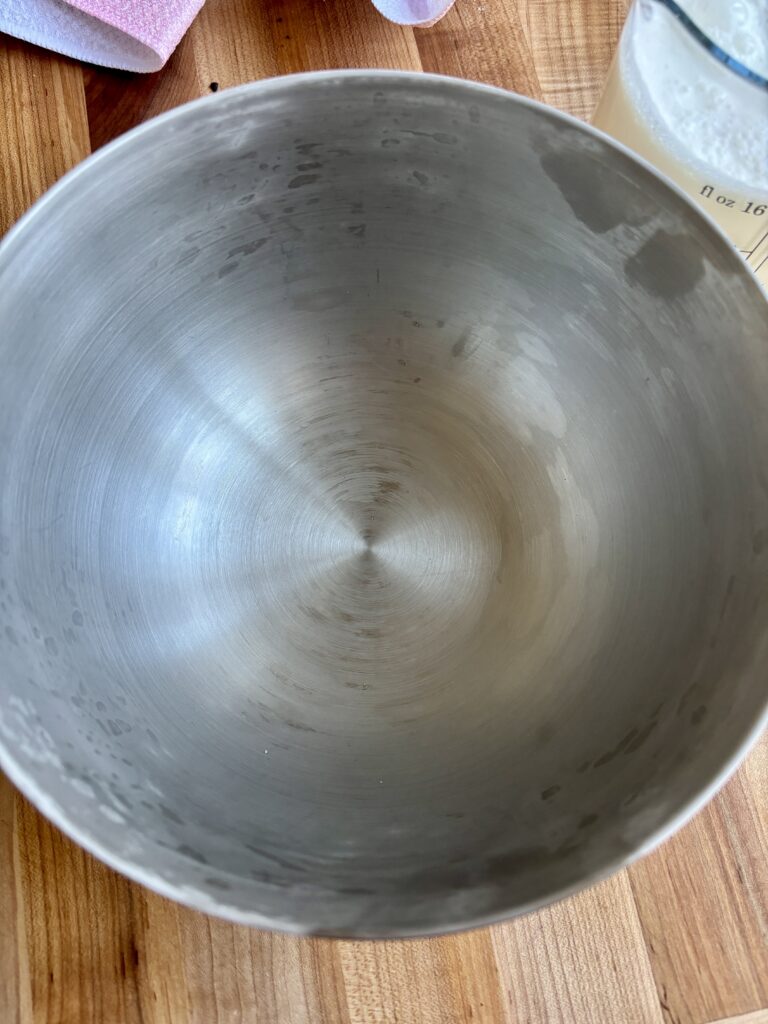
- Use very cold heavy cream. Cold cream whips faster and gives you the best volume for a light, creamy texture. Using a very cold bowl for this process will also help! I like to put a bowl in the freezer at least 20 minutes before. I love using my mixing bowls from Caraway because they are stainless steel and get so cold! A set like this one would be great as well!
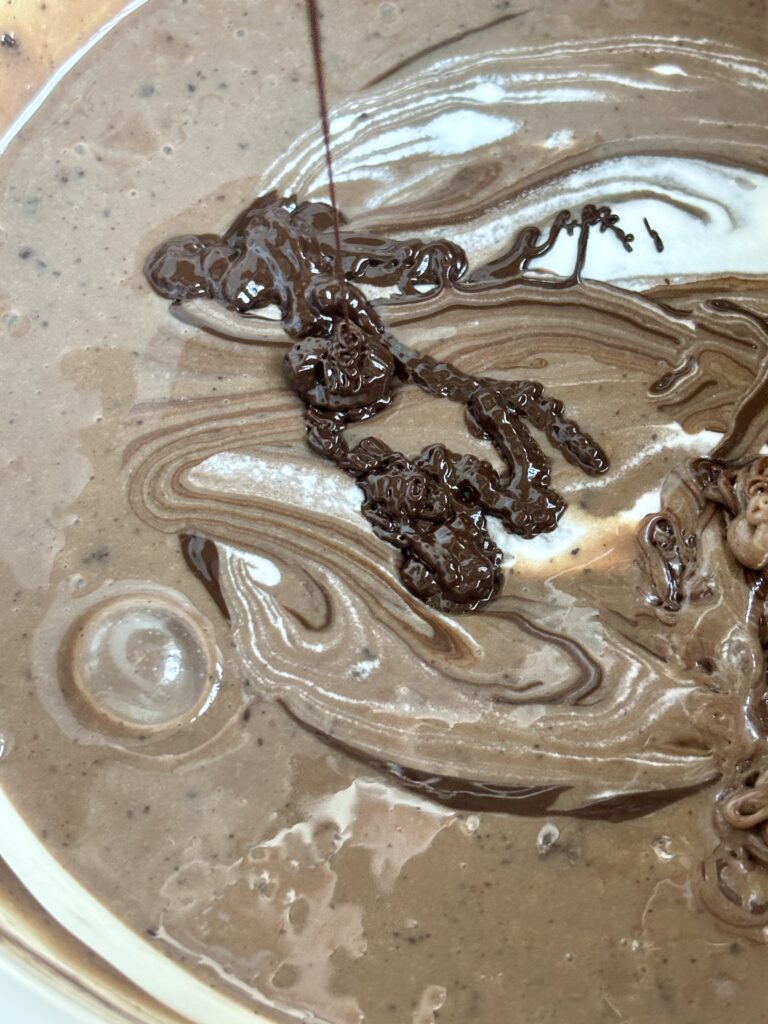
- Let the melted chocolate cool slightly before mixing it in. You want it fluid, not hot, so it blends smoothly without deflating the mixture.
- Sift the cocoa powder if it’s lumpy. This helps it blend evenly into the base without little cocoa pockets.
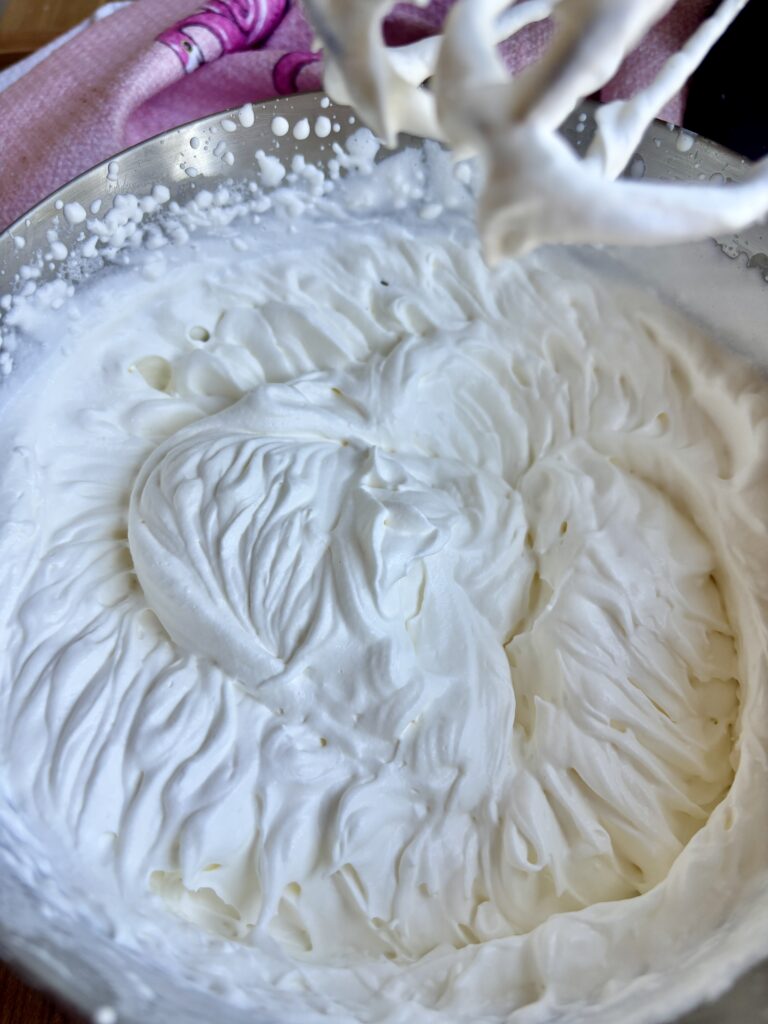
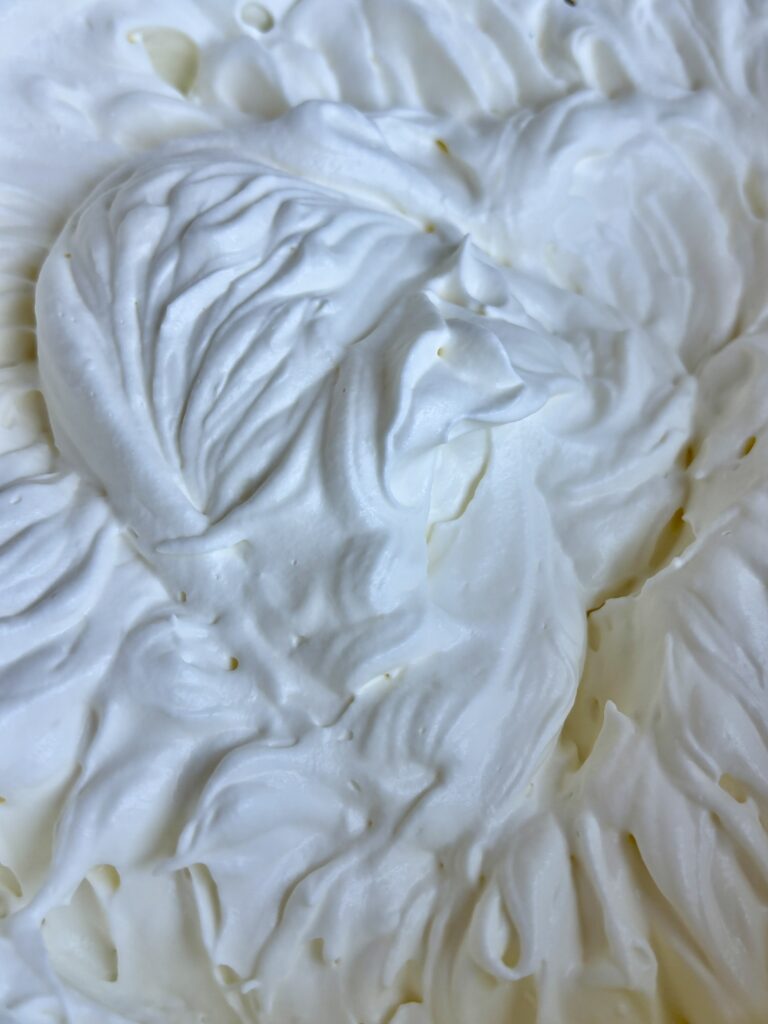
- Don’t overwhip the cream. Stop at stiff peaks. If you whip too far, the cream can become grainy and affect the final texture.
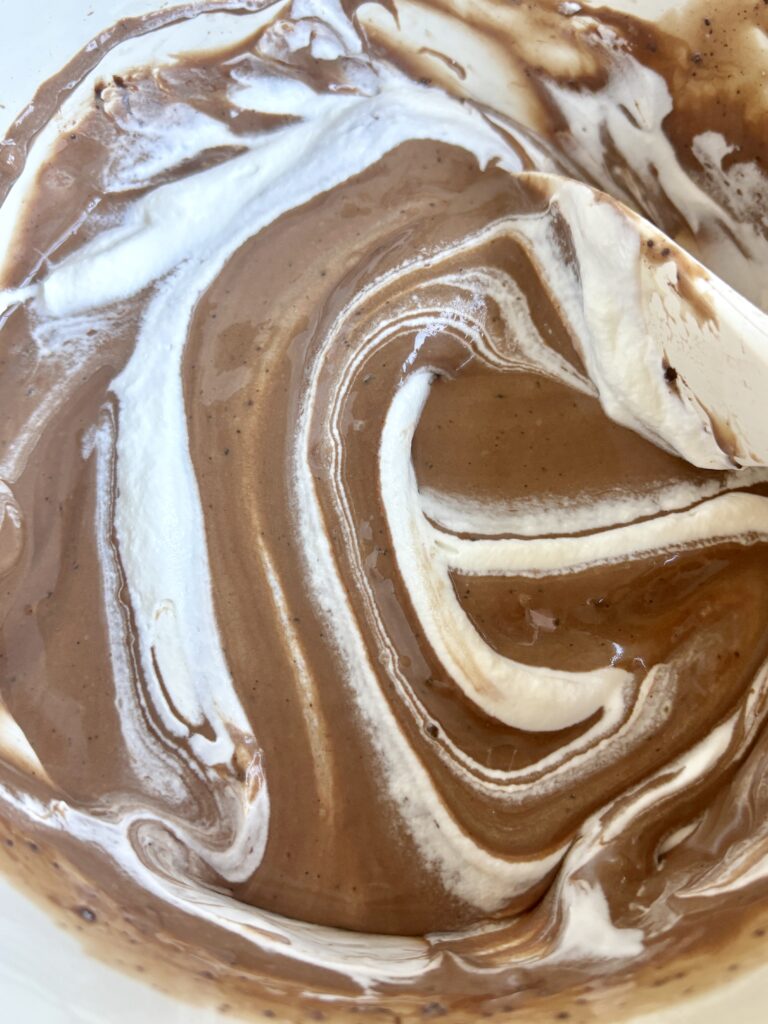
- Fold the whipped cream in to the chocolate base very gently. The whipped cream is what gives this ice cream its airy, scoopable texture, so you want to keep as much volume as possible.
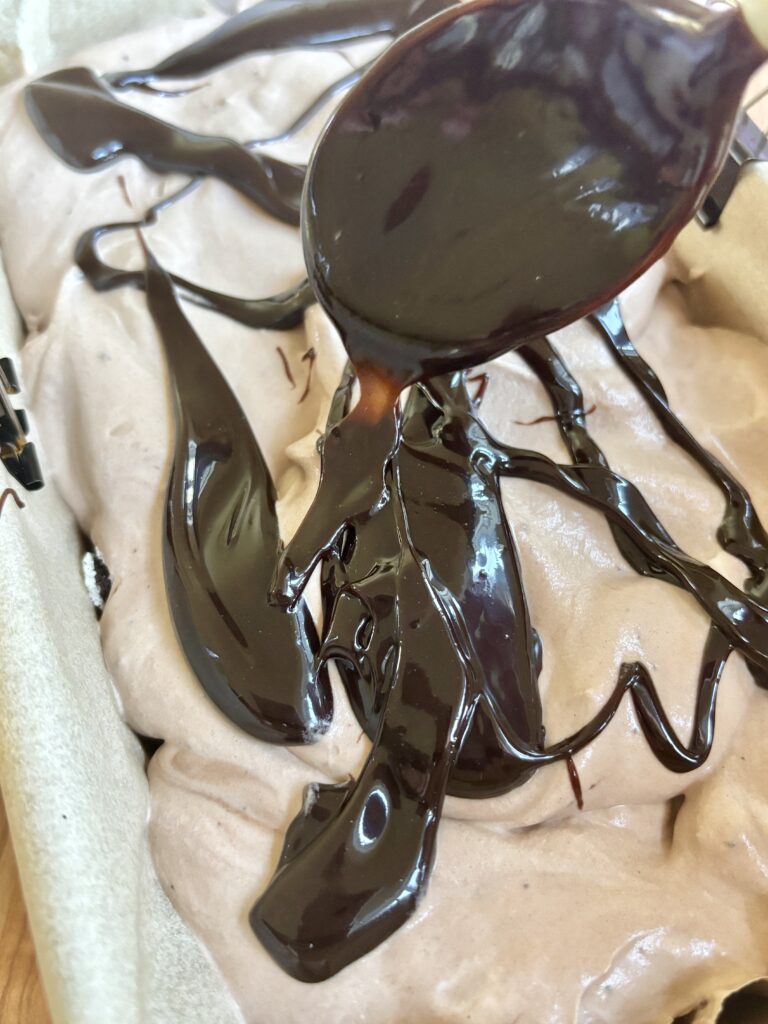
- Warm the hot fudge just enough to drizzle. If it’s too cold, it won’t swirl well. If it’s too hot, it can melt the ice cream base.
- Freeze the loaf pan first. Starting with a cold pan helps the mixture set more quickly and can improve texture.
- Press parchment paper, or plastic wrap, directly onto the surface of the ice cream before covering. This helps reduce ice crystals and freezer burn.
- Freeze overnight for the best texture. It may be scoopable sooner, but a full overnight freeze gives the cleanest scoops and best set.
- Let it sit at room temperature for 5–10 minutes before scooping. This softens the texture just enough for easier serving.
Can I Substitute?
Yes! Like always though, any substitutions made to the recipe can result in a change in texture and/or flavor.
- Dark chocolate: You can use semi-sweet chocolate if you want a slightly sweeter chocolate flavor.
- Vanilla bean paste: Vanilla extract works perfectly here if that’s what you have.
- Chocolate sandwich cookies: Swap for Oreos, gluten-free chocolate sandwich cookies, chocolate wafer cookies, or even chopped brownie pieces for a different mix-in.
- Hot fudge: Chocolate sauce can work in a pinch, though hot fudge will give you thicker, richer swirls.
- Sea salt: Fine kosher salt can be used instead; just use slightly less.
Dietary Substitutions
- Gluten-free: Use gluten-free chocolate sandwich cookies in place of regular cookies.
- Egg-free: This recipe is naturally egg-free as written.
- Nut-free: The base itself is nut-free, but always double-check your chocolate, hot fudge, and cookies depending on the brand you use.
- Less sweet version: Use a darker chocolate and reduce the cookie mix-ins slightly for a less sweet final dessert, though it will still be rich and decadent.
Leftovers and Storage
- Freezer: Store the ice cream tightly covered in the freezer for up to 2 weeks for the best flavor and texture. To help prevent ice crystals and freezer burn, press a piece of parchment paper, or plastic wrap, directly onto the surface of the ice cream before covering the pan with foil or a lid.
- When you’re ready to serve it again, let the ice cream sit at room temperature for about 5 to 10 minutes before scooping. If you’d like, you can also transfer it to an airtight freezer-safe container after it has fully set for easier long-term storage.
- For the creamiest texture and best cookie crunch, this ice cream is best enjoyed within the first week or two.
But, I Still Have A Few Questions…
Do I need an ice cream maker for this recipe?
Nope! Isn’t that amazing! This is a no churn ice cream recipe, which means you can make it without any special equipment. The whipped cream and sweetened condensed milk create that rich, creamy texture without the need for churning.
What makes no churn ice cream creamy?
The whipped heavy cream gives the ice cream structure and lightness, while sweetened condensed milk keeps it smooth, rich, and scoopable once frozen. The melted chocolate also adds body and extra richness to the base.
Can I use Oreos in this recipe?
Yes! Oreos are perfect here and personally what I recommend. I used the more general “chocolate sandwich cookies” wording so you can use whatever brand you have on hand, but classic Oreos work beautifully.
Can I use homemade chocolate sauce instead of hot fudge?
Yes, but a thicker hot fudge will give you the best ribbons throughout the ice cream. A thinner chocolate sauce may blend in more than swirl. Or you can just make my delicious hot fudge to drizzle in.
Can I make this without the cookies?
Absolutely. If you want more of a straight chocolate ripple ice cream, simply leave out the crushed cookies and keep the chocolate ripple swirls.
What kind of chocolate is best for the base?
Dark chocolate gives this ice cream a richer, deeper chocolate flavor, but semi-sweet chocolate is also a great option if you want it a little sweeter and more kid-friendly.
Why did my whipped cream get grainy?
It was likely overwhipped. Stop mixing once stiff peaks form. If the cream gets too thick or starts looking curdled, it can affect the final texture of the ice cream.
Why is my melted chocolate clumping?
If the melted chocolate is too hot when it’s mixed into the sweetened condensed milk, it can seize or create little bits. Let it cool slightly (about 5-10 minutes) before adding it to the bowl so it blends in smoothly.
How long does it need to freeze?
At least 6–8 hours, but overnight is ideal for the best texture and easiest scooping.
Can I make this ahead for a party?
Yes, this is such a great make-ahead dessert. You can prepare it a few days in advance and keep it tightly covered in the freezer until ready to serve.
Can I make this in something other than a loaf pan?
Yes. Any freezer-safe container of a similar size will work. A loaf pan is just especially nice for layering, swirling, and scooping..
How do I get those nice chocolate ripples instead of fully blended chocolate?
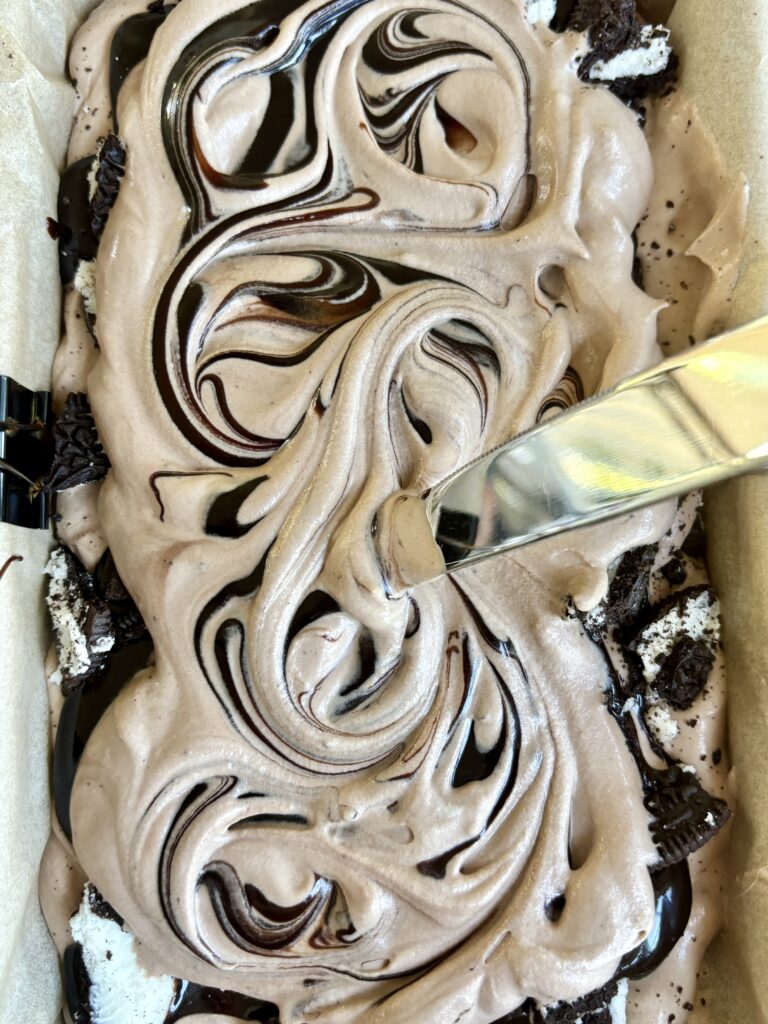
Use a thicker hot fudge and drizzle it in thin layers. Then swirl gently with a knife on the top layer. If you stir too much, the ripple will disappear into the base.
Can kids help make this recipe?
Definitely. Kids can help crush the cookies, layer the ice cream, drizzle the chocolate ripple, and swirl the top. It’s a really fun no-bake dessert project.
Why is my ice cream too hard to scoop straight from the freezer?
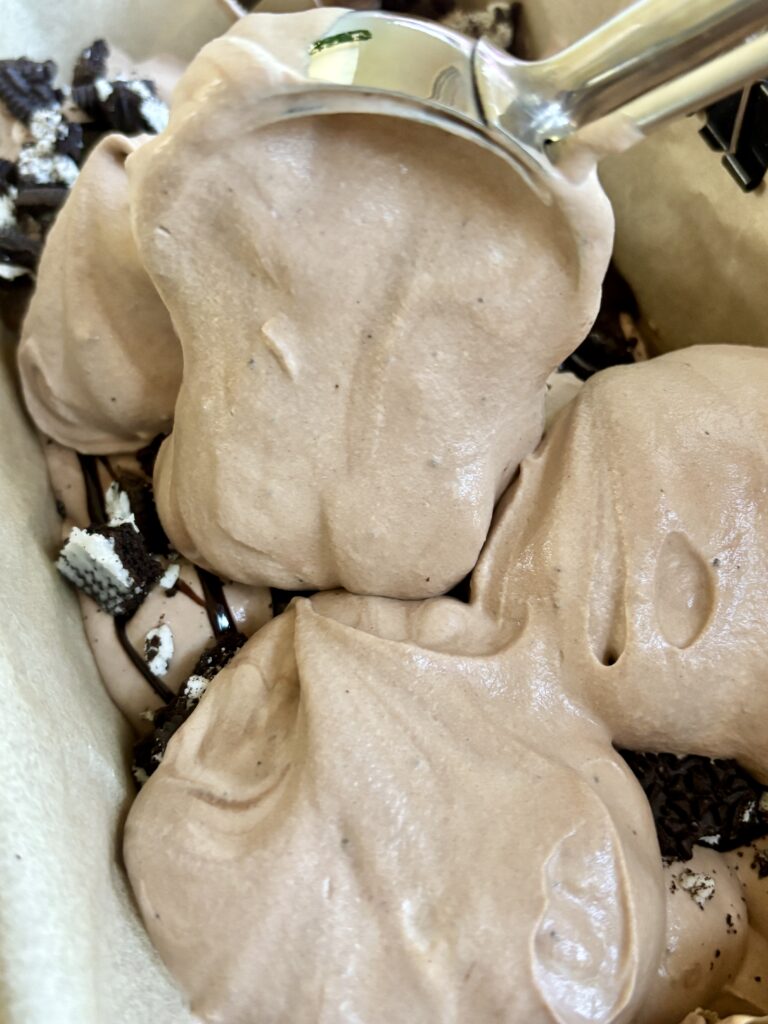
Homemade no churn ice cream can freeze quite firm depending on your freezer. Let it sit on the counter for about 5–10 minutes before scooping and it should soften nicely. If you are an ice cream lover, I would also HIGHLY recommend this specific ice cream scoop. It uses the heat from your hand to help you scoop even the hardest ice creams! I refuse to use anything other scoop now.
Other Recipes You’ll Love
Let’s engage!
Make sure to tag @thehomechefmomma on Instagram or Facebook, and leave a review or comment if you make these. I always get so excited to see your creations, variations of the recipe, and feedback! Just remember to be kind in your comments, there is still a person behind this screen! 🙂
No Churn Chocolate Chocolate Ripple Cookie Ice Cream
Ingredients
Ice Cream Base
- 2 cups heavy cream cold
- 14 ounces sweetened condensed milk
- 2 ounces dark chocolate melted and slightly cooled
- 2 tablespoons cocoa powder
- 2 teaspoons vanilla bean paste or vanilla extract
- 1 teaspoon sea salt
For layering
- Hot fudge for drizzling and swirling (homemade or use your favorite)
- Crushed chocolate sandwich cookies like Oreos, for layering
Instructions
- Line a loaf pan with parchment paper, leaving enough overhang on the sides for easy removal later. Place the pan in the freezer while you prepare the ice cream base.
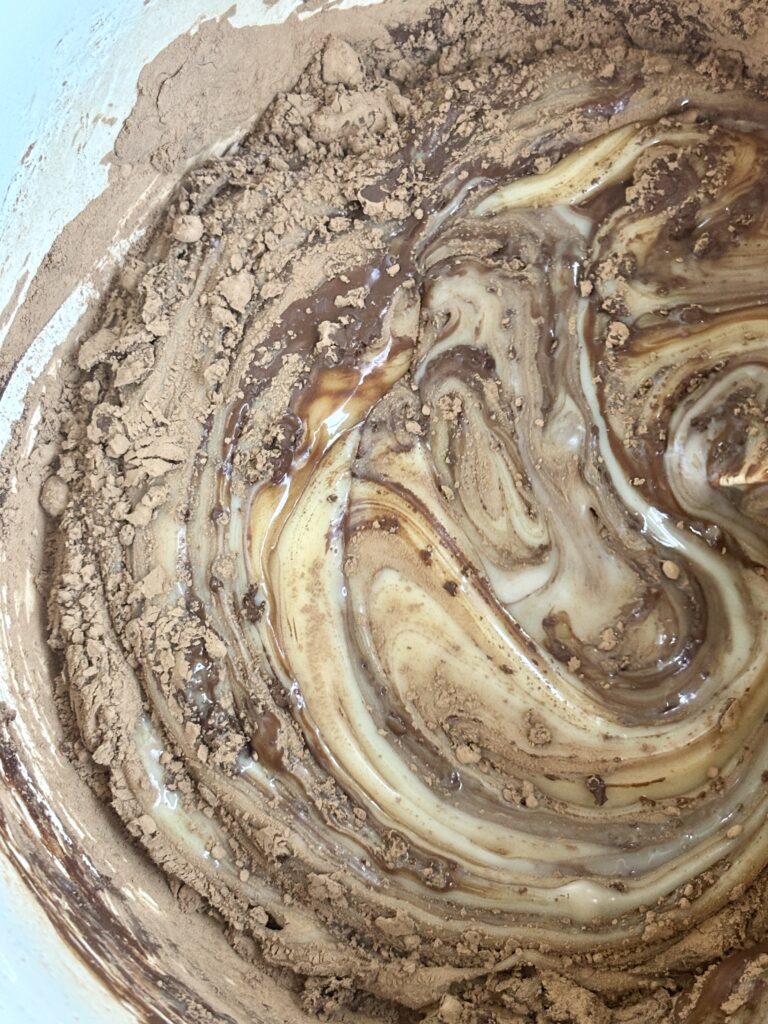
- In a large mixing bowl, whisk together the sweetened condensed milk, melted dark chocolate, cocoa powder, vanilla bean paste, and sea salt until smooth and fully combined.
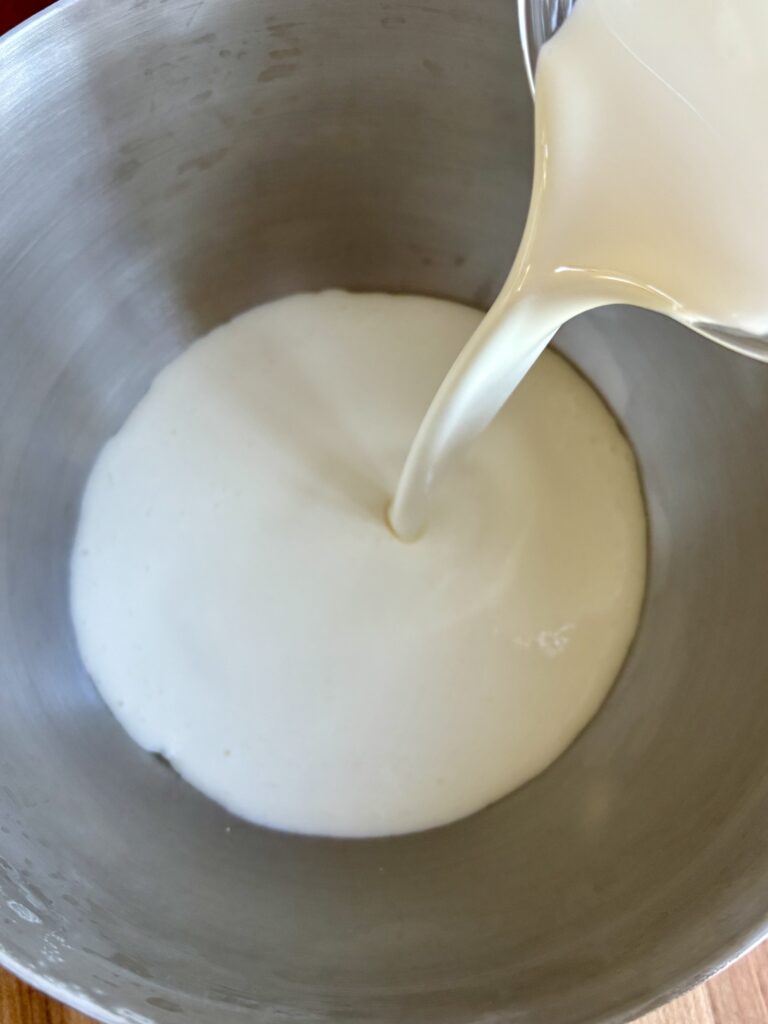
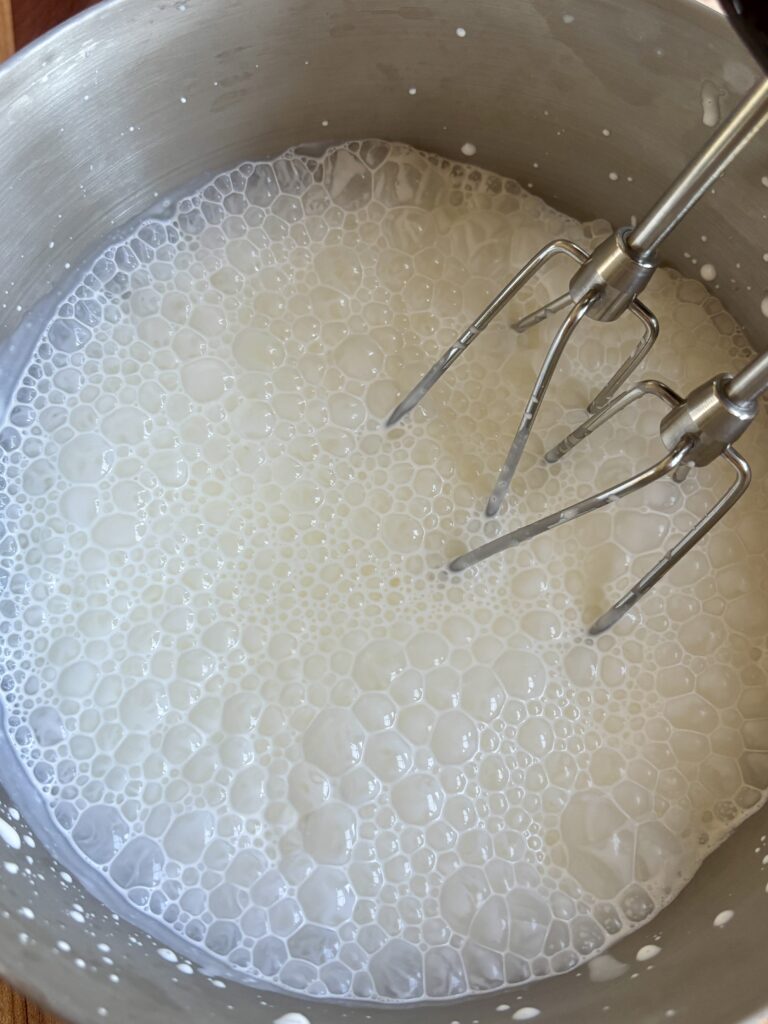
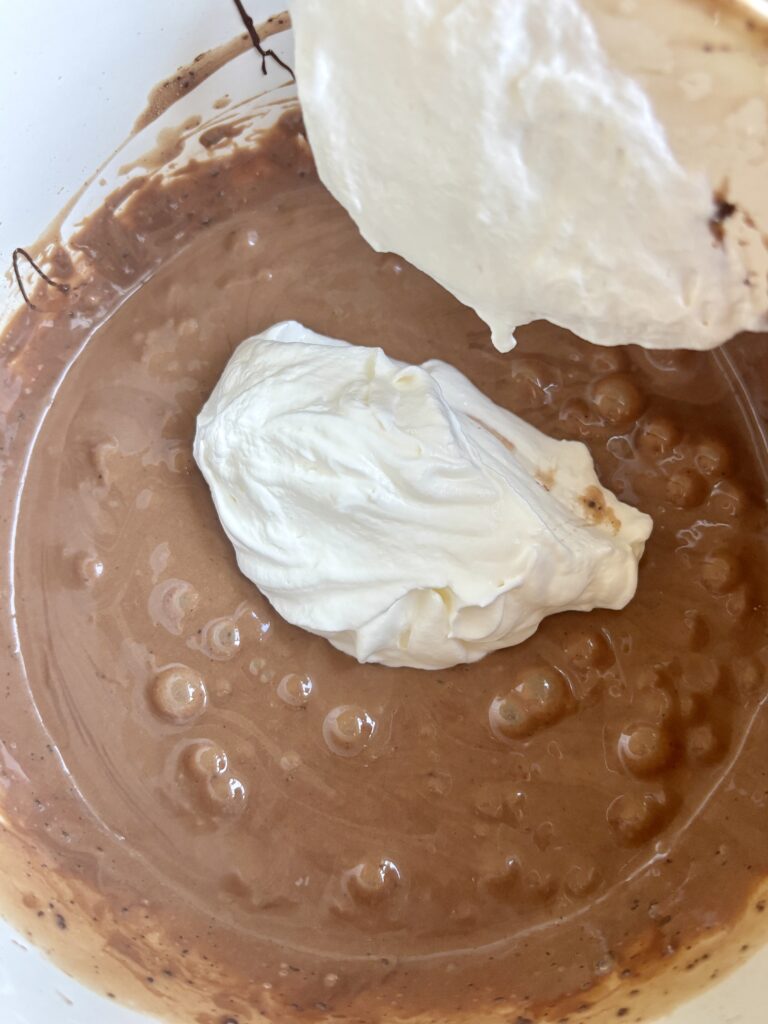
- In a separate large cold bowl, use a hand mixer or stand mixer to whip the cold heavy cream until stiff peaks form. Be careful not to overwhip.
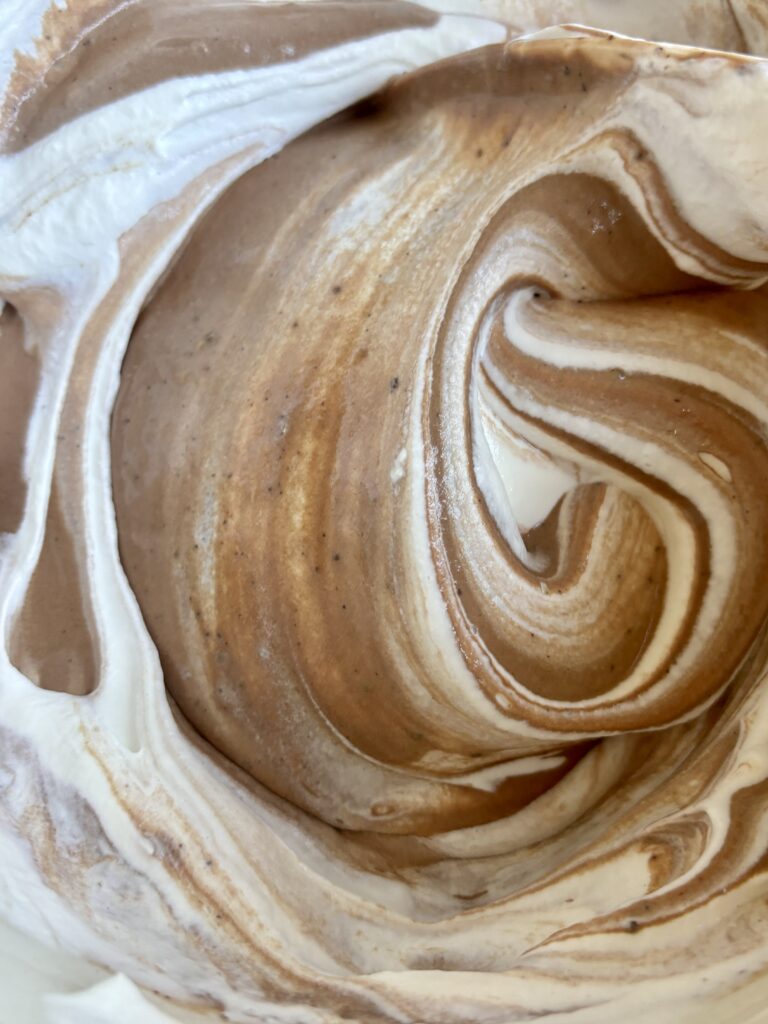
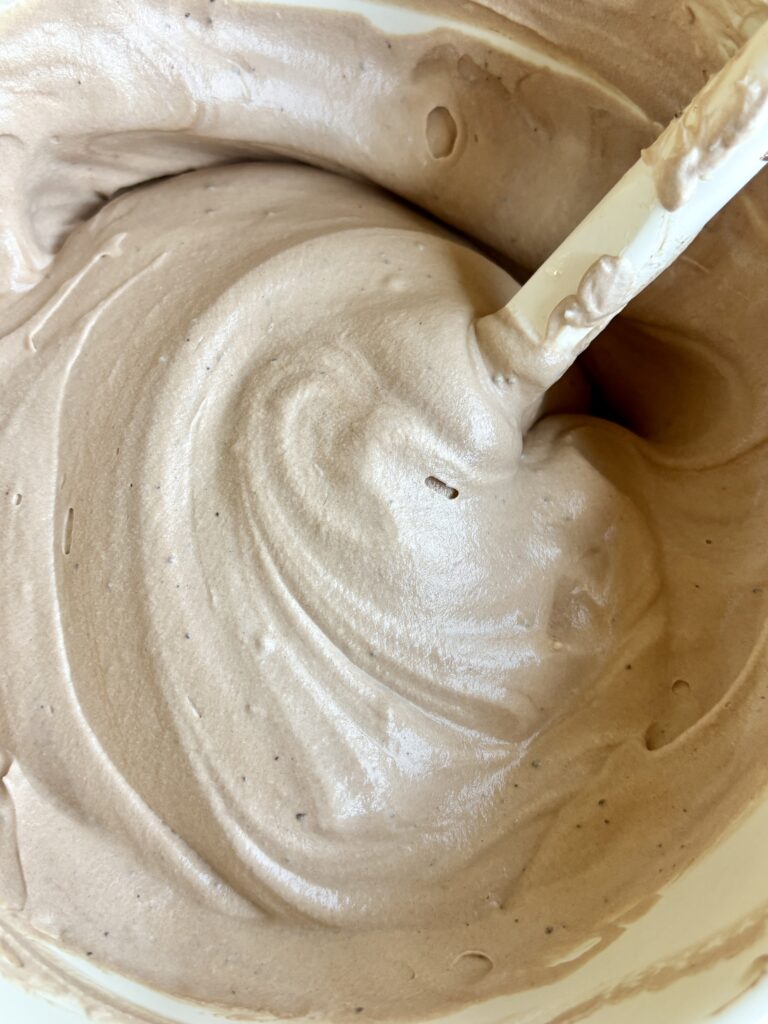
- Add about one-third of the whipped cream to the chocolate mixture and gently fold to lighten it. Add the remaining whipped cream and continue folding gently until no streaks remain and the mixture is fluffy and fully combined.
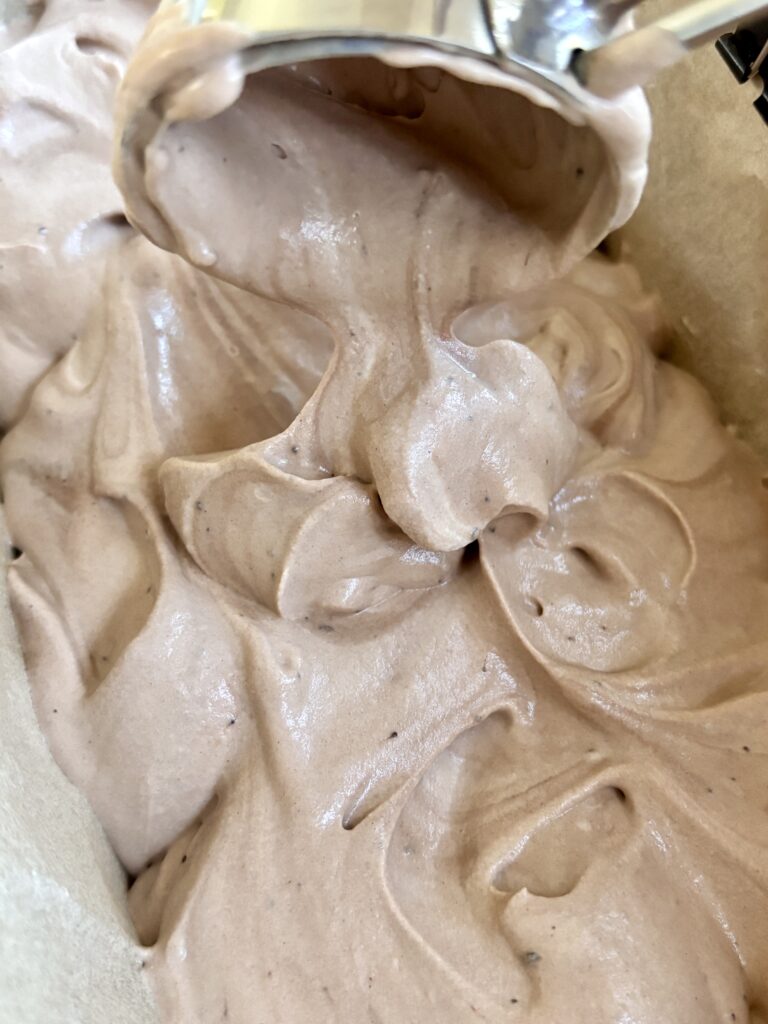
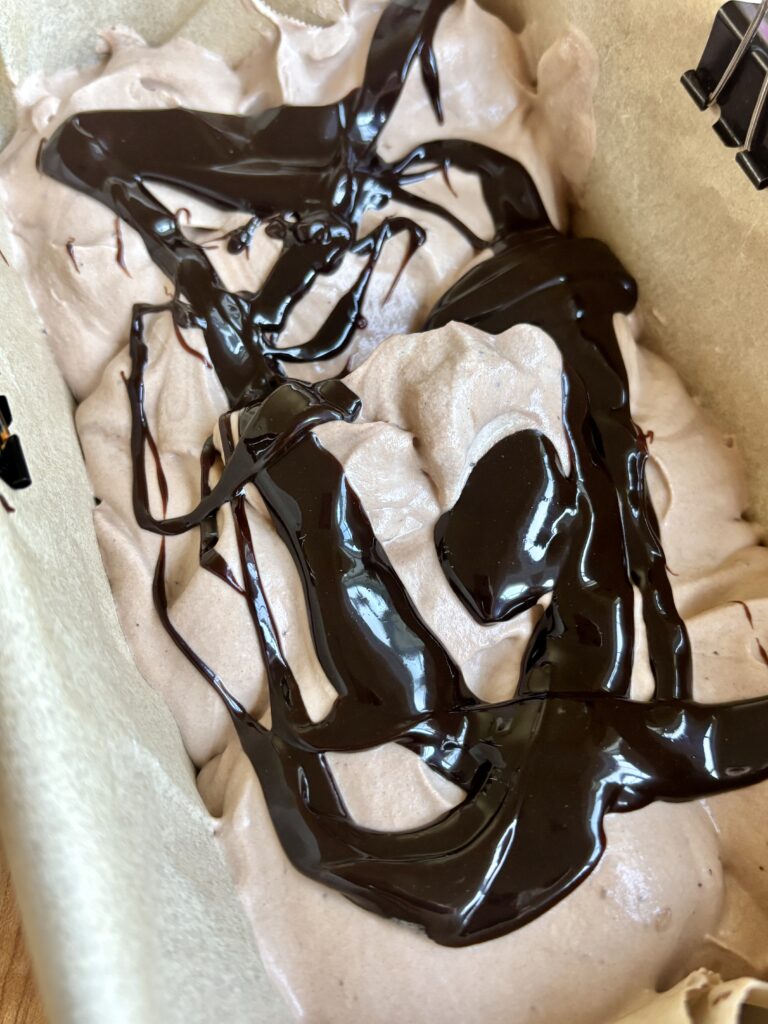
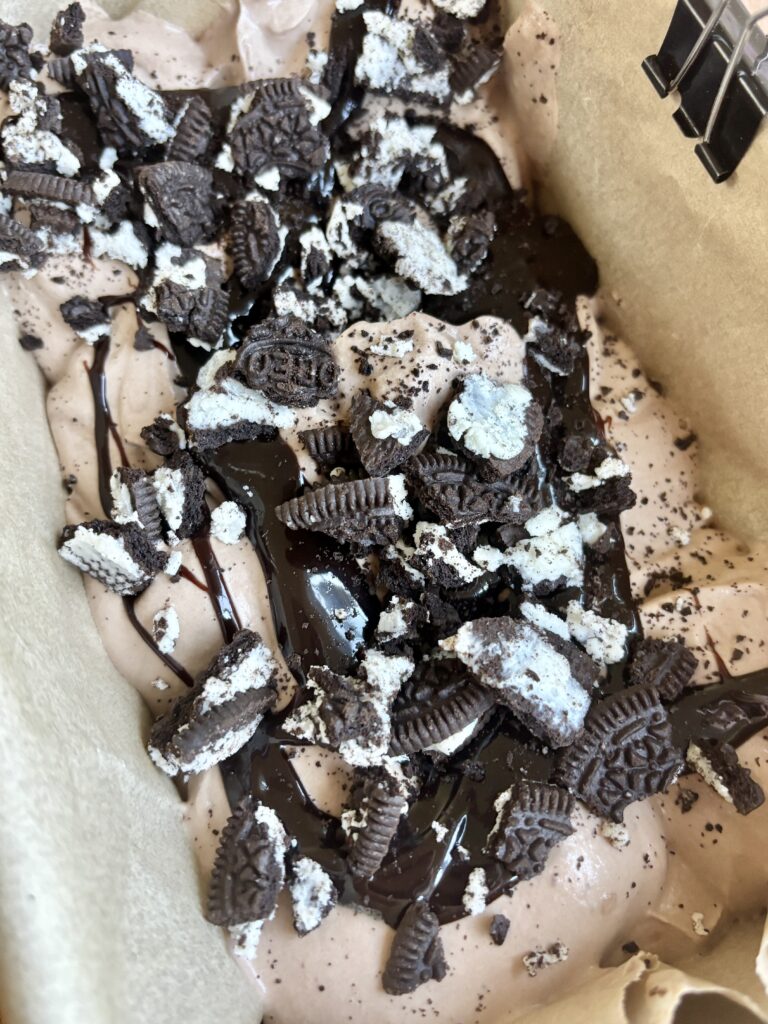
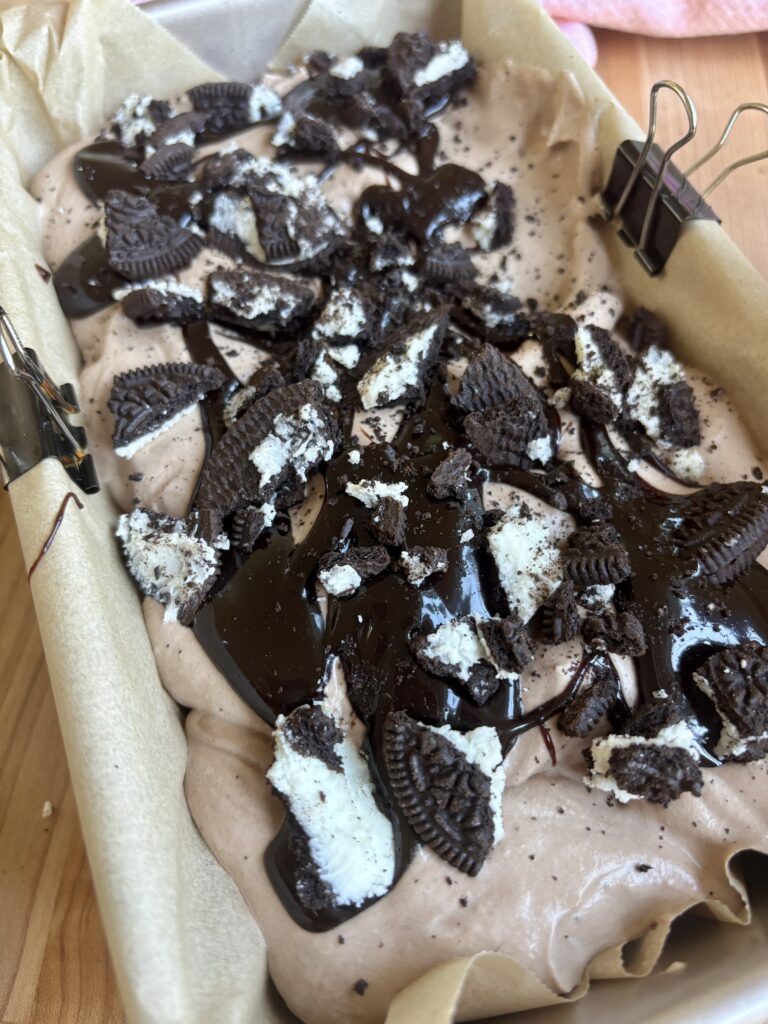
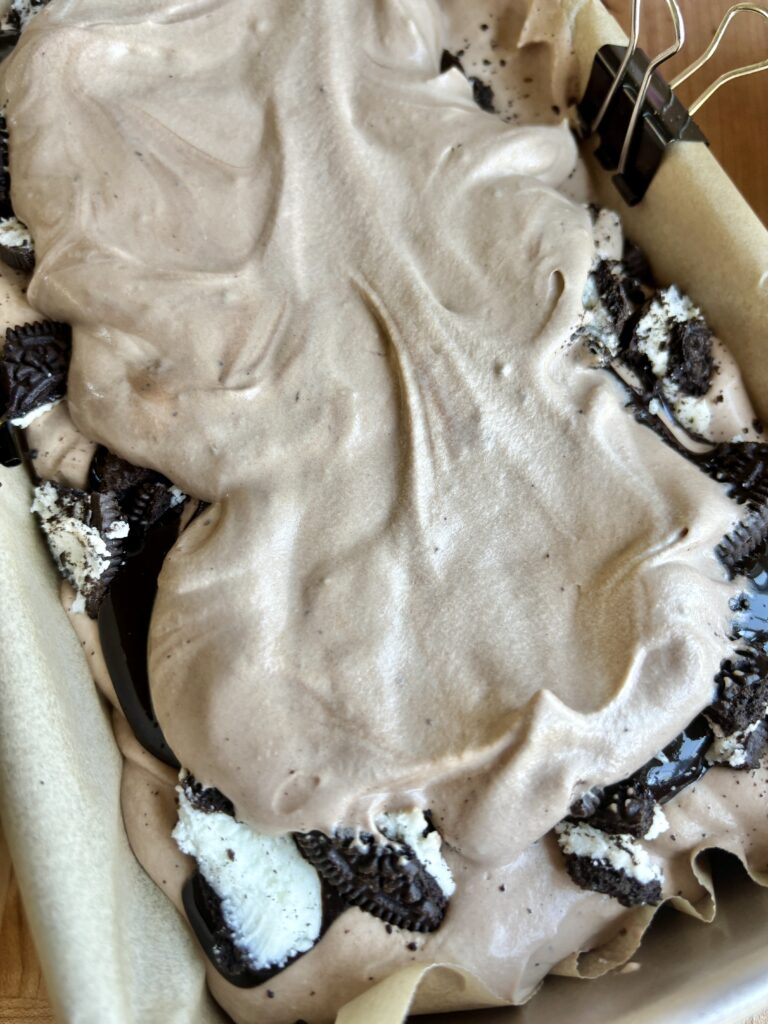
- Remove the loaf pan from the freezer. Spread a layer of the chocolate ice cream mixture into the pan, then sprinkle with crushed chocolate sandwich cookies and drizzle with hot fudge or chocolate ripple sauce. Repeat the layers until all of the mixture is used.
- Use a butter knife or skewer to gently swirl the chocolate ripple through the top layer. Don’t overmix, you want visible ribbons throughout.
- Cover tightly with plastic wrap, foil, or an airtight lid. Freeze for at least 6–8 hours, preferably overnight, until firm and scoopable.
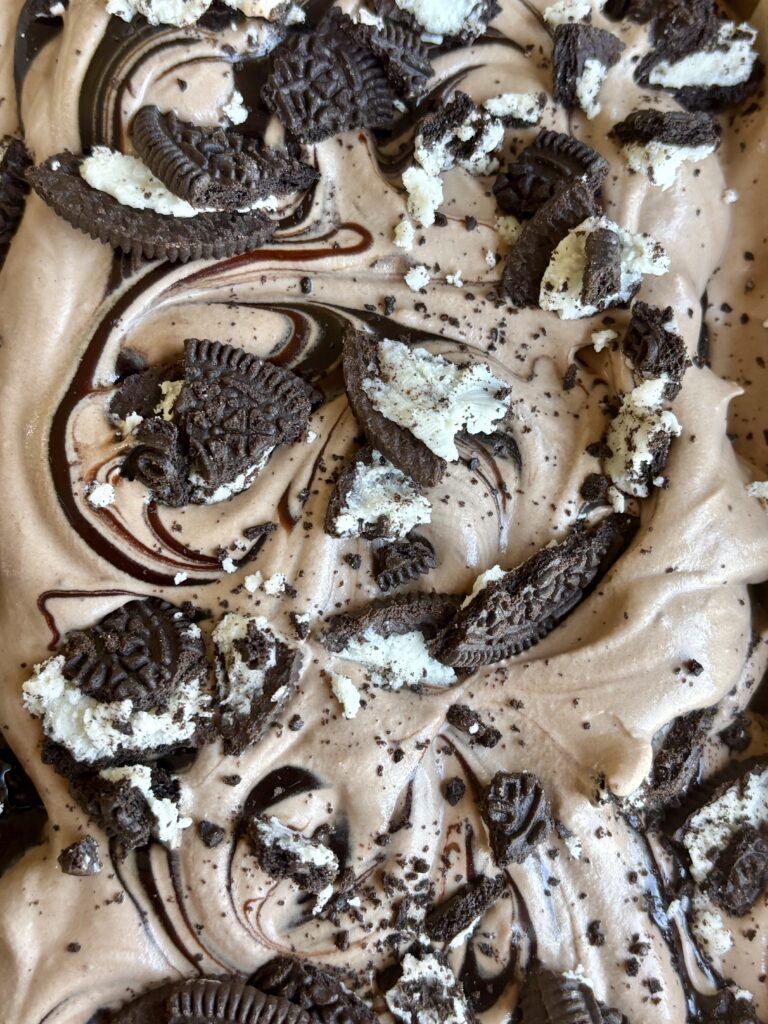
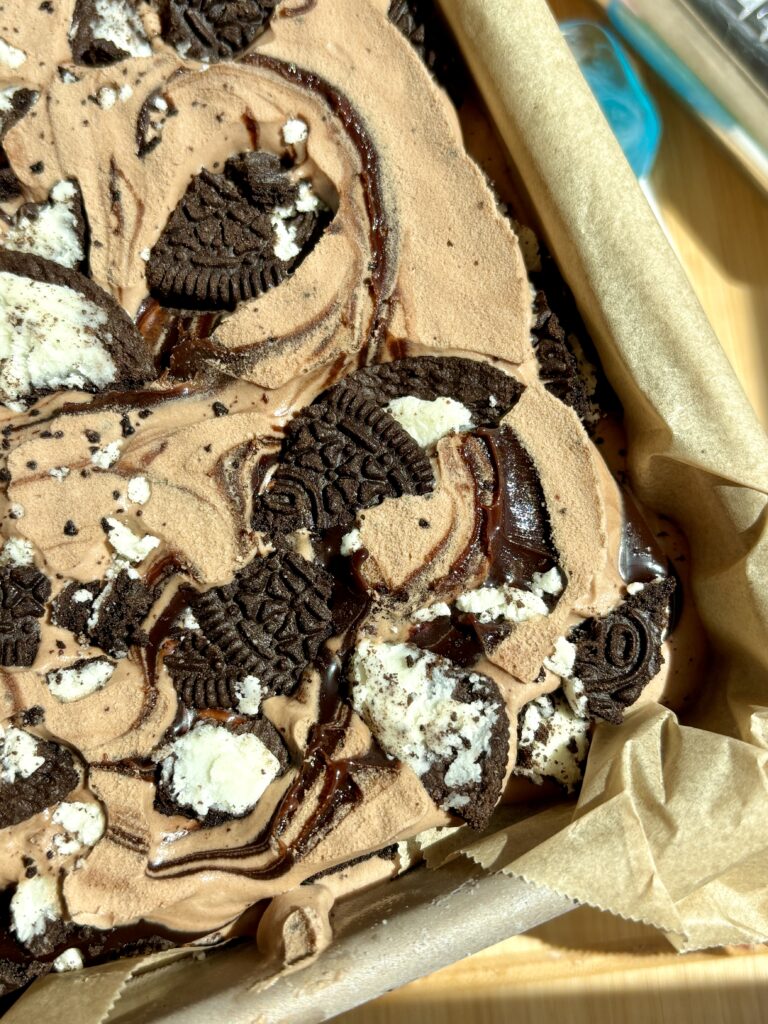
- Let the ice cream sit at room temperature for 5–10 minutes before scooping for the creamiest texture. Top with extra chocolate ripple and crushed cookies if desired.
no churn chocolate ice cream | chocolate ripple ice cream | chocolate cookie ice cream | no churn chocolate ripple cookie ice cream | homemade chocolate ice cream without ice cream maker | Oreo chocolate ice cream | easy no churn ice cream recipe | chocolate ice cream with cookie pieces | frozen summer dessert | homemade chocolate ripple ice cream

Nutritional Content Disclaimer
I choose not to include nutritional information with my recipes, as these values can be calculated from the ingredients provided. With my background as a pediatric nurse practitioner and my own family experience with disordered eating, I understand how focusing on numbers can affect our relationship with food. My philosophy is that all foods have a place—sweet, savory, nourishing, or indulgent. I aim to share recipes that support a healthy, joyful approach to eating. My hope is that this space also encourages a balanced, healthy relationship with food for you and your family too.