Story time. During COVID my husband and I set out to create fun “date nights” at home while we struggled to navigate parenting all day with no help. We had a standing Saturday date night where we would made dinner together completely from scratch once the kids went to bed. And one of the recipes we learned to make is homemade fresh pasta. And I can officially tell you that we will ALWAYS choose fresh over boxed now (and that goes for the kids too!)
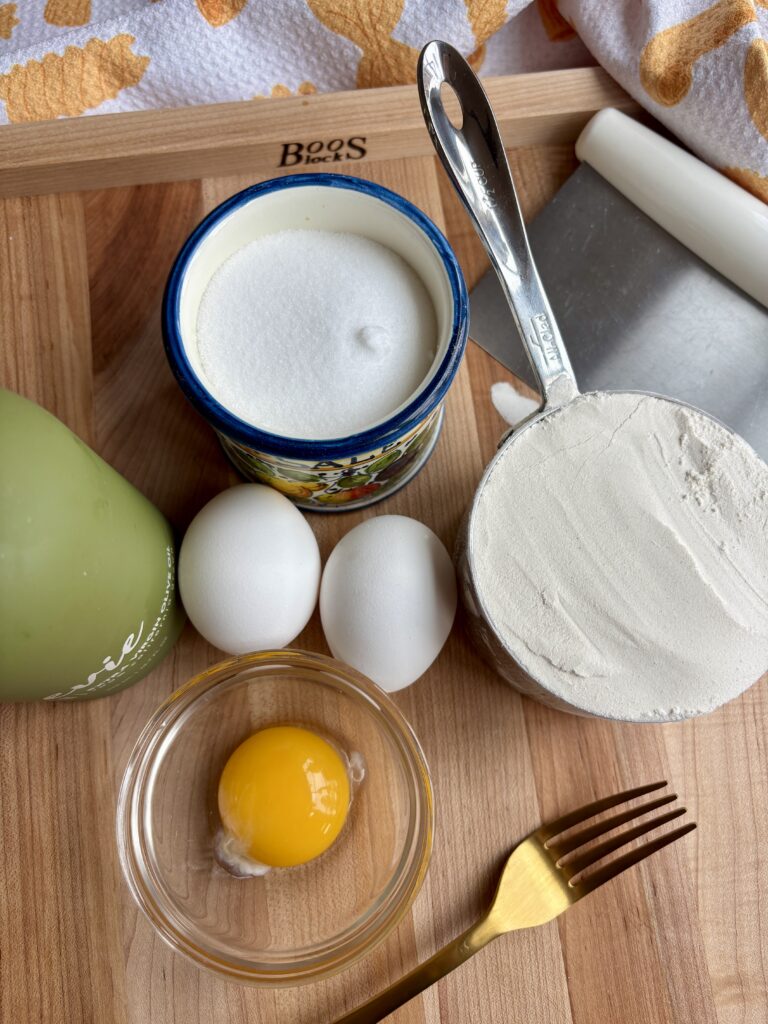
This homemade pasta recipe needs to be your go to foundation for everything from cozy Sunday dinners to elevated date night meals. Fresh pasta is made with simple pantry staples, 00 flour, eggs, egg yolk, olive oil, and a pinch of salt. These ingredients come together to make a dough that is a perfectly silky and elastic, rolling out beautifully whether you’re using a pasta machine or a rolling pin.
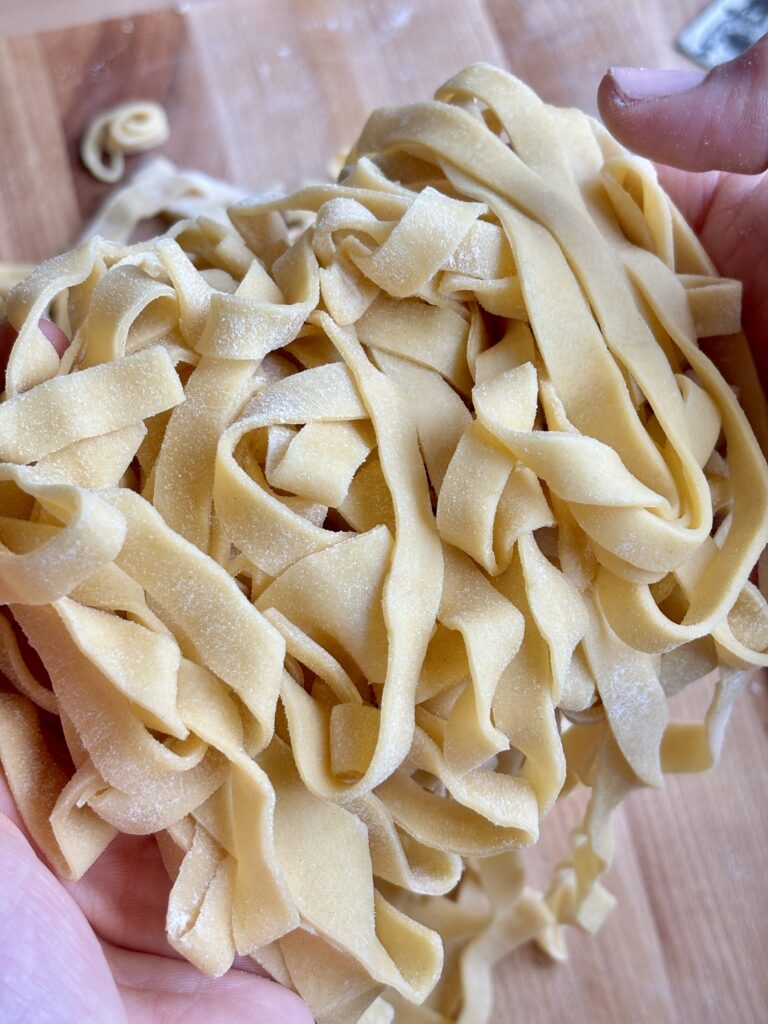
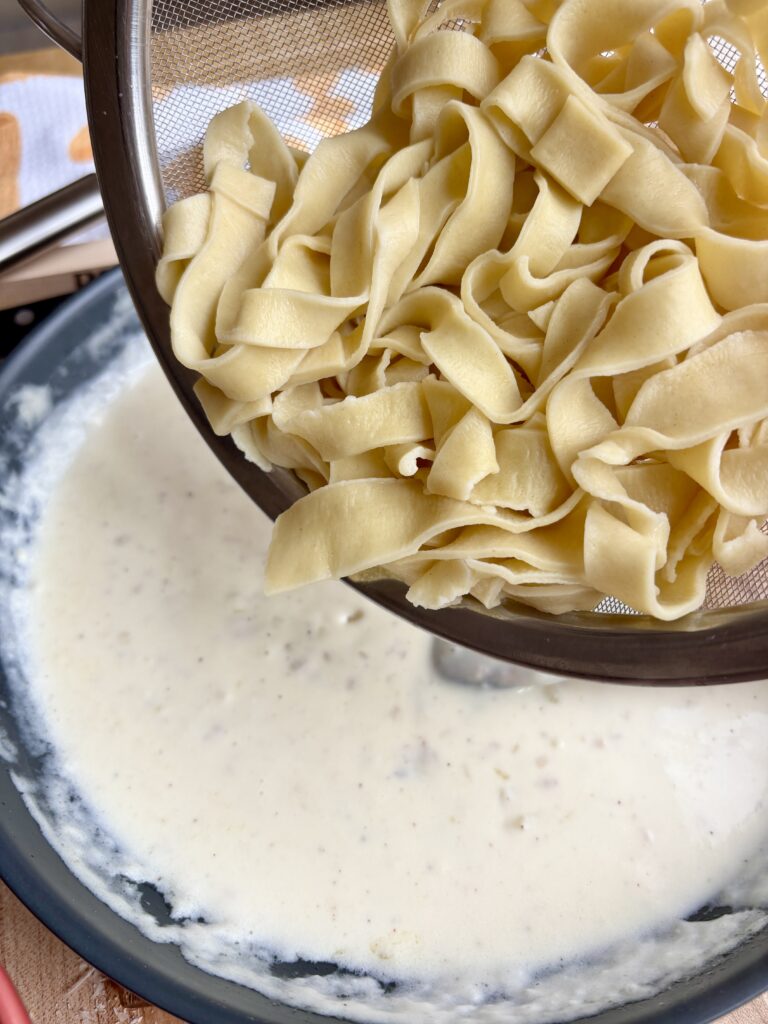
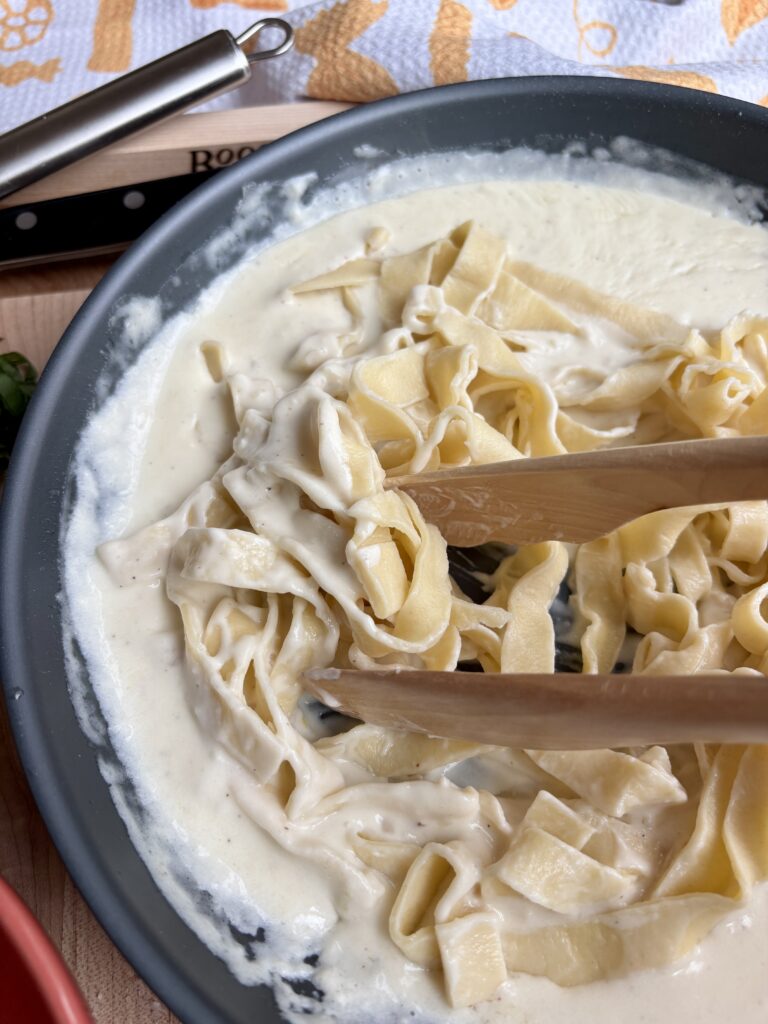
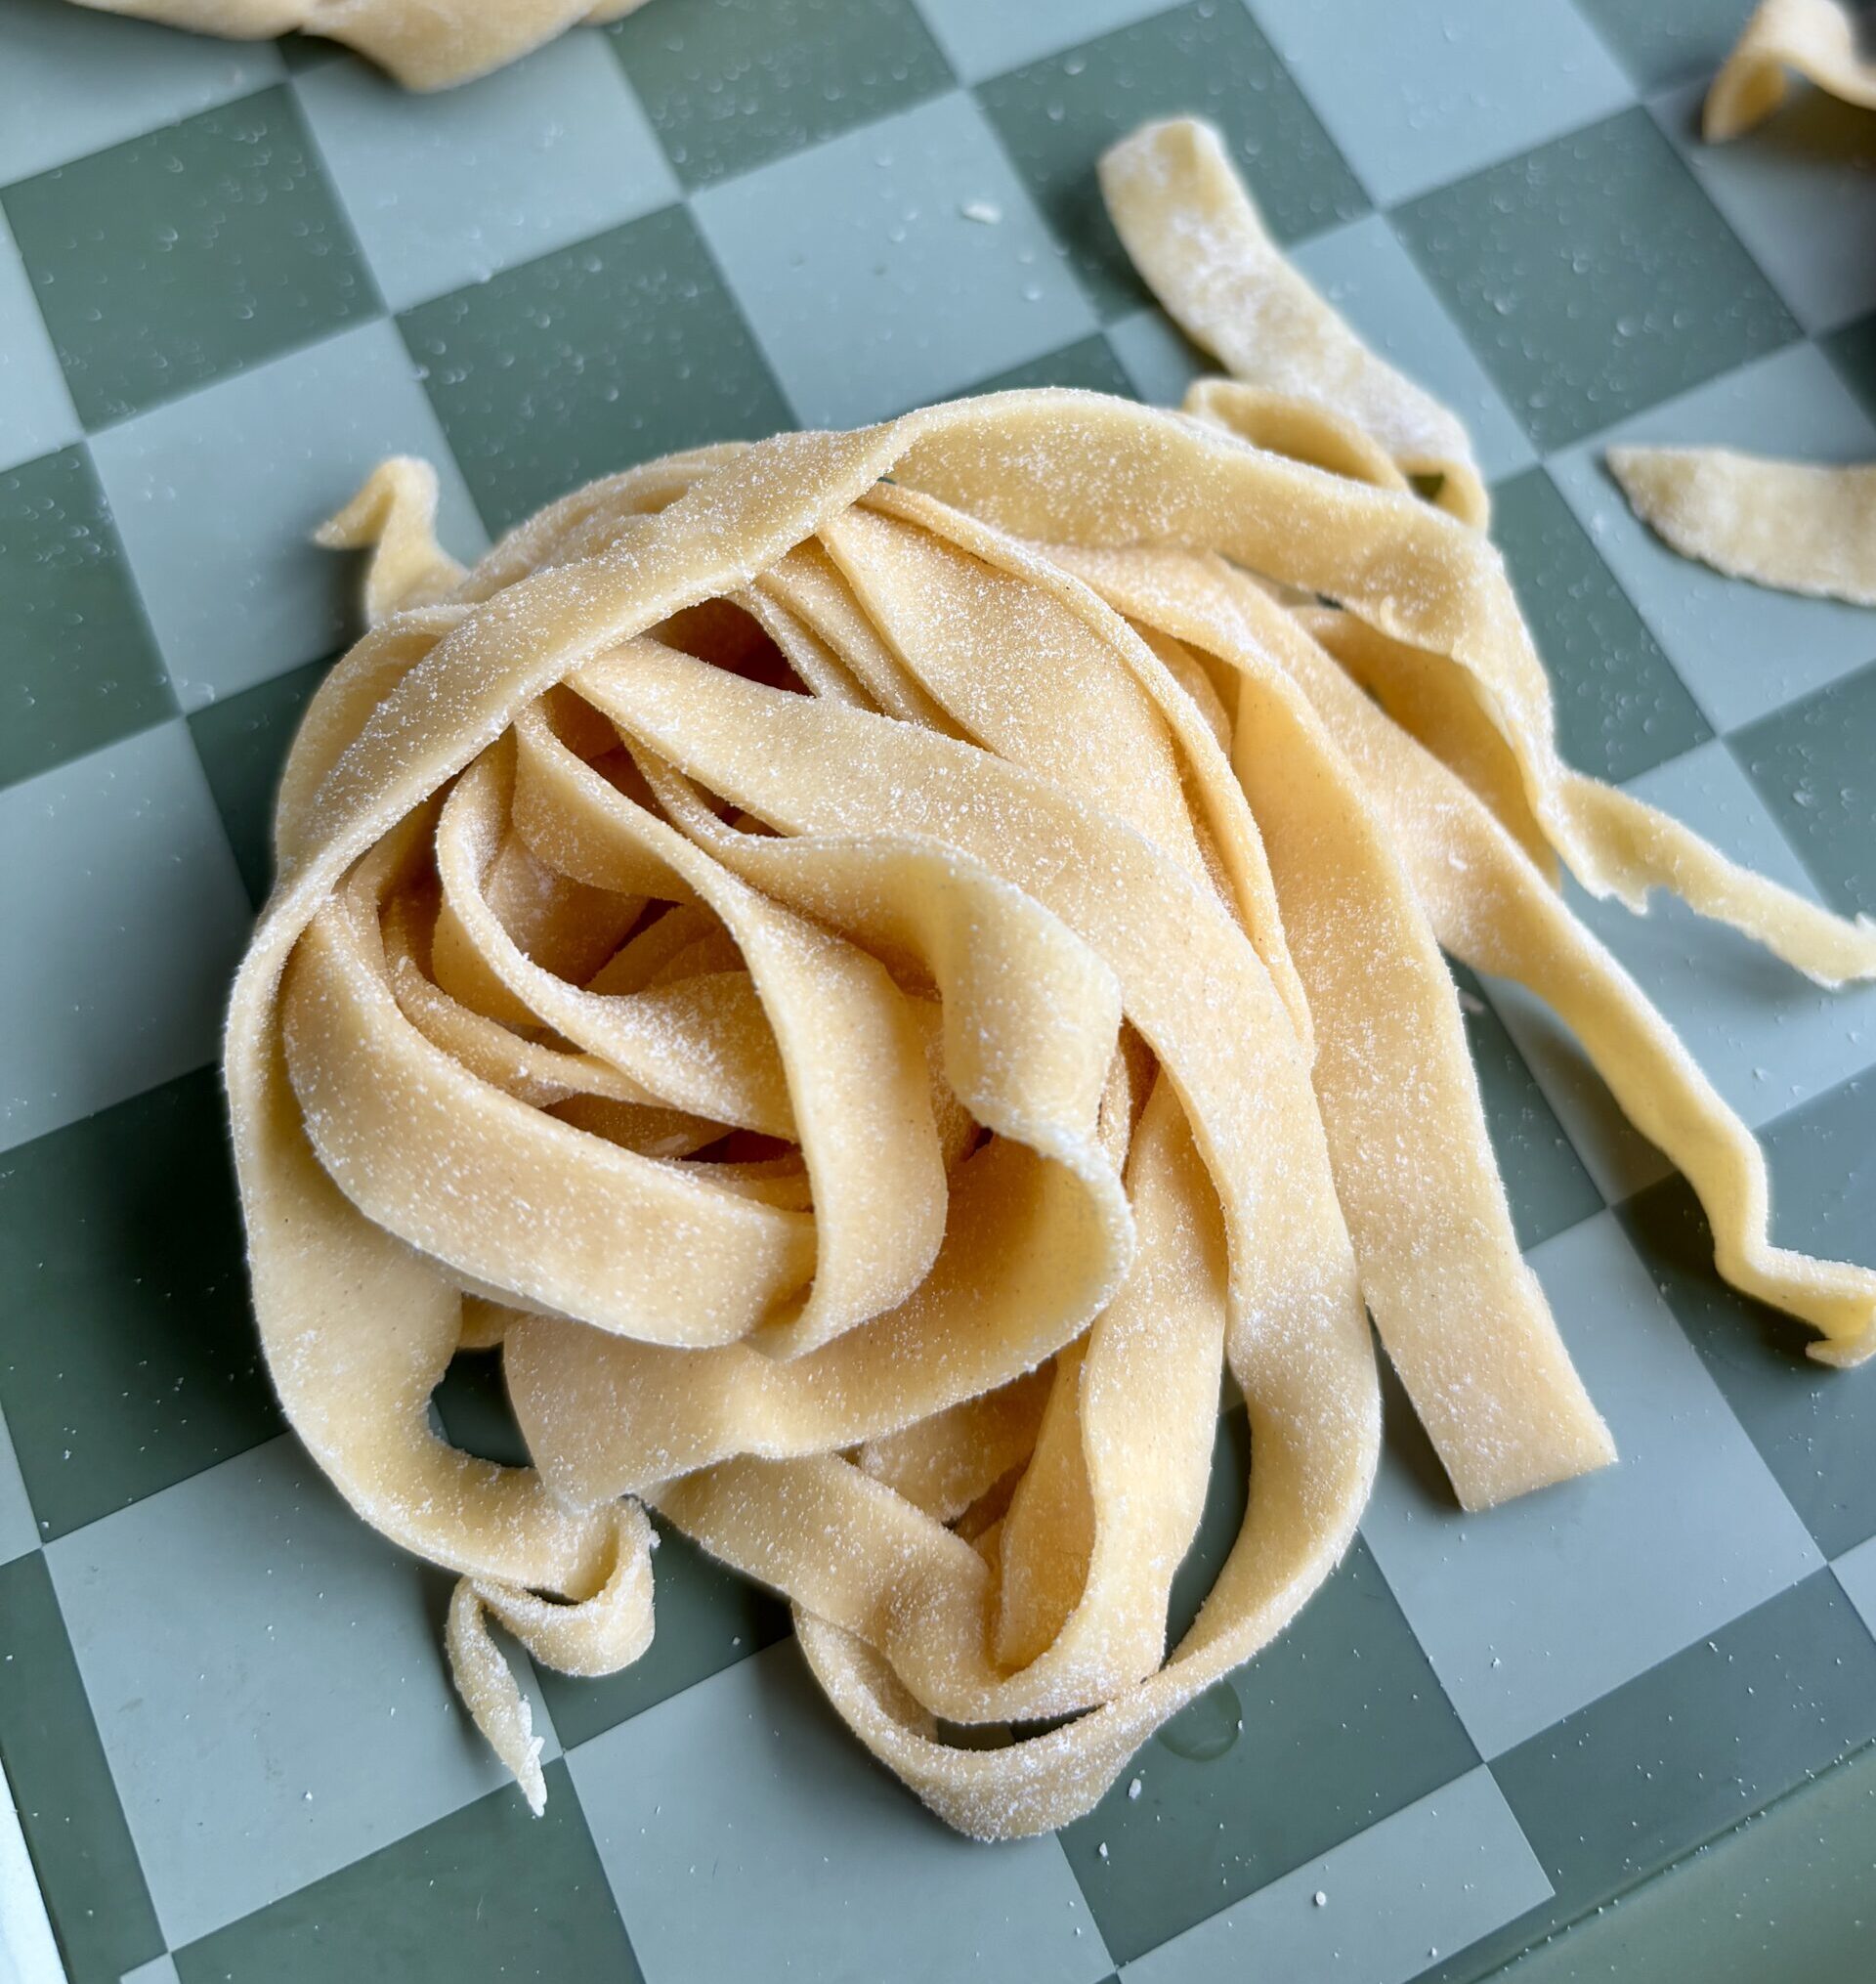
What makes this recipe special is its versatility and texture. It’s tender but structured, rich but not heavy, and perfect for cutting into classic fettuccine ribbons that cling to sauce like they were made for it (because they were).
Once you make pasta from scratch, it’s hard to go back to anything else. This is the recipe that will officially convert you to homemade only.
Why you’ll love this recipe!
What ingredients do I need?
- “00″ flour: Finely milled flour that creates a smooth, elastic dough
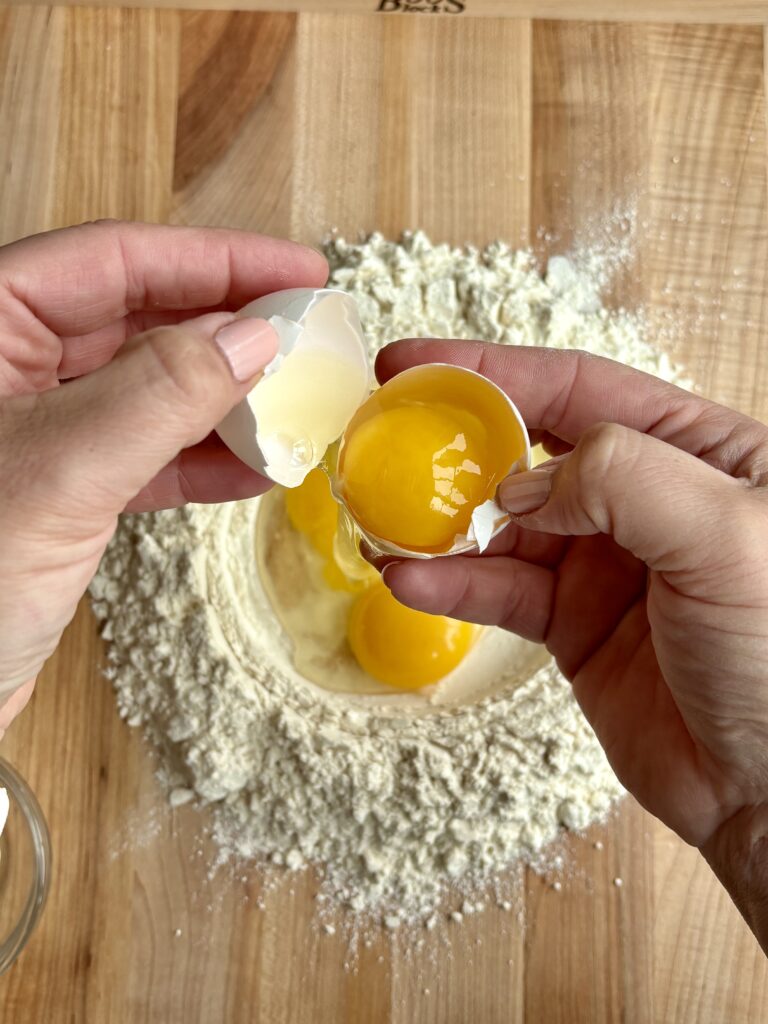
- Eggs and egg yolk: Provides structure, richness, and that golden color
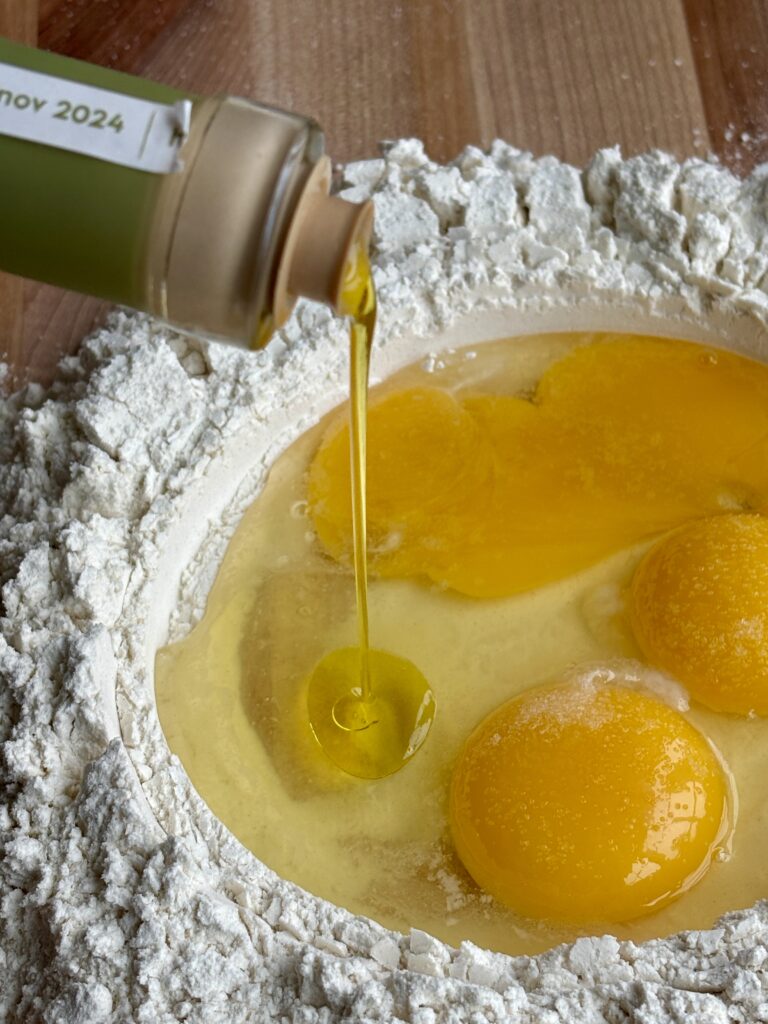
- Extra Virgin Olive oil: Adds softness and helps with stretchability
- Salt: Enhances flavor throughout the dough
Recipe Variations
- Spinach pasta: Blend in 1–2 tbsp cooked, blended spinach with the eggs
- Herb pasta: Add 2 tbsp of pureed basil or parsley to the dough when you add the eggs dough
- Black pepper pasta: Add a little cracked pepper for subtle heat to the dough
Pro Tips
- Resting isn’t optional! This is where the magic happens. Gluten strands relax during those 30 minutes, transforming a stiff, resistant dough into something pliable and cooperative. Skip this step and you’ll fight the dough the entire time you’re rolling. If you’re making dough ahead, wrap it tightly in plastic and refrigerate for up to 24 hours; just bring it back to room temperature before rolling.
- If your dough feels tight or crumbly, resist the urge to add water. Water can make the surface gummy and uneven. Instead, rub a few drops of olive oil onto your palms and keep kneading. Repeat as needed. The oil integrates slowly and gently hydrates without disrupting the dough’s structure.
- Rolling the entire dough at once is a recipe for frustration. Cut it into 4 equal pieces and flatten each into a rough oval before feeding it through the machine. Keep the pieces you’re not working with covered with a damp cloth to prevent them from drying out. Work one piece at a time, patiently.
- A thin veil of flour between sheets and on your surface prevents sticking without toughening the dough. Too much flour, though, and you’ll end up with a dry, dense pasta.
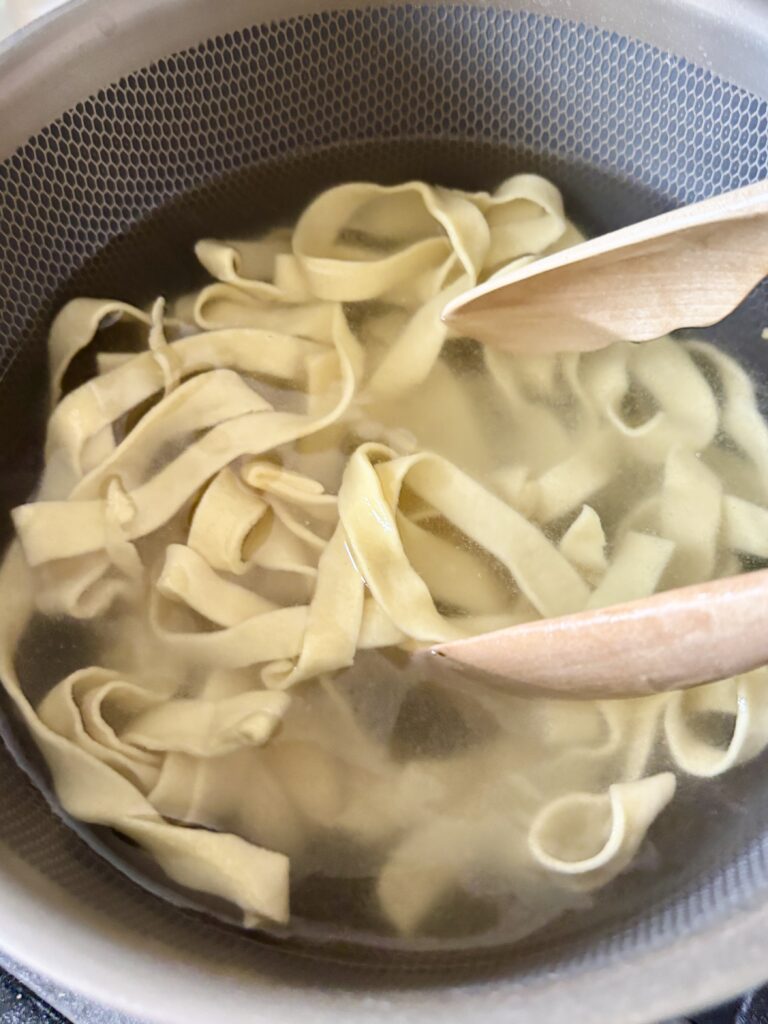
- Fresh pasta cooks in 2 to 3 minutes, MUCH faster than dried. Start tasting at the 2-minute mark. It should be tender with just a hint of bite. Heavily salted water (it should taste like mild seawater) is non-negotiable; this is your only chance to season the pasta itself.


Can I Substitute?
Yes! Like always though, any substitutions made to the recipe can result in a change in texture and/or flavor.
- 00 flour: You can substitute with all-purpose flour, but the texture will be slightly less silky
- Whole eggs: You can replace 1 egg with 2 yolks for a richer dough
Dietary Substitutions
- Dairy free: Naturally dairy-free as written
- Higher protein: You can add an extra yolk, this will be a slightly softer and richer dough

Leftovers
- Rested, unrolled dough: Can be stored for up to 24 hours when wrapped tightly in plastic wrap with no gaps, no air pockets and then stored in the fridge. Remove 20 minutes before rolling it to let it come back to room temperature. The slow cold rest actually improves the texture, making it even more pliable.
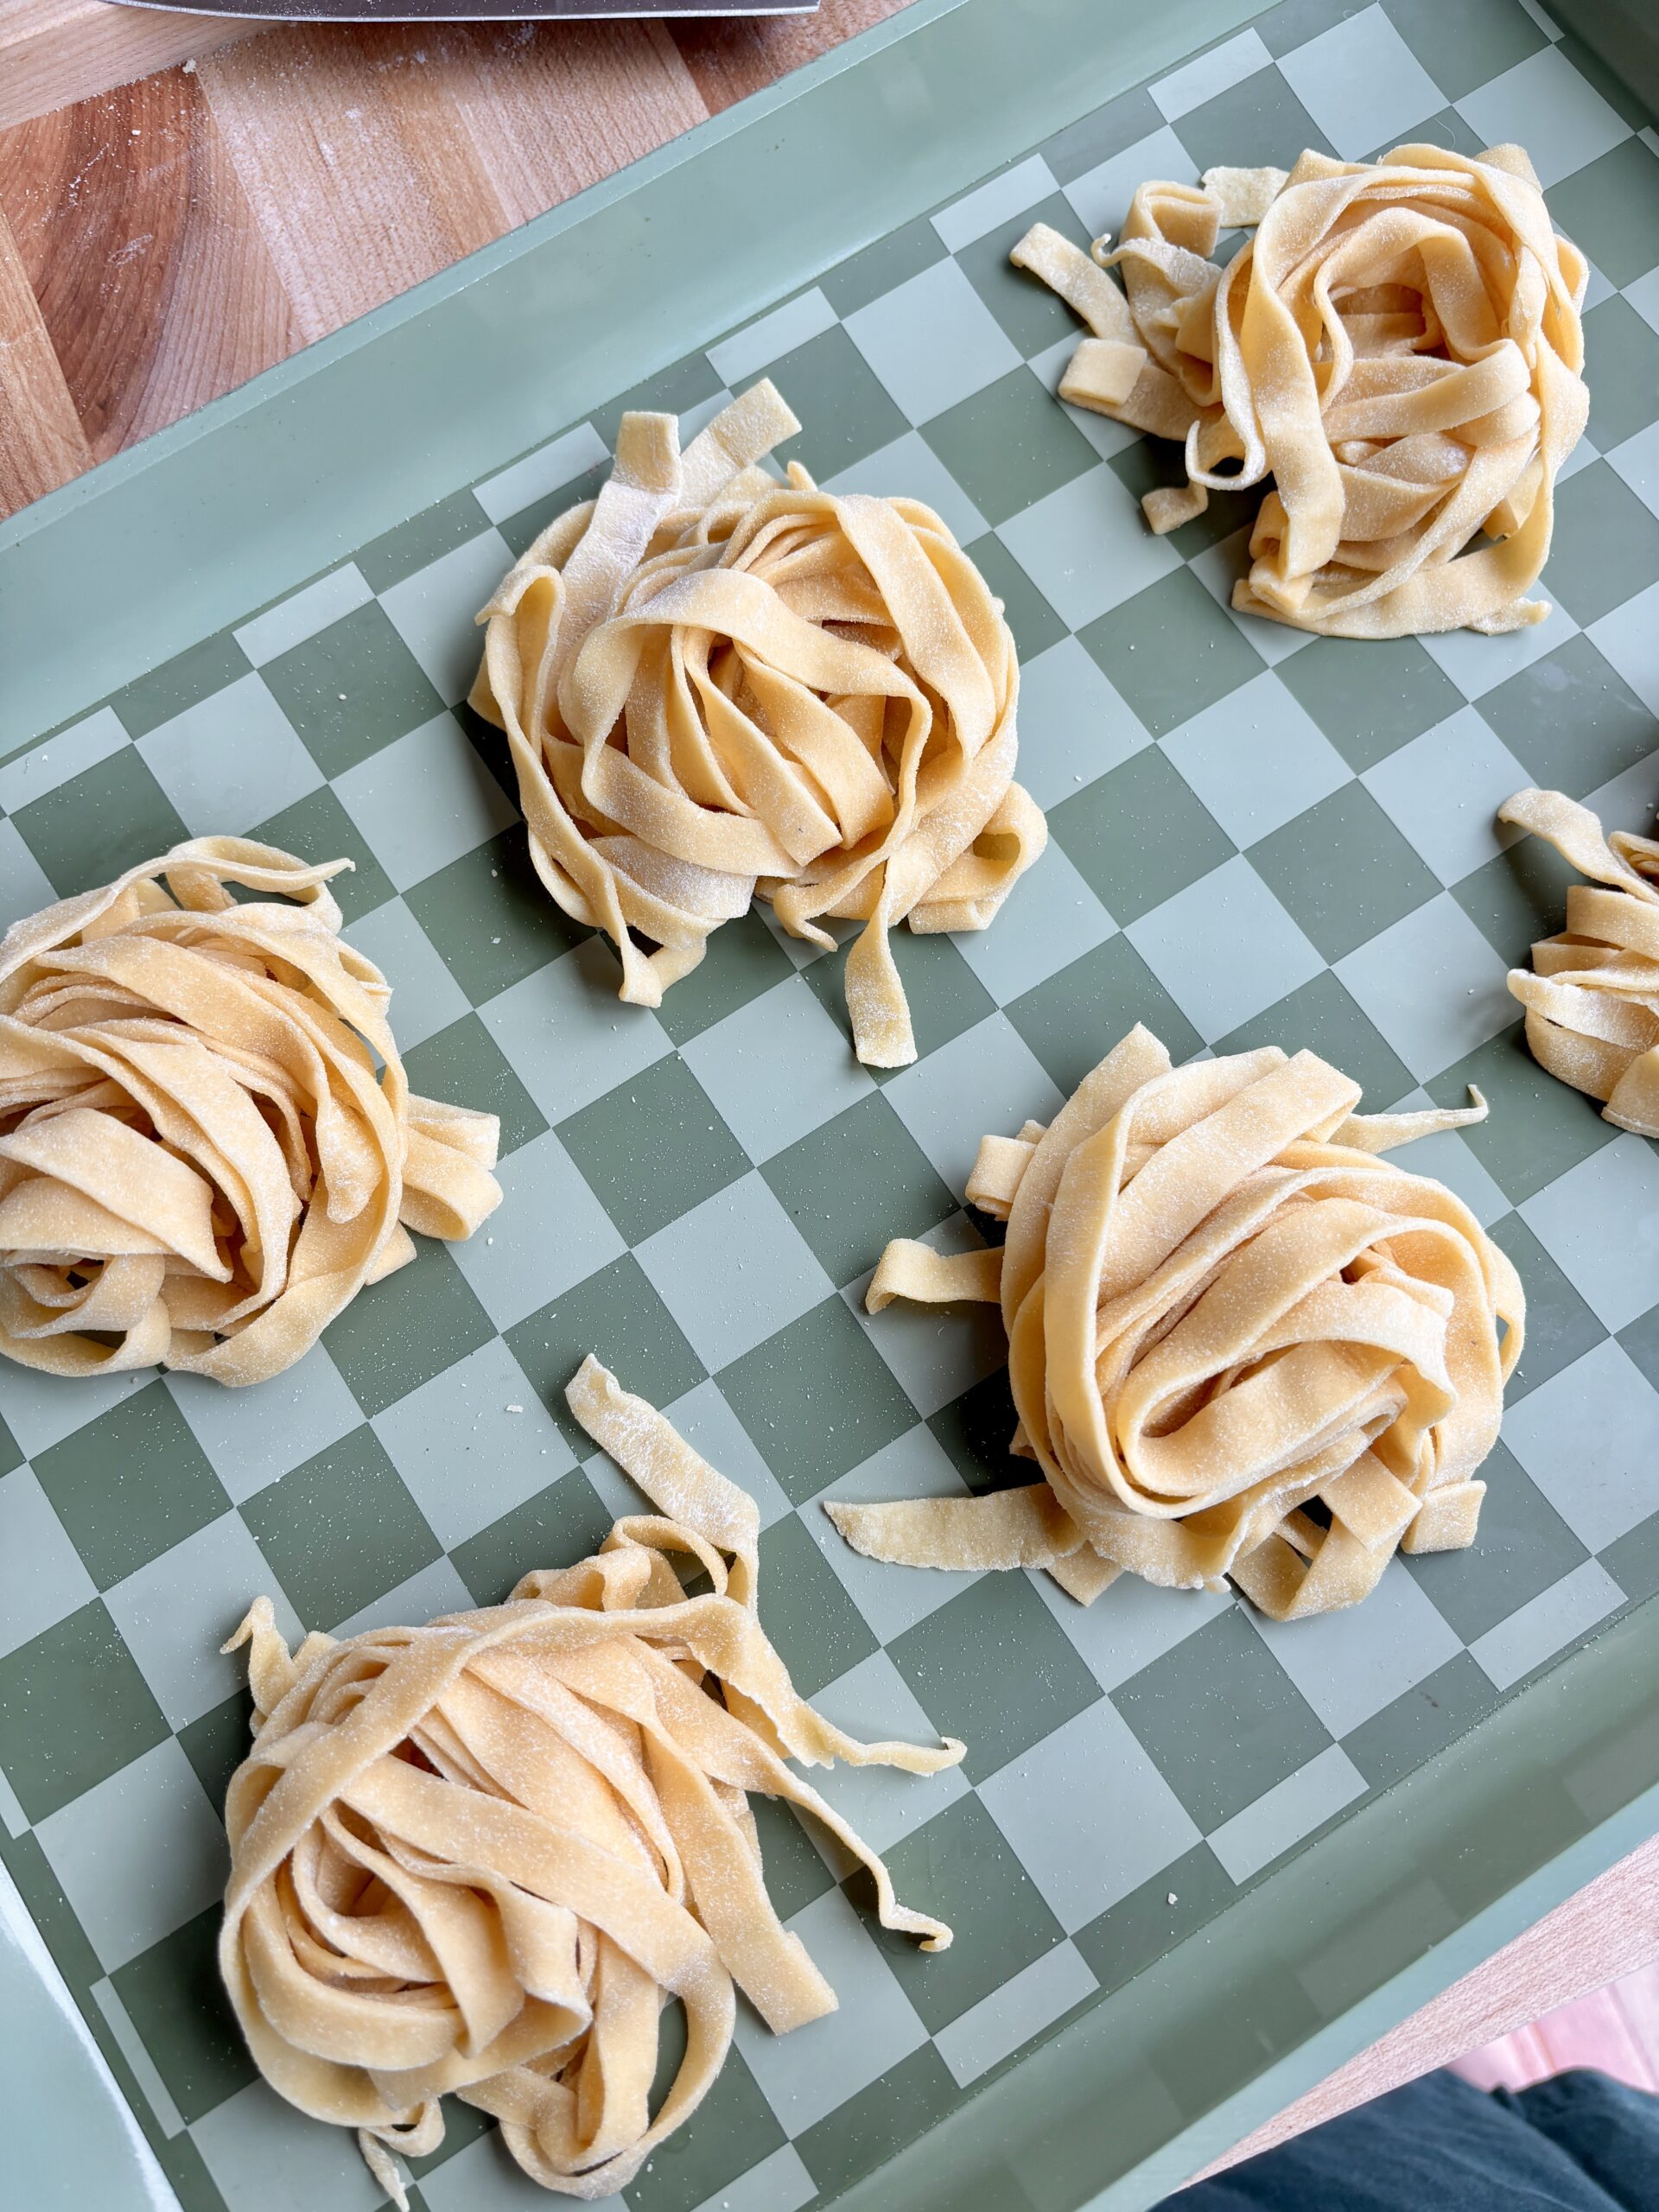
- Fettuccine ribbons (cut, uncooked): Can be stored for up to 12 hours before cooking. Dust cut ribbons lightly with flour and twirl into loose nests. Place on a lightly floured tray and refrigerate uncovered (covering traps moisture and causes sticking). Cook directly from the fridge; no need to bring to room temperature.
- Cooked pasta: Store in an airtight container in the fridge for up to 3 days. If storing without sauce, toss with a small drizzle of olive oil to prevent clumping. Reheat gently in a pan with a splash of water or extra sauce over low heat. The microwave works, but can make the pasta gummy.
Storage Tips
- Don’t freeze cooked pasta! Cooked fresh pasta doesn’t freeze well and becomes mushy when reheated. Always freeze before cooking for the best results.
- Label everything. Fresh pasta looks identical to other frozen items after a few weeks. Write the date and any variation (spinach, herb) directly on the bag.
- One-serving nests are ideal when storing. Portioning into single servings before freezing means you can cook exactly what you need without breaking apart a frozen block.
- Use the frozen pasta within 2 months. Beyond 2 months, texture starts to suffer and freezer burn becomes more likely. Fresh pasta is best enjoyed sooner rather than later.

How Two Freeze Fresh Pasta
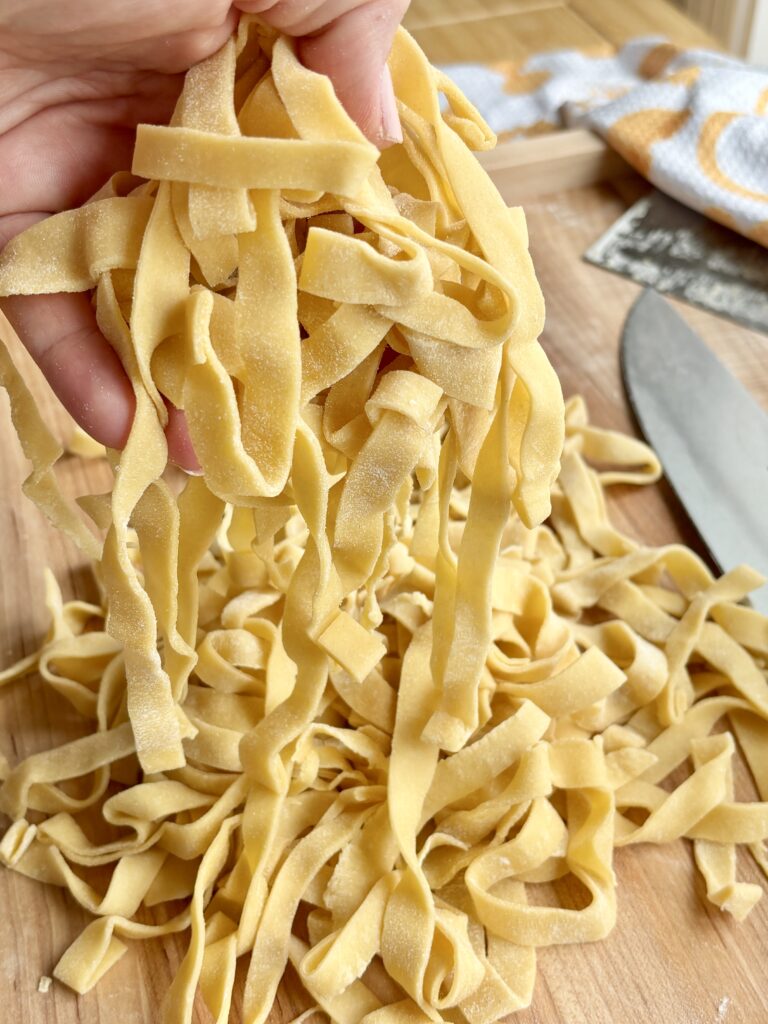
Step 1: Dust the pasta immediately after cutting. As soon as you cut the fettuccine, toss the ribbons gently in a light dusting of flour. This prevents them from fusing together as they sit. Don’t skip this step, even a few minutes uncovered can cause fresh pasta to stick permanently.
Step 2: Form the fresh pasta into nests. Twirl small portions of the floured ribbons around two fingers to create loose nests, roughly one serving each. This shape freezes evenly, thaws quickly, and makes portion control easy. You grab exactly what you need without defrosting the whole batch.
Step 3: Flash freeze the dough nests on a baking sheet. Arrange the nests on a parchment-lined baking sheet, spaced apart so they don’t touch. Place the tray in the freezer uncovered for 1 to 2 hours until the nests are frozen solid. This step is important because it keeps the nests from clumping together in the bag.
Step 4 : Transfer frozen dough to a freezer bag. Once fully frozen, transfer the nests to a zip-close freezer bag or airtight container. Press out as much air as possible before sealing because excess air causes freezer burn. Label with the date. Frozen pasta keeps beautifully for up to 2 months.
Step 5: Cook the pasta straight from frozen. No thawing needed. Drop frozen nests directly into a large pot of well-salted boiling water. They’ll cook in 3 to 4 minutes, about a minute longer than fresh. The nests will unravel naturally in the water. Taste early and pull them when they’re just tender.
Cooking From Frozen
Bring a large pot of generously salted water to a rolling boil. Add frozen pasta nests directly, no thawing needed. Cook for 3–4 minutes, tasting at the 3-minute mark. The pasta is ready when it floats and is tender throughout with no icy center. Reserve a cup of pasta water before draining it. It’s liquid gold for loosening your sauce when needed.
But, I Still Have A Few Questions…
How do I know when I’ve kneaded long enough?
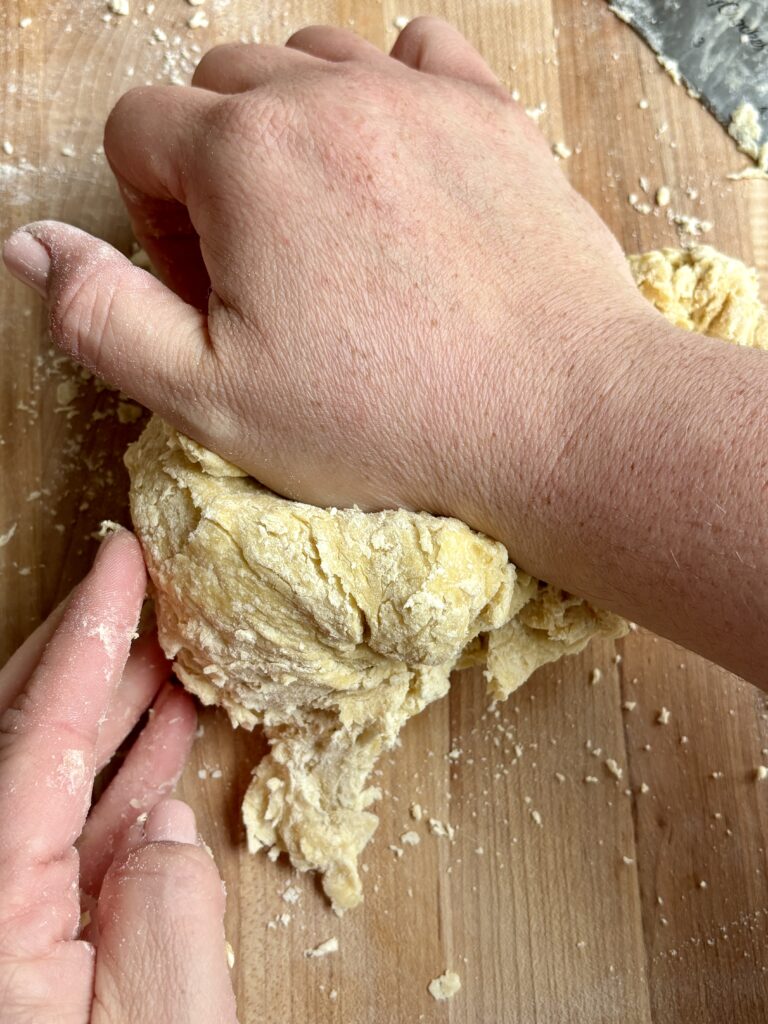
The dough should be smooth, supple, and slightly tacky, but never sticky. Press your thumb into the center; it should spring back slowly. A rough or sticky surface means it needs more kneading. Budget 8 to 10 minutes of sustained effort, not just a few quick passes.
Why is my pasta tearing when I roll it?
Tearing almost always comes down to two things: not enough rest time, or the dough being too dry. If your dough tears as you roll, cover it and let it rest another 15 minutes before trying again. If it still tears, lightly moisten your hands and knead in a touch more moisture.
Can I make the dough ahead of time?
Yes, and it often comes out even better. Wrap the rested dough tightly in plastic wrap and refrigerate for up to 24 hours. The slow, cold rest deepens the flavor slightly and makes the dough incredibly pliable. Remove it from the fridge 20 minutes before rolling to let it come back to room temperature.
What’s the best pasta machine setting for fettuccine?
Setting 2 on most standard pasta machines. Thin enough to be delicate, but sturdy enough that the ribbons hold their shape and cling to sauce without breaking apart. If setting 2 tears easily, your dough may need more rest; stay at setting 3 instead.
How much salt should I add to the cooking water?
More than you think. The water should taste pleasantly salty, like mild seawater. A generous pinch per quart is a starting point, but don’t be shy. This is your only opportunity to season the pasta itself, and under-salted water produces flat-tasting pasta no matter how good your sauce is.
My dough is sticky. What do I do?
Dust very lightly with flour and continue kneading. Add flour gradually and check the texture after each addition. Adding too much at once can tip the balance from sticky to dry very quickly. The goal is a dough that’s tacky but doesn’t cling to your hands.
How do I store cut pasta without it sticking together?
Immediately after cutting, toss the ribbons in a light dusting of flour and form them into loose nests. Refrigerate on a lightly floured tray, uncovered, for up to 12 hours, or freeze the nests on a tray until solid andthen transfer to a zip-close bag for up to two months. Cook from frozen; add 30 to 60 seconds to the cooking time.

Let’s engage!
Make sure to tag @thehomechefmomma on Instagram or Facebook, and leave a review or comment if you make these. I always get so excited to see your creations, variations of the recipe, and feedback! Just remember to be kind in your comments, there is still a person behind this screen! 🙂
Homemade Fresh Pasta (Fettuccine Style)
Ingredients
- 1 ½ cups 00 flour plus more for dusting
- 2 large eggs
- 1 egg yolk
- 1 –2 tbsp extra virgin olive oil
- Pinch of salt
Instructions
Make the dough
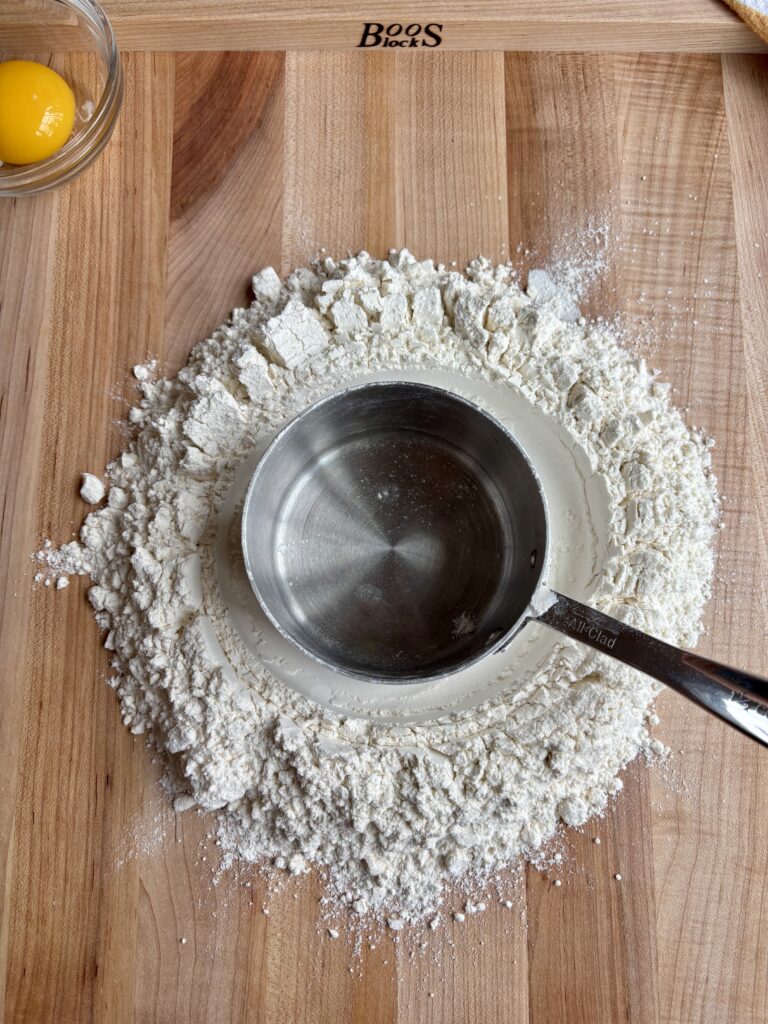
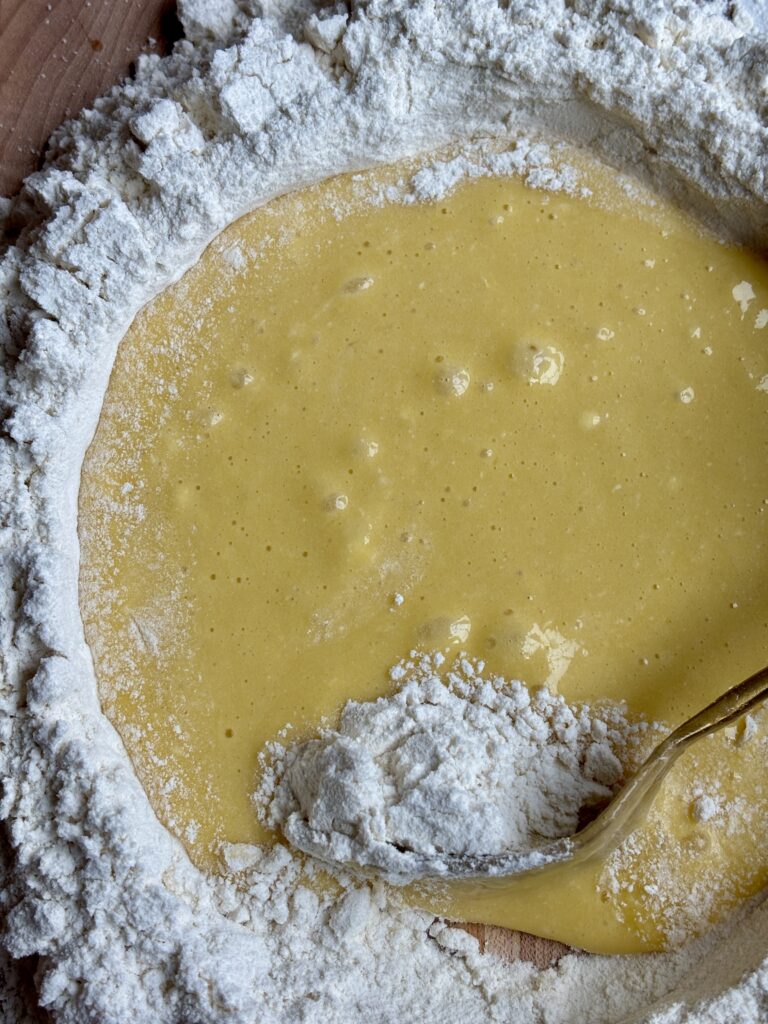
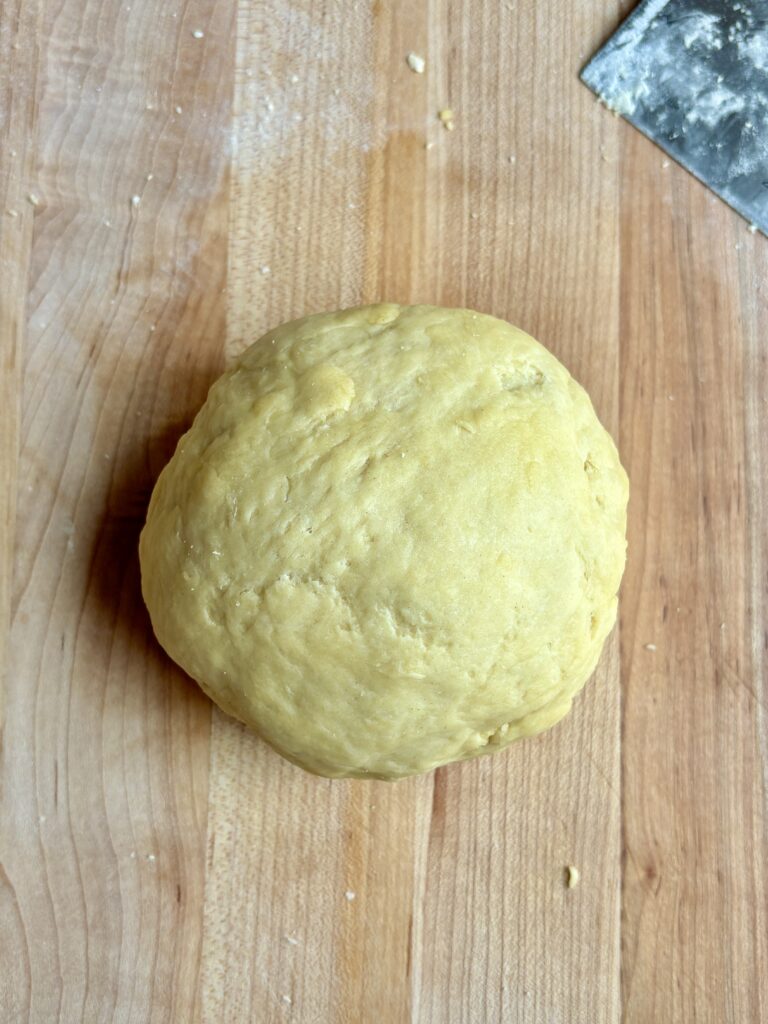
- On a clean surface, mound the flour and create a well in the center. Add the eggs, yolk, olive oil, and salt. Start with 1 tbsp olive oil and add more as needed.
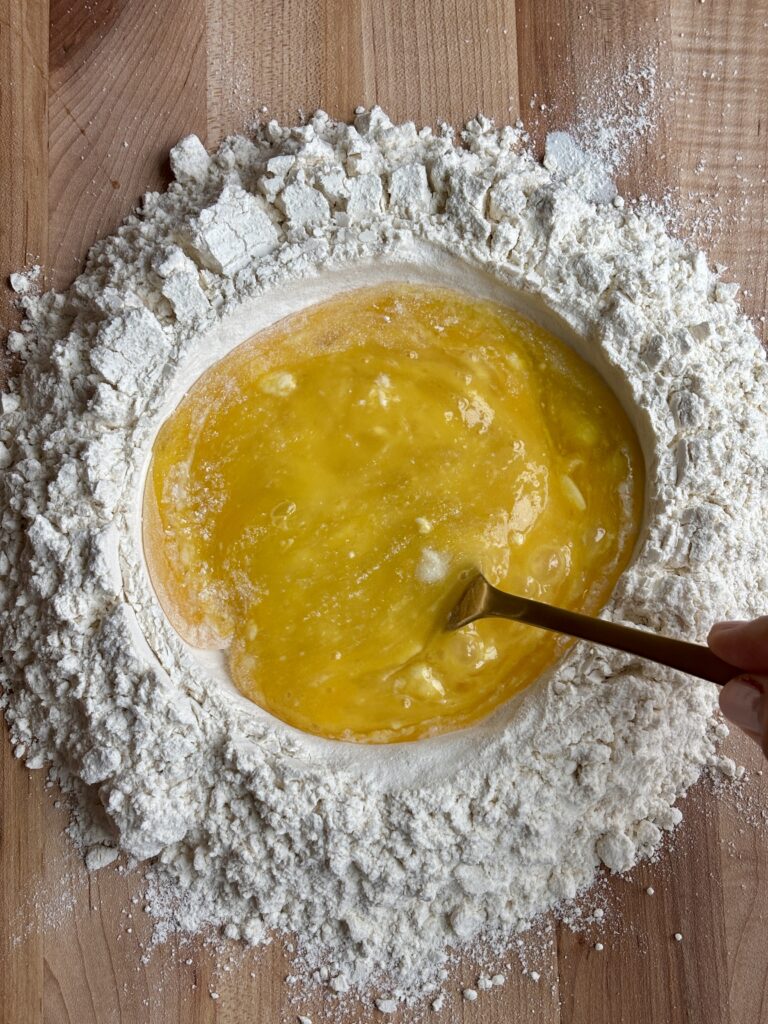
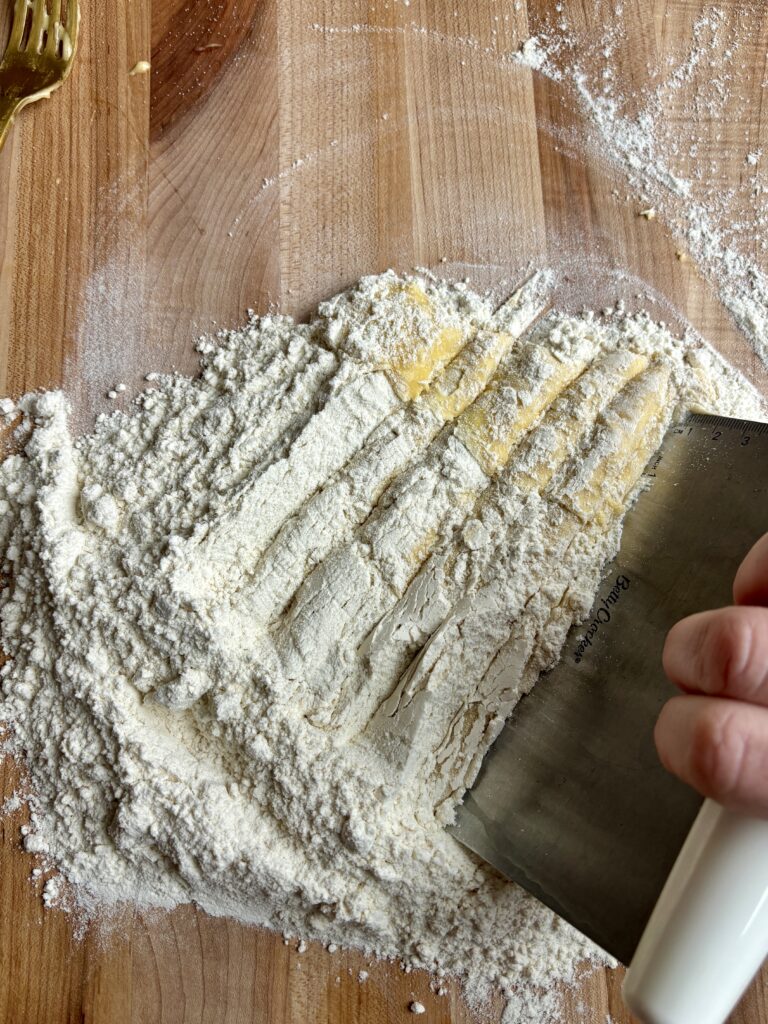
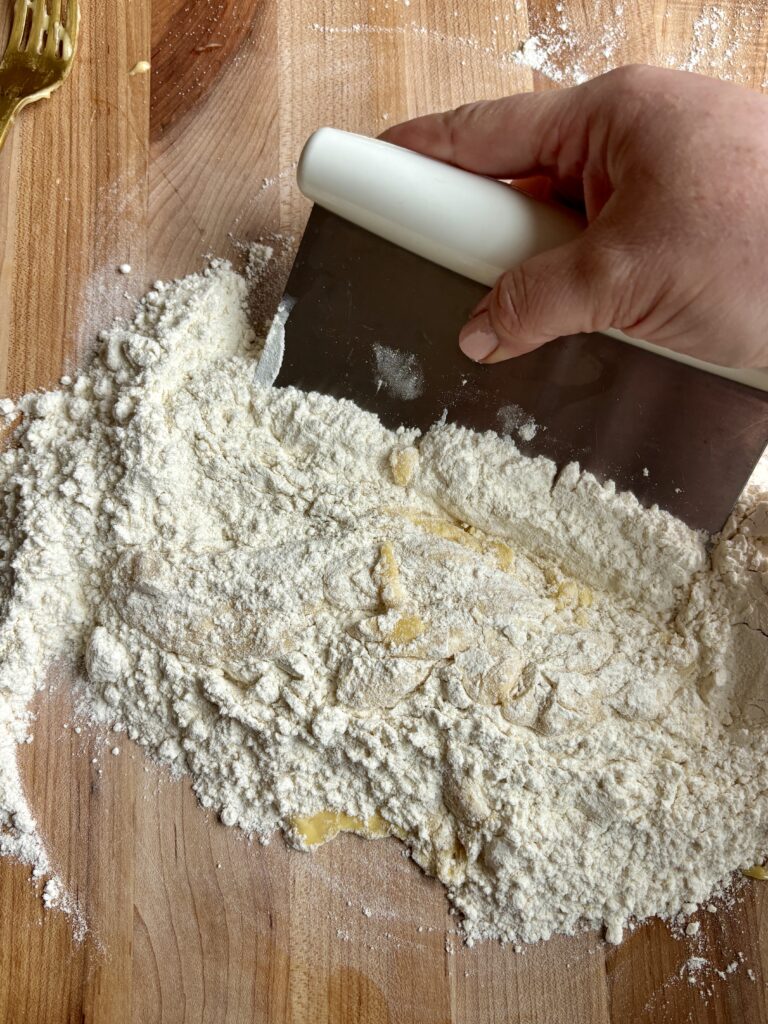
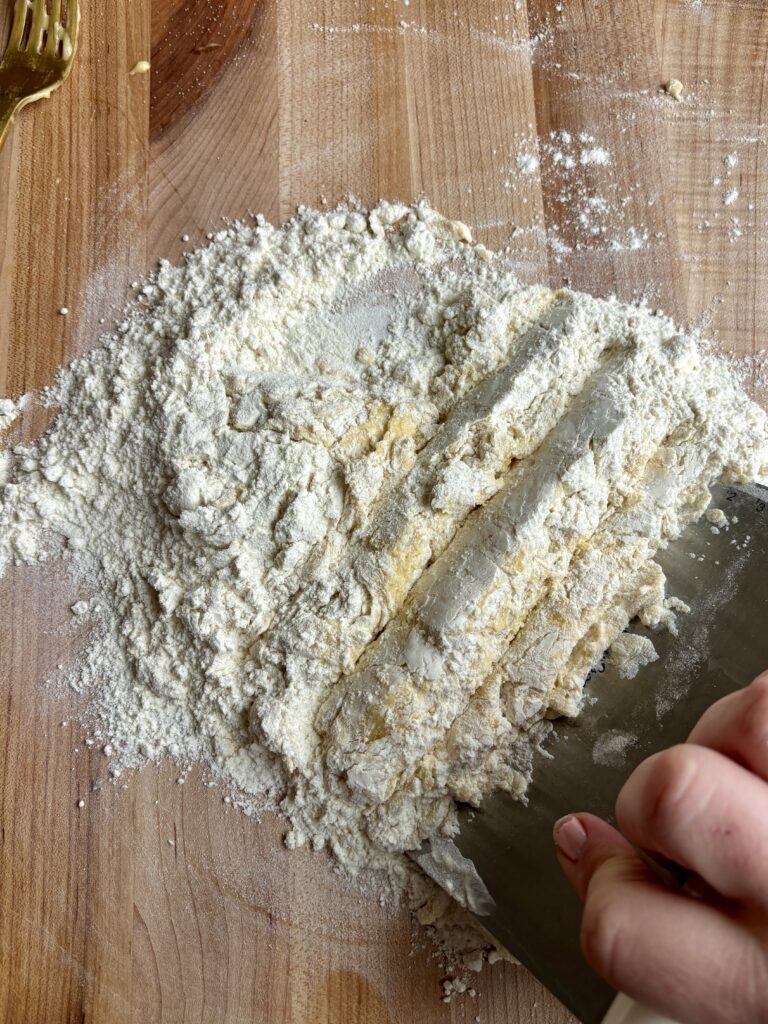
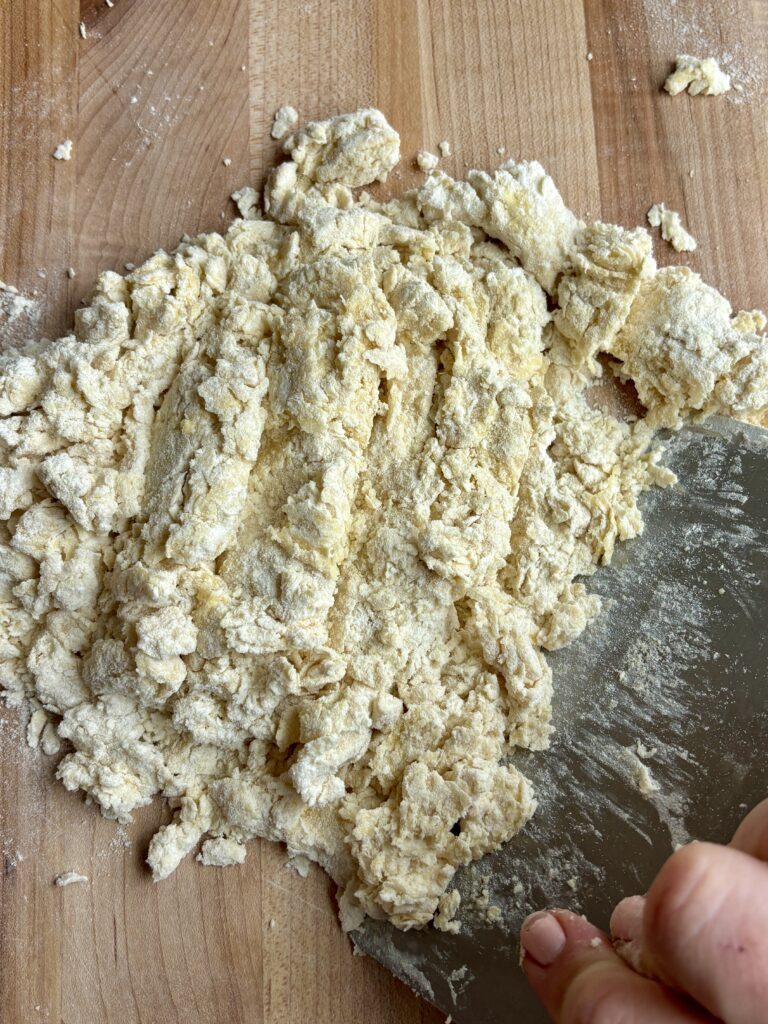
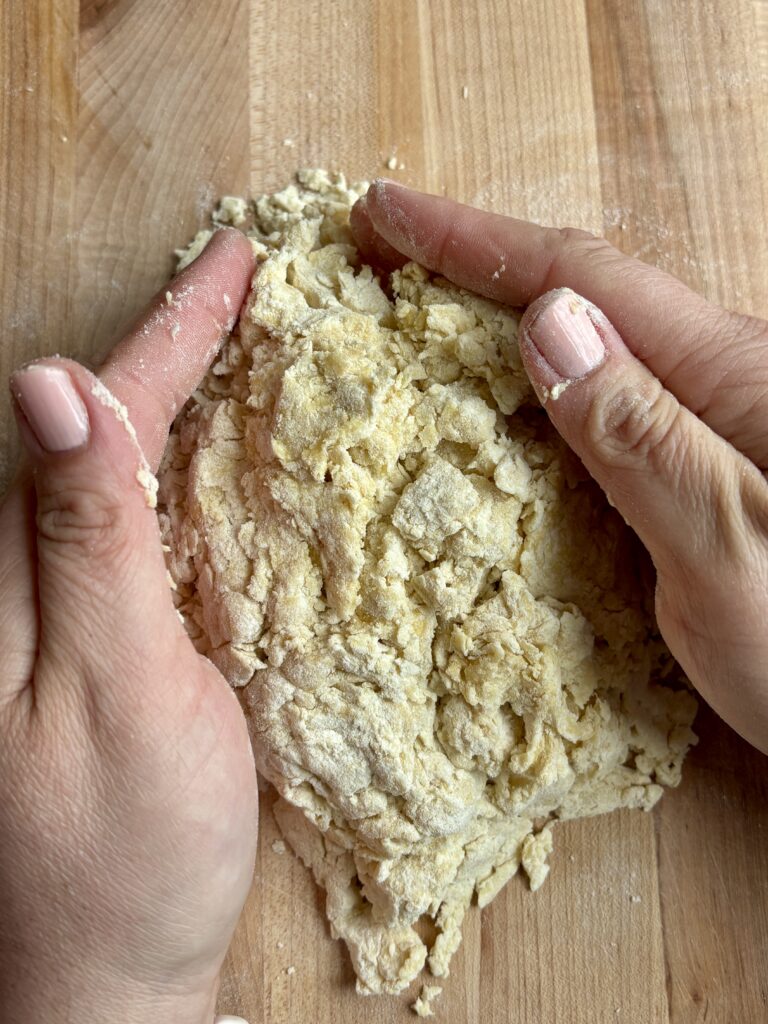
- Slowly whisk with a fork, pulling in flour gradually until a shaggy dough forms. I then use a bench scraper to try and incorporate the flour in more before kneading by hand.
Knead
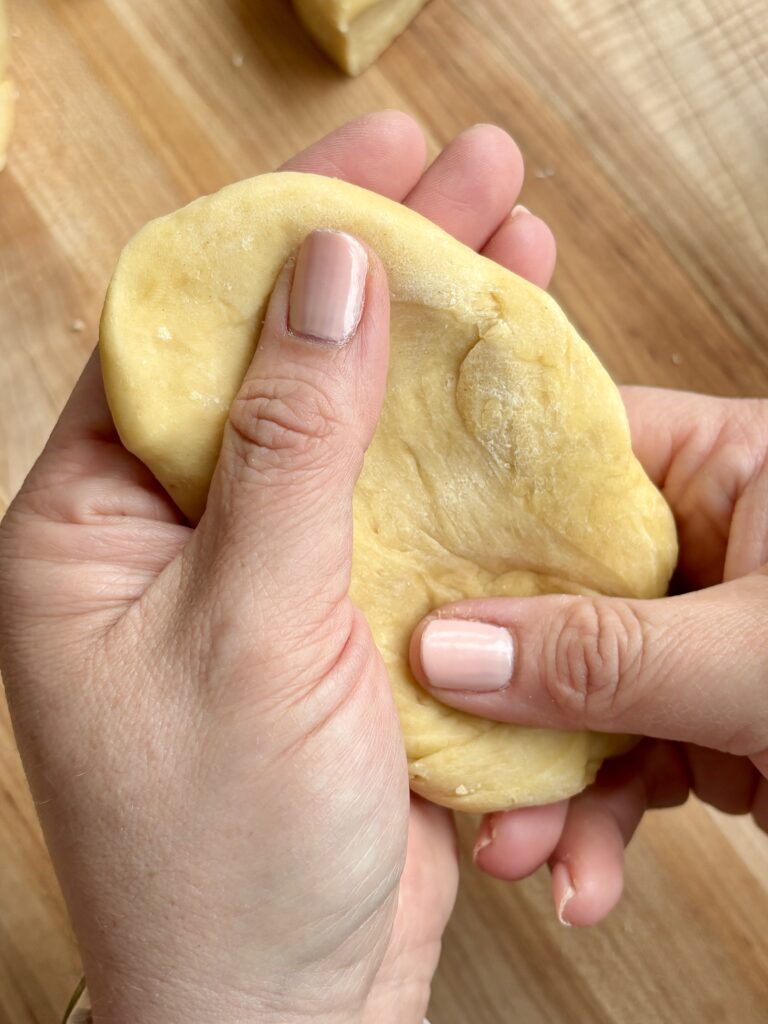
- Knead by hand for 8–10 minutes until smooth, elastic, and slightly springy.
- If sticky: add small amounts of flour.
- If dry: add a few drops of olive to your hands and continue kneading, repeat as needed.
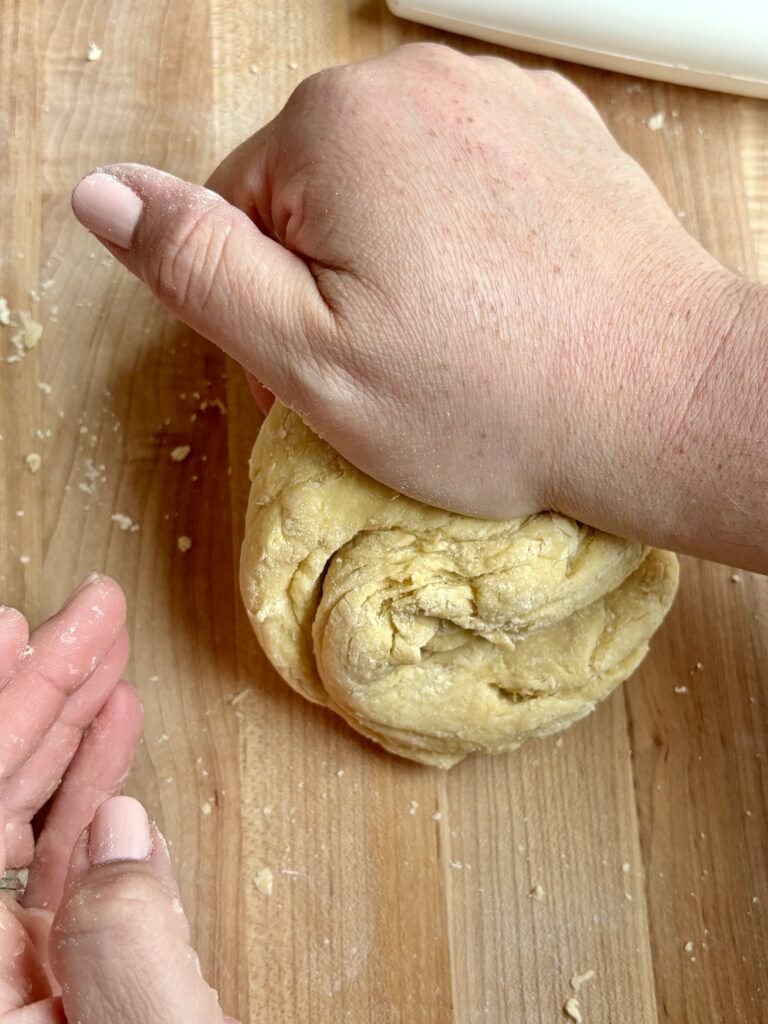
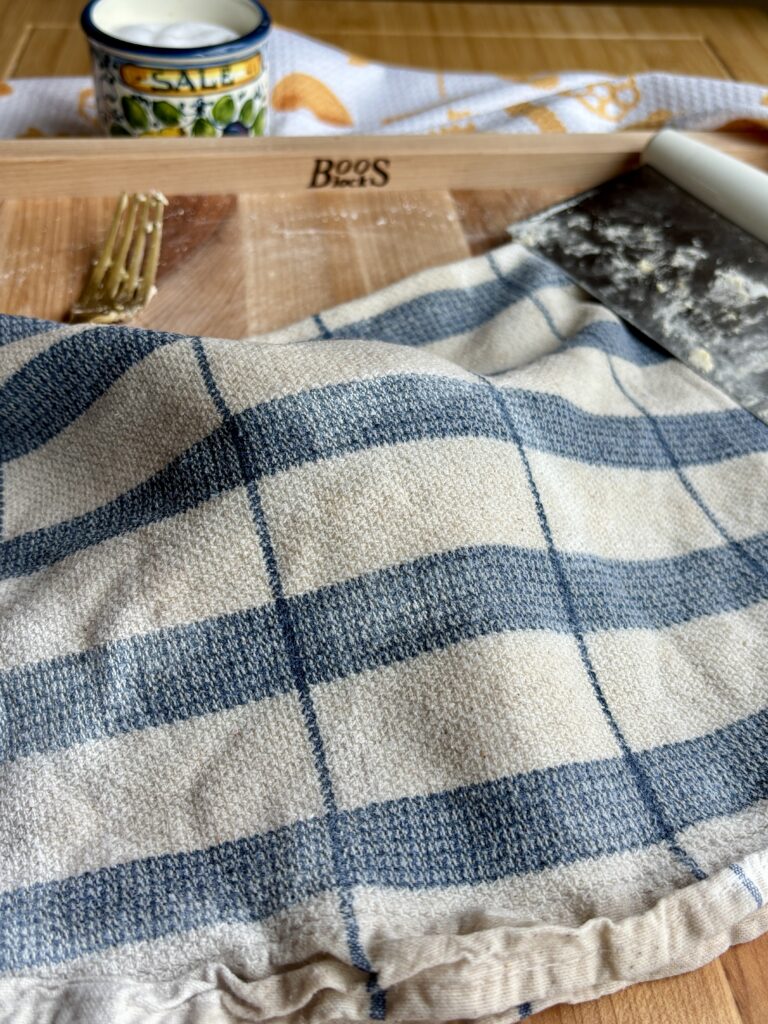
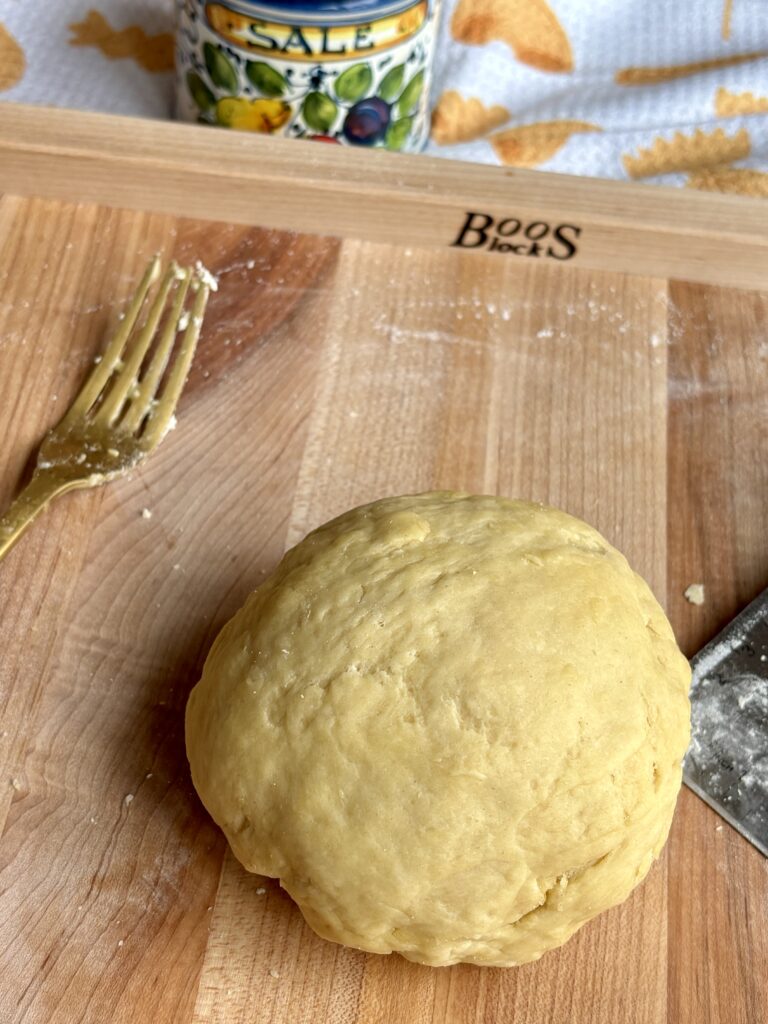
Rest
- Cover with a damp cloth and rest for at least 30 minutes at room temperature, or cover tightly and place in the fridge if resting for a longer period.
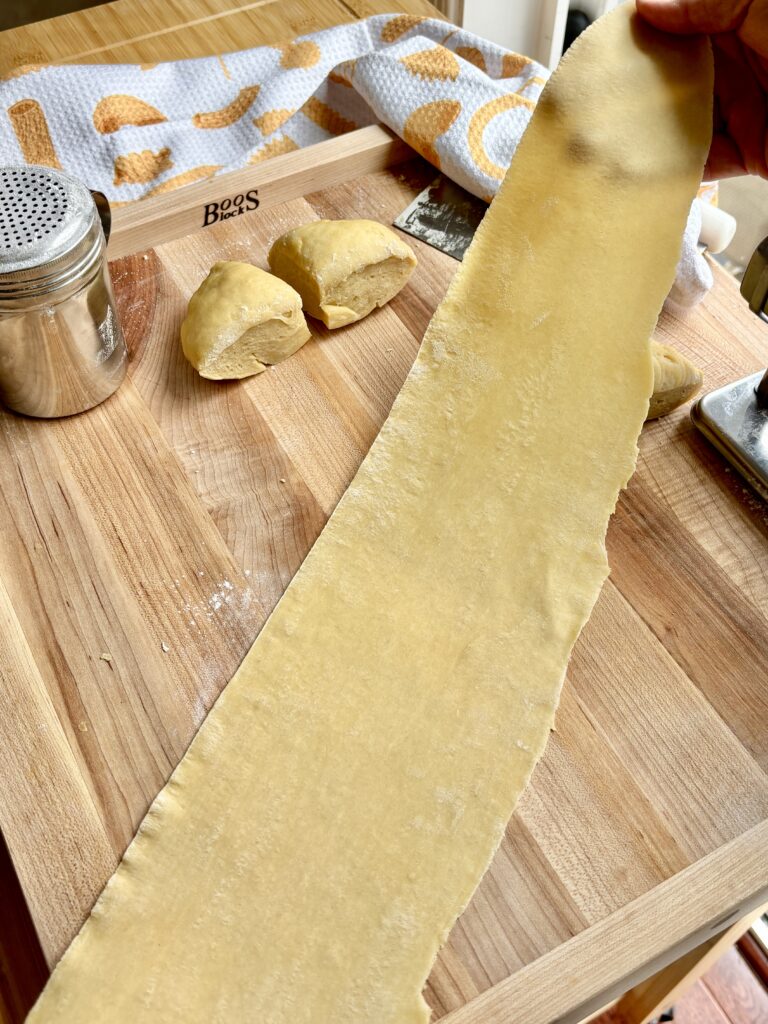
Rolling Methods
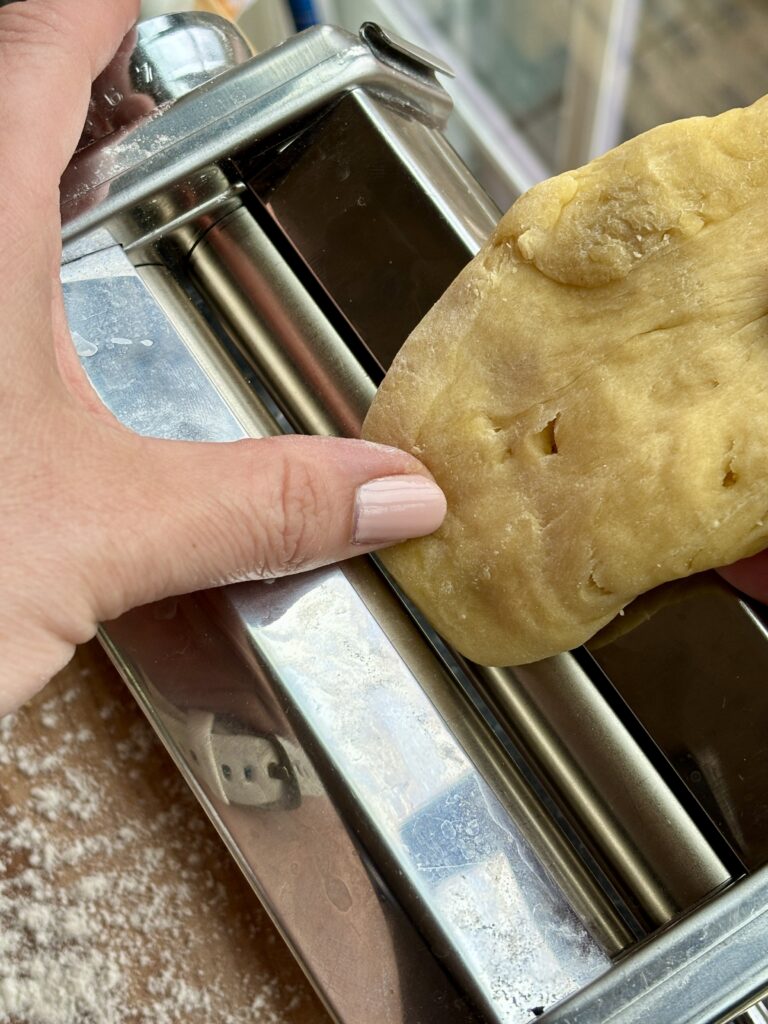
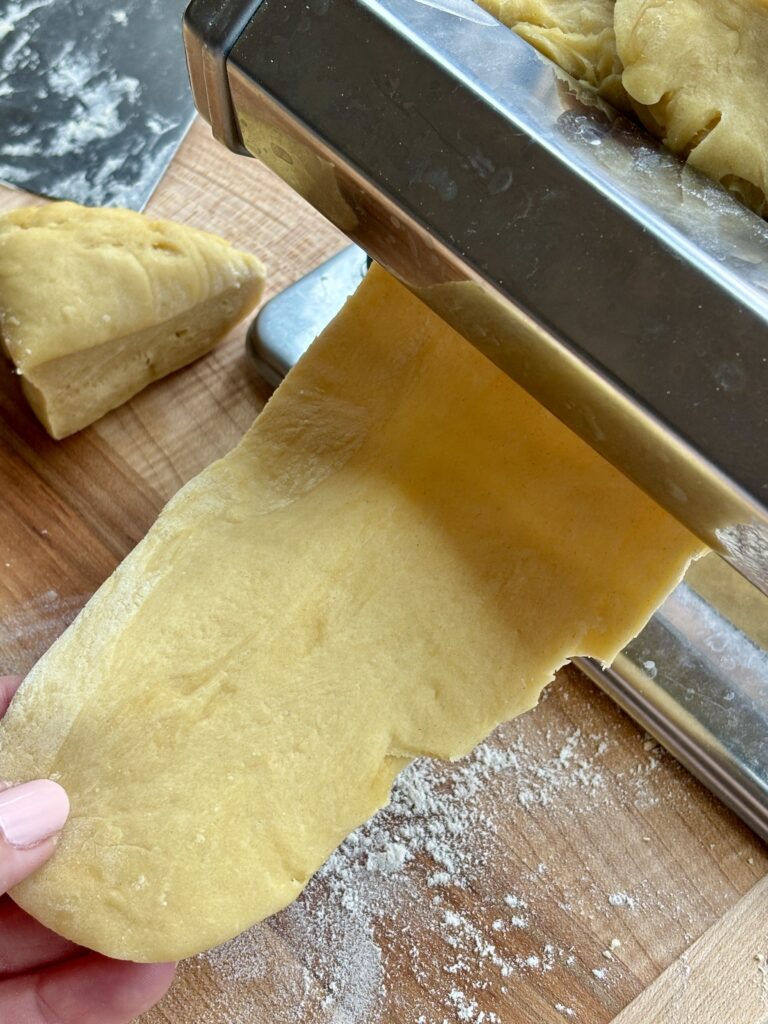
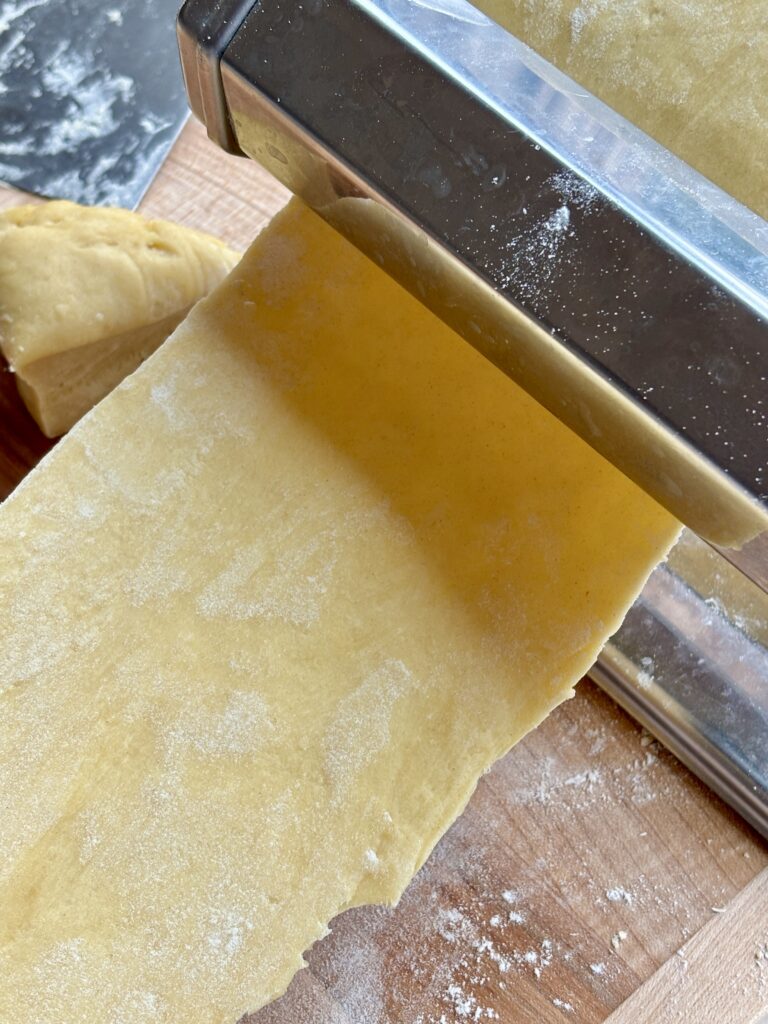
- Option 1: Pasta Machine (Recommended)
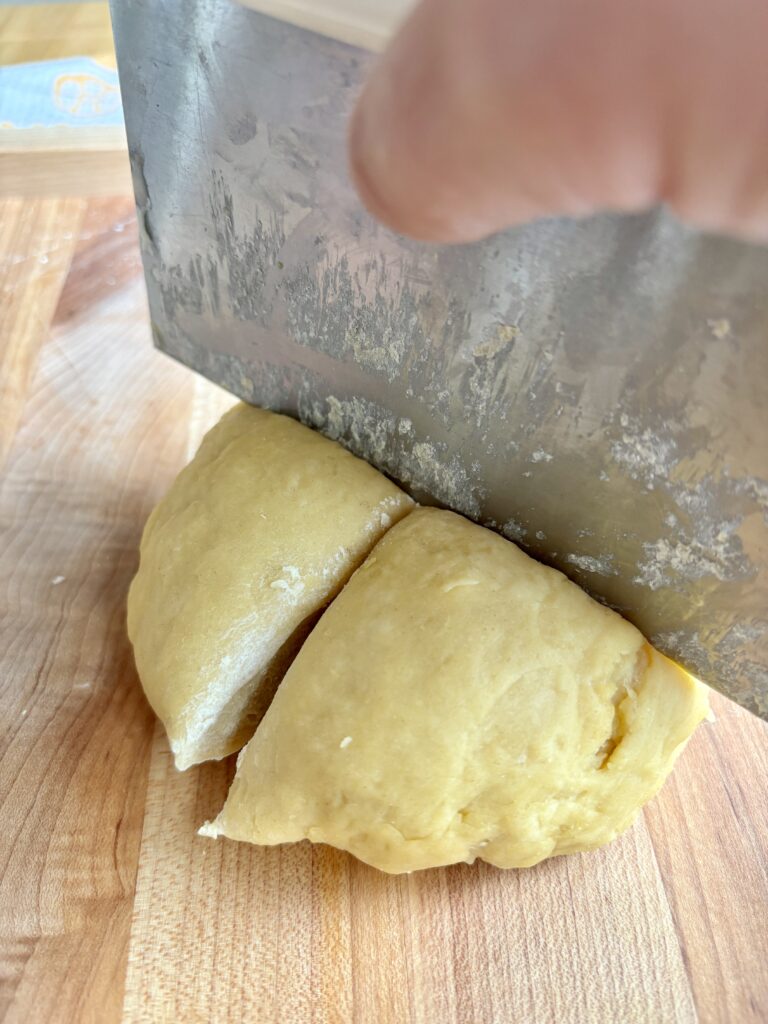
- Divide dough into 4 pieces
- Flatten one piece slightly
- Start at the widest setting and pass through. Repeat another 1-2 times at that setting for smoothness before going down to the next setting.
- Gradually move to thinner settings
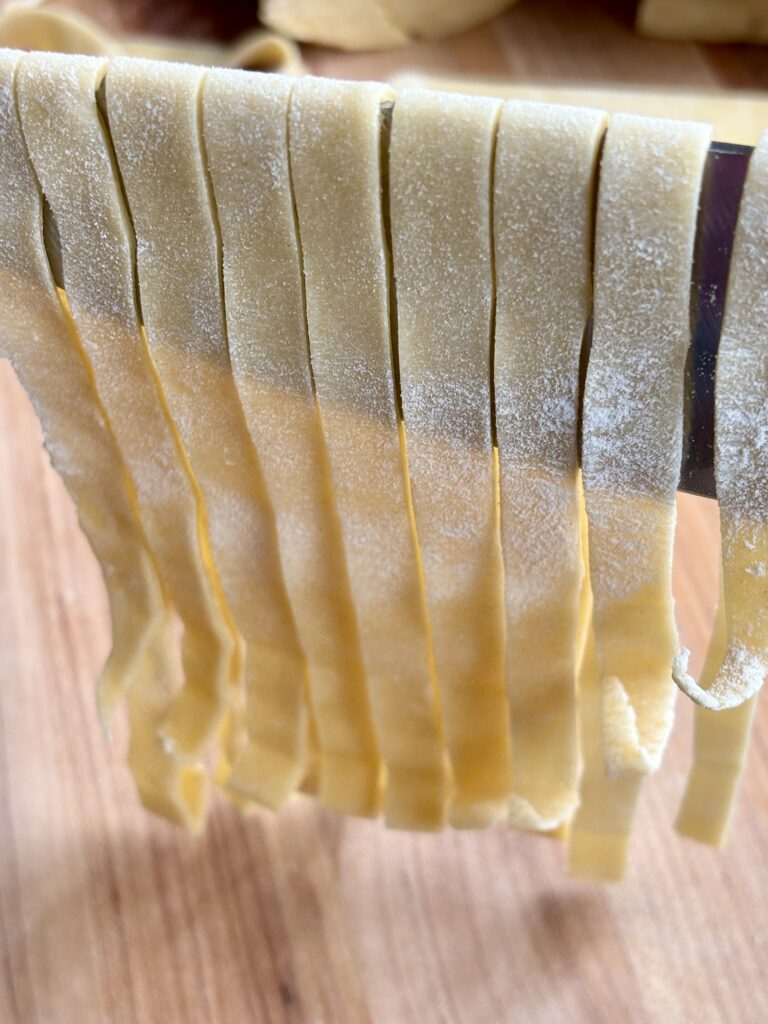
- Stop at setting 2 for fettuccine sheets (thin but still structured)
- Option 2: Rolling Pin
- Divide dough into smaller portions
- Roll from center outward evenly
- Rotate frequently to maintain even thickness
- Roll until very thin but still sturdy enough to lift without tearing
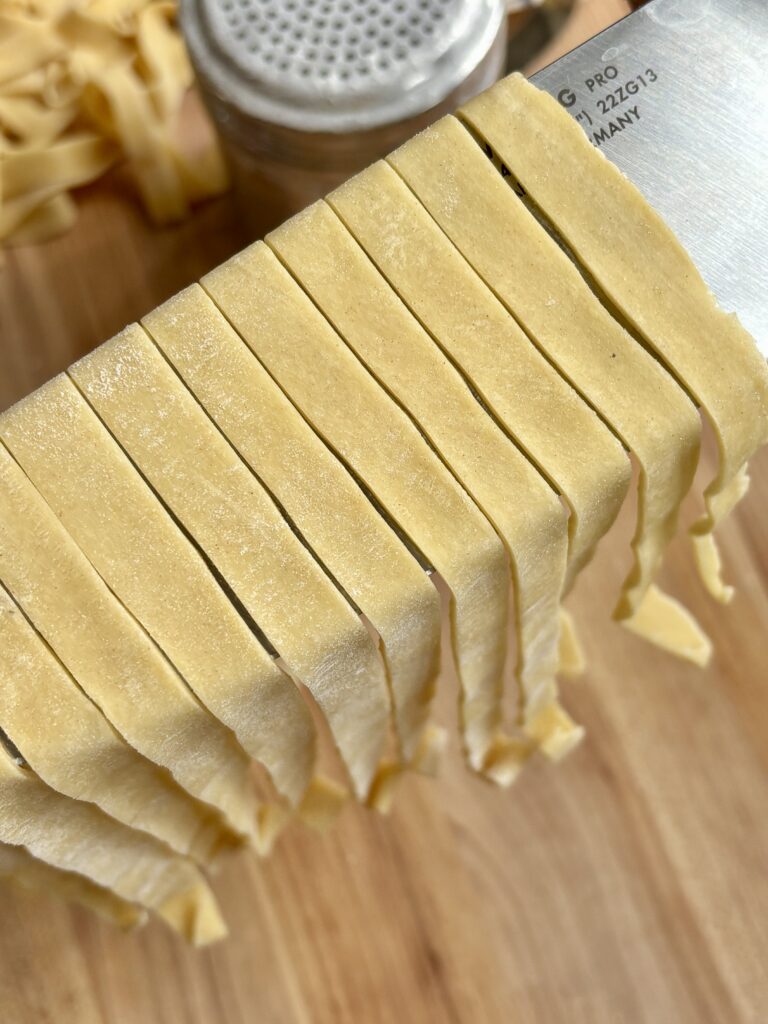
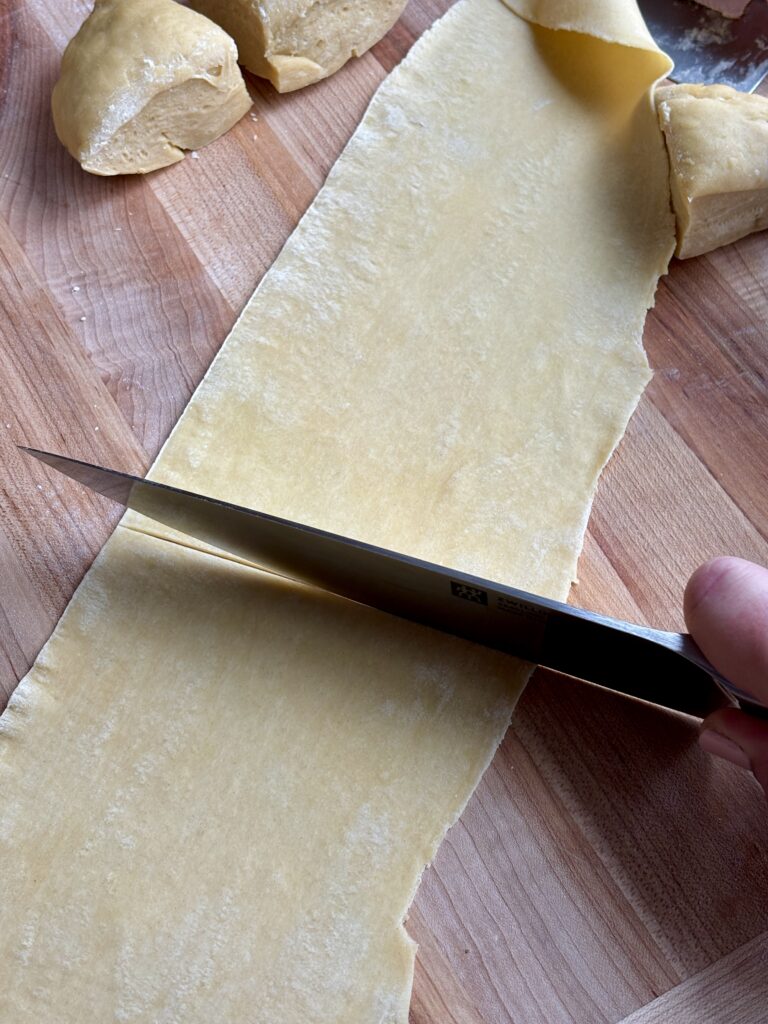
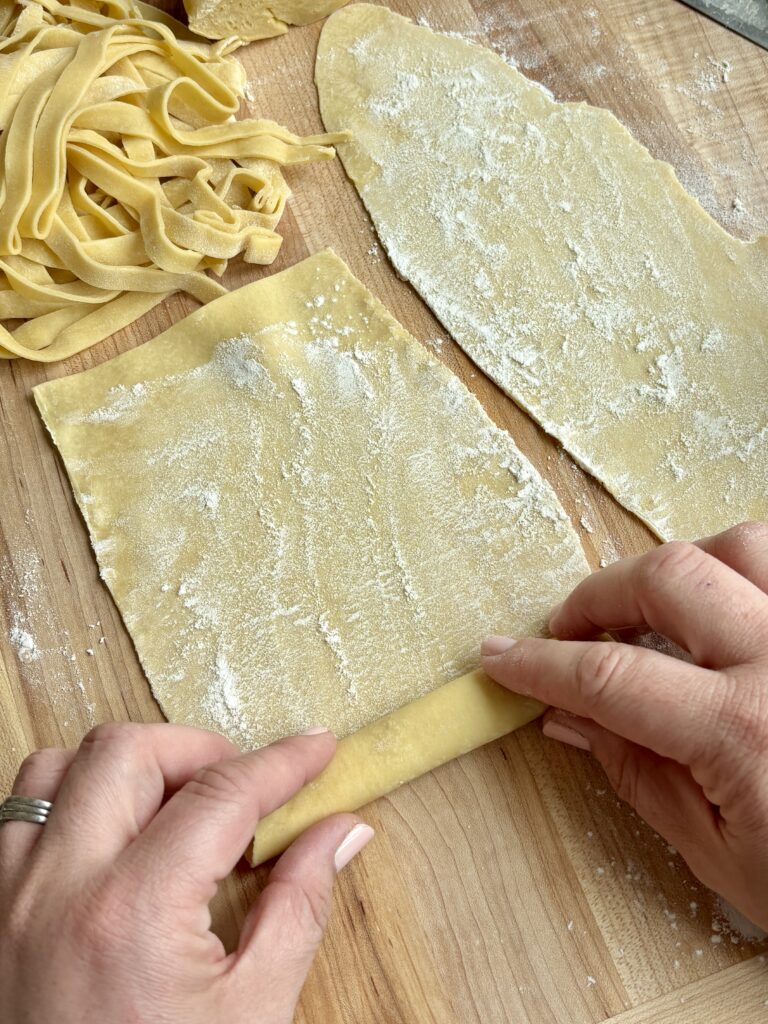
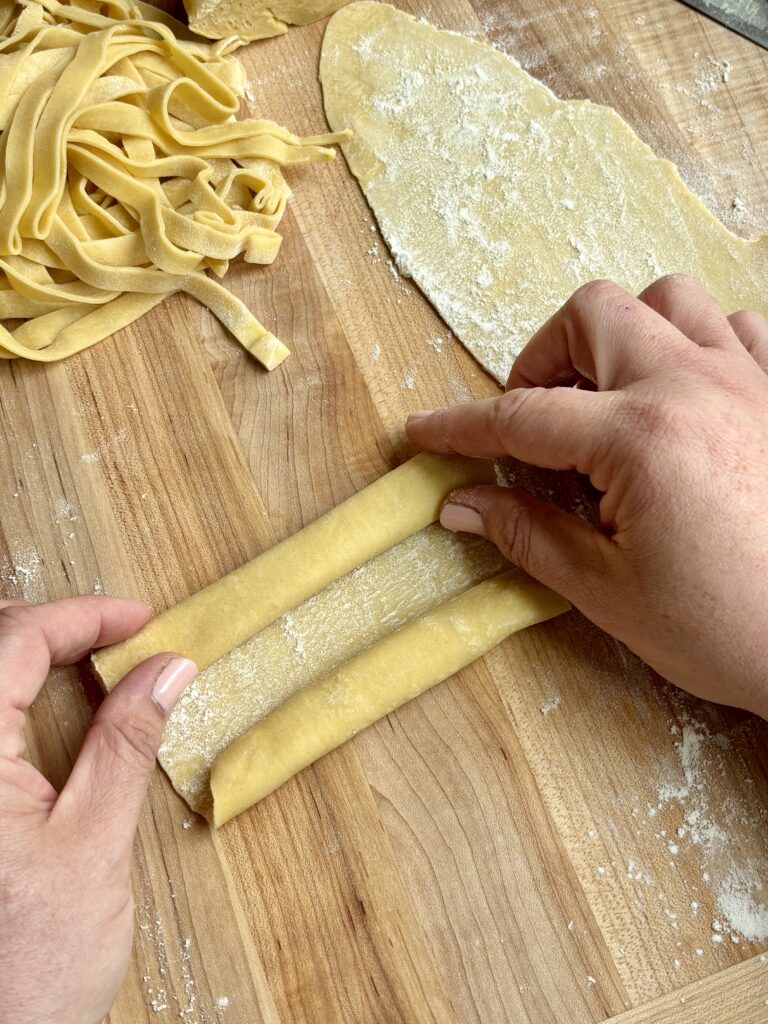
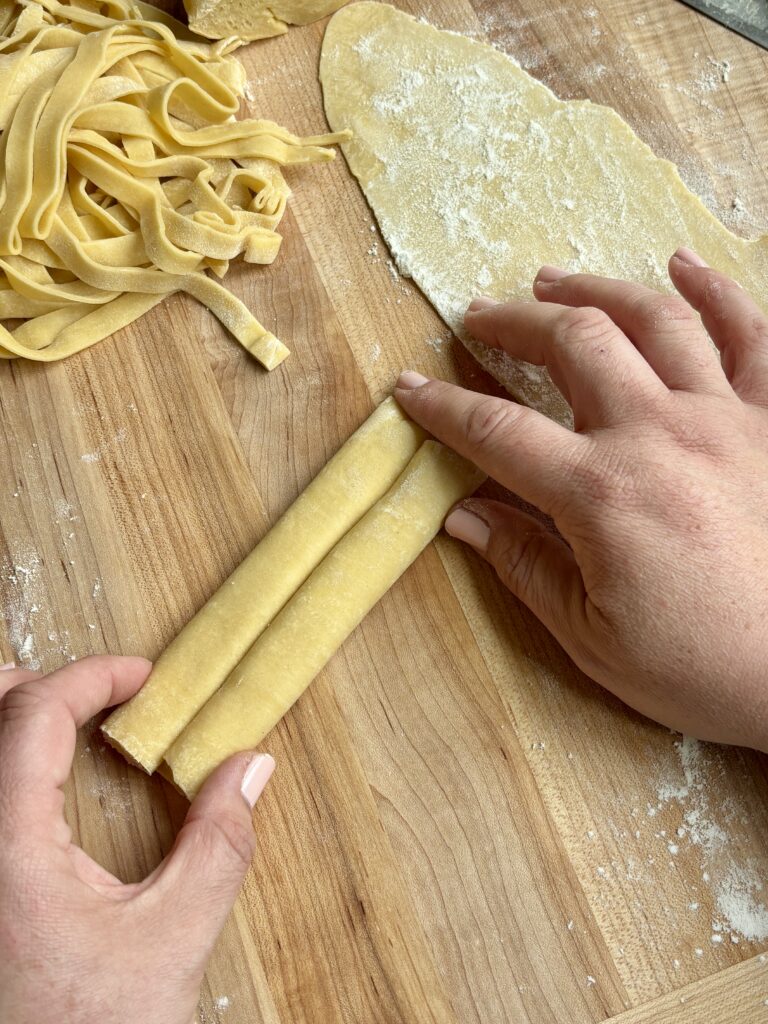
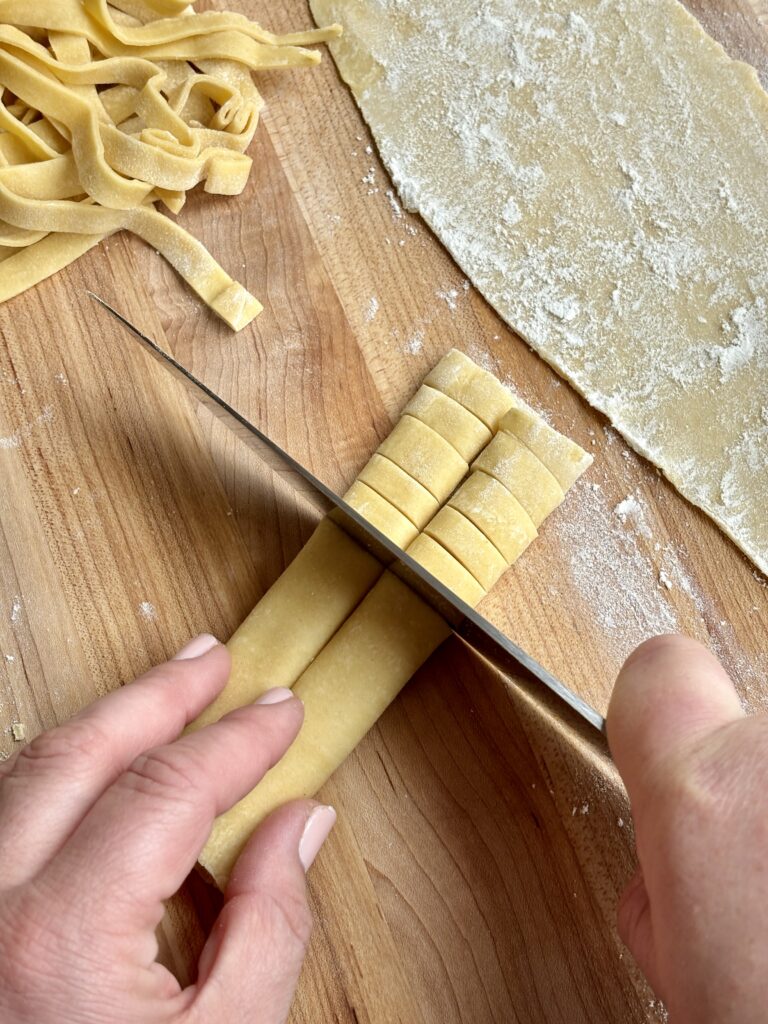
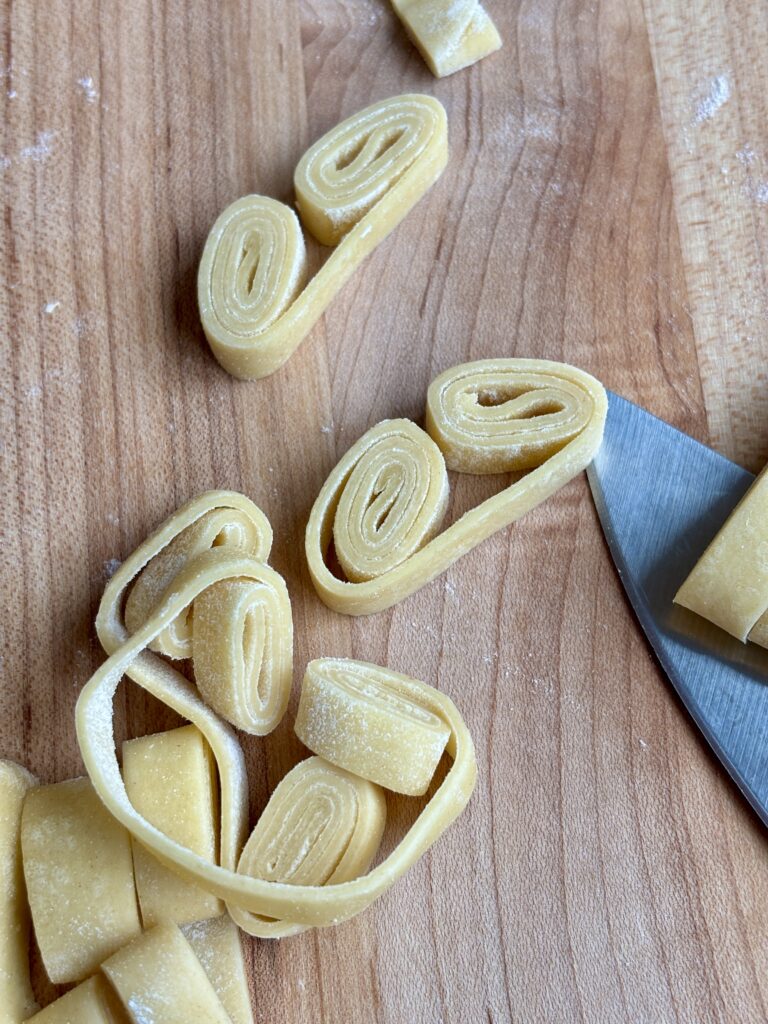
Cutting Fettuccine (Classic Method)
- Lightly flour the pasta sheet
- Starting from both long edges, roll each side inward toward the center
- You should have two spirals meeting in the middle (like a scroll)
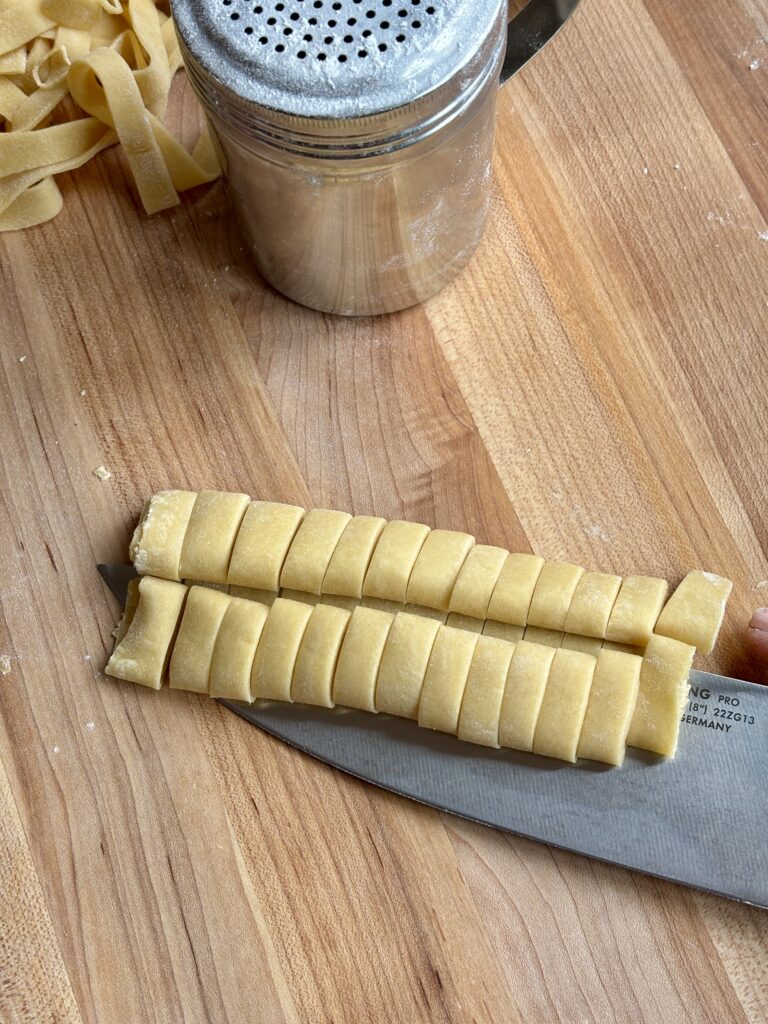
- Using a sharp knife, slice across the roll into ¼-inch strips
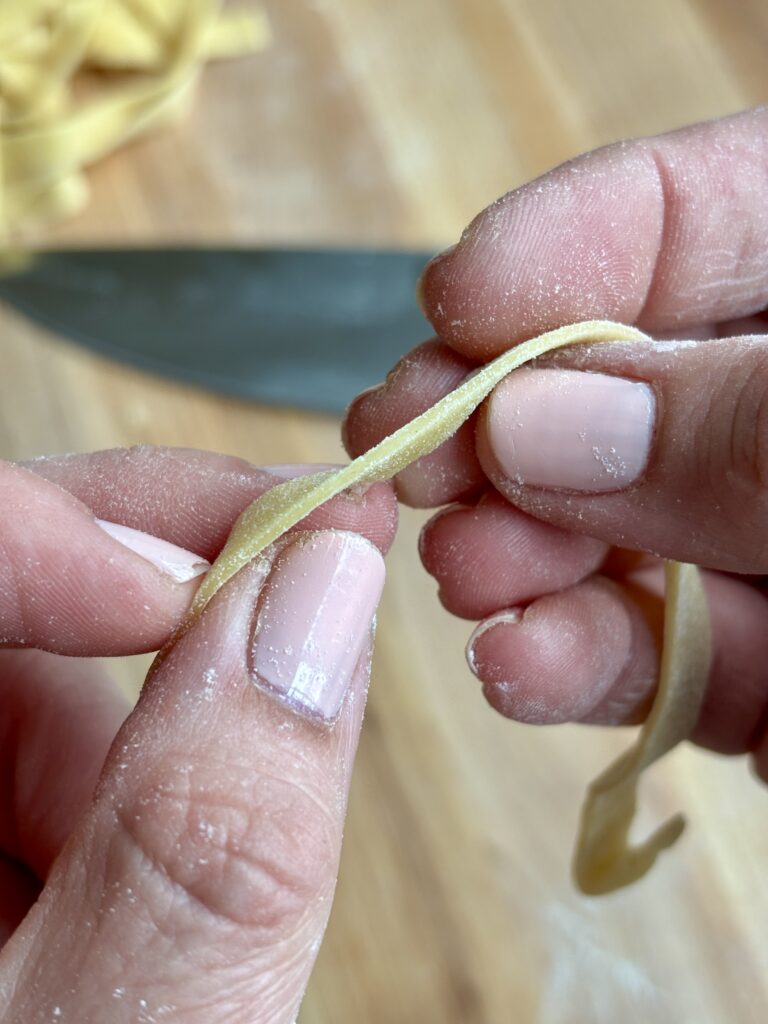
- Unroll gently, this creates beautiful fettuccine ribbons
Cooking
- Boil in well salted water for 2–3 minutes until tender and floating. Fresh pasta cooks fast, so don’t walk away!
homemade pasta recipe | fresh fettuccine | pasta dough from scratch | pasta machine recipe | easy homemade noodles | Italian pasta dough | fresh egg pasta | rolled pasta fettuccine | homemade pasta without machine | fresh pasta dough
Nutritional Content Disclaimer
I choose not to include nutritional information with my recipes, as these values can be calculated from the ingredients provided. With my background as a pediatric nurse practitioner and my own family experience with disordered eating, I understand how focusing on numbers can affect our relationship with food. My philosophy is that all foods have a place—sweet, savory, nourishing, or indulgent. I aim to share recipes that support a healthy, joyful approach to eating. My hope is that this space also encourages a balanced, healthy relationship with food for you and your family too.