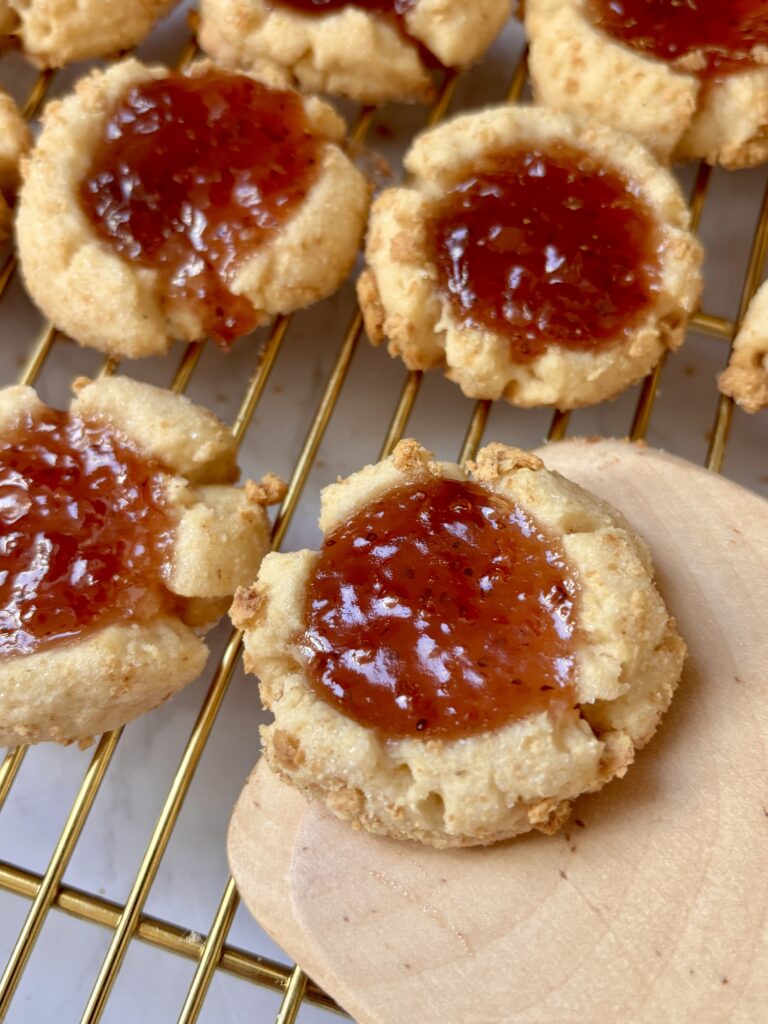
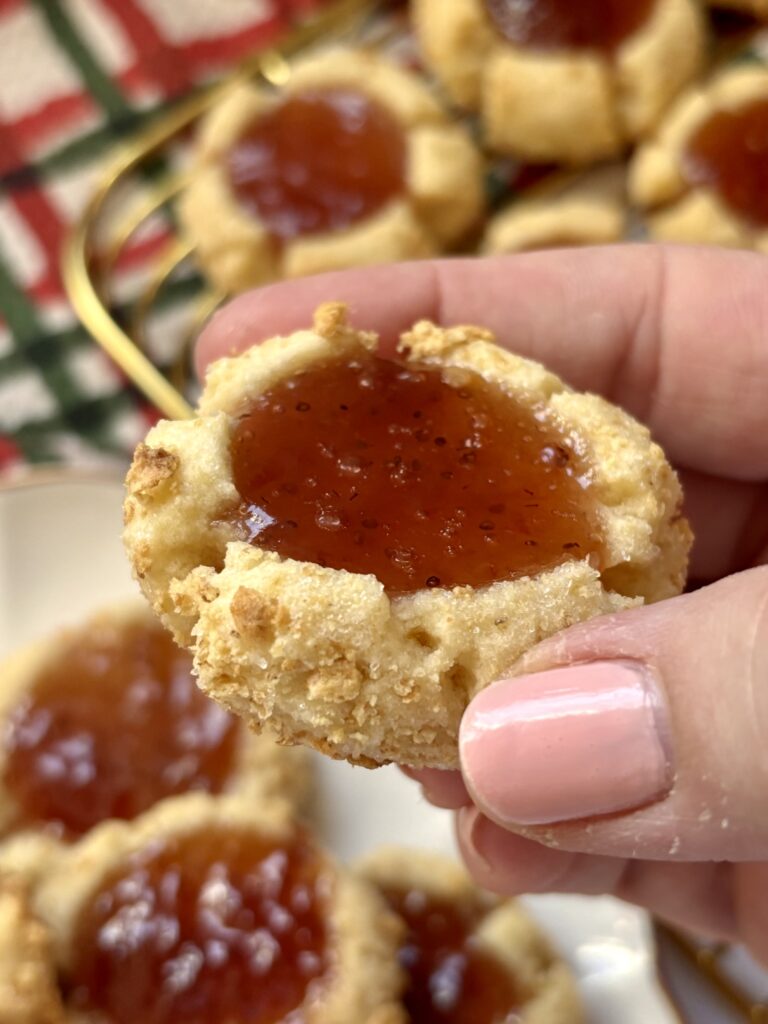
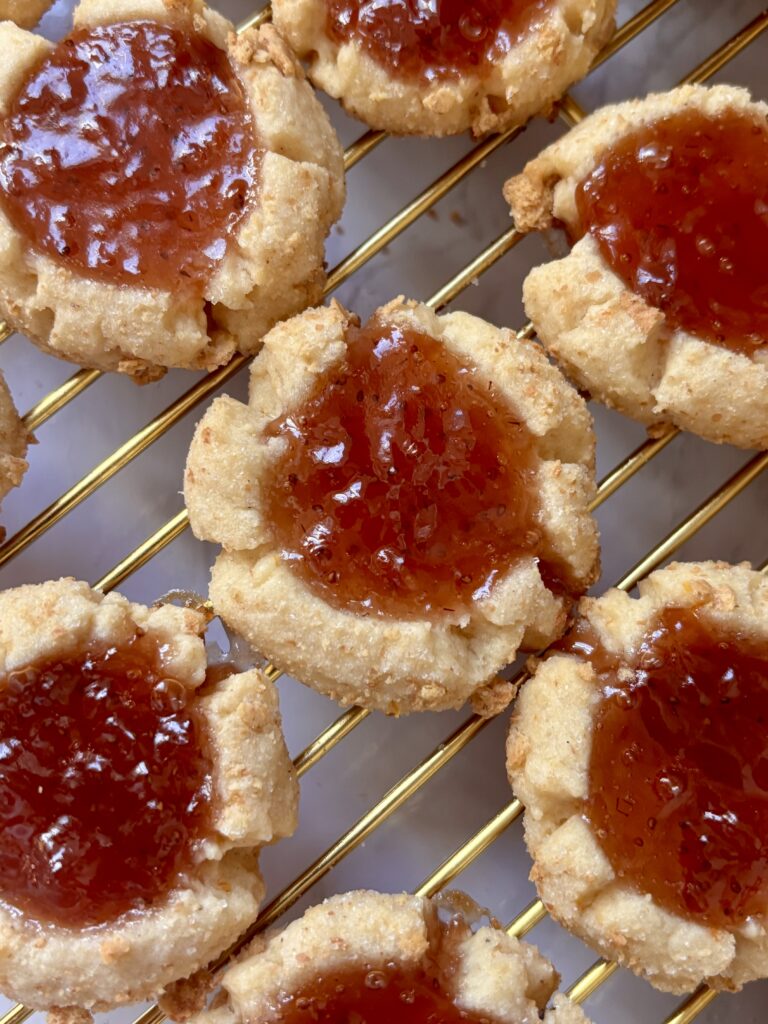
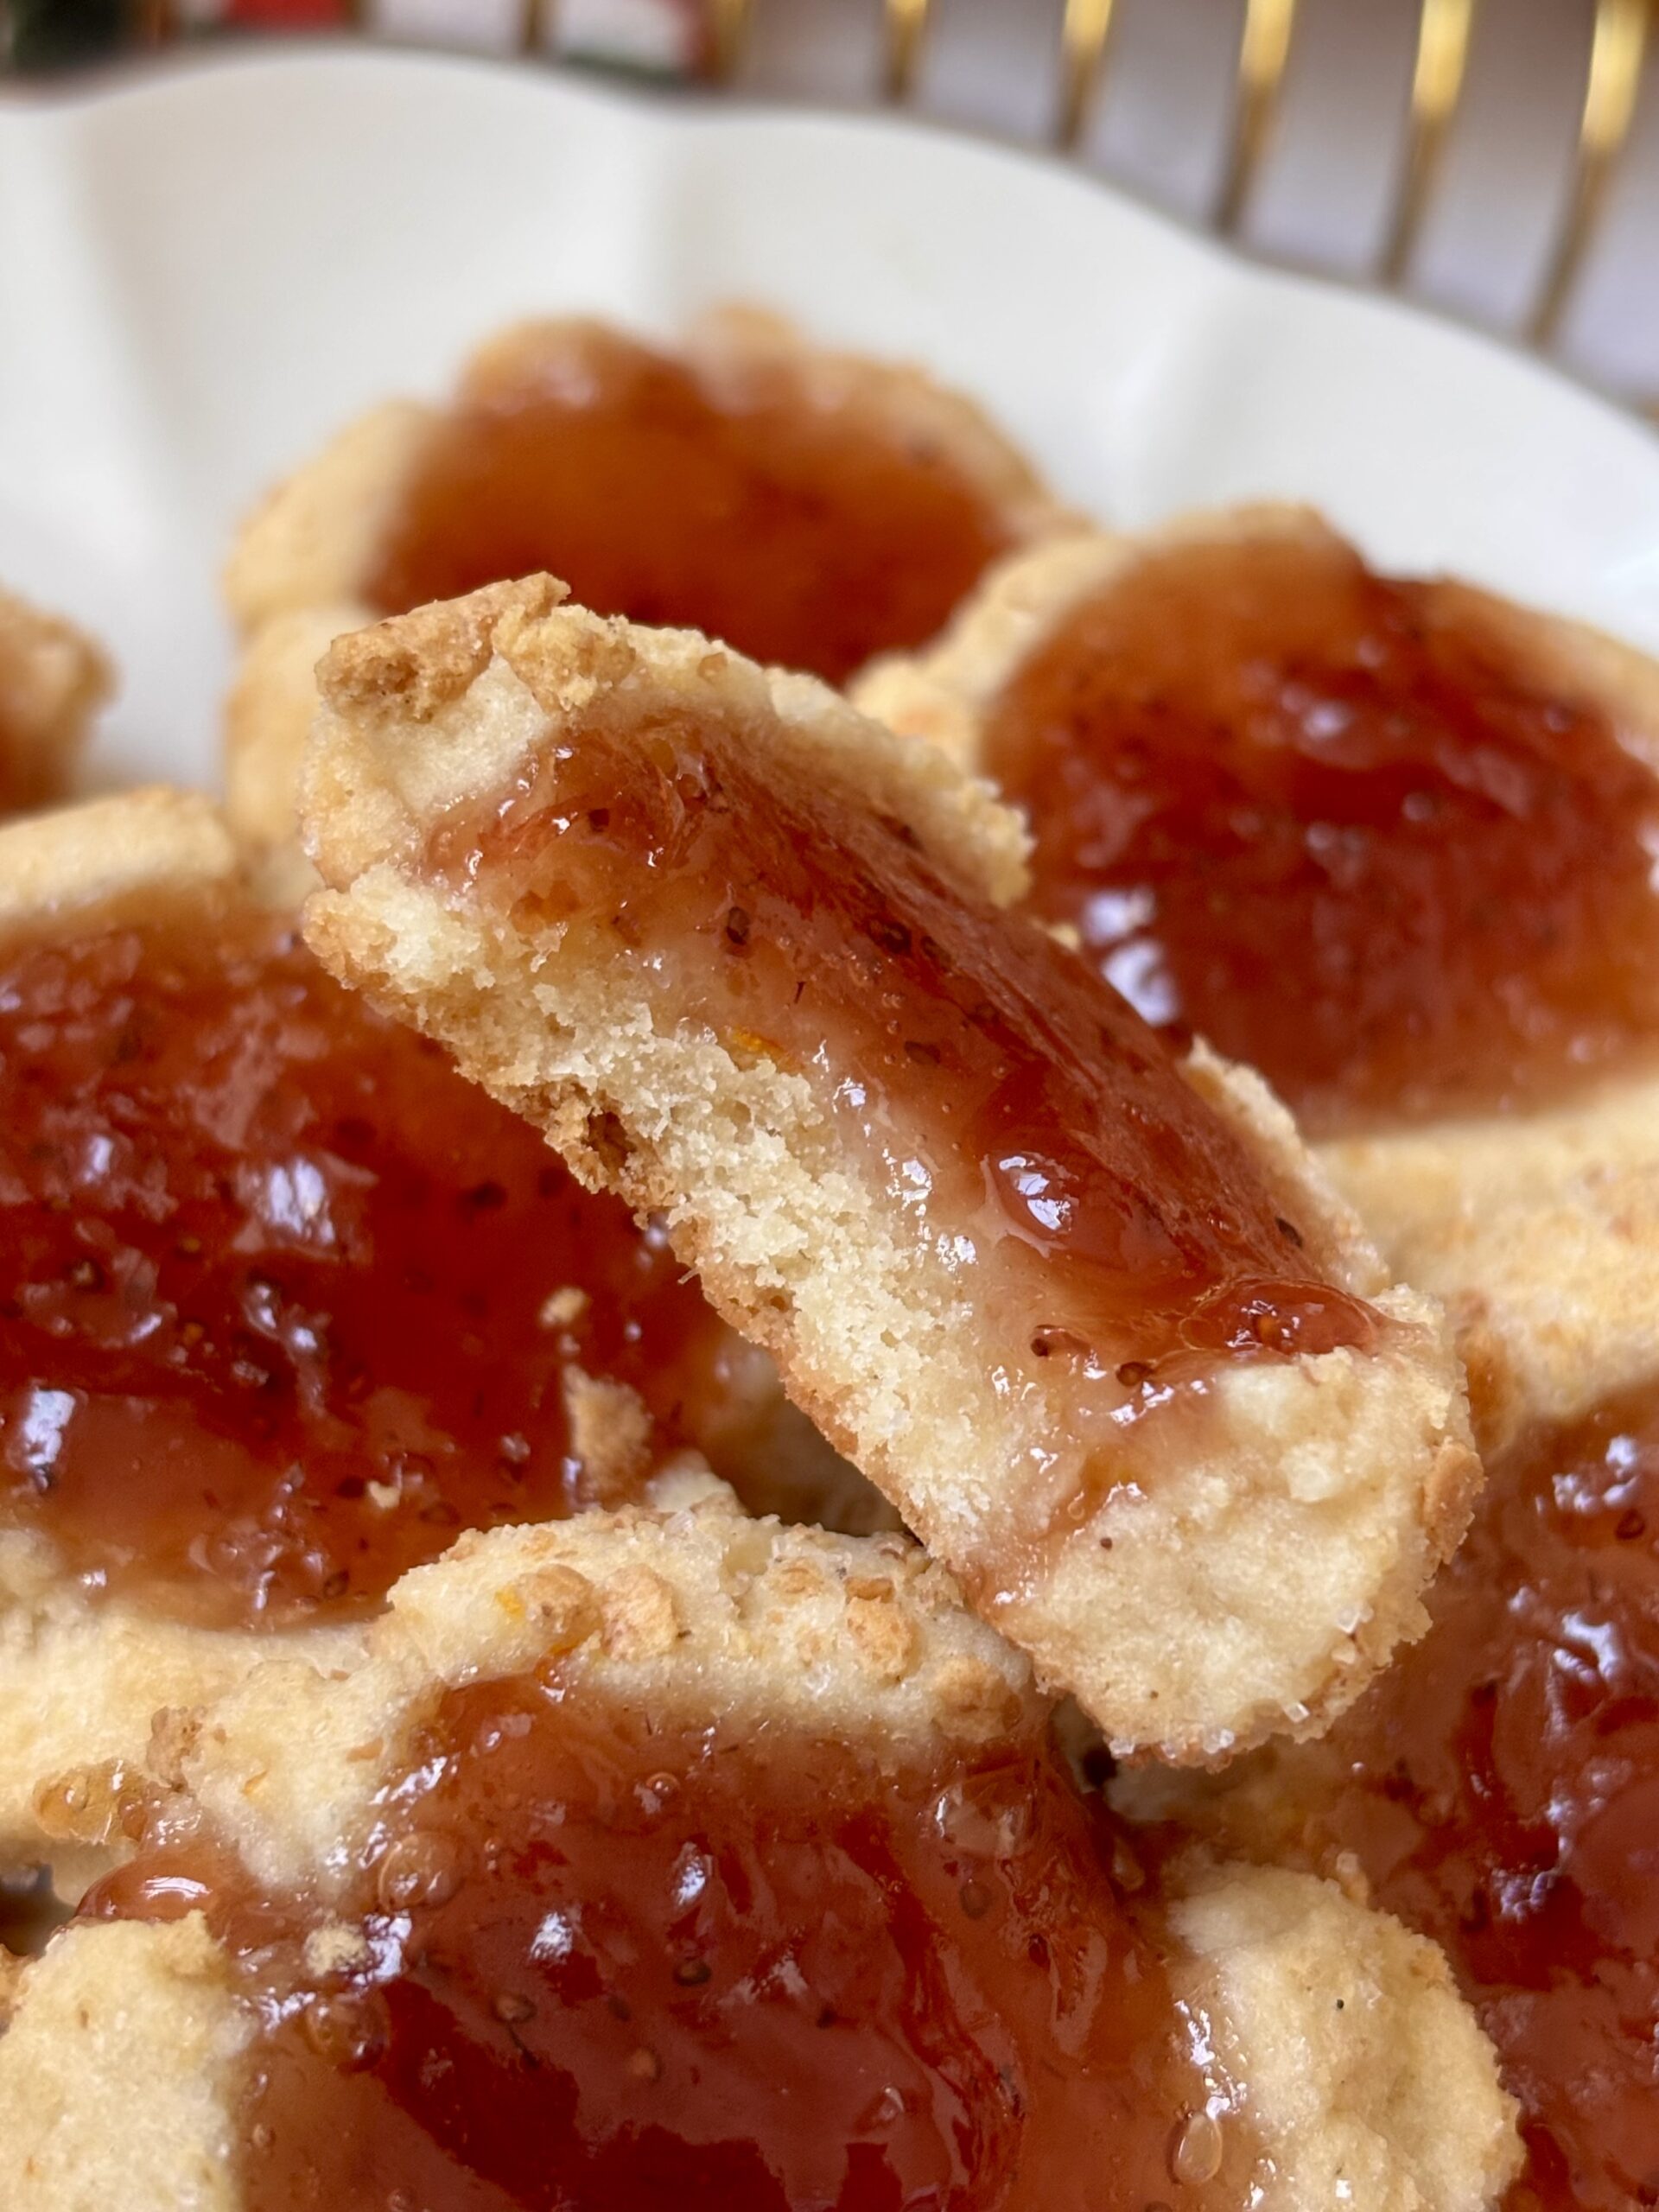
These Strawberry Thumbprint Cookies are soft, buttery, and perfectly balanced between sweet and fruity. The dough is lightly scented with orange zest, vanilla, and a hint of almond extract, then rolled in a crunchy graham cracker sugar coating before baking.
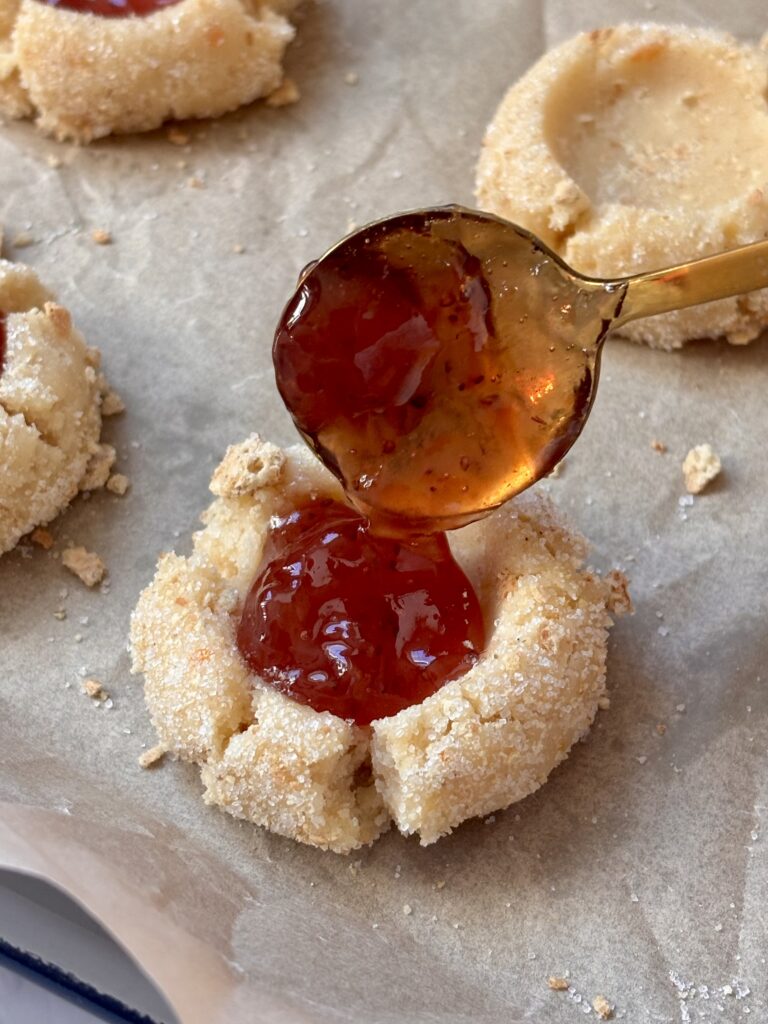
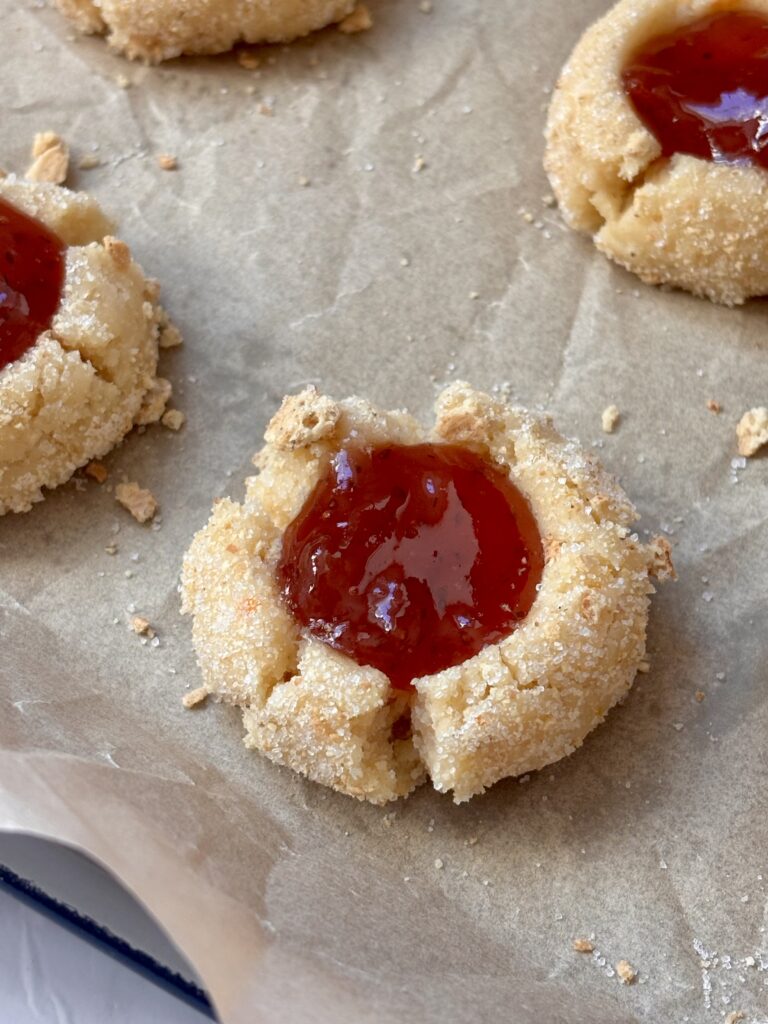
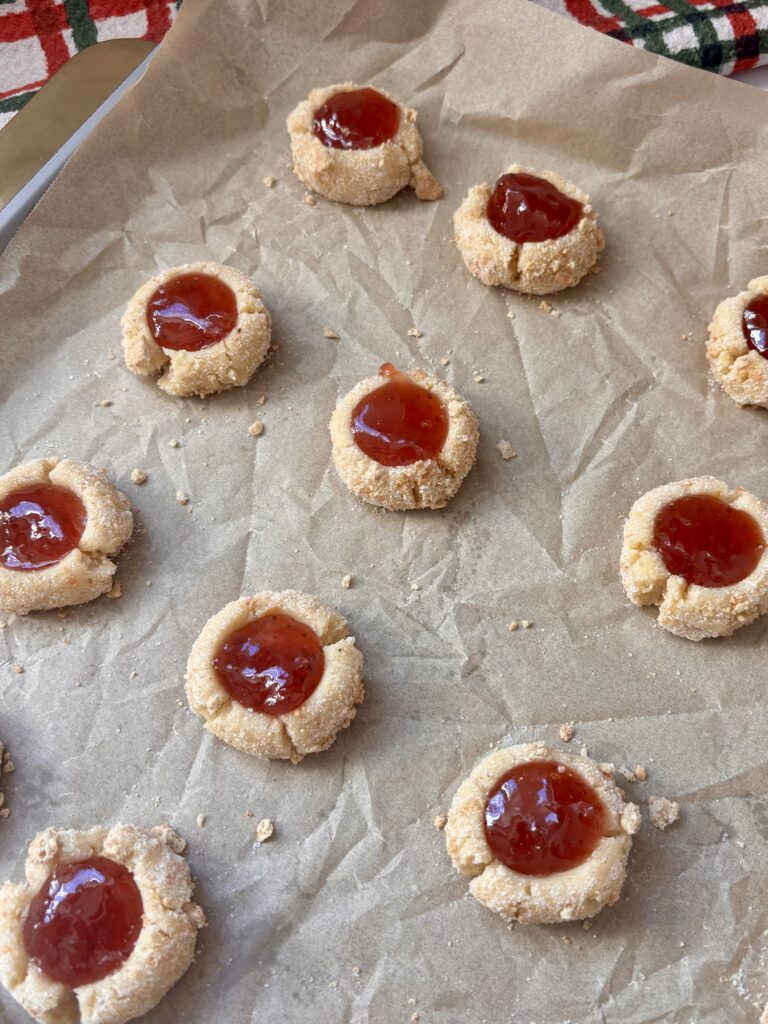
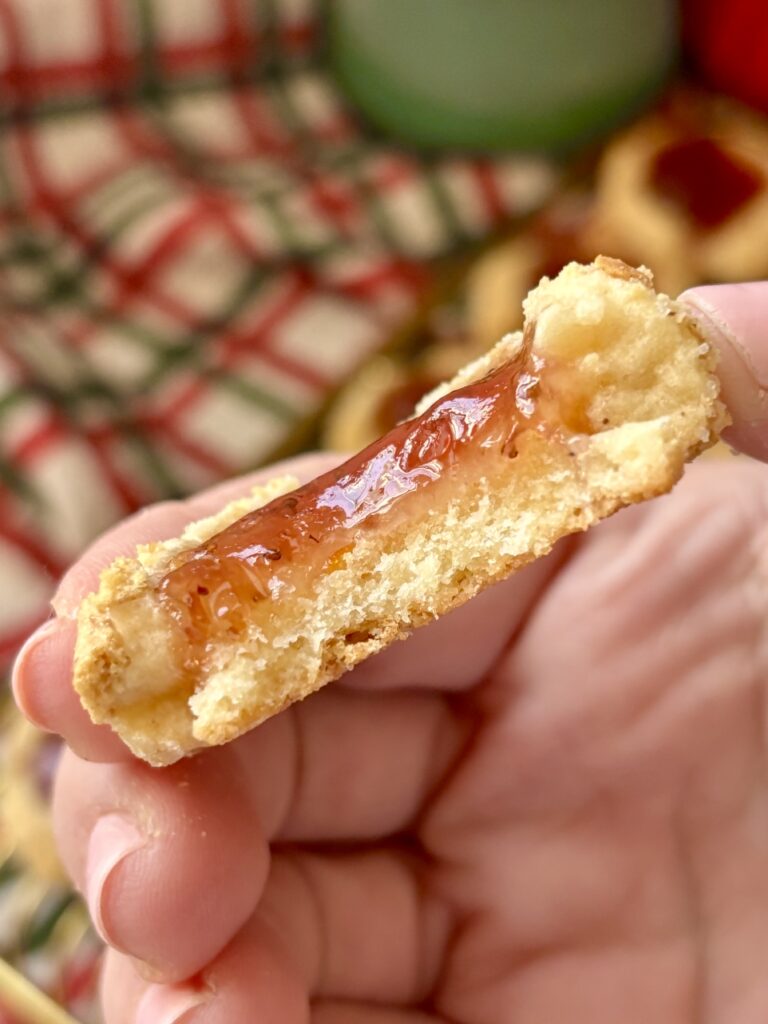
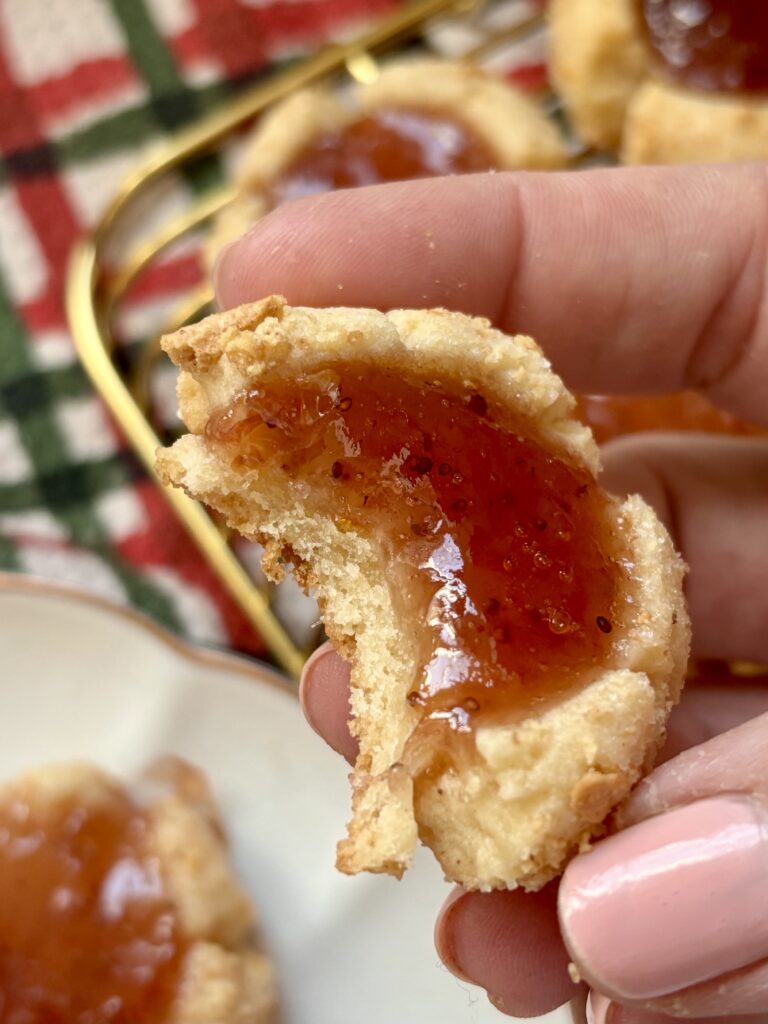
After chilling, each cookie is pressed to create those signature cracked edges and filled with warm strawberry jam that bakes into glossy, jammy centers.
They’re tender on the inside, lightly crisp on the outside, and absolutely perfect for holidays, cookie trays, or anytime you want a classic cookie with a cozy, homemade feel.

Why you’ll love this recipe!
What ingredients do I need?
- Cookie Dough
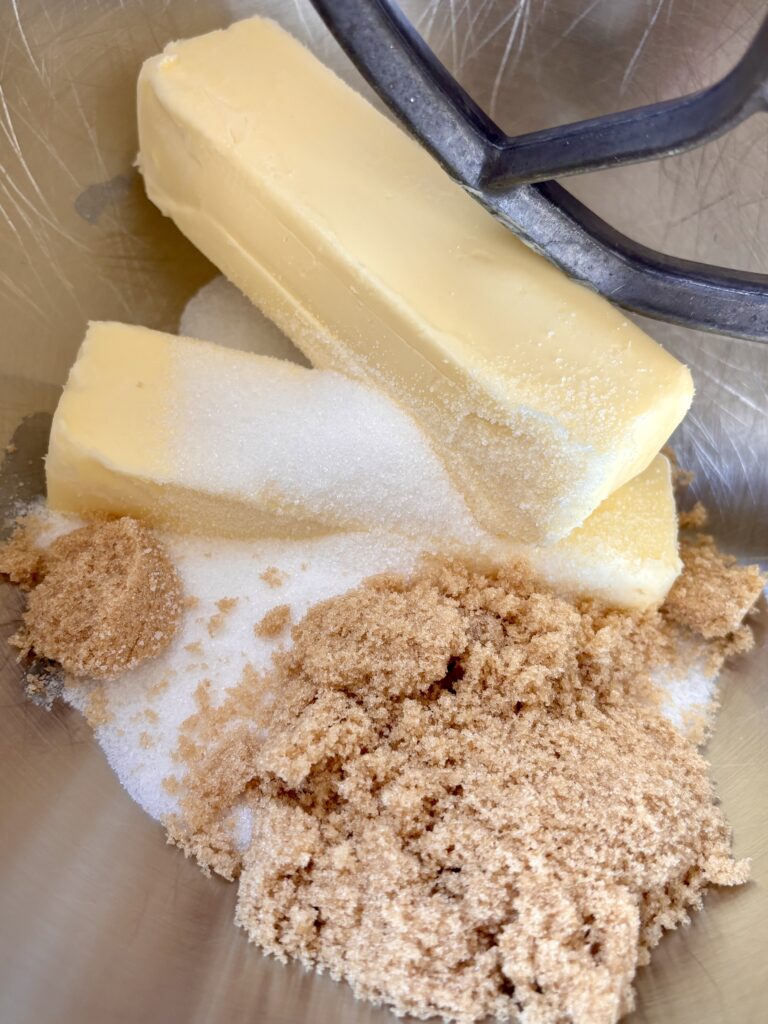
- Unsalted butter: The base of these cookies, providing rich flavor and a tender, melt-in-your-mouth texture. Using unsalted butter lets you control the salt level and keeps the cookies balanced.
- Granulated sugar: Adds sweetness and helps the cookies bake evenly while giving the edges a light crispness.
- Light brown sugar: Adds moisture and depth, keeping the cookies soft and preventing them from drying out.
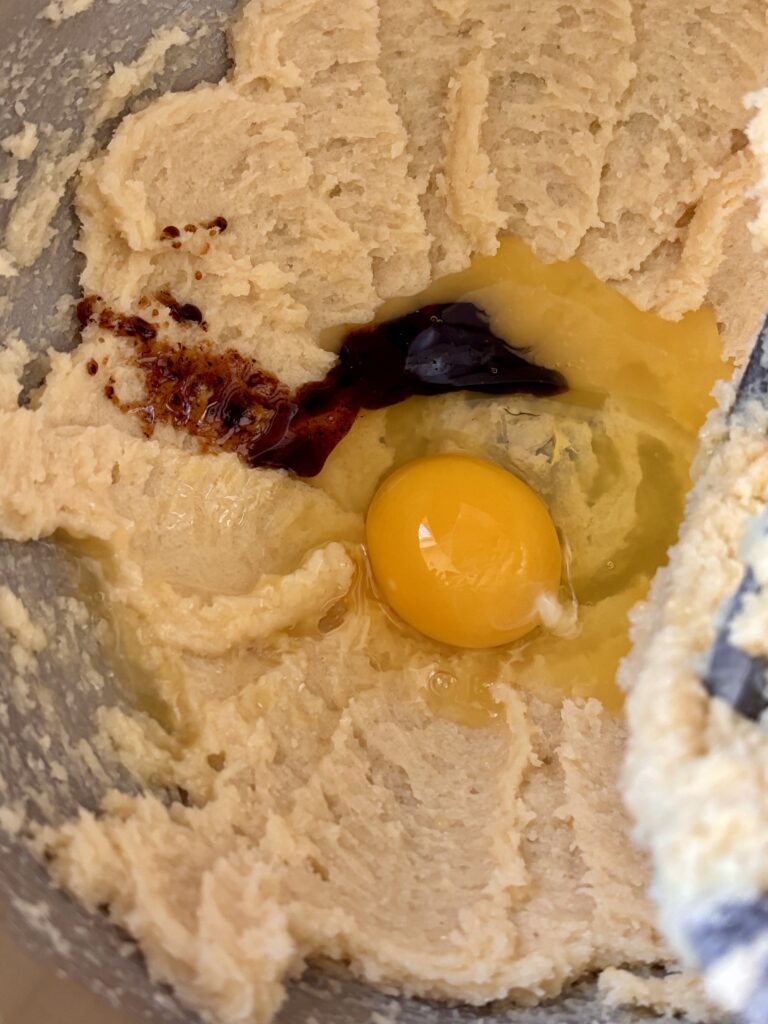
- Egg: Binds the dough and adds structure so the cookies hold their shape around the jam filling.
- Orange juice: Brightens the dough and balances the sweetness of the jam without making the cookies taste citrusy.
- Vanilla extract: Enhances the buttery flavor and adds warmth to the cookie base.
- Almond extract: A small amount adds a classic bakery-style note that pairs beautifully with strawberry jam.
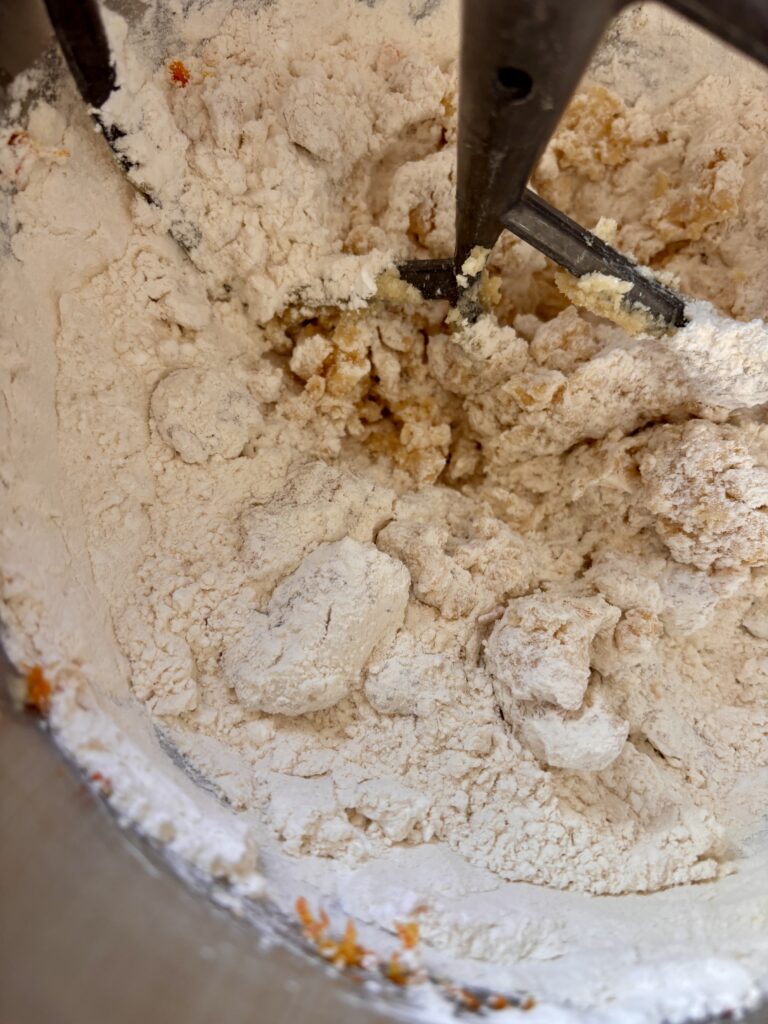
- All-purpose flour: Provides structure while still allowing the cookies to stay soft and tender.
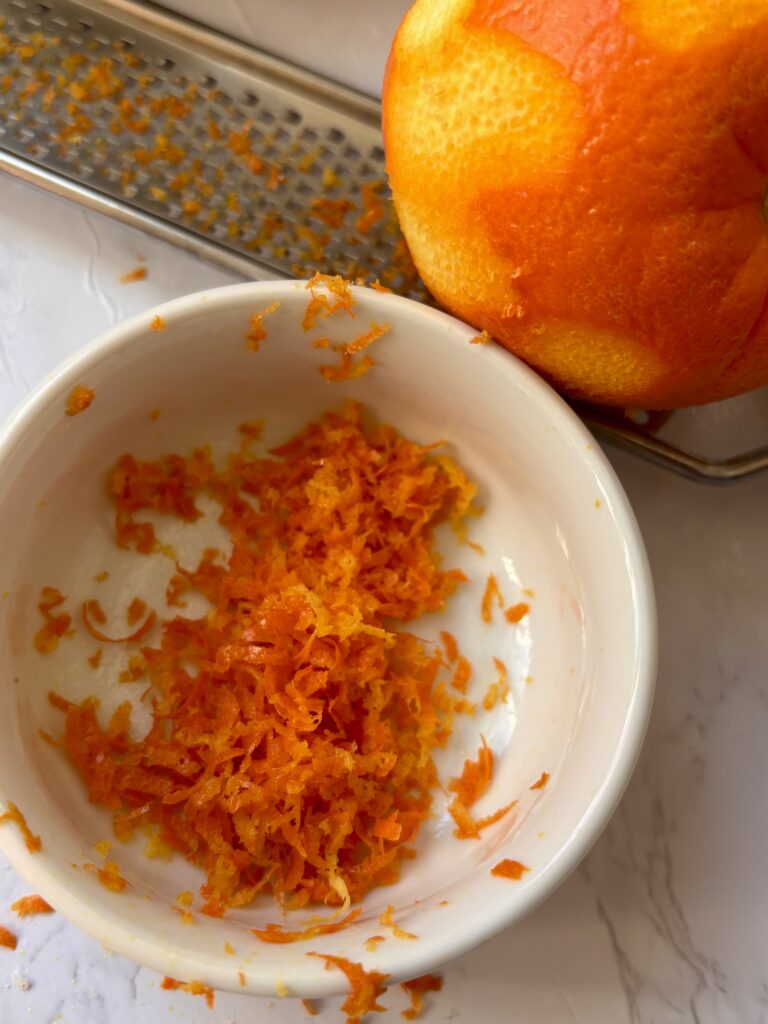
- Orange zest: Adds fresh aroma and subtle citrus flavor that lifts the entire cookie.
- Cornstarch: Keeps the cookies soft and delicate and helps limit spreading during baking.
- Salt: Balances sweetness and enhances all the flavors.
- Cinnamon: Adds gentle warmth without overpowering the strawberry filling.
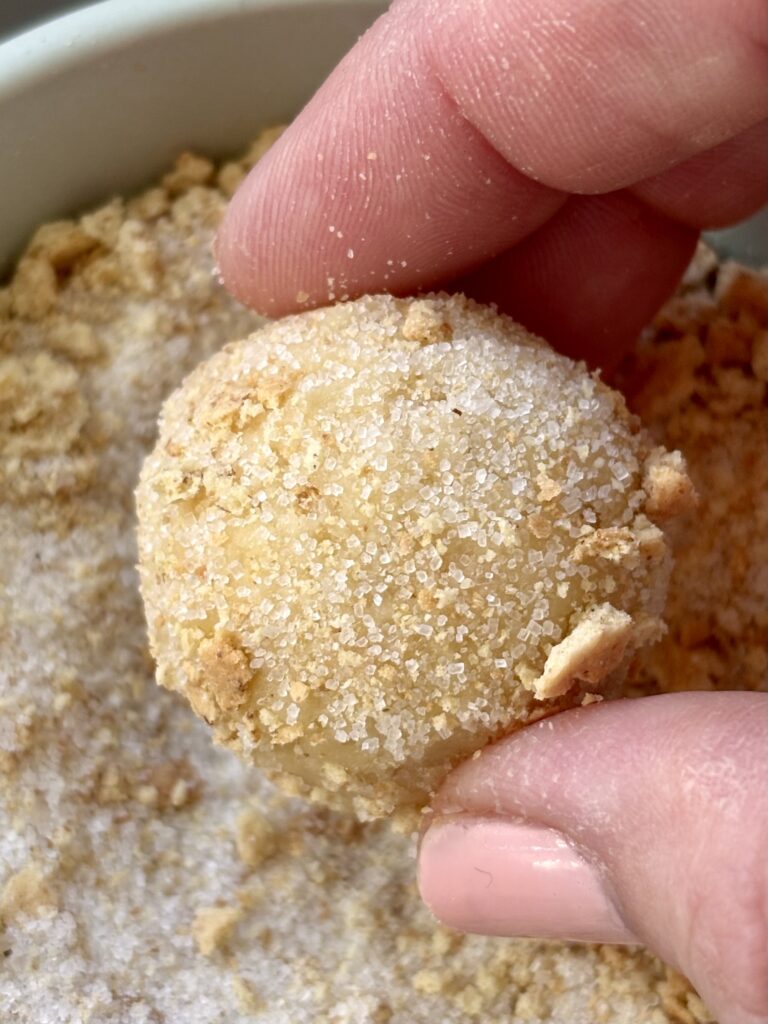
- Rolling Coating
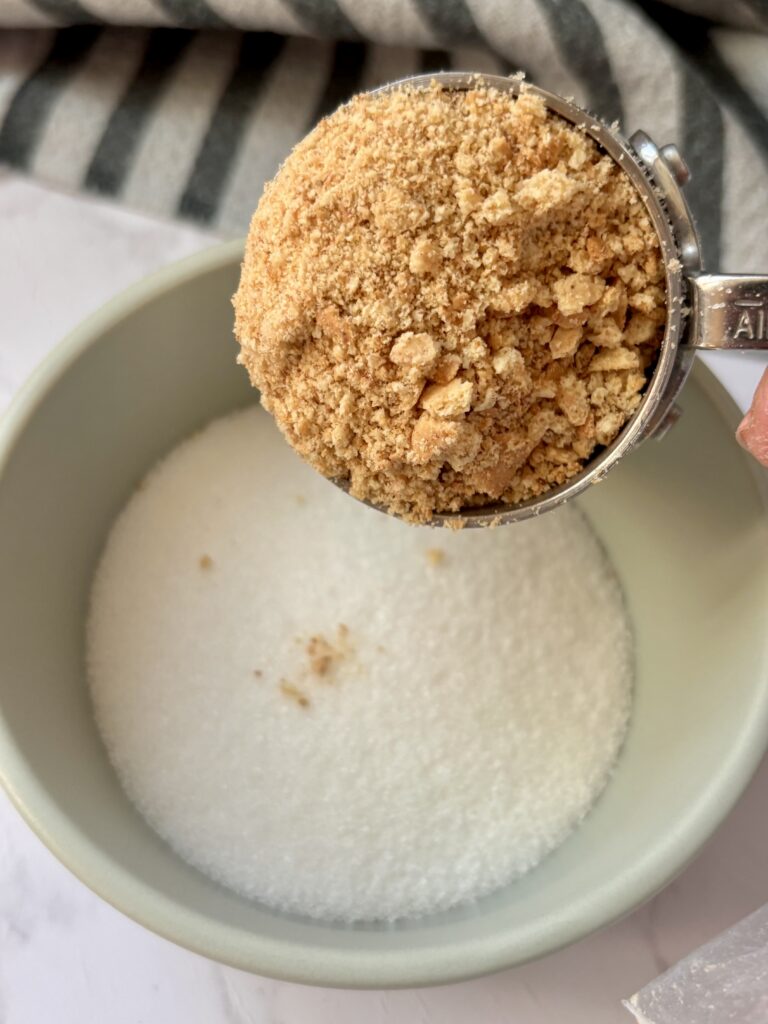
- Granulated sugar: Creates a lightly crisp exterior and helps the cookies brown evenly in the oven.
- Graham cracker crumbs: Add subtle crunch and a cozy, nostalgic flavor that pairs perfectly with the buttery dough and jam.
- Filling
- Strawberry jam, or jelly: The star of the cookie, baking into glossy, jammy centers that stay thick and vibrant. Slightly warming the jam helps it fill the wells smoothly and evenly.


Recipe Variations
- Swap the strawberry jam for raspberry, apricot, mixed berry, or any other jam you prefer.
- Use lemon zest instead of orange zest for a brighter citrus note.
- Skip the graham crackers completely and roll in all granulated sugar.
- Drizzle cooled cookies with a simple vanilla glaze.
Pro Tips
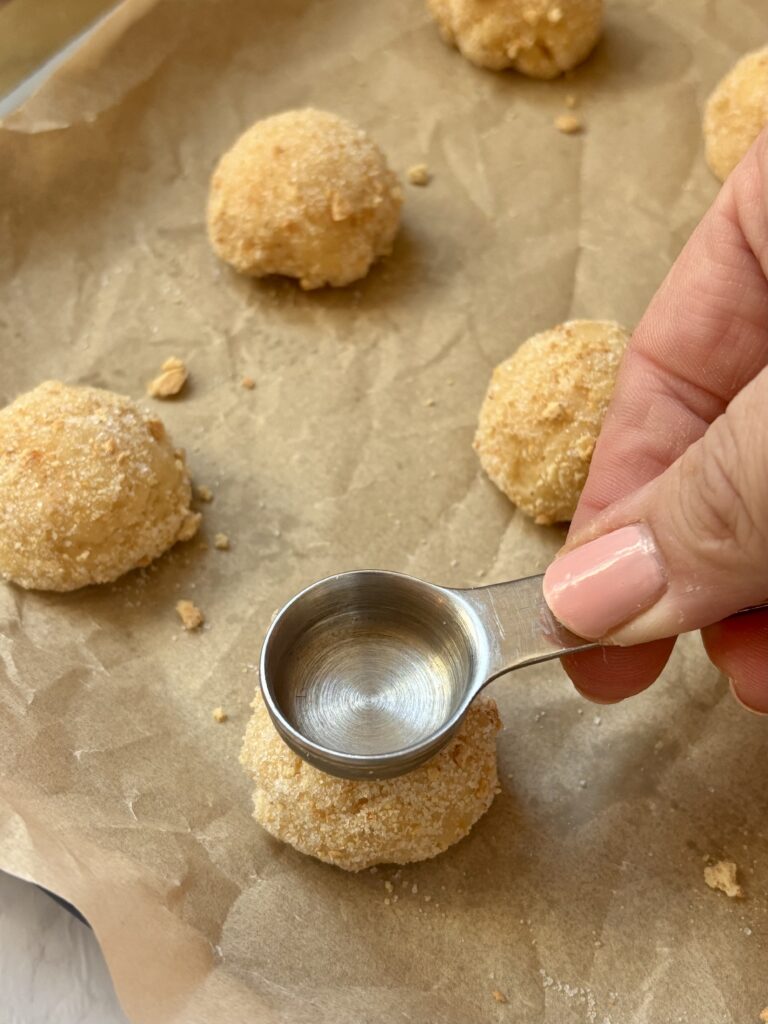
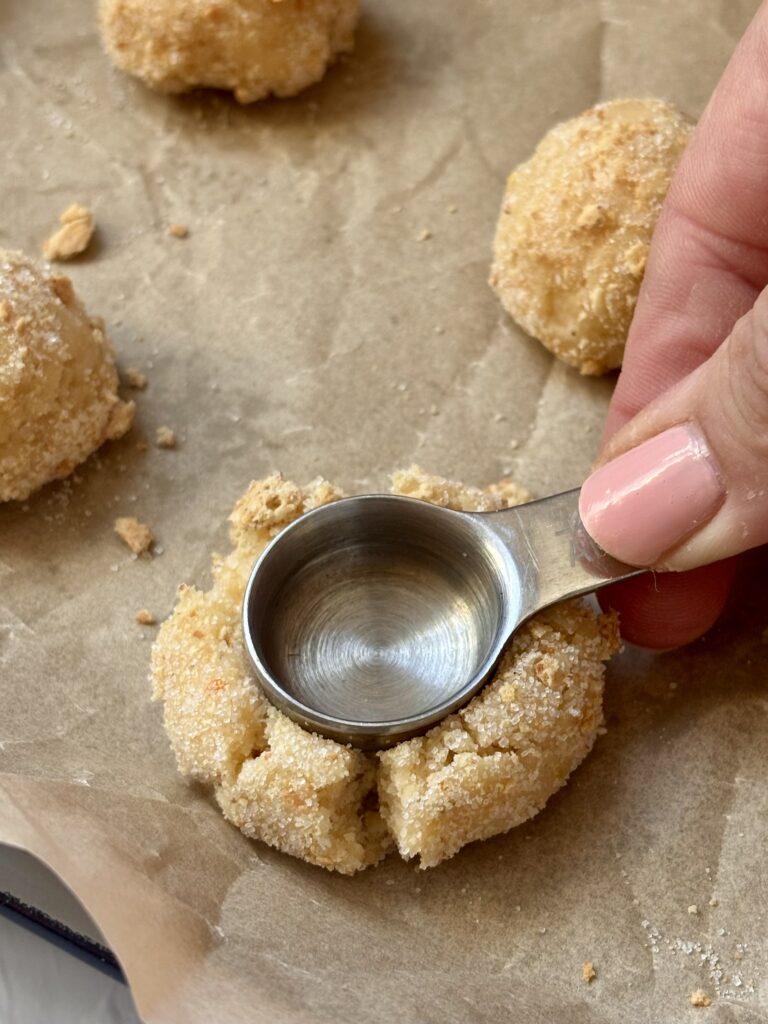
- Chilling before pressing creates the prettiest cracks, but this is optional. Feel free to chill after creating the thumbprint for a smoother look.
- Warm the jam in the microwave first so it fills the wells more evenly and doesn’t ooze out of the cookie as much while baking.
- Use gentle pressure when making the thumbprint so that the cookie doesn’t crack all the way through.
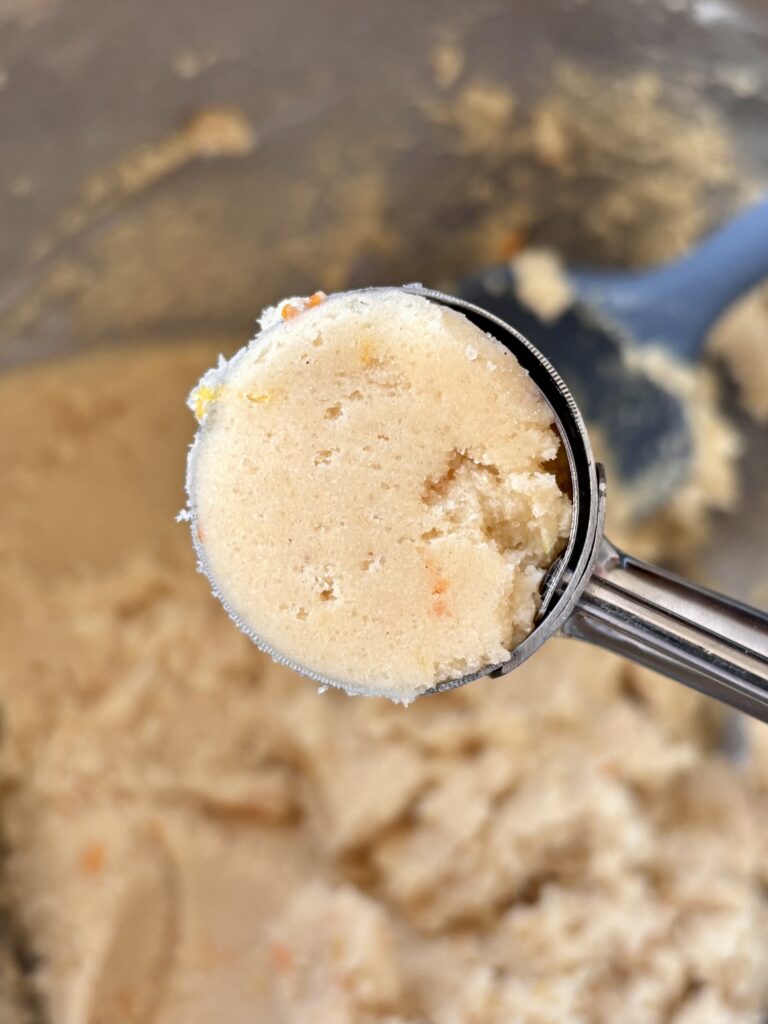
- A #60 cookie scoop ensures even baking and uniform cookies.

Can I Substitute?
Yes! Like always though, any substitutions made to the recipe can result in a change in texture and/or flavor.
- Gluten free: Use a 1:1 gluten free flour blend and gluten free graham crackers.
- Dairy free: Substitute with dairy free butter.
- Nut free: Omit almond extract if needed.
- Graham crackers: Just omit and replace with more granulated sugar for rolling.
- Strawberry Jam: Use whatever jam makes you happy!
Leftovers and Storage
- Store cookies in an airtight container at room temperature for up to 3 days.
- Refrigerate in an airtight container for up to 5 days.
- Cookies also freeze well for up to 2 months; thaw at room temperature before serving.
But, I Still Have A Few Questions…
Why make the thumbprint after chilling?
Chilling the dough before pressing helps the cookies crack along the edges while keeping them thick and tender. If the cracked edges aren’t for you, feel free to make the thumbprint before chilling for a smoother look.
Do I have to warm the jam before using it?
Warming the jam isn’t required, but it makes filling the thumbprints much easier. Slightly warmed jam flows smoothly into the wells, creates cleaner centers, and bakes up glossy without overflowing or leaving gaps.
Can I fill the cookies before chilling?
You can, but the cookies will be smoother and won’t develop the same cracked edges.
Do these cookies spread?
Very little. The cornstarch and chilling help them hold their shape.
Can I use homemade jam?
Yes, as long as it’s thick enough to stay in the center while baking.
Are these good for cookie trays?
Yes. They hold their shape well, look beautiful, and store nicely for gifting.
Let’s engage!
Make sure to tag @thehomechefmomma on Instagram or Facebook, and leave a review or comment if you make these. I always get so excited to see your creations, variations of the recipe, and feedback! Just remember to be kind in your comments, there is still a person behind this screen! 🙂
Strawberry Thumbprints
Ingredients
Cookie Dough
- 1 cup unsalted butter softened
- ½ cup granulated sugar
- ¼ cup light brown sugar
- 1 large egg
- 1 tablespoon orange juice
- 1 teaspoon vanilla extract
- ¼ teaspoon almond extract
- 2 cups all-purpose flour
- 2 tablespoons cornstarch
- 1 teaspoon orange zest
- ¾ teaspoon salt
- Pinch of cinnamon
Coating
- ¼ cup granulated sugar
- ½ cup graham cracker crumbs
Filling
- Strawberry jam or jelly slightly warmed
Instructions
- Preheat oven to 350°F and line baking sheets with parchment paper.
- Cream butter, granulated sugar, and brown sugar until smooth and combined.
- Add egg, orange juice, vanilla extract, and almond extract; mix well.
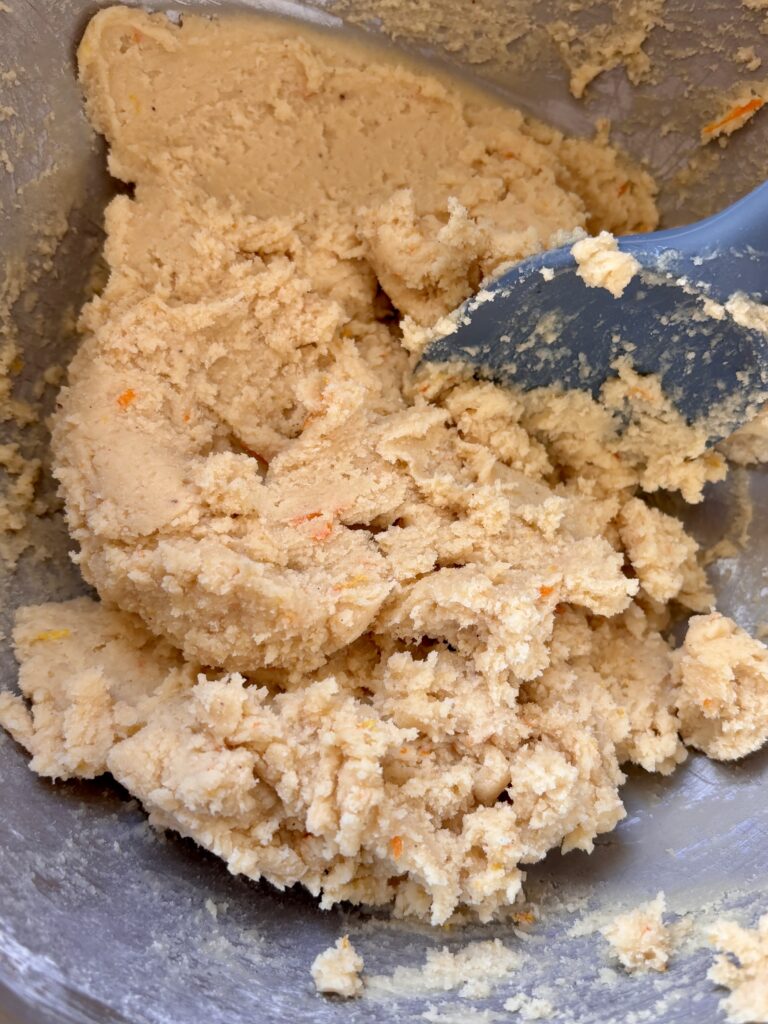
- Add flour, cornstarch, orange zest, salt, and cinnamon. Mix just until dough forms.
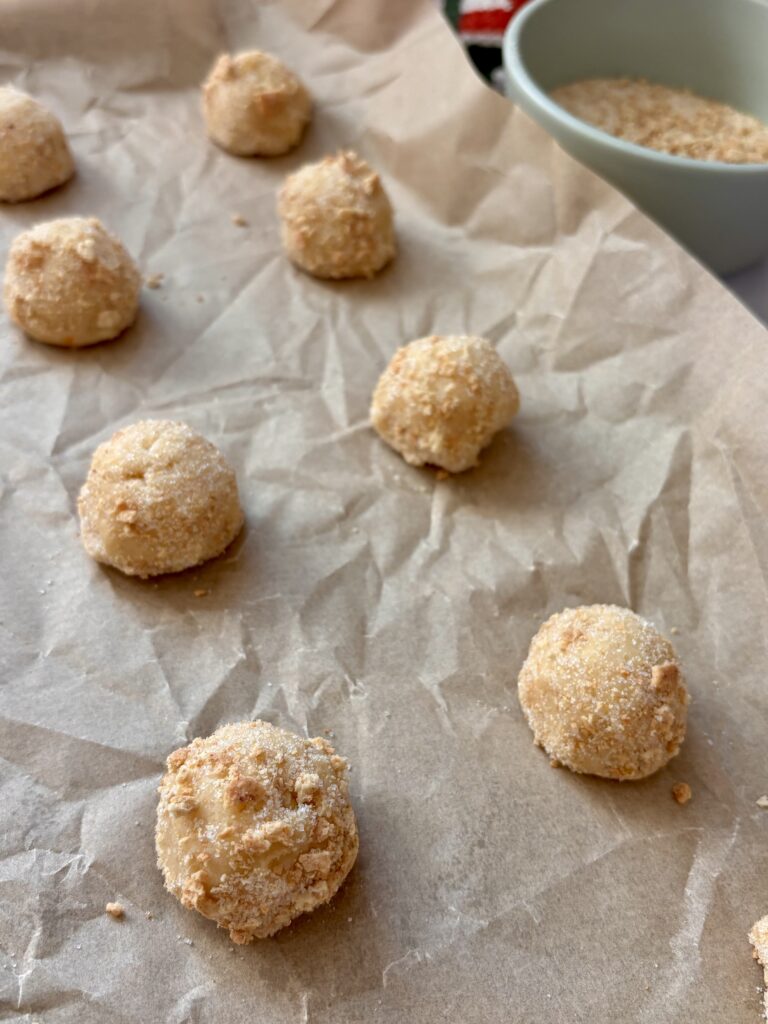
- Scoop 1 tablespoon portions and roll into balls.
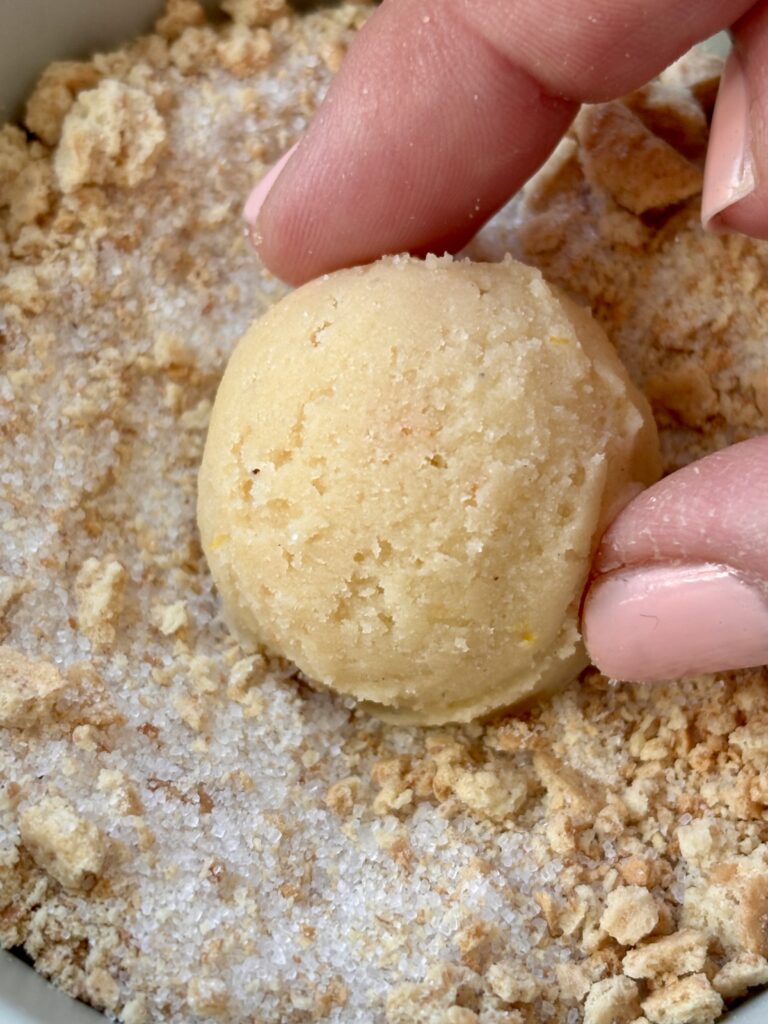
- Roll each ball in the sugar and graham cracker mixture.
- Place on baking sheet and refrigerate for 30 minutes.
- Press a thumbprint into the center of each cookie to create cracks.
- Fill each well with warmed strawberry jam.
- Bake 12–15 minutes until edges are set and bottoms are lightly golden.
- Cool on the baking sheet for 5 minutes, then transfer to a wire rack.
Strawberry Thumbprint Cookies | Thumbprint Cookie Recipe | Jam Thumbprint Cookies | Holiday Thumbprint Cookies | Graham Cracker Coated Cookies | Cookie Tray Recipes | Christmas Cookies | Holiday Cookie Recipe | Holiday Dessert Recipe | Cookie Recipe | Fruity Cookie Recipe | Citrus Strawberry Thumbprint Cookies | Strawberry Jam Cookies | Classic Thumbprint Cookies | Easy Cookie Recipe | Nostalgic Cookies | Nostalgic Cookie Recipe
Nutritional Content Disclaimer
I choose not to include nutritional information with my recipes, as these values can be calculated from the ingredients provided. With my background as a pediatric nurse practitioner and my own family experience with disordered eating, I understand how focusing on numbers can affect our relationship with food. My philosophy is that all foods have a place—sweet, savory, nourishing, or indulgent. I aim to share recipes that support a healthy, joyful approach to eating. My hope is that this space also encourages a balanced, healthy relationship with food for you and your family too.