
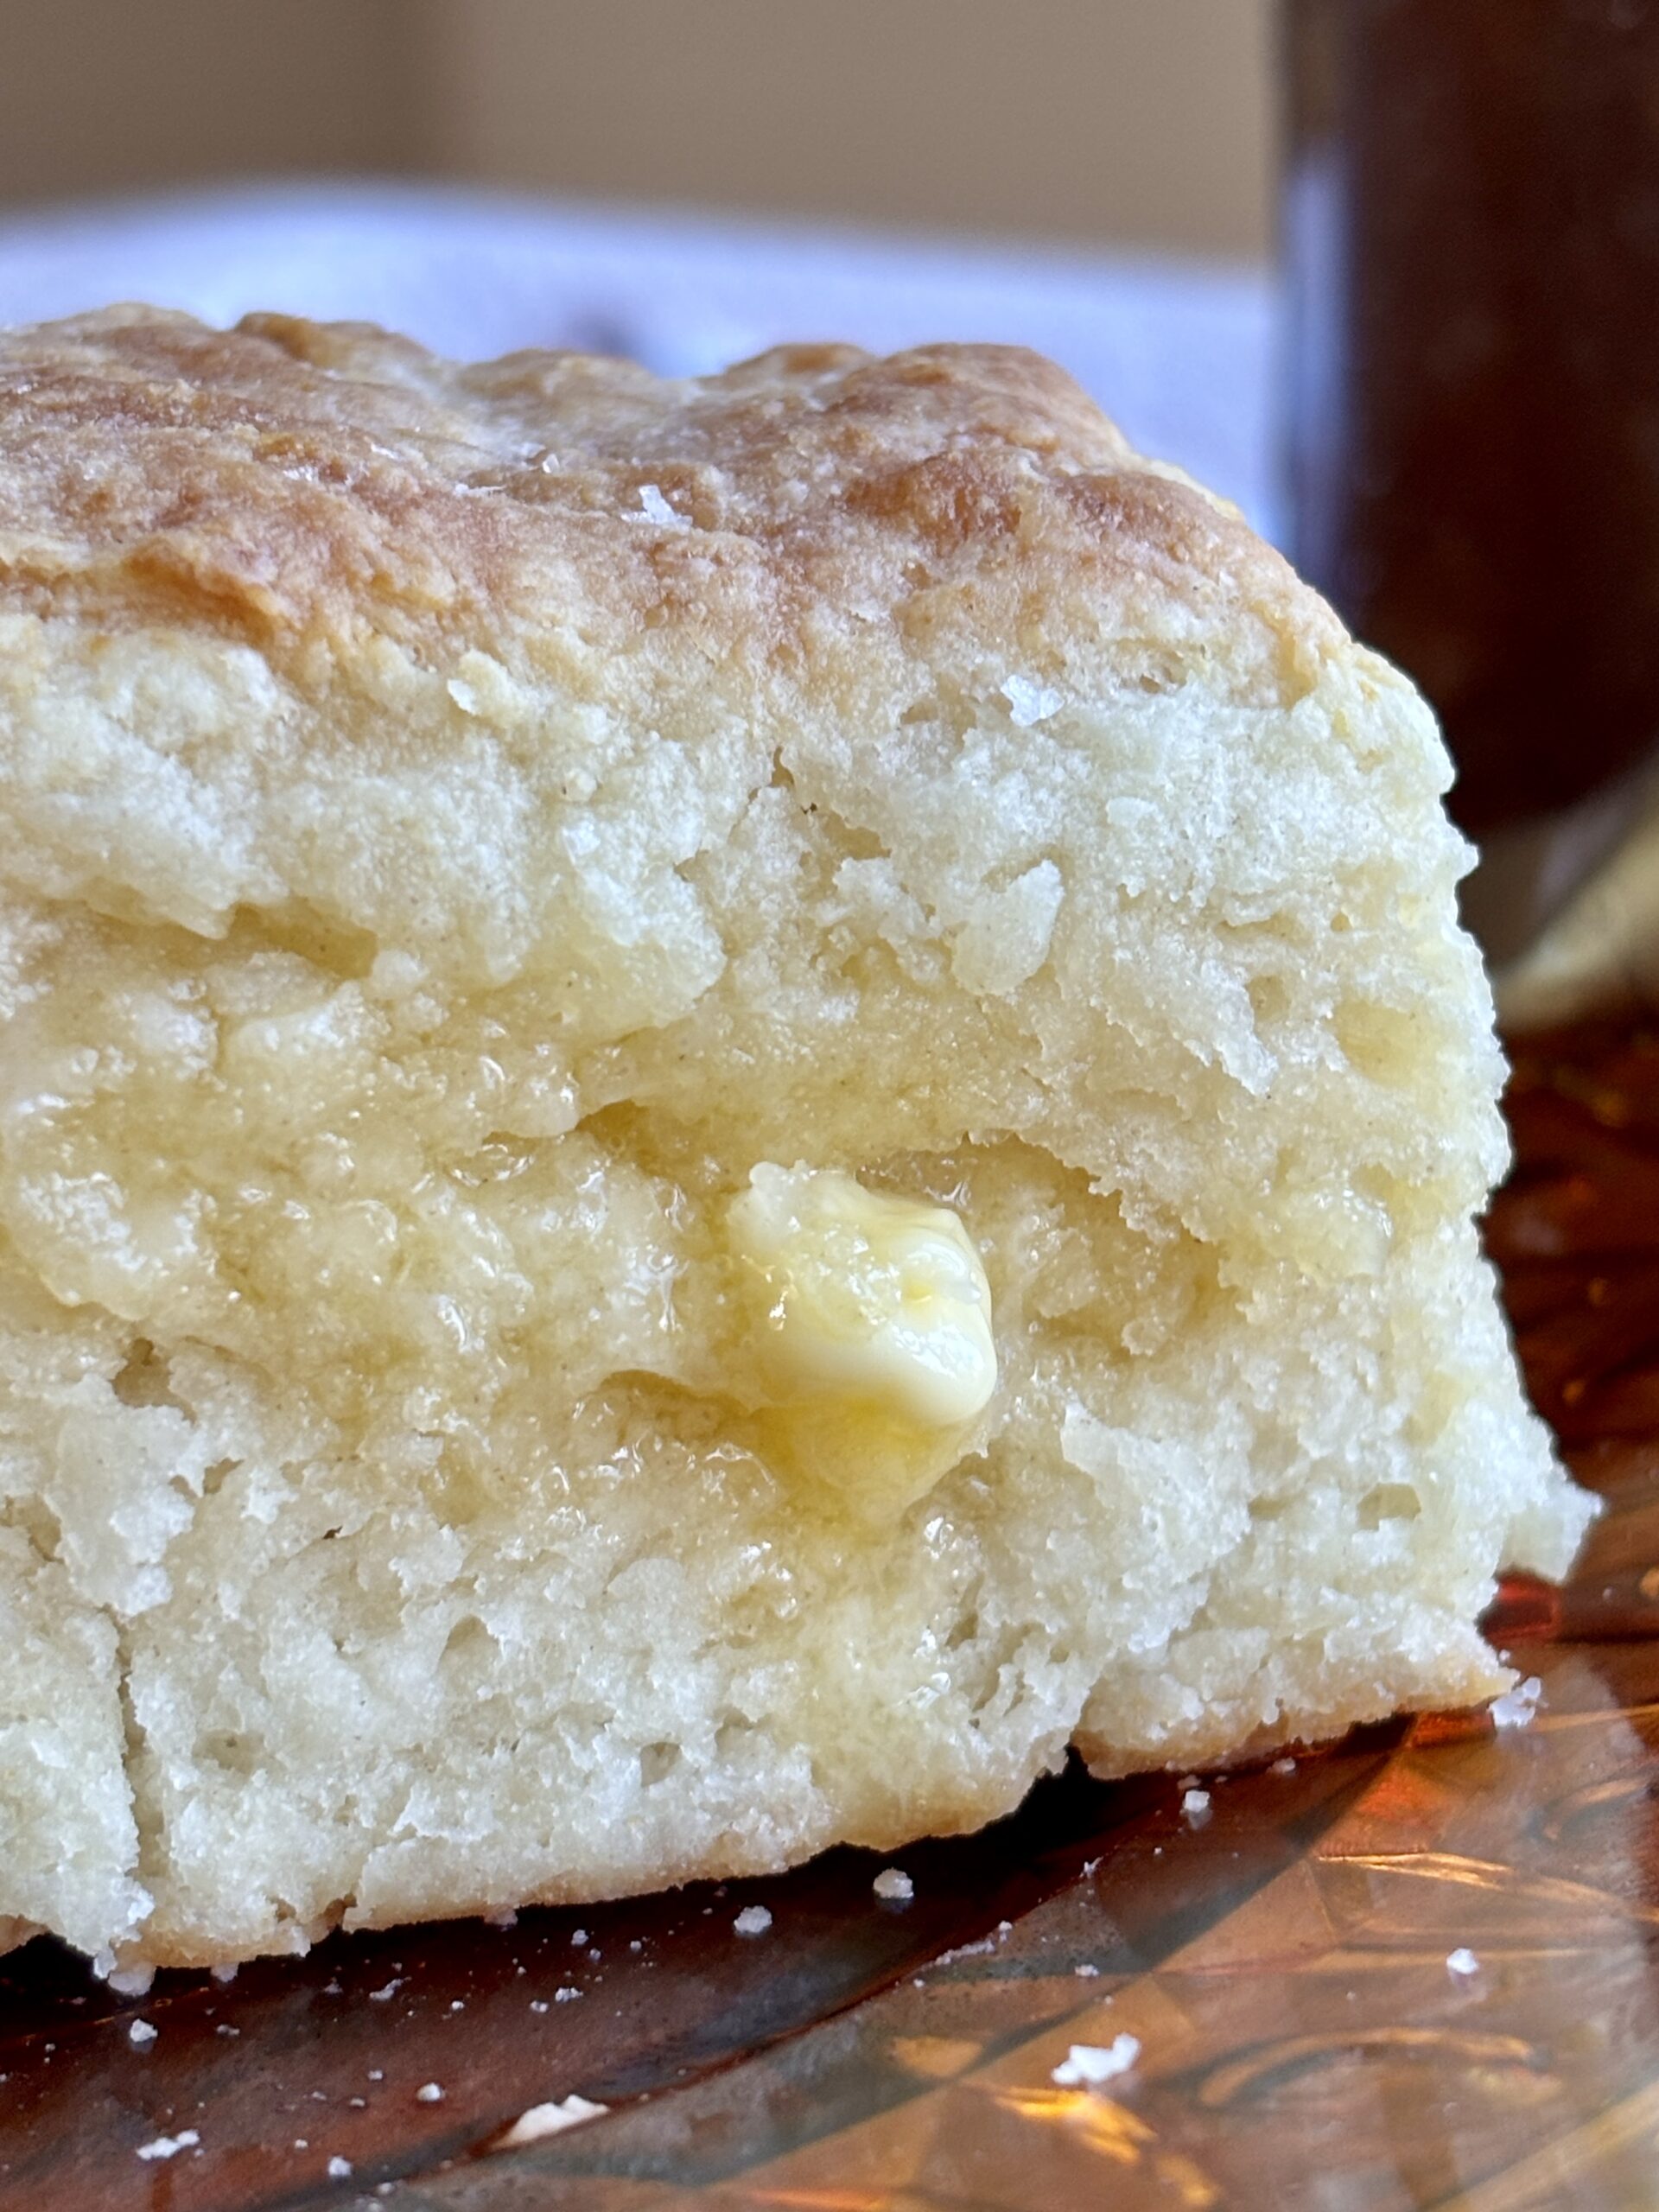
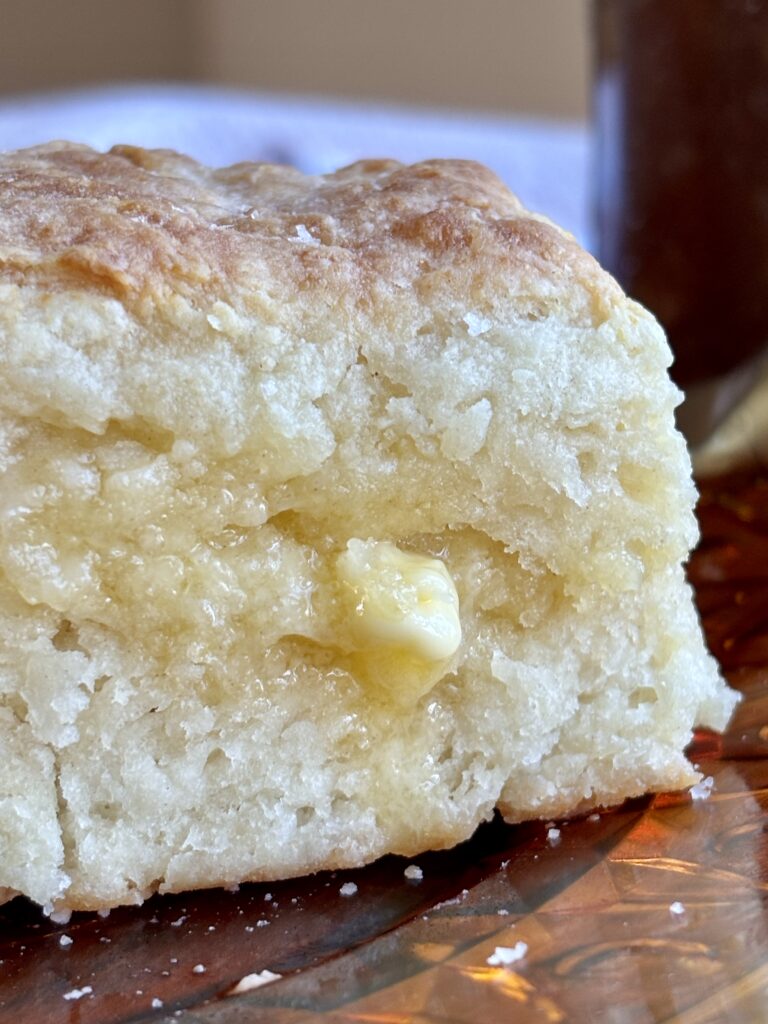
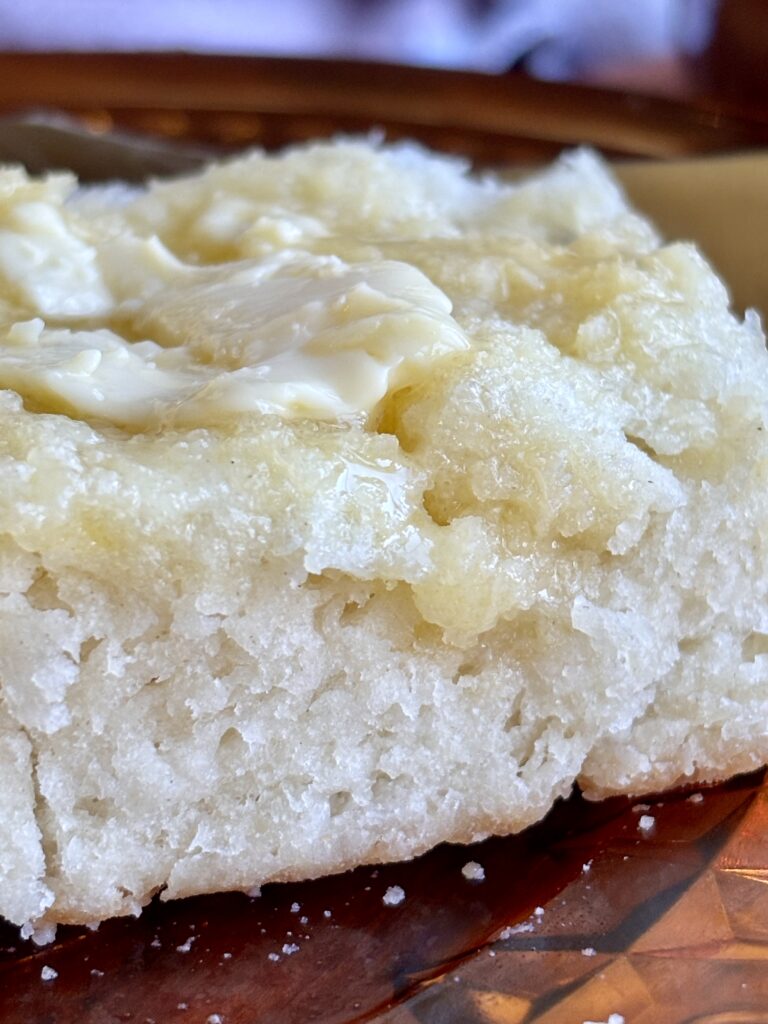
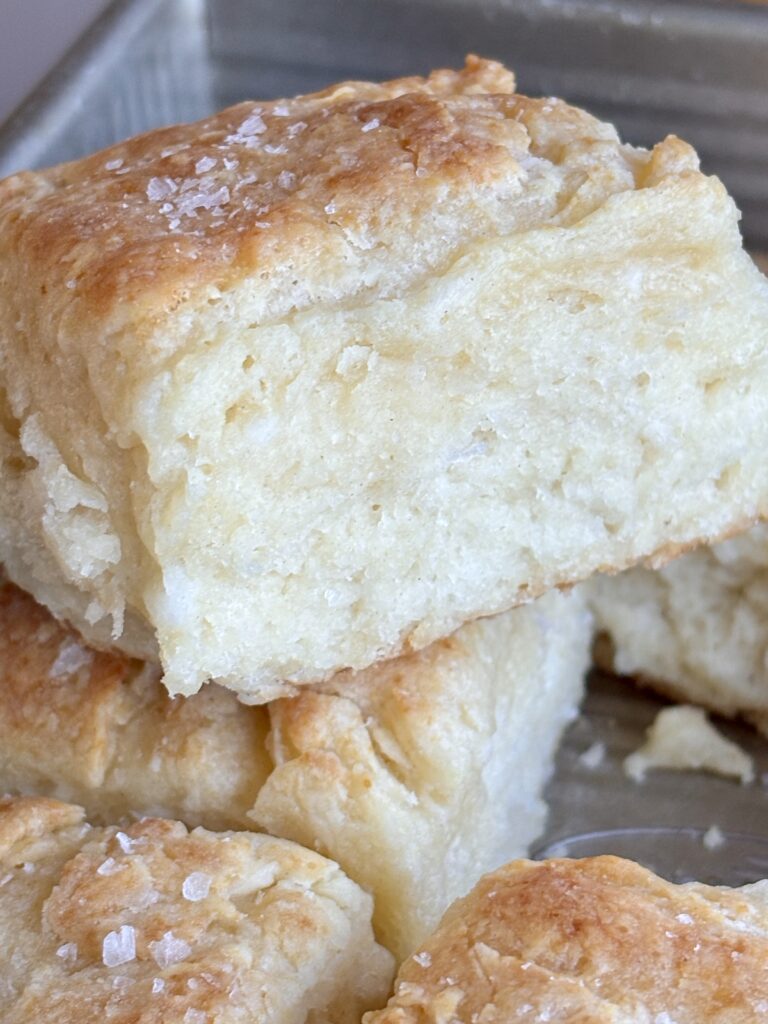
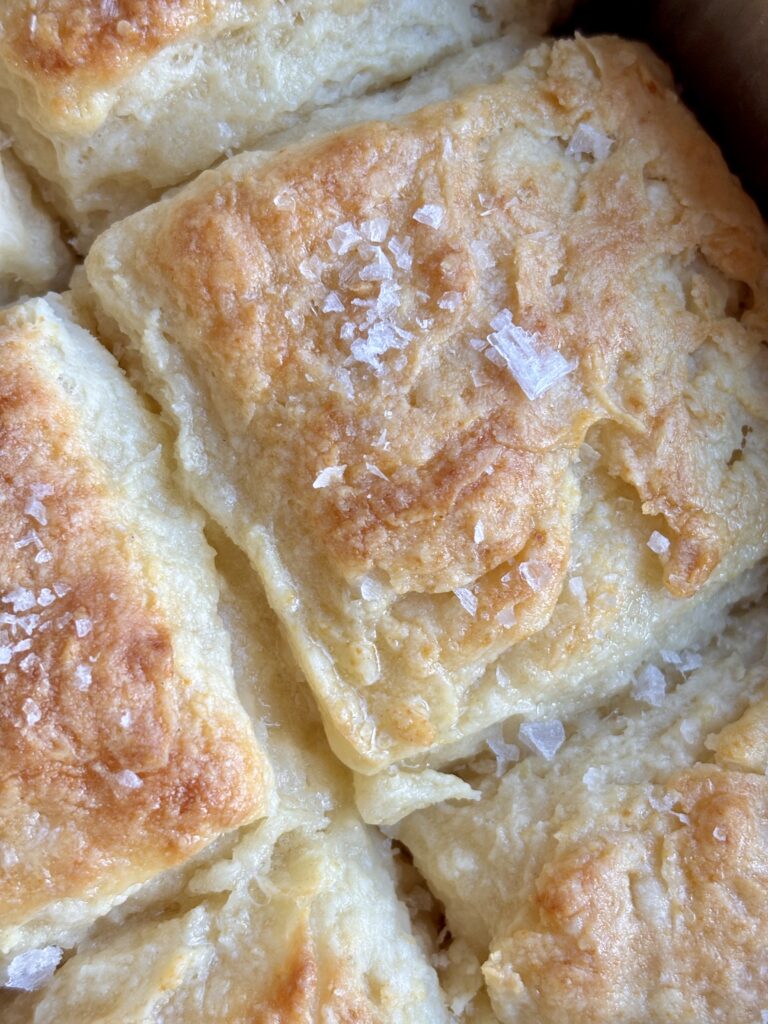
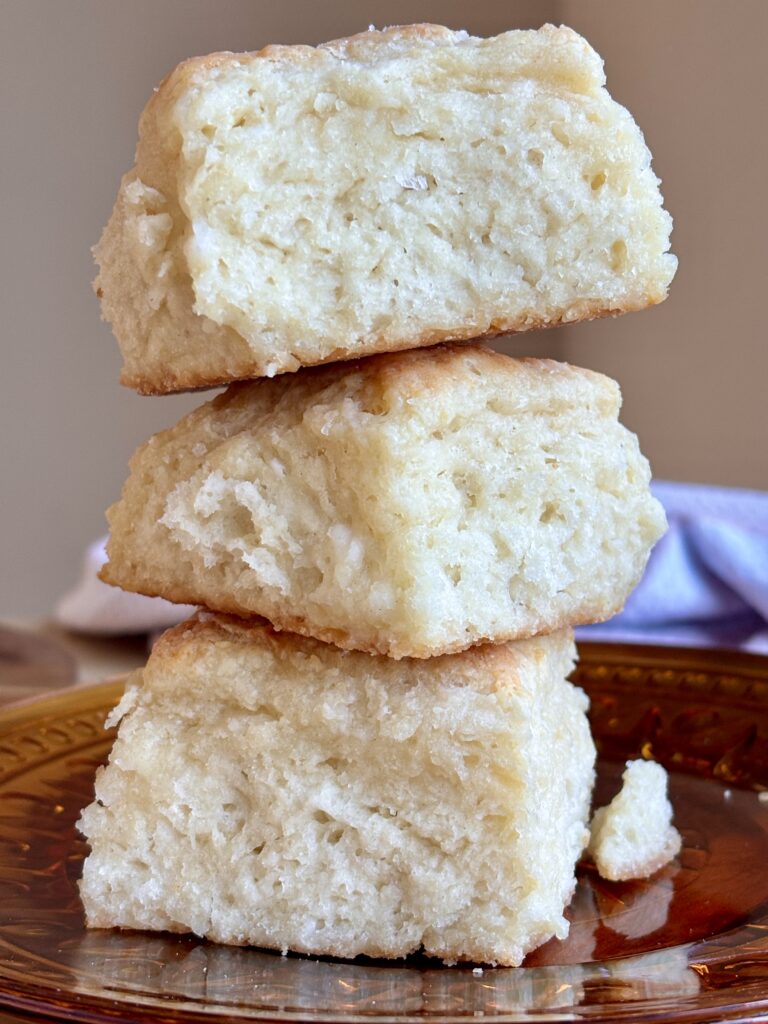
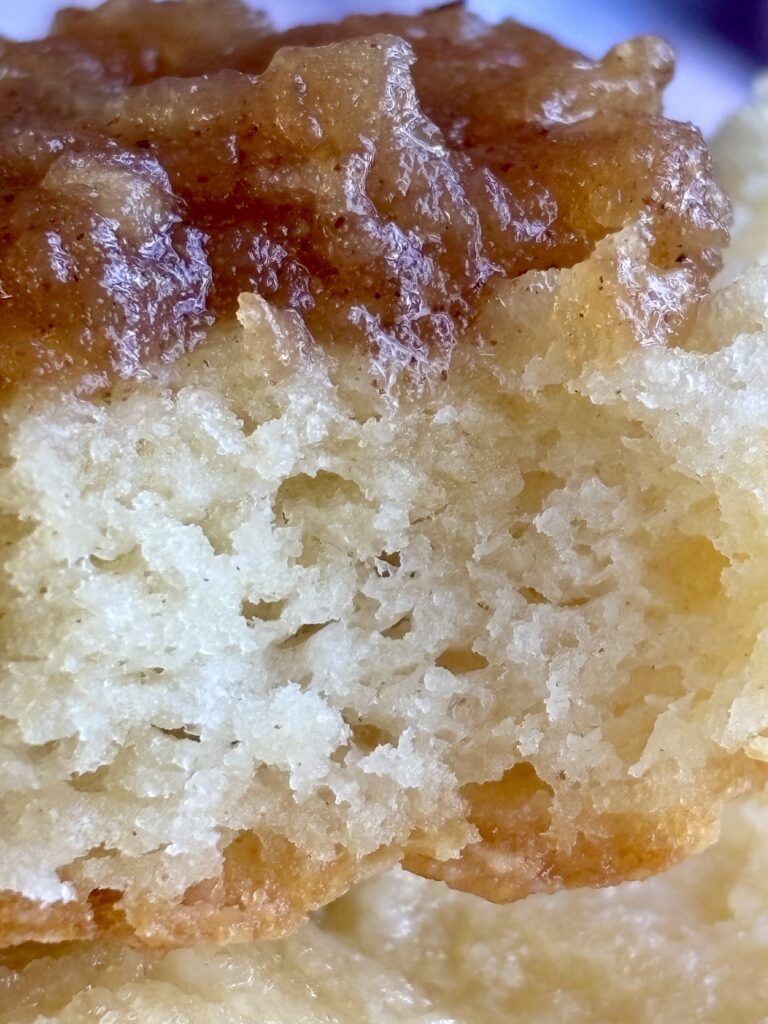
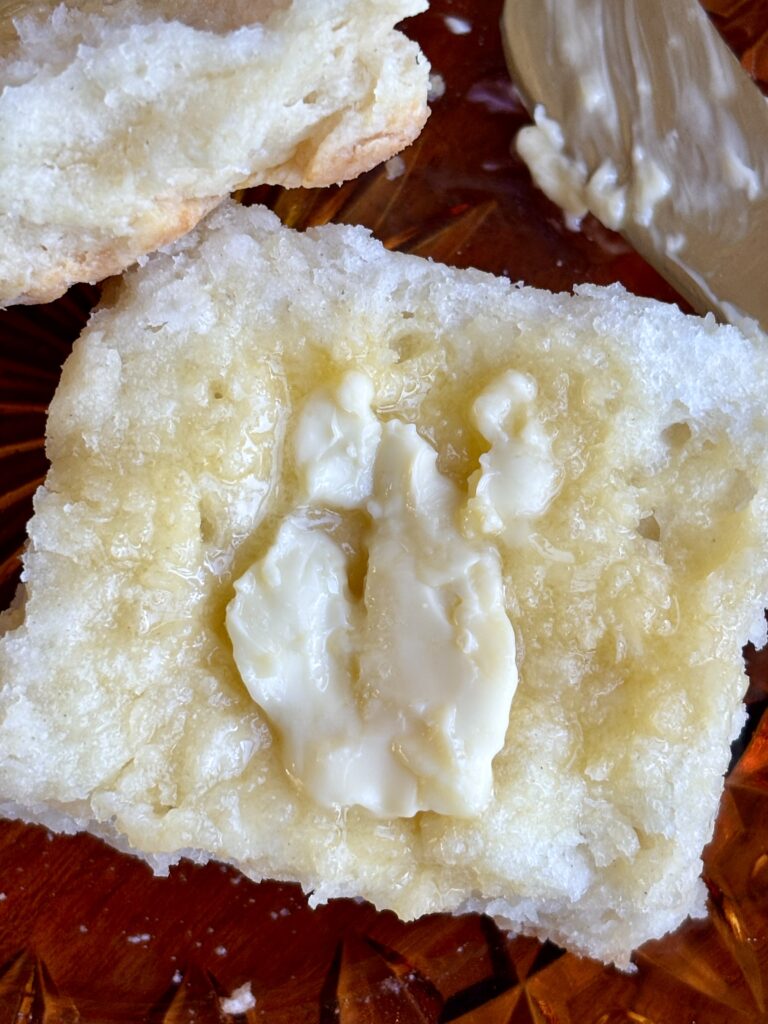
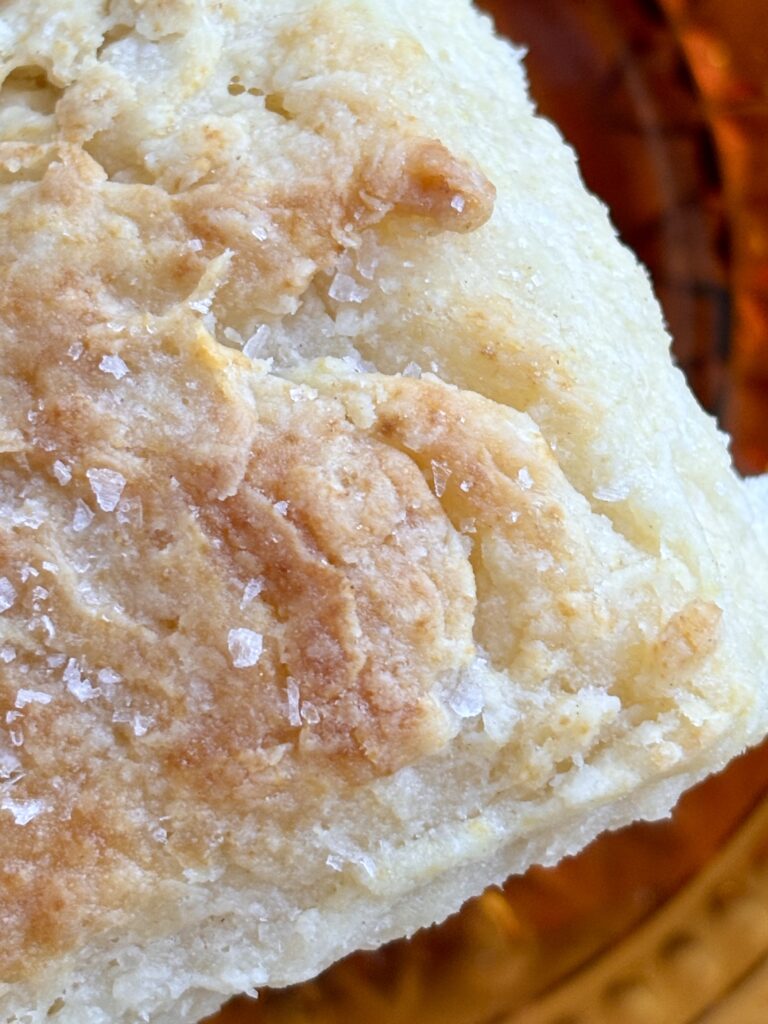
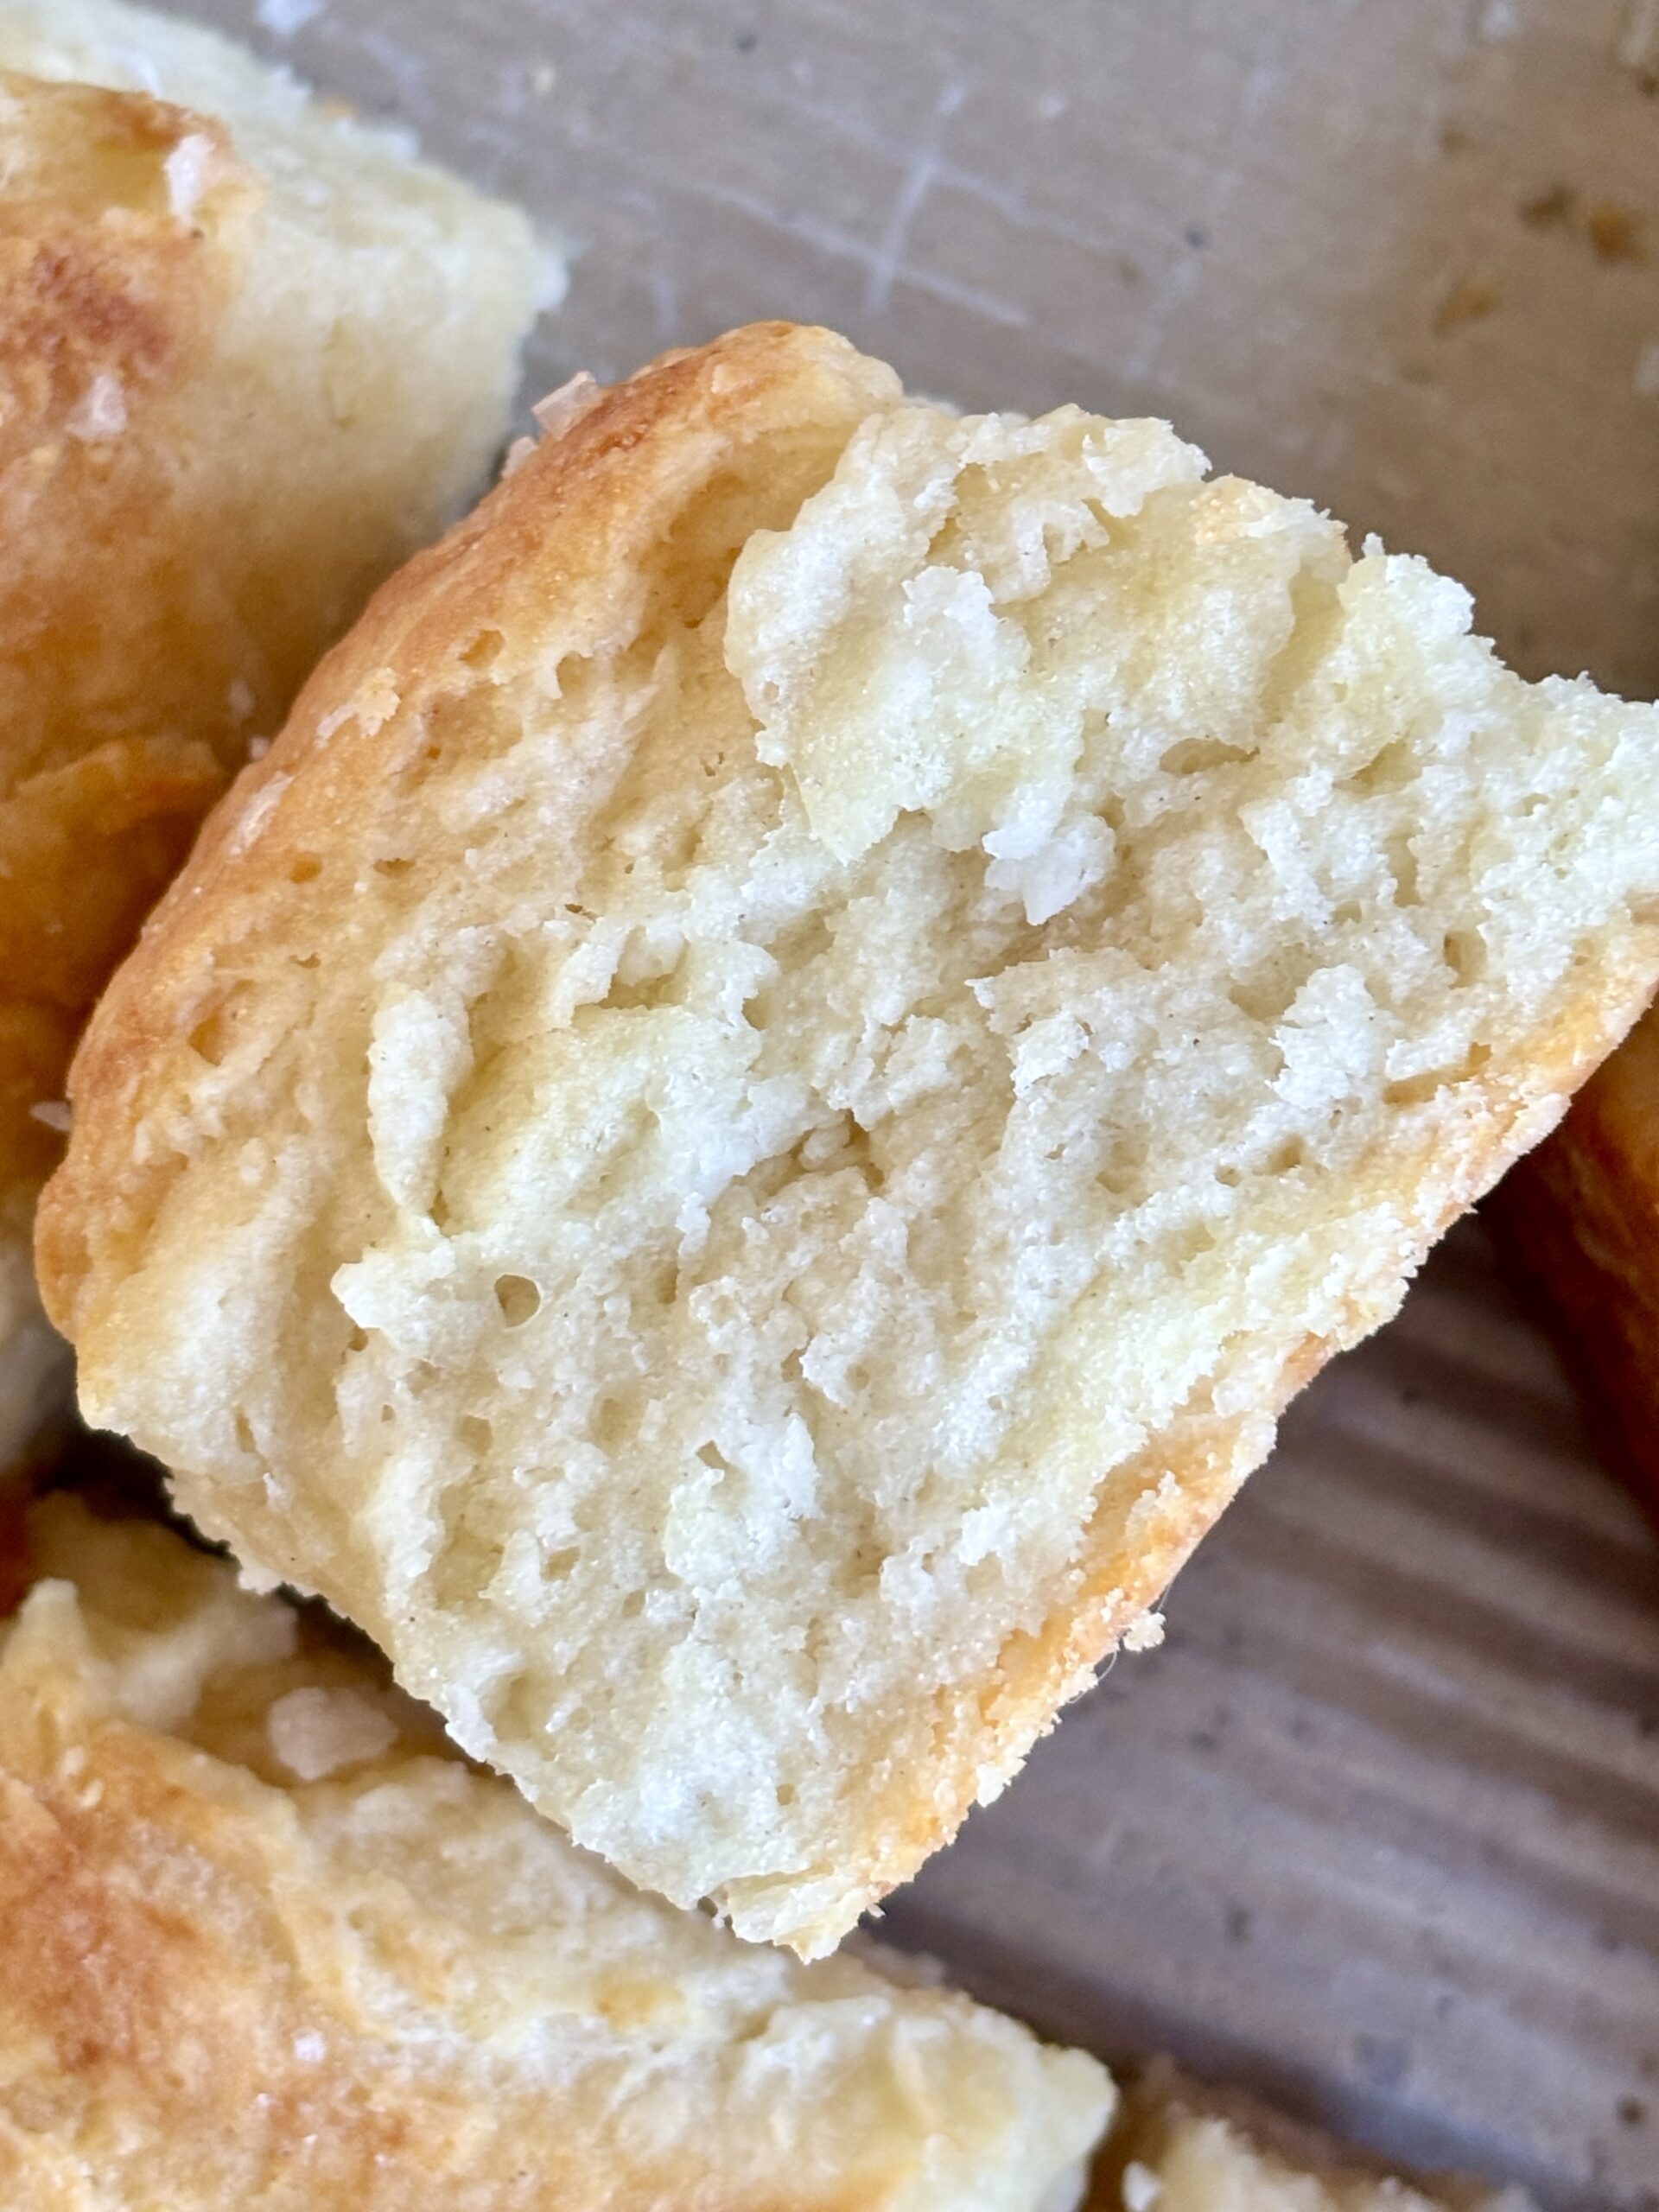
There is something about a warm, homemade buttermilk biscuit fresh from the oven that is almost impossible to resist. Especially when it’s buttery, incredibly soft and fluffy on the inside, with lightly crisp, golden edges and a little flaky sea salt on top.
These easy Homemade Buttermilk Biscuits are everything I love about a good biscuit, yet without any of the complicated steps. The secret is frozen grated butter, which makes the dough incredibly easy to work with while creating those tender, buttery layers throughout.
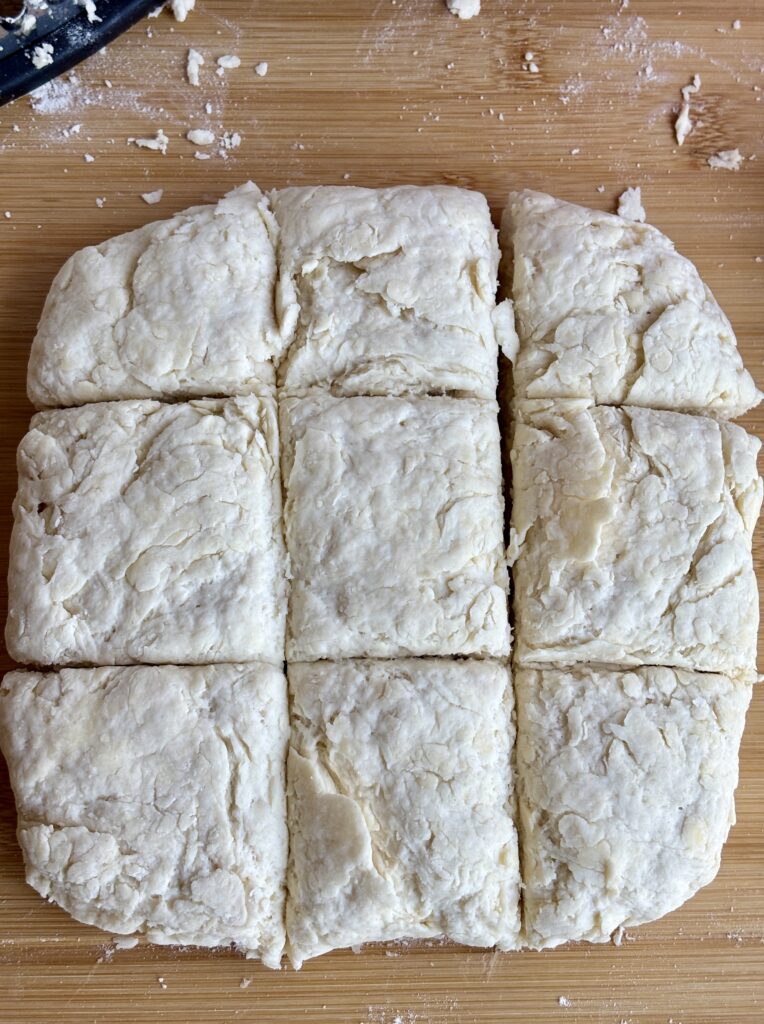
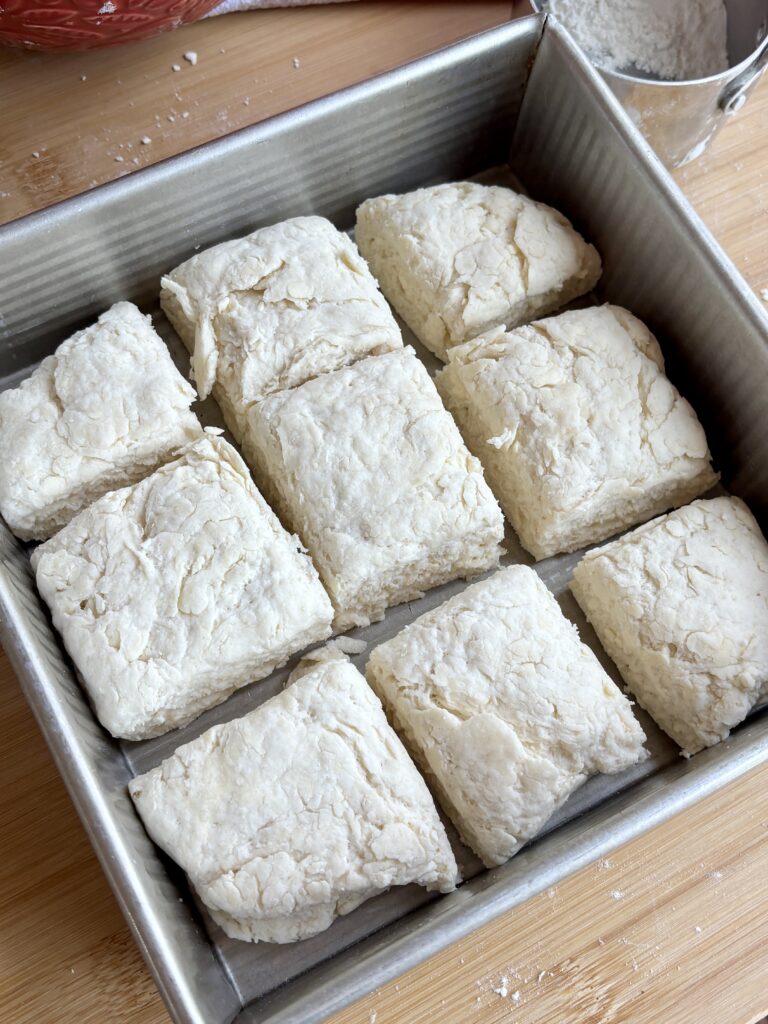
The best part of this recipe though is that you don’t need a biscuit cutter, rolling pin, or any fancy equipment. Just mix the dough, gently shape it into a square, cut it into nine biscuits, and bake until they are beautifully golden.
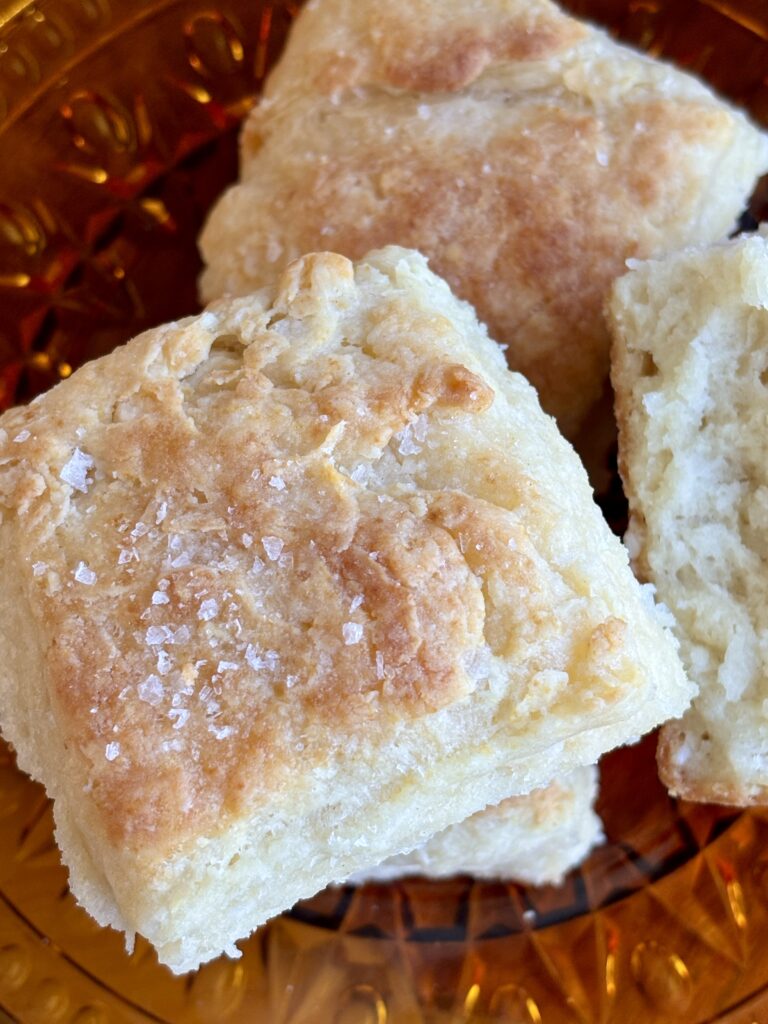
Brush them with melted butter while they’re still warm, finish with flaky sea salt, and try not to eat one straight out of the pan. They’re perfect for breakfast with butter and jam, alongside a cozy dinner, or just about any time you’re craving a really good homemade biscuit.
Try them with one of my homemade jams: Maple Bacon Jam, Homemade Cherry Jam, Sweet Berry Jam, Homemade Strawberry Jam, Homemade Apple Pie Jam, Spiced Pear Jam
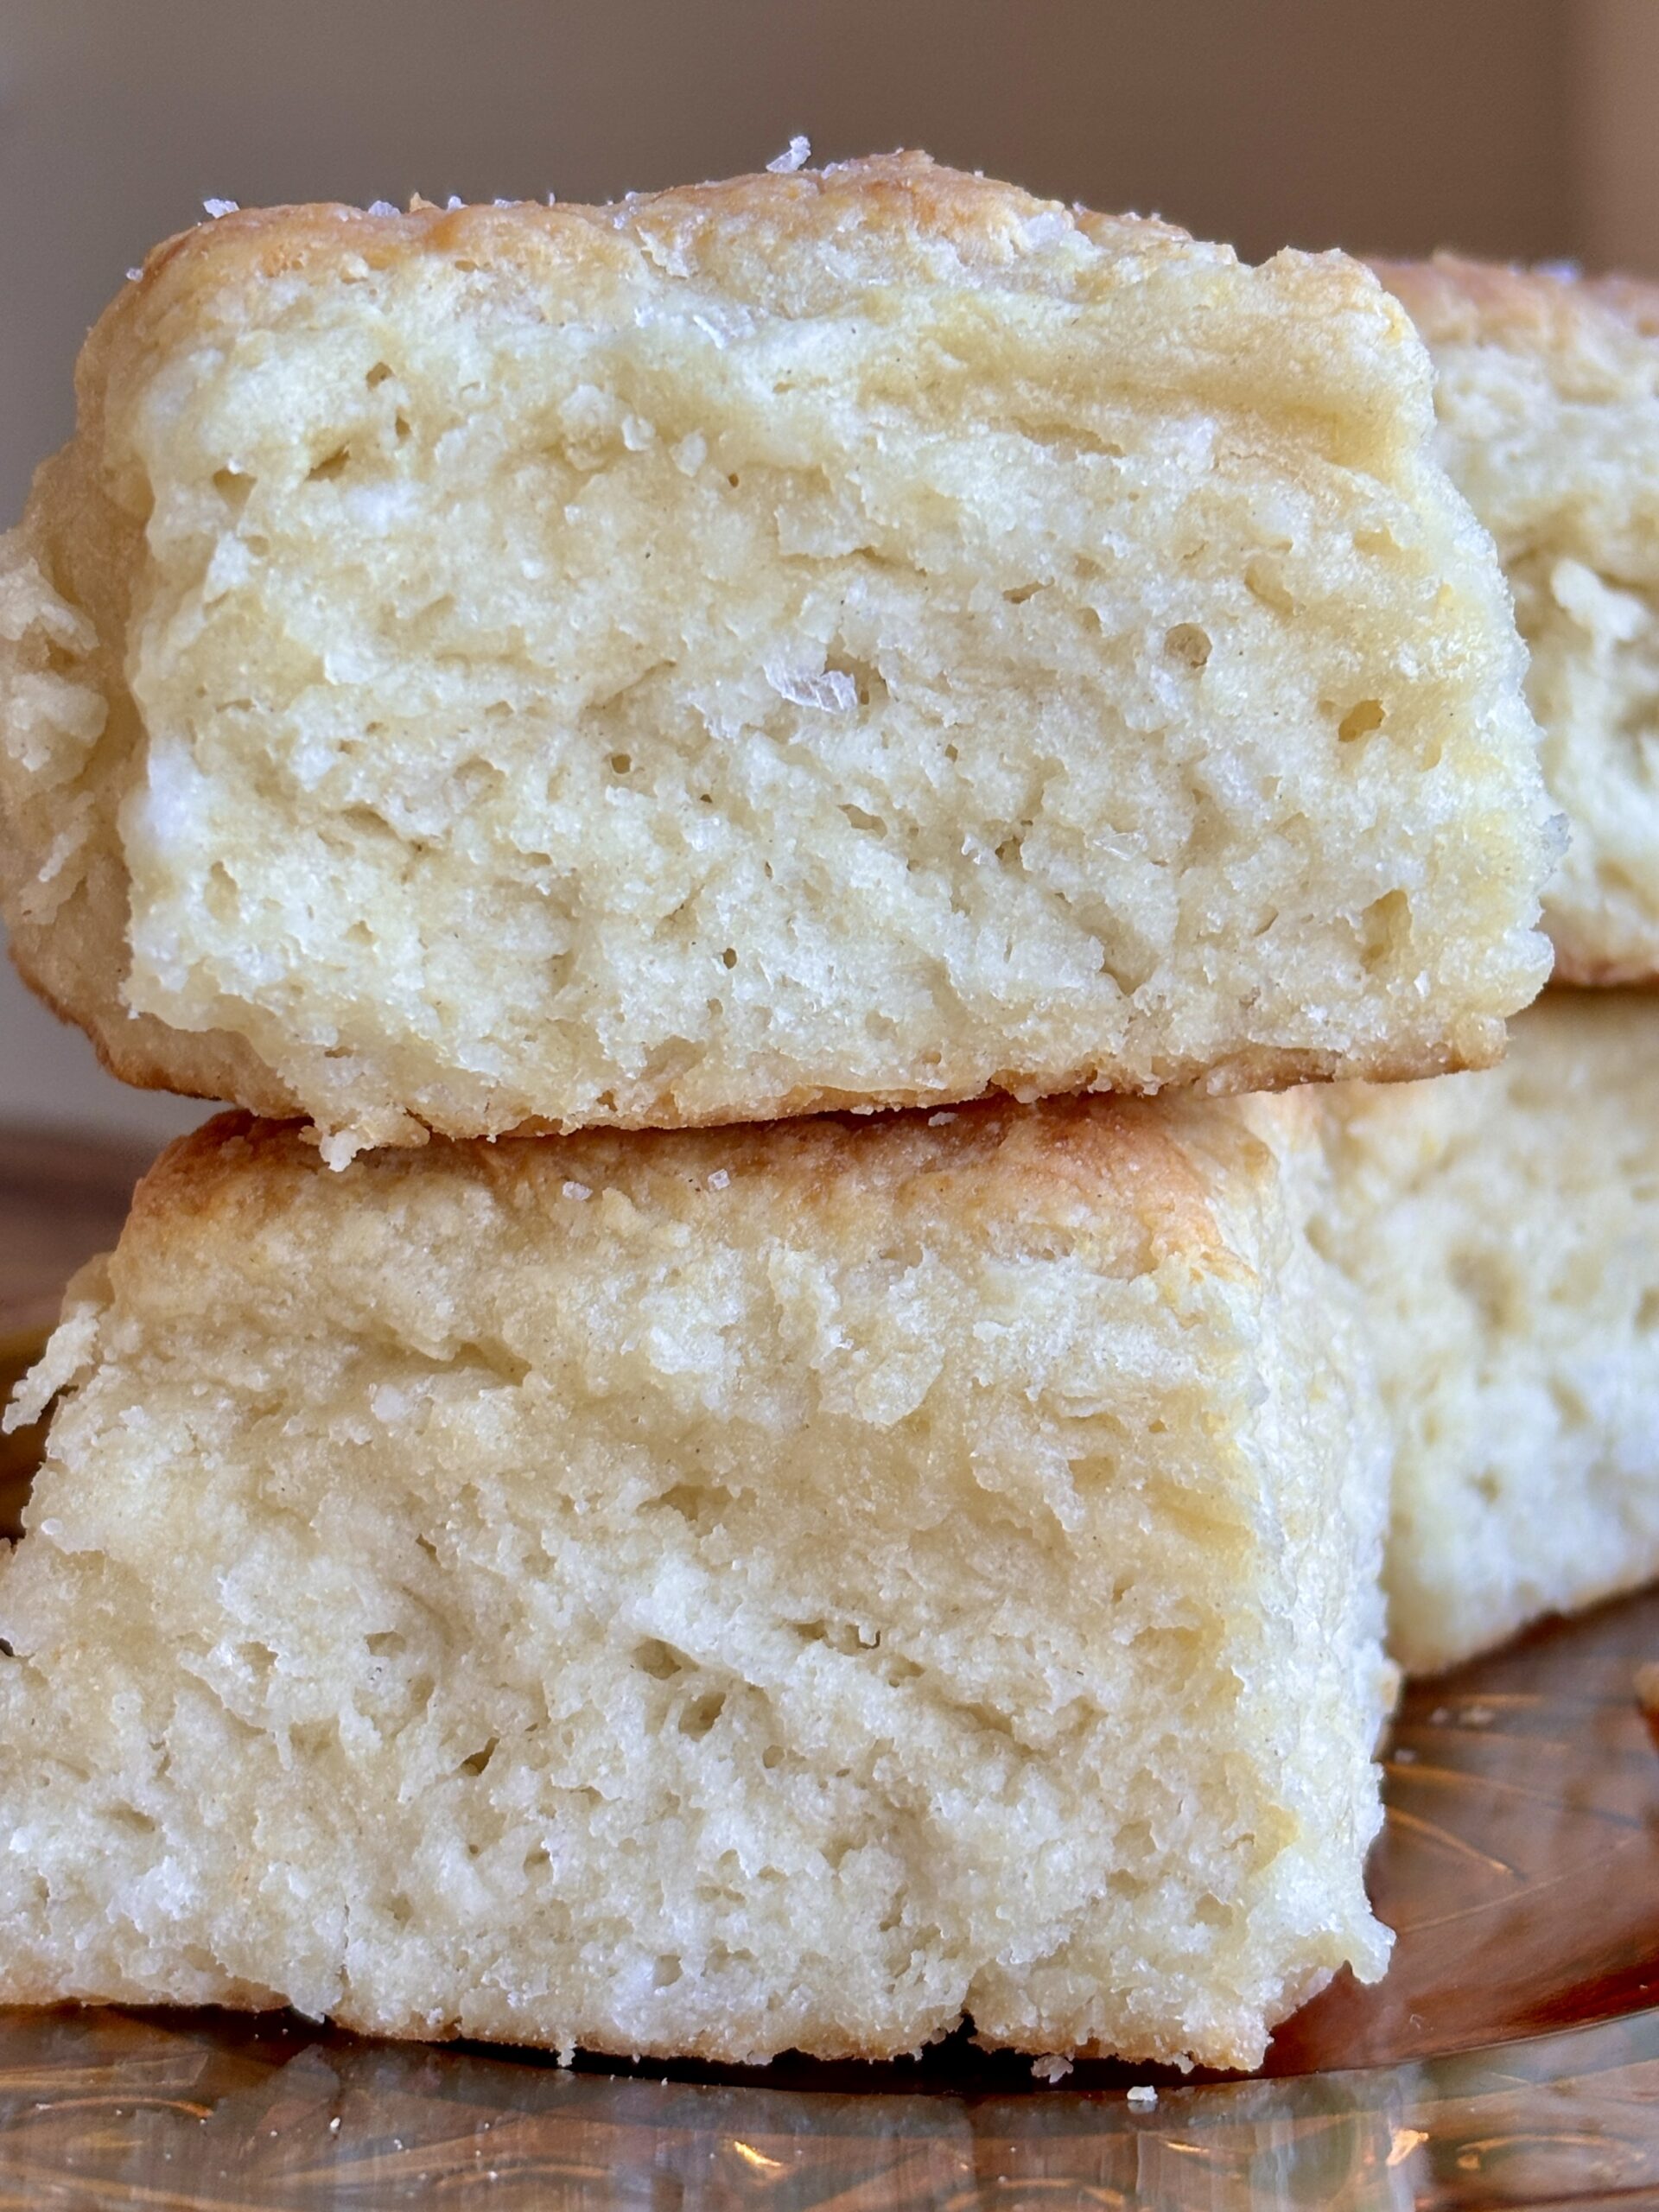
Why you’ll love this recipe!
What Makes Buttermilk Biscuits So Tender and Fluffy?
The secret to a really good homemade biscuit comes down to a few simple things:
- cold butter,
- buttermilk,
- the right amount of leavening,
- and not over mixing the dough.
Unlike bread dough, biscuit dough doesn’t need kneading. In fact, the less you handle it, the better.
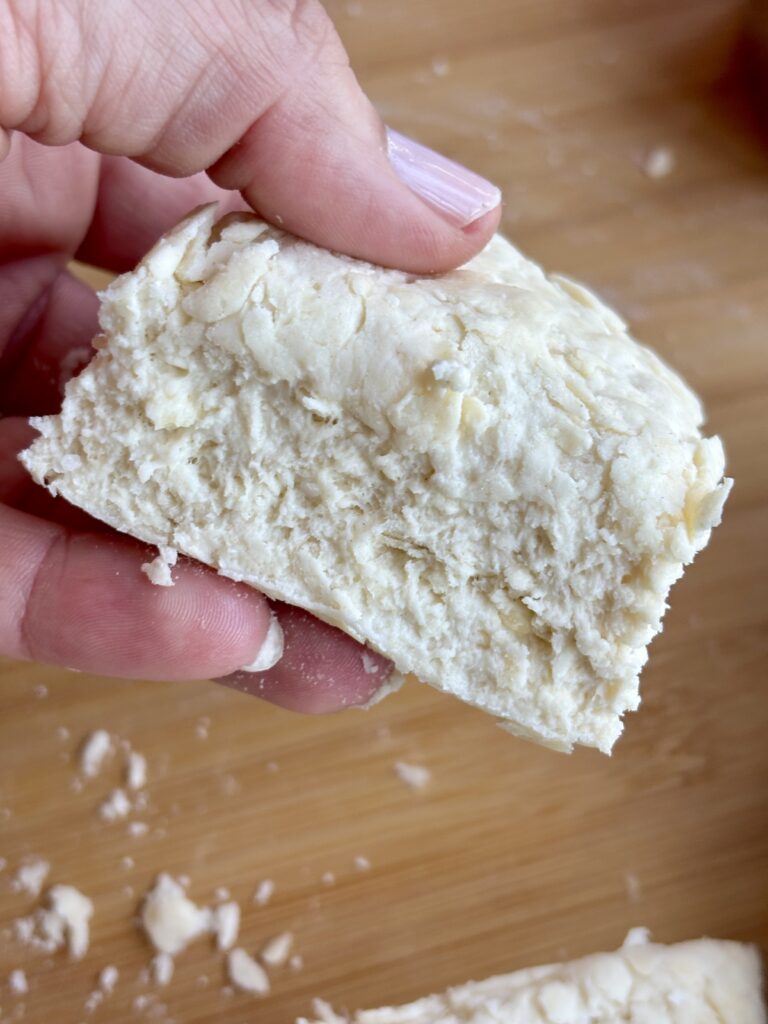
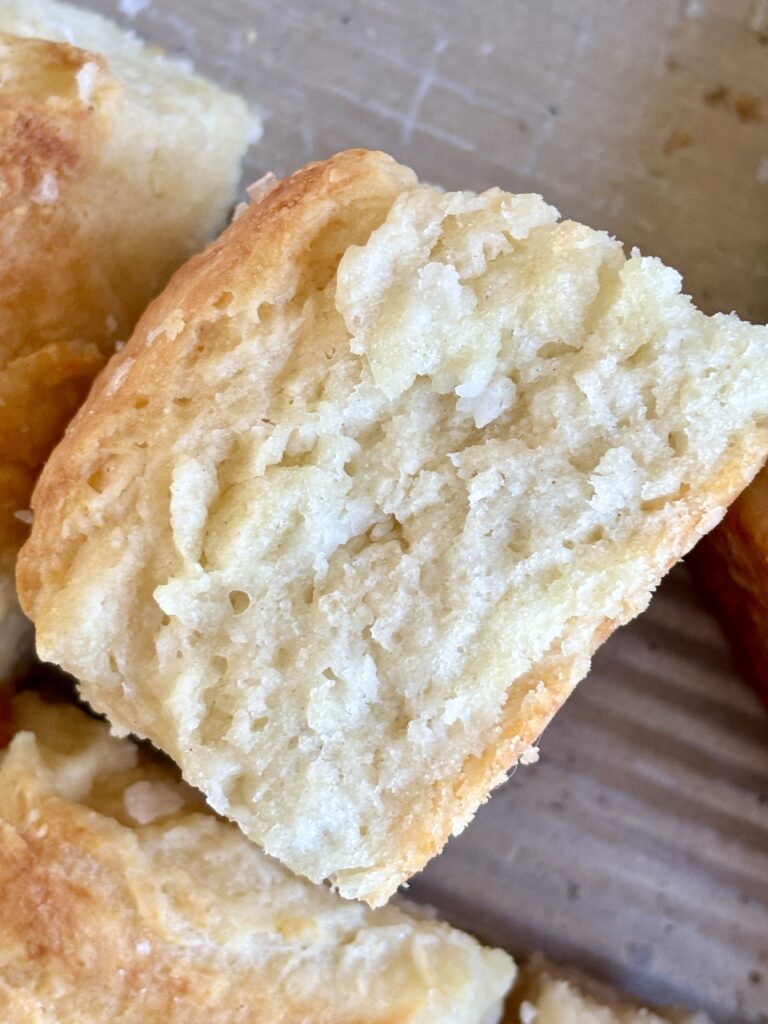
When the cold butter melts in the oven, it releases steam and creates little pockets throughout the dough. This helps give the biscuits their tender, slightly flaky texture.
Buttermilk adds moisture, richness, and a subtle tang while helping create a soft crumb as well. While the baking powder provides the main lift, and a hot oven helps the biscuits rise quickly before the butter has a chance to melt completely.
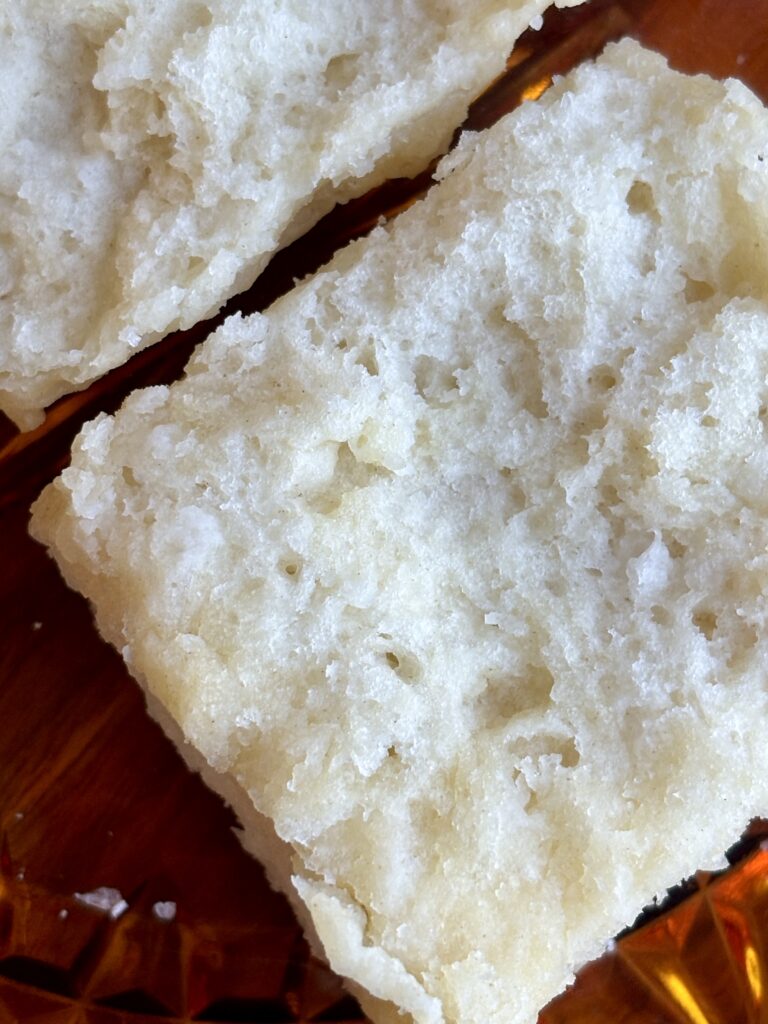
The result is a homemade biscuit that’s beautifully golden on the outside and soft, buttery, and fluffy on the inside.
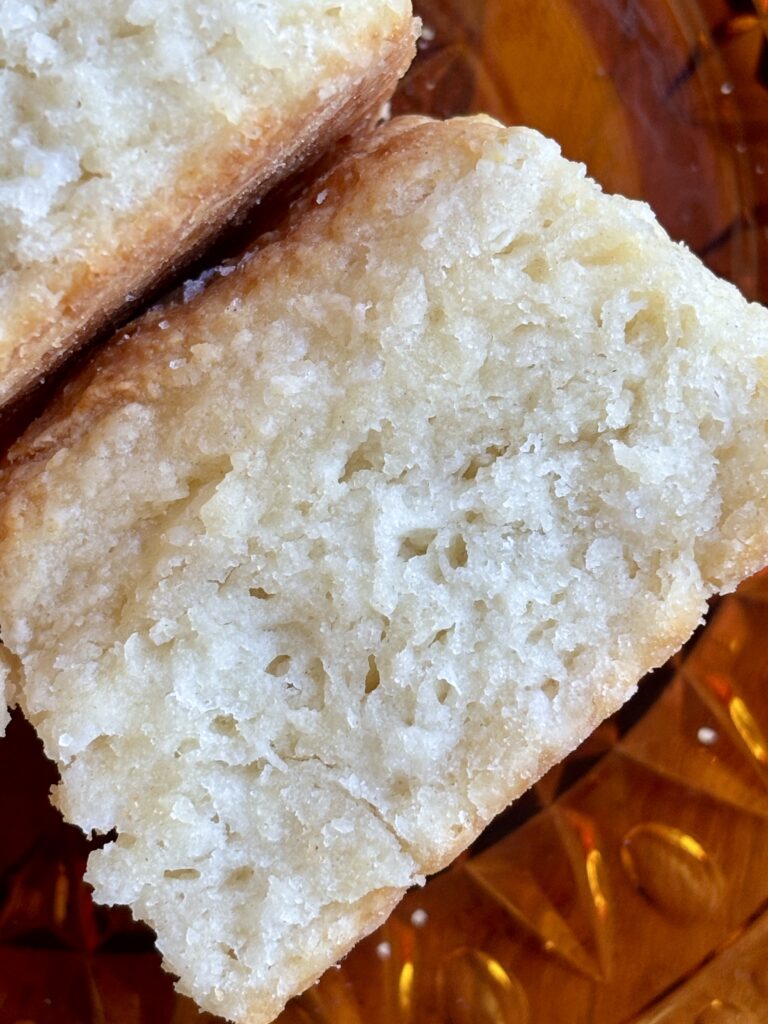
What ingredients do I need?
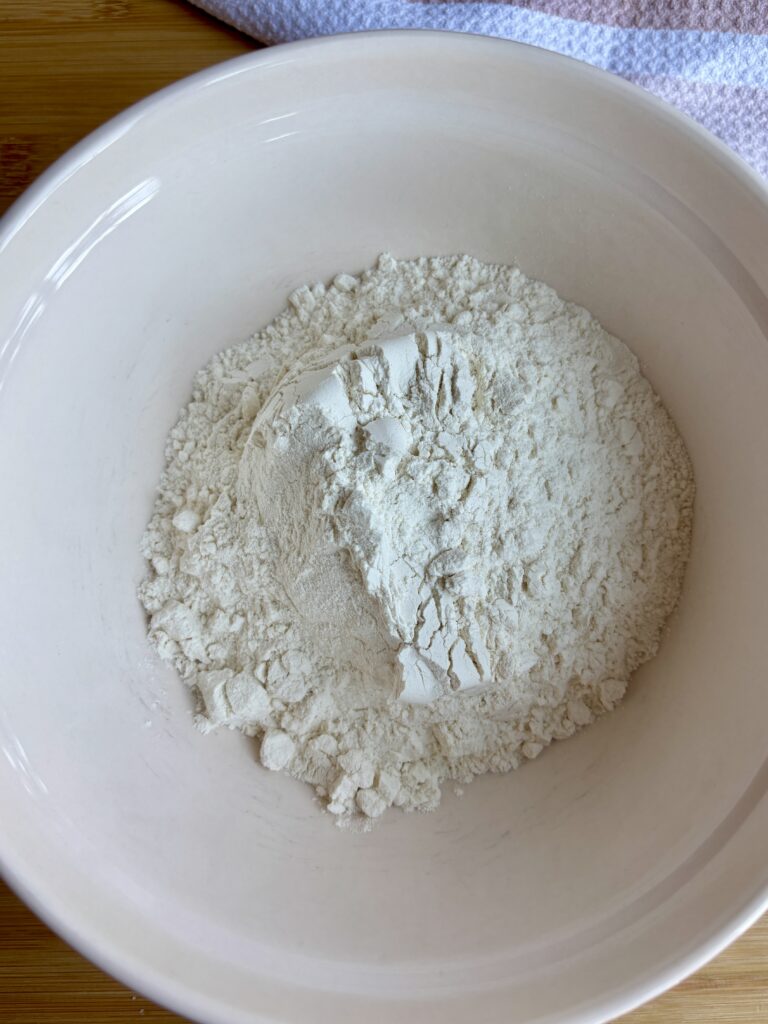
- All-Purpose Flour: All-purpose flour provides the structure for these homemade buttermilk biscuits without making them overly dense. It creates a nice balance between a tender interior and enough structure to hold their shape.
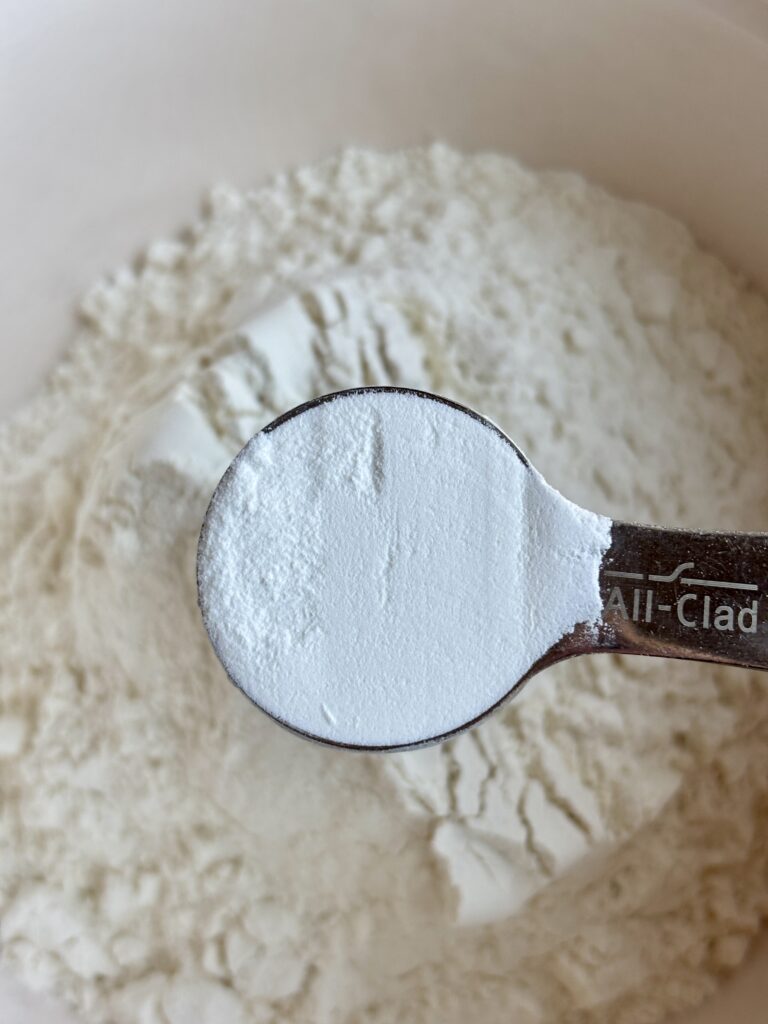
- Baking Powder: Baking powder is responsible for helping the biscuits rise tall and fluffy. Because these biscuits don’t use yeast, fresh baking powder is especially important.
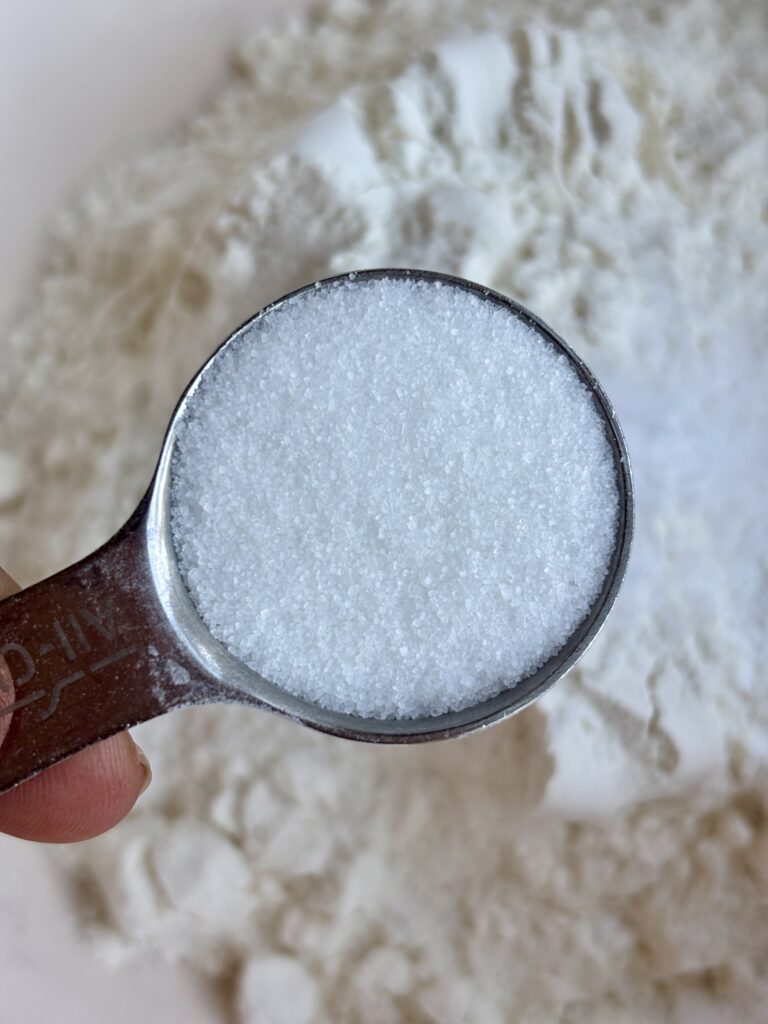
- Granulated Sugar: Just one tablespoon of granulated sugar adds a subtle sweetness that balances the tangy buttermilk and buttery flavor.
- Kosher Salt: Salt brings out the flavor of the butter and balances the other ingredients.
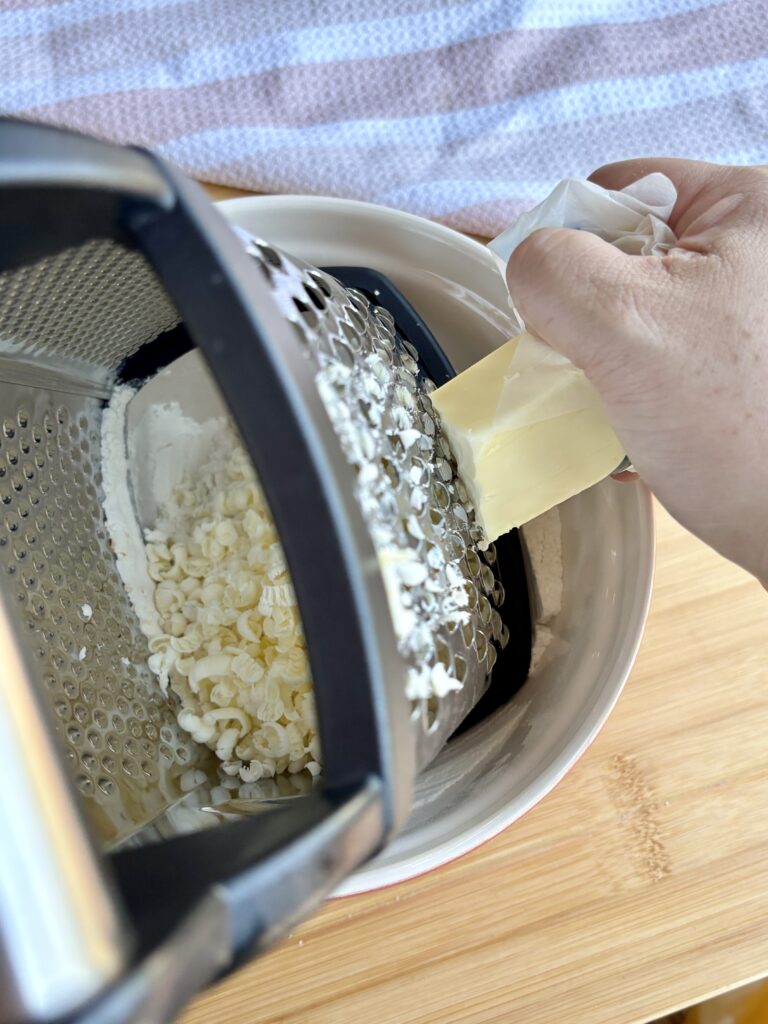
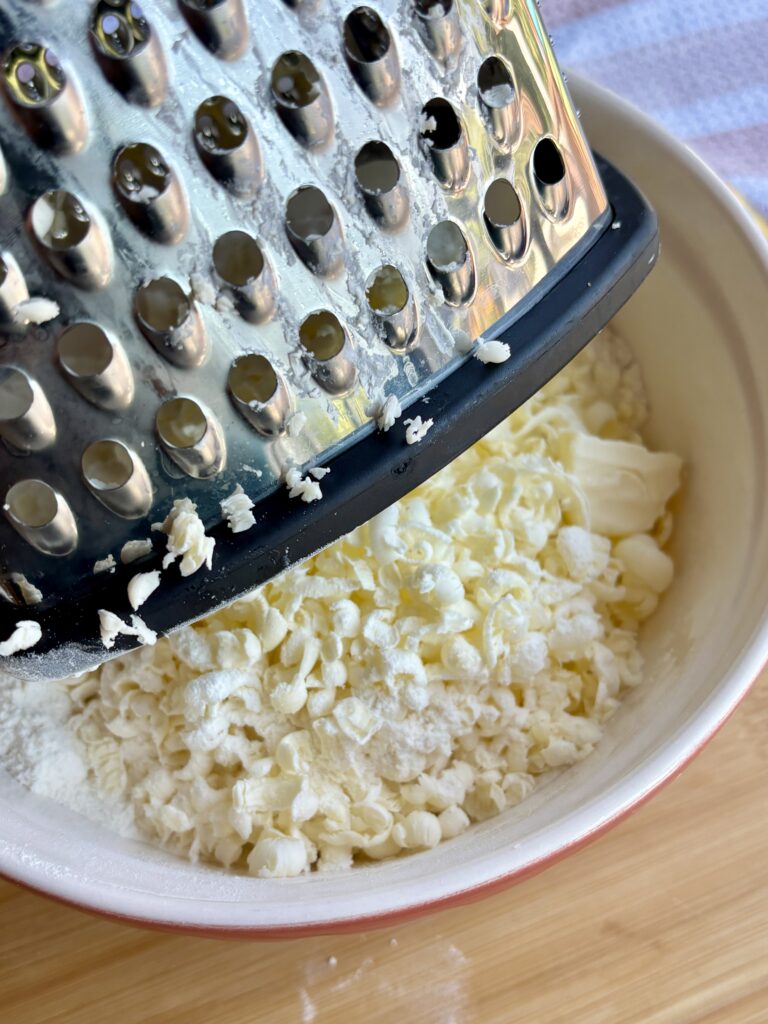
- Frozen Unsalted Butter: Frozen butter is one of my favorite tricks for making easy homemade biscuits. Instead of cutting cold butter into the flour with a pastry cutter, you simply grate it using the large holes of a box grater. The small pieces of butter distribute throughout the flour, creating tender, buttery pockets as the biscuits bake. Keep the butter frozen until you’re ready to use it.
- Buttermilk: Cold buttermilk adds moisture, richness, and a subtle tang that gives homemade biscuits their classic flavor. It also helps create a tender crumb and works especially well with the baking powder to produce soft, fluffy biscuits.
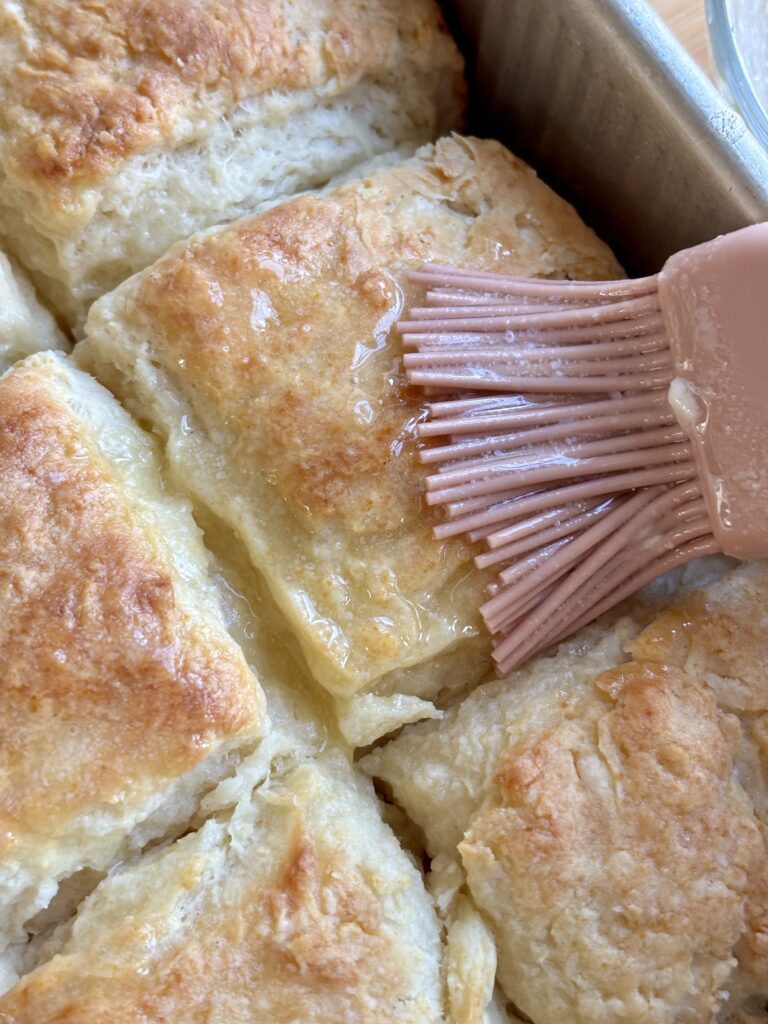
- Melted Butter: A generous brushing of melted butter immediately after baking gives the biscuits an extra-rich, buttery finish and a beautiful sheen.
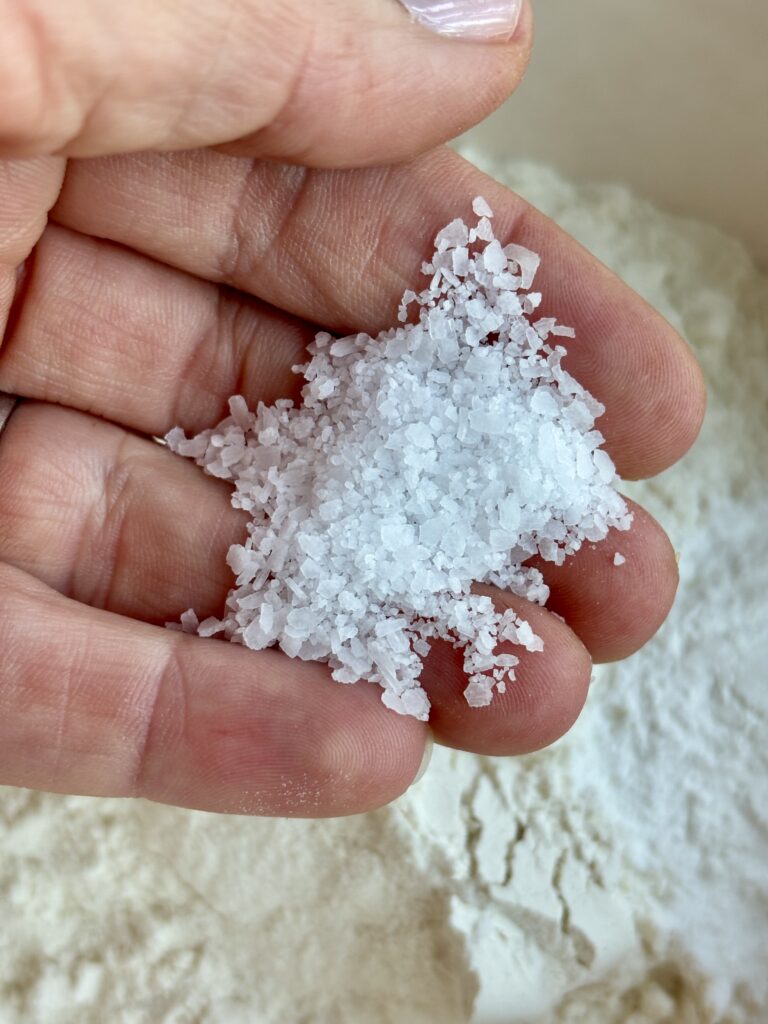
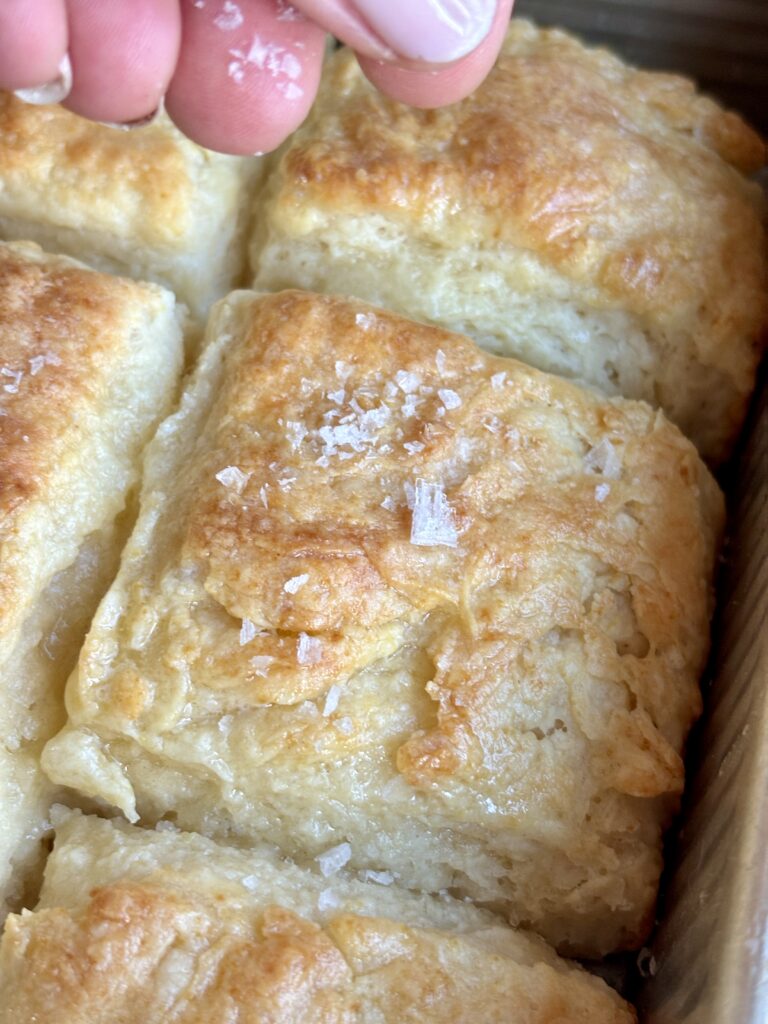
- Flaky Sea Salt: A little flaky sea salt sprinkled over the warm, buttered biscuits adds the perfect finishing touch. It creates a subtle salty crunch that makes the buttery flavor stand out even more.
Recipe Variations
- Cheddar Buttermilk Biscuits: Add 1 cup freshly shredded sharp cheddar cheese to the flour mixture after incorporating the butter. The cheddar melts throughout the biscuits and adds a delicious savory flavor.
- Garlic Herb Biscuits: Add ½ teaspoon garlic powder and 1 tablespoon finely chopped fresh chives or parsley to the dry ingredients. For even more flavor, mix a little minced garlic and parsley into the melted butter before brushing it over the biscuits.
- Honey Butter Biscuits: Combine 2 tablespoons melted butter with 1 tablespoon honey and brush over the warm biscuits. Skip the flaky sea salt or use just a small pinch for a sweet-and-salty finish.
- Jalapeño Cheddar Biscuits: Add 1 cup shredded sharp cheddar cheese and 2–3 tablespoons finely diced jalapeños. These are especially delicious alongside chili, barbecue, or a hearty soup.
- Cinnamon Sugar Biscuits: Add ½ teaspoon cinnamon to the dry ingredients. After baking, brush the biscuits with melted butter and sprinkle with a mixture of cinnamon and granulated sugar instead of flaky sea salt.
Pro Tips
- Keep your ingredients cold. Cold butter and cold buttermilk are essential for tender, fluffy biscuits. Warm butter can melt into the flour before baking, leaving you with biscuits that spread rather than rise.
- Freeze the butter before grating. Frozen butter is much easier to grate and distributes evenly throughout the dough. If the grated butter starts to soften, place the bowl in the refrigerator for a few minutes before continuing. I like to keep a few sticks frozen at all times so that I am always ready to make biscuits.
- Don’t overwork the dough. This is probably the most important tip. Mix only until the ingredients come together. Too much handling develops gluten, which can make the biscuits tough and chewy.
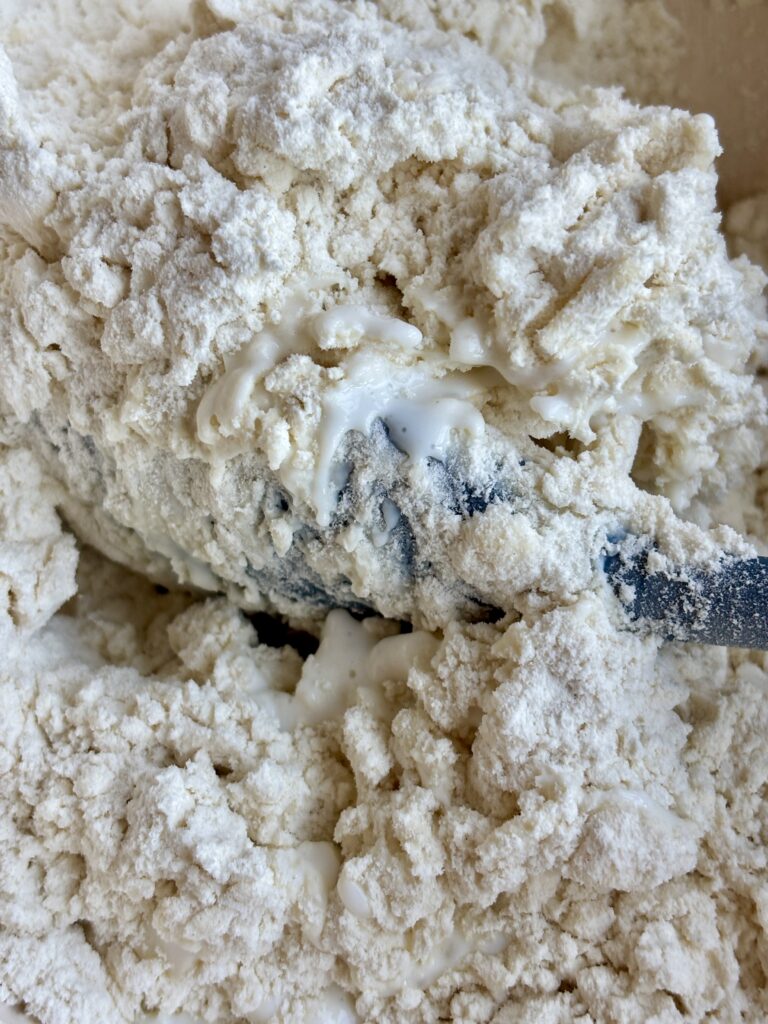
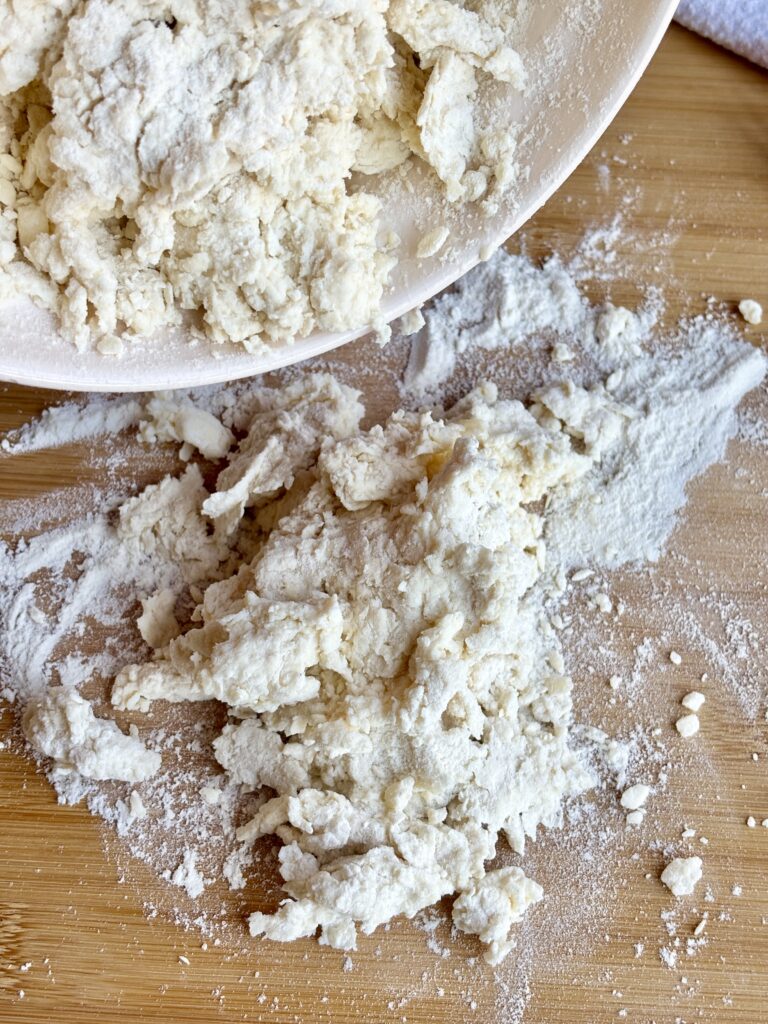
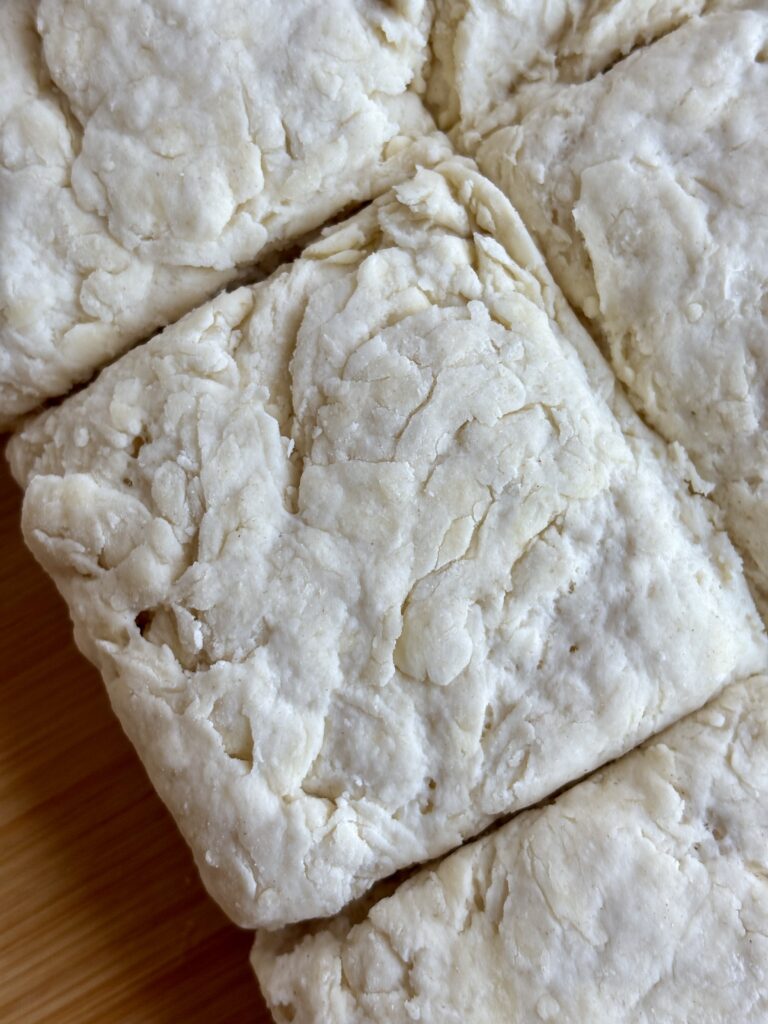
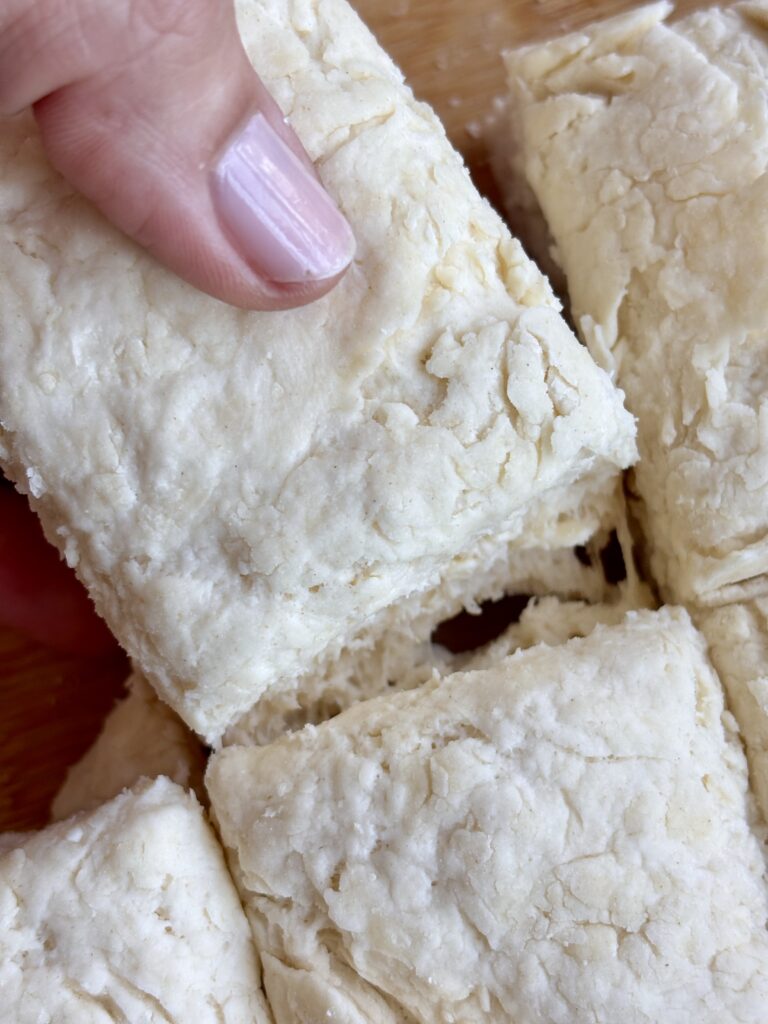
- Embrace the shaggy dough. Your biscuit dough shouldn’t look perfectly smooth. A slightly rough, shaggy appearance means you haven’t overworked it.
- Measure your flour carefully. Adding too much flour is one of the most common reasons homemade biscuits turn out dry. Spoon the flour into your measuring cup and level it off.
- Don’t add extra flour unless necessary. The dough may feel slightly sticky, especially before shaping. Use just enough flour on your work surface to prevent sticking without drying out the biscuits.
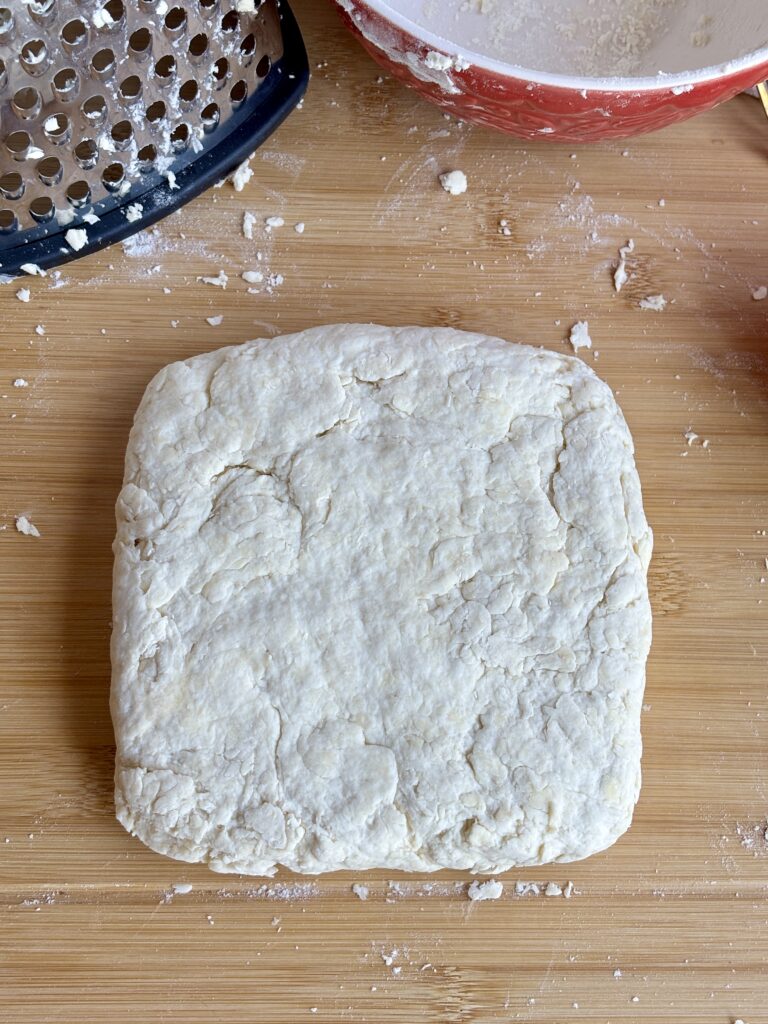
- Keep the dough about 1 inch thick. Pressing the dough too thin will result in shorter biscuits. A thick square gives you substantial, fluffy biscuits.
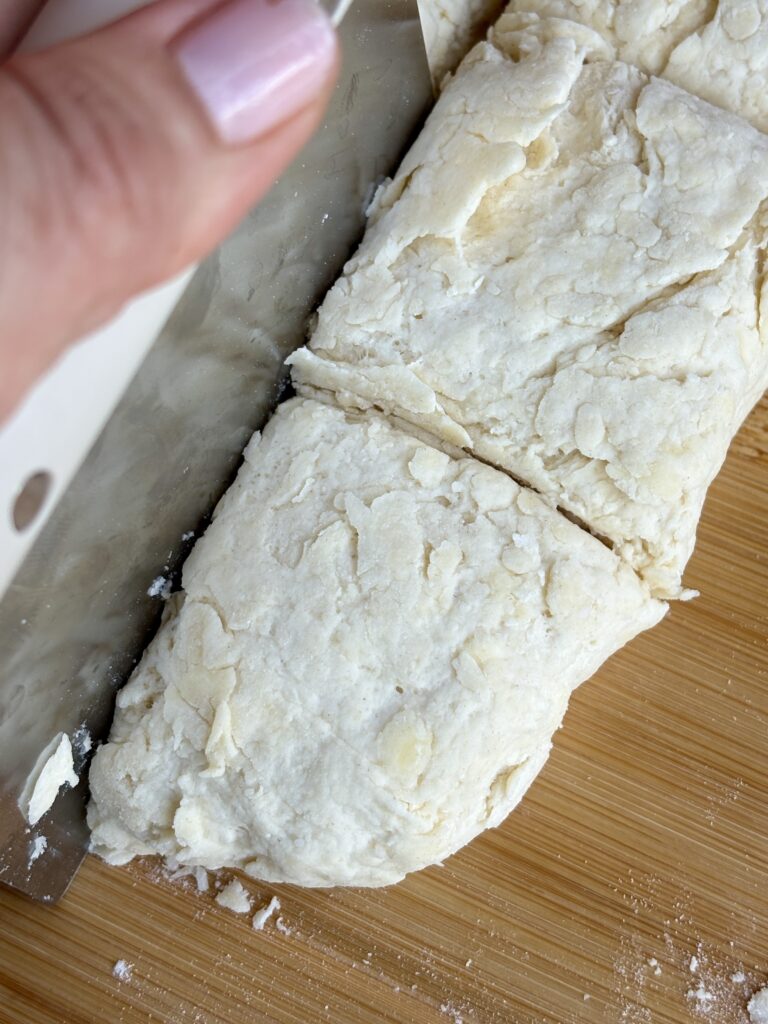
- Use a sharp knife or bench scraper. Clean, straight cuts help preserve the biscuit edges and allow them to rise evenly.
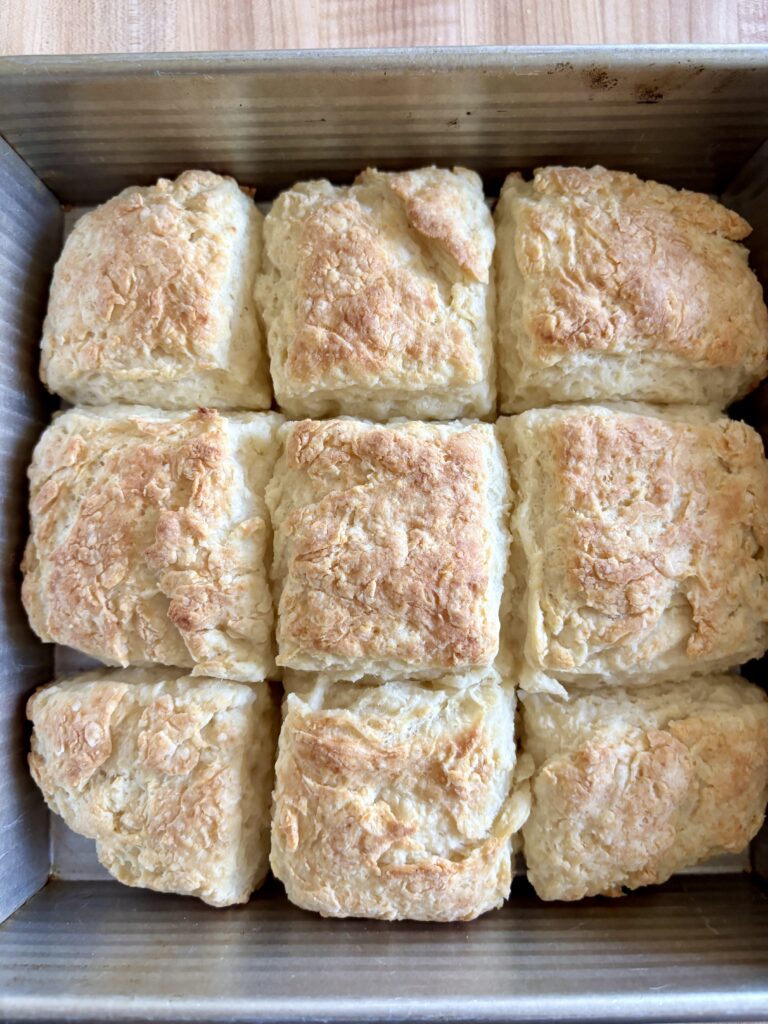
- Bake the biscuits close together. Arranging the biscuits in an 8×8-inch pan helps them rise upward while keeping the sides soft and tender.
- Chill the biscuits if the dough becomes warm. If your kitchen is warm or the butter starts to soften while shaping, refrigerate the cut biscuits for 10–15 minutes before baking.
- Make sure your baking powder is fresh. Because biscuits rely on chemical leavening rather than yeast, expired baking powder can result in flat, dense biscuits.
- Don’t overbake. The biscuits should be lightly golden on top and baked through in the center. Overbaking can dry out their soft, tender crumb.
- Brush with butter while warm. Melted butter absorbs beautifully into the hot biscuit tops, adding extra richness and flavor.
- Finish with flaky sea salt. While this is optional, I highly recommend not skipping this. That final sprinkle adds just enough salty crunch to balance the buttery biscuit.
Can I Substitute?
Yes! Like always though, any substitutions made to the recipe can result in a change in texture and/or flavor.
- Buttermilk: If you don’t have buttermilk, add 1 tablespoon of lemon juice or white vinegar to a liquid measuring cup. Pour in enough whole milk to reach 1 cup, stir, and let stand for 5–10 minutes. This works in a pinch, although the biscuits may not have quite the same richness or thickness as those made with real buttermilk. You can also use ¾ cup plain full-fat yogurt mixed with ¼ cup milk, adjusting the milk slightly to create a pourable consistency.
- Unsalted Butter: You can substitute salted butter for unsalted butter. Reduce the additional kosher salt to account for the salt already in the butter.
- Granulated Sugar: You can omit the tablespoon of sugar if you prefer a completely savory biscuit. The flavor will be slightly less rounded, and the tops may brown a little less.
- Flaky Sea Salt: If you don’t have flaky sea salt, simply omit it. The biscuits will still be delicious with the melted butter finish.
Dietary Substitutions
- Vegetarian: These homemade buttermilk biscuits are vegetarian as written.
- Gluten-Free: Try replacing the all-purpose flour with a good-quality 1:1 gluten-free baking flour that contains xanthan gum or another binder. Gluten-free biscuits may have a different texture and require small adjustments to the liquid. I have not personally tested this version.
- Egg-Free: These biscuits are naturally egg-free.
- Nut-Free: The recipe contains no nuts as written. Check packaged ingredient labels if preparing them for someone with a nut allergy.
Leftovers and Storage
- Room Temperature: Allow the biscuits to cool completely before storing. Place them in an airtight container or resealable bag and keep at room temperature for up to 2 days. For the best texture, reheat before serving.
- Refrigerator: You can refrigerate baked biscuits in an airtight container for up to 5 days, although refrigeration can make them dry out faster. I prefer freezing them if you need to store them for more than a couple of days.
- Freezer: These biscuits freeze beautifully. Allow the baked biscuits to cool completely, then transfer them to a freezer-safe bag or airtight container. Freeze for up to 3 months.
- How to Reheat Buttermilk Biscuits:
- For the best results, reheat the biscuits in a 300°F oven for approximately 8–12 minutes, or until warmed through. Wrap them loosely in foil to prevent the tops from becoming too crisp.
- Frozen biscuits can be reheated directly from frozen, although they may need a few extra minutes.
- For an extra buttery finish, brush with a little melted butter after reheating.
- Can You Freeze Unbaked Biscuit Dough?
- Yes! And this is one of my favorite ways to have fresh homemade biscuits ready whenever I want them.
- Prepare and cut the biscuits as directed, then arrange them on a parchment-lined baking sheet.
Freeze until solid, approximately 1–2 hours. - Transfer the frozen biscuits to a freezer-safe bag or container and store for up to 2 months.
- When ready to bake, arrange the frozen biscuits in a prepared baking pan and bake at 425°F, adding approximately 3–6 minutes to the original baking time.
- There’s no need to thaw them first.
- Prepare and cut the biscuits as directed, then arrange them on a parchment-lined baking sheet.
- Yes! And this is one of my favorite ways to have fresh homemade biscuits ready whenever I want them.
Troubleshooting
My biscuits turned out tough or chewy
You may have overmixed or overworked the dough. Once the buttermilk is added, mix only until a shaggy dough forms. Avoid kneading it until smooth, and use a light touch when shaping. Too much handling develops gluten and creates a tougher texture.
My biscuits didn’t rise very much.
The most common causes are expired baking powder, warm butter, or dough that was pressed too thin. Make sure your baking powder is fresh, keep the butter cold, and shape the dough to approximately 1 inch thick. Also check and make sure your oven is fully preheated before baking.
My biscuits are dry or crumbly.
Too much flour or overbaking can dry out the biscuits. Measure the flour using the spoon-and-level method and avoid adding unnecessary flour when shaping. If the dough won’t hold together, add a little extra cold buttermilk, 1 teaspoon at a time.
My biscuits spread instead of rising.
The butter may have softened too much before baking, or the dough may have been overworked. Keep the butter frozen until you’re ready to grate it and refrigerate the shaped biscuits briefly if they become warm.
My biscuit dough is too sticky.
Biscuit dough should be slightly tacky, but it shouldn’t be impossible to handle. Lightly flour your work surface and hands, then gently press the dough into shape. Avoid adding large amounts of extra flour, which can make the finished biscuits dry.
My biscuit dough won’t come together.
Flour can absorb different amounts of liquid depending on the brand and how it was measured. If the mixture remains very dry and crumbly, add an additional teaspoon of cold buttermilk at a time until the dough holds together when gently pressed.
My biscuits are golden outside but doughy in the middle.
The biscuits may be too thick, packed too tightly, or removed from the oven too early. Continue baking for a few additional minutes, covering loosely with foil if the tops are browning too quickly. The centers should be fully baked and no longer appear wet or doughy.
My biscuits are pale on top.
The oven may not have been fully preheated, or the biscuits may need another minute or two of baking. Make sure the oven reaches 425°F before adding the biscuits. A little melted butter after baking also gives the tops a beautiful finish.
My biscuits have a bitter or metallic aftertaste.
Too much baking powder, improperly measured leavening, or certain baking powder formulations can create an unpleasant aftertaste. Measure carefully and use a fresh, aluminum-free baking powder if you notice this issue.
My biscuits are unevenly shaped.
Try shaping the dough into an even square before cutting. Use a sharp knife or bench scraper to create nine similarly sized biscuits so they bake at approximately the same rate.
But, I Still Have A Few Questions…
What is the secret to fluffy homemade buttermilk biscuits?
The secret is keeping your butter and buttermilk cold, using fresh baking powder, and handling the dough as little as possible. Cold butter creates steam pockets as the biscuits bake, while the baking powder helps them rise. Overworking the dough can make the biscuits dense instead of fluffy.
Why do you use frozen butter in biscuits?
Frozen butter stays solid longer while you mix and shape the dough. Grating it into the flour creates small, evenly distributed pieces that melt during baking, helping produce tender, buttery biscuits with a slightly flaky texture.
Do I have to grate the butter?
No, but grating frozen butter is an easy way to distribute it throughout the flour. You can also use a pastry cutter or your fingertips to work very cold, cubed butter into the dry ingredients.
Can I make homemade biscuits without a biscuit cutter?
Absolutely! These biscuits are designed to be cut into squares with a knife or bench scraper. There’s no need for a round biscuit cutter, and cutting squares means you don’t have to reroll any dough scraps.
Why are square biscuits easier to make?
Square biscuits eliminate the need to gather and reroll dough scraps. This means less handling, which helps keep the biscuits tender. They’re also easy to arrange in a square baking pan.
Can I use a round biscuit cutter instead?
Yes. Gently press the dough to approximately 1 inch thick and cut using a floured biscuit cutter. Press straight down without twisting, since twisting can compress the edges and interfere with rising.
What does buttermilk do in biscuits?
Buttermilk adds moisture, richness, and a subtle tang. Its acidity also helps tenderize the dough and contributes to the biscuits’ overall texture and flavor.
Can I make buttermilk biscuits without buttermilk?
Absolutely! Add 1 tablespoon lemon juice or white vinegar to a measuring cup, then add enough whole milk to reach 1 cup. Stir and let stand for 5–10 minutes. The biscuits may have a slightly different texture than those made with real buttermilk.
Can I use regular milk instead of buttermilk?
You can, but the flavor and texture will be different. I recommend making a quick buttermilk substitute with milk and lemon juice or vinegar rather than using plain milk alone.
Should biscuit dough be sticky?
Yes, biscuit dough should be slightly tacky and shaggy. It shouldn’t be perfectly smooth like bread dough. If it’s excessively sticky, use a light dusting of flour when shaping.
Should I knead biscuit dough?
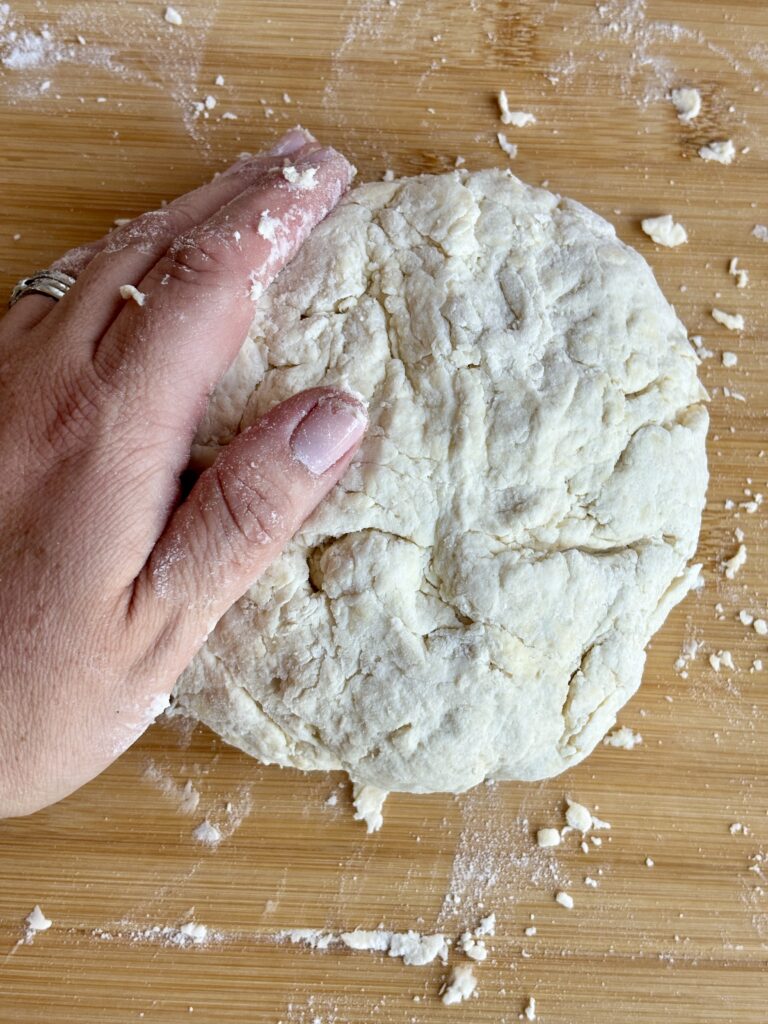
No. Unlike bread dough, biscuit dough benefits from minimal handling. Gently press it together just until it holds its shape. Excessive kneading can make the biscuits tough.
Why do you bake biscuits close together?
Baking biscuits close together helps support their sides as they rise, encouraging them to grow upward rather than spread outward. It also helps keep the sides soft and tender.
Can I bake these biscuits on a baking sheet instead of in a pan?
Yes. Arrange the cut biscuits on a parchment-lined baking sheet with their sides just barely touching. They may develop slightly crispier sides than biscuits baked in an 8×8-inch pan.
Can I make these biscuits ahead of time?
Yes! Prepare the dough, cut the biscuits, and refrigerate them covered for up to 24 hours before baking. For longer storage, freeze the unbaked biscuits and bake directly from frozen.
Other Recipes You’ll Love
Let’s engage!
Make sure to tag @thehomechefmomma on Instagram or Facebook, and leave a review or comment if you make these. I always get so excited to see your creations, variations of the recipe, and feedback! Just remember to be kind in your comments, there is still a person behind this screen! 🙂
Homemade Buttermilk Biscuits
Ingredients
Buttermilk Biscuits
- 2 cups all-purpose flour
- 1½ tablespoons baking powder
- 1 tablespoon granulated sugar
- 1¼ teaspoons kosher salt
- 8 tablespoons unsalted butter frozen
- 1 cup cold buttermilk
For Finishing
- 2 tablespoons unsalted butter melted
- Flaky sea salt for sprinkling
Instructions
- Preheat the oven to 425°F. Lightly grease an 8×8-inch baking pan or line it with parchment paper.
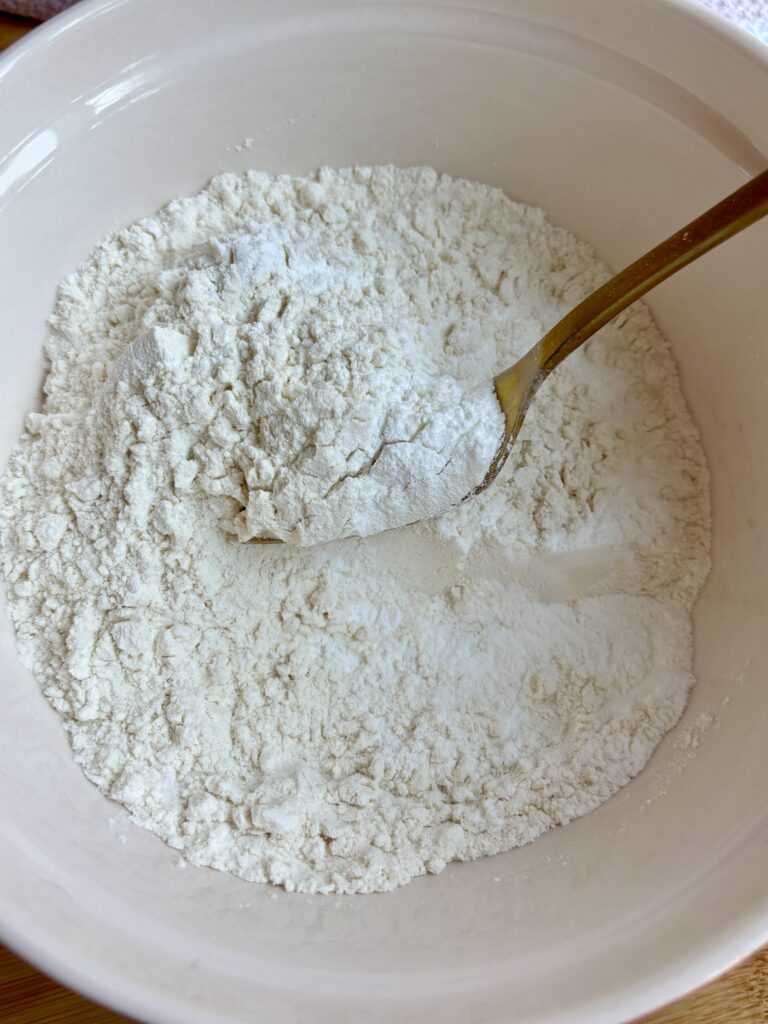
- In a large mixing bowl, whisk together the all-purpose flour, baking powder, granulated sugar, and kosher salt until evenly combined.
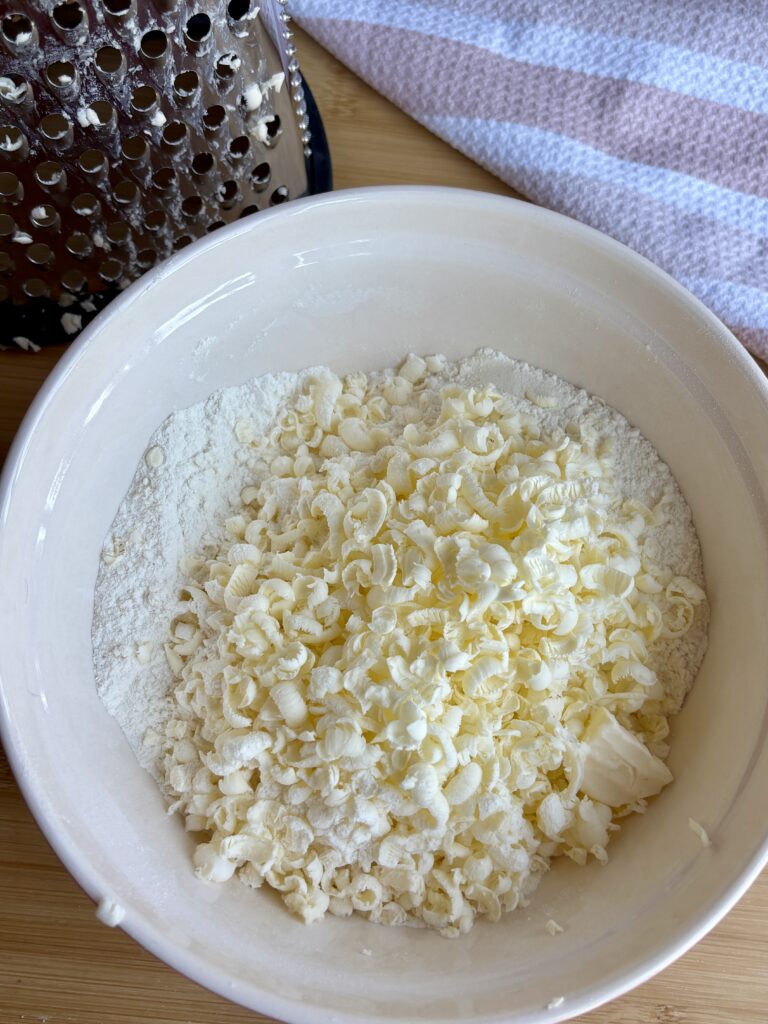
- Using the large holes of a box grater, grate the frozen butter directly into the flour mixture.
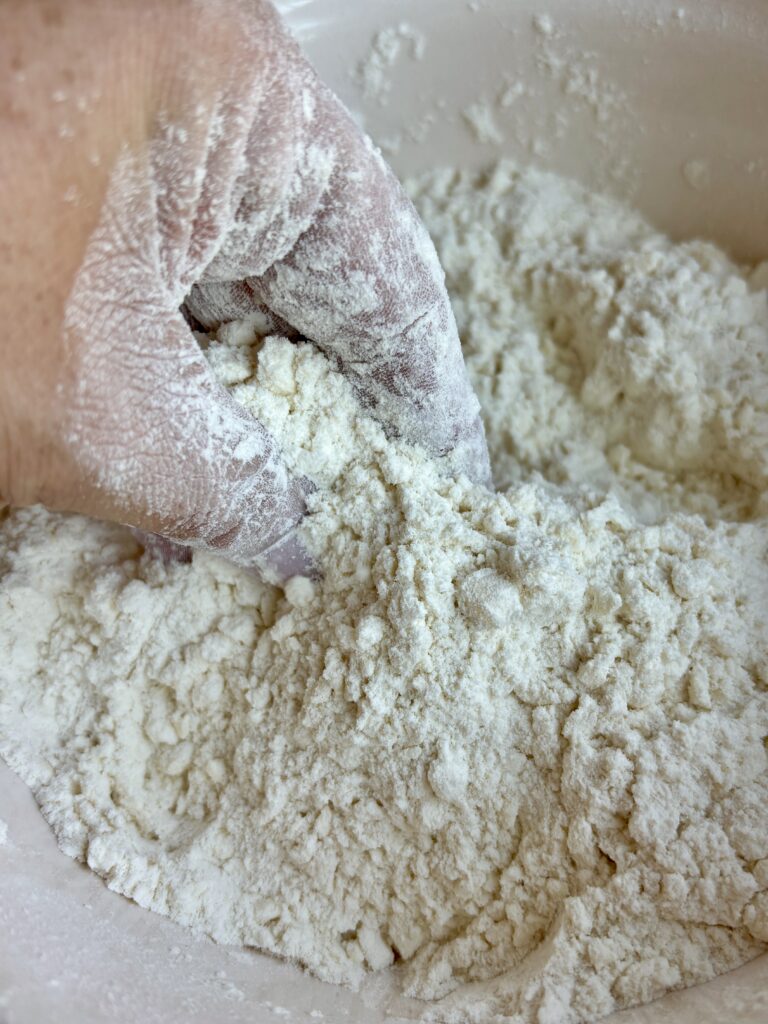
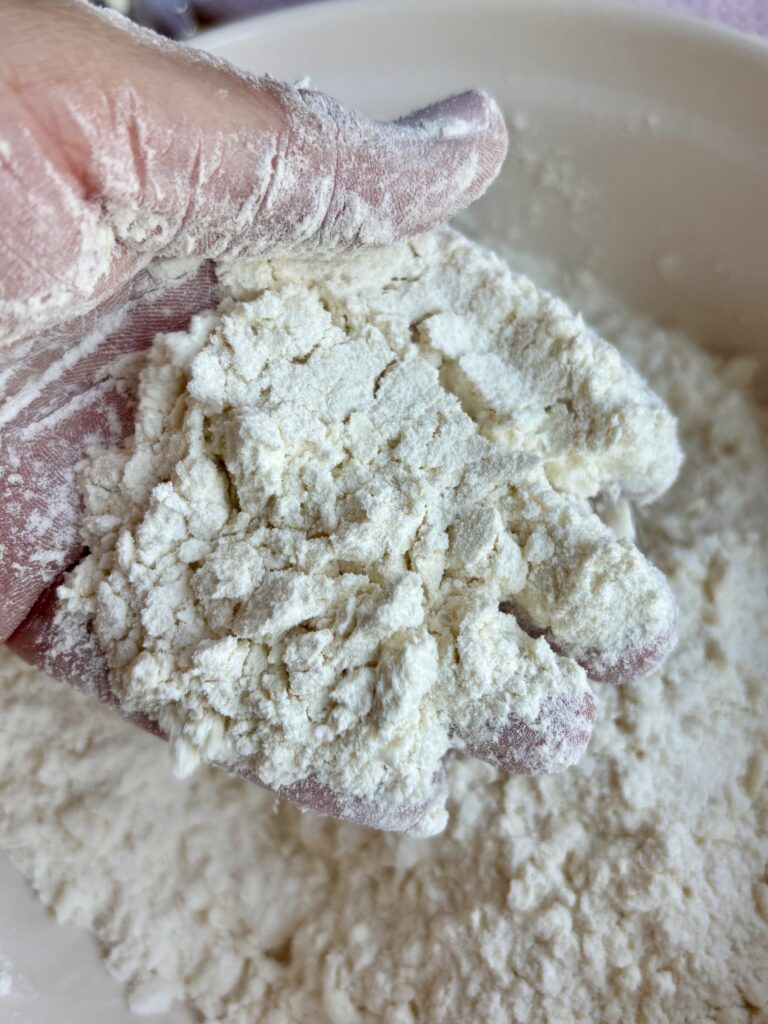
- Gently toss the grated butter with the flour using your fingertips until evenly distributed. Some small pieces of butter should remain visible throughout the mixture.
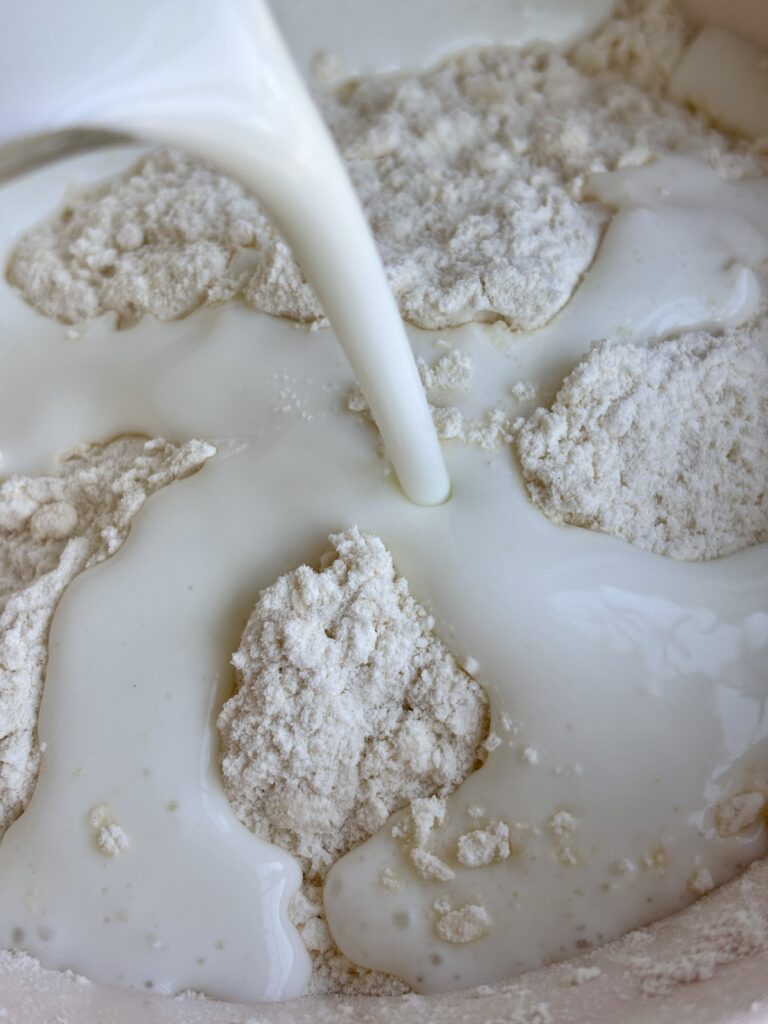
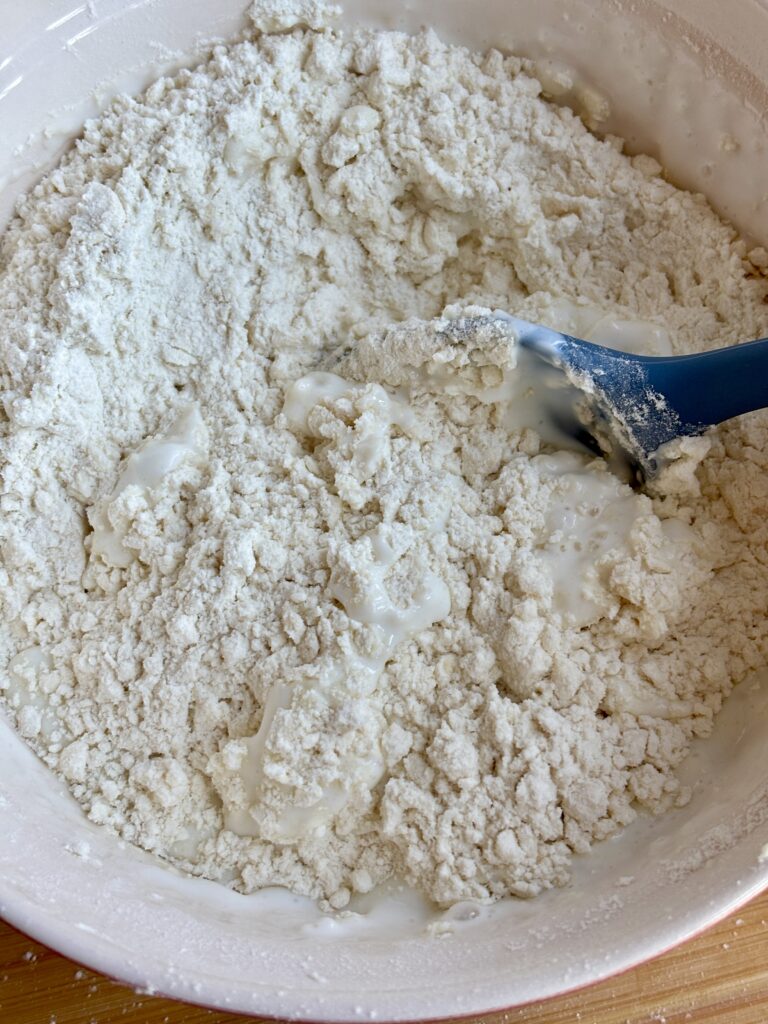
- Pour in the cold buttermilk and gently fold with a spatula just until a shaggy, slightly sticky dough forms. Avoid overmixing.
- Transfer the dough to a lightly floured work surface. Gently press it together and shape it into a square approximately 6×6 inches and 1 inch thick. Do not knead the dough.
- Using a sharp knife or bench scraper, cut the dough into nine equal squares.
- Place the biscuits in the prepared 8×8-inch baking pan in three rows of three, keeping the biscuits close together.
- Bake. Bake for 16–20 minutes, or until the biscuits have risen, the tops are lightly golden brown, and the centers are fully baked.
- Remove the biscuits from the oven and immediately brush the tops with melted butter.
- Sprinkle the warm biscuits with flaky sea salt.
- Serve warm with butter, honey, jam, or alongside your favorite breakfast or dinner.
Notes
- Frozen butter: Keep the butter frozen until ready to grate. This helps create a tender, buttery texture.
- Cold buttermilk: Use cold buttermilk straight from the refrigerator for the best results.
- Dough consistency: The dough should be shaggy and slightly sticky, not smooth or elastic.
- Avoid overmixing: Mix just until the dough comes together. Excessive handling can create tough biscuits.
- Biscuit thickness: Shape the dough to approximately 1 inch thick for tall, fluffy biscuits.
- Pan size: An 8×8-inch baking pan keeps the biscuits close together, encouraging a soft-sided, fluffy texture.
- Baking sheet option: You can bake these on a parchment-lined baking sheet with the sides of each biscuit just barely touching.
- Make ahead: Cut and refrigerate the biscuits for up to 24 hours before baking, or freeze the unbaked biscuits for up to 2 months.
- Storage: Store baked biscuits in an airtight container at room temperature for up to 2 days or freeze for up to 3 months.
- Reheating: Warm in a 300°F oven until heated through for the best texture.
Easy Homemade Buttermilk Biscuits | Homemade Buttermilk Biscuits | Easy Buttermilk Biscuits | Fluffy Buttermilk Biscuits | Buttermilk Biscuit Recipe | Homemade Biscuits from Scratch | Buttery Homemade Biscuits | Tender Buttermilk Biscuits | Southern Style Buttermilk Biscuits | Homemade Square Biscuits | Biscuits Without a Biscuit Cutter | Frozen Butter Biscuits | Grated Butter Biscuits | Fluffy Homemade Biscuits | Buttermilk Biscuits with All Purpose Flour | How to Make Homemade Buttermilk Biscuits | Easy Buttermilk Biscuits Without a Biscuit Cutter | Homemade Biscuits with Frozen Grated Butter | Soft and Fluffy Buttermilk Biscuits from Scratch | Easy Homemade Biscuits with Buttermilk | Homemade Square Buttermilk Biscuits | How to Make Biscuits Without a Pastry Cutter | Freezer Friendly Buttermilk Biscuits | Easy Homemade Biscuits for Beginners

Nutritional Content Disclaimer
I choose not to include nutritional information with my recipes, as these values can be calculated from the ingredients provided. With my background as a pediatric nurse practitioner and my own family experience with disordered eating, I understand how focusing on numbers can affect our relationship with food. My philosophy is that all foods have a place—sweet, savory, nourishing, or indulgent. I aim to share recipes that support a healthy, joyful approach to eating. My hope is that this space also encourages a balanced, healthy relationship with food for you and your family too.