
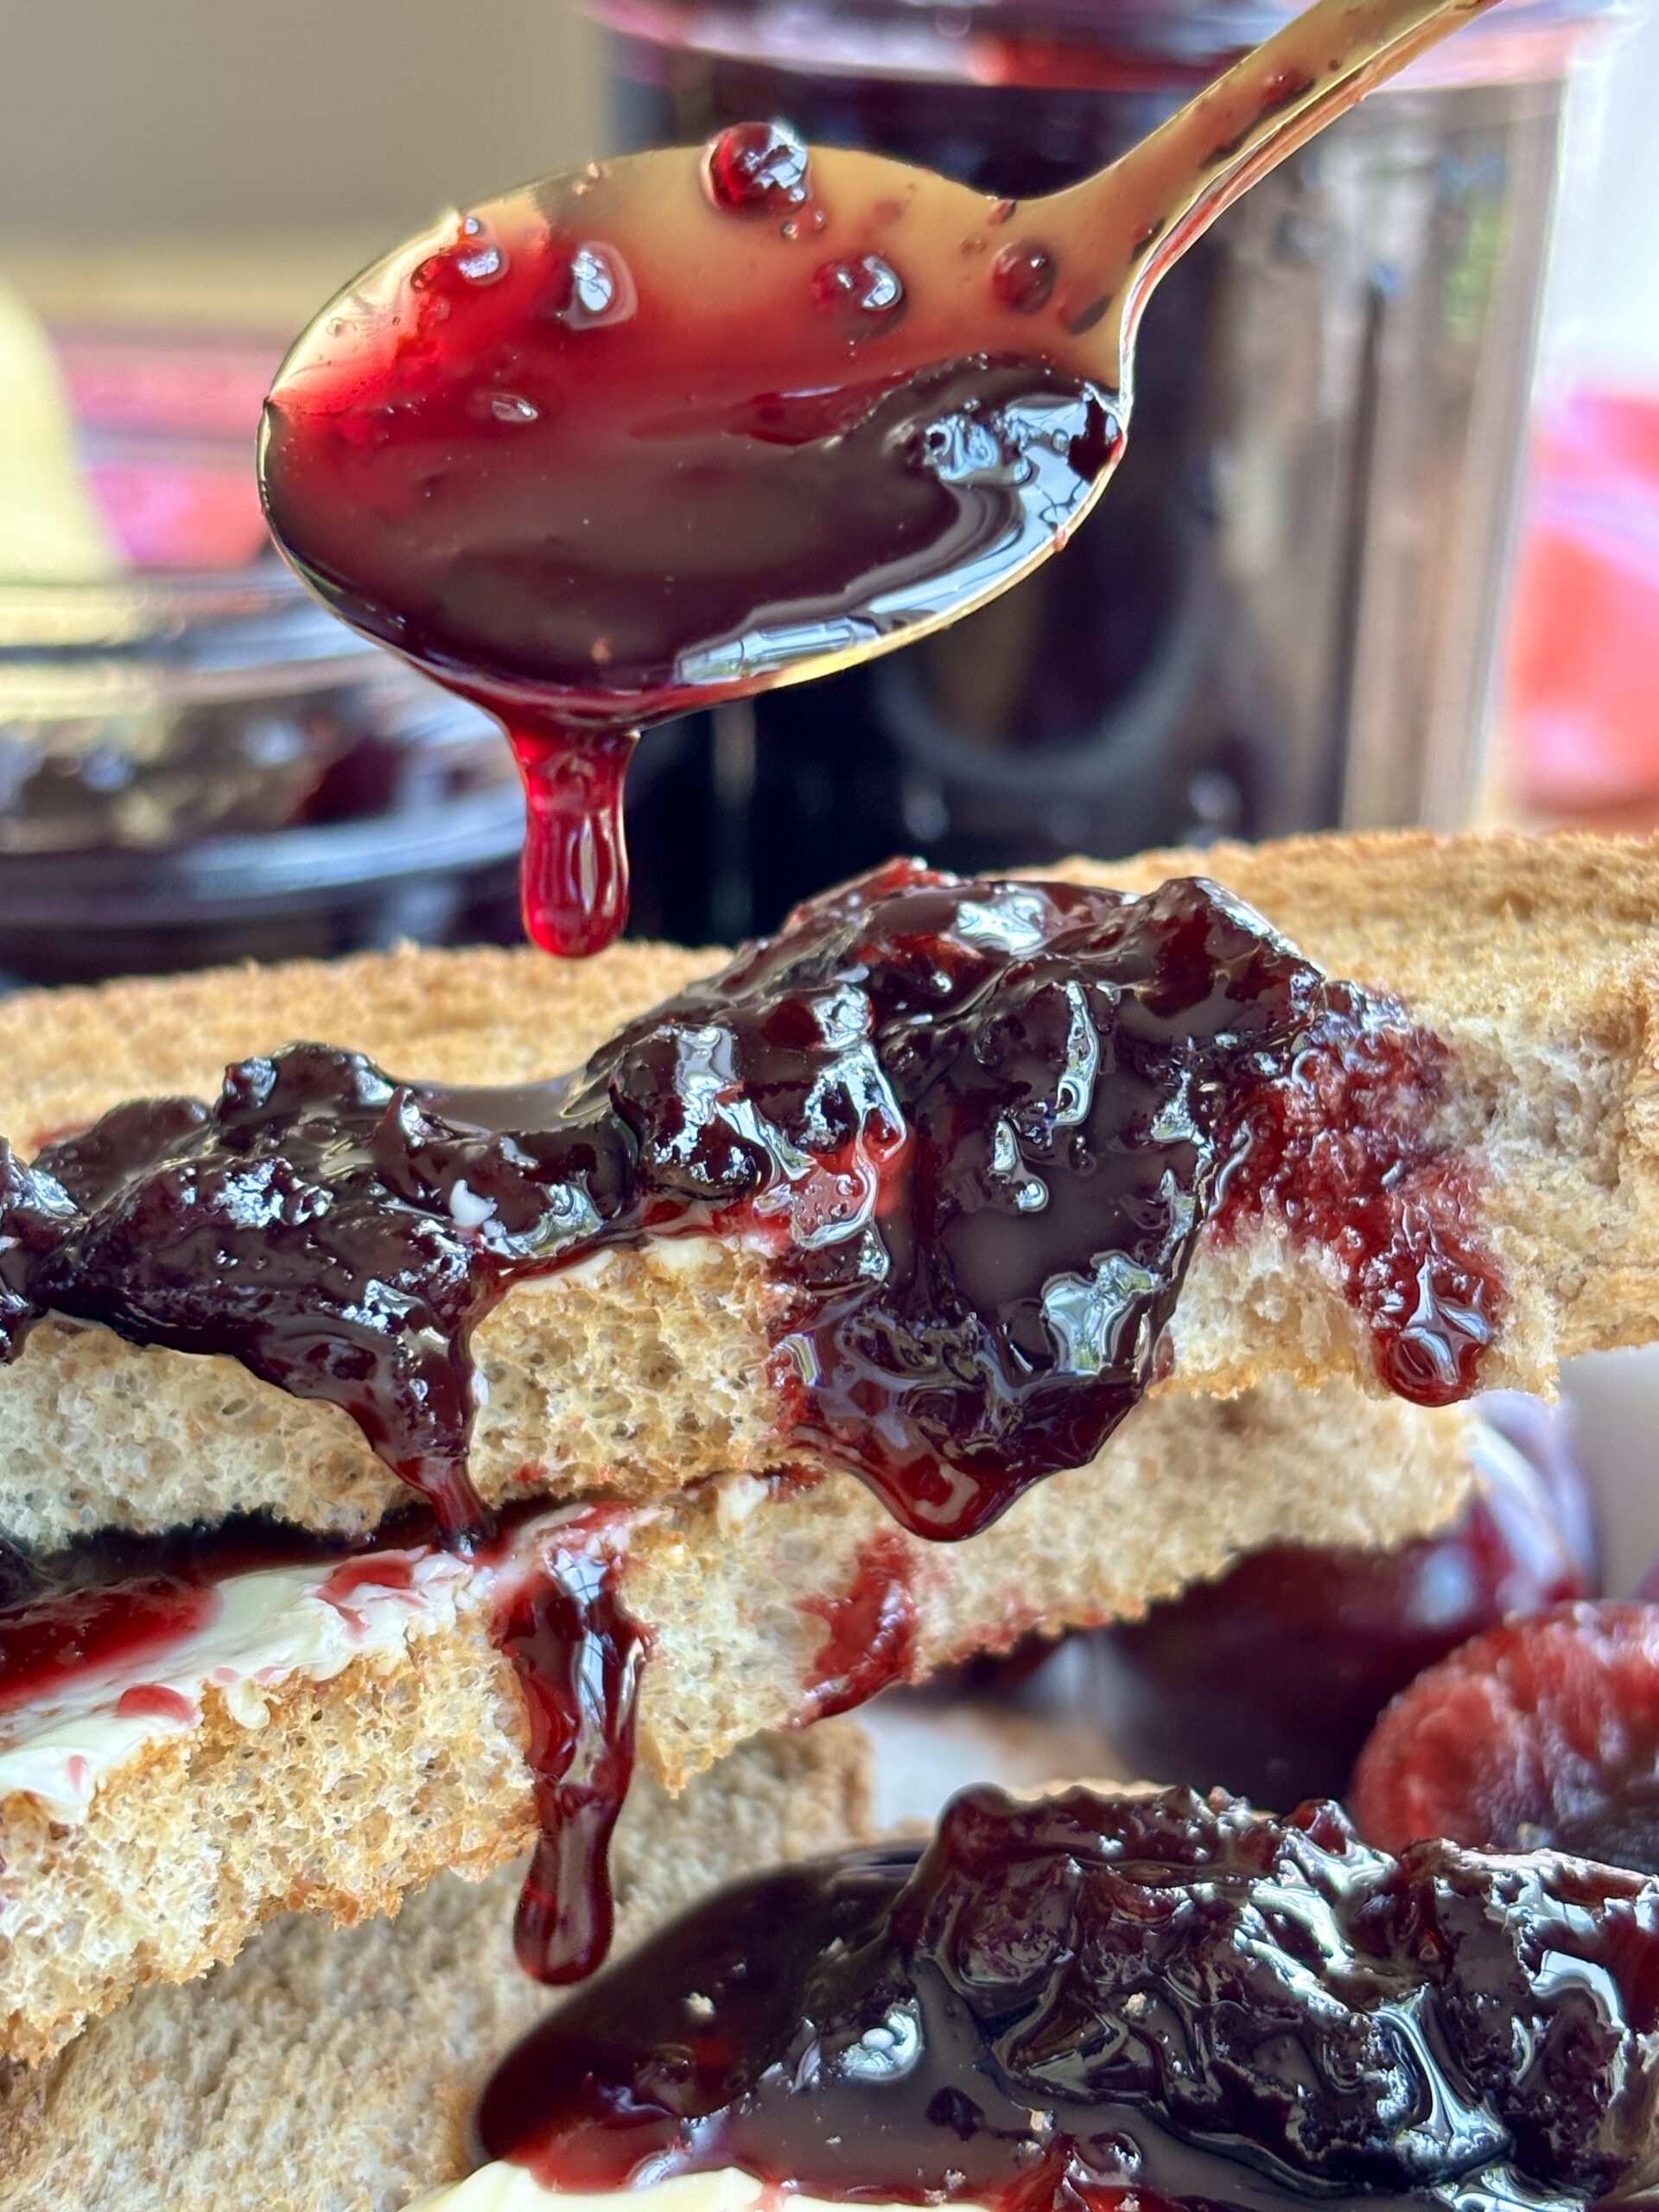
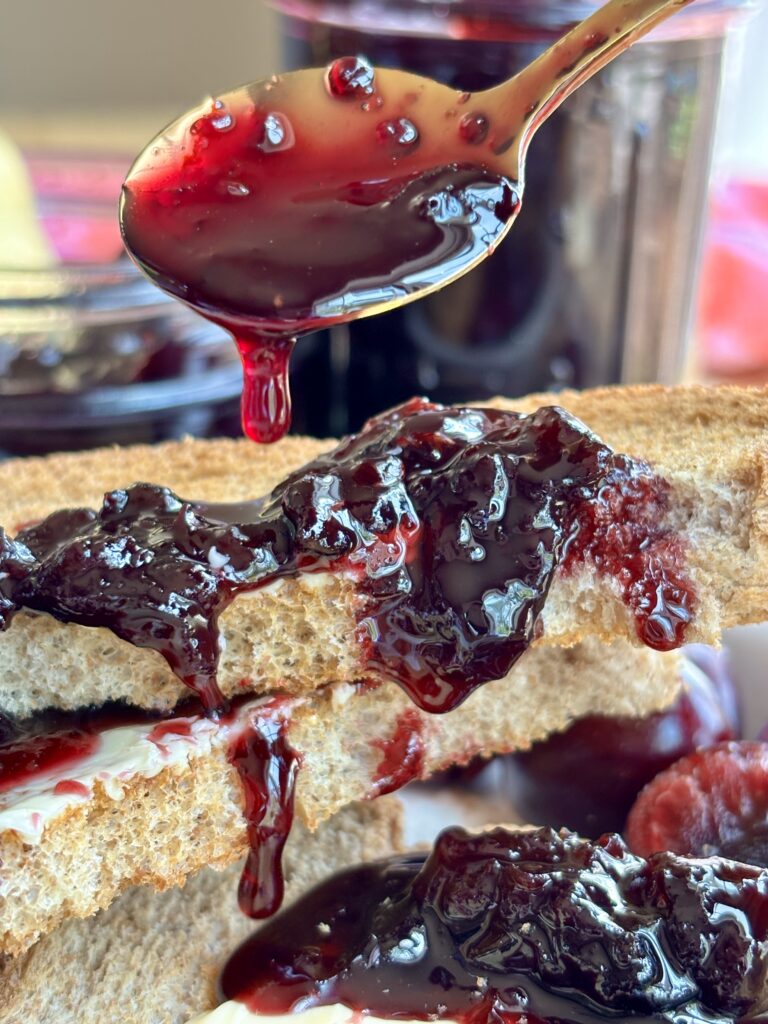
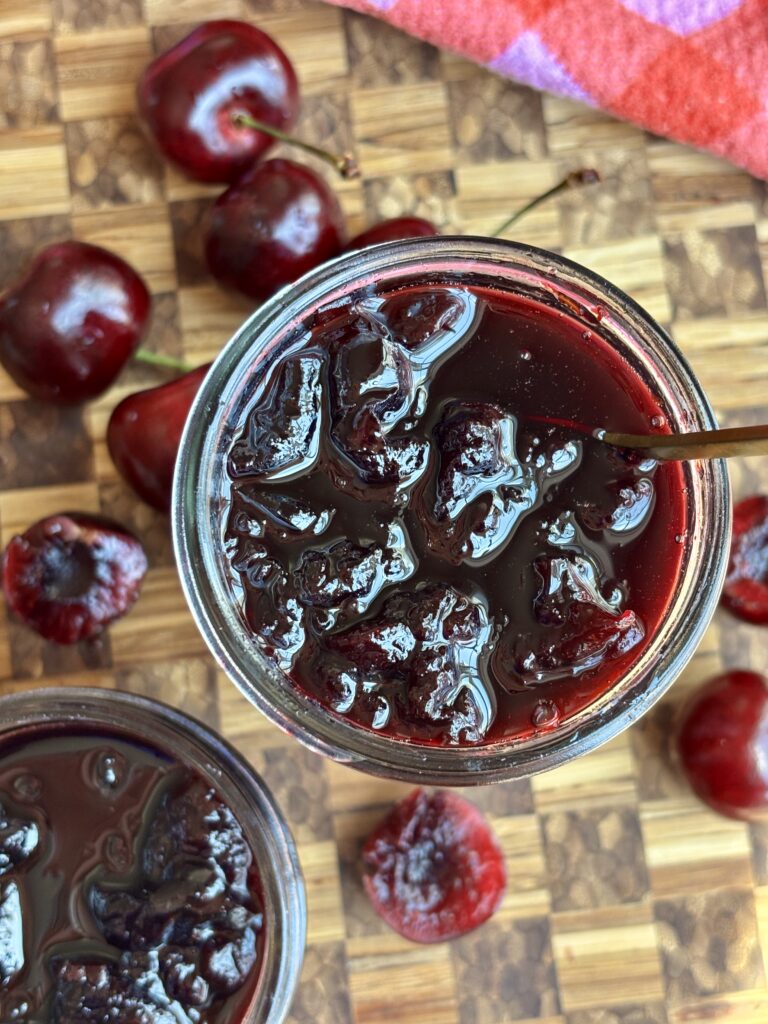
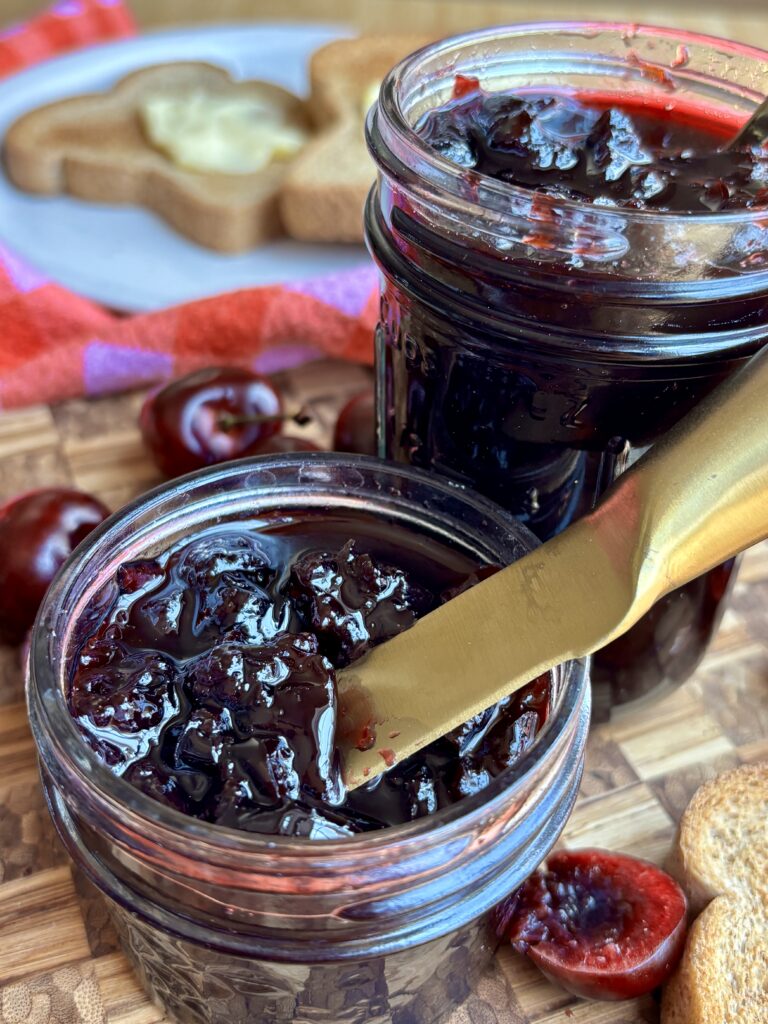
Homemade jam is truly something magical. The process and effort needed is relatively easy, but the reward is always great! And once you make your first batch of homemade jam, you’ll understand how it just doesn’t compare to anything store-bought. This homemade Small Batch Cherry Jam is no exception. It is the kind of recipe you’ll want tucked away in your fridge all summer (or year) long. Made with frozen cherries (but seasonally fresh cherries work too), sugar, fresh orange zest, orange juice, lime juice, and vanilla bean paste. It is bright, fruity, sweet, and packed with bold cherry flavor and just enough citrus and warm vanilla to make it feel a little extra special.
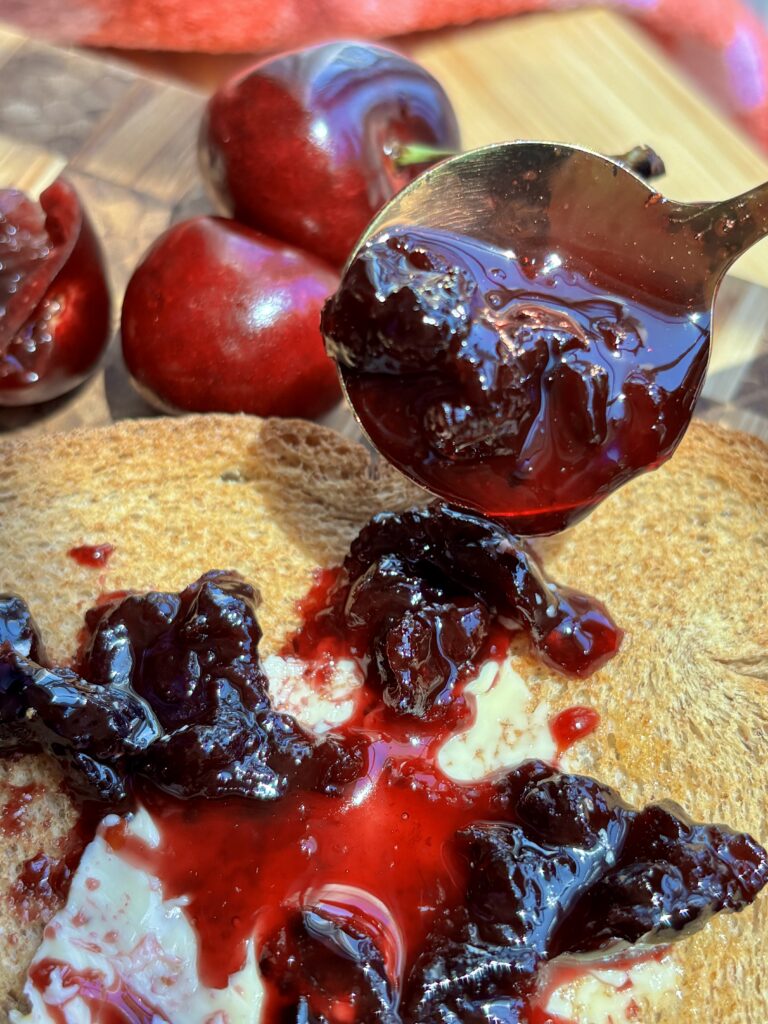
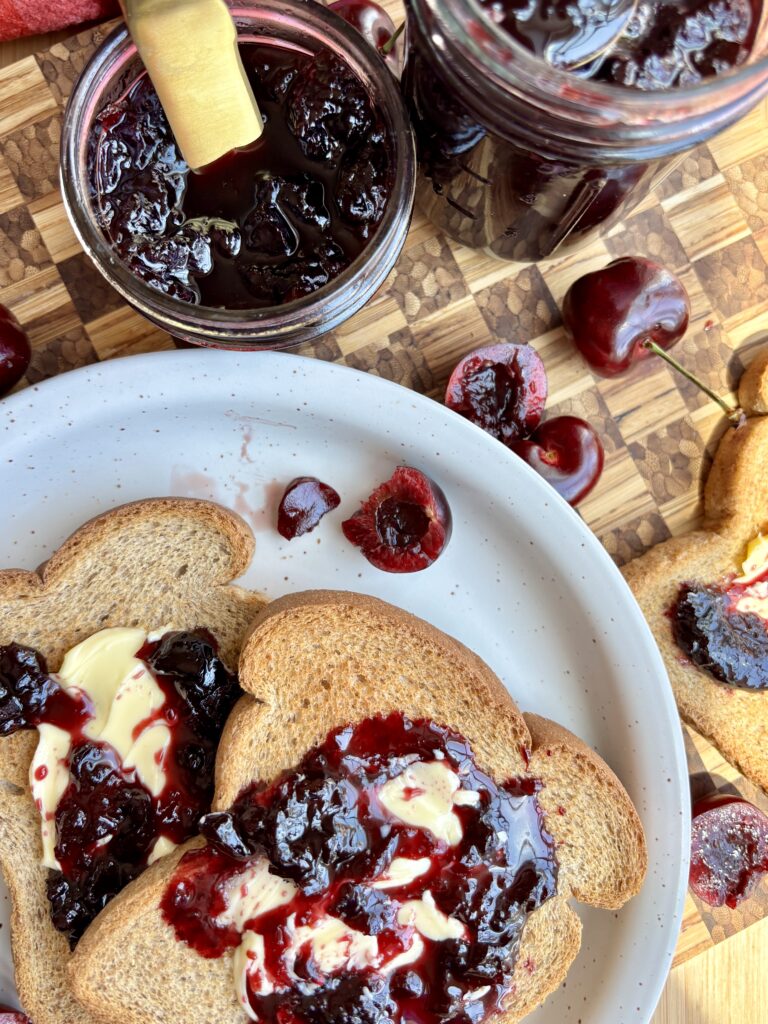
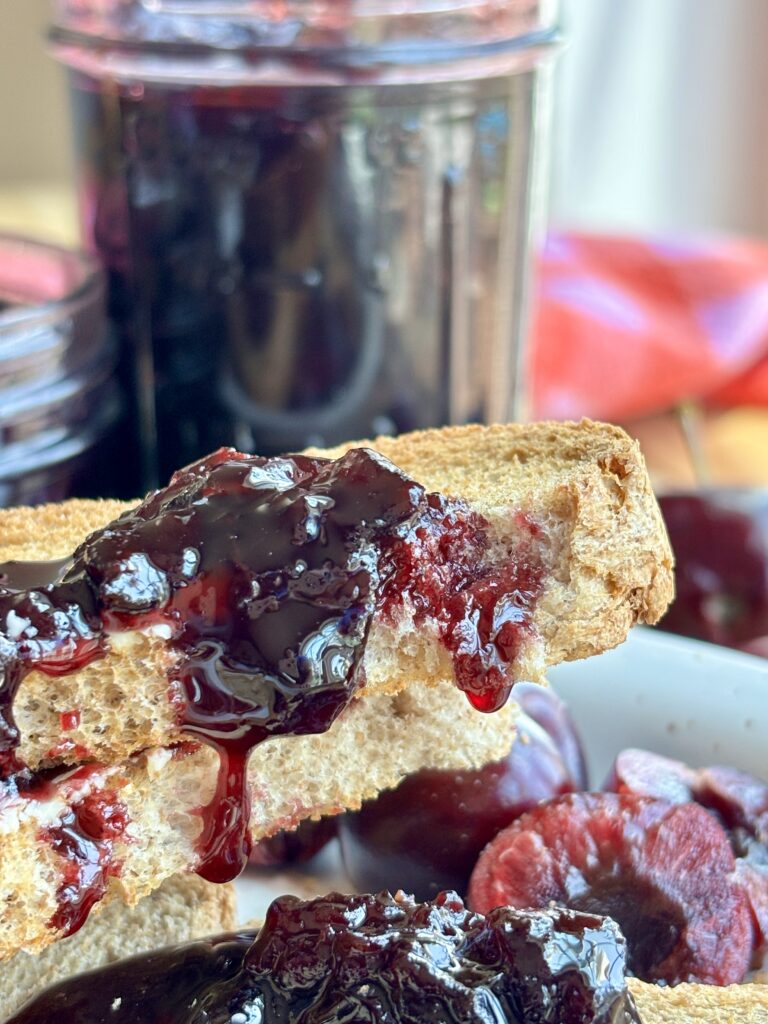
The cherries cook down into a glossy, spoonable jam that tastes incredible on toast, swirled into yogurt, spooned over cheesecake, layered into ice cream, or drizzled over pancakes and waffles. It’s also one of my favorite little homemade additions to have on hand for baking.
If you’re new to making jam, then you need to start here!
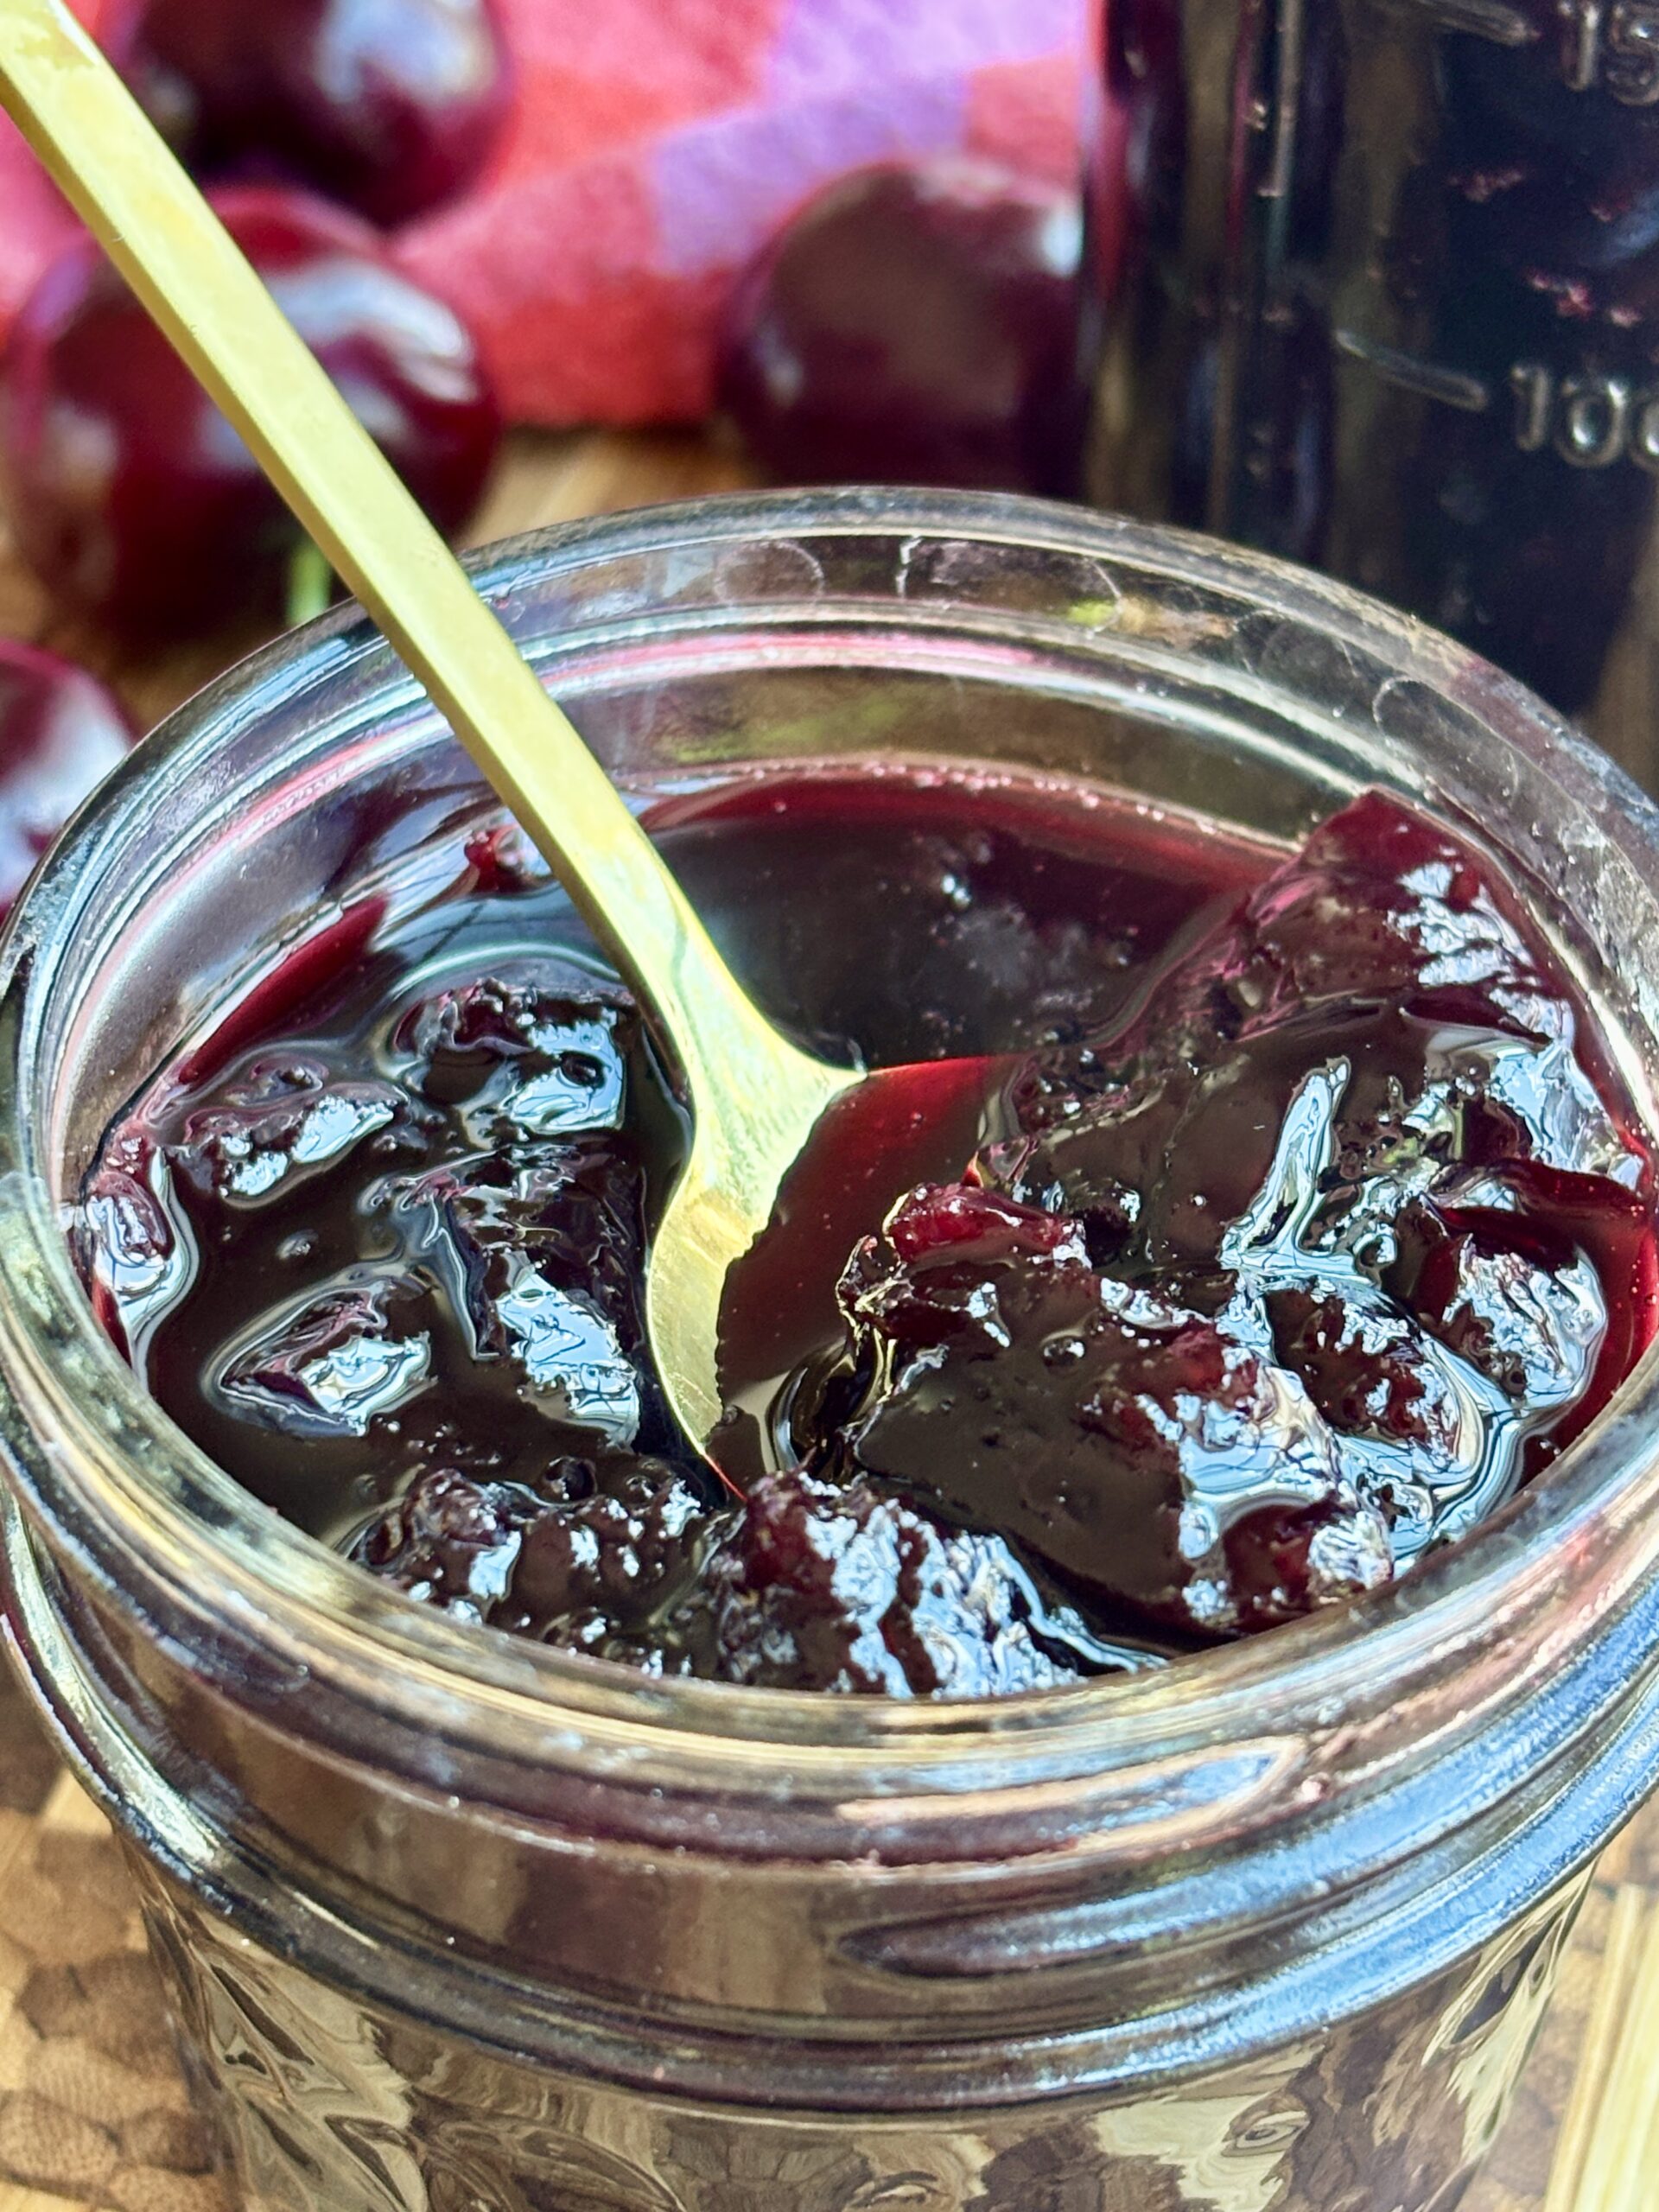
Why you’ll love this recipe!
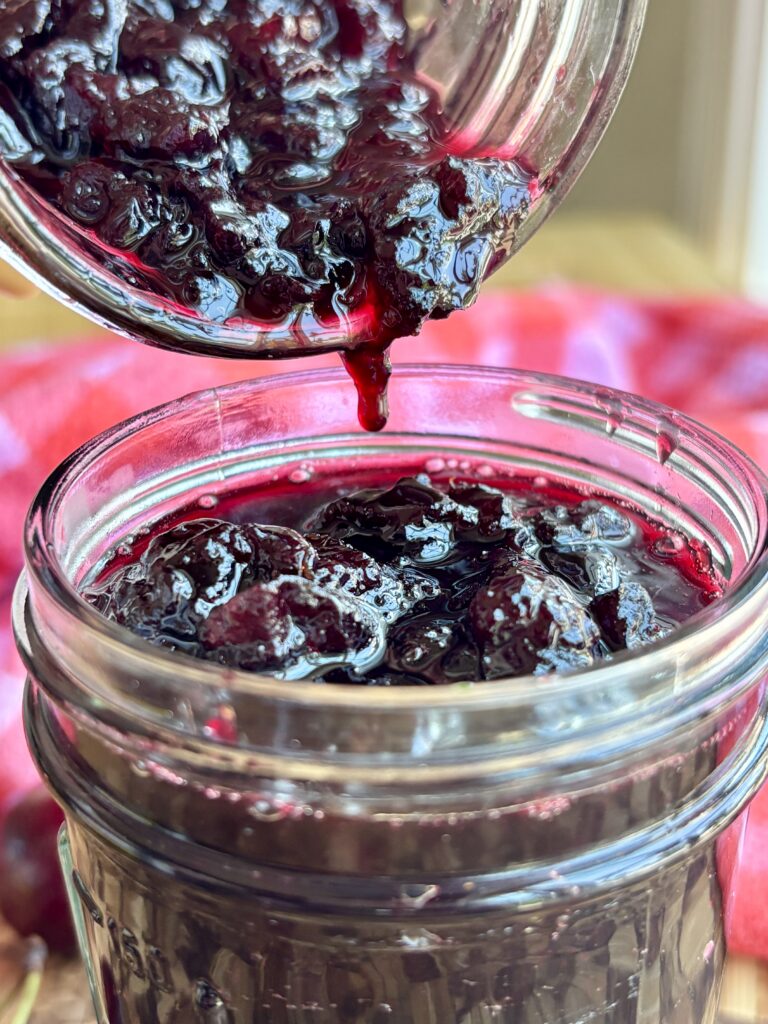
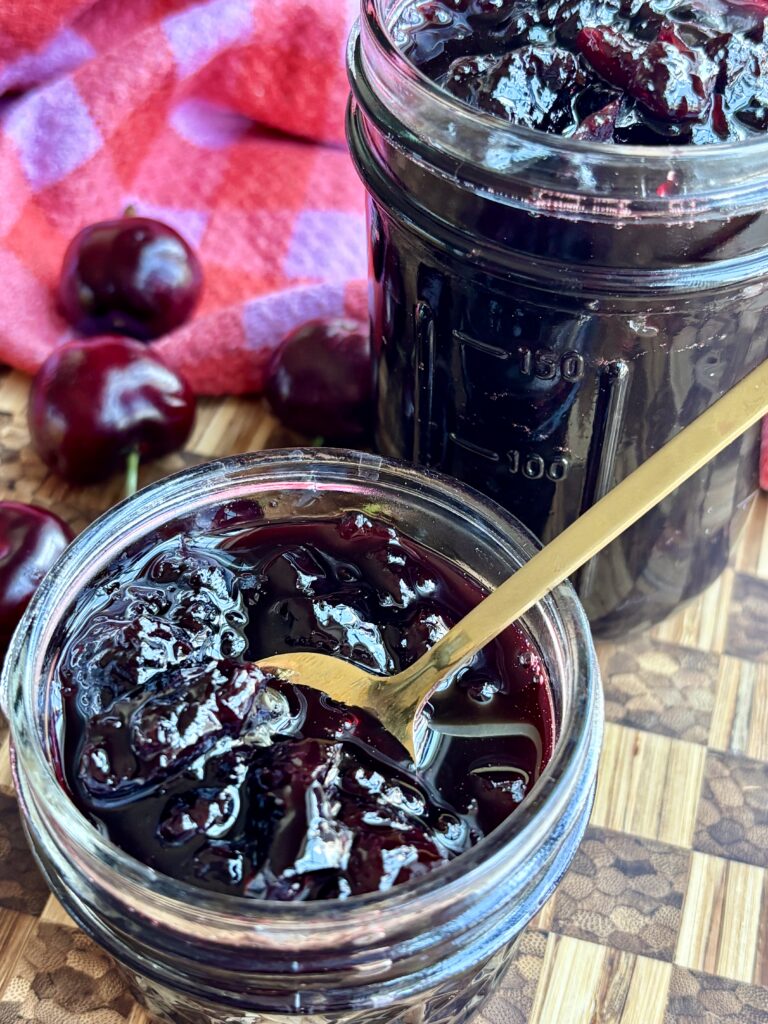
What ingredients do I need?
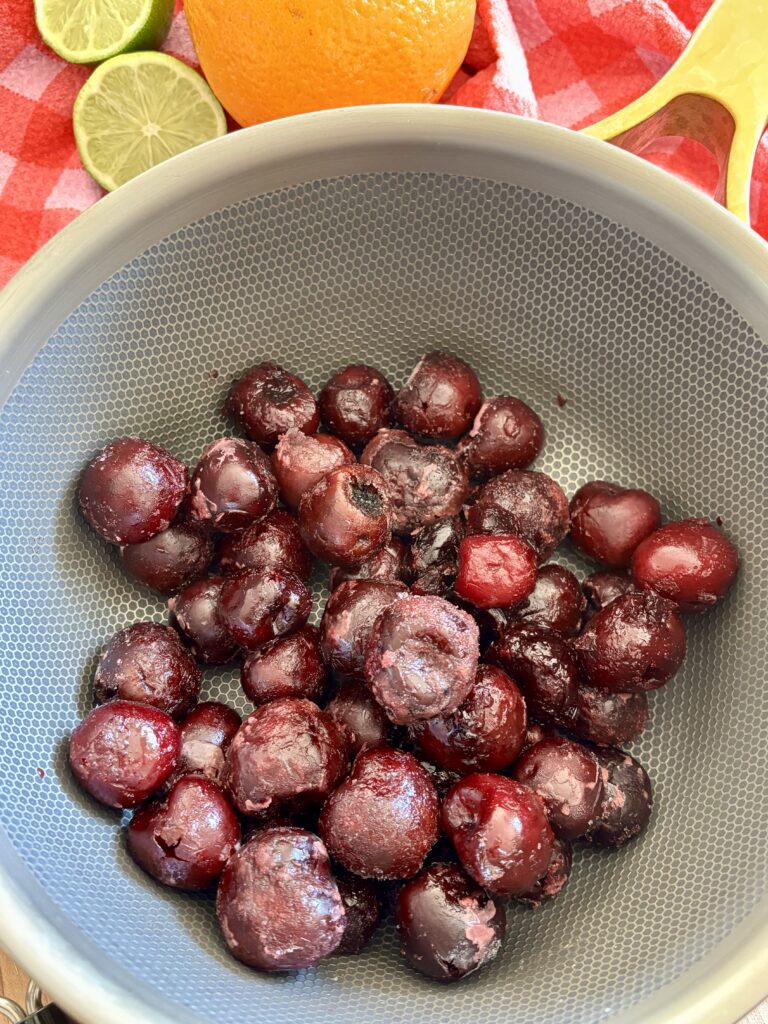
- Frozen cherries: The base of the jam. Frozen cherries make this recipe easy to make year-round and cook down beautifully into a thick, fruit-forward jam. Seasonal fresh cherries would work well too!
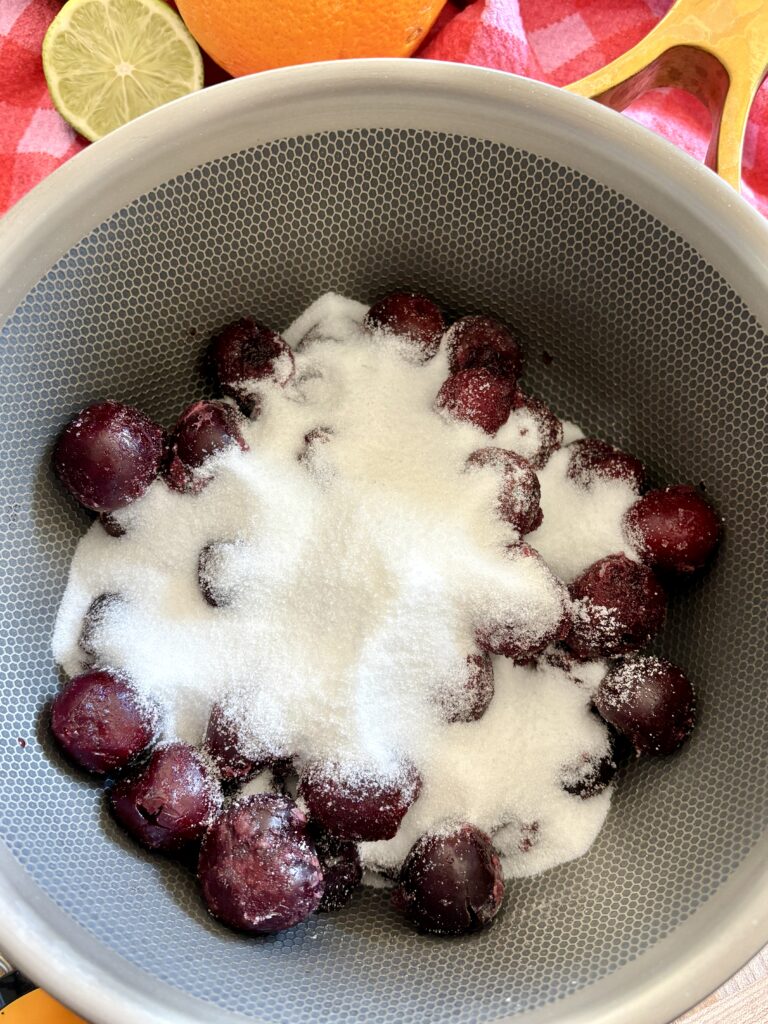
- Granulated sugar: Sweetens the jam and helps it thicken as it cooks.
- Orange juice: Adds brightness and a soft citrus sweetness that pairs beautifully with cherries.
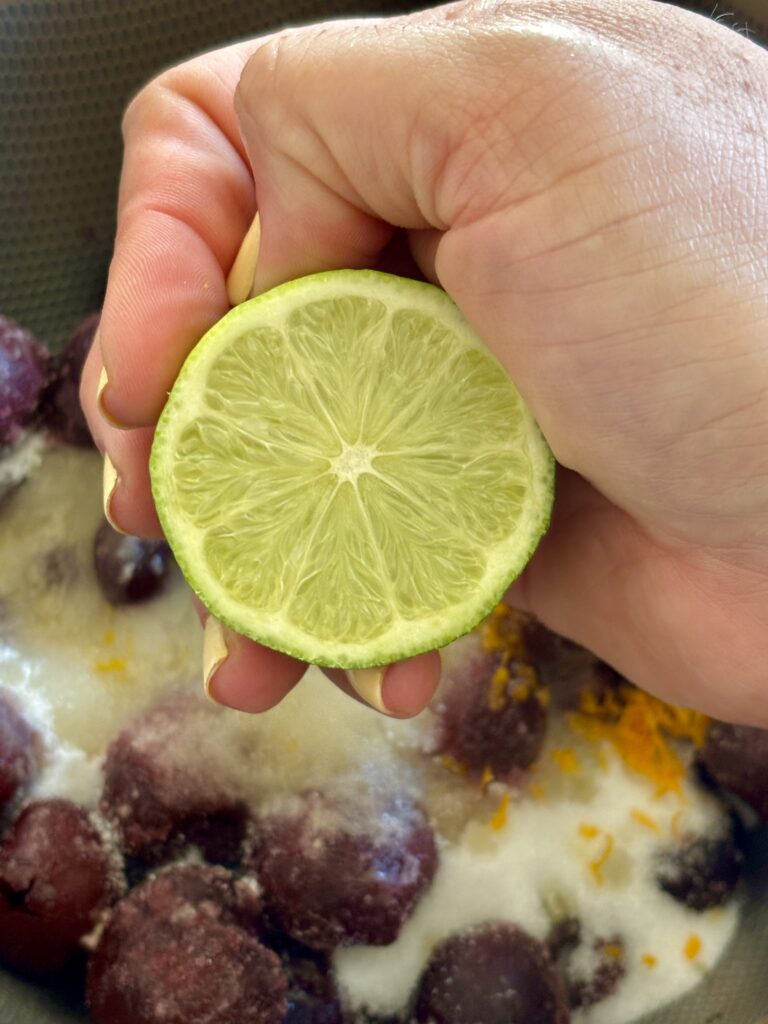
- Lime juice: Balances the sweetness and helps bring out the cherry flavor with a little extra acidity.
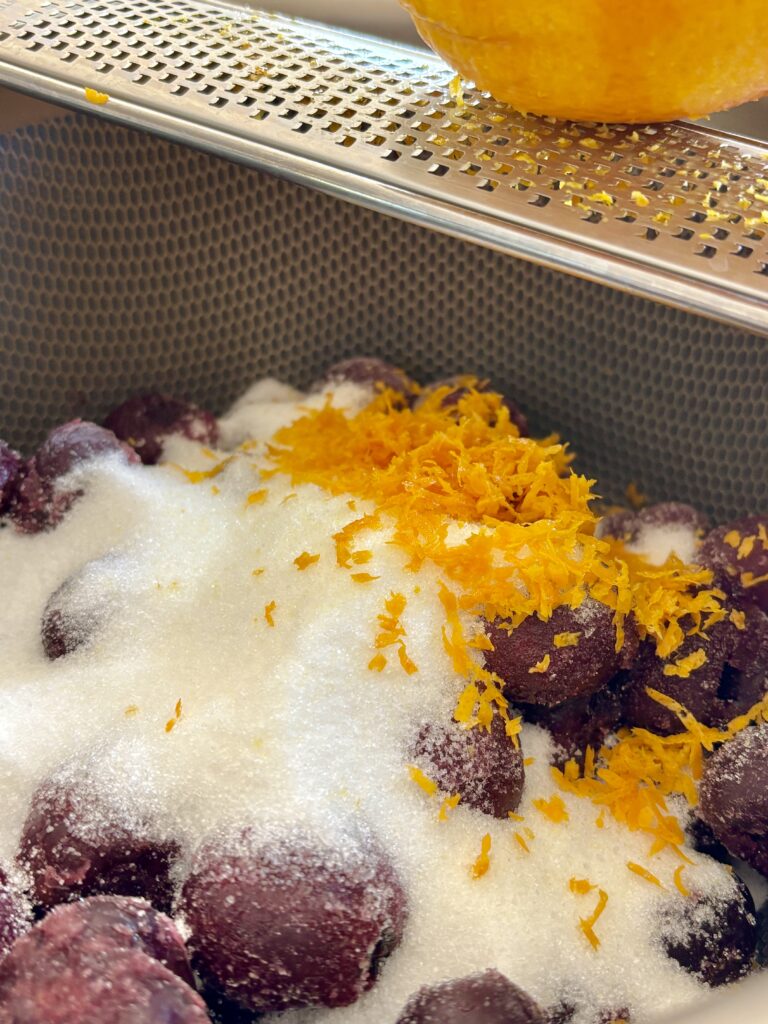
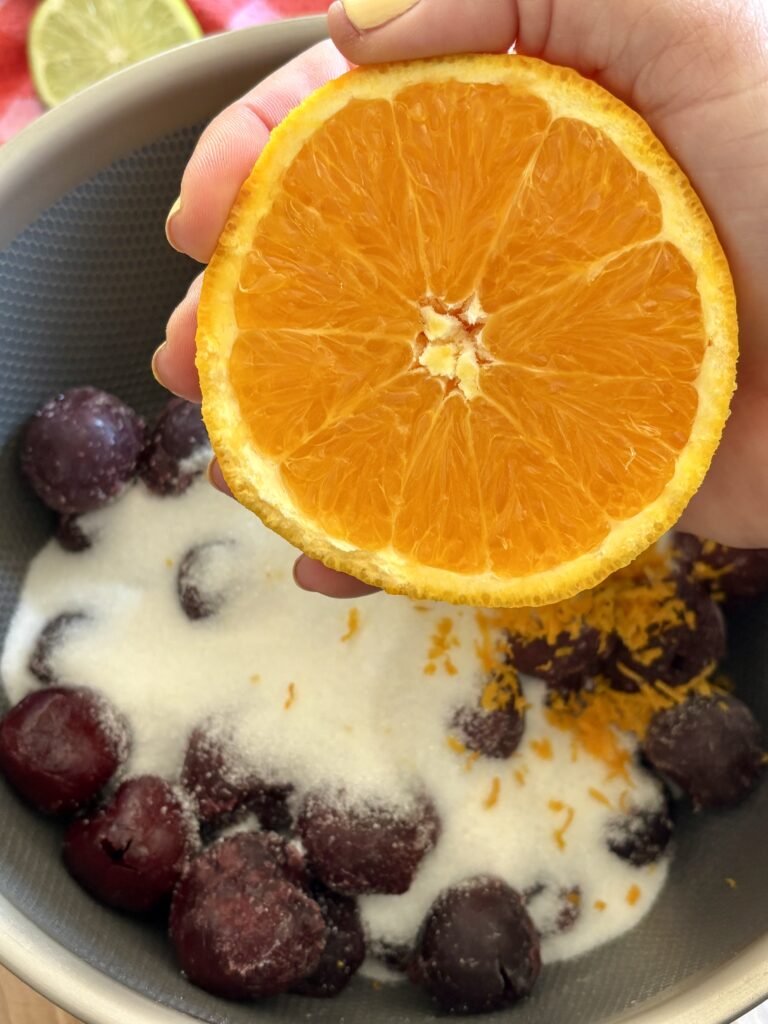
- Orange zest: Adds bold citrus aroma and flavor that makes the jam taste extra fresh.
- Vanilla bean paste: Brings warmth and depth to the jam and gives it that cozy bakery-style flavor.
- Salt: Just a pinch helps round out the sweetness and makes the cherry flavor pop.
Recipe Variations
- Cherry Almond Jam: Add a tiny splash of almond extract after cooking for a cherry-almond flavor.
- Cherry Lemon Jam: Swap the orange juice and zest for lemon juice and lemon zest for a brighter, more citrusy jam.
- Mixed Berry Cherry Jam: Replace part of the cherries with raspberries or blueberries for a mixed fruit version.
- Spiced Cherry Jam: Add a pinch of cinnamon or cardamom while the jam simmers for a cozy twist.
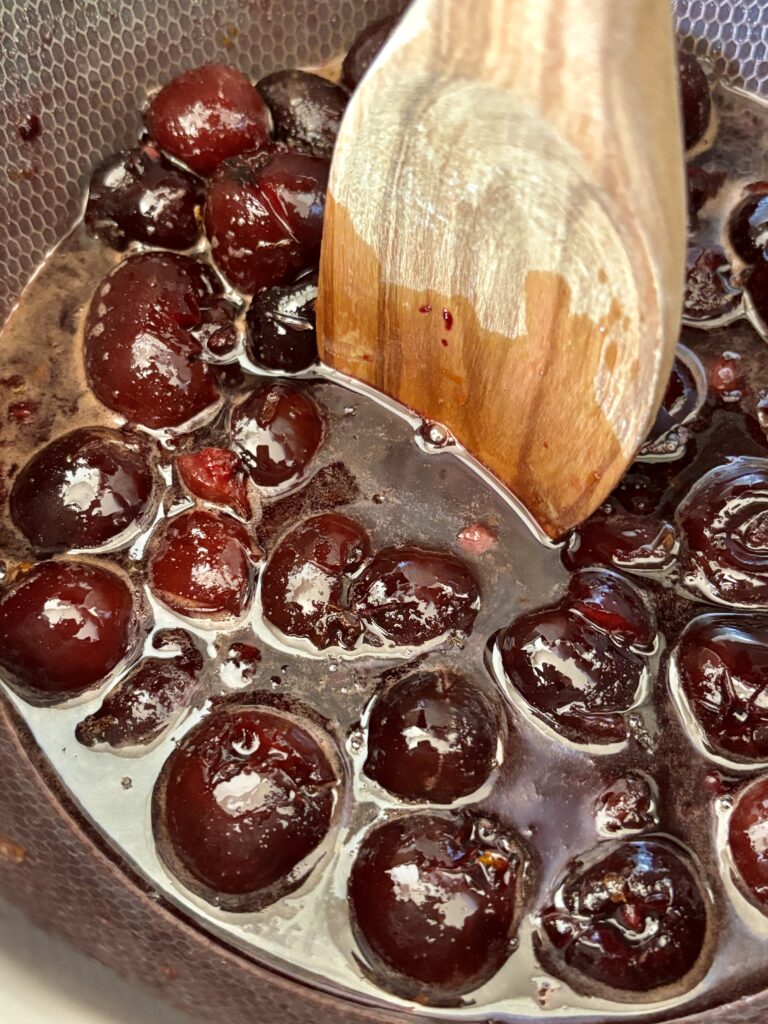
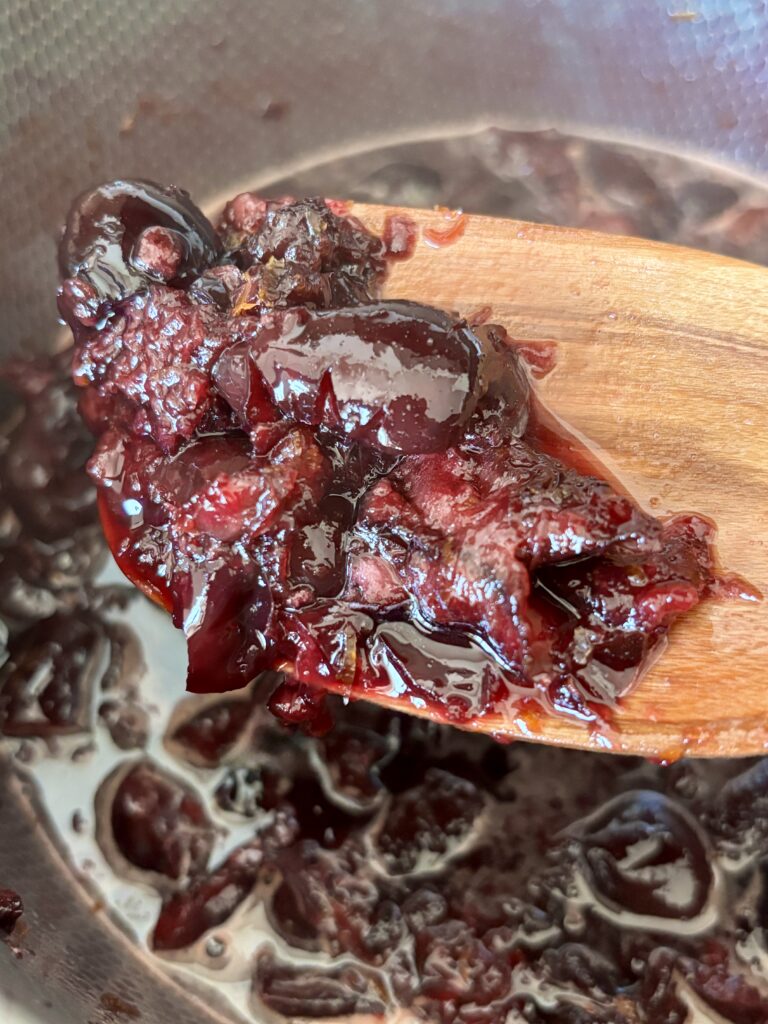
- Chunkier Cherry Jam: Leave more of the cherries whole and mash less during cooking.
- Smoother Cherry Jam: Mash the fruit more thoroughly or briefly blend the finished jam if you prefer a smoother texture.
Pro Tips
- Use a wide saucepan if possible. A wider pan helps the jam cook down faster because more surface area is exposed.
- If using fresh cherries, make sure to have a cherry pitter. It will make your life so much easier!
- Don’t skip the zest. The orange zest adds a ton of flavor and makes the jam taste brighter and more layered.
- Mash only some of the cherries. This gives you a jam with a nice texture instead of turning it into a puree.
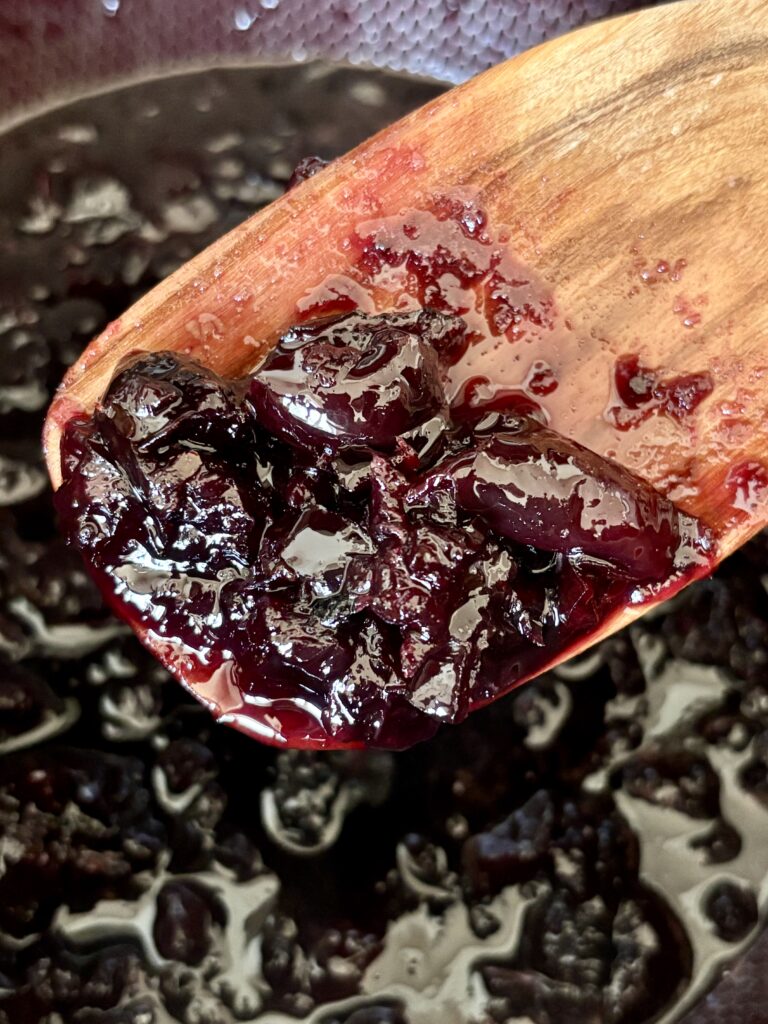
- Watch the consistency toward the end of cooking. Jam can go from loose to thick pretty quickly once enough moisture has cooked off.
- Use the cold plate test (see below). It’s one of the easiest ways to know if your jam is ready without guessing.
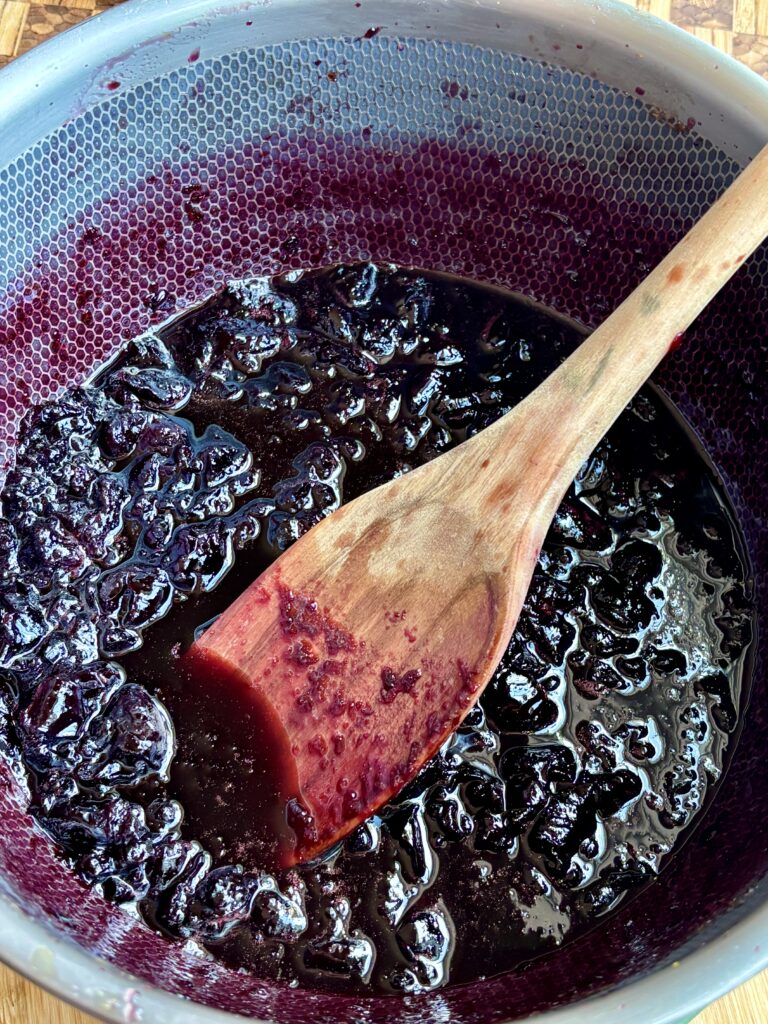
- Let it cool fully before judging the final texture. It will continue to thicken as it cools and chills.
How to Test the Consistency of Homemade Jam (Cold Plate Test)
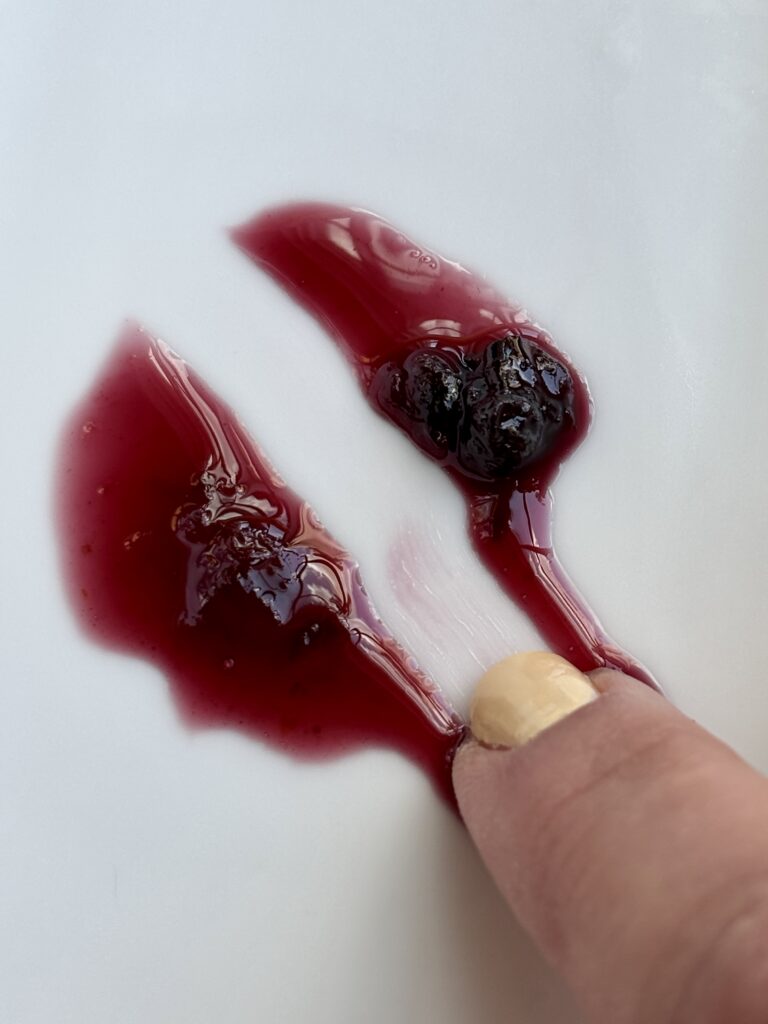
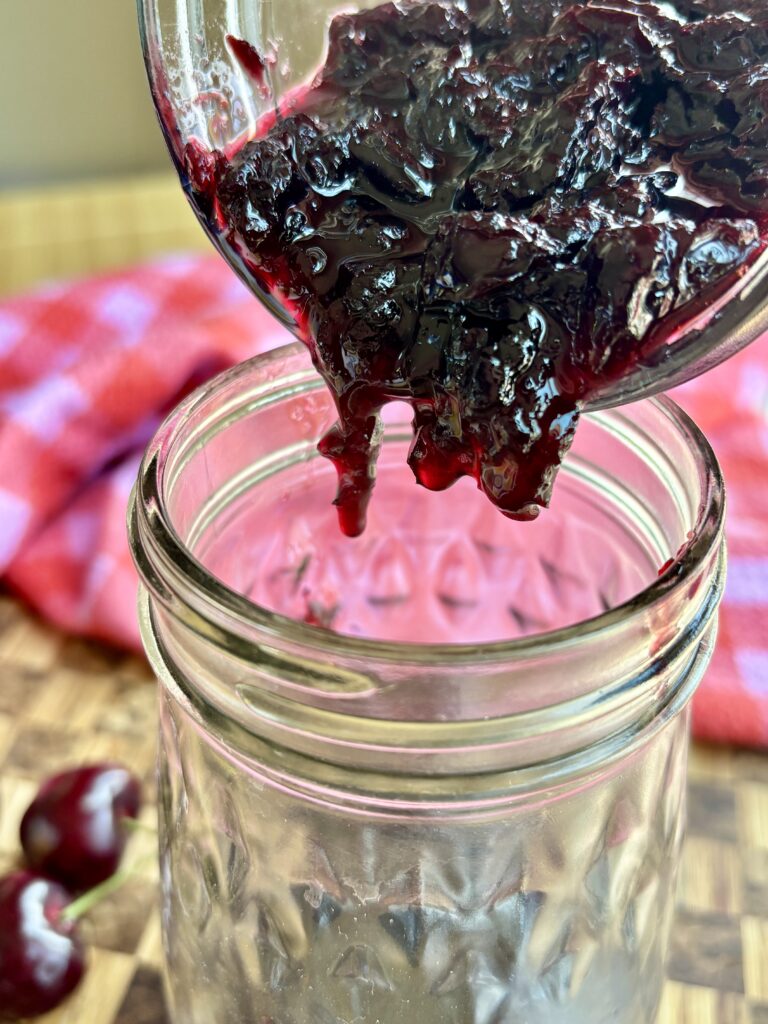
One of the easiest ways to check if your cherry jam is ready is with the cold plate test. Before you start cooking the jam, place a small plate in the freezer. Once the jam has simmered and thickened, spoon a little onto the cold plate and let it sit for about 30 seconds. Drag your finger through the middle of the jam. If it wrinkles slightly and the line stays separated without immediately running back together, the jam is ready. If it still looks thin and quickly runs back into itself, let it simmer a few minutes longer and test again. Keep in mind that jam will continue to thicken as it cools, so don’t overcook it trying to make it super thick in the saucepan
Can I Substitute?
Yes! Like always though, any substitutions made to the recipe can result in a change in texture and/or flavor.
- Frozen cherries: You can use fresh pitted cherries if they’re in season. The cook time may vary slightly depending on how juicy they are.
- Lime juice: Lemon juice works well here too if that’s what you have on hand.
- Orange juice: You can use all lemon juice for a brighter, tarter jam, though you’ll lose some of the sweeter citrus notes.
- Vanilla bean paste: Vanilla extract works well if you don’t have vanilla bean paste.
- Granulated sugar: I don’t recommend drastically reducing the sugar in this recipe without testing, since the sugar helps with both sweetness and texture.
Dietary Substitutions
- Gluten-free: This cherry jam is naturally gluten-free.
- Dairy-free: Naturally dairy-free.
- Nut-free: Naturally nut-free.
- Vegan: As written, this recipe is vegan-friendly.
Other Jam Recipes You May Love
If you love having homemade jam in the fridge, there are so many fun directions to go depending on the season and what you’re craving. A few favorites to try next:
- Strawberry Jam for a classic, sweet berry option.
- Spiced Pear Jam for spooning over pancakes, cheesecake, or yogurt. A really great fall recipe.
- Hot Honey Tomato Jam for summer baking, breakfast spreads, and burger toppings.
- Sweet Berry Jam when you want something extra fruity and vibrant.
Leftovers and Storage
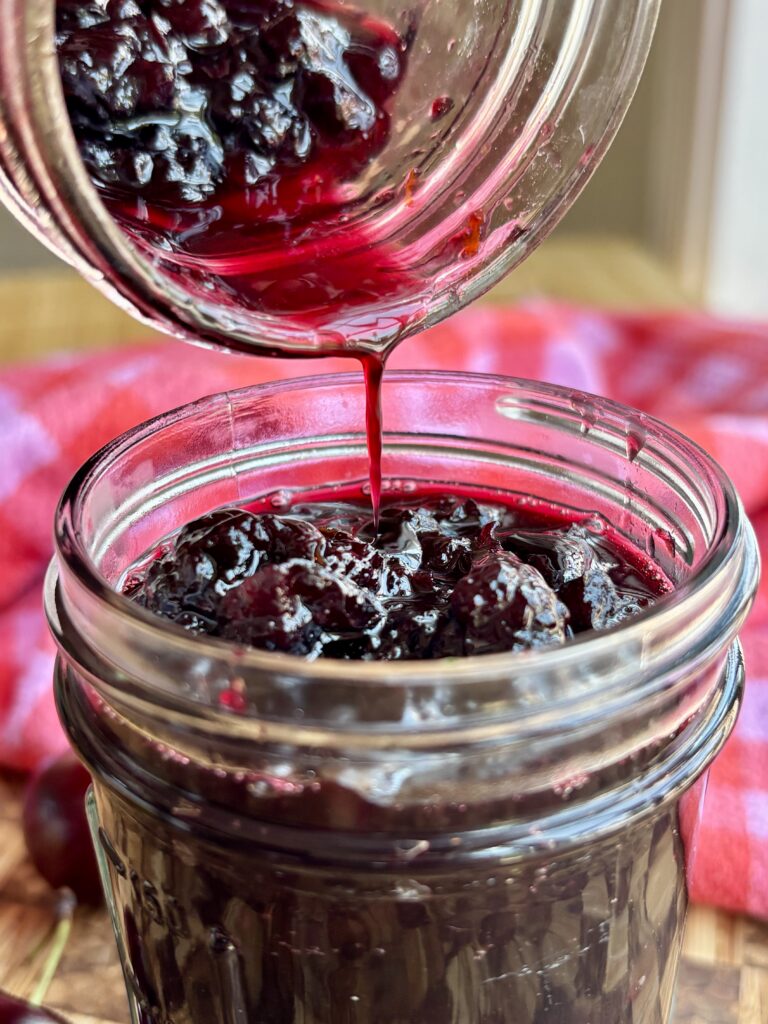
- Refrigerator: Store the cooled cherry jam in an airtight jar or container in the refrigerator for up to 2 weeks. Because this is a small batch refrigerator jam and not a tested canning recipe, it should stay chilled.
- Freezer: For longer storage, freeze the jam in a freezer-safe container for up to 3 months. I recommend freezing it in smaller portions so you can thaw only what you need. Let it thaw overnight in the refrigerator before using.
- If the jam thickens a lot in the fridge, just let it sit at room temperature for a few minutes before spooning and serving.
How to Use This Cherry Jam
This cherry jam is one of those recipes that ends up disappearing quickly because there are so many ways to use it. Try it:
- spread over toast, English muffins, biscuits, or croissants
- spooned over cheesecake or vanilla ice cream
- layered into yogurt or overnight oats
- served with pancakes, waffles, or crepes
- dolloped onto thumbprint cookies or sandwich cookies
- swirled into oatmeal
- spooned onto a charcuterie board with crackers and cheese
But, I Still Have A Few Questions…
Can I use fresh cherries instead of frozen cherries?
Yes. Fresh pitted cherries work well in this recipe. Because fresh cherries can vary in juiciness, your cook time may be a little shorter or longer than it would be with frozen cherries. I would also recommend a cherry pitter, it would make your life so much easier!
Do I need pectin to make this cherry jam?
No. This recipe thickens naturally as the fruit cooks down with the sugar and citrus juices, so there’s no added pectin needed.
Can I make this cherry jam less sweet?
You can reduce the sugar a little, but I wouldn’t cut it drastically without testing. Sugar doesn’t just sweeten the jam, it also helps with the texture and consistency.
How do I know when cherry jam is done cooking?
The easiest way is the chilled plate test. Spoon a little jam onto a cold plate, let it sit for about 30 seconds, then run your finger through it. If it wrinkles slightly and the line stays separated, it’s ready.
Why is my jam still runny?
It may just need a little more cook time, or it may still be warm. Jam thickens quite a bit as it cools, so make sure it has time to chill before deciding it’s too thin.
Why should I add the vanilla bean paste after the jam comes off the heat?
Adding the vanilla bean paste after the jam is removed from the heat helps preserve more of its flavor. Vanilla can lose some of its depth and aroma when cooked for too long, especially in a simmering fruit mixture. Stirring it in at the end keeps that warm, cozy vanilla flavor more noticeable and lets it shine alongside the cherries and citrus.
Can I double this recipe?
Yes, but the cook time may increase slightly since there will be more liquid to cook off. Use a larger saucepan and stir regularly.
Can I freeze homemade cherry jam?
Yes. Let it cool completely, then transfer it to a freezer-safe container, leaving a little room at the top for expansion. Freeze and thaw in the refrigerator before using.
What does the vanilla do in this recipe?
The vanilla adds warmth and depth without overpowering the fruit. It gives the jam a cozy bakery-style flavor that pairs really well with the cherries and orange zest.
What can I serve with cherry jam?
This jam is delicious on toast, biscuits, yogurt, cheesecake, pancakes, waffles, ice cream, thumbprint cookies, and pastries.
Other Recipes You’ll Love
Let’s engage!
Make sure to tag @thehomechefmomma on Instagram or Facebook, and leave a review or comment if you make these. I always get so excited to see your creations, variations of the recipe, and feedback! Just remember to be kind in your comments, there is still a person behind this screen! 🙂
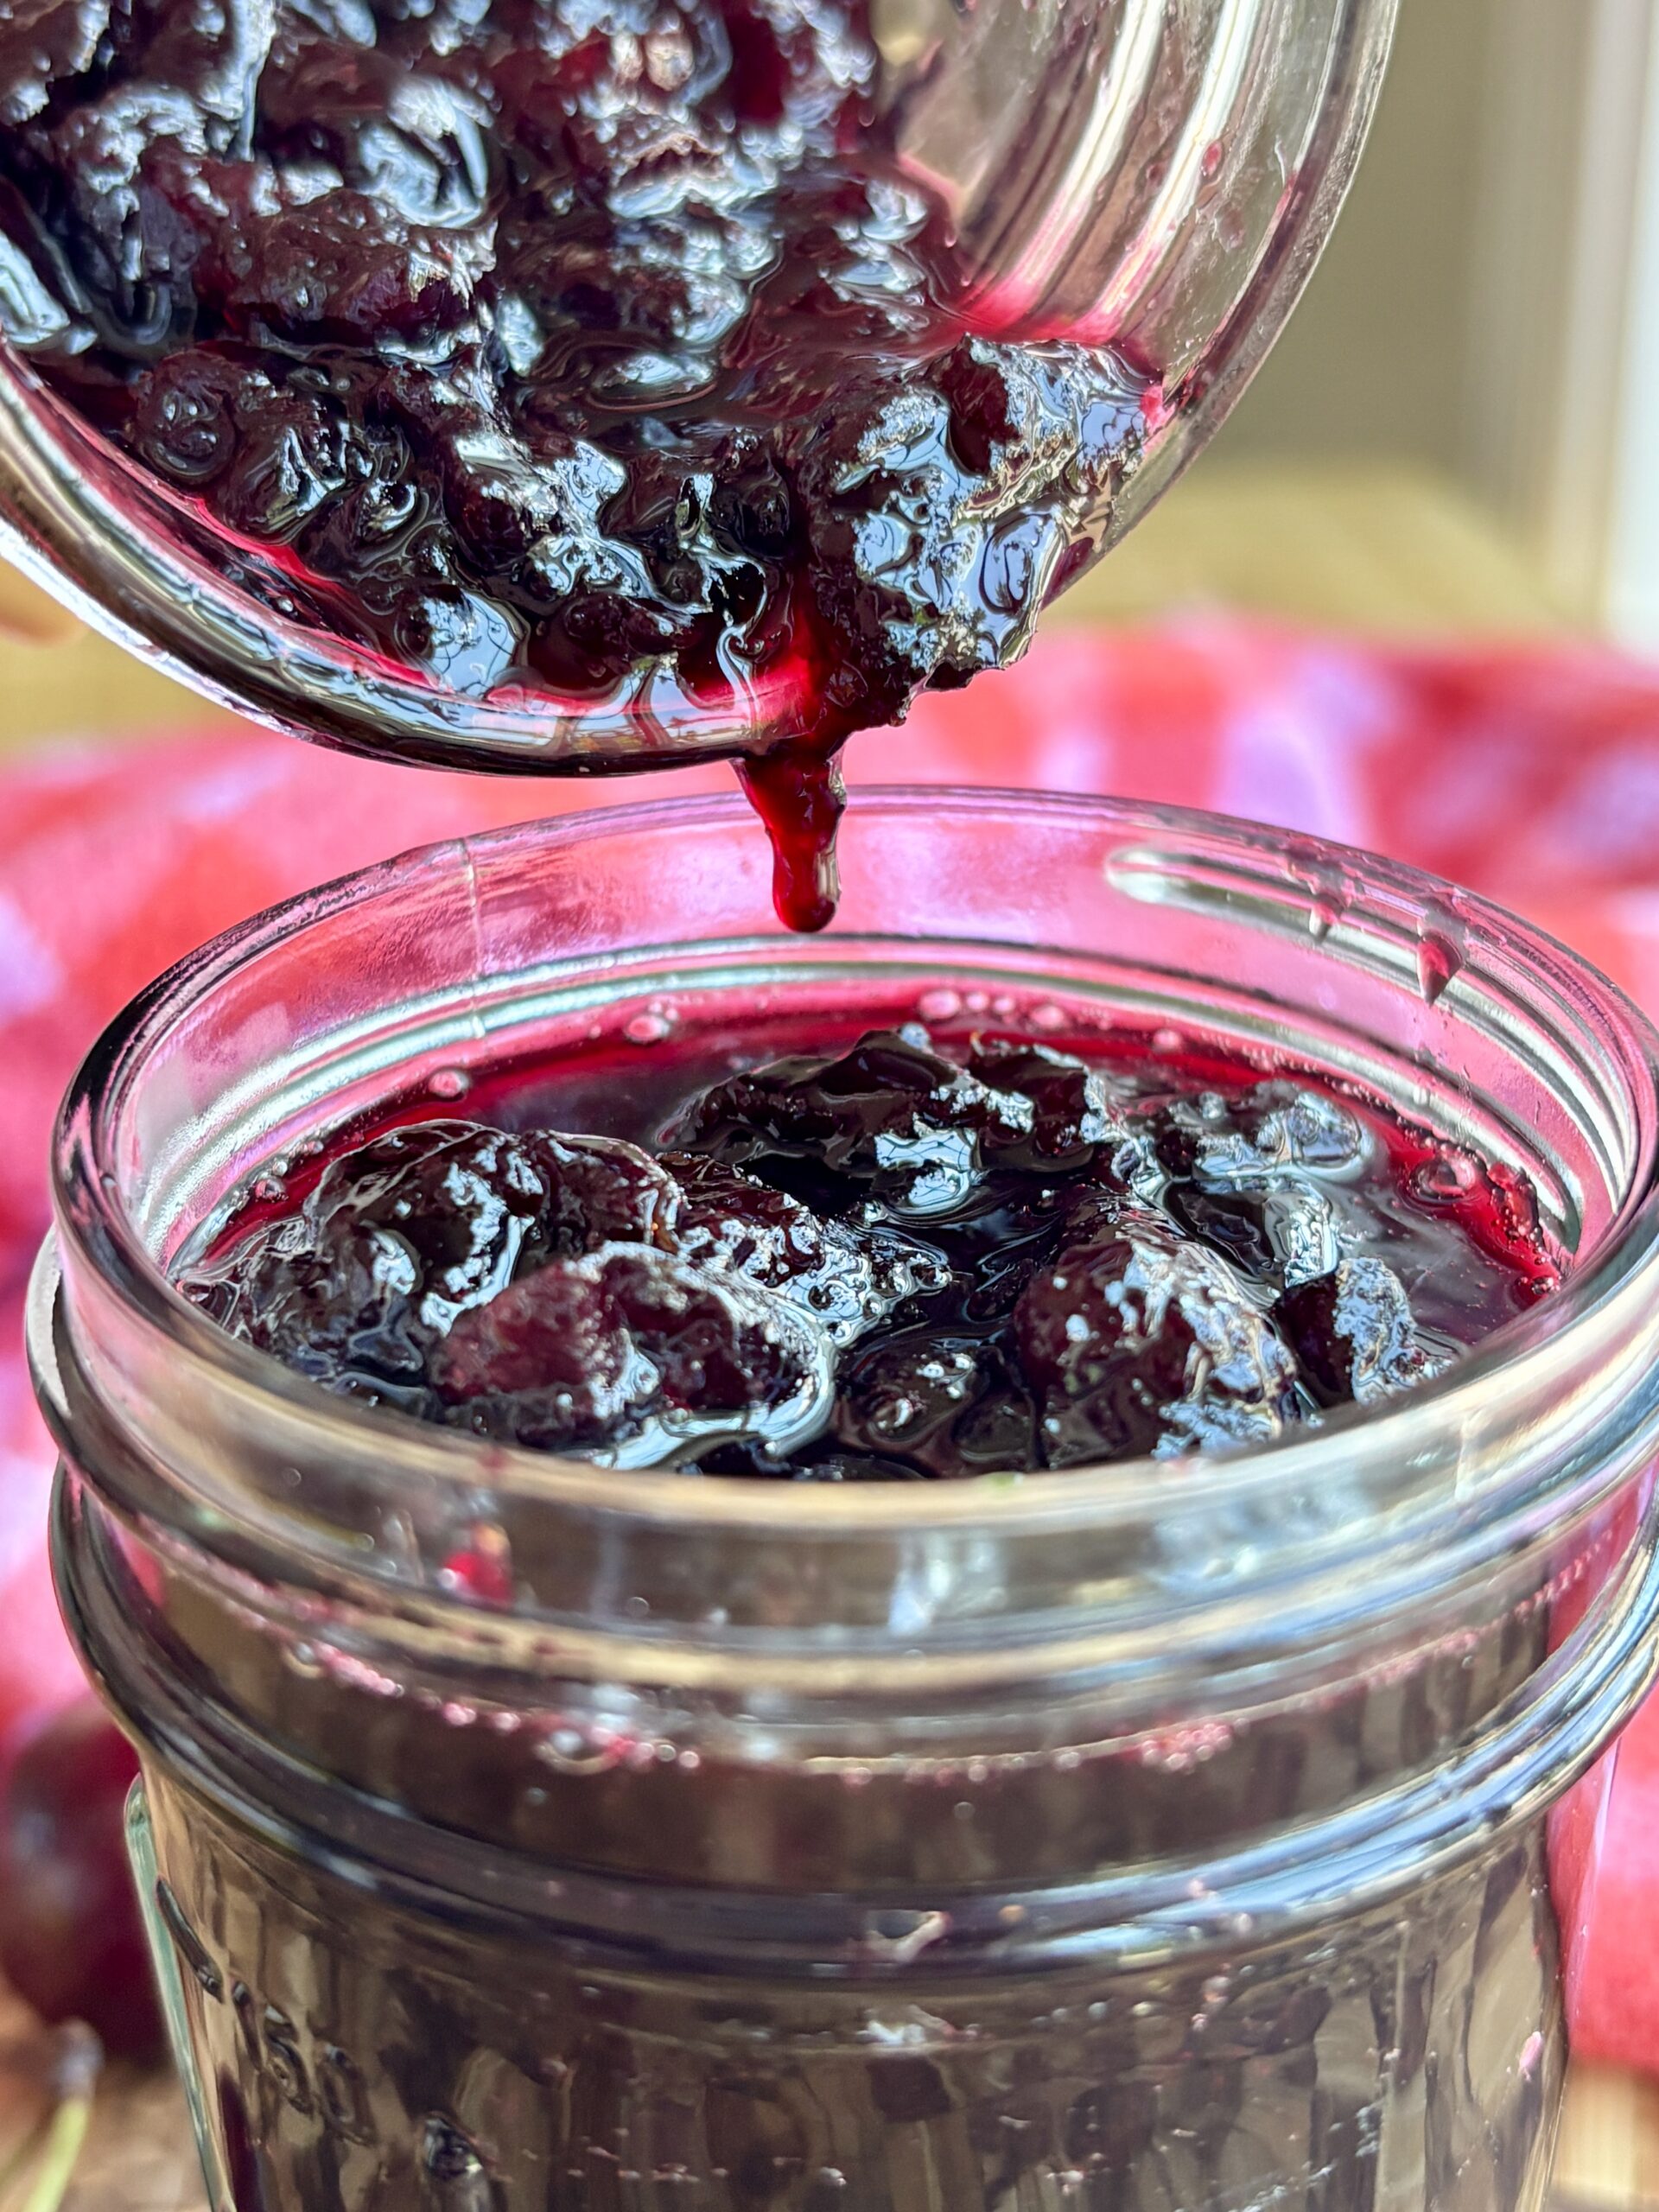
Homemade Cherry Jam
Ingredients
- 16 ounces frozen cherries about 3 cups
- 1 cup granulated sugar
- Juice of ½ orange
- Juice of ½ lime
- Zest of 1 orange
- ½ teaspoon vanilla bean paste
- Pinch of salt
Instructions
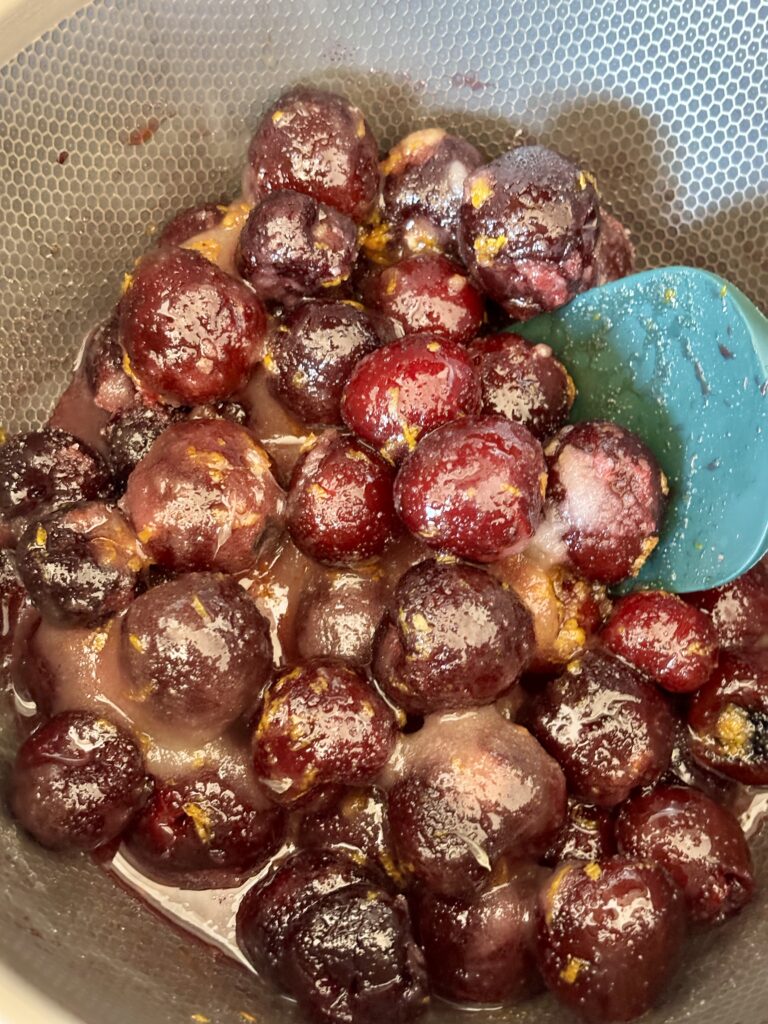
- Combine the ingredients: Add the frozen cherries, granulated sugar, orange juice, lime juice, orange zest, and salt to a medium saucepan.
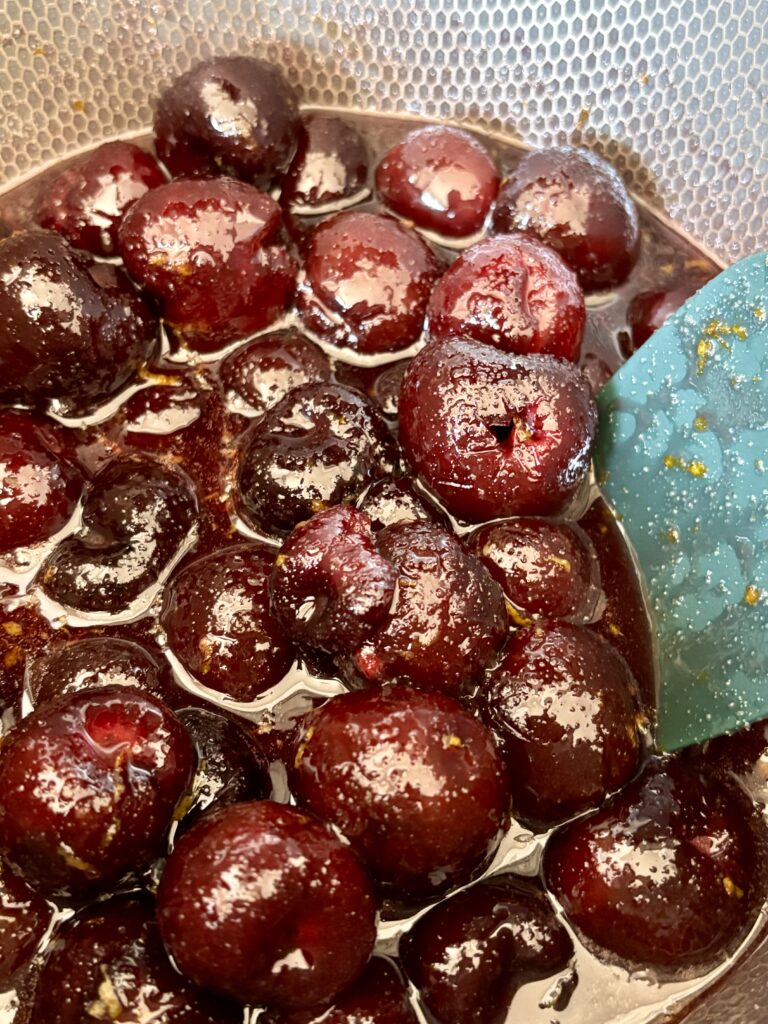
- Cook the jam: Place the saucepan over medium heat and stir occasionally as the cherries begin to thaw and release their juices. Once the mixture starts bubbling, lightly mash some of the cherries with the back of a spoon or a potato masher, leaving some larger pieces for texture. Continue simmering for 25–35 minutes, stirring occasionally, until the jam is thickened and glossy.
- Test the consistency: To check if the jam is ready, spoon a small amount onto a chilled plate. Let it sit for about 30 seconds, then drag your finger through it. If the jam wrinkles slightly and stays separated, it’s ready.
- Cool the jam and add the vanilla: Remove the jam from the heat, add the vanilla bean paste, stir, and then let it cool slightly (about 10-15 minutes). It will continue to thicken as it cools.
- Transfer and chill: Spoon the jam into a clean jar or airtight container. Refrigerate until fully cooled before serving. (Do not screw the lid on while the jam is still warm. Trapping steam inside the jar can create excess condensation, which can thin the jam, and it can also break the glass if too much steam builds up.)
Notes
- The jam will continue to thicken as it cools, so don’t overcook it trying to make it super thick in the pot.
- If you prefer a smoother jam, mash the cherries more thoroughly as it cooks.
- This recipe is a refrigerator jam and is not written for canning.
- Frozen cherries work beautifully here, but fresh pitted cherries can be used when in season.
- Once the jam is finished cooking, transfer it to a clean jar or airtight container and let it cool before sealing it tightly with a lid. Do not screw the lid on while the jam is still warm. Trapping steam inside the jar can create excess condensation, which can thin the jam and add extra moisture to the surface. It can also break the glass if too much steam builds up.
small batch cherry jam | homemade cherry jam | cherry jam recipe | orange vanilla cherry jam | cherry refrigerator jam | easy cherry jam recipe | jam with frozen cherries | cherry jam without pectin | homemade jam recipe | cherry jam for strudels | how to make homemade cherry jam

Nutritional Content Disclaimer
I choose not to include nutritional information with my recipes, as these values can be calculated from the ingredients provided. With my background as a pediatric nurse practitioner and my own family experience with disordered eating, I understand how focusing on numbers can affect our relationship with food. My philosophy is that all foods have a place—sweet, savory, nourishing, or indulgent. I aim to share recipes that support a healthy, joyful approach to eating. My hope is that this space also encourages a balanced, healthy relationship with food for you and your family too.